
Changing the thickness of lines in Photoshop is relatively straightforward when creating your own lines. However, working with pre-existing line art requires a few more steps. Knowing how to edit line thickness lets you adjust downloaded graphics or completed artwork to fit your project better.
To make a drawn line thicker in Photoshop, first, select the line by selecting the Quick Selection Tool (W) and choosing “Select Subject” in the Options Bar. Then go to Select > Modify > Expand and expand your selection by 1-5 pixels. Now fill the selection with your line color to thicken the lines.
This is just one of a couple of different options to thicken lines in your line art. However, you will also learn an easier way to do this when using the Line Tool, along with tips to make your lines thinner too. These methods are helpful when you have files that aren’t layered or in a PSD-friendly format.
How To Make Lines Thicker In Photoshop
If the line art you are working with has lines that are too thin to blend into your project, follow these steps to increase the line’s thickness.
First, open your image in Photoshop. In this case, I am using a graphic. PNG files work well here since the background is transparent. When working with JPG images, you should remove the background first. Here I am using a PNG image of a leaf. You can then use two methods to increase the thickness.

Option 1: Add To A Selection
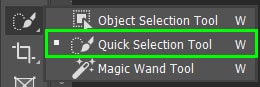
This method creates a selection around the lines and fills in the extra space to thicken the line. Start by creating a selection around the object. You can use any selection tools for this. In my case, I will use the Quick Selection Tool because it allows me to enhance the edges. First, select the tool from the fly-out menu in the toolbar (W).
Then, ensure Enhance Edge is checked in the Options bar.

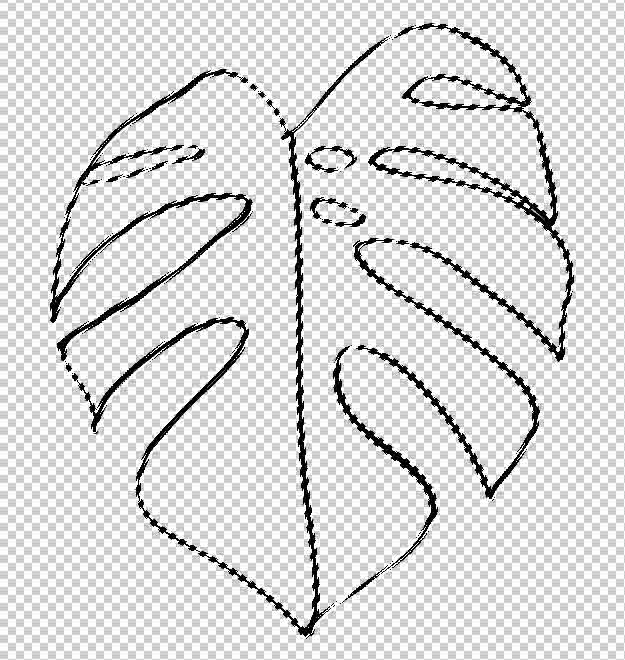
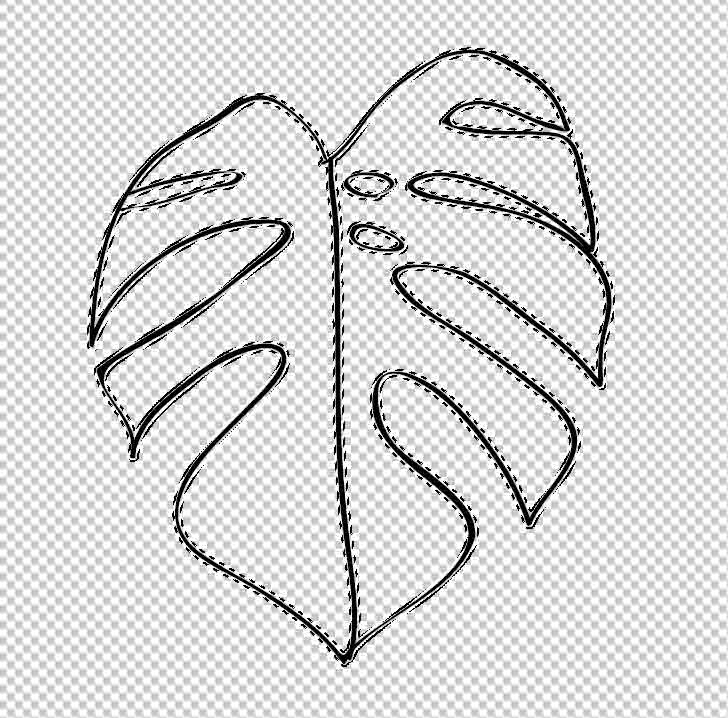
Next, click and drag around the line art you want to thicken to select the entire object. When you let go of the mouse, the object is selected as indicated by the marching ants.
Now, you must expand the selection by going up to Select > Modify > Expand.
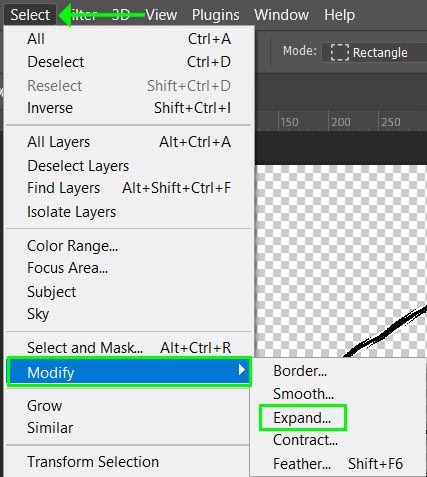
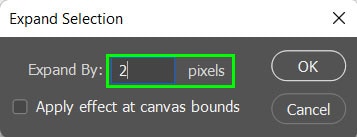
When the dialogue box opens, add the number of pixels to expand the selection. In my case, I will expand it by 2 pixels. Press OK when you’ve added in the pixels.
The selection will shift away from the line based on how many pixels you expanded it by.
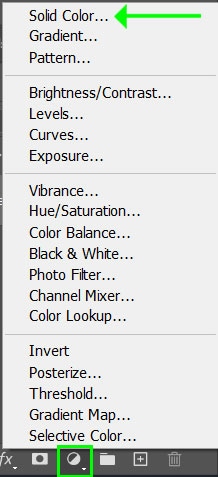
Next, add a fill to the selection using the same color of the line. Start by selecting the Adjustment icon at the bottom of the Layers panel and choose Solid Color.
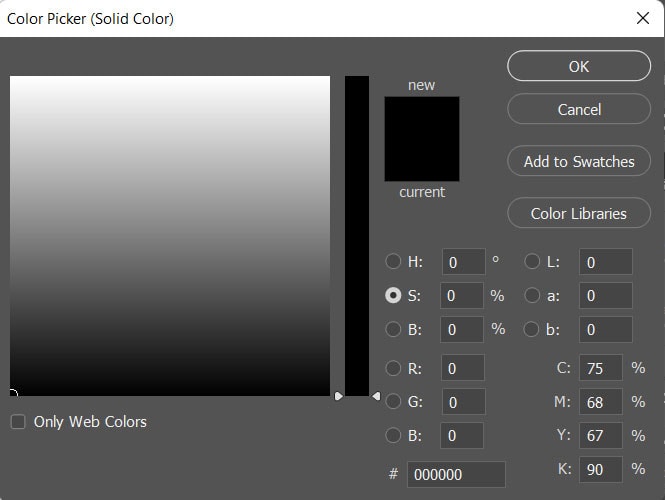
Then use the Color picker to select the color of your line, and press OK.
If your foreground is set to the same color as the line, you can use a shortcut by pressing Alt + Backspace (Win) or Option + Delete (Mac). Then hit Control + D (Win) or Command + D (Mac) to deselect the object.
The lines on the object will now be thicker. You can repeat these steps to increase the thickness even more if necessary.

Option 2: Use The Minimum Filter
The second method uses the minimum filter to thicken the line by a certain amount of pixels.
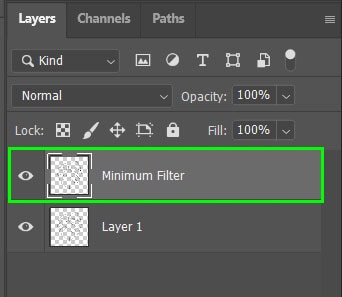
Open your image and duplicate the layer by pressing Control + J (Win) or Command + J (Mac). Then rename the duplicated layer to “Minimum Filter” by double-clicking on the name. Duplicating the layer lets you edit non-destructively.
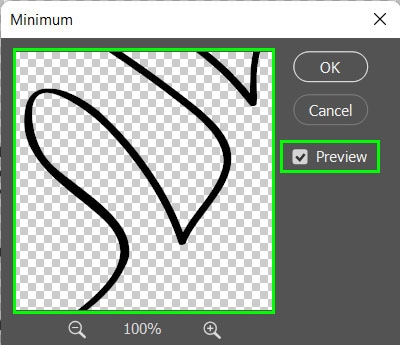
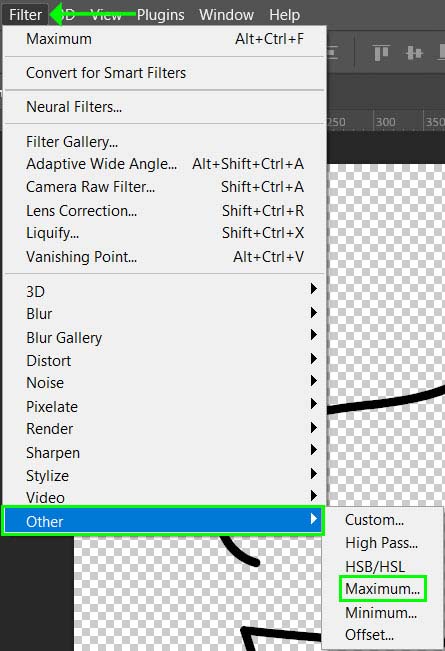
Now, with the new layer selected, navigate to Filter > Other > Minimum to open the Minimum dialogue box.

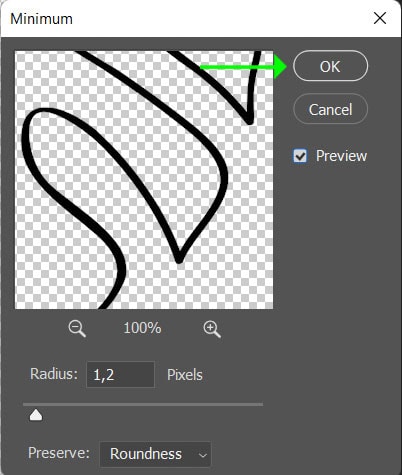
In the window, check the box next to Preview to view the changes as you make them. You can also click and drag the image around in the preview box to choose a point to view the changes.
Now, use the Radius slider to determine how thick you want the line to be — sliding it to the right increases the line thickness. Leaving the Radius on the lowest point (one pixel) still increases the line thickness to some extent.
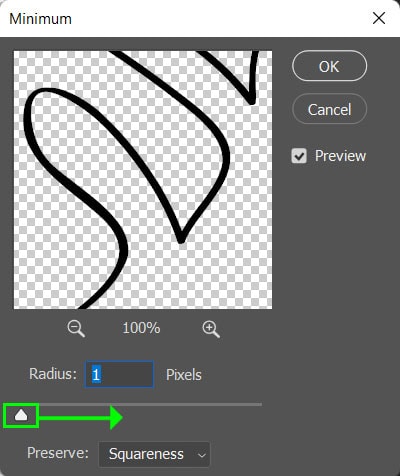
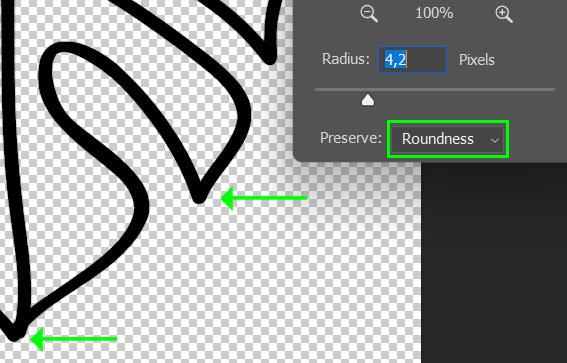
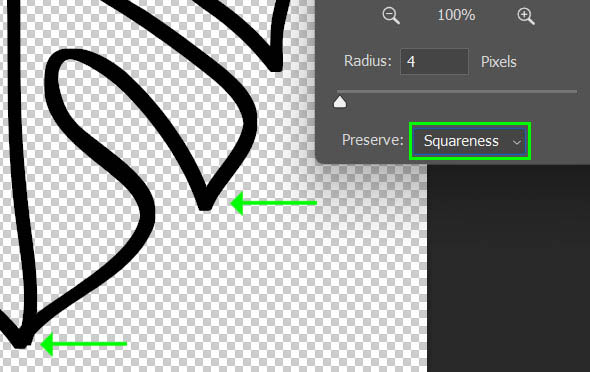
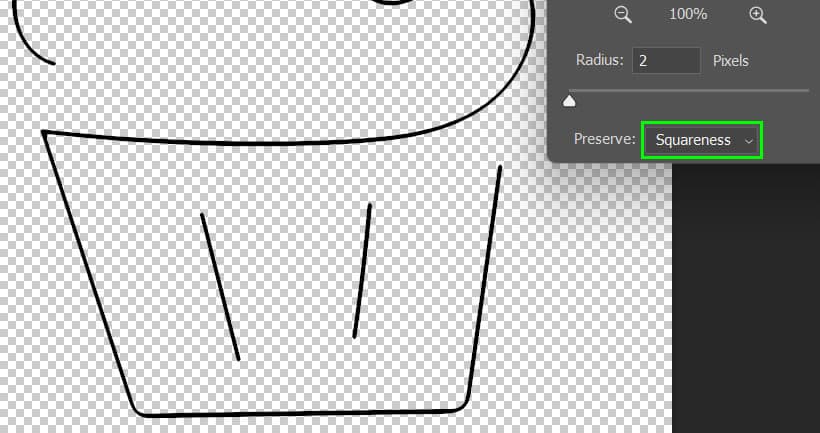
The Preserve option at the bottom of the window allows you to set the thicker line as more rounded or squared, depending on how you want the line art to look.
If I increase the Radius to 4 pixels, you can see the difference when you set Preserve to Roundness and when you set it to Squareness. Preserving the roundness of the line allows you to change the Radius in decimal points.
Once you set the Radius and set Preserve to Roundness or Squareness, press OK to apply the filter.
Your line art will now have a thicker line.

How To Make Lines Thinner In Photoshop
Sometimes, the line art you have downloaded is too thick for your project, and you will need to make the lines thinner. There are two methods to thin out the lines while keeping them smooth.
Option 1: Delete From A Selection
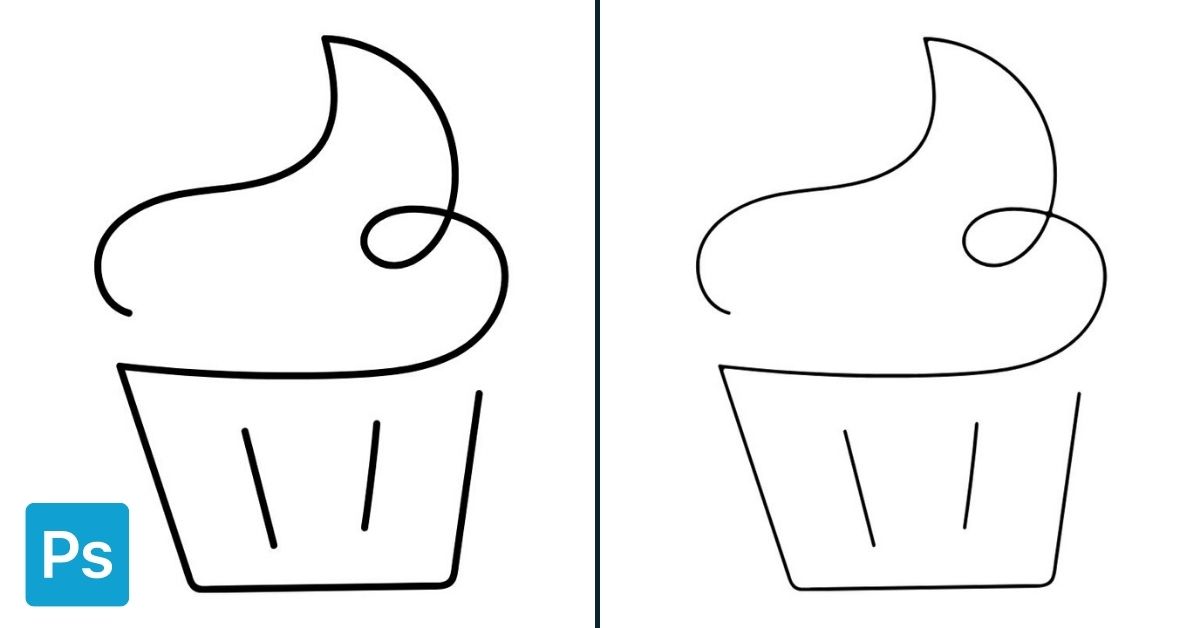
For this example, I will use the line art of a cupcake.

For the first step, make a selection of the object. In this case, use the Quick Selection Tool (W) from the fly-out menu. You will need this selection tool to use the Enhance Edge feature.
Now, check the box next to Enhance Edge in the Options bar.
Then, click and drag over the object, to select it, which is indicated by the marching ants pattern. You can also press the Select Subject button in the Options Bar.

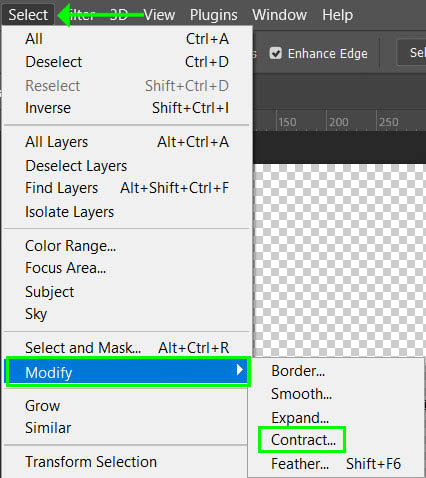
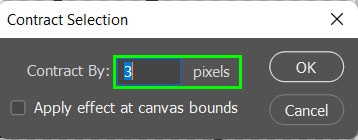
Now contract the selection by the amount you want to reduce the line thickness. To do this, navigate to Select > Modify > Contract.
Add the number of pixels you want to contract the selection in the window that opens. In this case, I want to reduce it by 3 pixels. When you are done, press OK.
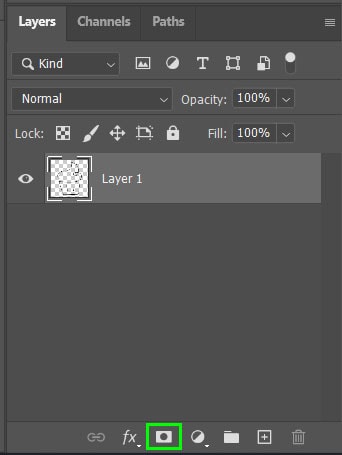
Then, add a mask to the layer by clicking on the Mask icon at the bottom of the Layers panel.
Once the mask is added, you will notice a new thumbnail on the layer, which lets you edit the layer mask later on.
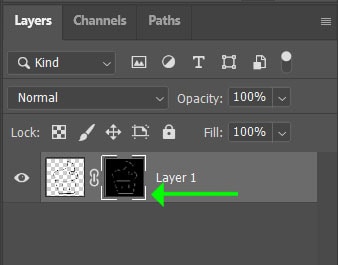
The layer mask will also hide the pixels outside the selection, making the line thinner.

Option 2: Use The Maximum Filter
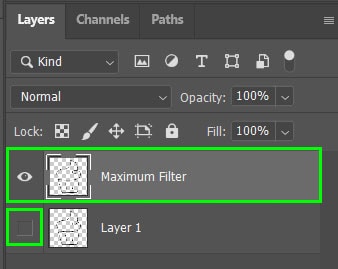
The second method uses the Maximum Filter to make the line thinner. First, duplicate the layer by pressing Control + J (Win) or Command + J (Mac). Then name the new layer “Maximum Filter” and switch off the bottom layer’s visibility by clicking on the eye icon.
Now, with the new layer selected, go up to Filter > Other > Maximum. This action will open the Maximum dialogue box.
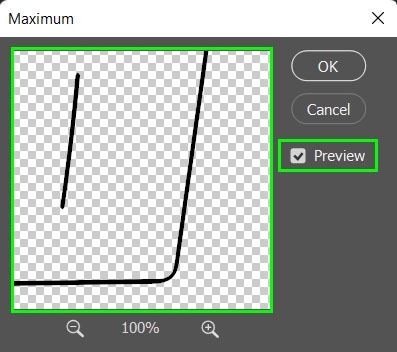
In the window, check the box next to preview and drag the image in the preview panel to see the line change.
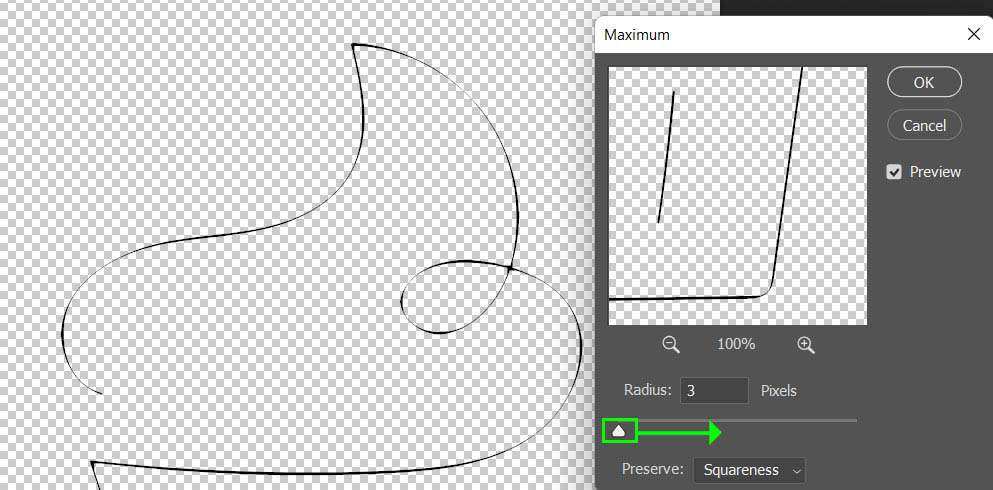
Adjust the Radius slider to make the line thinner. Dragging the slider to the right will thin the line. Although, moving the slider too far to the right will make the line disappear in some areas.
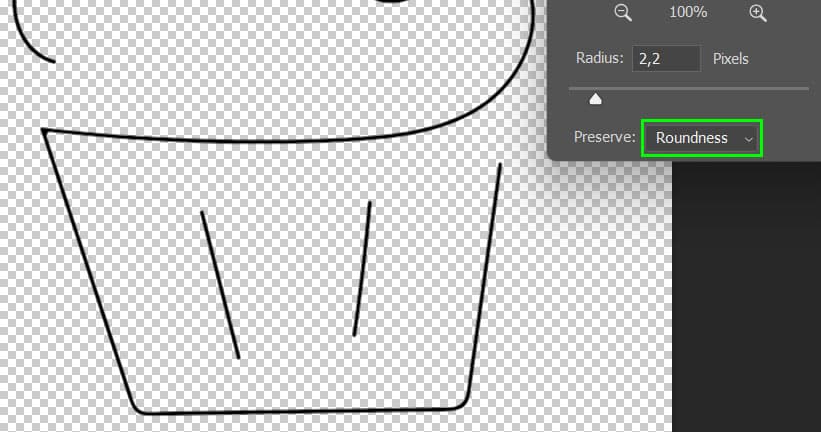
Lastly, use the Preserve option to keep the lines square or round. You can see the slight difference in the corners of the line art when you switch between these two options. When preserving roundness, you have the option to alter the Radius using decimal points.
Select OK when you are happy with the new Radius value, and the object will now have a thinner line.

How To Change The Thickness Of The Line Tool
When drawing lines in Photoshop using the line tool, you can adjust the thickness of the line to suit your needs. You can change the line thickness before drawing the line or modify a previously created line later in the project.
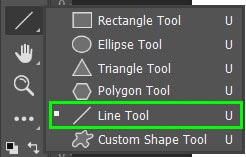
To draw a line, you must select the Line Tool (U) from the fly-out menu.
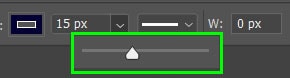
Before drawing the line on your canvas, adjust the line thickness by clicking the arrow next to the pixel number in the Options bar.

Move the slider to the right to make the line thicker or to the left to make it thinner. You can also type in the number of pixels for an exact value.
Now, when you draw the line, it will be the thickness you set using the slider.

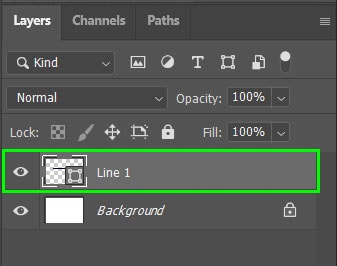
If you want to change the line thickness later, even when another tool is selected, you can. To change the line thickness, ensure the line layer is active in the Layers panel.
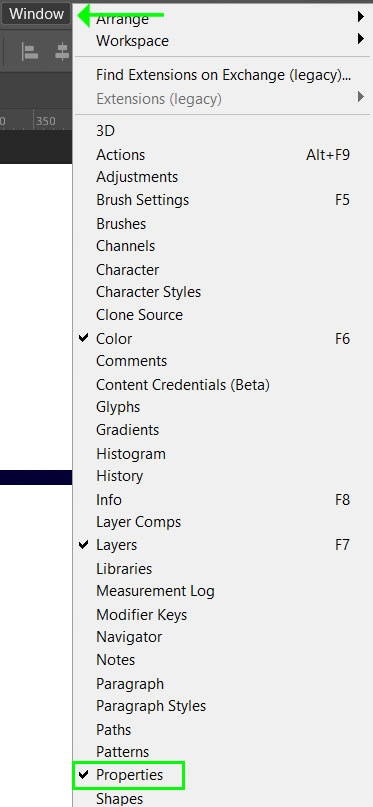
Then open the Properties panel by selecting Window > Properties.
In the Properties panel, use the same thickness slider to adjust the line thickness. In this case, I will increase the thickness to 30 pixels.
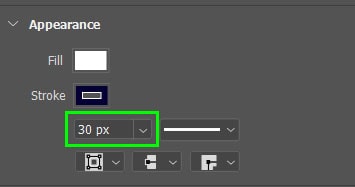
The line changes automatically when you alter the slider or add a pixel value. On my canvas, the line is now thicker. You can open the Properties panel and re-adjust the line thickness at any stage during your project.