


Whether you want to add copyright info, edit location details, or even just add keywords to a photo’s metadata, it’s all easily done in Lightroom. Plus, you can apply the same metadata information to multiple images with just a few clicks to save yourself time.
Metadata, which consists of all the data saved when a photo is taken, can help provide important information for your photos. This information tells you everything about your camera settings and equipment for each image, including the date, location, copyright, and contact information. Here’s how you can edit it in Lightroom Classic and CC.
How To View Your Metadata In Lightroom
Lightroom features a metadata panel containing all the different metadata sets that can be viewed for each image. You can access the metadata panel only from the Library tab.
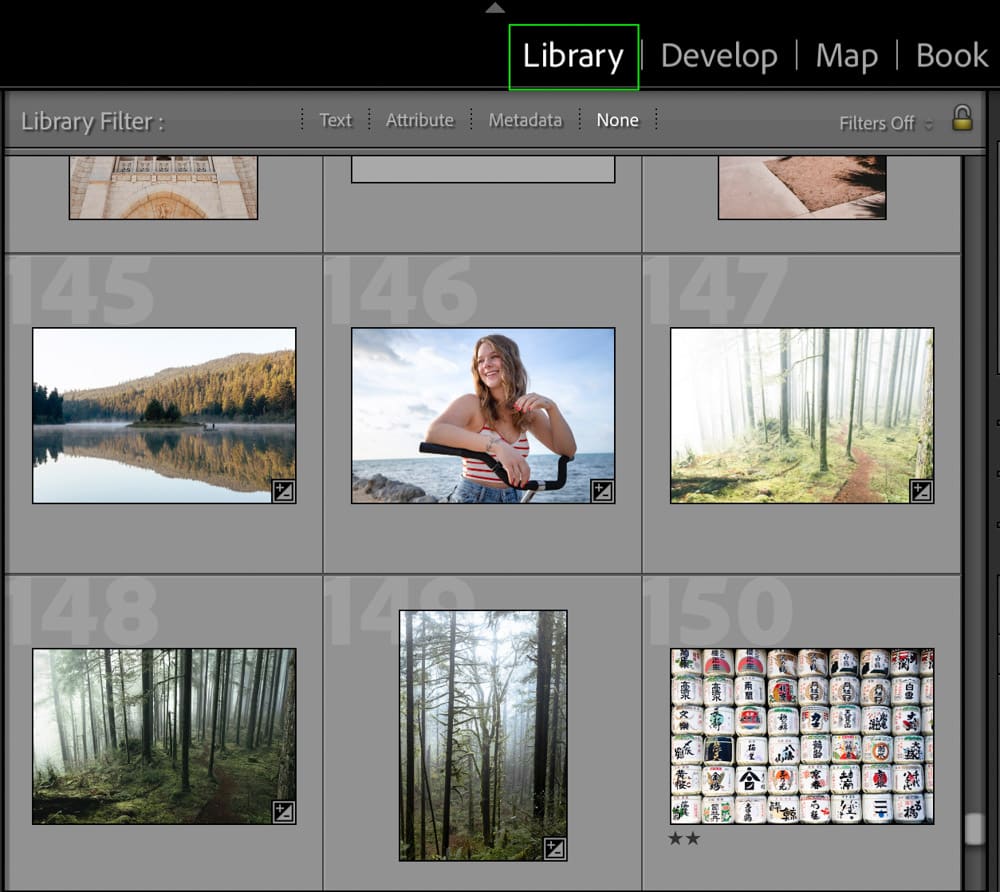
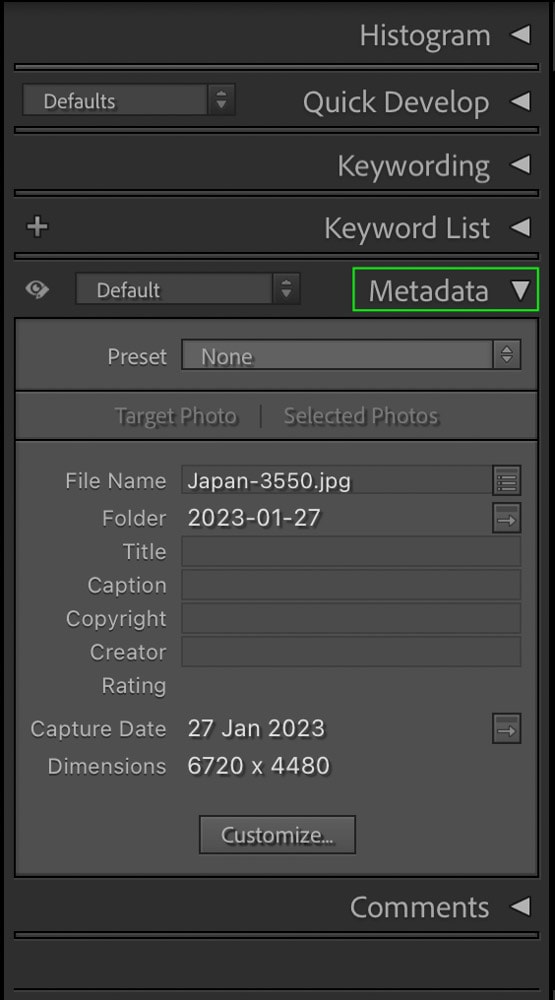
Select an image from the Library and head to the Metadata panel on the right side of the workspace. You’ll see the photo’s metadata listed in the panel.
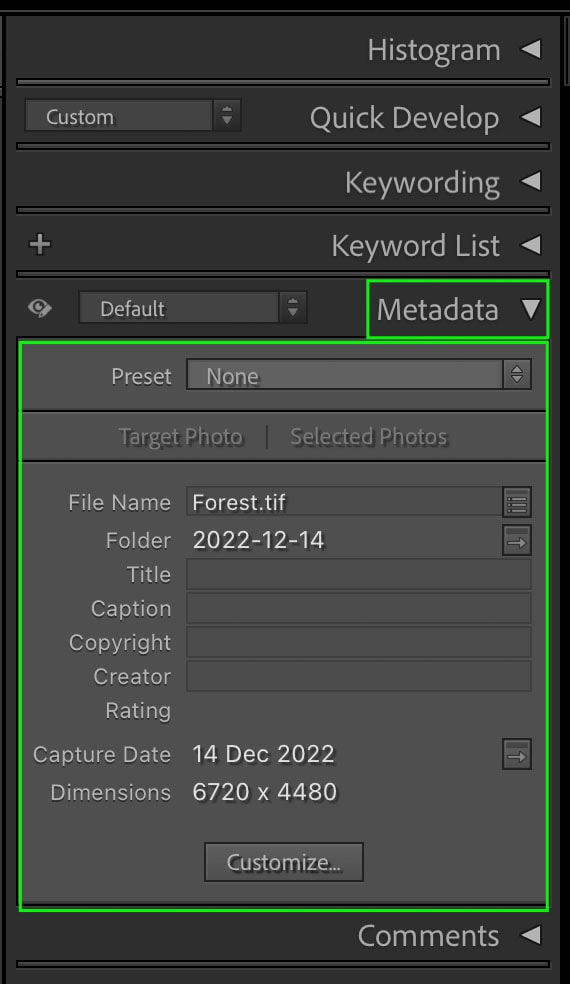
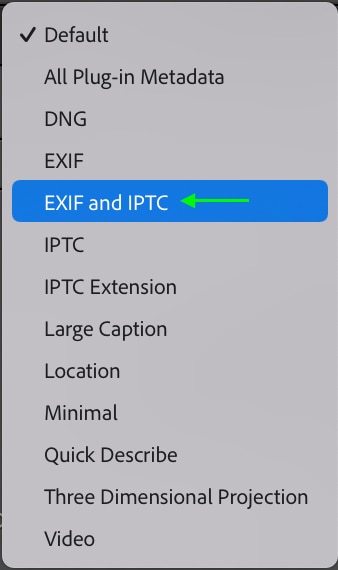
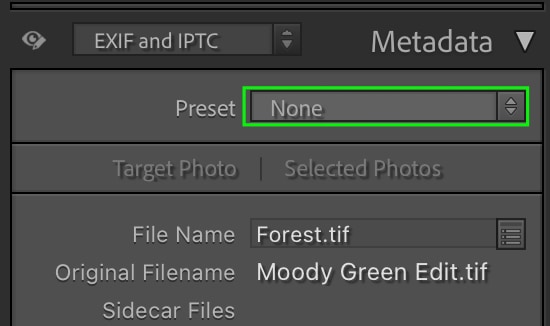
You’ll see that not all the metadata is shown in the Default metadata list. There are different sets of metadata you can view, so to display the most amount of metadata that you can edit, click the drop-down and select EXIF and IPTC.
This shows a much longer and more comprehensive list of the metadata for your photo. Here you can find the information on the camera and its settings, contact information, the location and date the image was taken, and the copyright details by scrolling down.
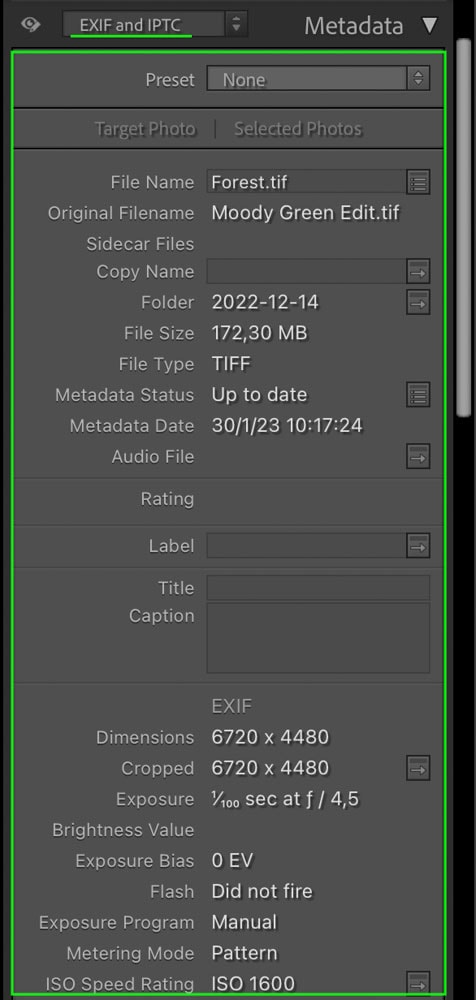
You’ll notice that some items in the list may be blank with boxes beside them. This means you can edit these items, which I’ll go over in the next section.
How To Edit Your Metadata In Lightroom
You’ll see a variety of metadata you can edit in the list. Let’s go over how to edit some of the most important metadata you may want in your photos.
Copyright Metadata
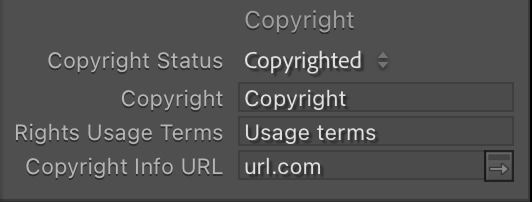
The Copyright metadata includes the copyright status, usage terms, and a copyright URL. Copyright data is essential to add to any images you plan to publish and have copyrighted, as it will protect your work.
Working in the EXIF and IPTC data, you can edit the copyright by clicking the Copyright Status drop-down menu, which will likely be set to Unknown. From the list, select Copyrighted. You can then add any additional copyright information in the remaining boxes.
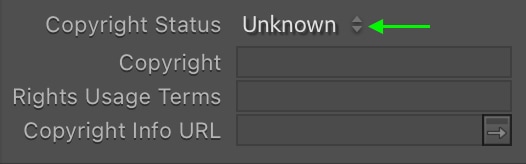
The copyright will be attached to the photo when others download your image from the web.
Location Metadata
In many cases, it is useful to have information about the location where the image was taken included in the metadata. You can find the location metadata underneath the IPTC data section. You can edit as many of these as you’d like. In some cases, the location data will be visible already if your camera GPS was turned on.

This can help you keep track of your photos and reference the locations they were taken in case you need to know in the future.
Date Metadata
In some cases, your camera’s date may not be correct, and you may want to change the metadata to display the accurate date.
You’ll notice there are a few different areas where dates are displayed. To locate the editable date, scroll below the IPTC section and see the date metadata beside the Date Created field.
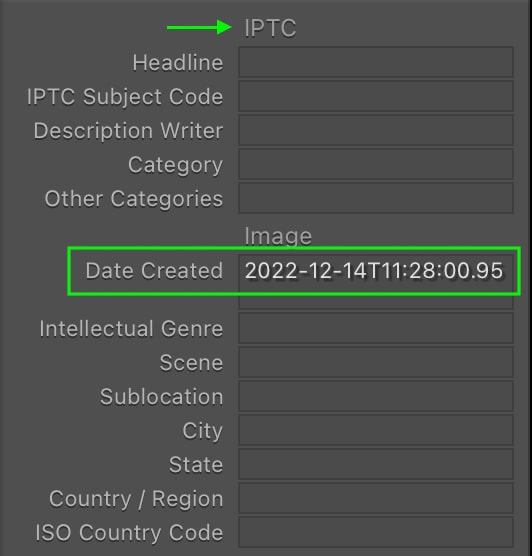
Click to edit the date, and it will be saved as the new date.
How To Apply Your Metadata Settings Across Multiple Photos
There is some metadata information that you may want to keep the same across several photos. You can make a preset containing specific metadata to apply to multiple images.
For instance, if you want to add copyright information to a set of photos, you can save time and effort by adding the information to a preset rather than editing each photo’s metadata individually.
Step 1: Edit The Metadata Settings
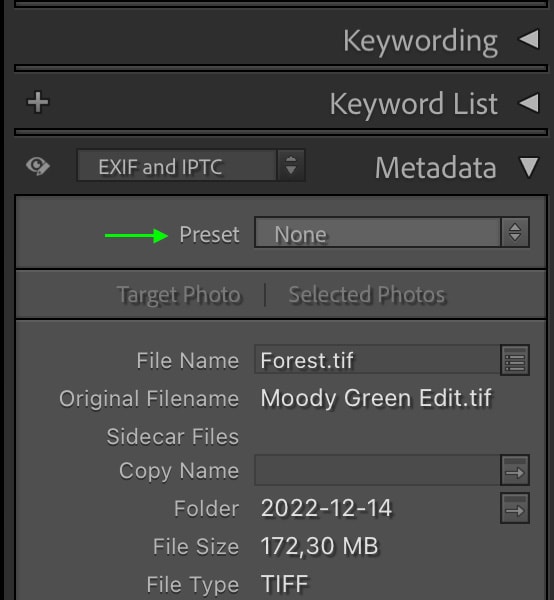
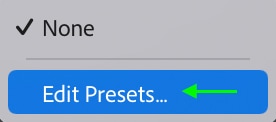
Once you’ve selected the image you’d like to edit, you can change the metadata straight from the Metadata panel or by heading to the Preset drop-down menu and selecting Edit Presets from the options.
You can then edit the metadata in the Edit Metadata Presets window that appears.
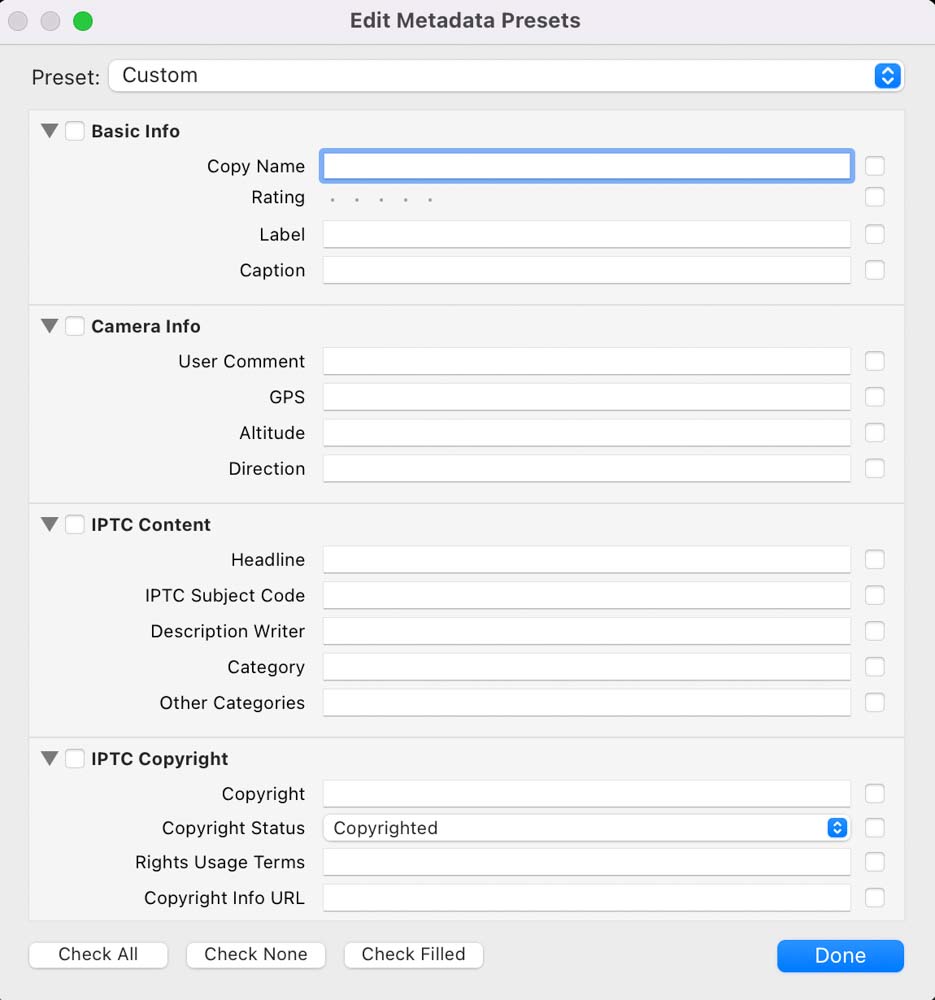
You can scroll down to view more metadata that you can edit.
Step 2: Select The Settings To Include
You’ll notice a check box to the right of each item of metadata in the list. Now that the metadata has been edited, you can check whichever boxes you’d like to include in the metadata preset and apply to multiple images.
For instance, if I only want to include the Copyright settings, I’ll check the boxes next to those settings and leave the rest unchecked. I can check IPTC Copyright to check all the Copyright-related boxes at once.
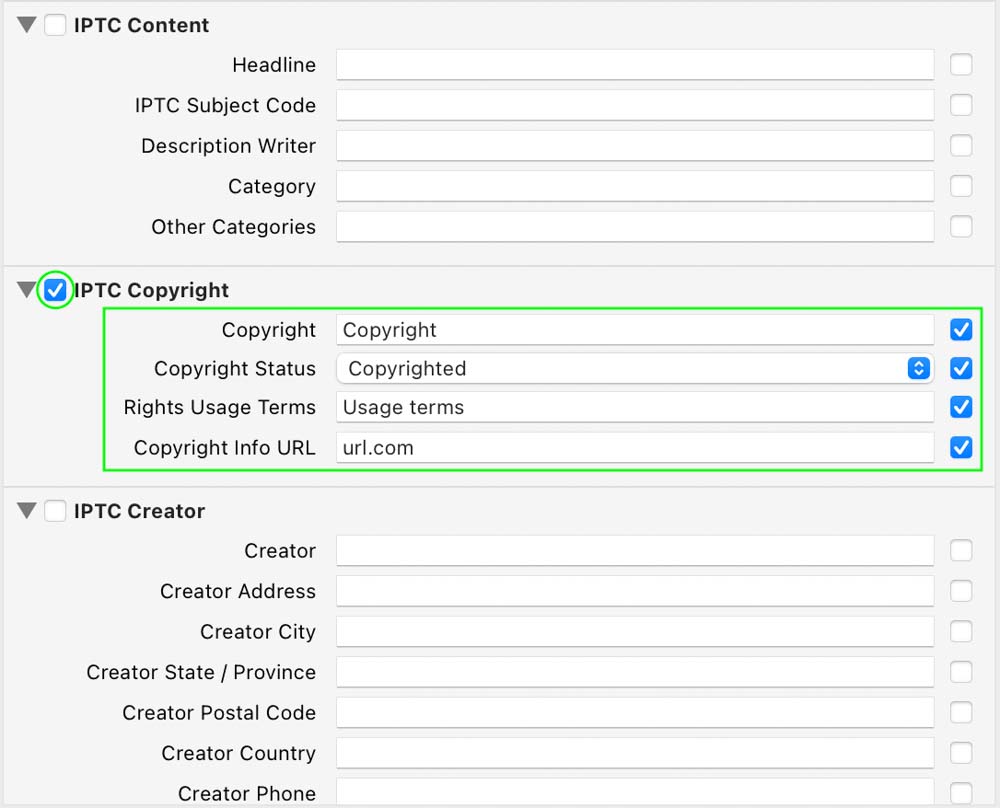
This is an important step as you likely won’t want to include all the metadata in the preset, as there may be image-specific metadata you’d like to make different for each image. Ensure you only have the boxes checked for the metadata you want to apply to all the photos.
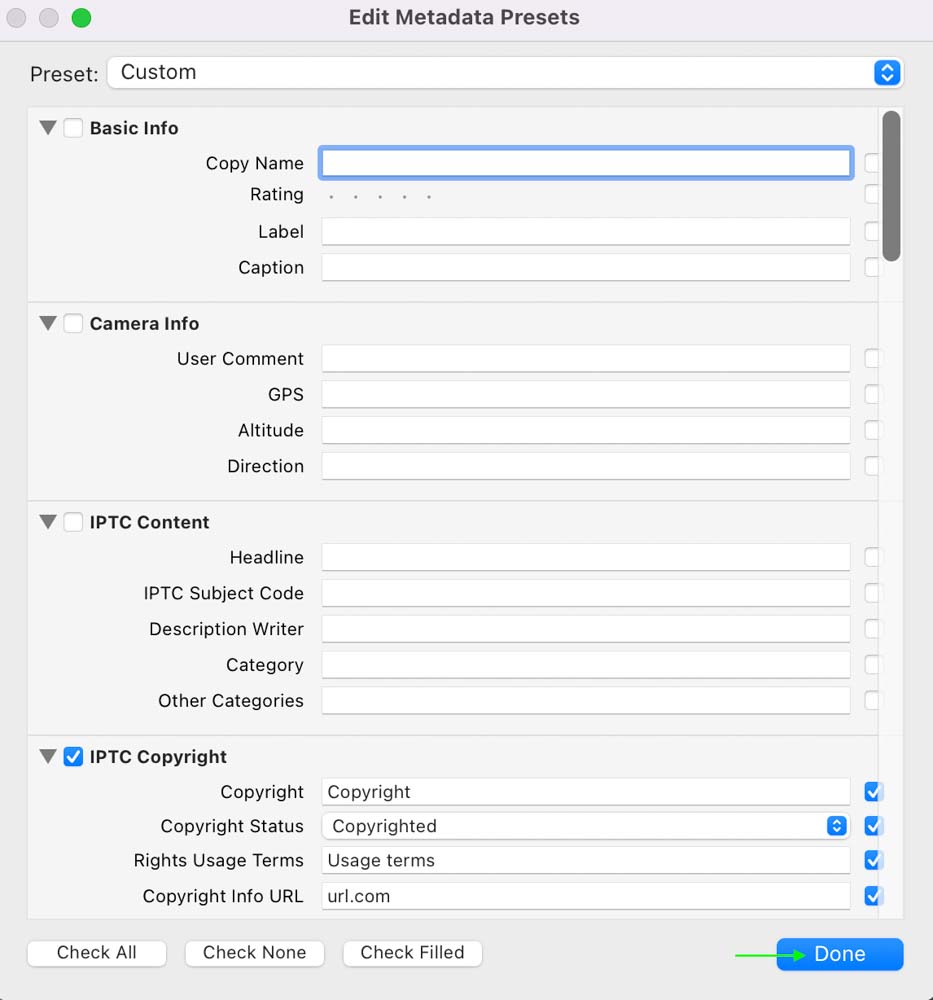
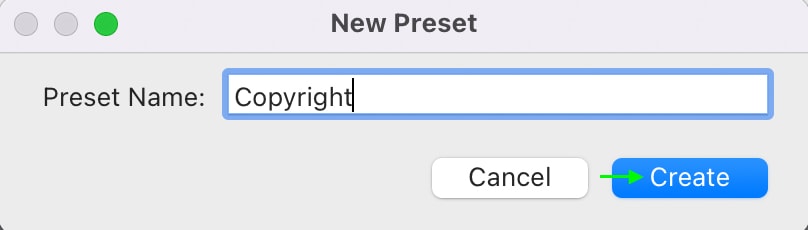
Step 3: Name And Save The Preset
Once you’ve chosen which metadata you’d like to include in the preset, click Done and then select Save As from the pop-up window.
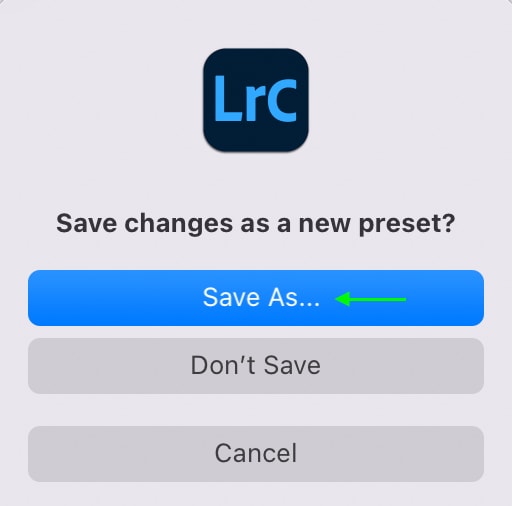
You can then name your preset in the window that appears and click Create to save the preset.
The preset will be saved.
Step 4: Apply The Preset
Finally, you can apply the preset by selecting a photo and heading to the Metadata panel.
From there, click the Preset drop-down to see the preset you’ve just made in the list.
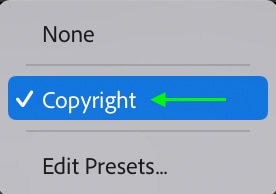
Click on the preset, and it will be applied to your photo. You can check that the metadata has been changed by looking in the panel.
How To Apply A Metadata Preset On Import In Lightroom
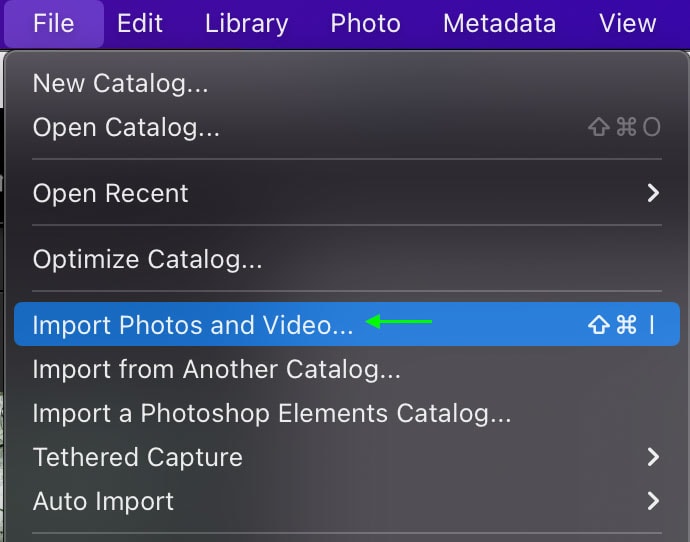
To save time, you can also apply metadata presets to images as you import photos into Lightroom.
Head to File > Import Photos and Video, and select the images you’d like to import from the import window.
To the right of the window, you’ll see the Apply During Import section. Click the drop-down menu next to Metadata.
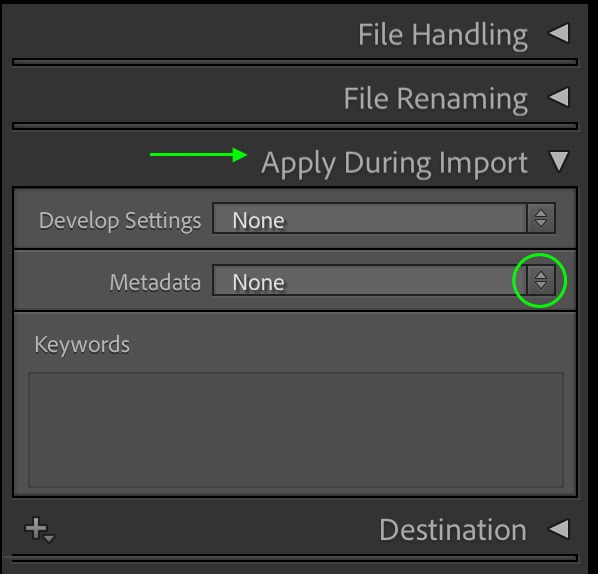
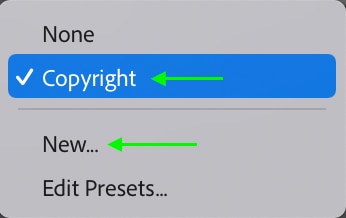
From there, you can select which preset you’d like to add to the photos from the options (mine is my Copyright preset) or click New to create a new metadata preset to apply.
When you click Import, the metadata will be applied to every photo that you import. Remember that you should only use this if you’re sure you want every image to have this same metadata.
How To View & Edit Metadata In Lightroom CC
Like in Lightroom Classic, you can edit the metadata while working in Lightroom CC. Select an image and click the Information icon at the bottom right corner. The Info panel will open with the metadata visible, and you can click the fields to add any metadata you’d like.
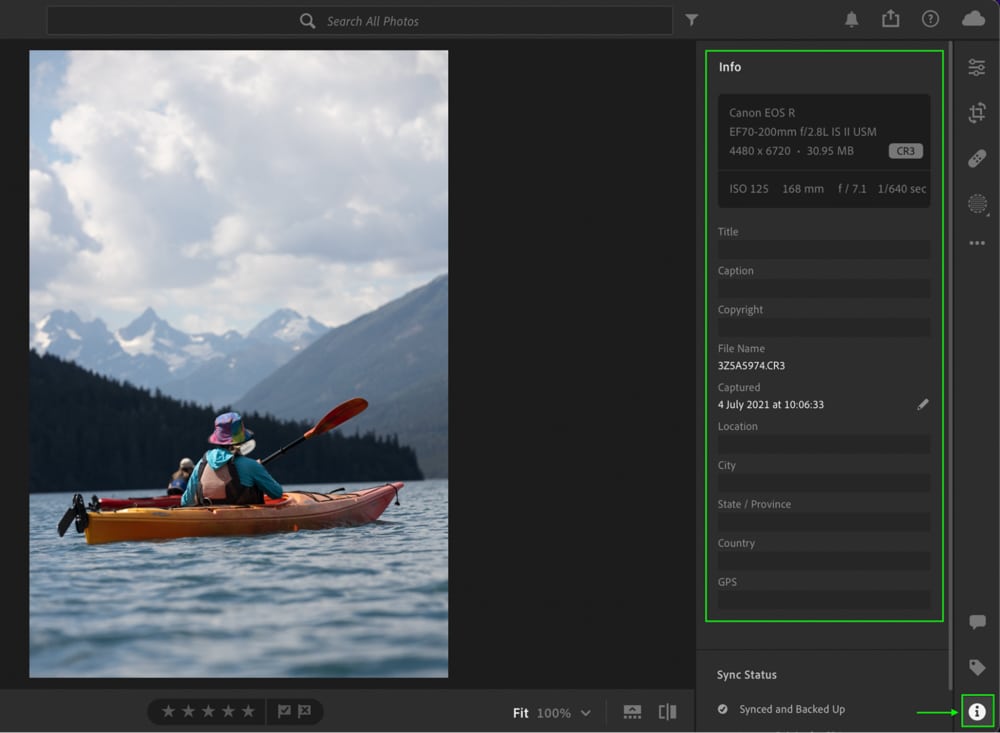
However, Lightroom CC doesn’t allow you to edit all of the metadata provided in Lightroom Classic, so it would be best to work in Lightroom Classic if you’re looking to edit more than just the basics.
