
Whether you need to fit your photo to a certain dimension or rescale a layer to fit your project, learning how to resize an image in Photoshop is important. There are a few different ways that you can do it, but some will leave you with a lower-quality image than when you started.
To ensure you maintain the same high-res quality that you started with, make sure to follow four of the best methods outlined below.
Video Tutorial
Option 1: How To Resize With The Image Size Adjustment
The Image resize adjustment lets you change the dimensions and resolution of a photo. If you have specific dimensions you need to match, this method is very effective. Especially if you’re trying to print a photo, you can directly alter the image size to get the best results.
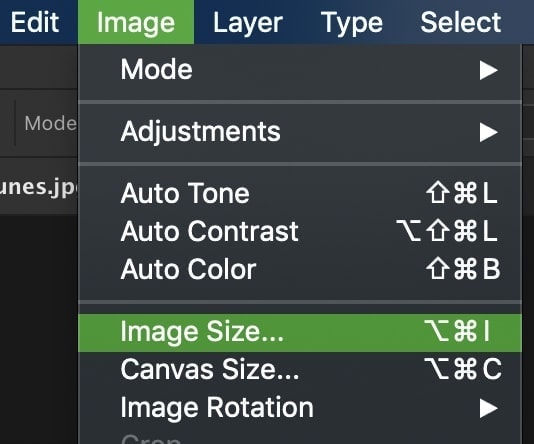
Step 1: Go To Image > Image Size
With the layer you want to make bigger selected, go to Image > Image size. Alternatively, you can use the keyboard shortcut Alt + Control + I (Win) or Option + Command + I (Mac) to access the panel.
Step 2: Set Your New Image Dimensions
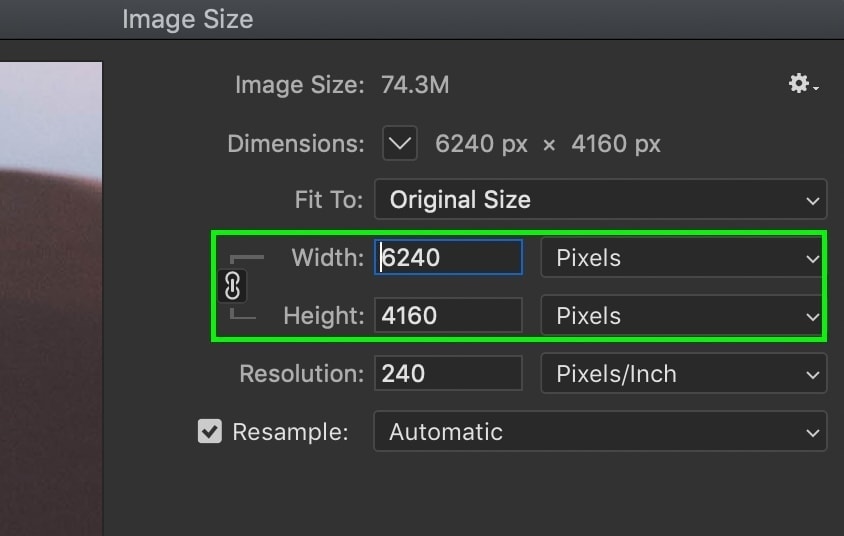
In the Image Size dialogue box, there are a few different options to work with.
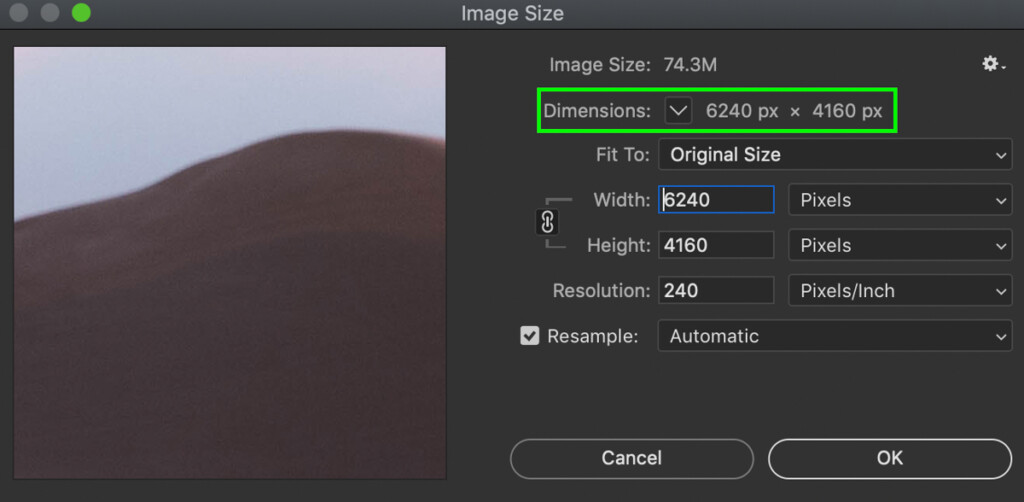
- Dimensions: You can view the image’s current dimensions and change the dimension measurements using the drop-down menu.
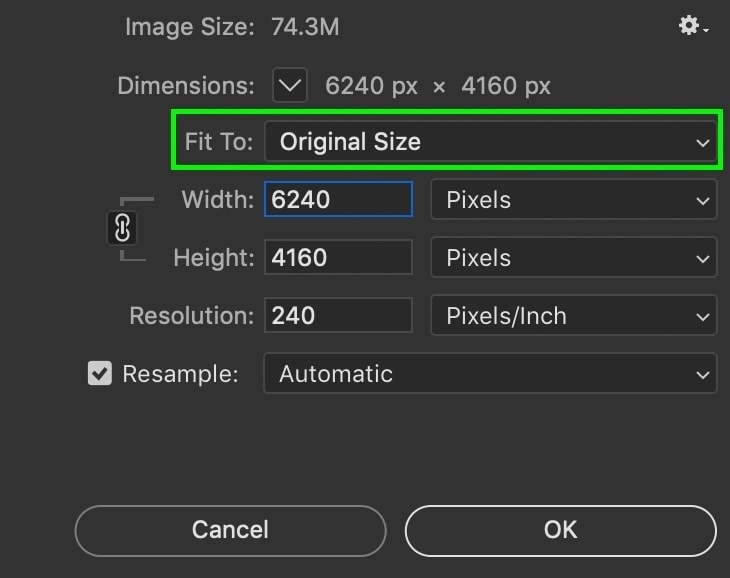
- Fit To: If you don’t want a specific custom size, you can use the Fit To drop-down menu to select an option from the various image dimensions and resolution presets.
- Width / Height: The width and height boxes show the current image size, which you can adjust to set a new image size. You can also change the unit value using the drop-down menus.
- Link Icon: To ensure you lock the image’s aspect ratio, enable the link option by clicking the icon. If you want to change the aspect ratio, leave the link disabled.
Step 3: Change Your Image Resolution
With your image dimensions enlarged, it’s time to change the resolution. In simple terms, a higher resolution will give you more pixels in your image, which ultimately creates a higher quality and more crisp looking photo.
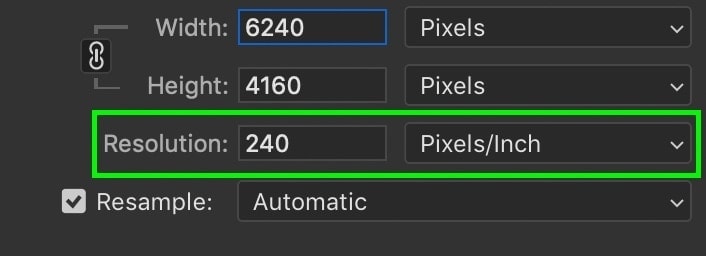
There are two different ways you can set the resolution, which is in PPI (Pixels Per Inch) or PPC (Pixels Per Centimeter).
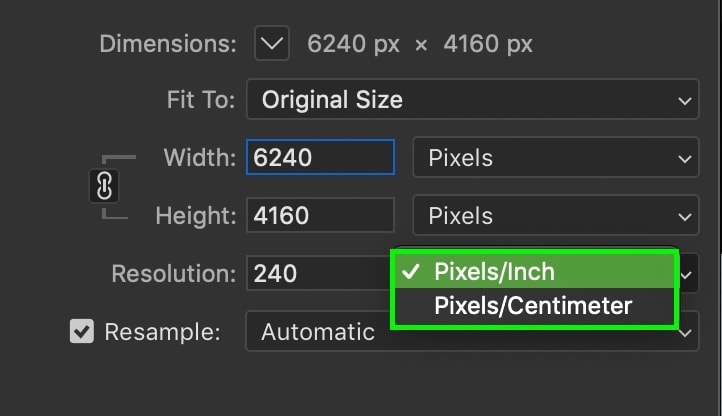
It doesn’t really matter which resolution measurement you use. Just be aware of this setting if you’re trying to match specific image specs.
To increase the resolution of your photo, simply type in a new resolution value. From there, make sure the resample option is enabled and set to Automatic. This setting ensures your photo maintains its quality, even if you’re making the dimensions significantly bigger.

Step 4: Apply Your Resize Settings To The Photo
With all your settings good to go, just press OK at the bottom of the Image Size dialogue box.
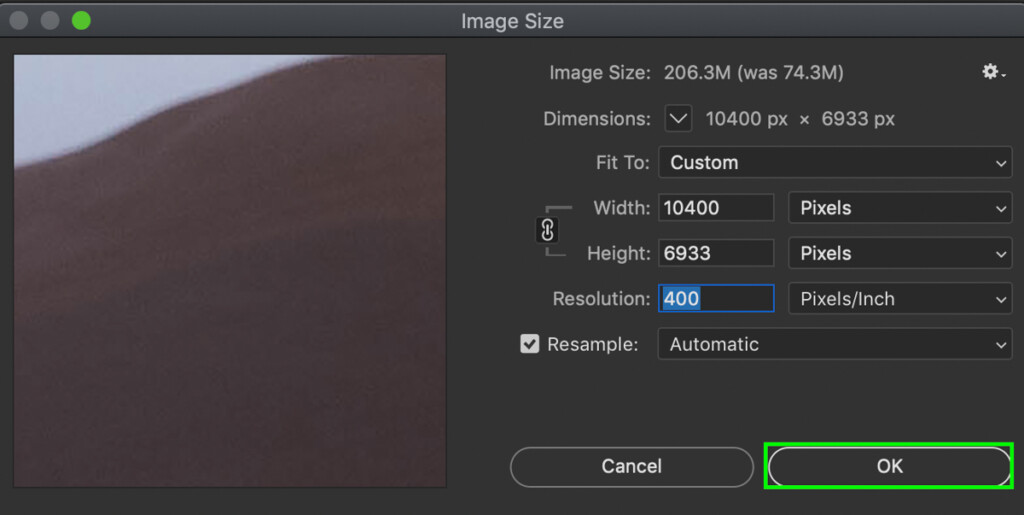
Once complete, your image will increase in size to match the dimensions and resolution you set.
This method is one of the fastest ways to resize an image while ensuring you don’t lose image quality.
Option 2: How To Resize An Image Using The Transform Tool
This method works well if you have an image that is smaller than your canvas size. Follow these steps to resize the image without losing quality.

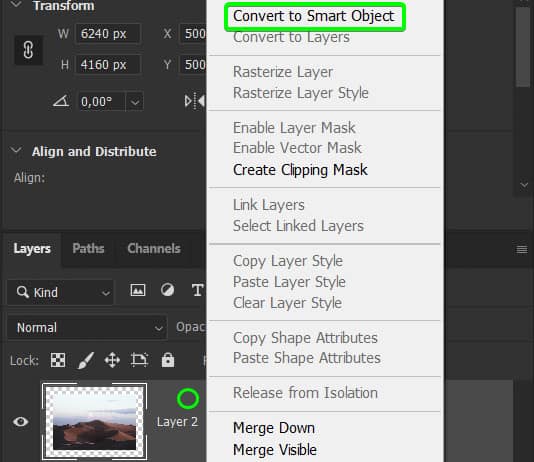
Step 1: Convert The Image Layer To A Smart Object
Begin by converting the image layer to a smart object to preserve the image quality. To convert the layer, right-click on the layer in the Layers Panel and select Convert to Smart Object.
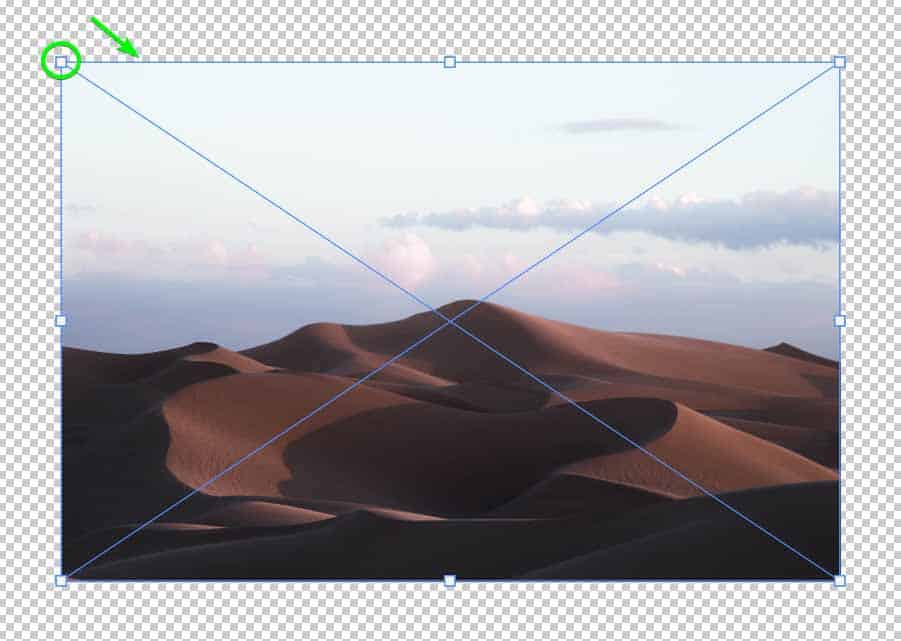
Step 2: Activate The Transform Tool
Next, enable the Transform Tool by pressing Control + T (Win) or Command + T (Mac). You will see a blue bounding box with anchors around the image, indicating the tool is active.
Step 3: Adjust The Width And Height Dimensions
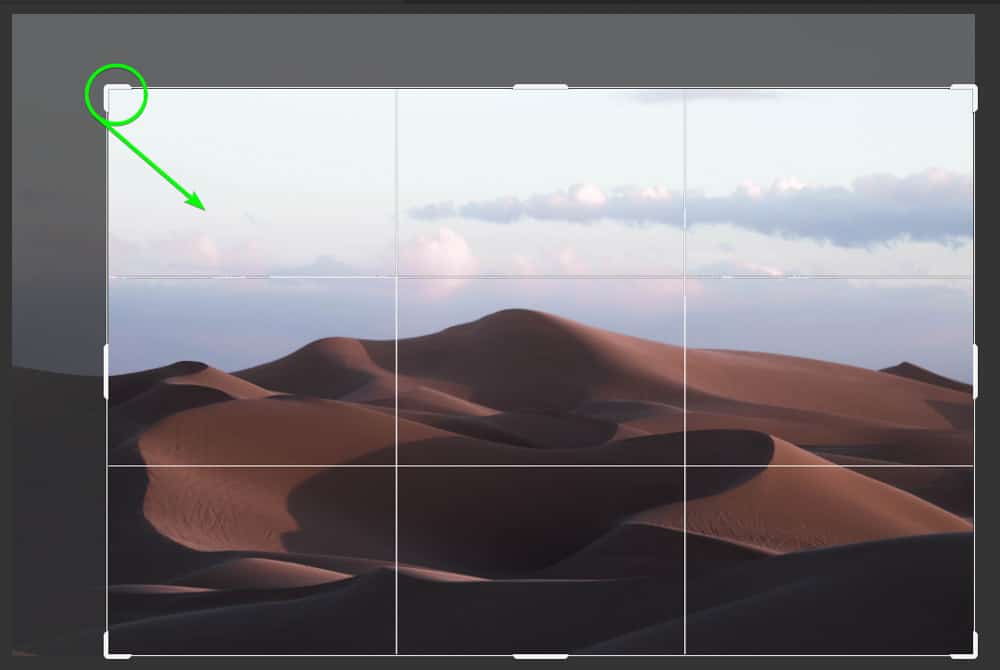
There are two ways to resize the image now. Firstly, you can drag any of the corner handles on the image to resize it to fit the canvas (hold in Shift on older versions of Photoshop to lock the aspect ratio).
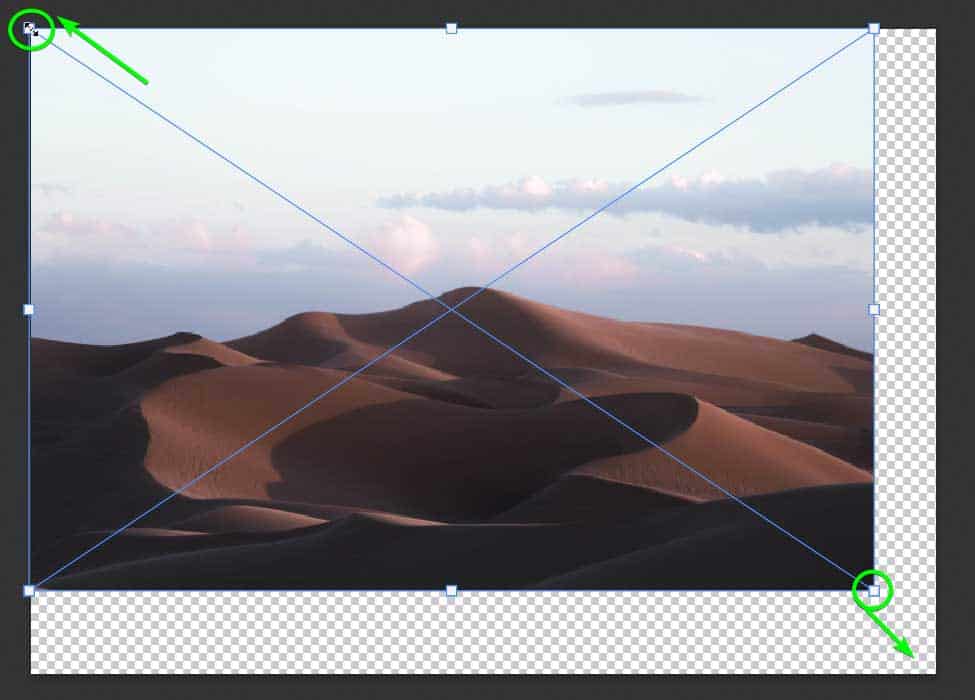
Alternatively, you can adjust the width and height percentage in the Options Bar to automatically resize the image. Ensure the Link is enabled between the percentages to lock the aspect ratio and increase the percentage by how much you want to increase the image size by.

You now have a resized image that fits the canvas without any quality loss.
Option 3: How To Resize An Image By Cropping
If you want to reduce the size of the image while adjusting the composition, then the Crop Tool is the best method for you.
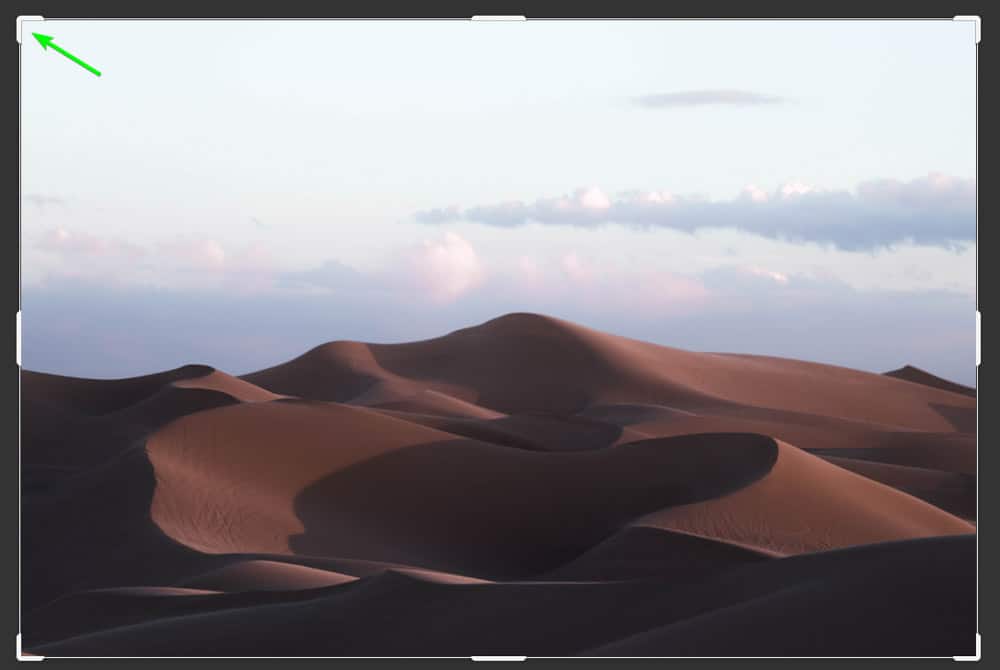
Step 1: Activate The Crop Tool (C)
First, select the Crop Tool (C) from the toolbar or press C.
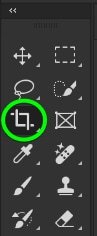
A crop box with an overlay appears on your image to show where you are cropping the image.
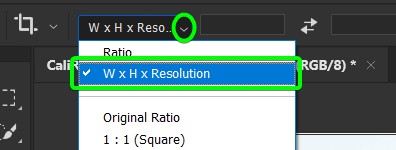
Step 2: Lock The Aspect Ratio And Disable Delete Cropped Pixels
Before cropping, you should lock the aspect ratio to prevent any distortion from the image and keep the same aspect ratio while resizing. To do this, set the crop method to W x H x Resolution in the Options Bar. You can also hold in Shift while cropping to lock the aspect ratio.
Then, disable the Delete Cropped Pixels option to ensure you can restore the cropped pixels later if needed.

Step 3: Adjust The Crop Box
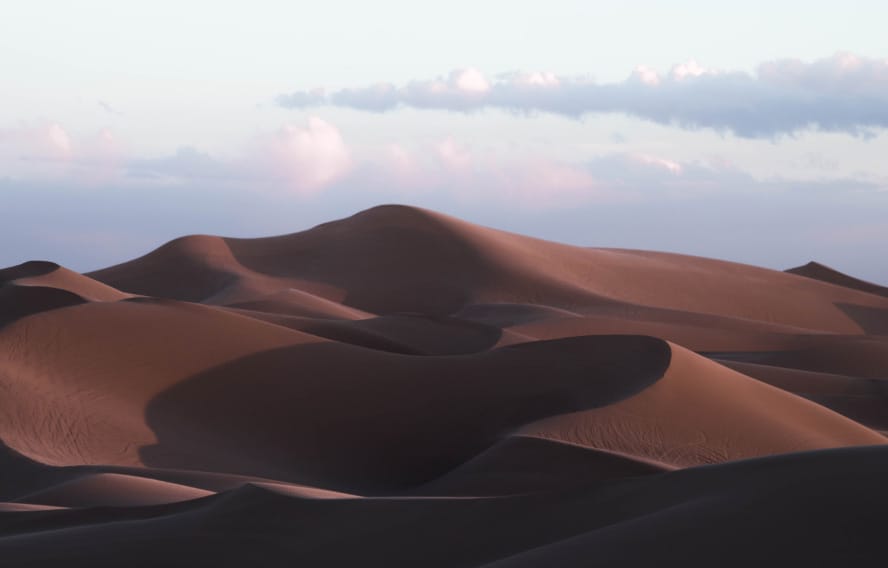
You can now click on one of the crop box handles and drag it inwards to crop the image and resize it.
Press Enter, and you now have a resized image, although you will have cropped some content, which works if you want to alter the composition or cut out unwanted areas.
Option 4: How To Resize Your Canvas In Photoshop
Now that you know the three best ways to resize images in Photoshop without losing quality, let’s talk about your canvas. In some cases, you’ll want to resize your entire canvas rather than a particular layer. Luckily, this is very simple to do.
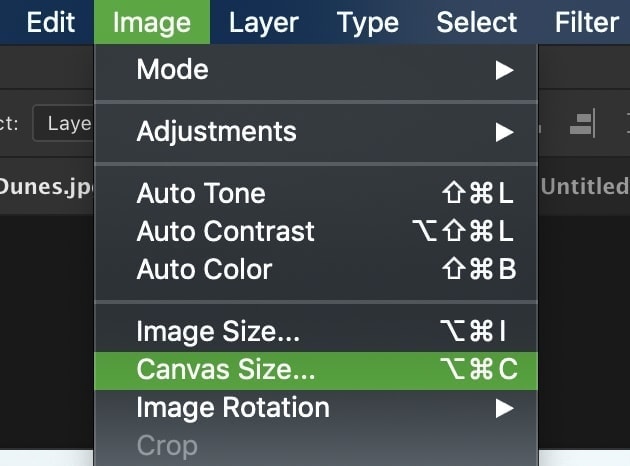
Step 1: Go To Image > Canvas Size To Open The Size Panel
First, go to Image > Canvas Size. You can also use the shortcut Alt + Control + C (Win) or Option + Command + C (Mac).
Step 2: Adjust The Width And Height Dimensions
In the Canvas Size dialogue box, you’ll have two dimension values to set. Just like with resizing the image, you can directly input the new dimensions you want.
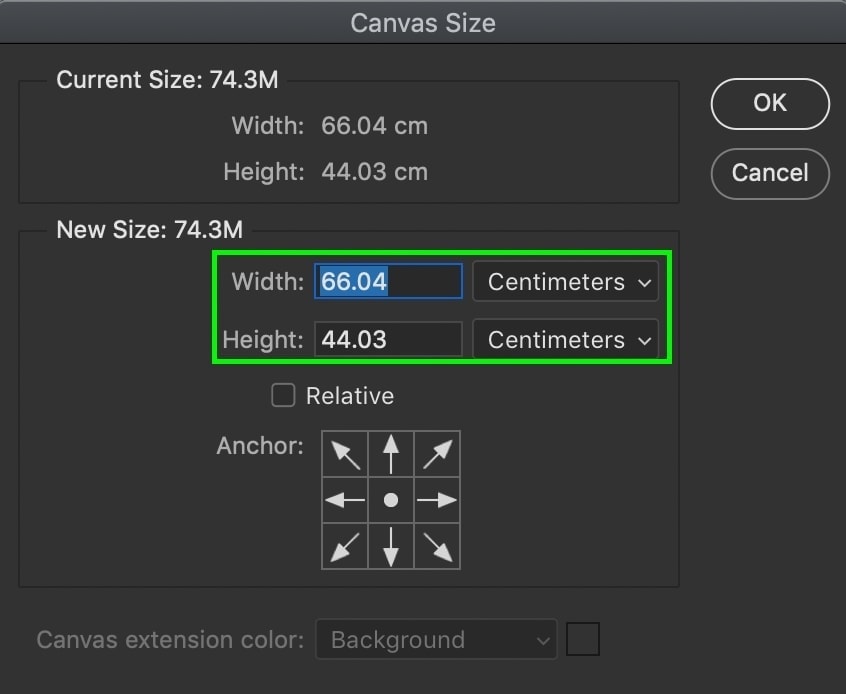
You can also change the measurement type via the drop-down menu beside the dimension values if need be.

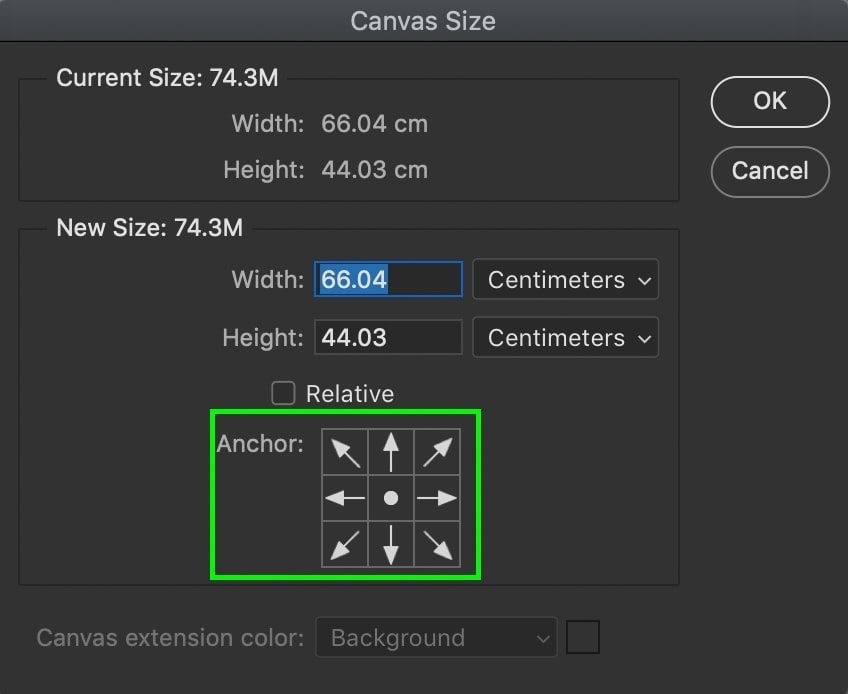
Step 3: Set The Anchor Point
Below the dimensions is an Anchor setting that lets you choose how your canvas is enlarged. By default, it is set to the middle, which means all sides of your canvas will be expanded equally.
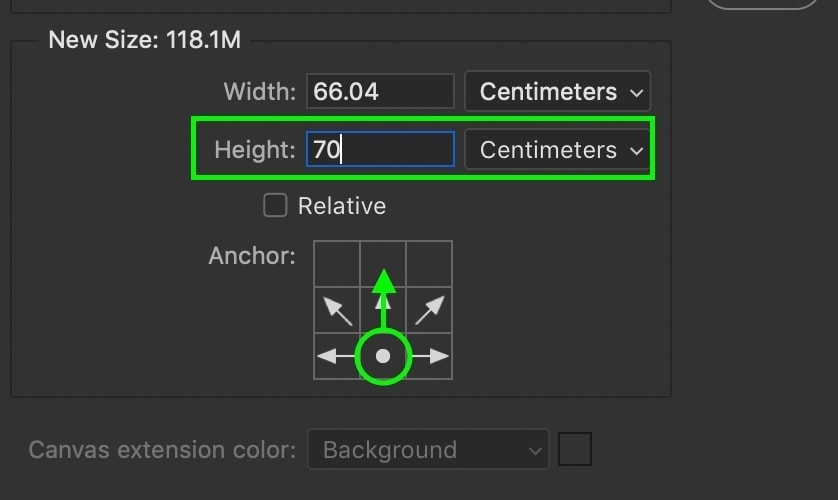
However, let’s say I want to extend my canvas vertically, but only in the upward direction. I would set my anchor point to the bottom middle and adjust the height value accordingly.
Step 4: Confirm The Changes
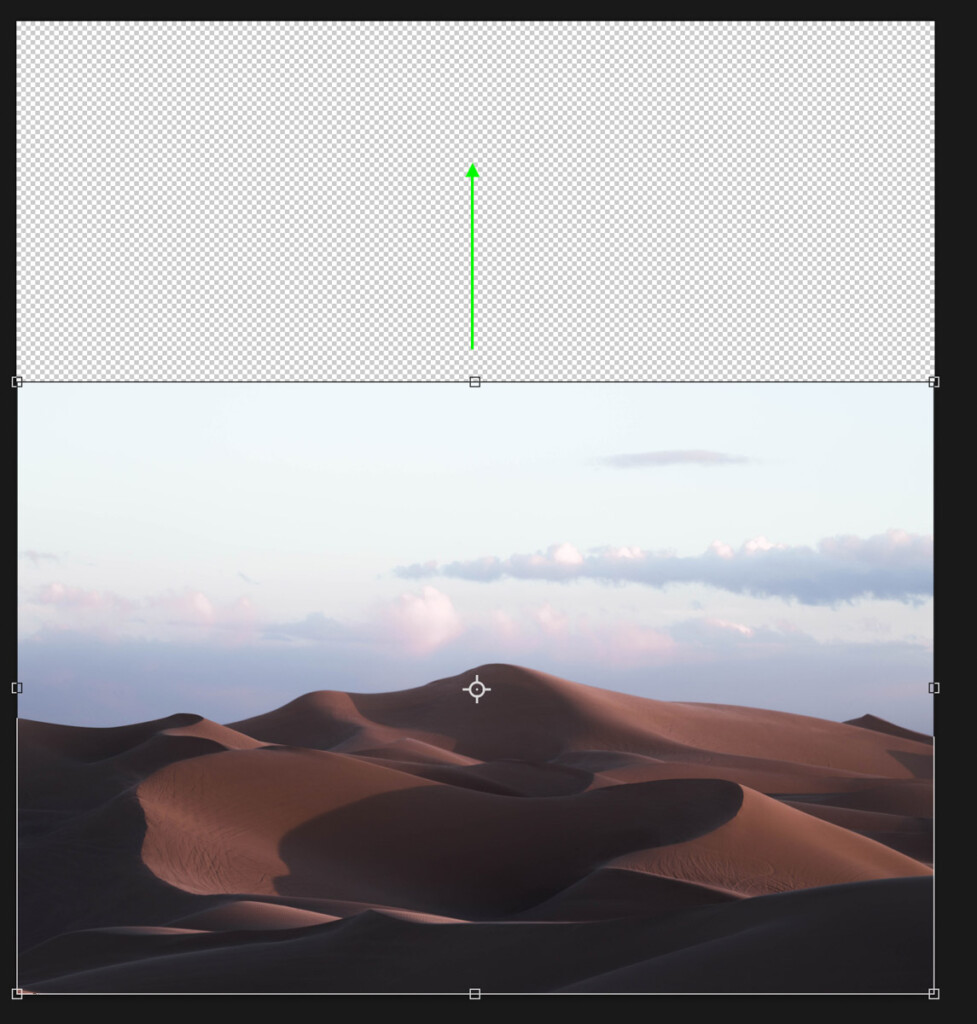
Now, press OK to commit the changes, and the canvas will only extend from the upper area rather than the bottom. You can now use the Transform method detailed in Option 2 to resize the image to fit the canvas as needed.
The anchor point isn’t always necessary but can be a helpful option if the opportunity arises. So it’s worth keeping in mind.
So now you know a few different ways to resize an image in Photoshop without losing quality. These are some of my favorite ways of changing the size of images and layers in Photoshop, and some tend to be faster than others. Try experimenting with each of these options and see which one works best for you!
Happy Editing,
– Brendan 🙂


