
Digital noise can damage an image’s sharpness and even make it hard to distinguish its original colors. Fortunately, there are many ways to reduce noise in Photoshop. It’s important to aim for strategic editing so that you can remove noise while preserving the details of the picture, as pushing it too far can make an image look worse.
In this article, I am going to explain the two best ways to reduce noise in Photoshop so that you can have beautiful, clear images!
Types Of Digital Noise
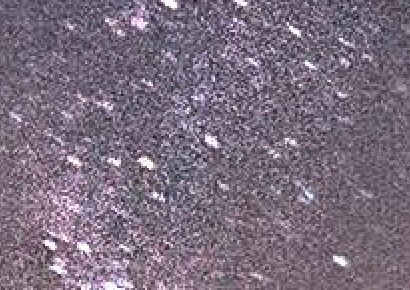
Luminance noise affects the brightness of pixels, but it doesn’t harm their original colors. Color noise, on the other hand, appears as red, blue, or green artifacts in areas where they don’t belong.
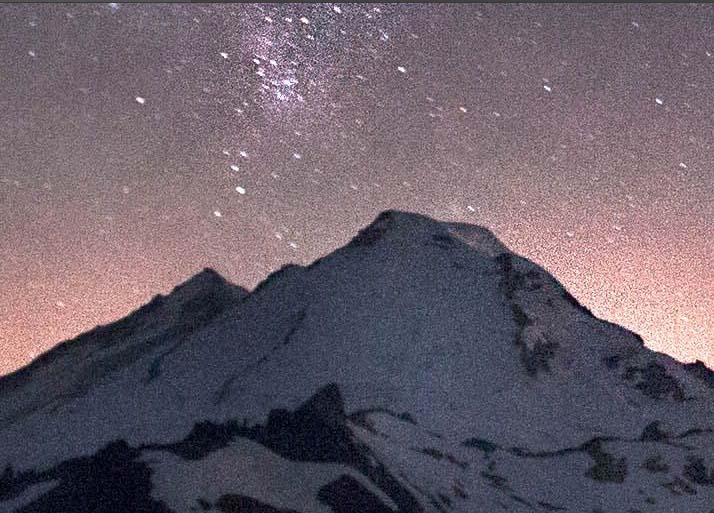
To identify what kind of noise an image has, set the zoom to 100%. If you see green, red, or blue artifacts not matching the background, what you see is color noise. If you see black, white, or gray spots contrasting against an area, then it’s a case of luminance noise.

Method 1: Reduce Noise In Photoshop Using The Reduce Noise Filter
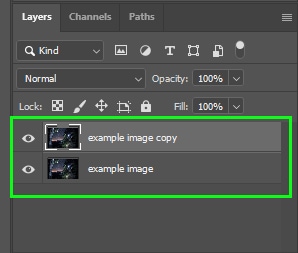
Step 1: Duplicate The Image Layer By Pressing Control/Command + J
Duplicate the image by pressing Control + J (Win) or Command + J (Mac).
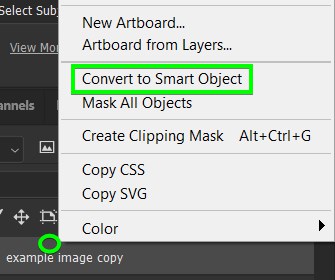
Step 2: Right-Click The New Layer And Select Convert To Smart Object
Convert the top layer to a smart object by right-clicking on it and choosing Convert to Smart Object. Converting to a smart object will allow the noise reduction adjustment to be applied as a smart filter. This way, you can easily edit it later on if needed.
Step 3: Go To Filter > Noise > Reduce Noise
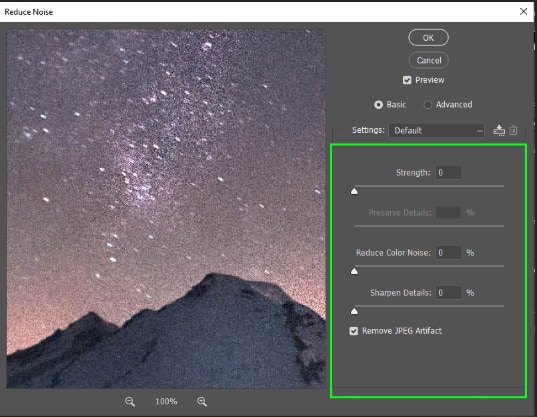
Go up to Filter > Noise > Reduce Noise. In the dialog box that will pop up, set the zoom to 100% so you can have a clear vision of the noise.
On the right side of the panel, there are two options: basic and advanced. Basic is selected by default. These are the sliders that come with the basic mode.
- The main slider is Strength. You can move this slider to remove noise.
- The Preserve Details slider helps refine the Strength slider because when you reduce noise too much, you end up losing details.
- Use Reduce color noise if you notice color noise in your image.
- The last slider is called Sharpen Details. Be careful with this slider’s intensity, as you could bring noise back.
Step 4: Use The Advanced Mode For More Detailed Edits (Optional)
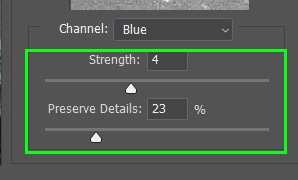
The advanced mode allows you to remove noise per channel (red, green, and blue). Oftentimes one channel will have more noise than the others. In the example below, I selected the blue channel.
Right below the channel button, there are two sliders: Strength and Preserve Details. The Strength slider allows you to remove noise, and Preserve Details brings back the details that were lost during the noise removal process.
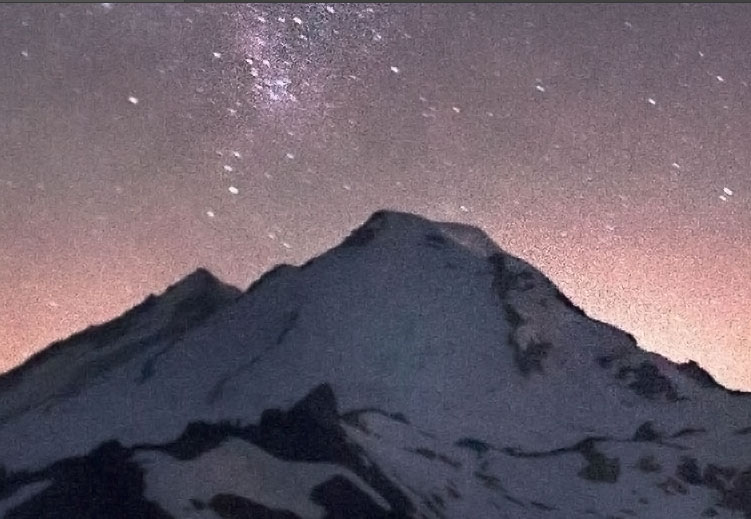
This is how the image looked after applying the Reduce Noise Filter.
Method 2: Reduce Noise In Photoshop Using Camera Raw
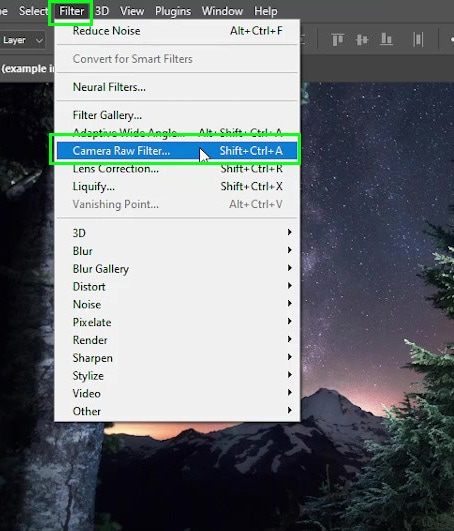
Step 1: Go To Filter > Camera Raw Filter
To start editing, open the image you want, duplicate it, and turn it into a Smart Object, as detailed in the first method. Then, go up to Filter > Camera Raw filter.
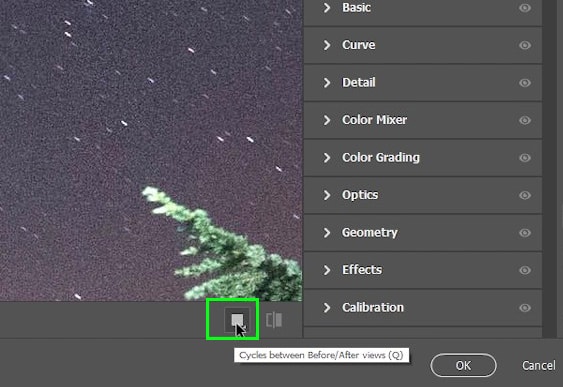
In Camera Raw, set the zoom to 100%. Otherwise, it will be hard for you to see the changes being applied.
Enable the before and after view mode, so you will be able to compare your edited version with the original image. Then you won’t risk missing any important details. To do that, click the small square icon at the bottom of the panel.
Step 2: Reduce Noise Using The Detail Panel
Click Detail on the right side of the panel. Several options will appear but we will work with the second and third sections.
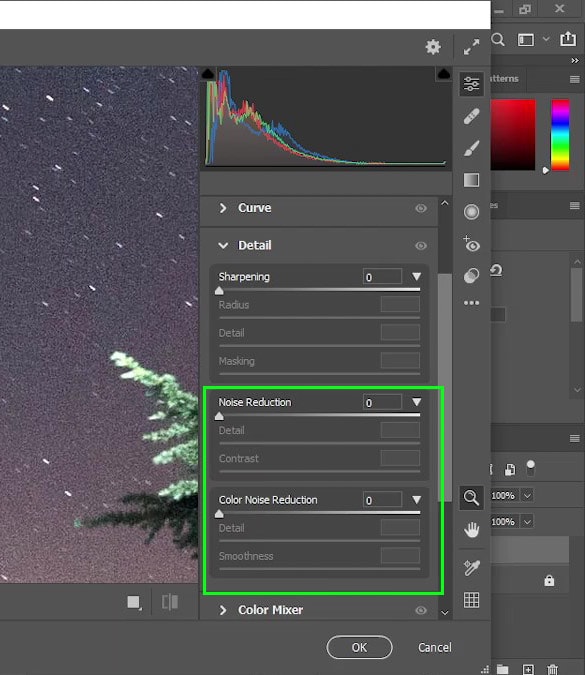
You can move the Noise Reduction slider to the right until you see the noise is gone. When you reduce noise, you lose some details, so you can go to the Detail slider and move it to the right a bit. Losing contrast is another drawback of reducing noise, so you can bring the contrast back by moving the Contrast slider to the right.
The Color Noise Reduction slider allows you to reduce the color noise itself. The Detail Slider brings back the details that are lost while you remove the color noise. The Smoothness Slider, on the other hand, is a complement to the color noise reduction slider. Once it smooths areas where color noise is present, it blends pixels or softens the transition between them.
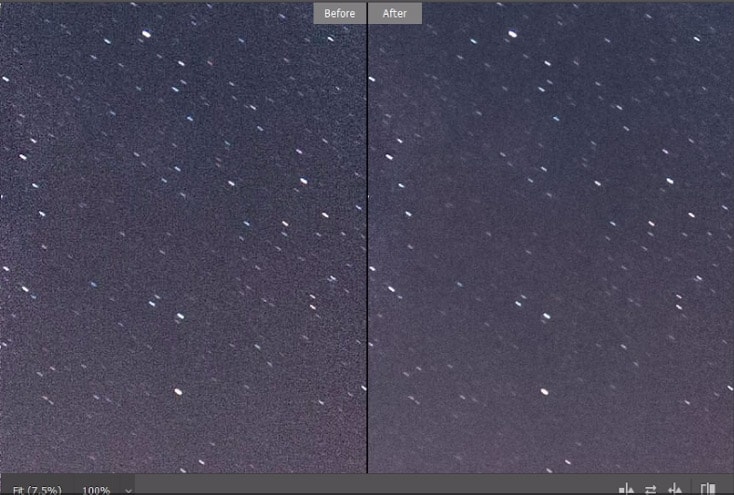
You can play with the sliders until you are satisfied. The exact amount you use will depend on your specific photo. These steps just offer a solid outline to get started with.
Noise is very common in photography, that’s why it’s important to be careful while dealing with it. If you want to give your pictures a vintage look, for example, a little noise can be a good choice. If you want a high-res editorial-looking image, perhaps reducing the noise is a better idea. Now, to help you avoid getting noise in your images, check out this tutorial on the best camera settings for beginners!
Happy editing!


