

When you are designing a multi-page project, using Photoshop’s artboards is very useful. To get the full use out of your artboards, it’s essential to know how to move them for alignment and sequencing purposes.
To move an artboard in Photoshop, select the Move Tool (V) and click the artboard title such as “Artboard 1” to select that artboard. Now click and drag your cursor to move the artboard to a new position. Alternatively, click on the Artboard Layer in the Layers Panel and click and drag to move it.
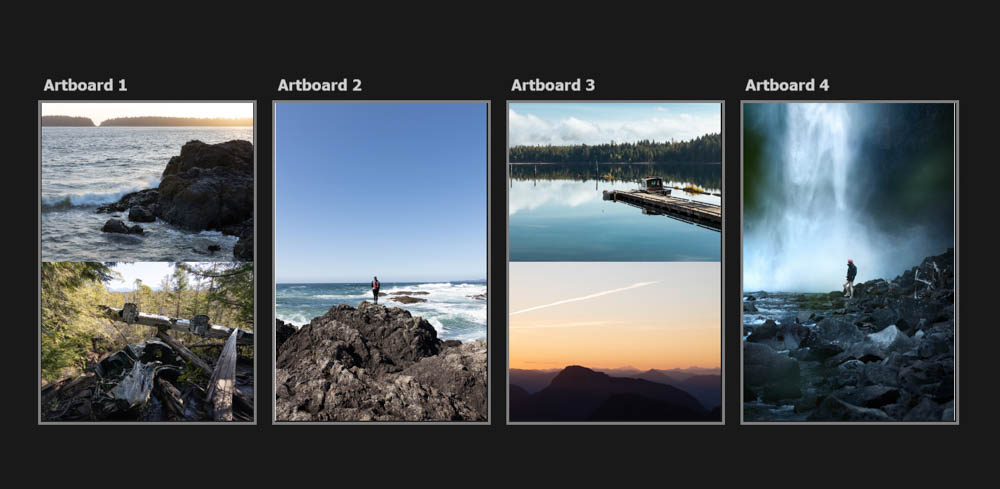
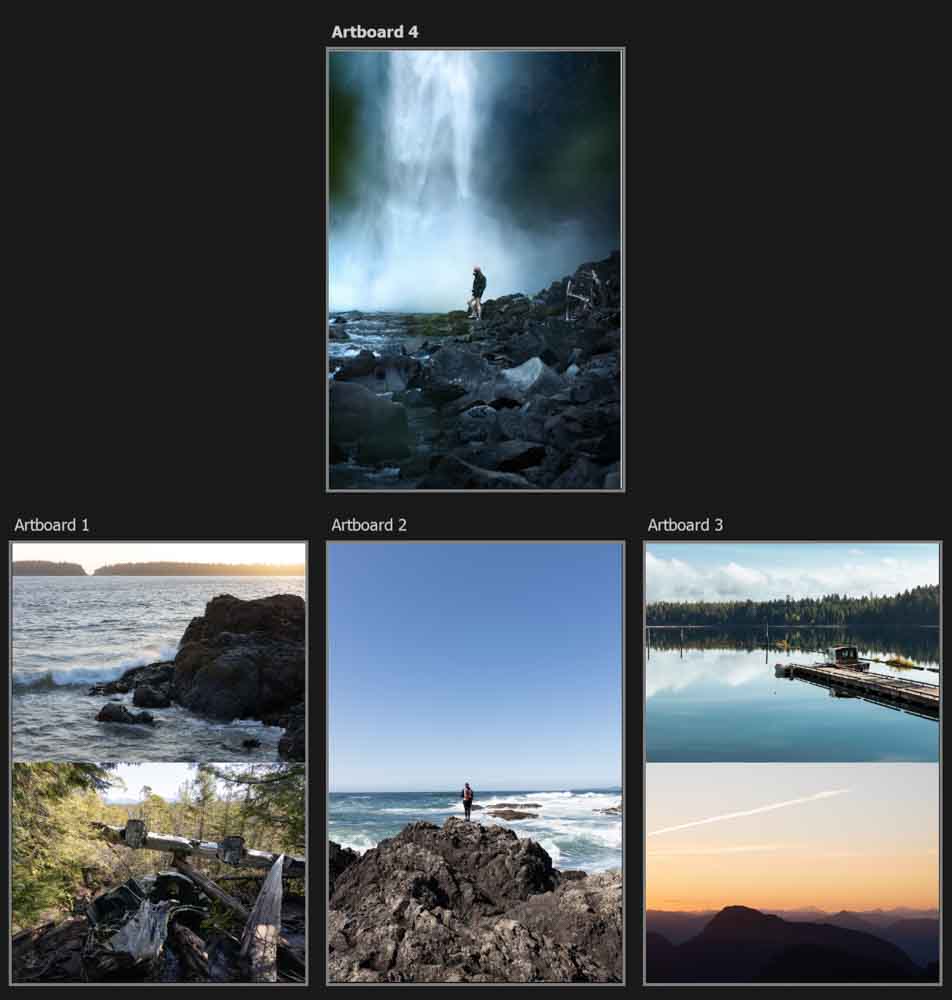
In this tutorial, I’ll break down this process more in-depth, along with other tricks for moving multiple artboards and changing the alignment with ease. I’ll be working with these four artboards as my example, so let’s start rearranging them!
How To Rearrange Artboards In Photoshop
It’s not uncommon to change your mind about where the artboards are. Luckily, it’s relatively simple to rearrange them.
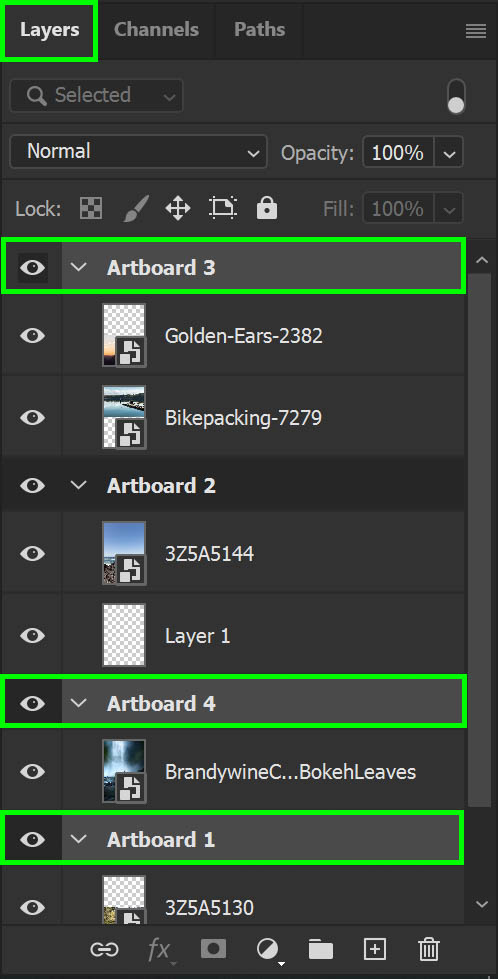
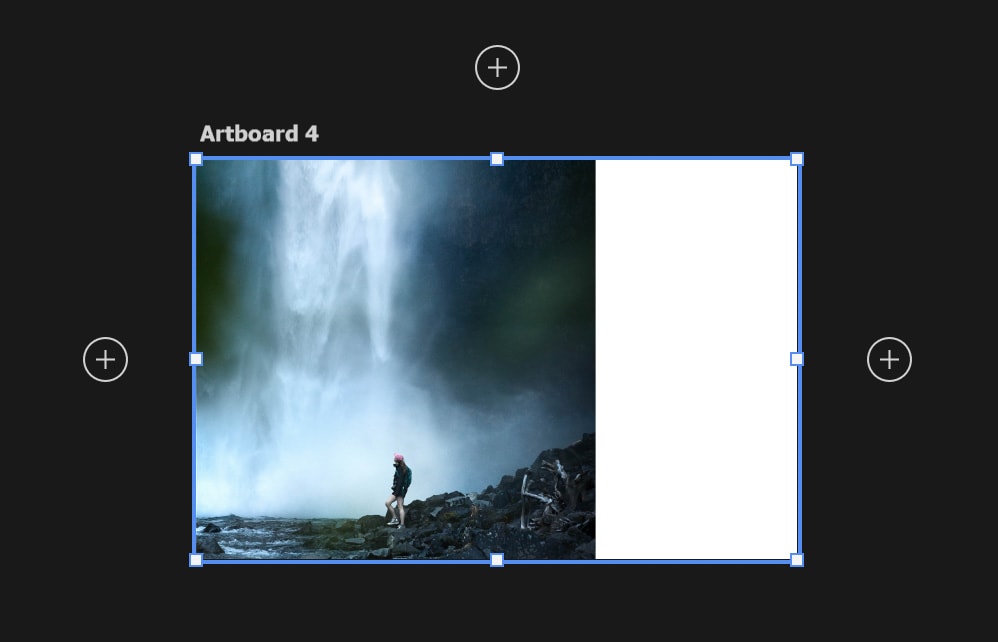
To move an artboard, ensure the desired artboard is selected in the Layers panel. I am going to move Artboard 4.
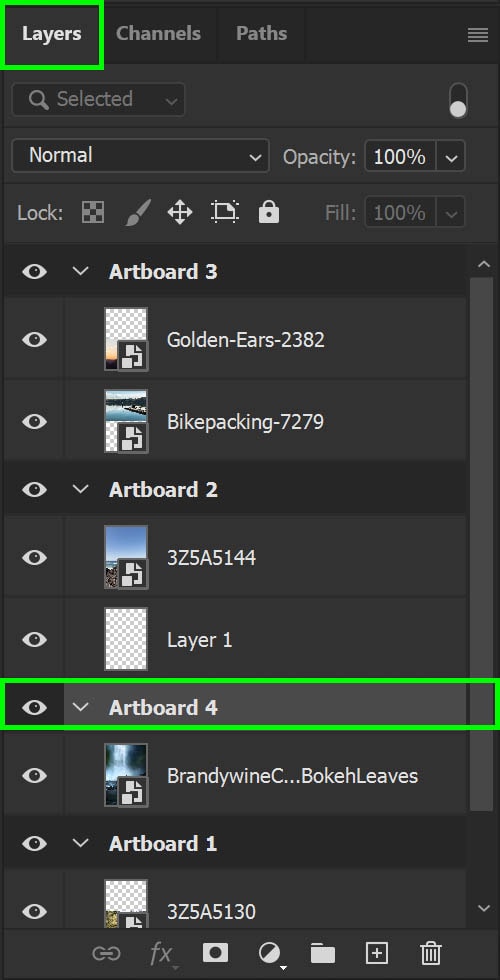
Note: If you have a fully covered artboard page and you try to select it using the Move Tool, Selection Tool, or Artboard Tool, you’ll end up selecting the elements on the artboard (such as the photograph). This is a frequent frustration for Photoshop users, so selecting the artboard in your Layers panel is easiest.
In the Options bar, ensure that the Auto Select option is unchecked, or you’ll accidentally be clicking on the elements in your artboard instead of keeping the artboard selected.

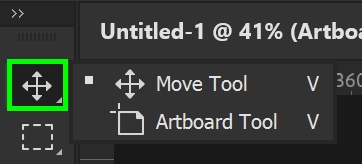
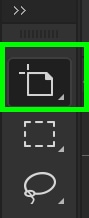
Then, in the Toolbar, click either the Move Tool or the Artboard Tool. If Photoshop does not show both tools in your Toolbar, you can click and hold on the visible tool to show both. You can also press V on your keyboard to shuffle through the two tools.
Now click and drag the artboard to its new location.
How To Move Multiple Artboards At Once
You can also move multiple boards at once rather than having to do a single board at a time.
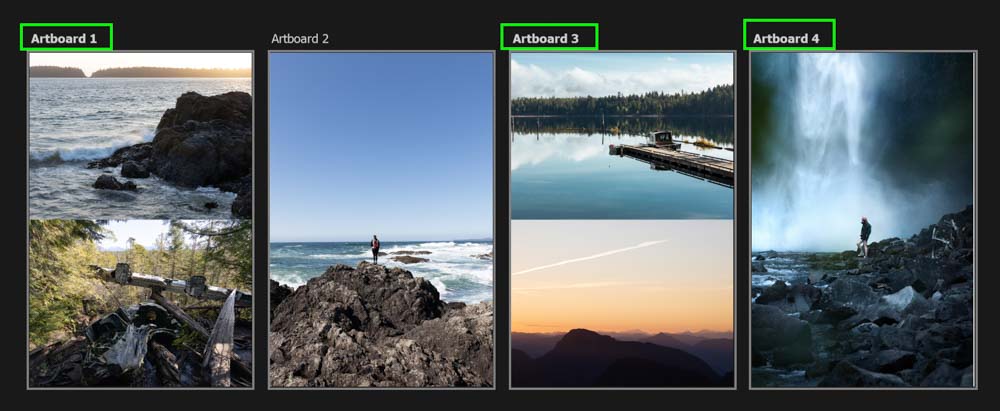
Following the steps above, instead of selecting just one artboard in your Layers panel, select more than one. You can do this by holding Control (Win) or Command (Mac) while clicking on the layers. I will move Artboard 1, Artboard 3, and Artboard 4.
As a nifty trick, you can see the artboard’s name going bold when it is selected.
Click and drag as you would normally, but now you’ll see more than one board moving at a time.
How To Change The Orientation Of An Artboard
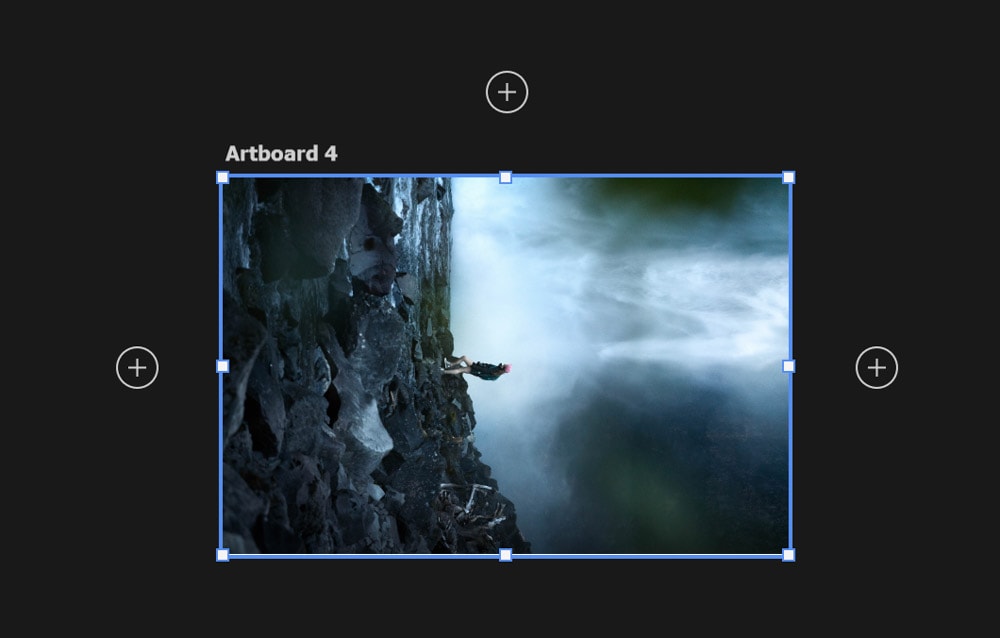
Need your artboard horizontal instead of vertical? Let’s take Artboard 4 and make it horizontal.
First, I moved it to where I wanted the artboard to be. Next, there are a few different methods to change the orientation.
The first method is with the Artboard Tool. Make sure the tool is selected.
When selected, go to the Options bar and click one of the orientation symbols.

This will change the orientation of your artboard without changing the orientation of the elements on your artboard.
Another method is to go to Edit > Transform and select any of the rotation options that suit your needs. For this, I selected the Rotate 90° Clockwise option.
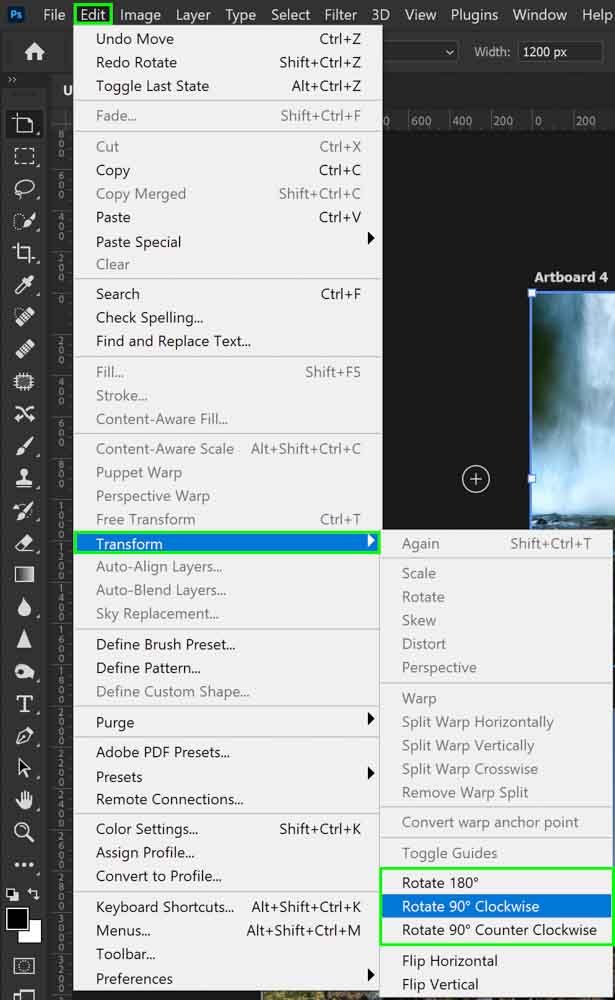
This will also change the orientation of the elements on your artboard, so keep that in mind.
How To Align Artboards In Photoshop
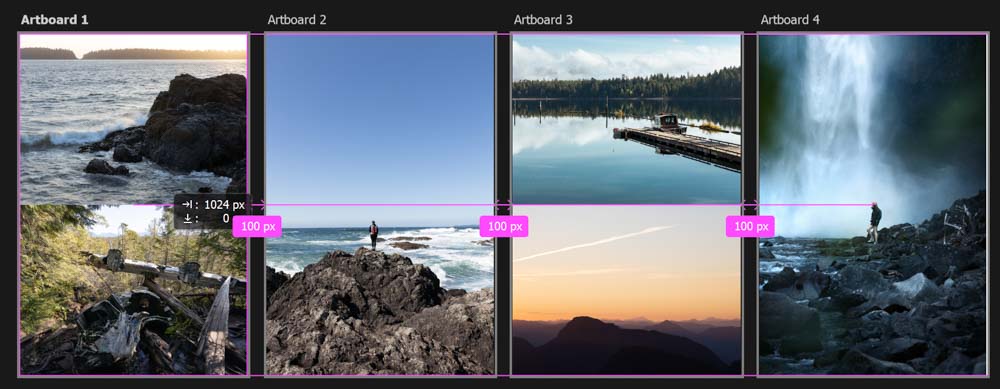
Photoshop is pretty good about snapping alignments into place. By default, Photoshop will use guides or smart guides to snap-align your artboard.
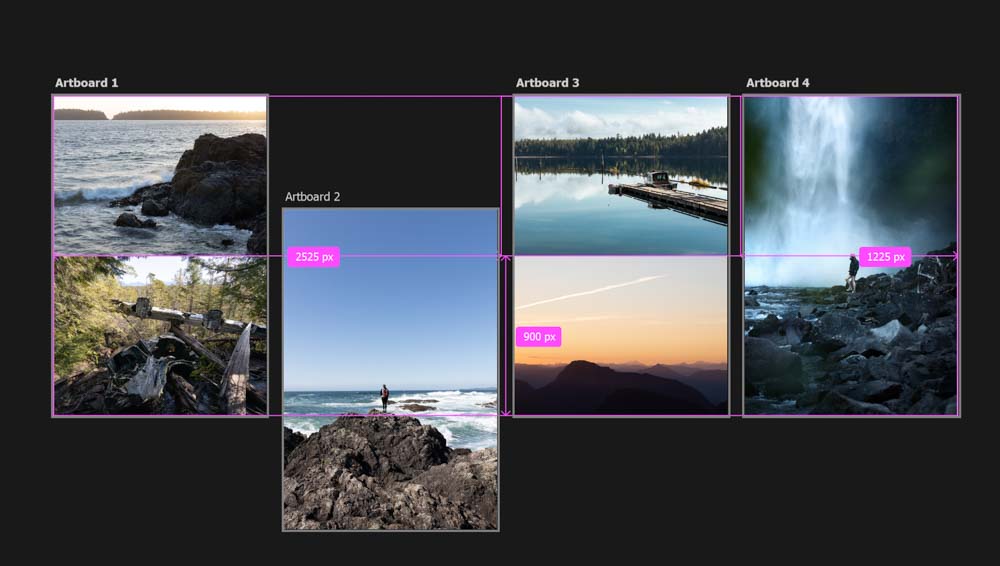
You will see them appear as pink lines when you start to move your artboard around the screen, and Photoshop will even tell you the pixel distance between each board. You can use this to align your artboards manually.
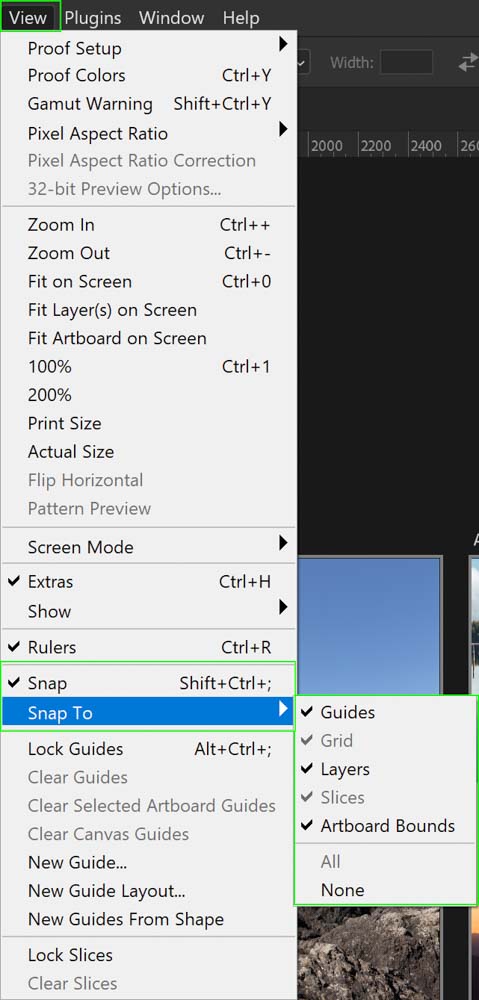
If you don’t immediately see your images ‘snap’ like this, you may have Snap disabled. To enable Snap, go to View > Snap or View > Snap To. From here, you can select what your guide will snap to. This works for more than just artboards. The setting(s) apply to Photoshop as a whole!
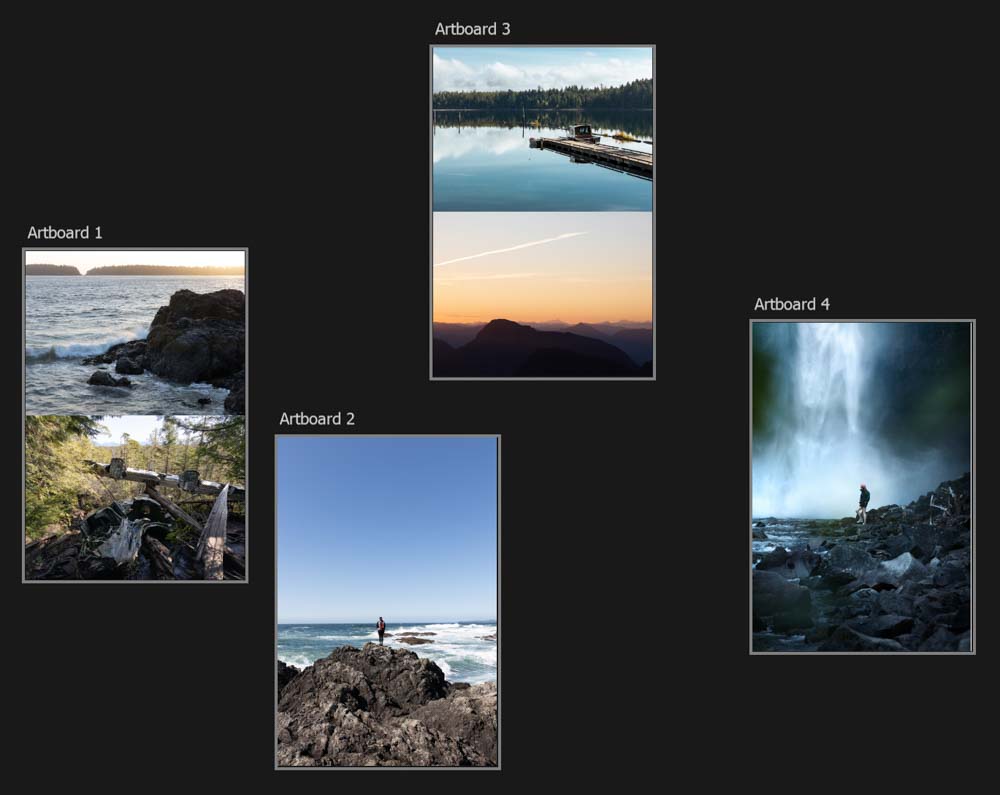
However, if you have a wild arrangement like this, there is an easier way to align your artboards with less manual effort.
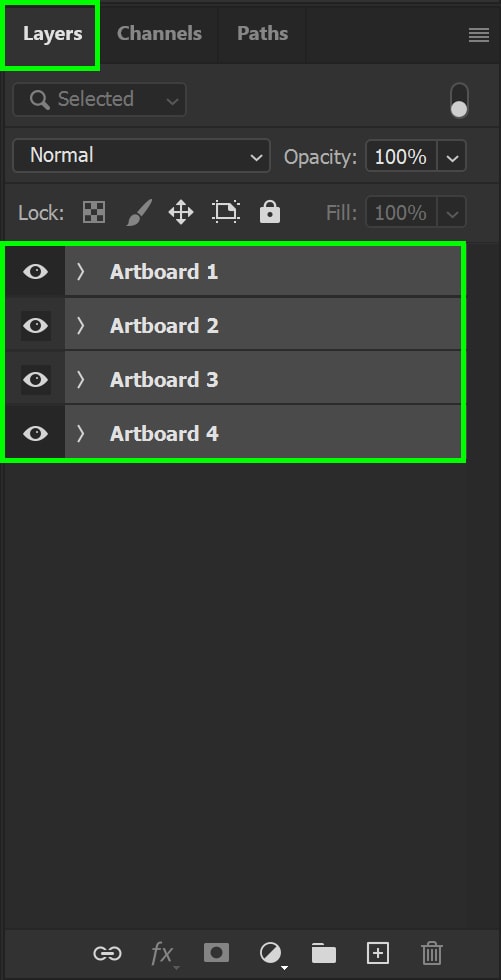
First, select all of your artboard layers in the Layers panel.
Then select the Move Tool (V) and go to your Options bar.
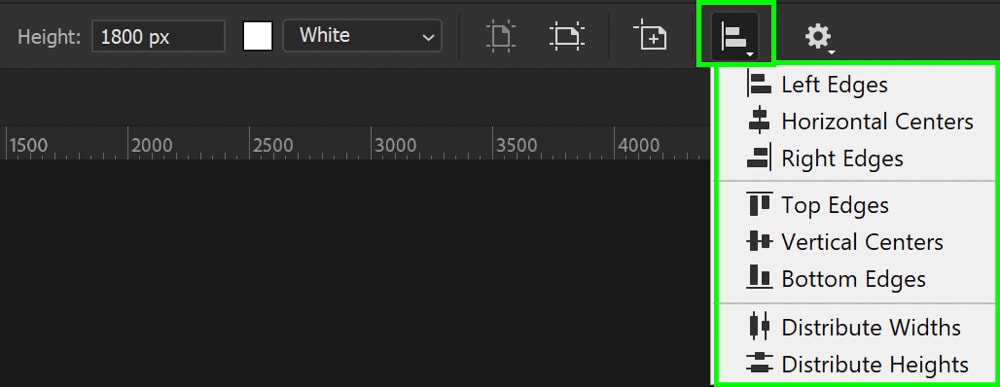
In the Options bar, you can select the alignment you wish to have. In this case, I chose the Distribute Horizontally option. You might click multiple alignments to move the artboards around until they align as you wish.

If the Artboard Tool is selected, your alignment options will be hidden in the Options bar. Click the Alignment button to see them all.
The above works with a single artboard panel as well!
How To Resize An Artboard In Photoshop
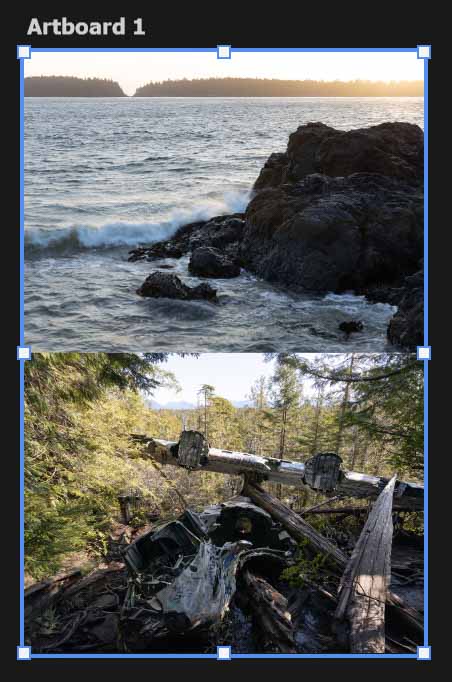
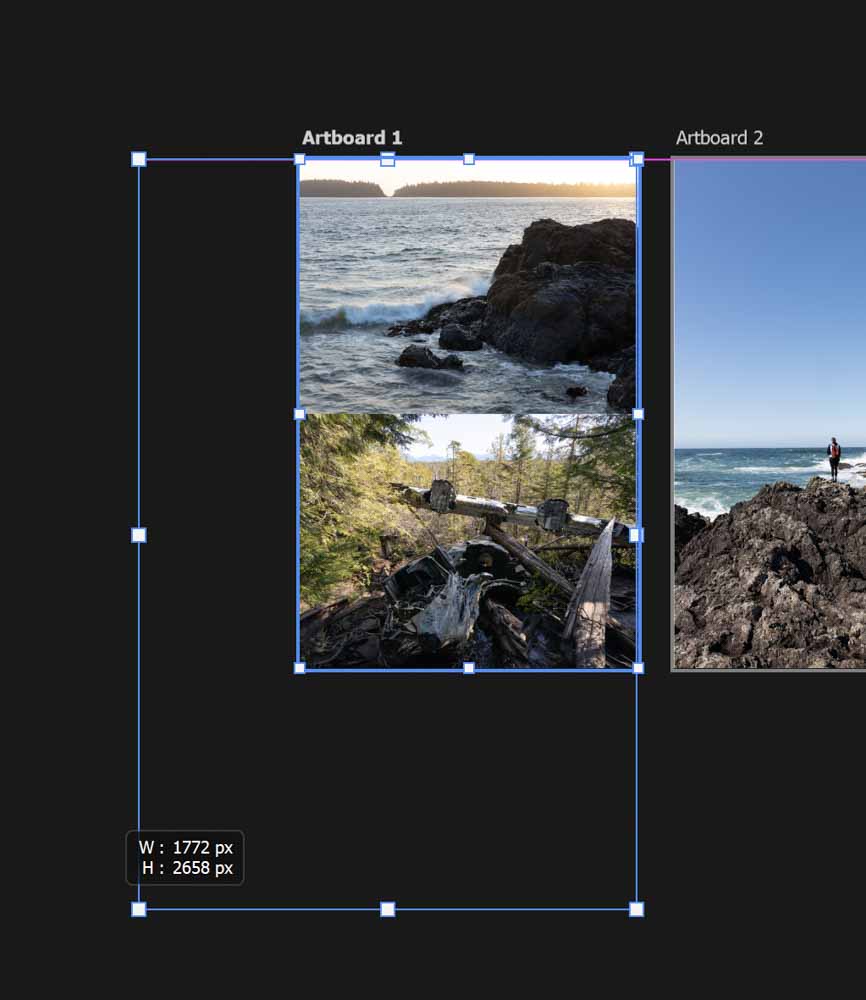
If you want to resize the artboard manually, select the artboard. After selecting the artboard, you can have either the Move Tool or the Artboard Tool active (both will yield the same result). You want your artboard to look like this:
Hover your cursor over any of the white anchors until your cursor turns into an arrow symbol. Once it becomes an arrow, click and drag to change the size. This gives you a Freeform way to adjust the size of the artboard.
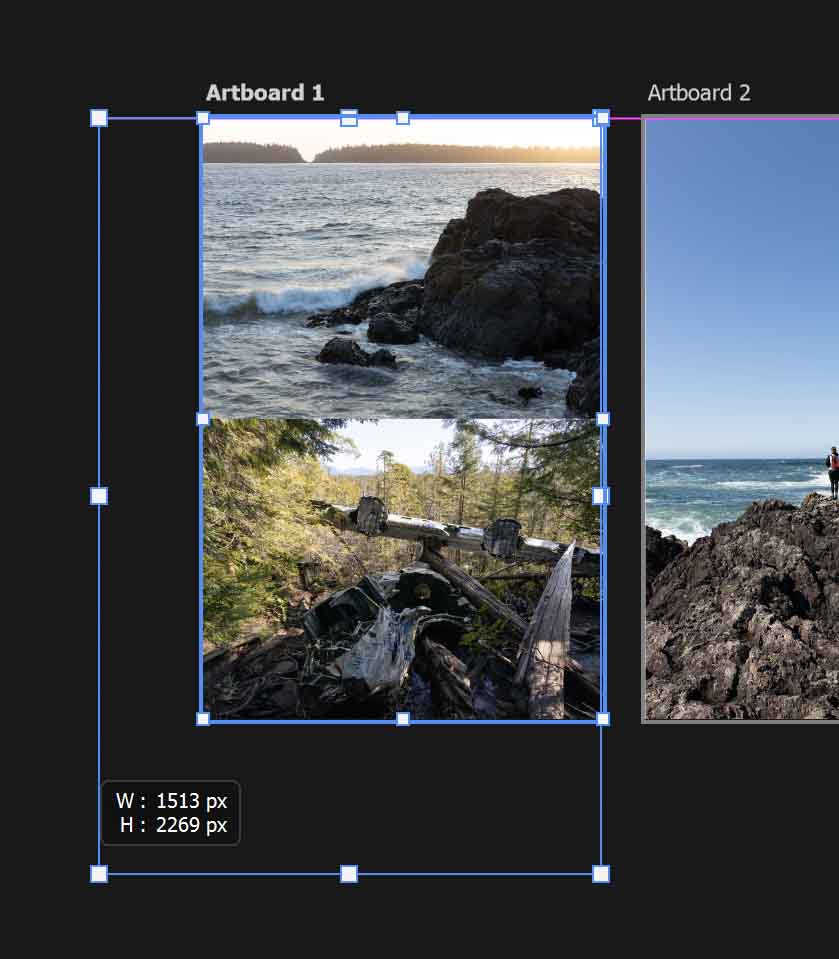
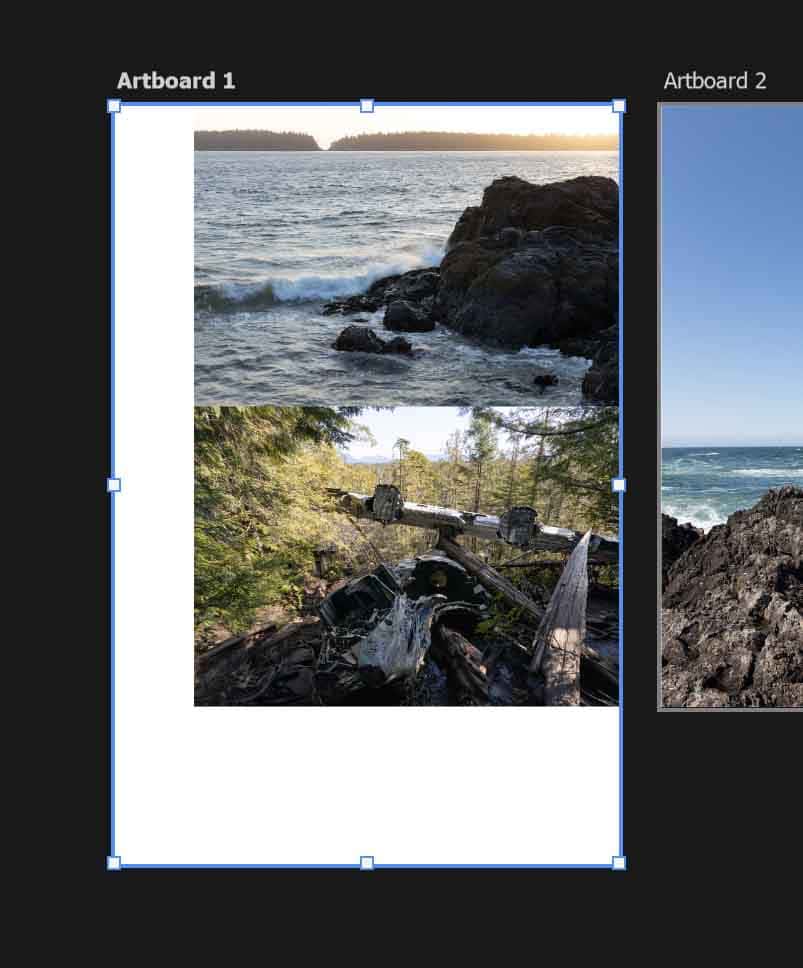
If you want the size to be adjusted evenly in the same ratio as the artboard, simply hold down the Shift key while dragging.
If you need to resize the artboard into something very specific (or don’t want to resize it manually), you can use the Artboard Tool to adjust the size.
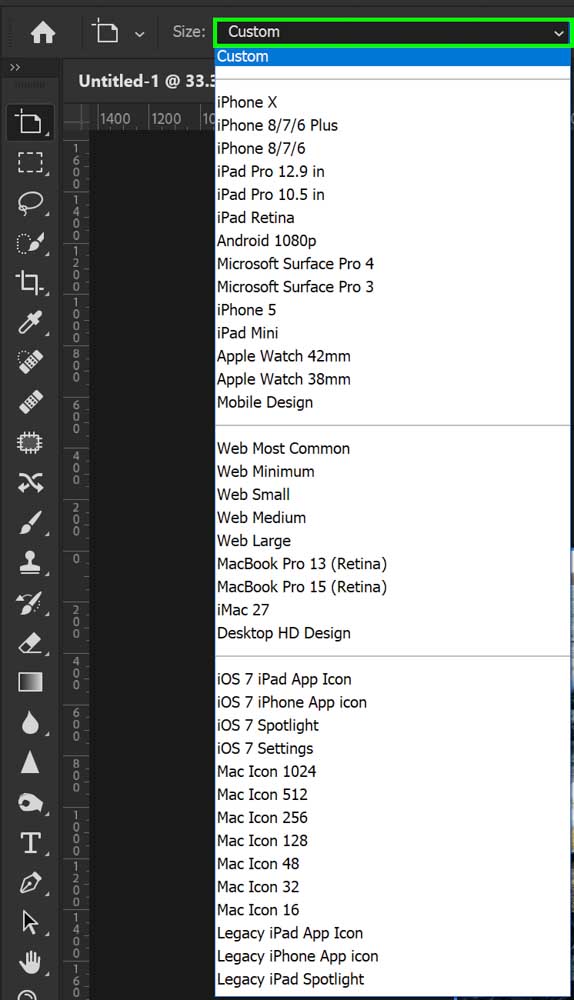
Make sure your desired artboard is selected, and then ensure the Artboard Tool is active. In the Options bar, click the menu that is next to Size.

A drop-down menu will appear with various preset sizes and ratios. You can select any of these to change your artboard size to match the preset.
If you don’t see the size you need in the presets, you can input the size into the Width and Height boxes in the Options bar.

It’s as simple as that, although you’ll need to resize the elements on the artboard to match. To further your skills with using artboards in Photoshop, check out my guide to using Artboards in Photoshop here.
