


With Adobe’s Lightroom being such a powerful organizational tool, moving photos and folders will become common practice for anyone wanting to utilize the software in their workflow. However, doing this without prior knowledge of how to move images and folders properly can definitely cause a bit of a mess.
With how all of Lightroom (Classic, CC, and Mobile) operate, the software does not work directly on the file – all of the actual files remain stored on your computer or external hard drive. If you start moving photographs around on your computer drive, Lightroom will lose the link to the file and cannot continue. As such, if folders or photos need to be moved, you should do this within the Lightroom software so that the connection between the software and the photo is not broken!
How To Move Photos And Folders In Lightroom Classic
There are three primary options for moving photos and folders, each being quite simple once you know how.
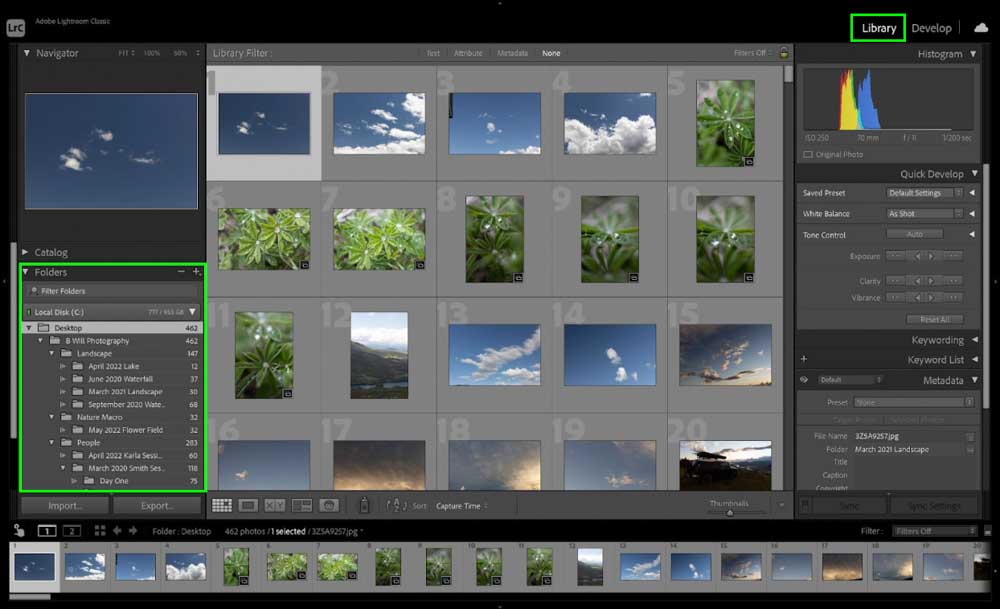
Everything we do will be located in the Library module of Lightroom Classic, focusing on the Folders dropdown menu on the left-hand side of your screen.
Option 1: Moving Individual Photos Or A Series Of Photos
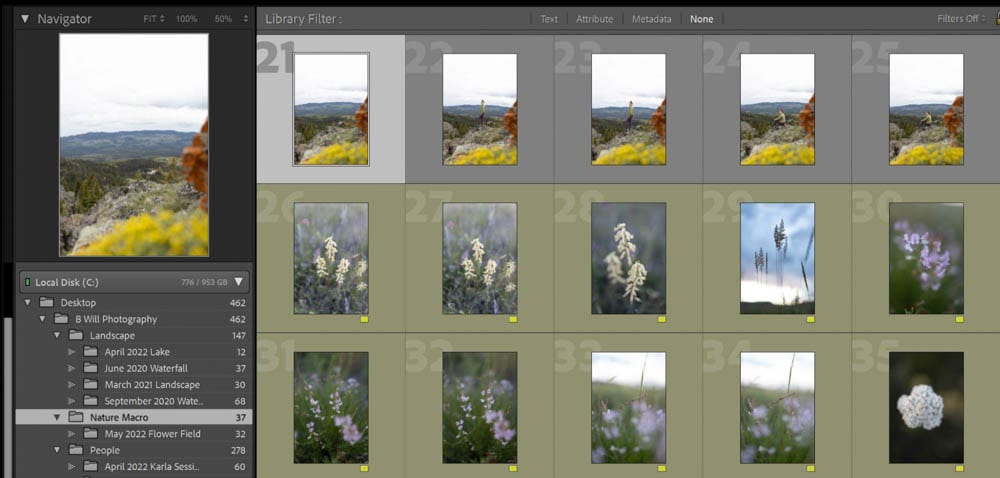
To move photos (whether it be a single image or multiple images), you’re first going to want your Library module to be in Grid view. This makes it easy to see all the images and select them.
If your module is not immediately in Grid view, you can either click the Grid icon in the bottom left-hand corner of your screen or click G on your keyboard to set the view to Grid!
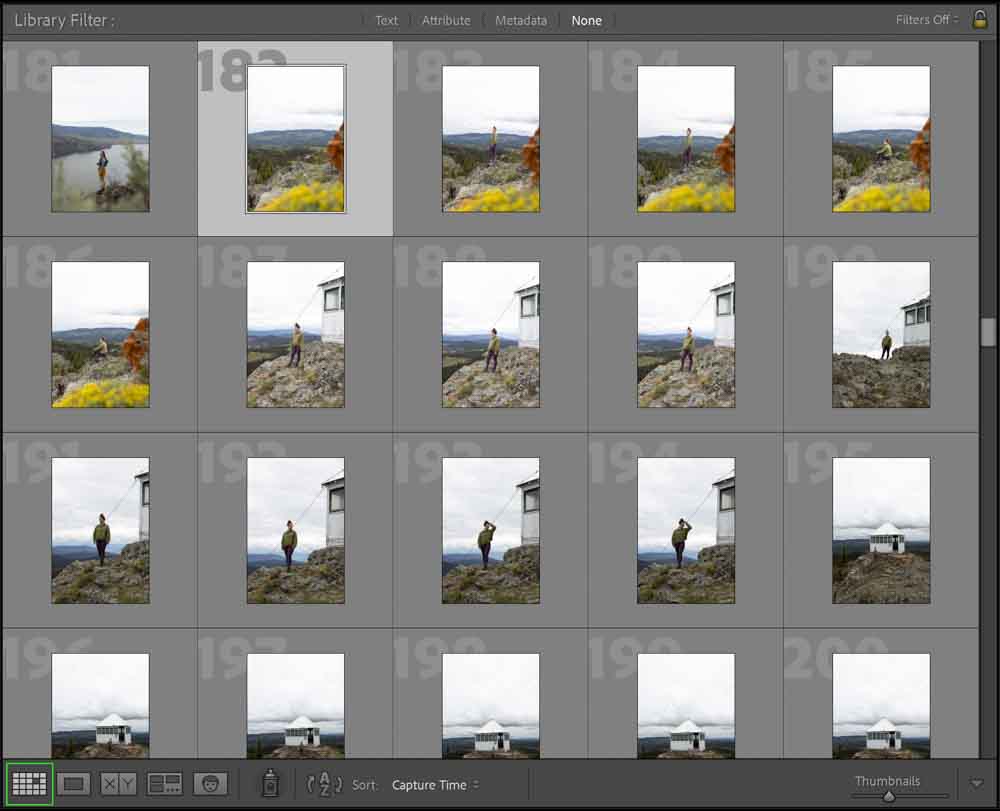
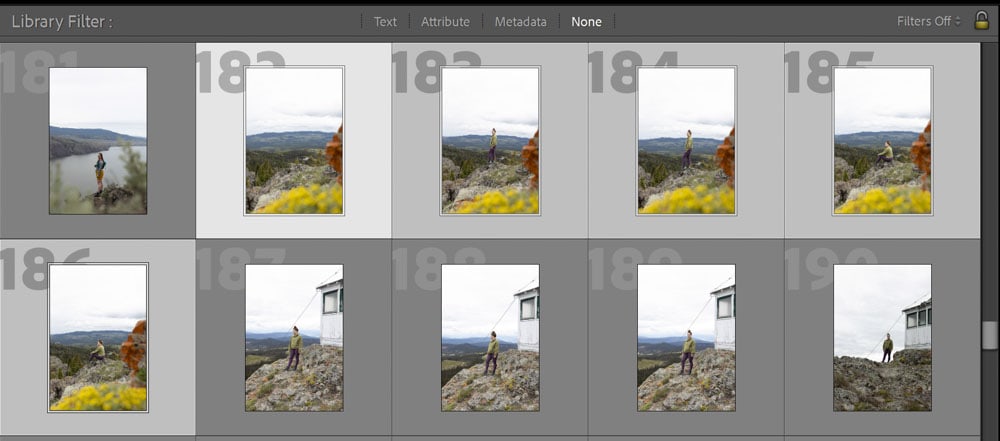
Next, select the image(s) you’d like to move. In my case, I’d like to select all of the images that feature these yellow flowers in the foreground.
Once the images are selected, just left-click + drag and drop them into the folder (in the Folders panel) you wish the images to be in. In this case, I am moving these images into my Nature Macro folder from my May 2021 Samantha folder.
When doing so, a message like this will appear:
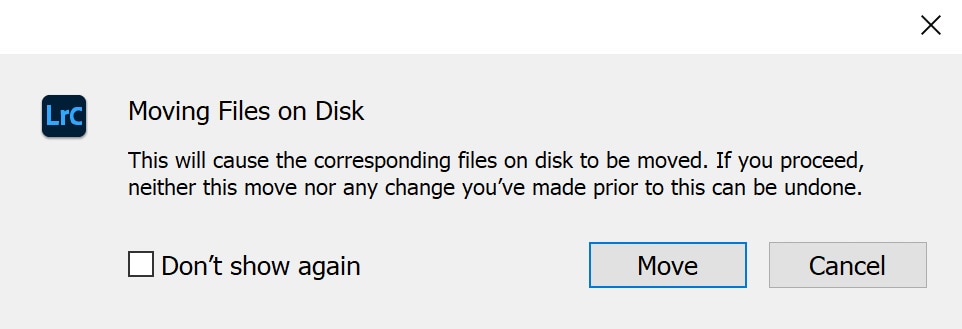
This isn’t anything to worry about! This is simply the Lightroom program informing you that the move will be reflected on your computer hard drive or external hard drive as well.
That’s it! You will now be able to find those images in your newly chosen folder on your hard drive as well.
Option 2: Moving Entire Image Folders
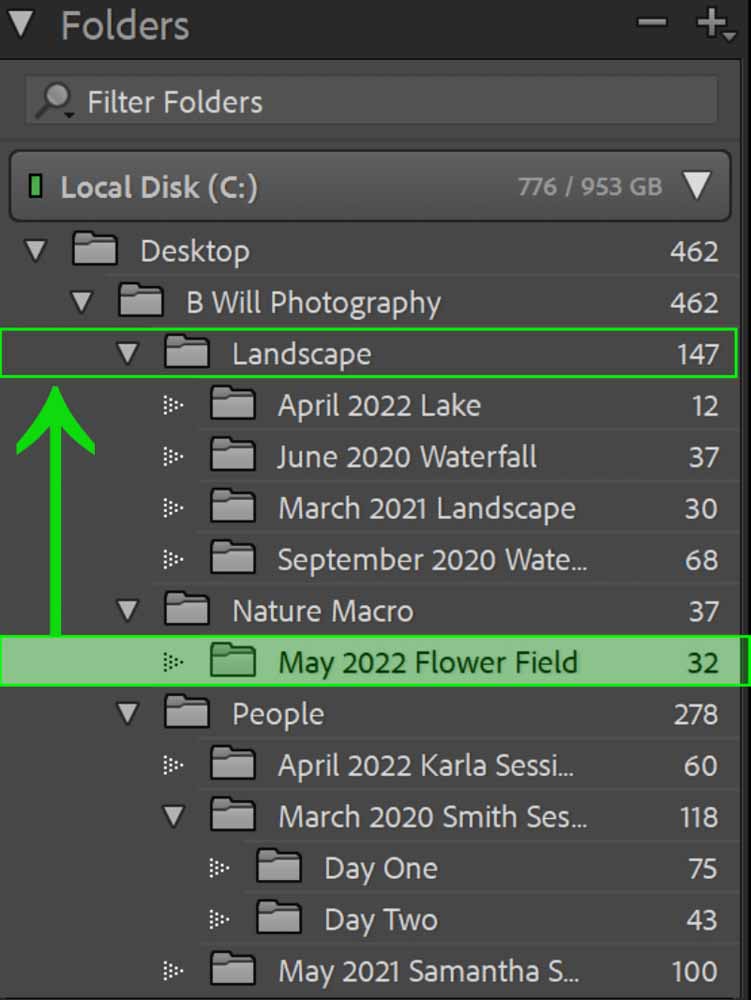
Moving entire image folders is the same process as moving photos, except you’ll do this in the Folders panel instead of the Library grid.
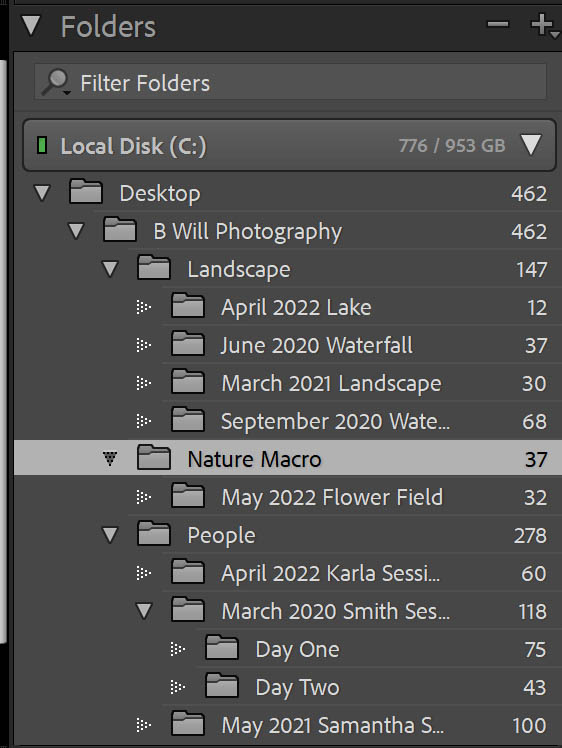
Select the folder you want to move. Then left-click + drag it into the new folder or out of an existing folder. In my case, I am going to move the subfolder May 2022 Flower Field inside of the Nature Macro folder into the Landscape folder.
Keep These Two Tips In Mind
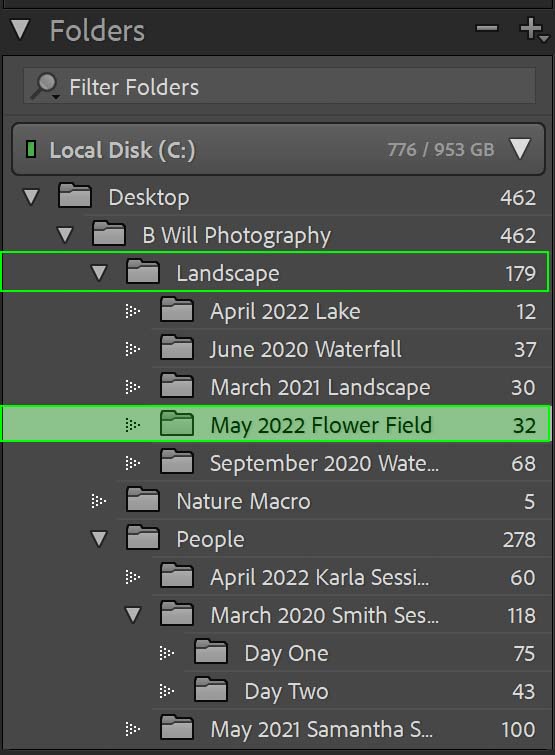
If you move a parent folder with subfolders, make note that Lightroom Classic will move the entire component as a unit. The subfolders will be moved as well!
As well, if you’re moving a folder that contains a large number of images, let Lightroom finish the move before performing any other tasks. In rare cases, Lightroom could crash mid-move, and that could cause a slew of problems (ranging from corrupted image files to a disorganized mess of only half the files having been moved).

Option 3: Moving Lightroom Folders & Images To A New Hard Drive
Moving content from one hard drive to another follows the same exact process I’ve outlined above, except you’ll be dragging and dropping between drives instead of just folders.
First, connect your hard drive to the computer.
In the folder panel, make sure you can see both hard drives (the existing one that contains the images and folders plus the new one).
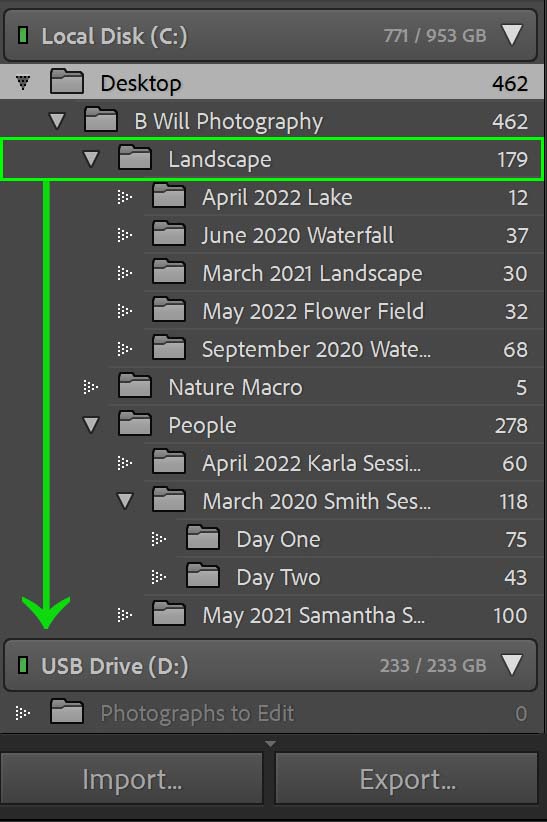
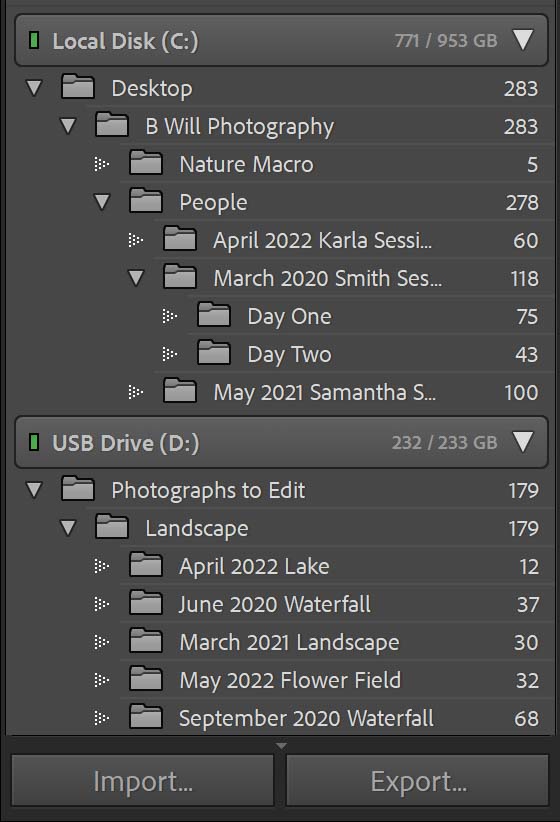
Select the image(s) or folder(s) you’d like to move. We will move the Landscape folder to the Photographs to Edit folder on USB Drive (D:).
Left-click + drag, and drop into the new hard drive. You’ll see the change reflected as soon as all of the images move over.
How To Move Photos And Albums In Lightroom CC
Lightroom CC works a bit differently than Lightroom Classic, as you won’t see your hard drive destinations. You must manually create the Folders and Albums (the equivalent of a Collection and Collection Set in Lightroom Classic).
Once you have Folders and Albums, you can move photos and albums similarly to Lightroom Classic.
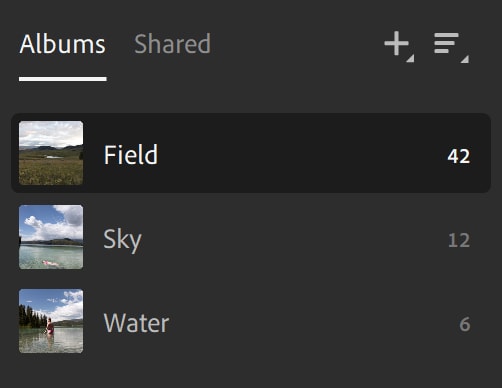
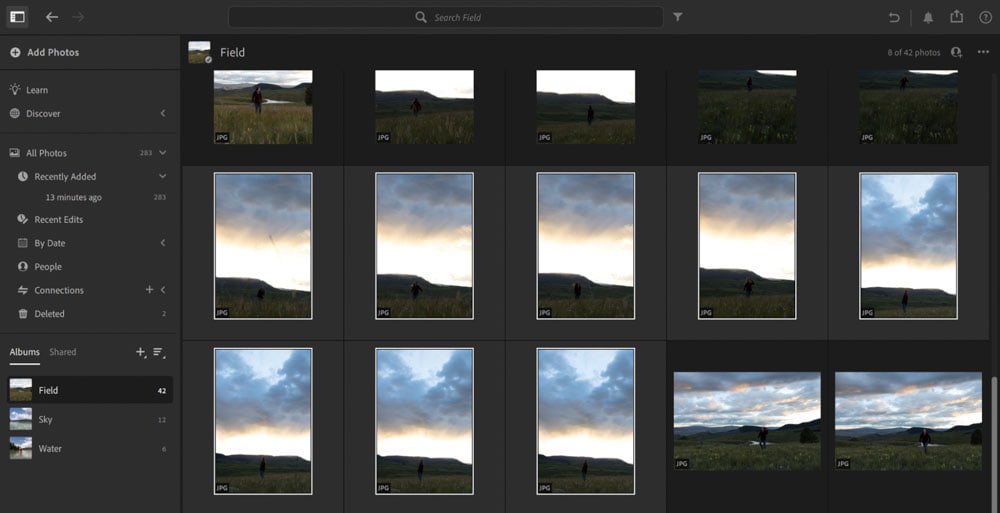
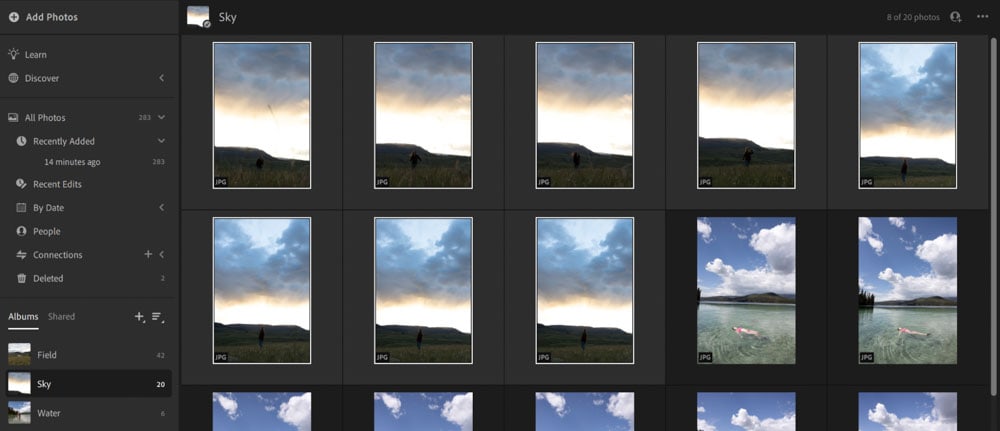
To move individual images, select the photos in the grid. Then drag and drop them into the Album or Folder you want them to go into. In my case, I am moving a few photographs from Field into Sky.
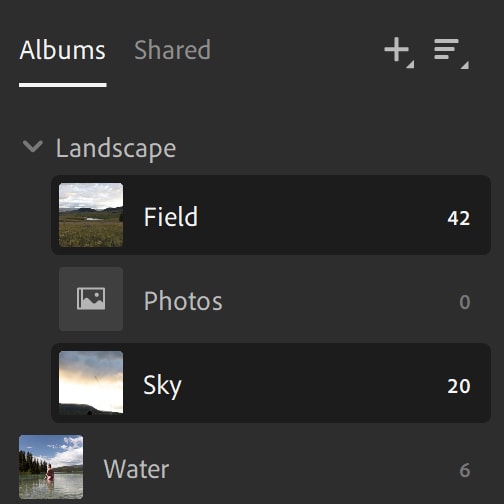
Moving Folders works the same way. In the Album panel, just select and drag the folder. In my case, I will be moving the Field album and Sky album into the Landscape folder. Make note that you cannot move Albums into Albums, only Albums into Folders.

How To Move Photos And Albums In Lightroom Mobile
You can also move photos and Albums in Lightroom Mobile. The option just takes a few extra steps to do.
When opening the Lightroom Mobile app, go to the Library module.
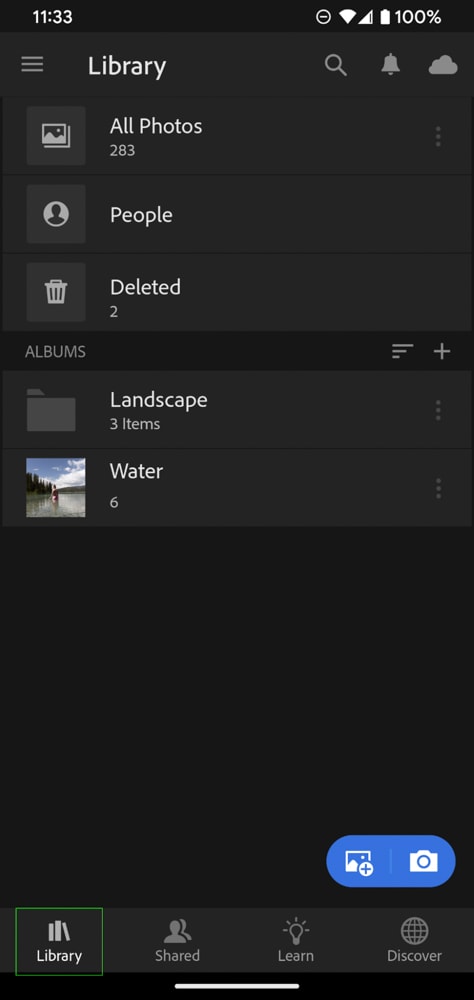
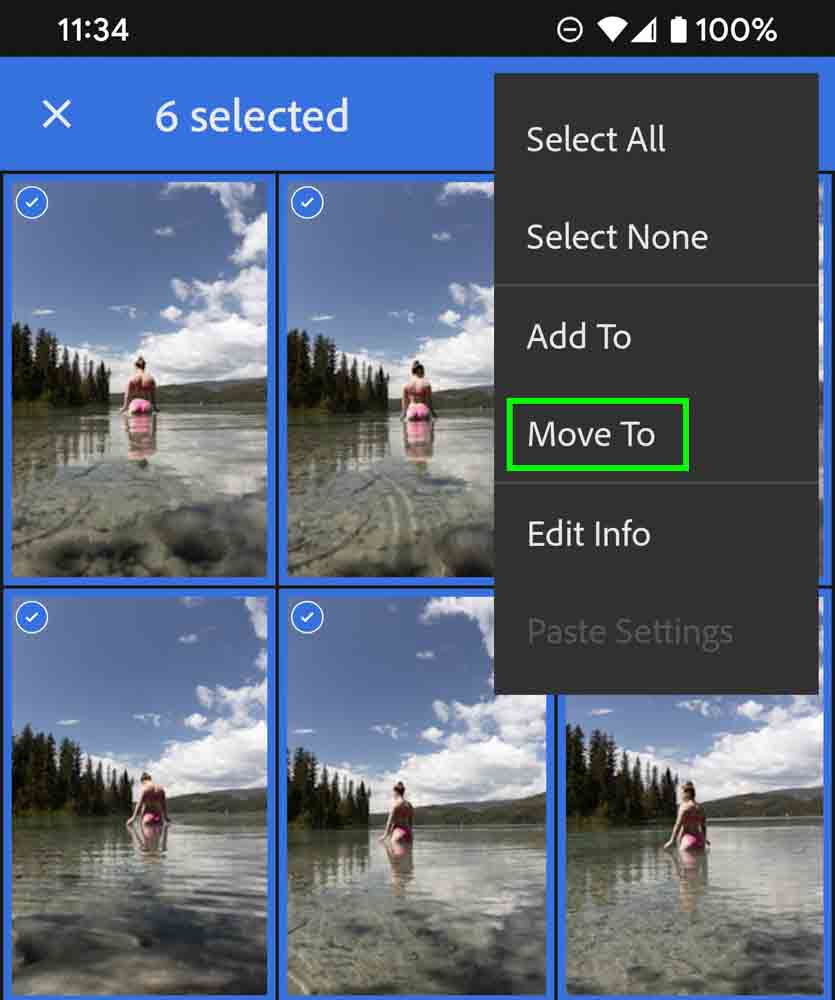
To move photos, click the Album containing the image(s) you want and select them. In my case, I went to the Water album.

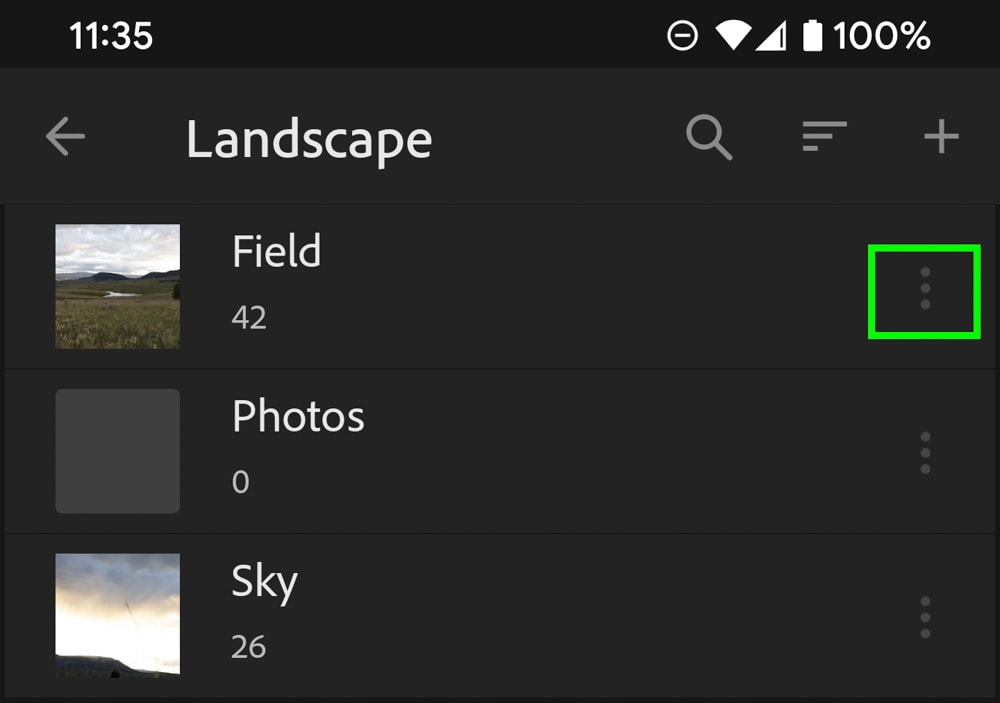
Once selected, click on the three vertical dots in the upper right-hand corner of your phone screen.

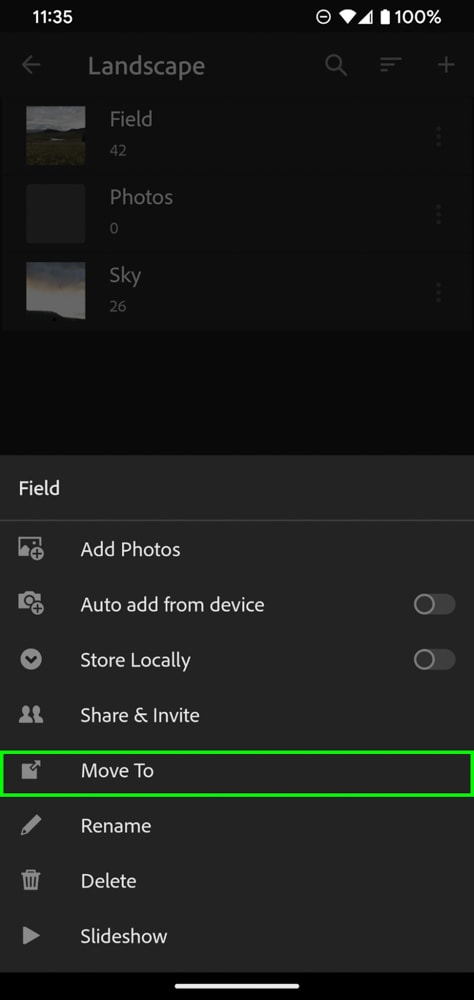
A menu such as this will appear. Click Move To.
Select where you’d like to move the photographs.

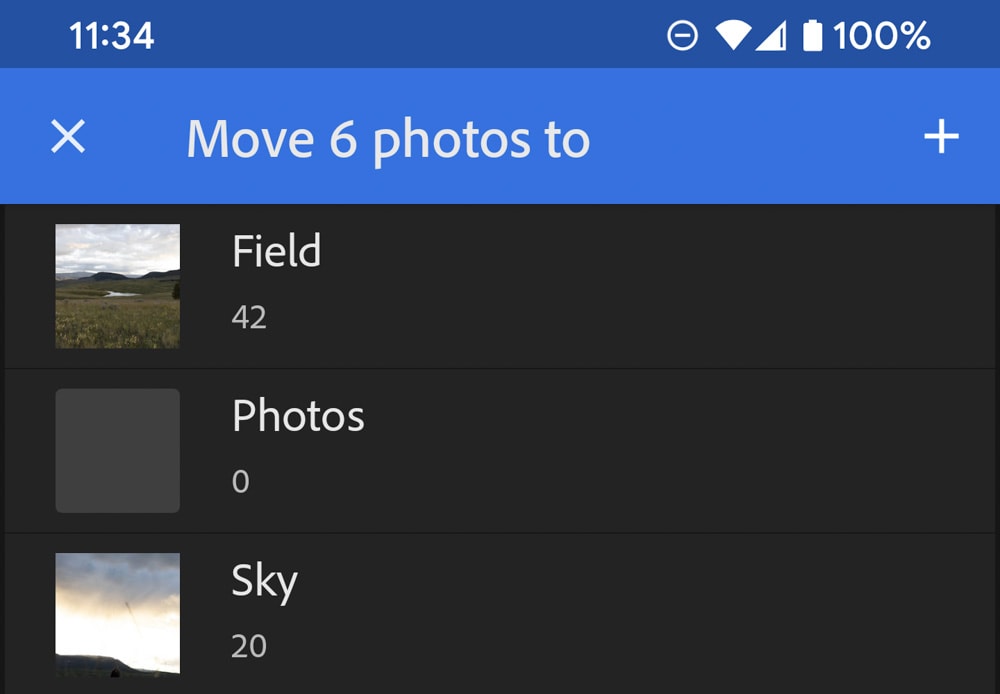
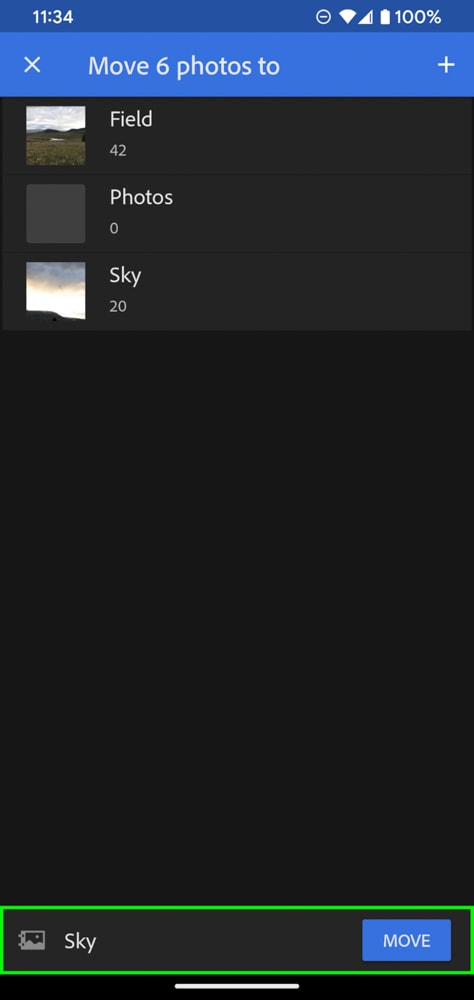
Once you pick the destination (in my case, I am moving them to the Sky album), you will see the destination name appear at the bottom of your screen next to the Move button. Press Move, and the images will now be in the new destination!
To move Albums, simply click on the three vertical dots corresponding with the Album you want to move.
Once the menu appears, click Move To and repeat the process!
Knowing how to move your images around in Lightroom helps keep your catalogs organized. Thankfully it only takes a couple of clicks, and you’re done!
