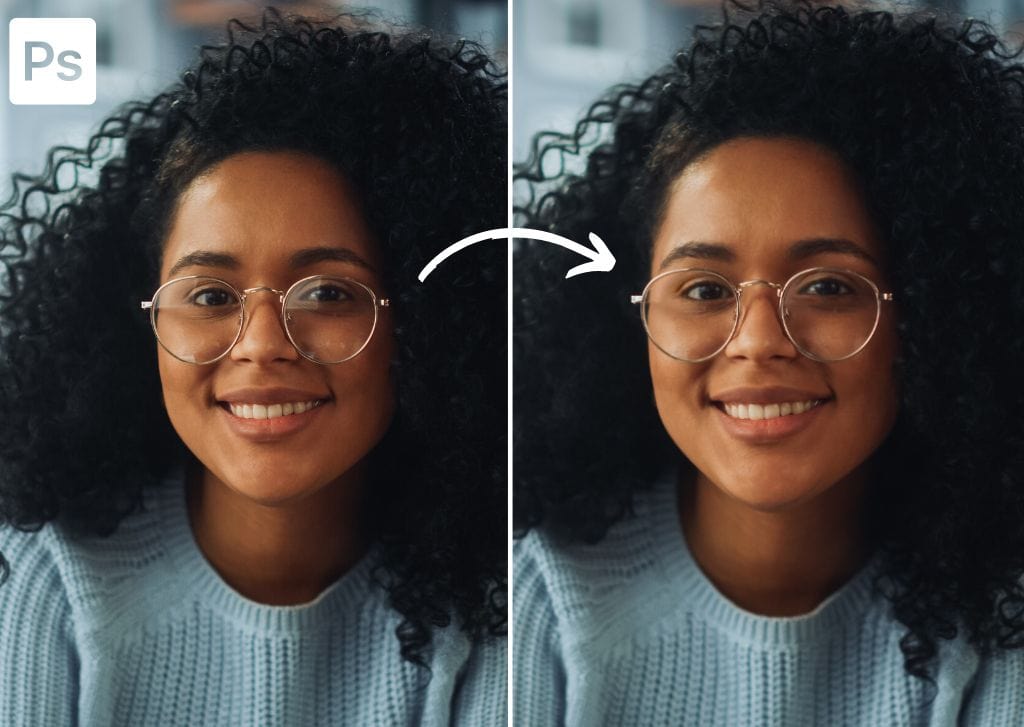

Photographing a subject who is wearing glasses is difficult, especially for beginners. While there are a few tricks to avoid capturing the glare, such as tilting the glasses slightly, mistakes happen. So whether you photographed a subject and caught the glare in their glasses or you’re a graphic designer and given a photograph like this, here is how to remove glare from glasses in Photoshop.
When faced with a picture that has a glare on the person’s glasses, you face two issues. Firstly, the glare usually turns a different color, such as a green or blue tint. Secondly, the area that contains the glare is lighter than the surrounding areas. Luckily, you can fix both of these problems using the following editing techniques.
How To Remove Glare From Glasses In Photoshop
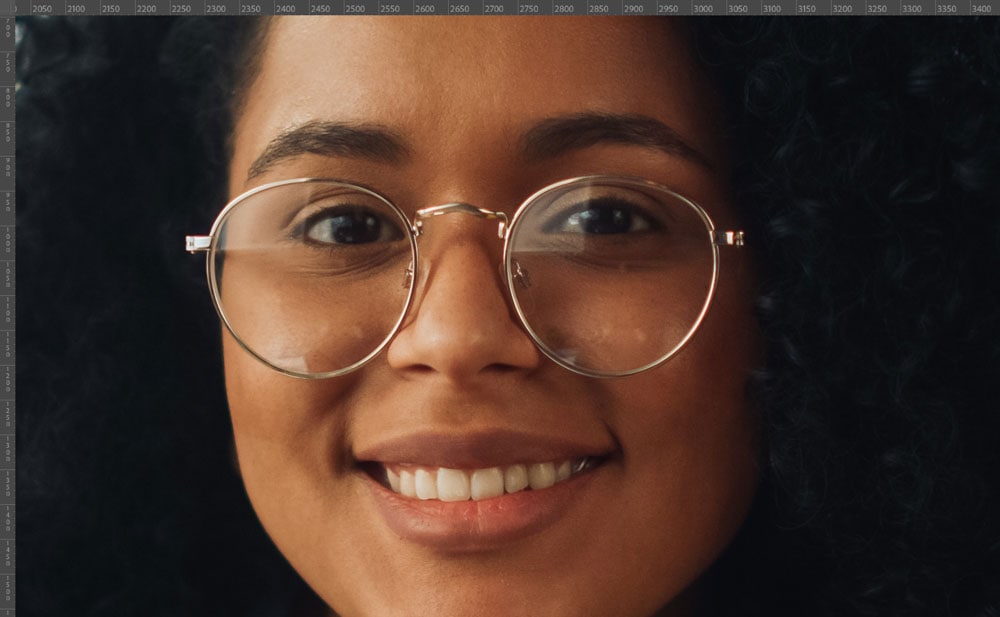
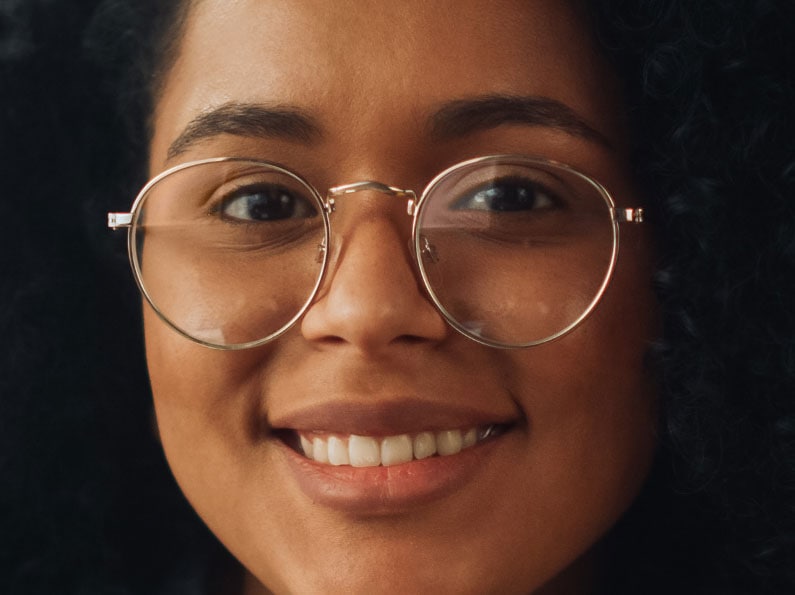
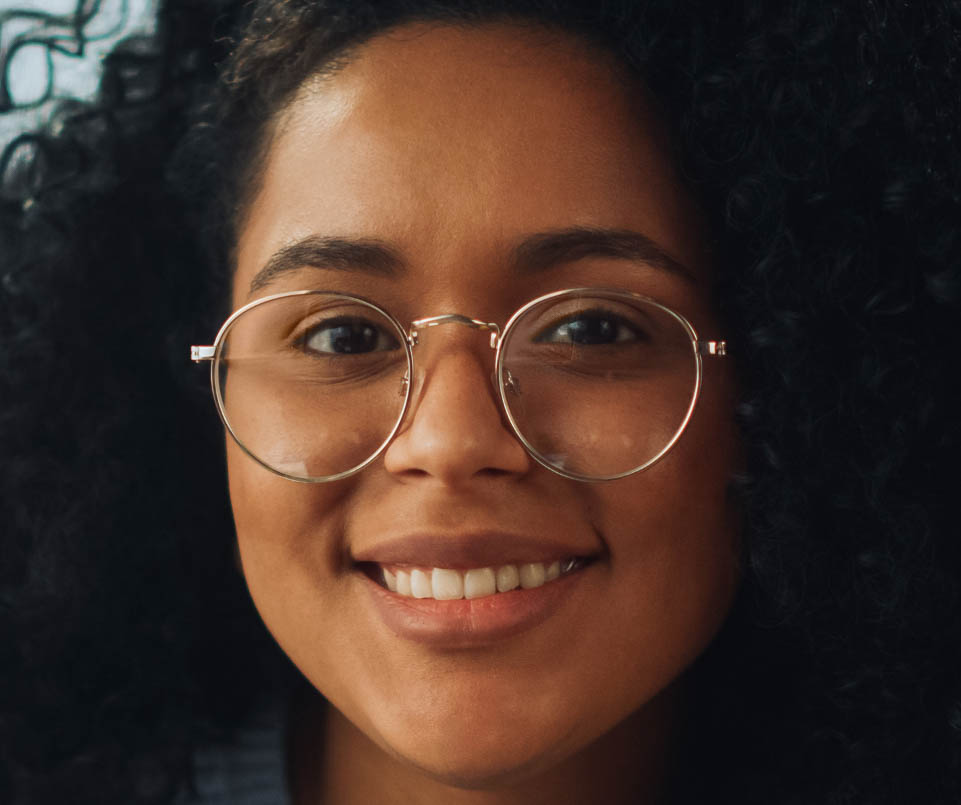
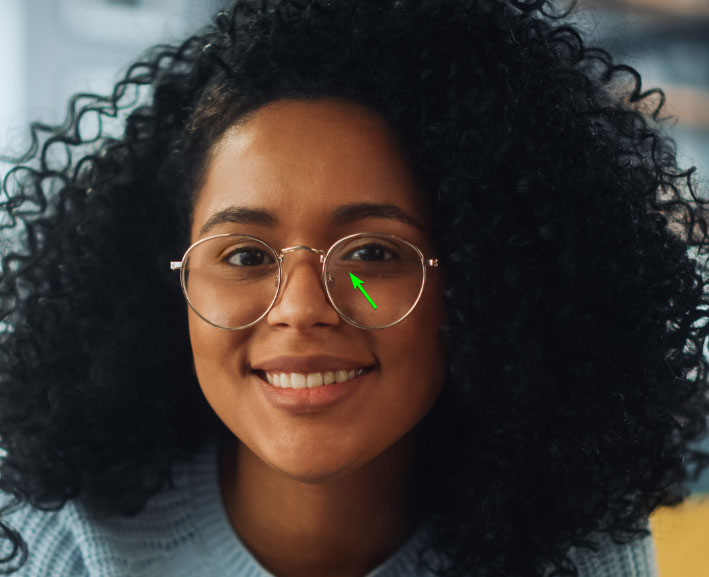
Removing glare from glasses is slightly different for each image. Sometimes you may only need to correct the color in the glasses. Other times, you’ll also need to remove the reflection from the glasses. Here I detail steps to fix the color, remove the reflection, and touch up any lines left behind from the reflection. Below is the example image I’ll work with today.

Step 1: Open Your Image And Add A New Layer
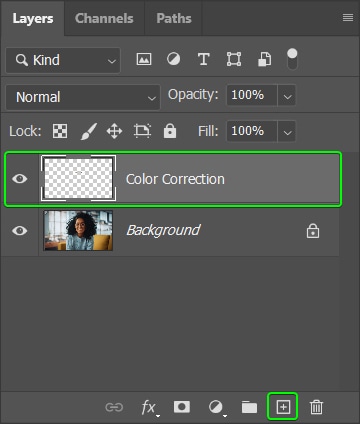
Once your image is open, you need to add a new layer. You will be adding the correct color onto this layer in the tinted areas, so name the layer accordingly to keep the Layers panel organized.
Add a new layer by clicking the Add a new layer icon at the bottom of the Layers panel. You can also use the shortcut Shift + Control + N (Win) or Shift + Command + N (Mac).
Step 2: Change The Blend Mode To Color And Select The Brush Tool (B)
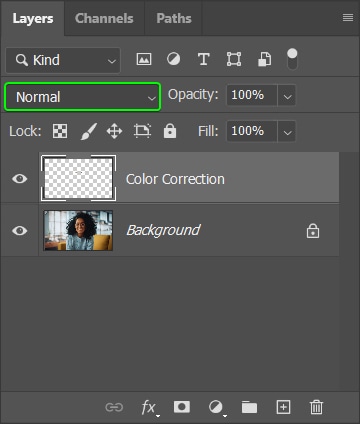
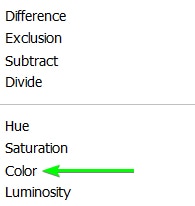
Change the Blend Mode of the new layer to Color. This step lets you correct the color where the glare has added different colors, such as white, blue, or green. Changing the blend mode keeps the luminance and saturation the same and only changes the color.
To change the Blend Mode, select the drop-down menu in the Layers panel and select Color.
Then select the Brush Tool (B) from the Toolbar.
Next, open the Brush Preset Picker in the Options bar and choose the Soft Round brush.
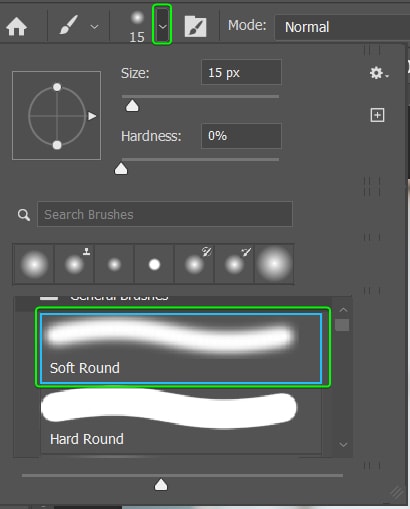
Leave the other settings in the Options bar as the default settings, such as Opacity and Flow, at 100%.

Step 3: Sample Colors And Brush Out The Colored Tint
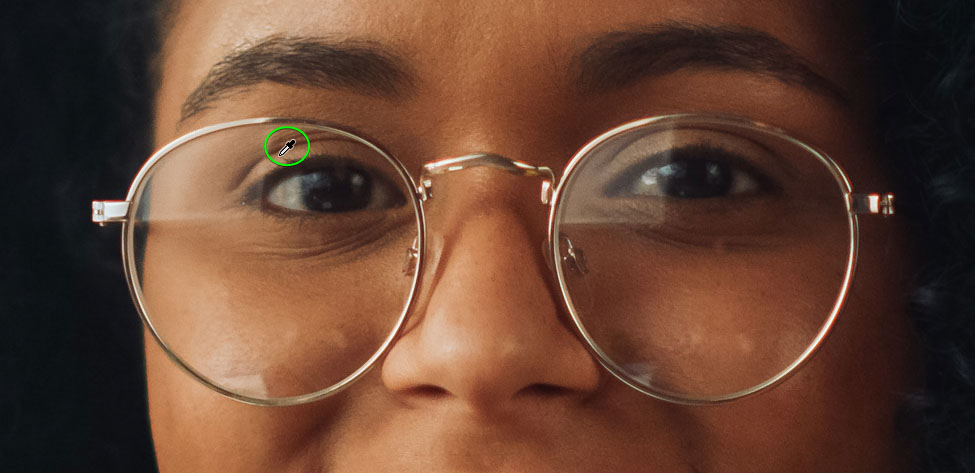
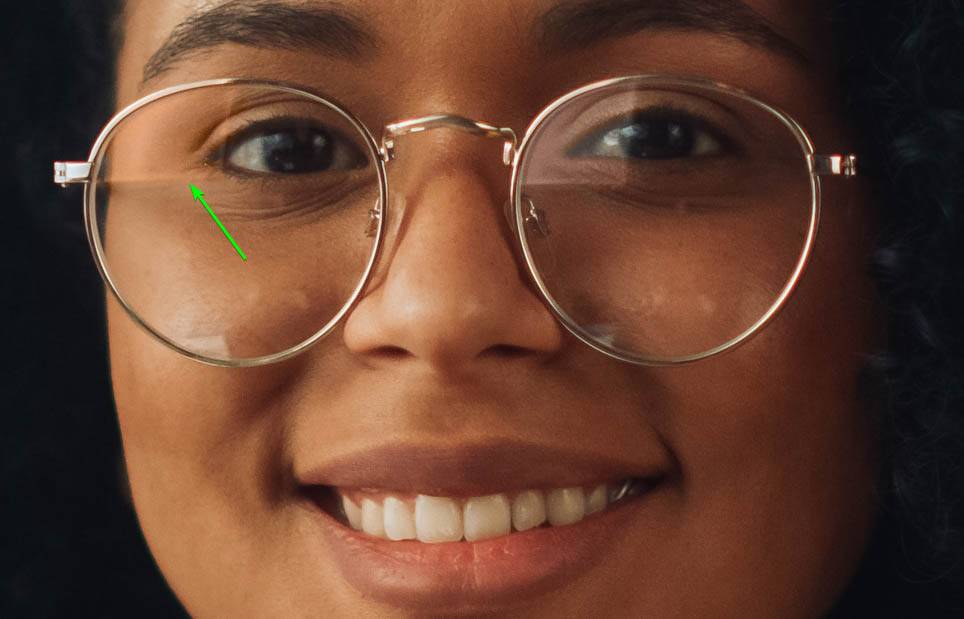
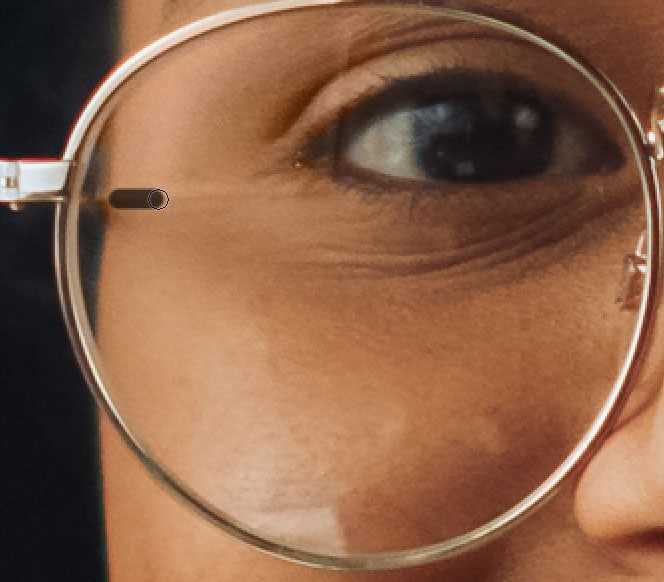
Ensure that the new layer is still active and zoom into the image to get a better view of the lens glare. Zoom in by pressing Control + + (Win) or Command + + (Mac) as many times as needed.
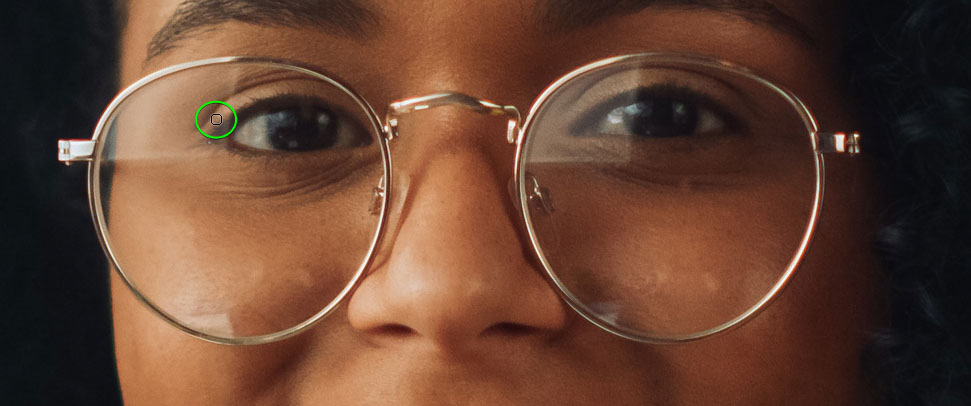
Now, you need to sample colors close to the lens glare and then brush that color over the area. This means you’ll need to keep sampling new pixels as you go. To sample the color using the Eyedropper Tool, hold in Alt (Win) or Option (Mac) and click on an area when the eyedropper icon appears.
Once you’ve sampled the color by clicking, let go of Alt/Option and brush over the areas with lens glare.
For larger areas, you can increase the Brush Size by pressing ]. Then decrease the brush size using [ to paint smaller areas.
Keep sampling areas close to the new areas to be painted over. Then paint over the areas to correct the color.
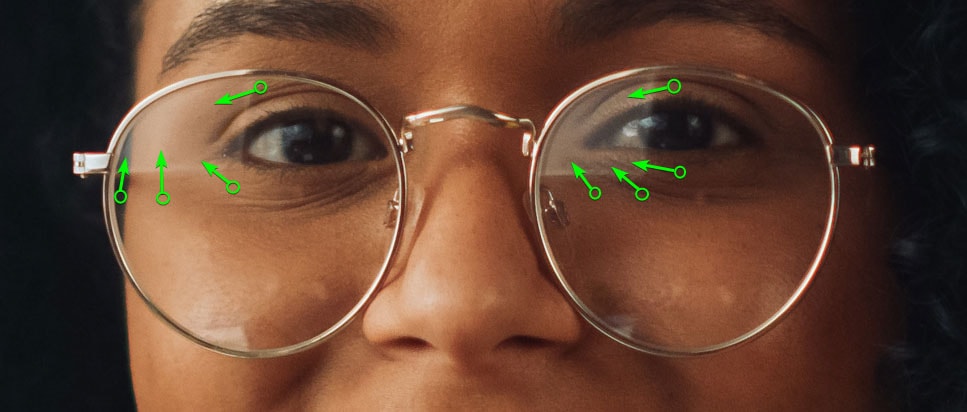
Since the areas covered by the glare are lighter than the rest, you won’t be able to correct the color at this point entirely, but I will show you how to fix this later.
Fixing the color takes a lot of practice, especially when the tint is blue or green. Keep trying, and don’t worry if you don’t get it entirely right, straight away. You can always continue fixing the color later in the process. However, with practice and patience, you can correct color even when the tint is more prominent, as in the example below.


Step 4: Select The Glare Area Using The Polygonal Lasso Tool (L)
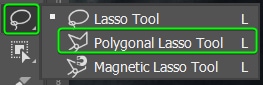
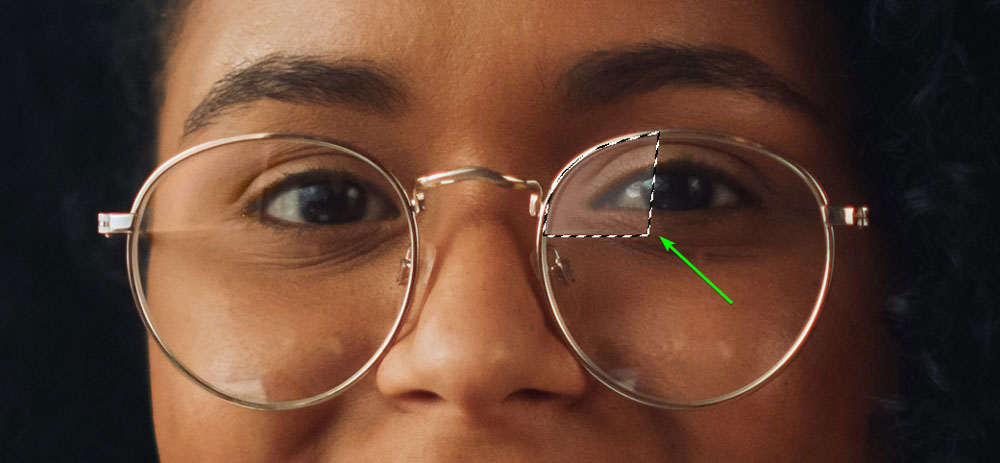
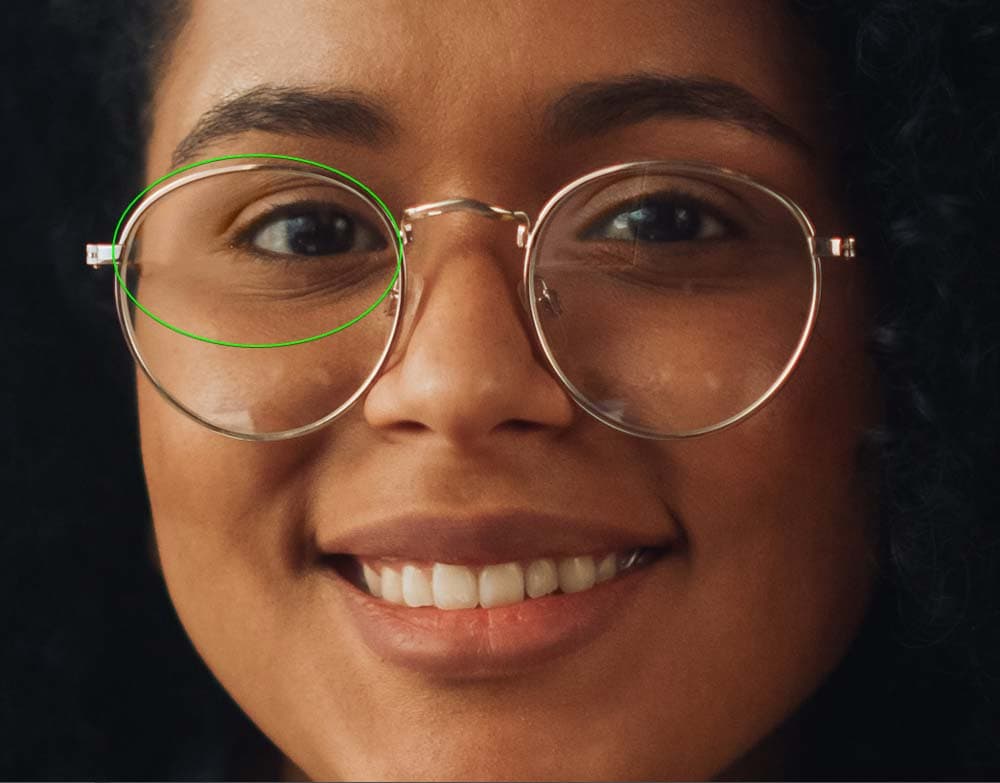
Once you have corrected the color as much as possible, select the Polygonal Lasso Tool (L) from the Lasso Tool fly-out menu by clicking and holding the icon. You can use any selection tool that works for you, but the Polygonal Lasso Tool works well if the glare has straight edges.
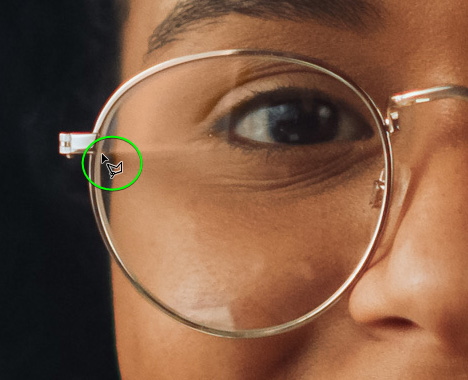
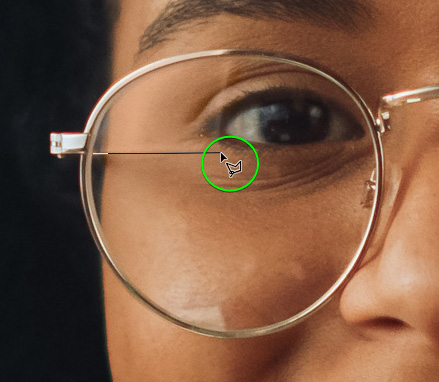
Click on a point of the glare to start the selection, then click on another point to create a straight line.
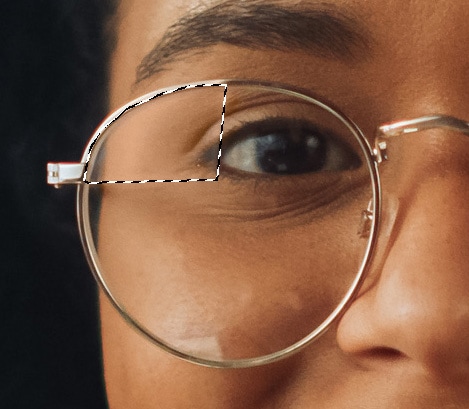
Continue clicking around the area to create a selection. Click back on the first point to close the Lasso and create the selection.
Step 5: Darken The Glare Using Levels Adjustment Layers
Once the selection is complete around the glare, you can add a selective adjustment layer to darken the selected area only. This adjustment enables you to match the lighter glare area with the rest of the image.
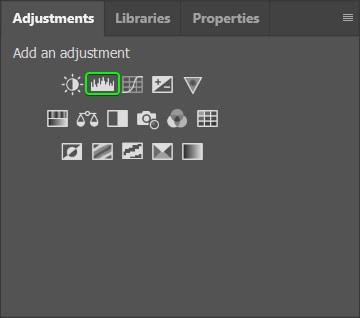
Add a Levels Adjustment Layer by clicking on the Levels icon in the Adjustments panel.
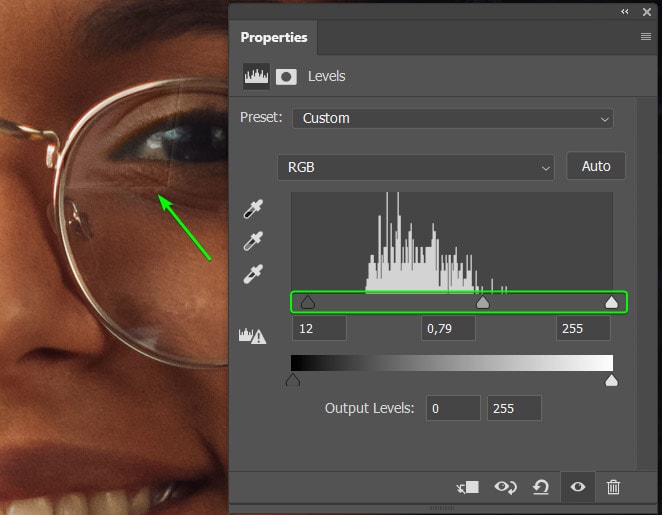
The Properties panel appears, where you can adjust the levels of your selection. The adjustments you make here will be different for your image based on how light or dark the glare is and how dark or light the rest of your photo is.
In the Levels adjustment panel, the toggle on the left controls the shadows, the middle toggle controls the midtones, and the toggle on the right controls the highlights.
In my case, I moved the shadows and midtones to the right to darken them and adjusted the highlights to the left to darken the highlights.
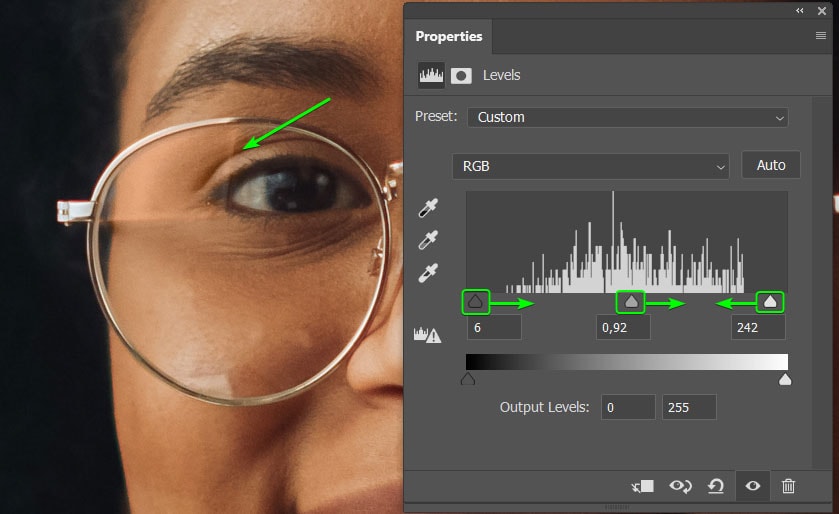
Adjust the toggles until you get the area as close to the rest of the subject’s face as possible. If you notice the color you fixed isn’t right, that’s fine. We’ll go back and fix it shortly.
Step 6: Add A Gaussian Blur To The Selections
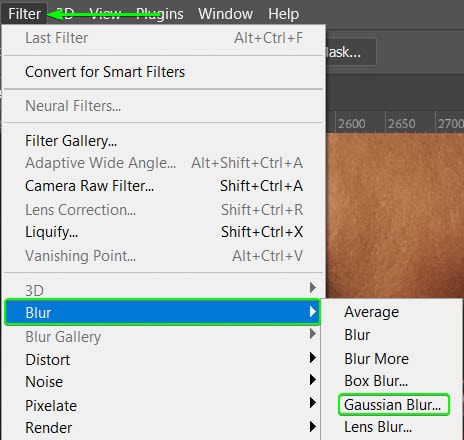
You can add a slight Gaussian blur to blend the darkened glare area into the surrounding skin. To add the blur, go to Filter > Blur > Gaussian Blur.
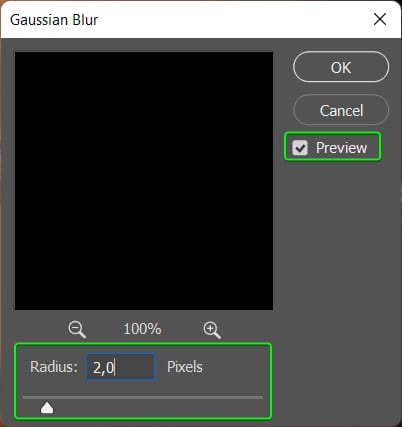
When the Gaussian Blur dialog box opens, adjust the Radius amount to add blur to the area. Check Preview to see the changes on your image as you move the Radius slider. Don’t add too much blur here. Try to stay around 1 or 2 pixels.
Click OK to add the blur. The color isn’t quite right at this stage, and one reason for this is the layer order. The Levels adjustment layer automatically goes above the color correction layer and affects the colors I added to the image.
To fix this, click on the Color Correction layer and drag it to the top of the Layers panel.
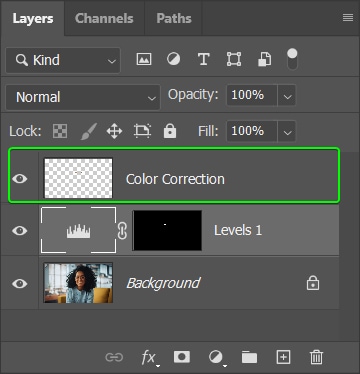
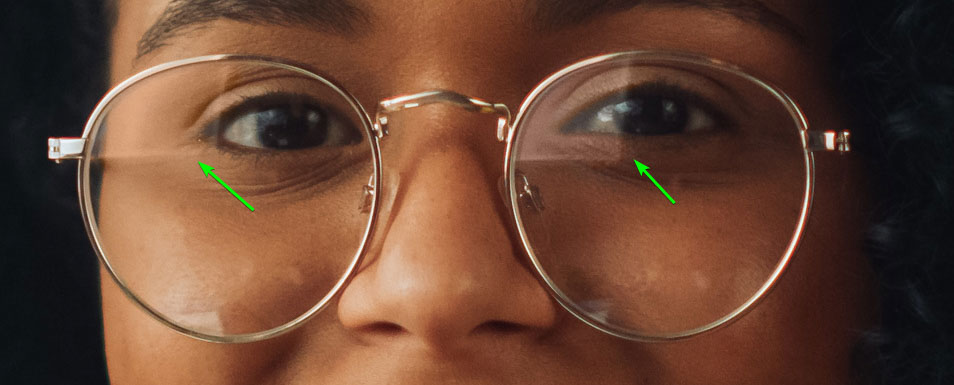
The color is looking better at this stage, but there are still lines on the edges where the glare was. I will show you how to fix those lines soon.
Step 7: Repeat Steps 5 and 6 For Any Other Glare Areas
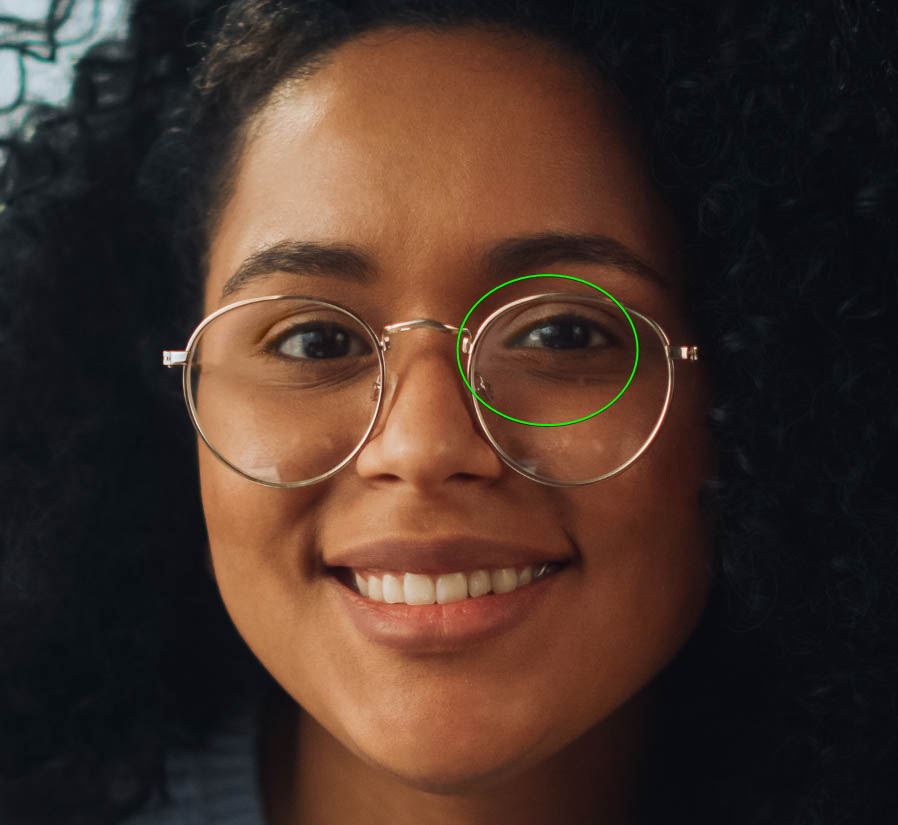
You can now repeat the last two steps for the other eye. It’s also necessary to repeat these steps if you need to correct other smaller glare pieces.
To recap, select the Polygonal Lasso Tool (L) or your selection tool of choice.
Then click and draw around the next area to create a selection.
Add a Levels Adjustment layer by selecting the icon in the Adjustments panel. Place the new layer below the Color Correction layer.
Use the toggles in the Properties panel to darken the glare area.
Add a Gaussian blur by going to Filter > Blur > Gaussian Blur. Move the Radius slider to about 1 or 2 pixels.
Repeat this for any other areas with a lot of lens glare. You don’t have to do this for more minor specks of lens glare, as we can fix this up in the next step.
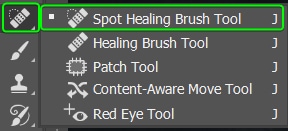
Step 8: Use The Spot Healing Brush Tool (J) To Remove Visible Glare Lines
To fix up the visible lines that mark where the glare was on the glasses, you can use the Healing Brush Tool or the Spot Healing Brush Tool. If you want to control where the new pixels are sampled, use the Healing Brush Tool.
In my case, the areas are relatively simple, and Photoshop’s AI should be able to fix the area correctly. Select the Spot Healing Brush Tool (J) from the fly-out menu.
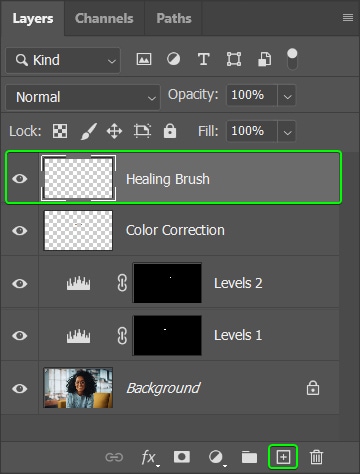
Add a new layer by clicking on the Add new layer icon and then rename the layer as you’d like. This layer can sit at the top of the Layers panel.
In the Options bar, ensure that the Mode is set to Normal, Type is set to Content-Aware, and Sample All Layers is checked. It’s essential to have Sample All Layers active as this allows the brush to sample pixels from the background layer to fix.

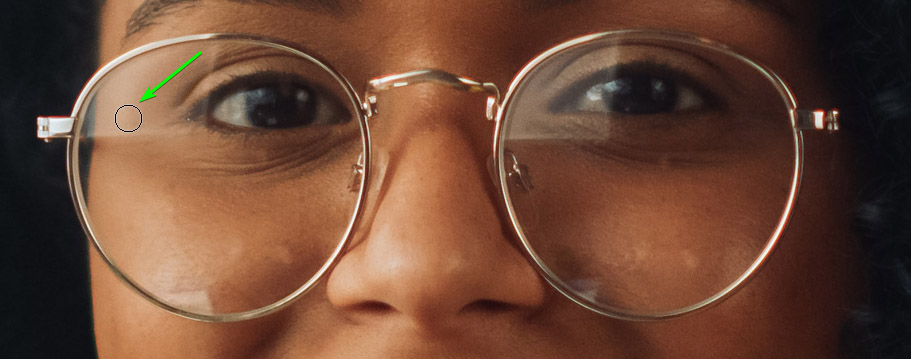
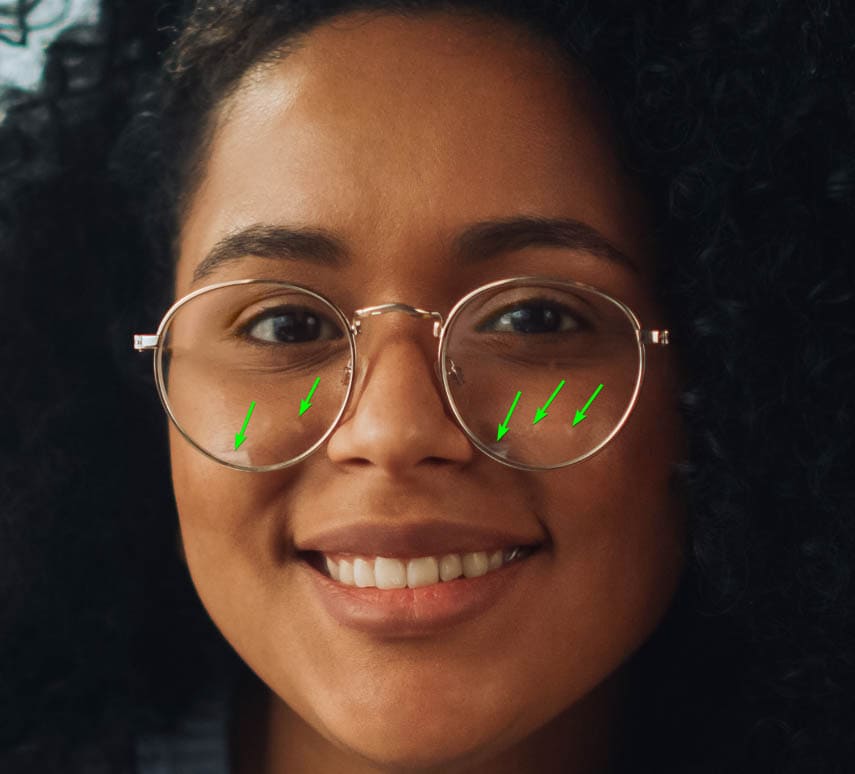
Now, brush over the areas where the visible line is. Create small brush strokes to prevent Photoshop from over-fixing the area and causing unwanted results.
Continue brushing small strokes around the area until the lines aren’t visible anymore.
Then move on to the other eye and repeat the process.
If you have smaller areas of lens glare that you didn’t touch up with the previous steps, you can use the Healing Brush Tool on these areas to remove the lighter colors.
Once you have fixed up those areas, zoom out of the image using Control + – (Win) or Command + – (Mac) to see how the image looks.

Step 9: Analyze The Image And Repeat Any Steps As Needed
The image should look much better at this point, but it doesn’t have to be perfect yet. In my case, I’m not too happy with the color of one eye. Whether you notice a problem with the Levels or the color, you can move back to that layer and continue editing to get it how you’d like.
I’m going to move back to my Color Correction layer and repeat steps 2 and 3 to get a more realistic color near the corner of the eye.
Once you have finished touching up any problem areas, you have successfully removed lens glare from your image.

To learn more about removing unwanted things from images in Photoshop, check out these 4 best tools for removing anything in Photoshop!


