
Rounded corners can be added to shapes or images in Canva with a few straightforward steps. Although creating an image with rounded corners is a little complex, you’ll have no problems doing so after reading this guide.
Now before we start, there is good and bad news when creating images with rounded edges in Canva. The bad news: there’s no setting in Canva to round edges. The good news: there’s a workaround you can use to round any image you want.
Let’s take a look at how it all works.
How To Round The Corners Of An Image In Canva
There are lots of effects you can add to your images in Canva, such as fading the edges of an image or rounding the corners. To round the edges of your image in Canva, you must use a frame and ensure that frame fits your canvas’s size.
This part of the guide will explain how to set up your canvas correctly, find the best frame for your needs, and create the rounded edges effect on your image.
Step 1: Upload Your Image
To make the exporting process easier later on, you’ll need the size of the canvas to be the exact size of your image. The best way to do that is to upload the image into Canva.
To upload your image, click the Create A Design button in the top right corner, then select Edit Photo.
You’ll be prompted to find the image you want to edit on your hard drive. Locate the image, then press Open.

A preview of your image will pop up. Click the Use In A Design button.

A new design will open up with your image as the exact size as the canvas.
Step 2: Find A Frame With Rounded Corners
To work around the problem of not being able to round the corners of your image itself, you’ll need to use a frame—specifically, a frame with rounded corners.
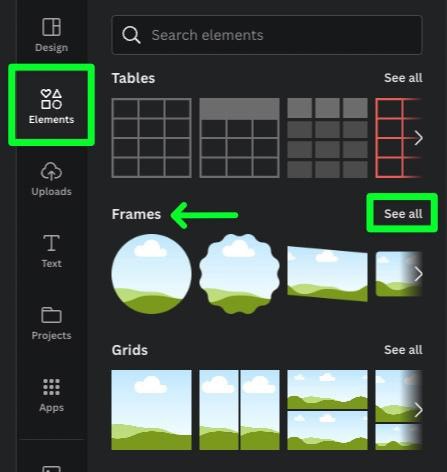
To find the frame you need, select Elements in the Side Bar, then scroll down to the Frames section. Then, click See All.
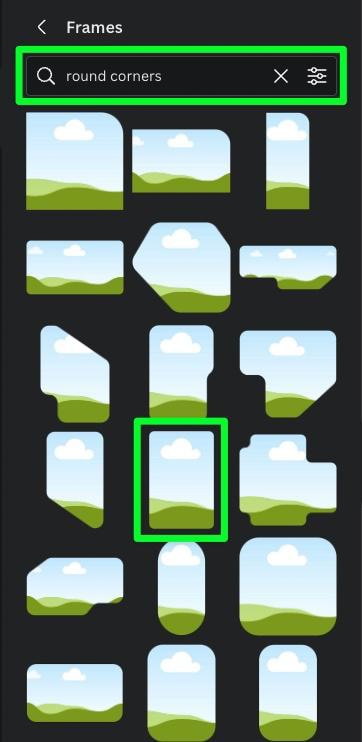
With the frames panel open, type Round Corners in the search bar at the top. You will then be presented with all the frames that feature round corners.
Now, scroll through the list of frames and look for the best frame that fits your image.
Once you find a frame that works, click on it to add it to your Canvas.
Step 3: Detach Your Image From The Background
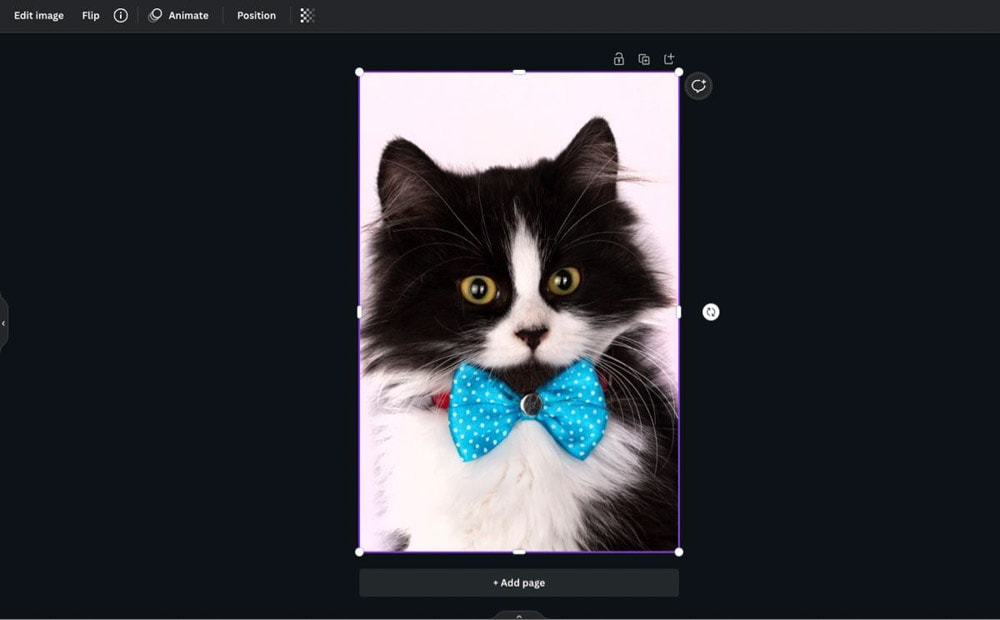
Now that your frame is on the canvas, you must drag your image into the frame. Before you can do that, you need to detach the image from the canvas.
To detach the image, right-click it, then select Detach Image From Background in the menu that pops up.
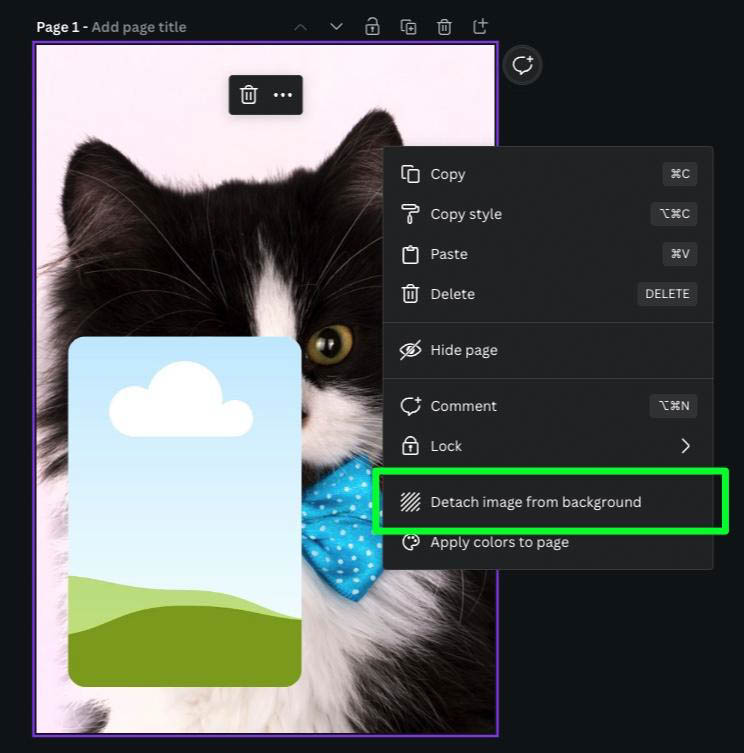
Your image will no longer appear as your background but as a regular, movable image.

Step 4: Drag Your Image Into The Frame
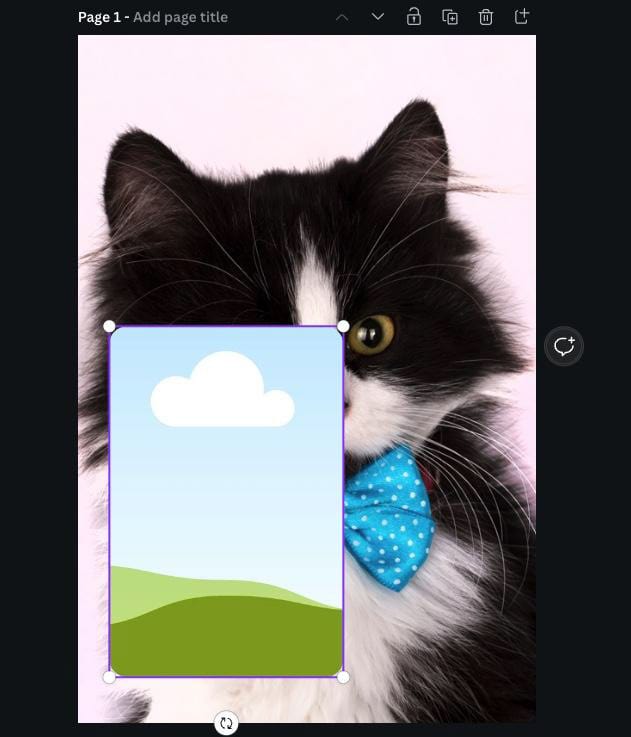
With the background image now a regular image, drag the image directly into the frame.
The image will fit perfectly within the frame, no matter how big or small the frame is.

Step 5: Resize The Frame To The Size Of The Canvas
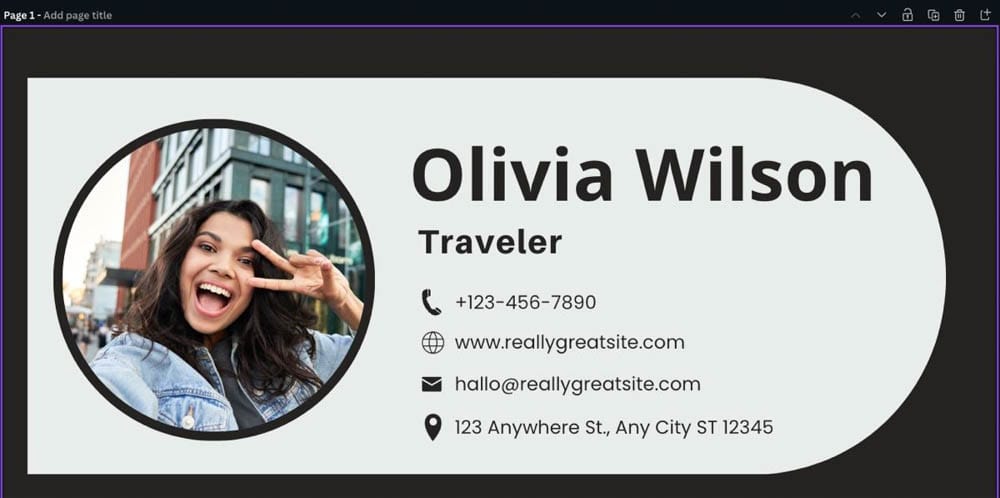
The final step is to resize the frame to the size of the original image.
First, click on the frame to select it, then use one of the corner handles to enlarge it to fill the entire canvas.
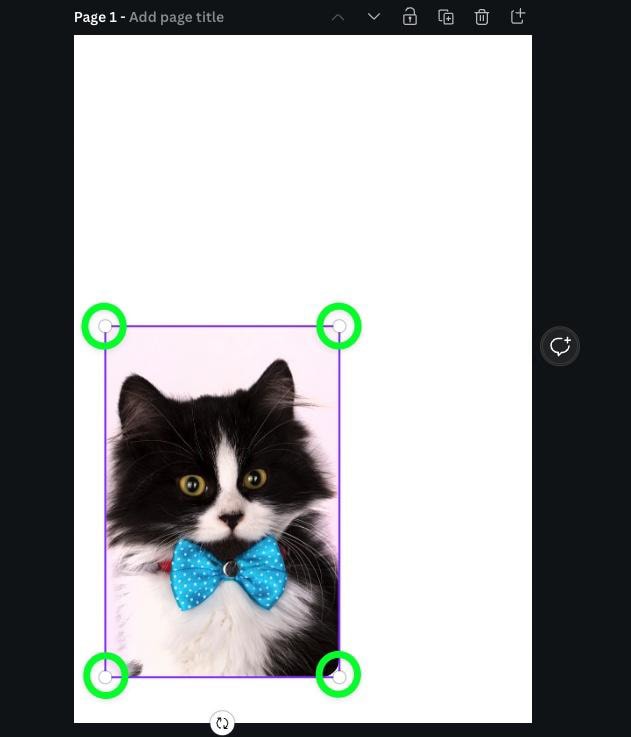
Make sure that the image is the exact size of the canvas. Anything larger will cut off two or more rounded corners. Anything considerably smaller will reduce the number of pixels in the final image. The fewer pixels could lead to a “squeezed” appearance if the image isn’t resized correctly and a loss in quality, causing the photo to become pixelated in some cases.

If the default white background makes it more challenging to see the rounded corners, you can temporarily place a bright-colored square behind your image to make it easier to see the rounded corners.

How To Find Shapes With Rounded Corners In Canva
Canva provides hundreds of different basic and complex shapes, including shapes with corners already rounded. You can also fill certain shapes with an image.
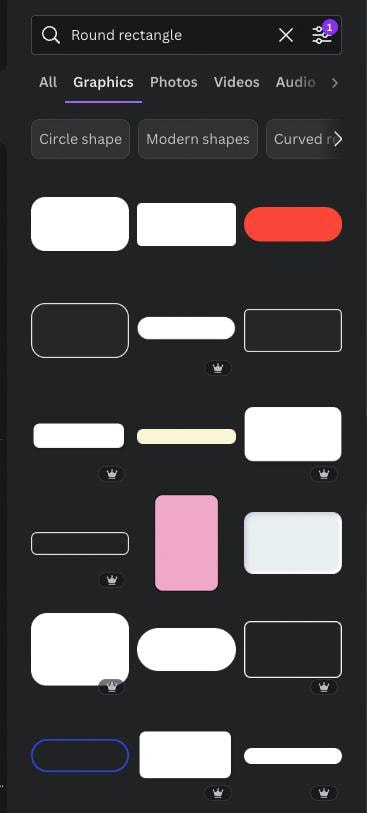
To find these shapes, click on Elements, then search for Rounded Shapes in the search bar at the top. Then, click the Options button.
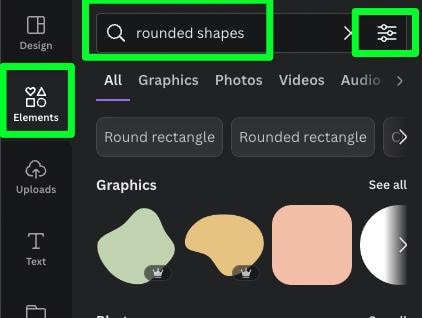
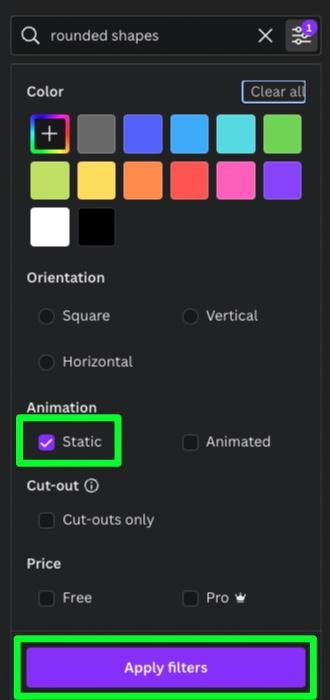
To make your search easier, check the Static box to avoid dealing with animated shapes. Then, click Apply Filters.
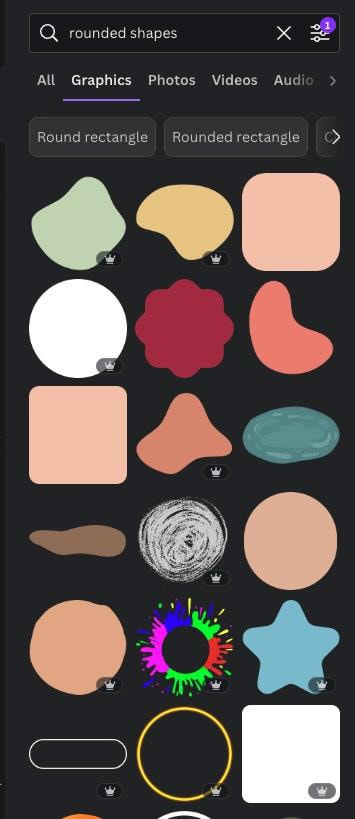
Searching for Rounded Shapes will bring up all the shapes with rounded corners.
If you need to find a more specific shape with rounded corners, click on one of the tags below the search bar.
Use the arrow to the right to find more tags.
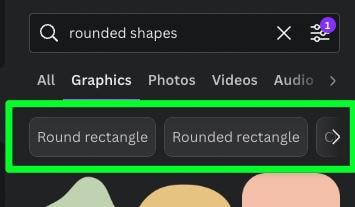
For example, clicking on the round rectangle tag will bring up only rectangular shapes with rounded corners.
This includes horizontal shapes, vertical shapes, and even borders with rounded corners.
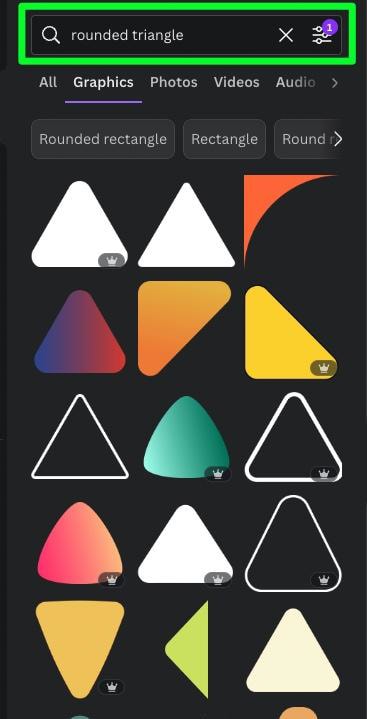
If you know the exact shape you need, you can also type the shape itself in the search bar with the word “rounded” in front of it.
For example, searching for “rounded triangle” will showcase all the triangle shapes with rounded corners.
Using a shape with rounded corners may seem like not such a big deal sometimes, but in many cases, using a rounded shape can transform a design.
A rounded shape can turn a plain design into a more visually pleasing one.
Using a shape with rounded corners can also make a design look less rigid and more inviting.

How To Export Designs With Rounded Corners In Canva
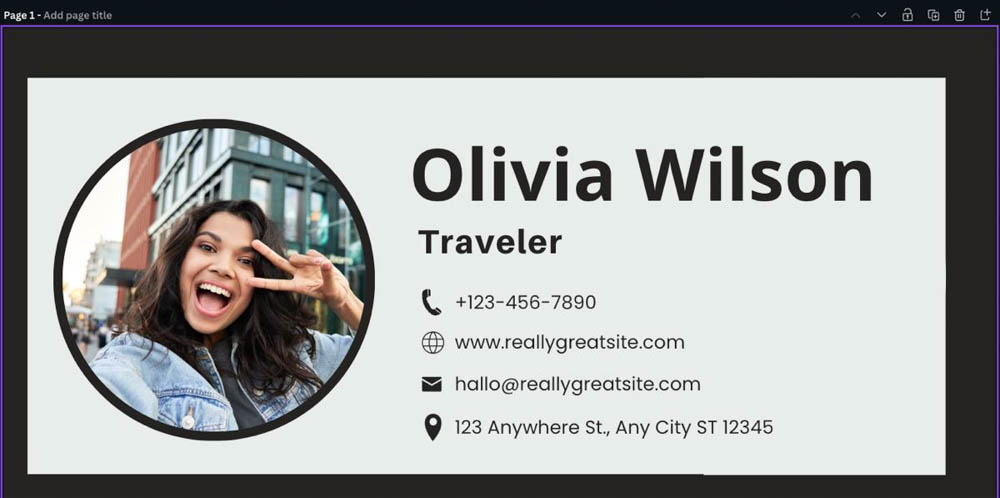
If you followed along the first section of this guide, you now have an image inside a frame with rounded corners, which has been enlarged to the size of the canvas. You now have a full-sized image that appears to have rounded corners.
If you export your image incorrectly, Canva will “fill in the gaps” of your image and leave you with a photo with sharp edges, making all your hard work pointless.
Follow this section of the guide to learn how to export your design with rounded corners.
Step 1: Click The “Share” Button, Then Select “Download”

With your design opened up, click the Share button in the top right corner of the screen.

In the menu that opens, click Download.

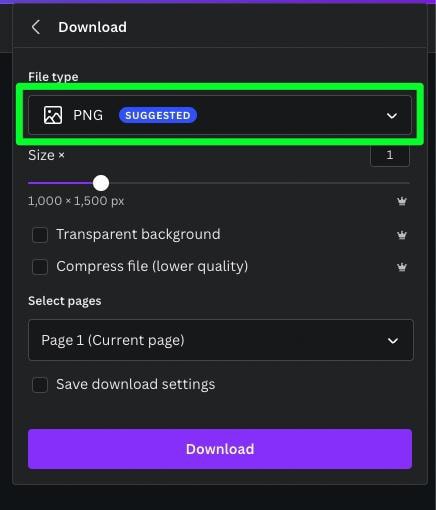
Step 2: Select “PNG” For Your File Type
The first important setting is the file type. To pull off the effect of rounded corners, you need to ensure that the transparency provided by the frame is retained.
To do this, select PNG from the File Type drop-down menu.
PNG will provide the best quality for your image, but more importantly, it’s the only file type that will retain transparency for the effect to work.
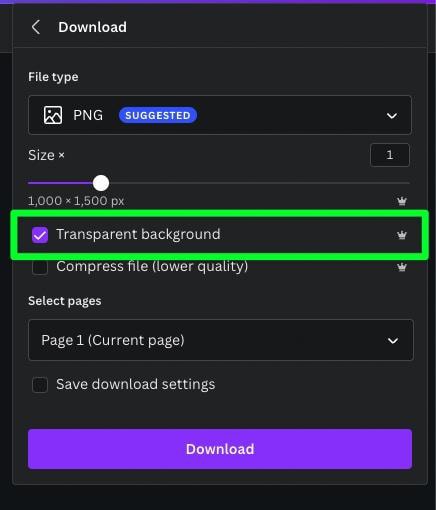
Step 3: Select Transparent Background
Now that you’ve selected PNG as your file type, you can activate the ability to use transparency for your image.
To activate transparency, click on the checkbox next to Transparent Background.
If you forget to check the box, your image will export with a white background, whether you chose PNG or not. Double-check and make sure this box is checked on.
It’s also worth noting that the Transparent Background option is only for Canva Pro users, so you will need a Canva Pro license to export your image with transparency.
Step 4: Click Download
With PNG selected under File Type and the Transparent Background box selected, you can now click the Download button.
You will be prompted to find a location to save the image. Once you do so, click Save to save the image to your hard drive.

Step 5: Check That The Image Retained Its Rounded Edges
Once the image is downloaded to your computer, open it up and make sure that the edges of the image are round.
If the edges of your image are still sharp, you will have to start the exporting process again.