
There was a time back in the day when it would take hours of work to fill a shape with an image. Today, thanks to Canva, you can fill a shape with an image in seconds! The best part is that anyone can do this. It doesn’t matter how new you are to graphic design.
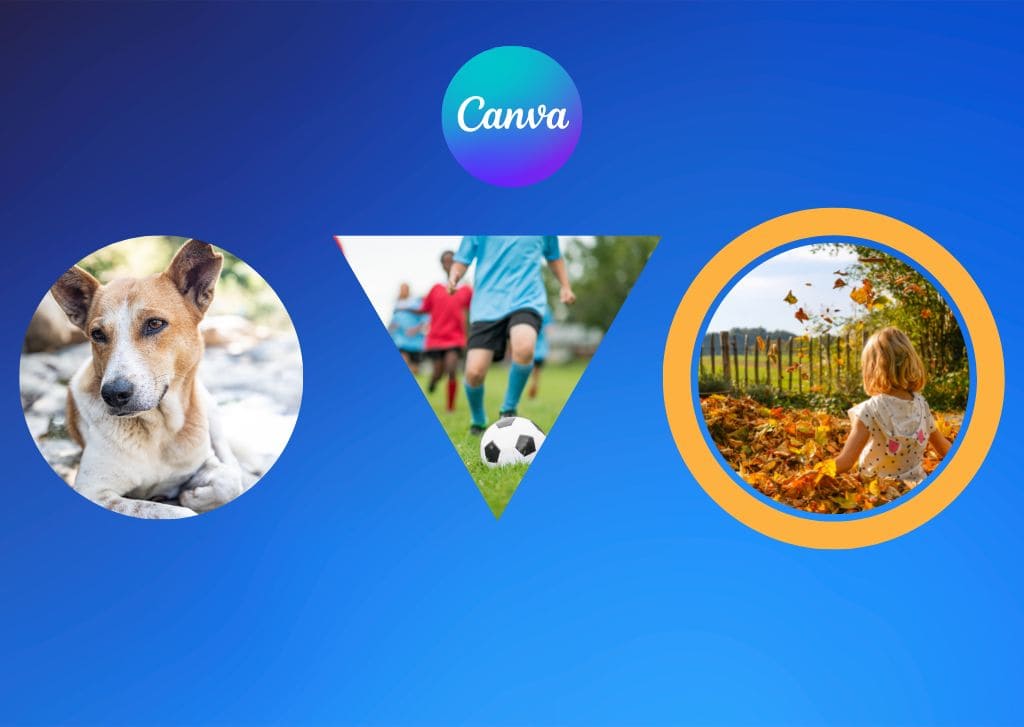
You probably have a picture in your head of how you want your final design to look. You can see your image in the shape of a circle, star, or another shape.
In this guide, you will learn how to fill a shape (known as a “frame” in Canva) with an image, then adjust the image to your liking. You will even learn to add an outline behind your shape for some extra flair to your design.
Let’s get started by first explaining the difference between a shape and a frame, as it’s kind of important to make this process possible.
Frames VS Shapes In Canva
Frames and Shapes may look somewhat similar on the canvas, but these elements are very different in Canva.
Shapes
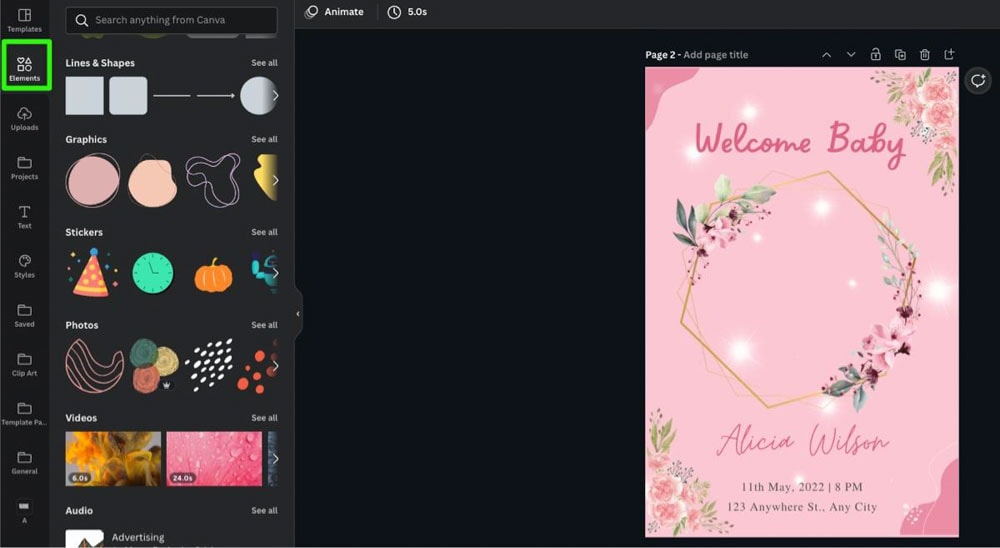
You can pick out a shape by clicking on the Elements tab and scrolling down to Lines & Shapes. You will see five different lines and shapes to pick from at first, but if you click See All, you will be presented with a long gallery of shapes you can use for your project.
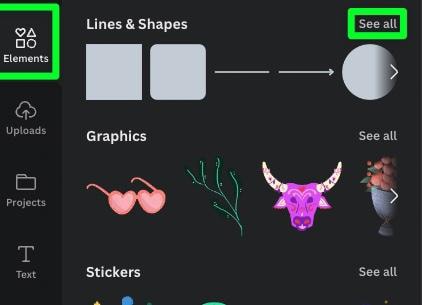
You can add a shape to your canvas just by clicking on it.
When it comes to usability, these shapes are basic, and you won’t be able to add an image inside them. But don’t count out shapes yet. Shapes can help outline frames, as you will see later in this article.

Frames
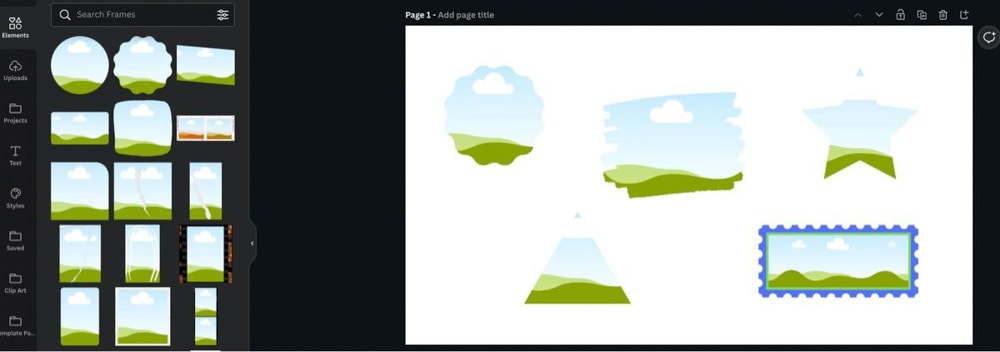
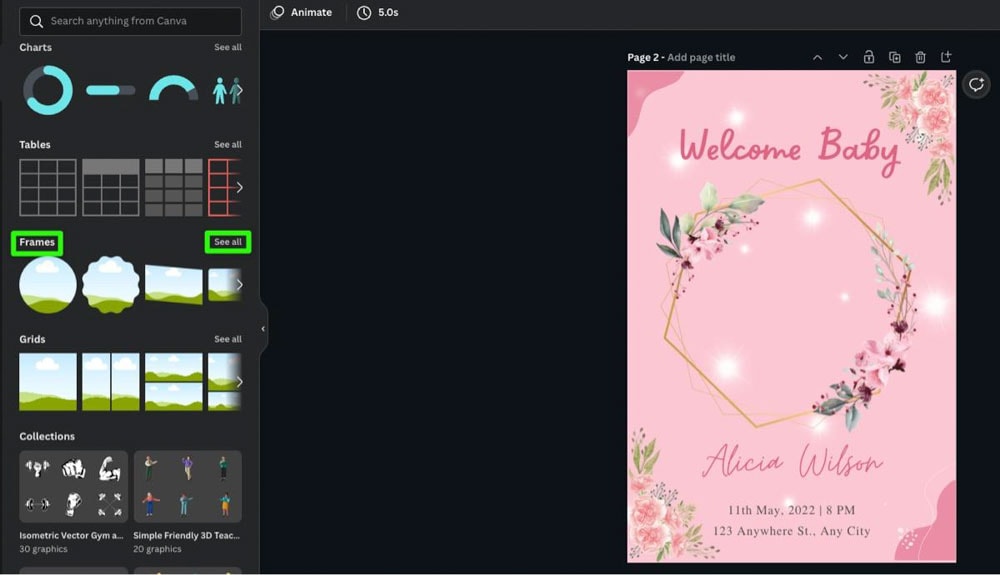
If you scroll down further in the Elements tab, you will find Frames. You will be presented with four different frames at first, but if you click on See All, you will find the entire Frames gallery.
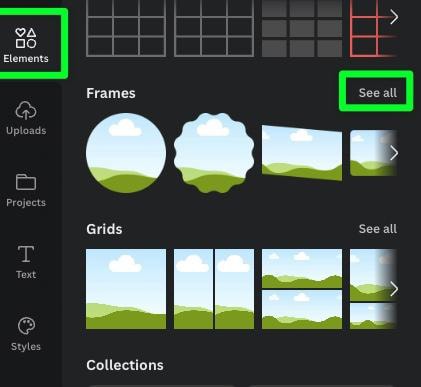
Each one of these frames will have a basic illustration inside of them. These illustrations represent the ability to add your own photos to the frame.
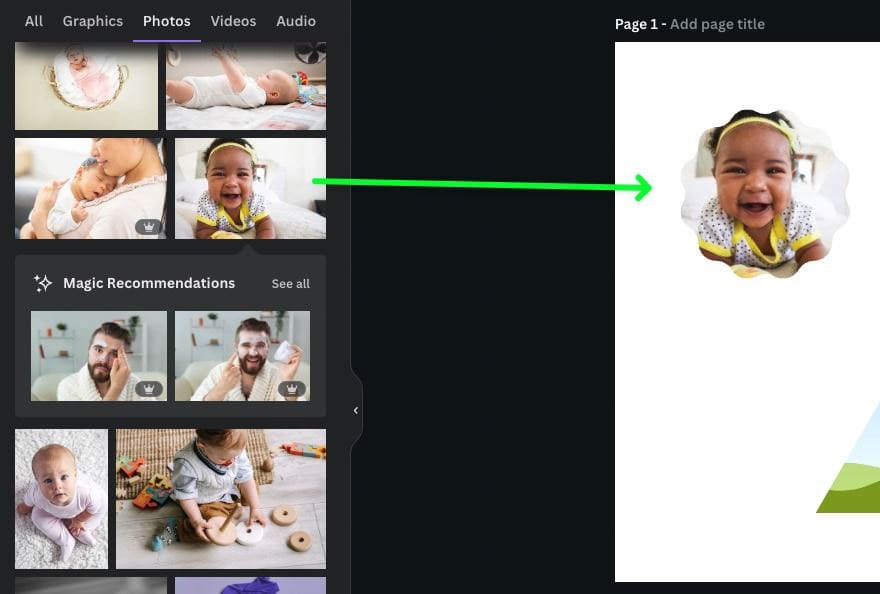
To do this, you must drag your image from the Elements tab to the frame itself. The image will then fill out the frame.
If you’re looking to put an image inside of a shape, then you will need to use frames.
How To Add An Image To Any Shape In Canva
You can add an image to your shape in three simple steps: picking out a frame, picking out your photo, and then dragging your image into the frame.
Step 1: Pick Out A Frame
The first thing you must do when adding a picture to a frame is pick out a frame. To find a frame for your design, click on Elements, then scroll down to the Frames section.
Click on See All for a more comprehensive list of frames.
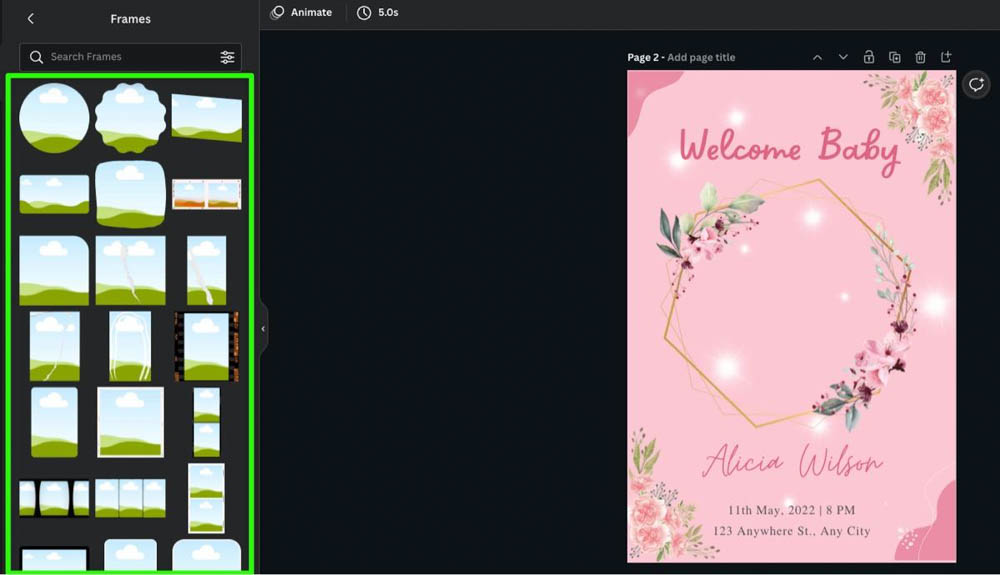
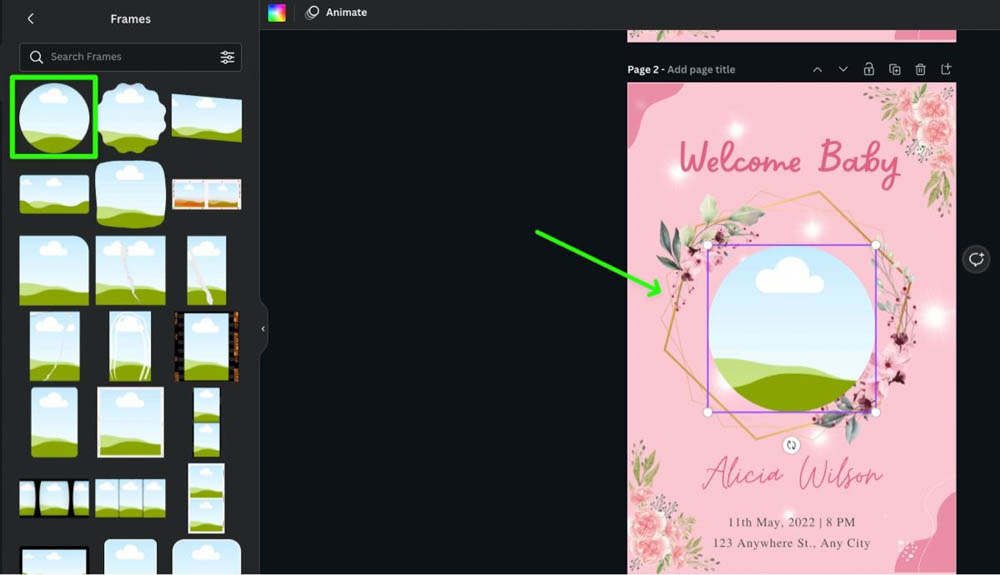
Once you’ve picked the right frame, click on it to add it to your canvas.
Step 2: Pick Out Your Image
If you have a picture in mind to fill in your frame, you can add it to your elements by clicking the Uploads tab and then clicking Upload Files.

You can also find images to use through Canva. Click on Elements to open up the search bar. In the search bar, type in the type of image that you are looking for.
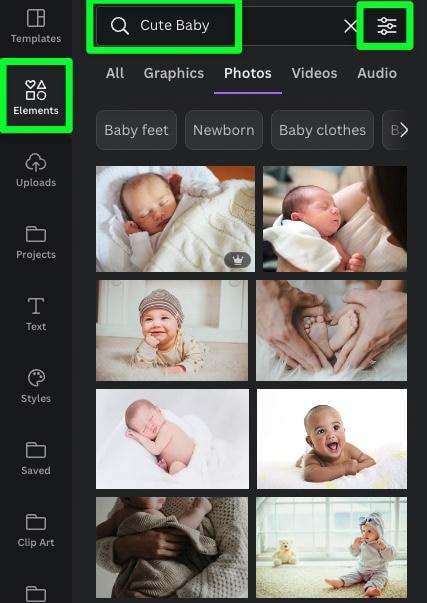
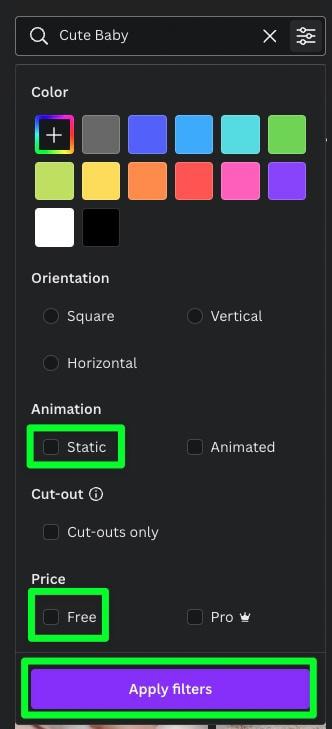
You will find the Options Menu to the right of the search bar. Click on it to narrow your search.
- Under Animation, choose Static. This way, you won’t have to deal with any video or moving images.
- Under Price, choose Free if you are not a Canva Pro user.
- Click on Apply Filters to confirm your choices.
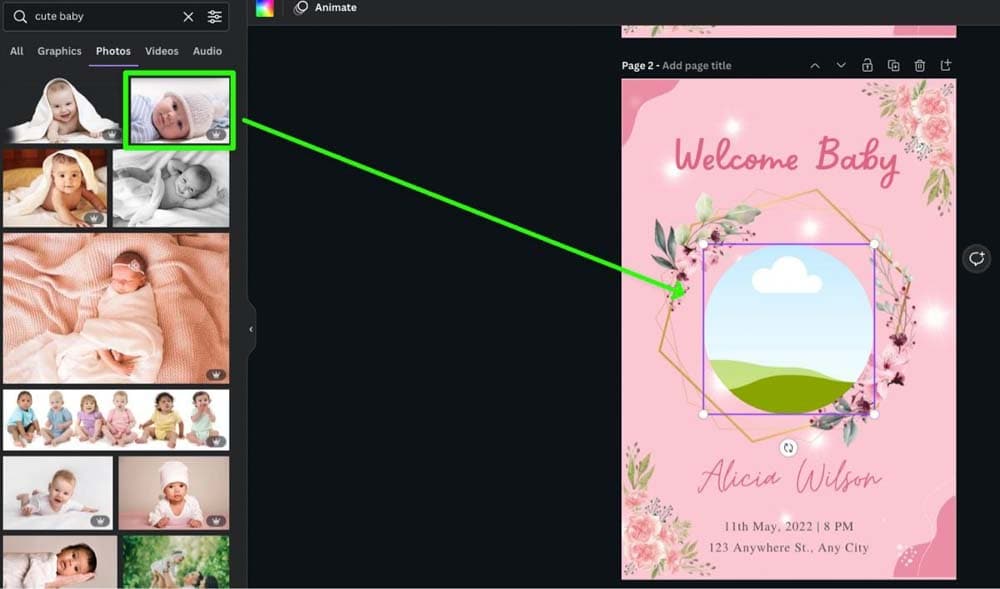
Step 3: Drag Your Image To The Frame
Once you’ve picked your image, you can use it in your design.
To fill in your frame with the image, drag your selected image into the frame. Your photo will automatically fit the frame once you do so.

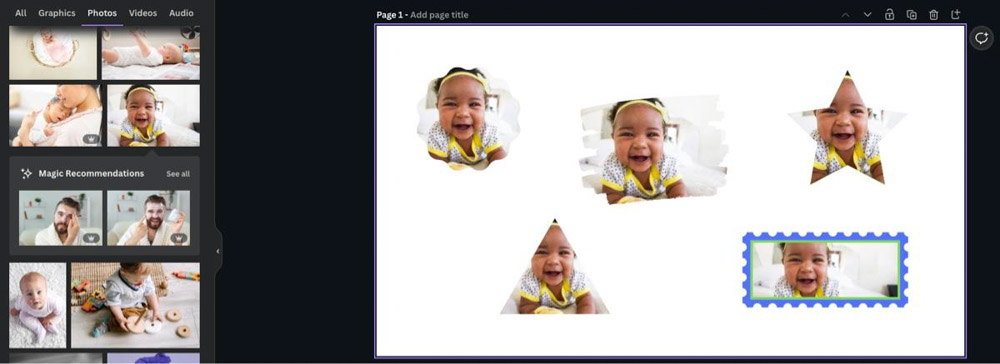
Try Out As Many Shapes As You Need
The thing about using frames with your designs is that you can choose from so many different frame shapes. Before you settle with whatever frame you’ve chosen, try out a few more frames and see which one works the best.


How To Adjust The Crop & Position Of Images Within A Shape
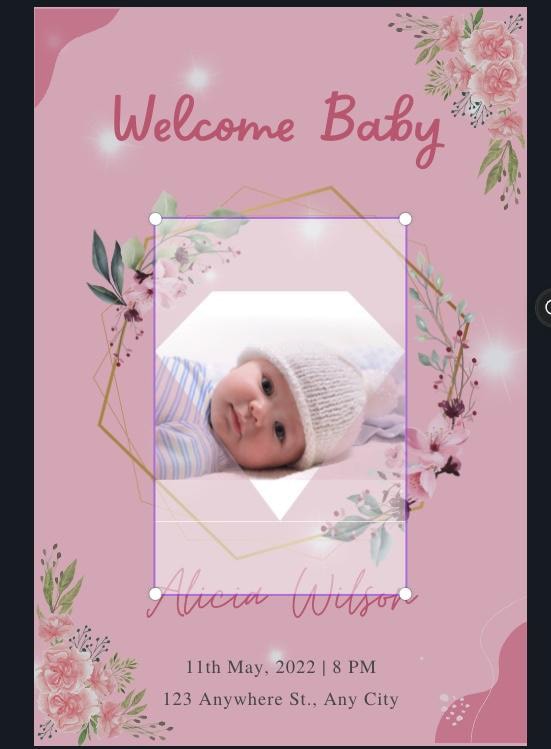
After dragging your image into the frame of your design, you may have noticed that the photo in your frame doesn’t line up exactly how you’d like it.
You can fix this by adjusting the crop and positioning of your image and frame.
Double-click the frame itself. You will see a complete, slightly transparent version of your image from within the frame. You can now move your image back and forth to adjust the placement of the image in your frame.
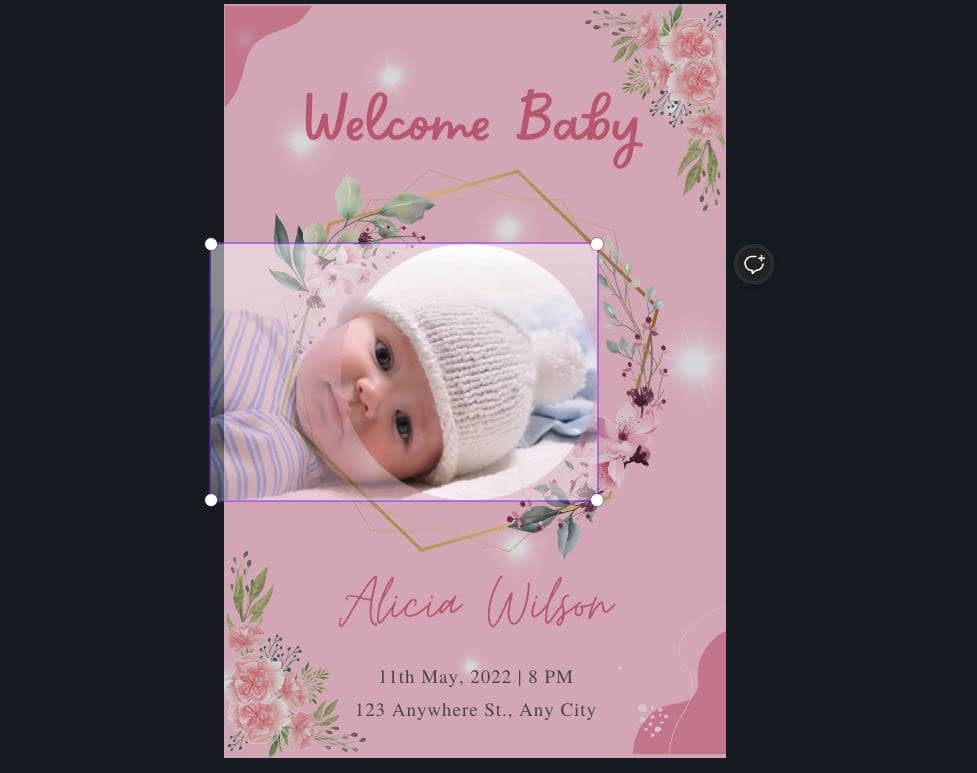
Adjust the image where you’d like it. Click on the canvas to confirm your adjustment.


You might notice that you will be limited in how much you can adjust the image and how zoomed in the picture looks.
There’s a trick to fix this. If your image isn’t fitting in your chosen frame, you can expand the original image to give you more wiggle room while adjusting.
There are many ways to do this. A quick way is to click the Add a New Page button to add a new page below the one you’re working on.

Add the original image to the new page. Size the image to fit the left and right of the page.
The most important part about doing this is the extra space at the top and bottom of the image. This space is how you will adjust the picture how you want it in the frame.


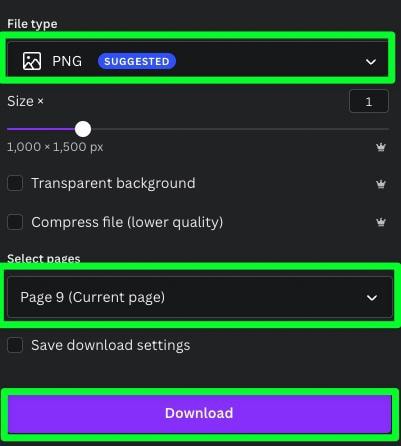
Once you are ready, click on the Share button and the Download button.
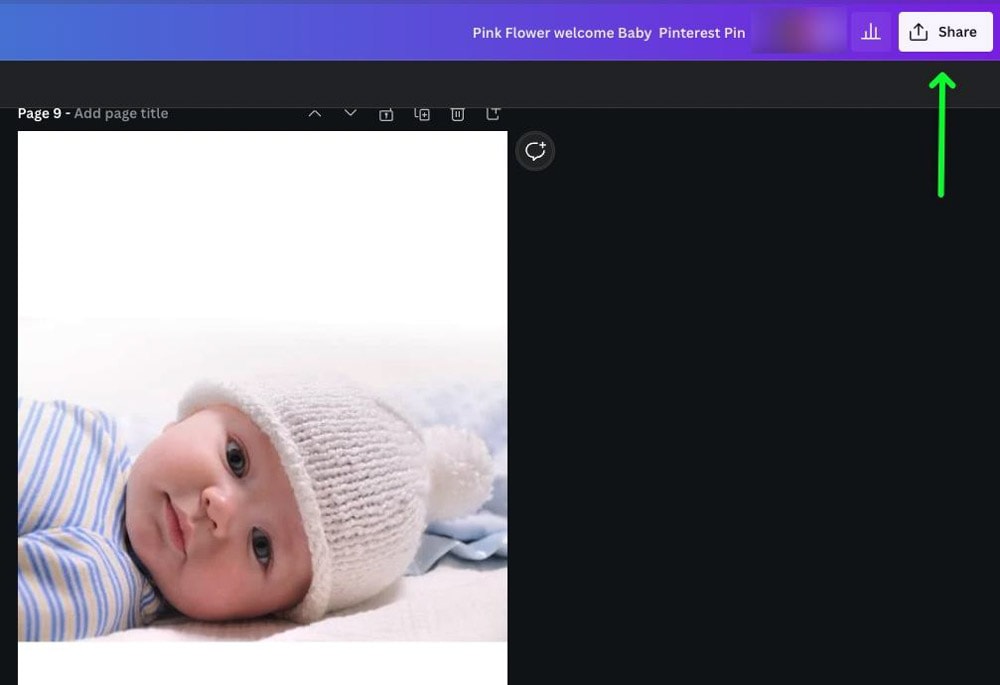
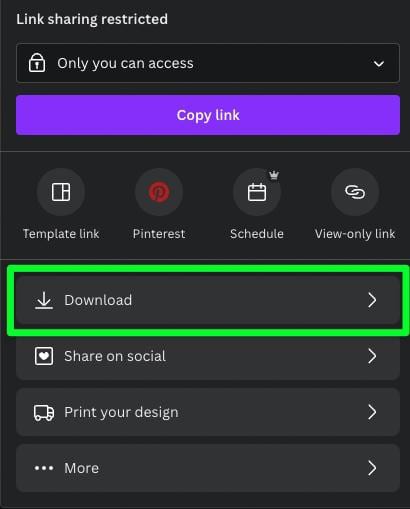
As far as the options go, ensure you have PNG selected under File Type and Current Page selected under Select Pages. Click on Download when you are finished.
When you hit the Download button, the image will end on your hard drive. Drag the image from your hard drive to the Uploads tab in Canva.
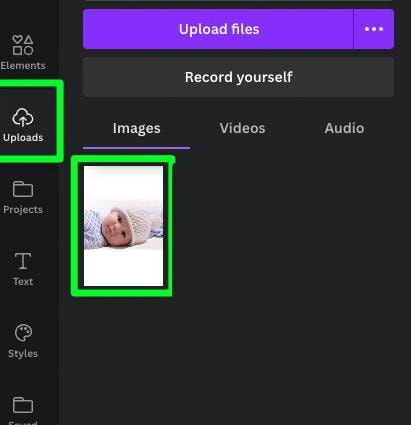
Next, drag the newly uploaded image into the frame on your canvas.
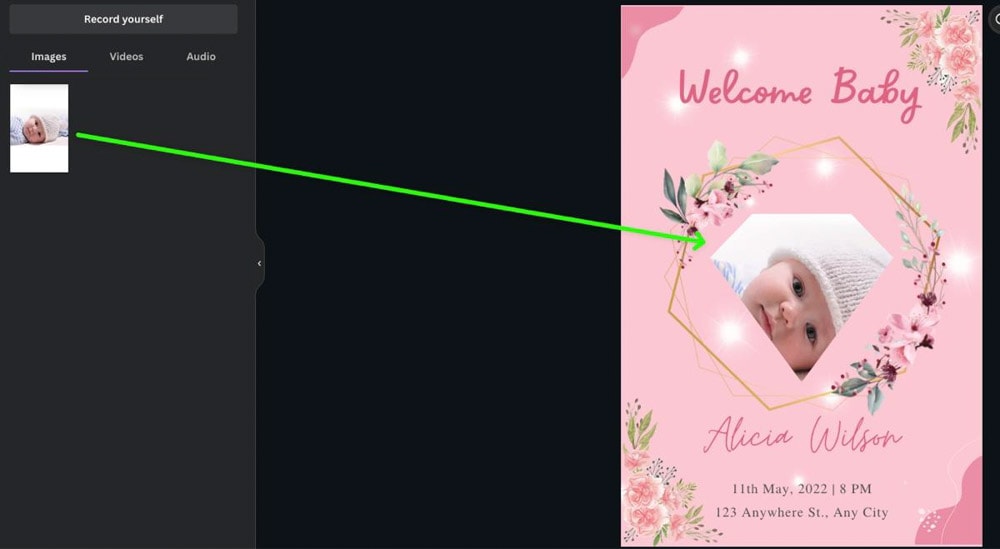
You should notice a difference in the frame right away. Don’t forget to adjust the image by double-clicking it. You should be able to adjust the image to where you need it.


Doing this trick will work for adjusting your image. However, every design is different; some will have different requirements to pull this off.
How To Resize An Image & Frame In Canva
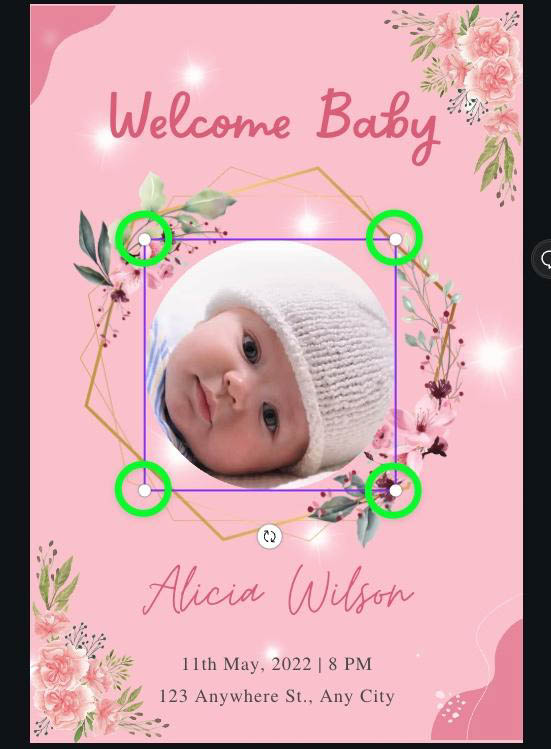
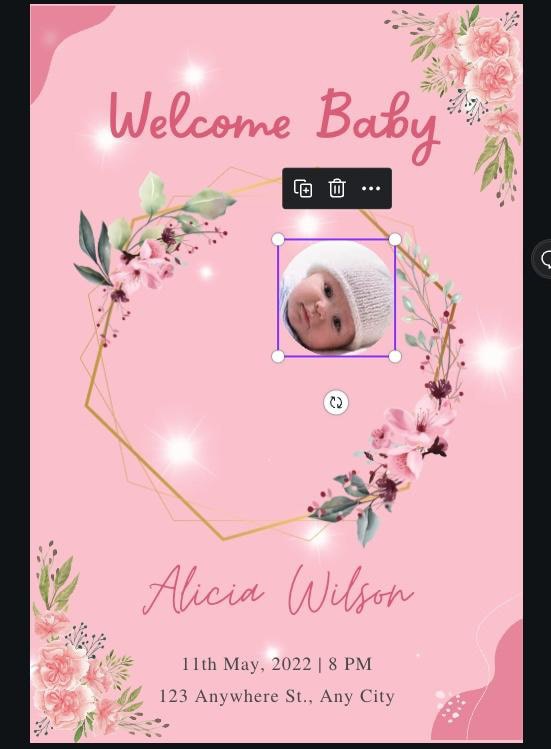
What if the frame itself needs to be a different size? Are you stuck with that size forever? Of course not! You can easily change your frame size by clicking on it and dragging the corner handles.
Dragging one of the corner handles away from the image will expand the frame. Dragging the corner handle toward the image will shrink the frame. The image automatically resizes with the frame.
Once you resize your frame, you can do many different things. Let your imagination run wild.

How To Outline An Image Cropped To A Shape
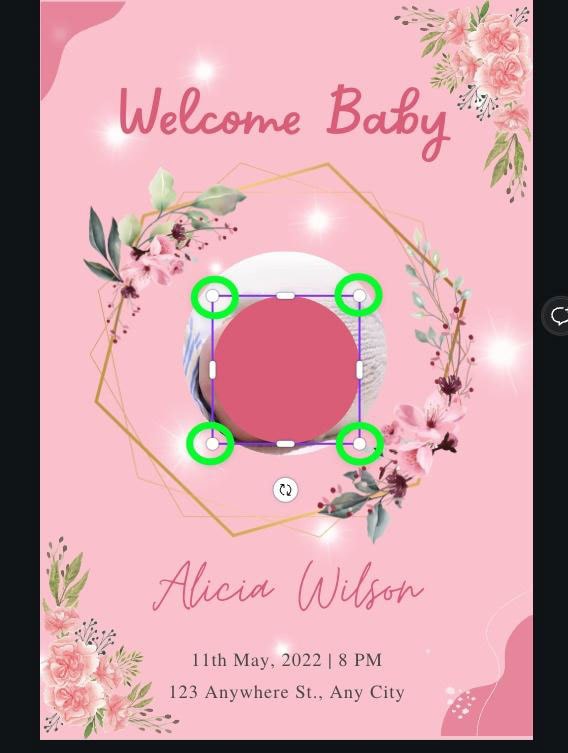
When outlining your image, you will need to go back to the shapes. Click on the Elements tab, then choose a shape from the list that best matches the shape of the image on your canvas.
Remember, you can click See All to see the complete list of shapes available. Click on your chosen shape to add it to your canvas.
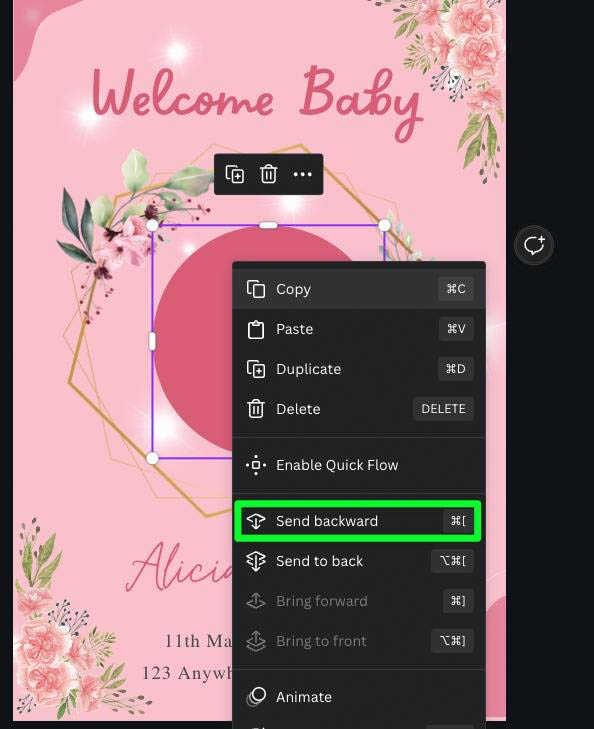
Once your shape is on your canvas, click on it to reveal the corner handles. Stretch the shape out, so it’s slightly bigger than your image. Then, right-click on the shape and choose Send Backward, or press Control + [ (Win) or Command + [ (Mac). This will send your outline behind your image.

The size of the outline has yet to be finalized. You can further change the shape’s size by clicking it and using the corner handles to enlarge or shrink it.

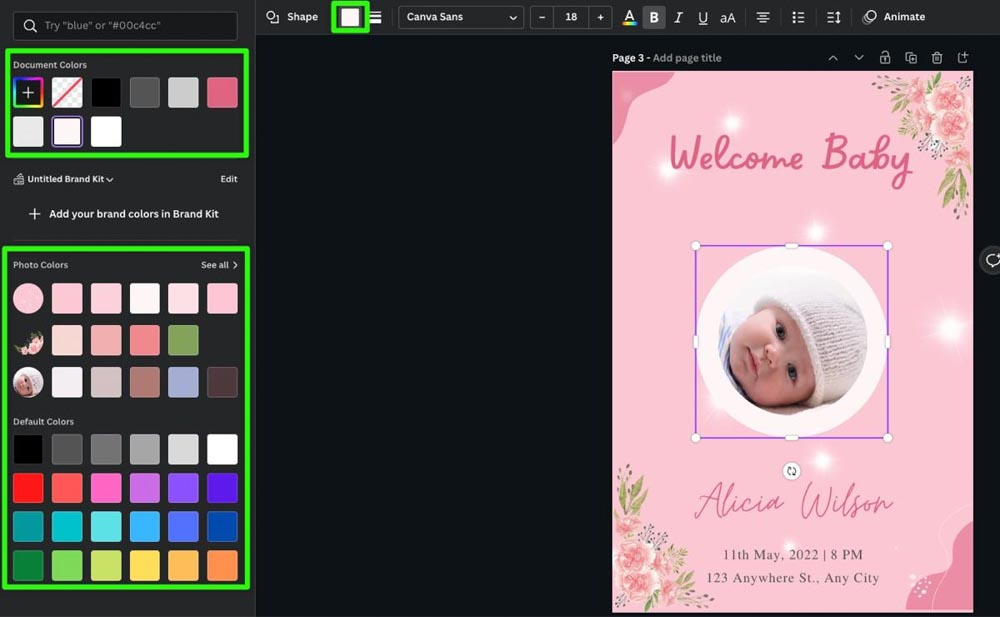
Once you are happy with the size of your outline, you can change its color at any time. Just select the shape and then click on the Color Picker Icon.
You will be presented with several colors for your outline.