


If you want to create a customizable and printable calendar to get your life back in order, Canva is one of the easiest tools for the job. Whether you’re working from one of the many calendar templates or building one from scratch, the perfect calendar only takes a couple of minutes to make.
In this tutorial, I’ll show you where you can find the template that fits your personality. Plus, I’ll show you how to make a calendar from scratch using Canva’s easy-to-use design tools so that you have as much power over your calendar’s design as you want.
And yes, following these steps below will make your calendar large enough for printing as well!
How To Create A Calendar In Canva Using Templates
If you’re looking to make a calendar as quickly as possible, there’s no better place to go than the templates section in Canva.
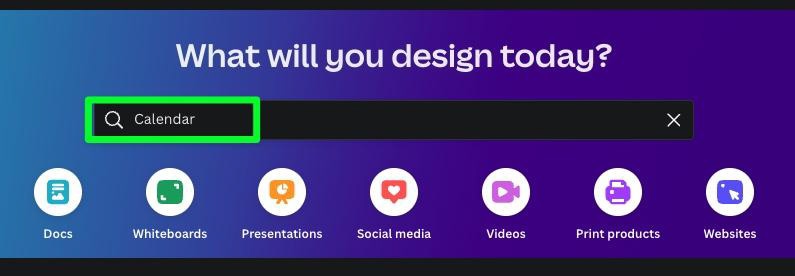
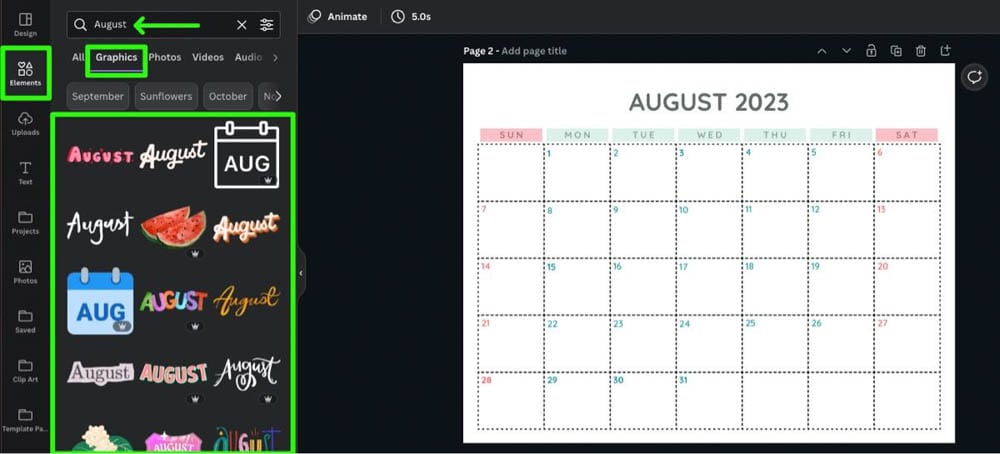
To find the perfect template to mold your calendar out of, click inside the search bar on the Canva Home page. Type in Calendar or Calendar templates.
You will be presented with thousands of calendar templates to choose from. Over three thousand, in fact.
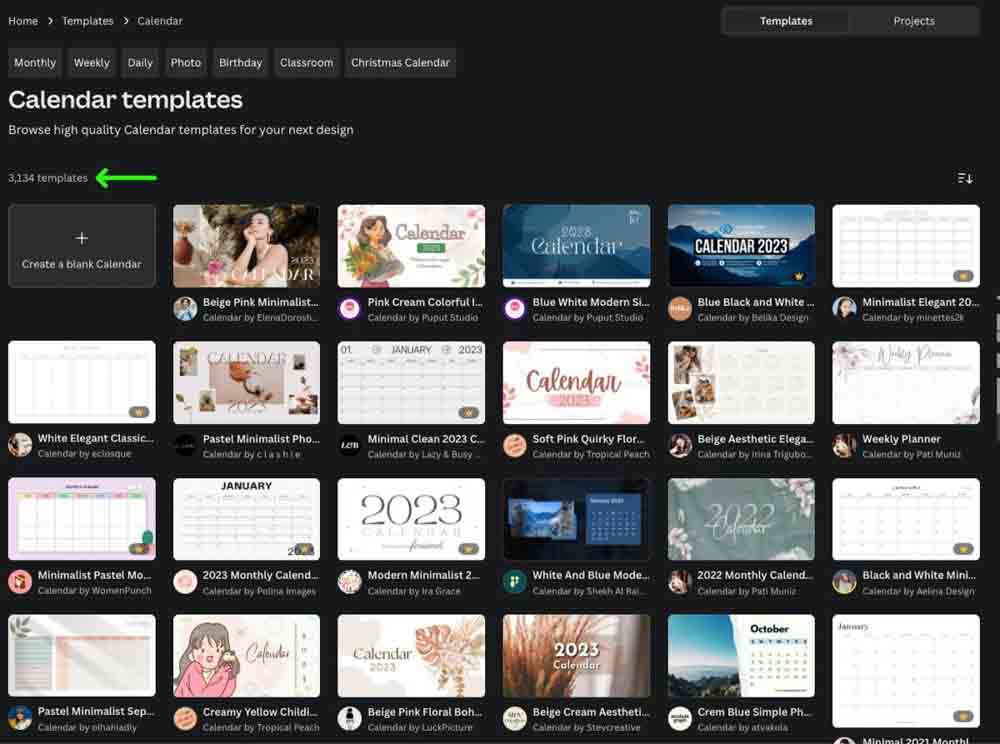
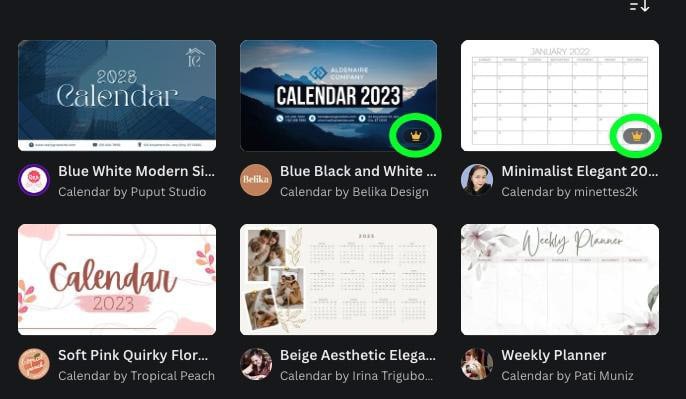
A Quick Warning: Not all of these templates are free to use. If you’re a free member of Canva, you might want to think twice when clicking on a template with a gold crown in the corner. This crown means that the template is for Canva Pro users.
All of the templates can be used if you have no plans on selling the finished calendar. Instead, if you just want it for social media designs or a printable calendar for at home, you’re in the clear. If you plan to sell any of your calendar designs, you must create it from scratch using your own unique design.
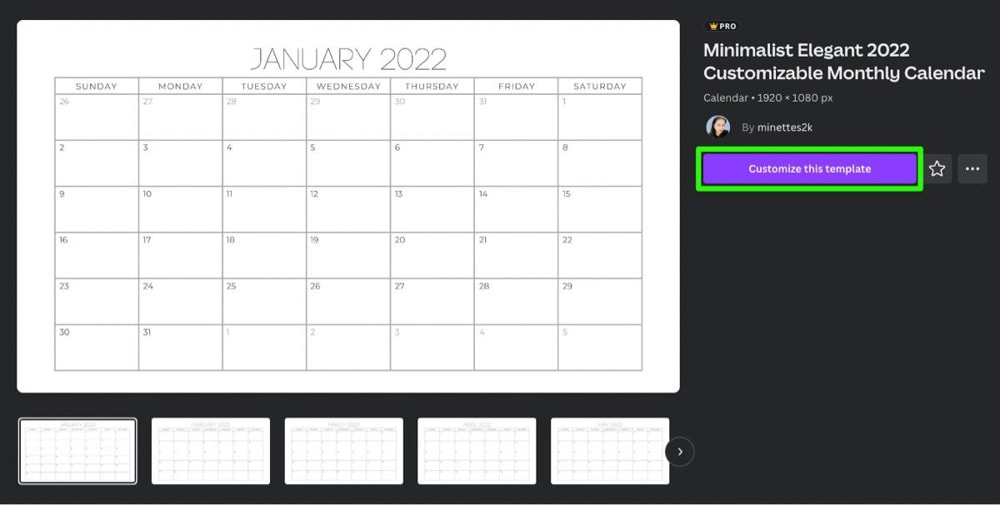
Once you’ve found the template that works for you, click on it. A preview window will pop up, giving you a better look at your template. Click Customize This Template to open the template in a separate tab.
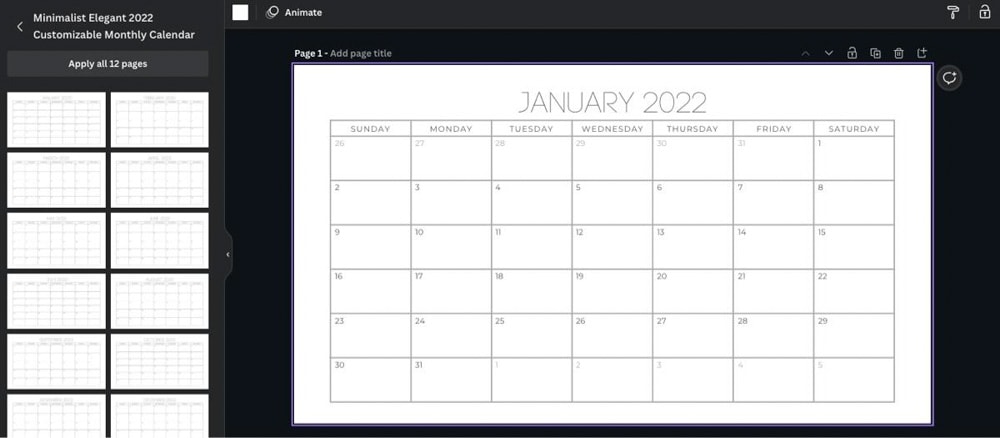
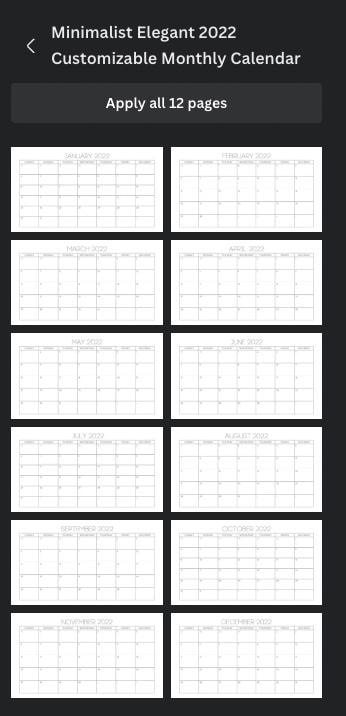
One of the first things you’ll notice in the side panel is how all the pages are stacked. This side panel will make it easier for you to navigate to each page while making your edits. Just click on the month you need to edit and start editing.
Now that you have a template, what are some ways you can make it your own?
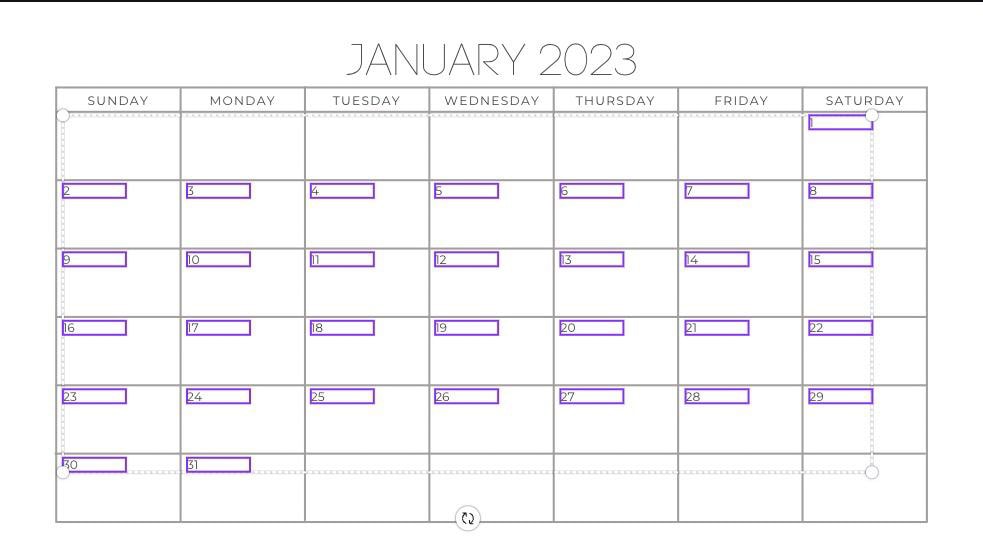
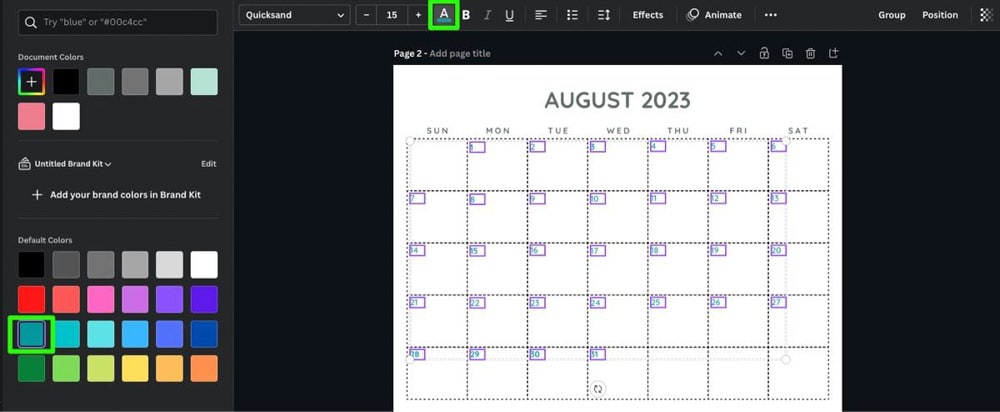
For one, you can change or delete any number you want to. For example, if you don’t like the numbers of other months bleeding into the month you’re working on; you can easily select each one, then tap the Delete key.
Also, remember that you can hold down the Shift key to select multiple text blocks before deleting them.
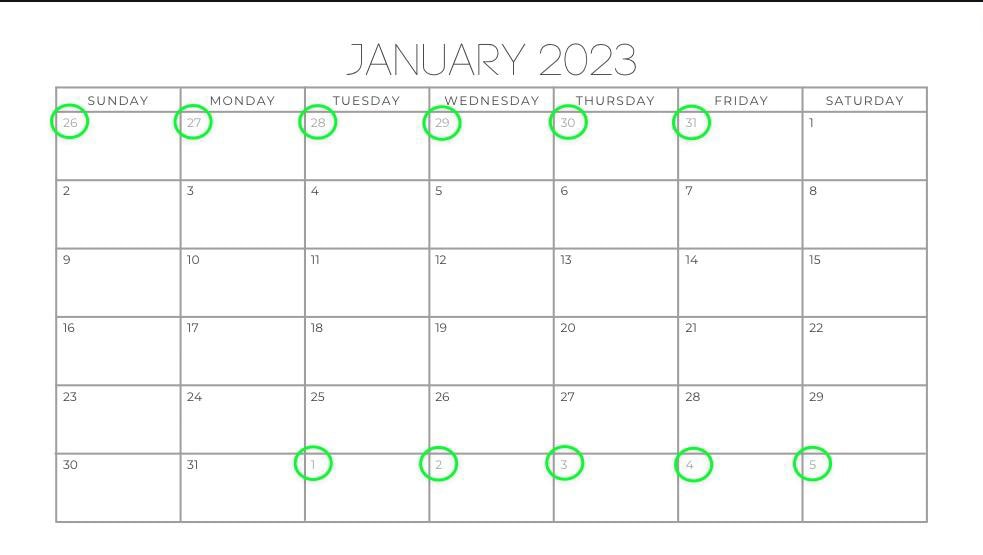
Speaking of selecting multiple text blocks, if you want to change the look of all the numbers on your template, make sure you hold down the Shift key while you click on each one. This will save you a whole lot of time.
Once you have selected all the numbers, you can use the settings bar above the canvas to change the appearance.
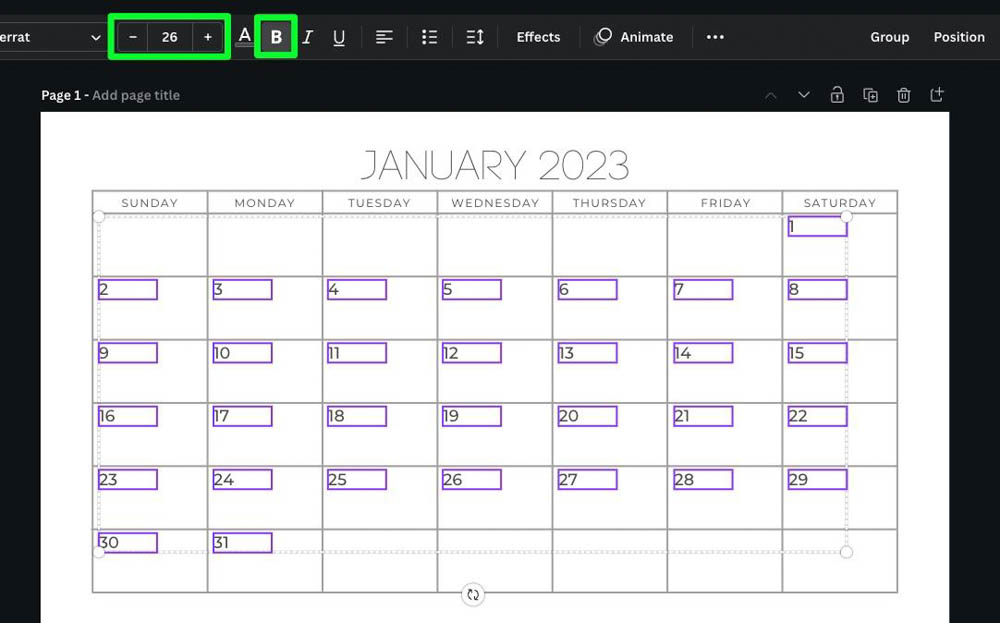
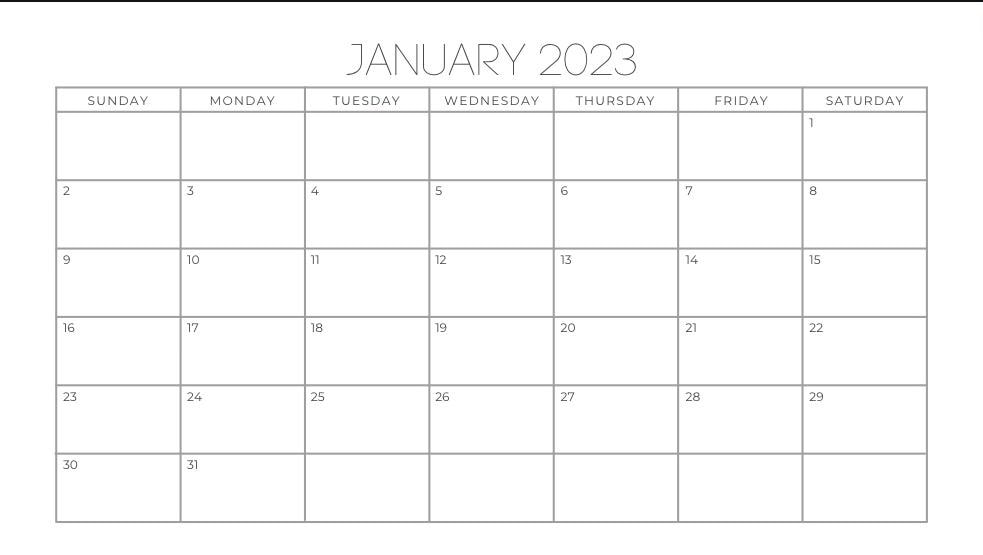
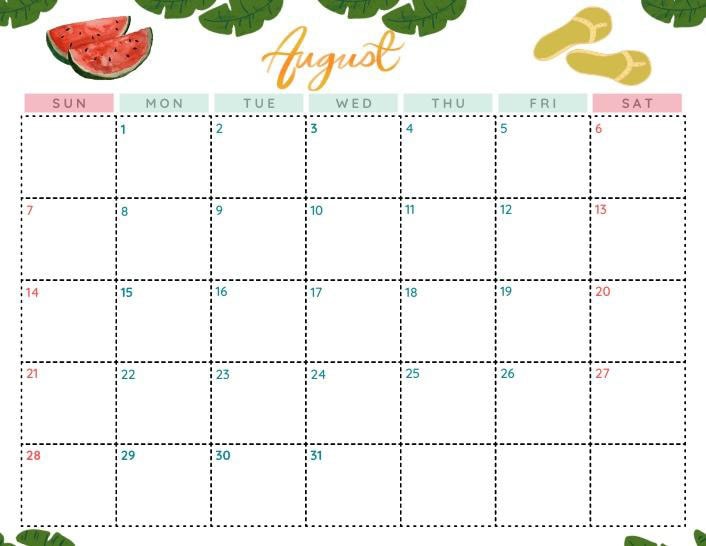
You can also select any text on the template and change the font by clicking the Font Picker in the settings bar.

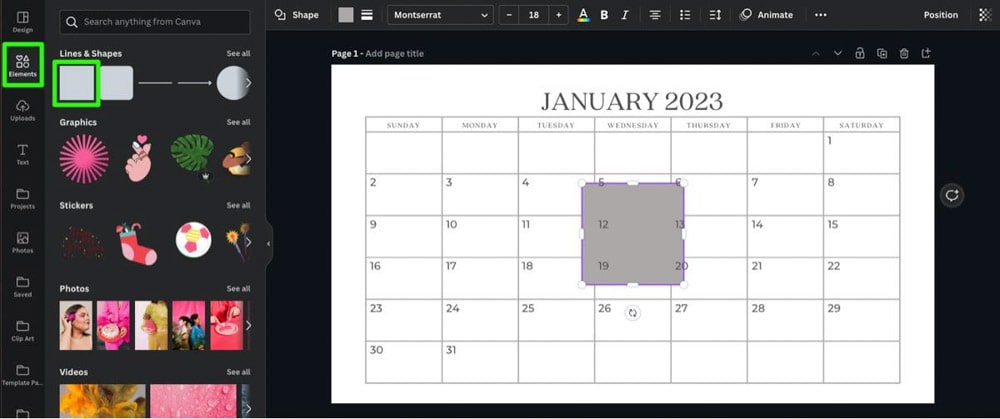
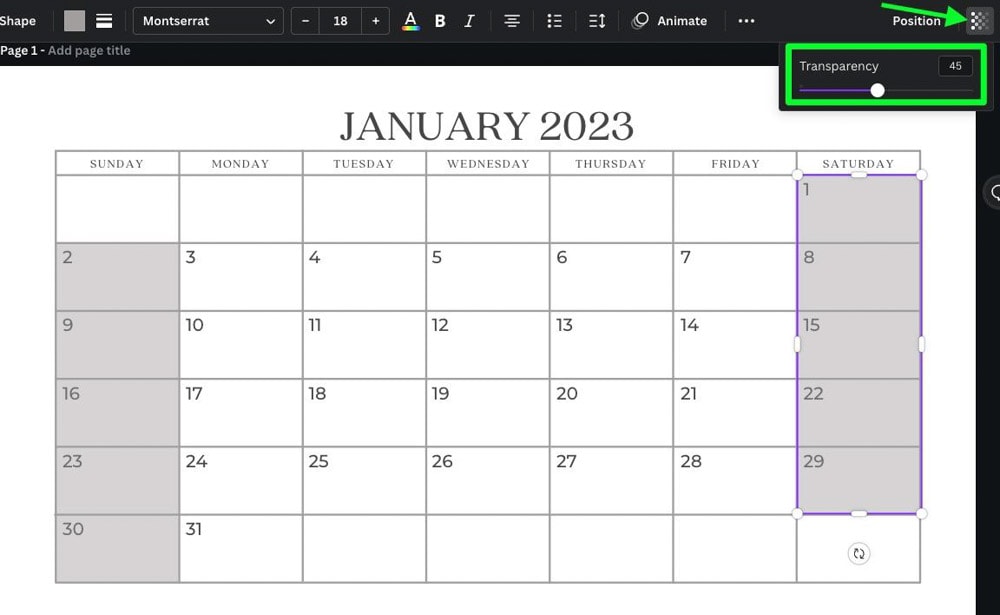
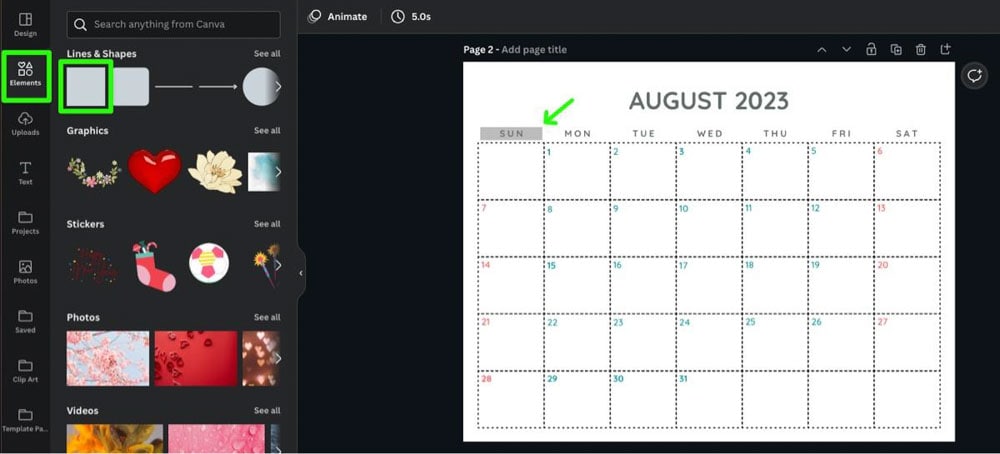
Another common way to customize a calendar template is with some basic shapes. You can do this by clicking on the Elements Tab, then scrolling down to Lines And Shapes.
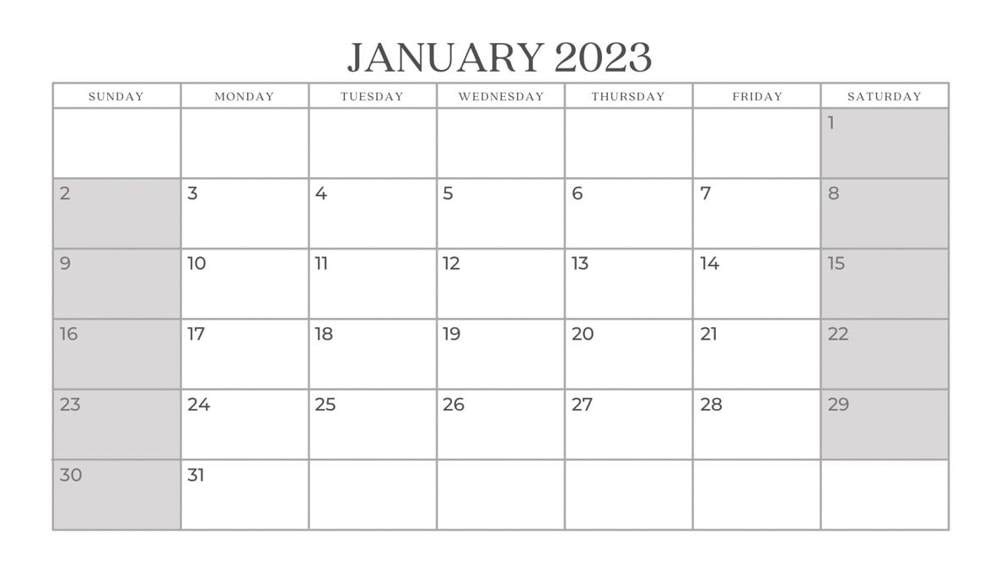
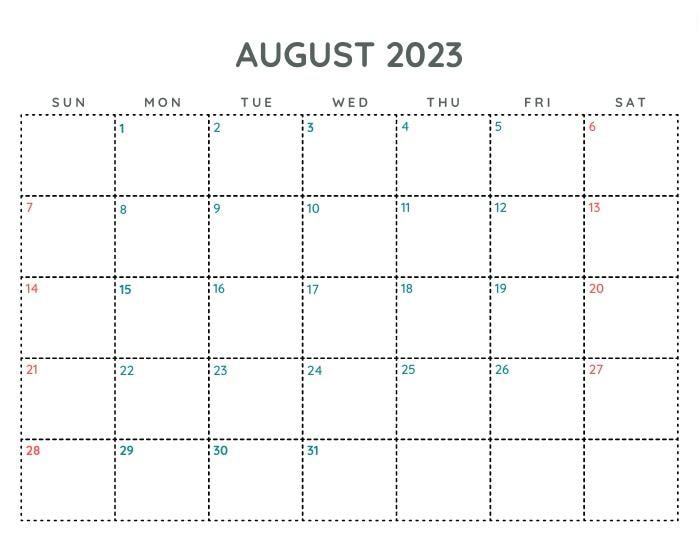
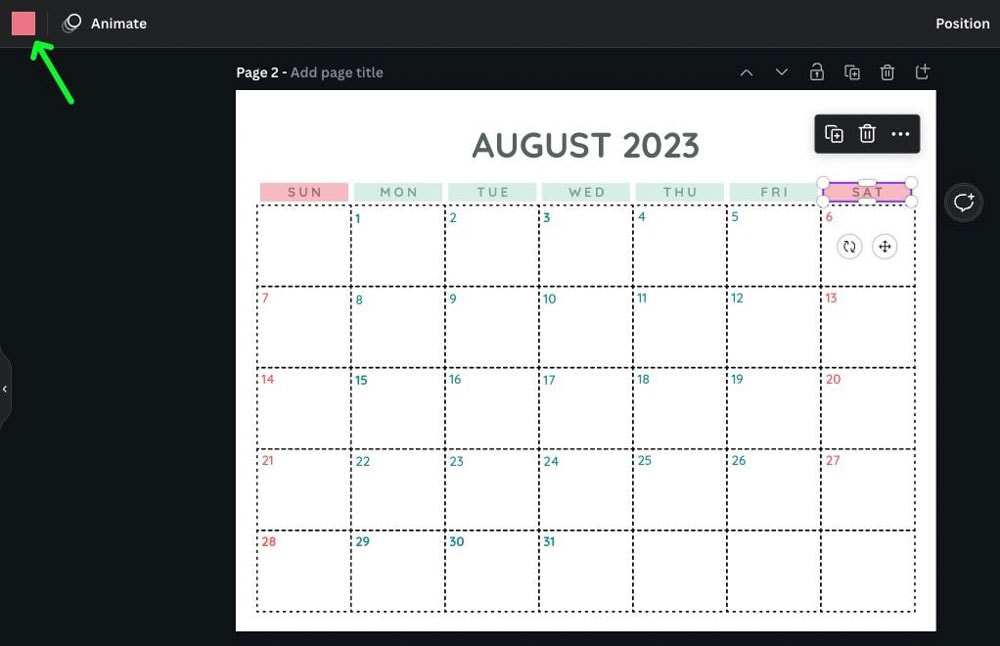
It’s always impressive how just a few basic shapes can transform an entire design for the better — for example, highlighting the weekends with a rectangle.
Also, remember that you can click the Transparency Icon to lower your element’s transparency.
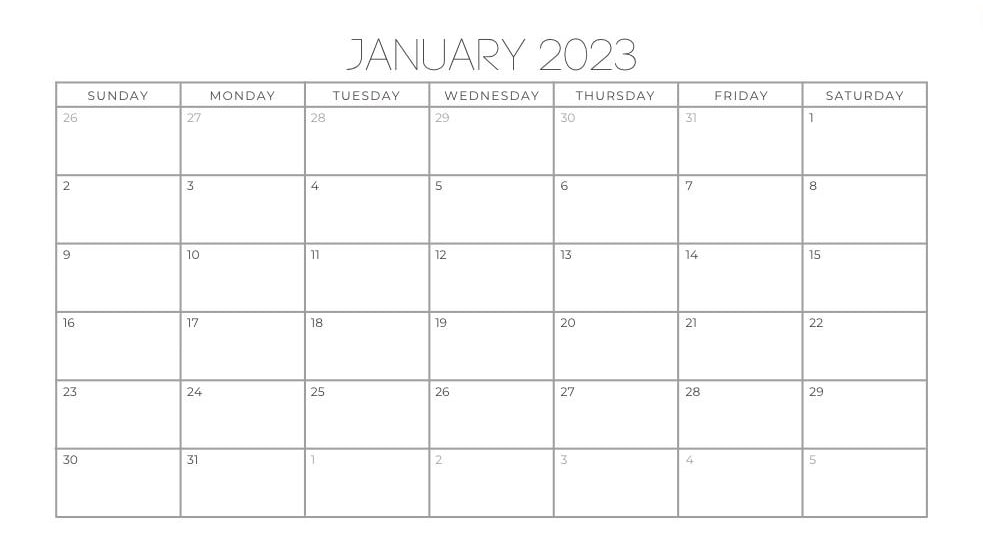
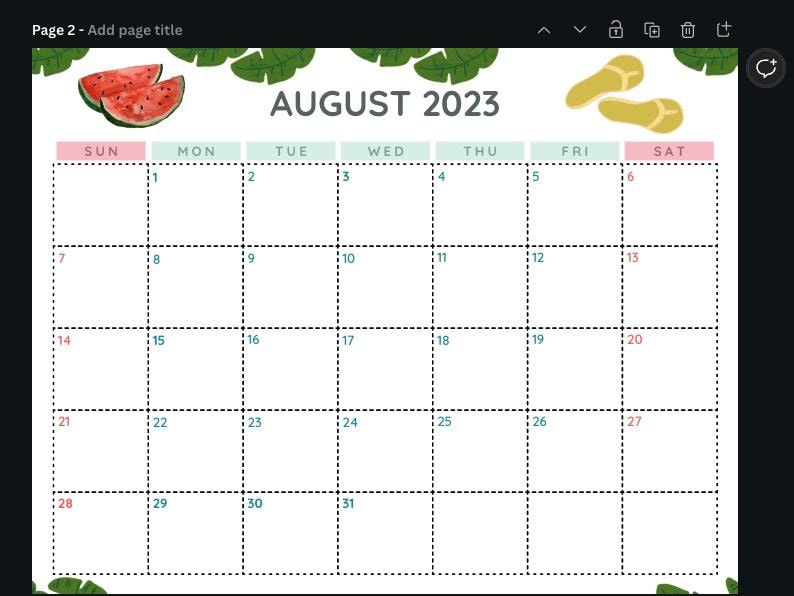
From here, you can add other graphics to spruce up the page, but I’ll get more into that in the following section. You can see the difference a few quick changes to your template can make.
As you browse all of the different Calendar templates, you’ll notice that some templates have placeholder images as part of the template itself.
You can swap these placeholder images quickly by clicking on the Elements tab and using the search bar to find the type of photo you’re looking for. Then, drag the picture from the Elements panel to the image on the template.
You can also do this with photos you’ve previously downloaded into Canva.

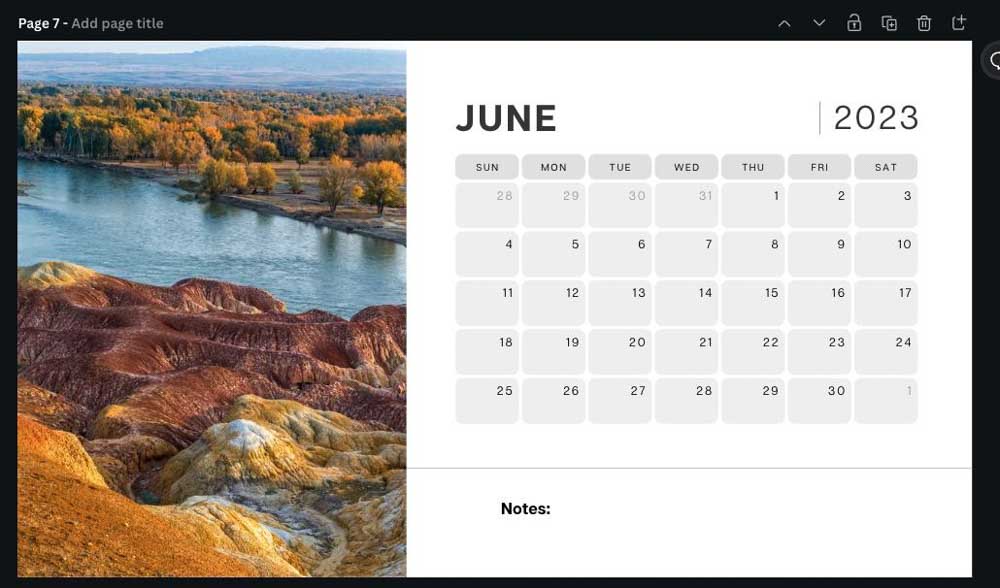
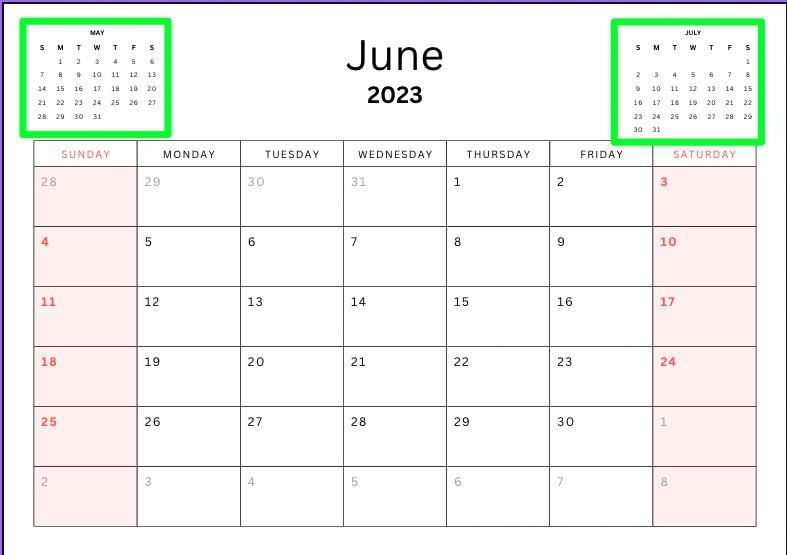
There are so many things you can do on your calendar, such as adding a border, a QR code linked to your website, or adding wavy text. Browsing through the templates is also a great way to come up with cool ideas for creating a calendar from scratch. For example, this template has an at-a-glance preview on each side of the page.
How To Make A Printable Calendar In Canva From Scratch
Customizing a calendar template is great for creating a calendar quickly, but if you’re the type of person who needs to get nitty and gritty with it, you can create a printable calendar in Canva entirely from scratch.
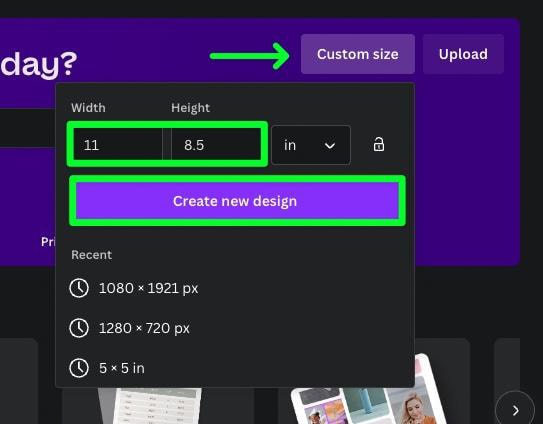
Step 1: Set Your Design To 11 X 8.5 (A4)
Since you’re not using a template with a size already picked out, it’s up to you to choose the size you want your calendar to be.
To do this, click on the Custom Size button at the top right corner of the page.
The average A4 page size in many countries, including the United States, is 8.5 x 11 inches. This design size will ensure your printed calendar will fit an entire piece of paper.
For the Width, type 11. For the Height, type 8.5.
These numbers will depend on the country you live in and the size of paper you plan to print on. Just flip the numbers so that the canvas you work on is horizontal.
After you input your numbers, click the Create New Design button.
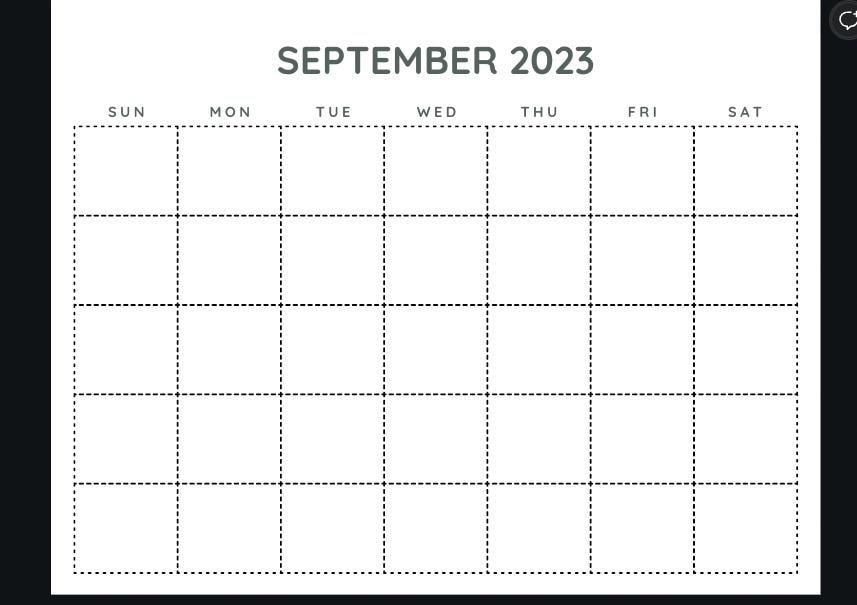
Step 2: Add Your Calendar Grid
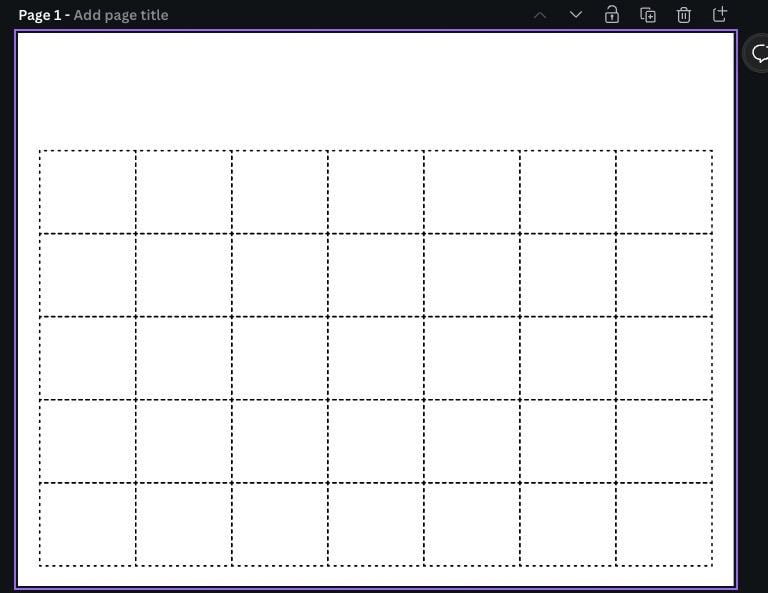
Now it’s time to add the main element to your calendar, the grid.
If you want to make this calendar entirely from scratch, go to the Elements page, scroll down to Shapes & Lines, and build a grid yourself.
Just keep clicking the line you want as many times as needed and move them in place to form a grid.

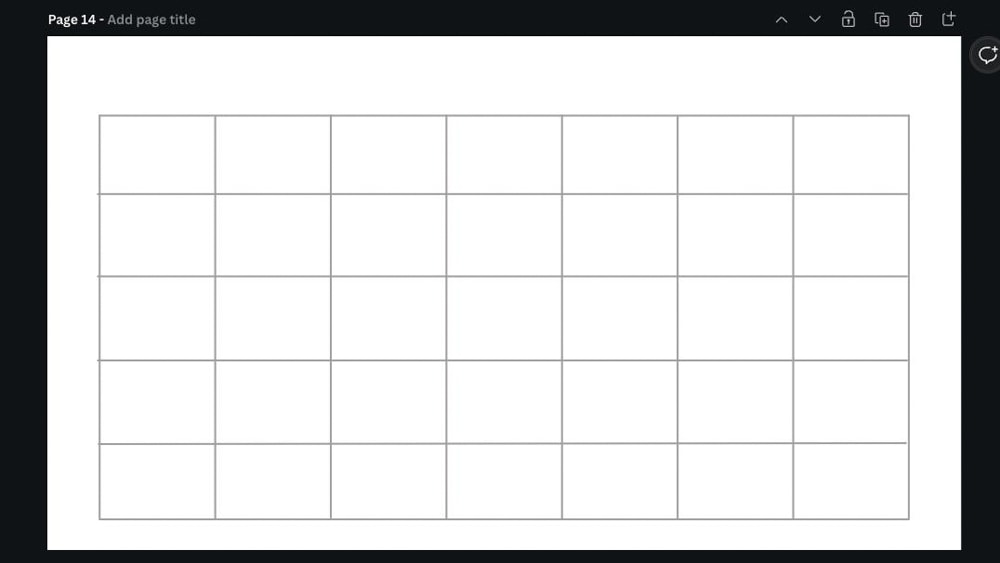
Making a grid this way is perfect if you want complete control of where your lines go.
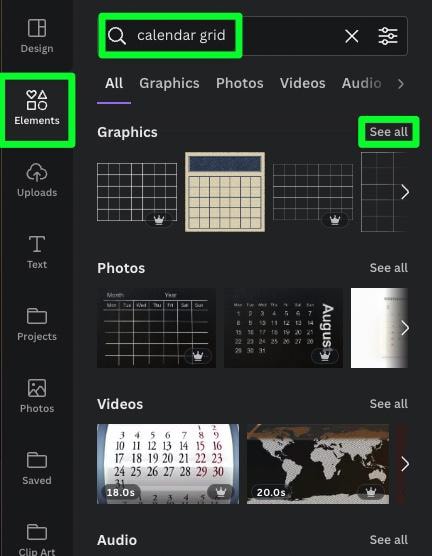
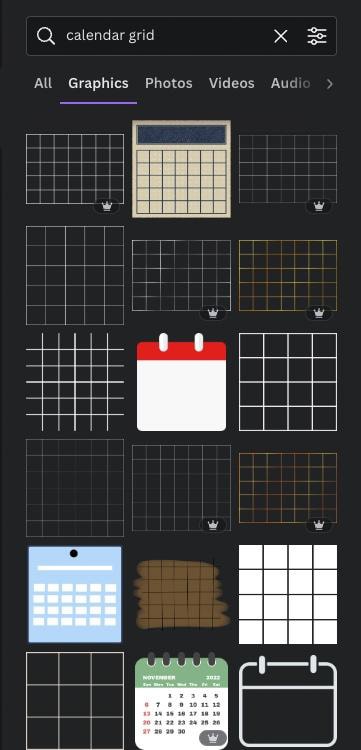
Alternatively, if you don’t need complete control and don’t mind just throwing a pre-made grid down, click on the Elements tab, then search for Calendar Grid. Click on See All to see all of your options.
Click on the grid that matches your style.
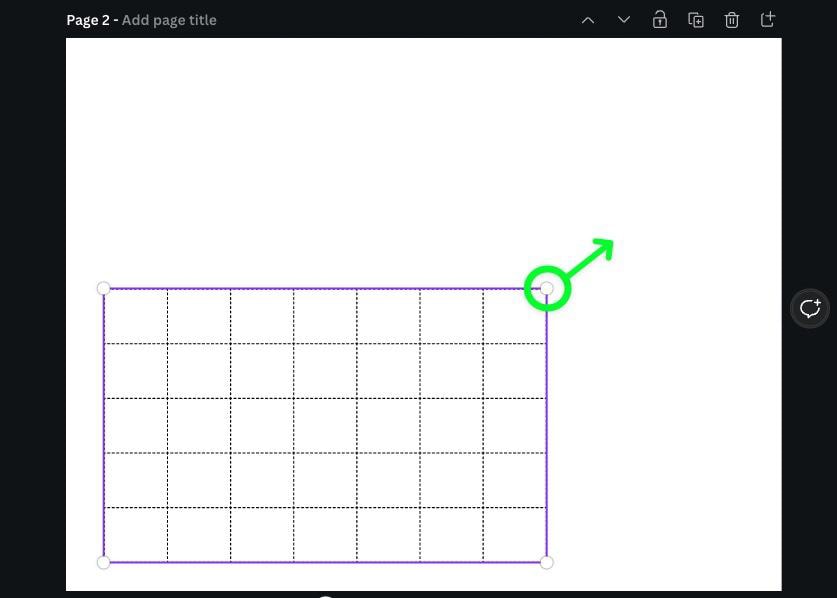
Once your grid is on your Canvas, you can adjust its size by selecting it, then using one of the Corner Handles to make it bigger or smaller.
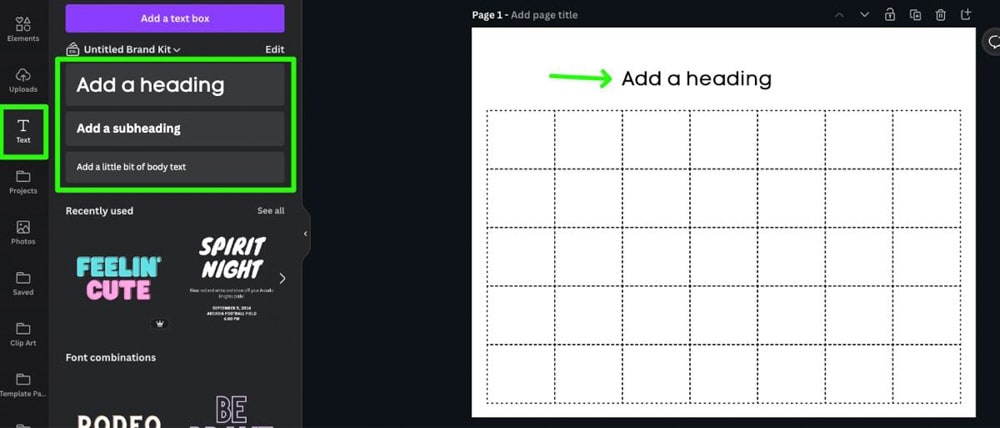
Step 3: Add Your Text
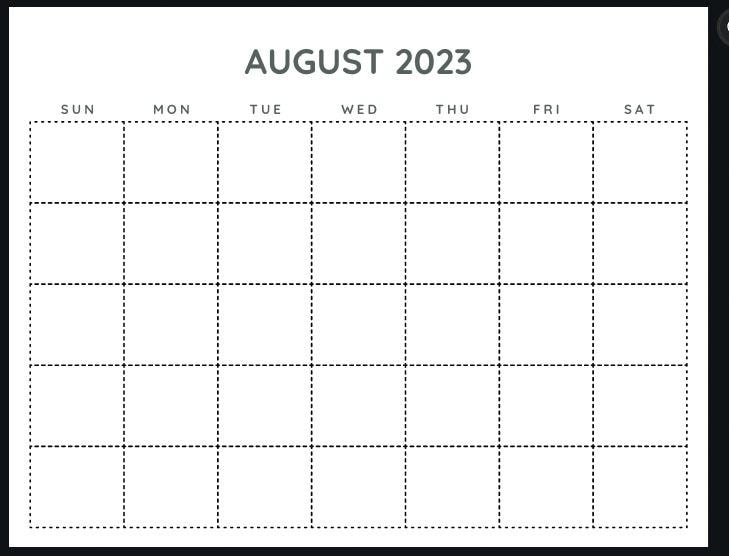
A calendar wouldn’t be a calendar without the days and the month.
To add these required pieces of text, click on the Text tab to open your options. From there, you can pick the text size you want by clicking Add A Heading, Add A Subheading or Add a Little Bit Of Body Text. You can also press T to add a quick block of text.
Once you lay down your text, you can use the options bar to customize it.
- You can change the font with the Font Picker.
- The size of your text with the size controls.
- The color of the text with the Color Picker.
- Also, you can Bold, Italicize, and Underline your text.
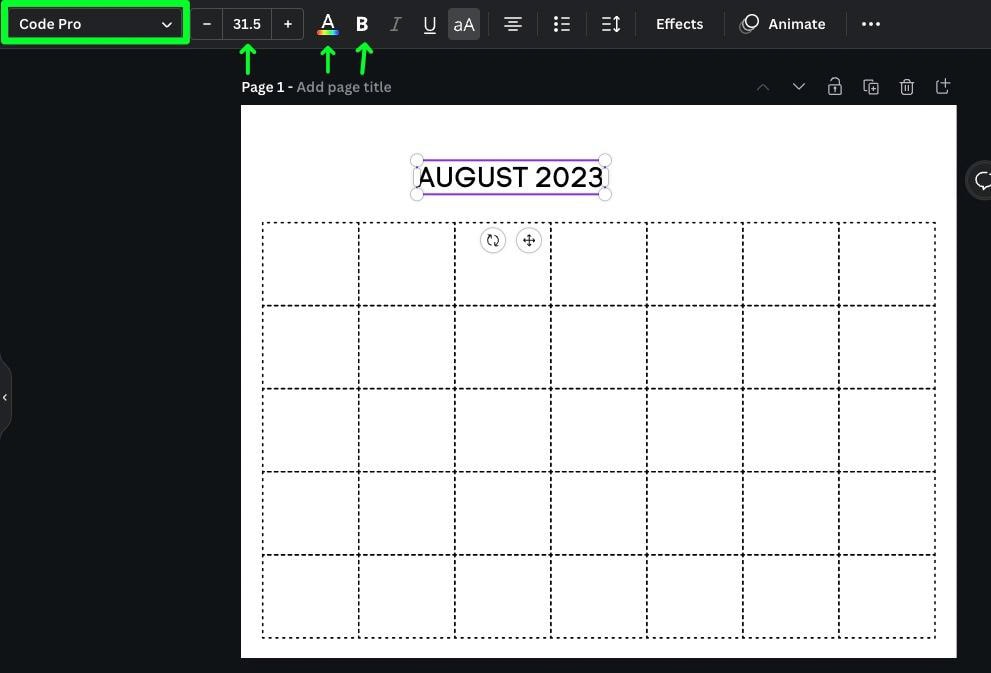
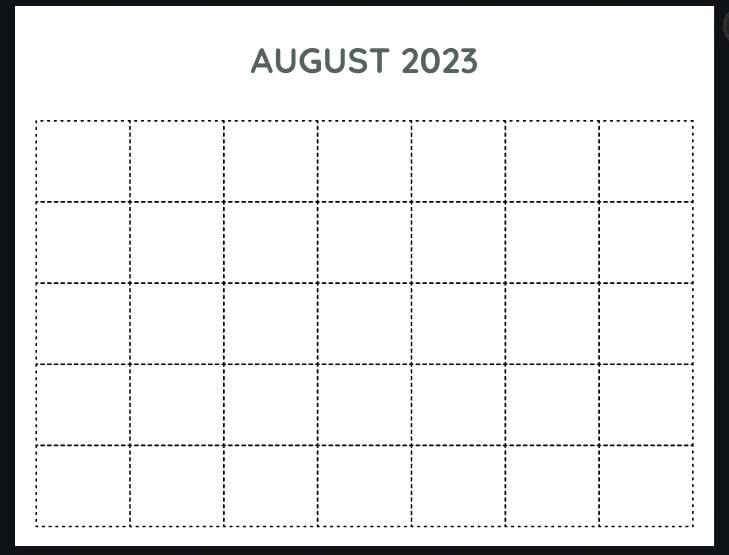
After you place your month where you want it, add the abbreviated text for each weekday.
Step 4: Duplicate The Page For The Rest Of The Calendar
Before you go further, use the page you just made as a makeshift template for the rest of your calendar.
Click on the Duplicate Page button. This will make an exact copy of the page below your current one.
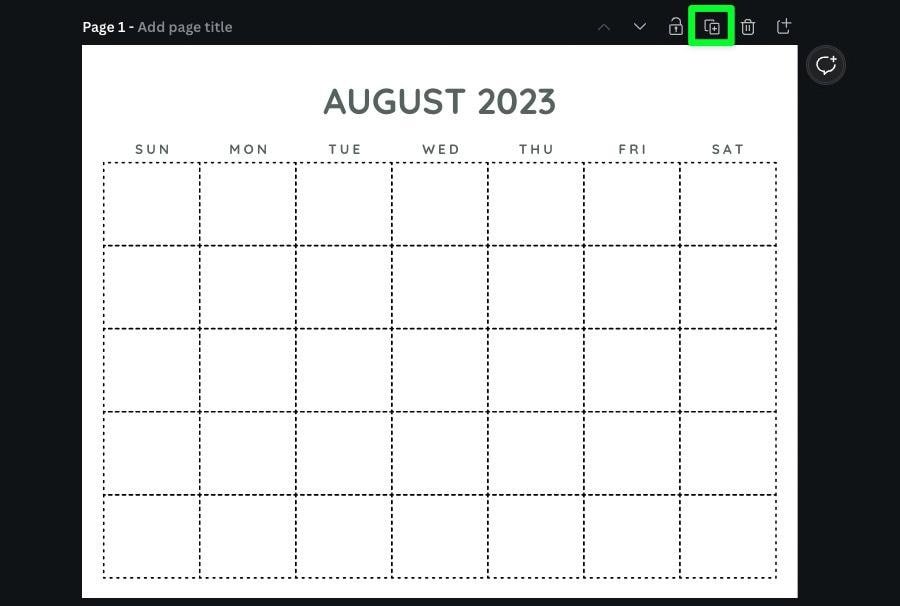
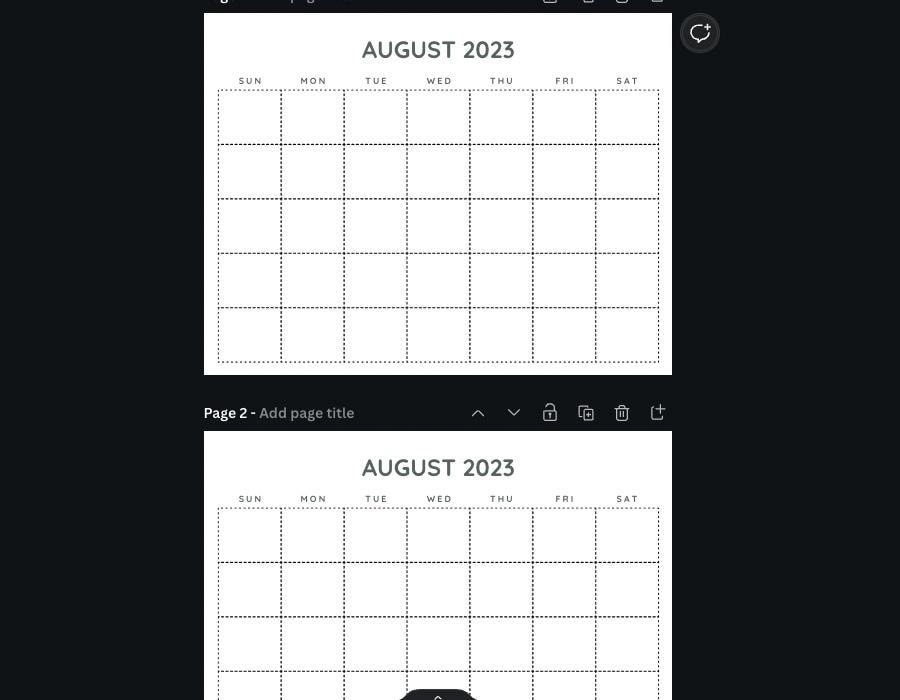
Repeat this for as many months as you need for your calendar.
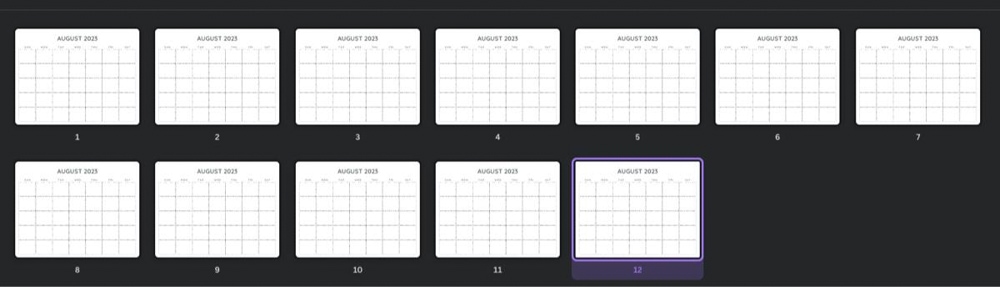
Once you have the correct amount of pages, you can double-click within the main text box and change the month. It’s probably best to start things off with January to lessen any confusion, of course.
Step 5: Add Your Numbers
You can’t make a calendar without numbers. Unfortunately, this is the most time-consuming part of creating a calendar from scratch in Canva. Fortunately, you can use the duplicate method to make things easier.
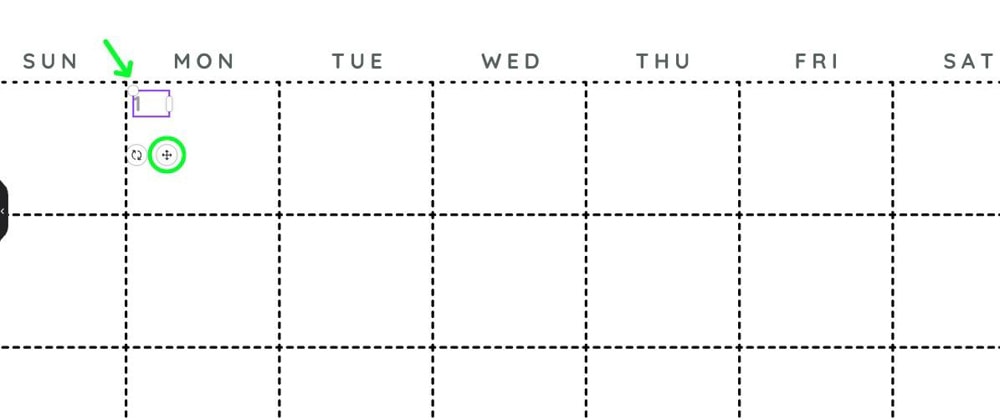
First, press T to add a quick text block and type your first number. Use the Move button to help you place your number exactly where you want it.
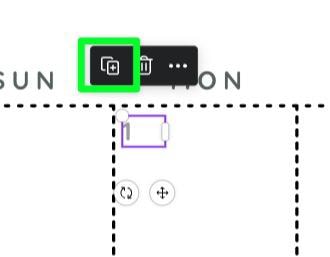
Next, select the number again to reveal the Mini Options Bar above it. Click the duplicate option to make a copy of your number. Use the Move button on the copied number to place it where you want the second number to be.
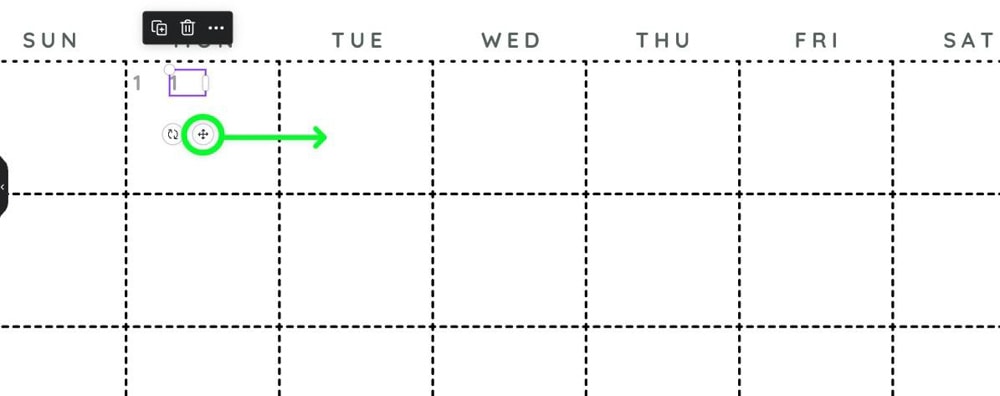
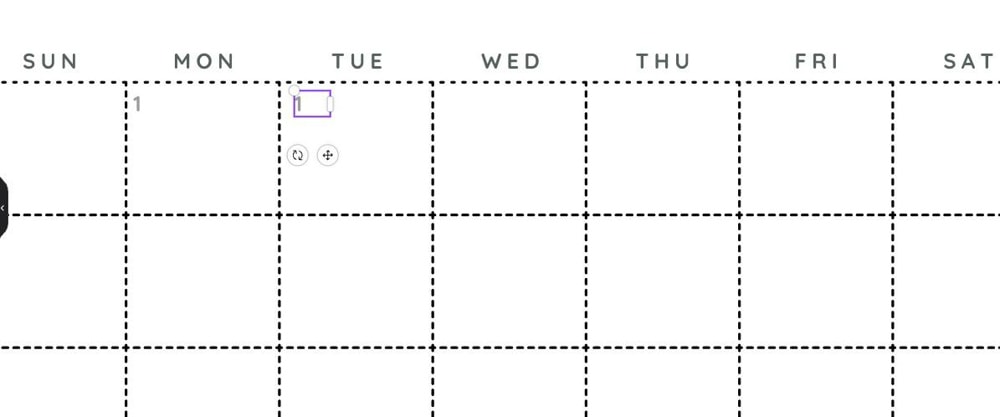
Repeat this process throughout your entire calendar. Moving your placeholder number exactly where you want it.
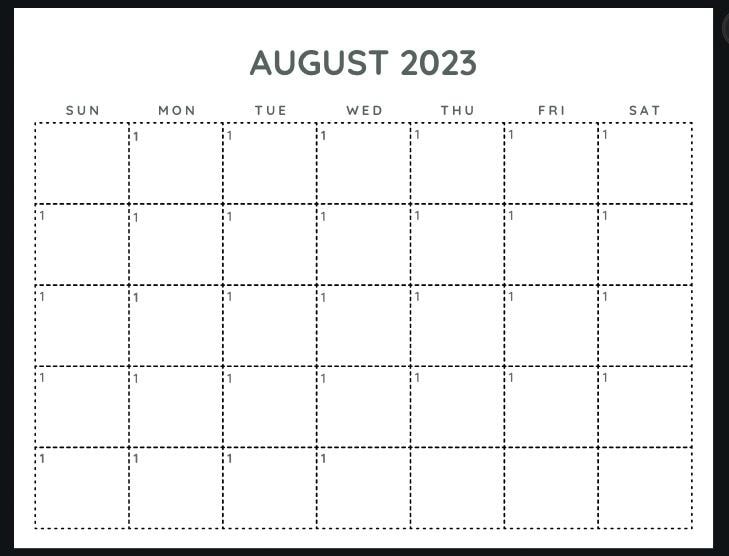
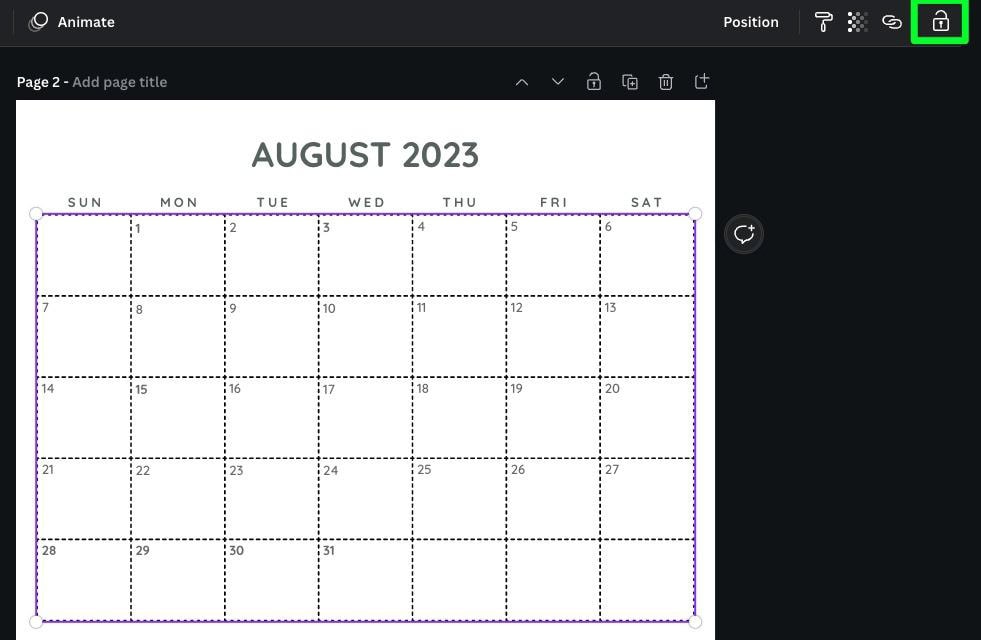
Once you have all your placeholder numbers in position, double-click on each number (except for the first one) and change it to the number it should be.
This might take some time to finish. This is one of the downsides of making a calendar from scratch.

Once you have all of your numbers correct and in place, you may want to change their look. I know what you’re thinking, “It’s going to take forever to change each number individually!”.
Don’t worry, you won’t have to. First, click on the grid itself to select it. Then, click on the Lock icon at the top right of the screen to lock the grid to the page. The grid is now unable to be selected.
With the grid locked down, you can now drag your mouse over all of your numbers at the same time.
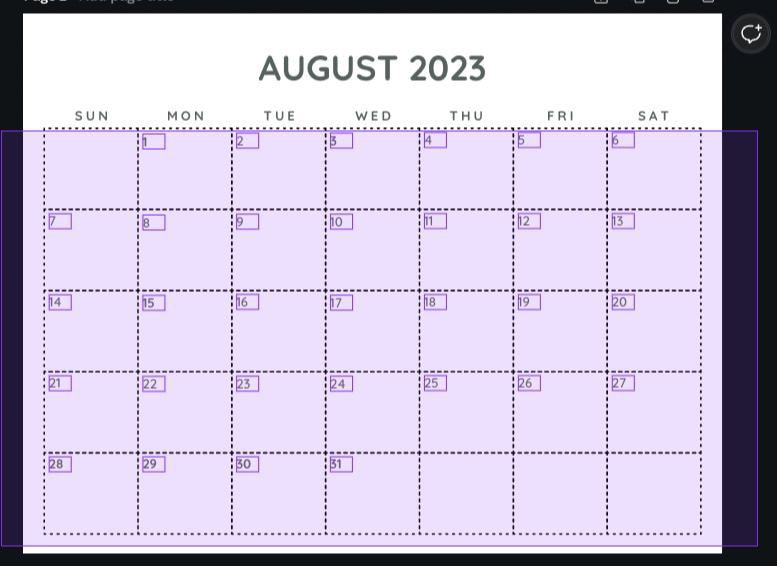
With all of your numbers selected, you can now edit them all at the same time. For example, you can now click on the Color Picker in the Options Bar and choose a color for all the numbers.
You can also quickly select a row of numbers (like each weekend day) and change them as well.
Step 6: Add Shapes & Graphics For Style
Your calendar is good so far, but it’s also what most people might call boring. To spruce it up a bit, you can add some shapes and graphics.
To add some basic shapes, click on Elements, then choose one of the elements out of the Lines & Shapes section. Add as many shapes as you need.
To change the color of each shape, first, select it, then use the Color Picker in the settings bar.
To find some good graphics to add, click on the Elements tab, then search for a theme in the search bar.
If you can’t think of a good theme for your month, you can always type in the name of the month itself, and Canva will suggest some graphics to use that will fit the month.
Once you have a gallery of graphics to choose from, click on the ones you like, then place them around your design.
If you find some text that works out better than what you typed, you can delete the text block and replace it with the graphic.
One of the most common effects to add to a calendar design is the effect of a graphic blending into the calendar’s background. This effect is simple to pull off.
First, find the graphic you want to blend, and place it where you want it to be. If you need to change the color, use the Color Picker in the settings bar.
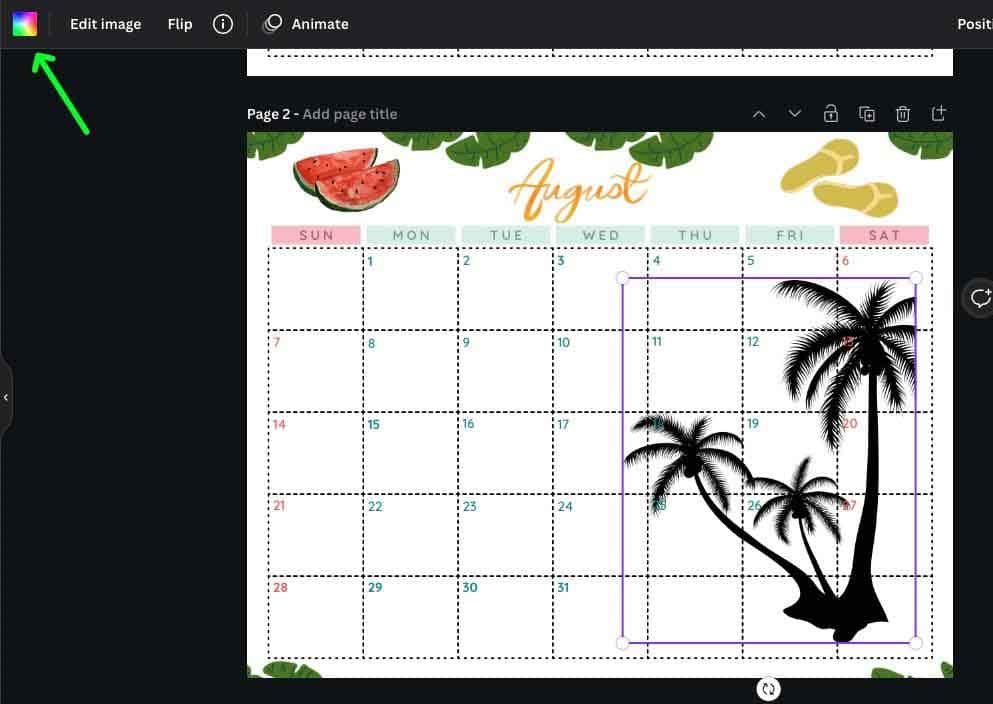
Next, ensure the element is selected, and click on the Transparency button to use the Transparency slider. Adjust the slider until the element looks like it’s behind your calendar.
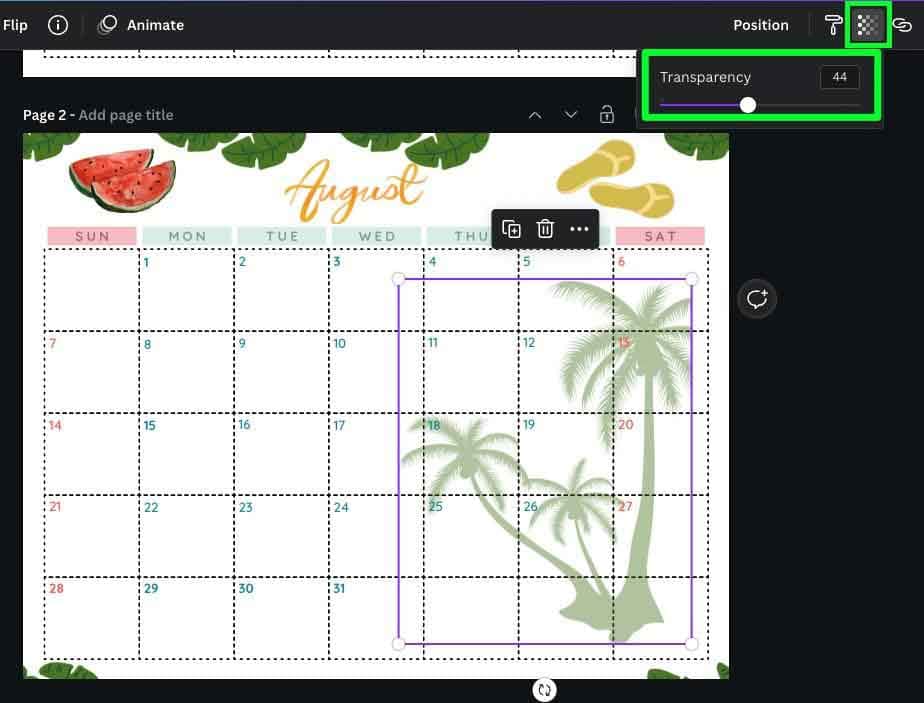
Finally, send it to the back of your design to ensure nothing looks weird about your transparent element.
Do this by first selecting your element, then clicking Position. Then, click To Back (Control + Alt + [ (Win) or Command + Option + [ (Mac).

Repeat this process for each month of your calendar.

Step 7: Export To PDF
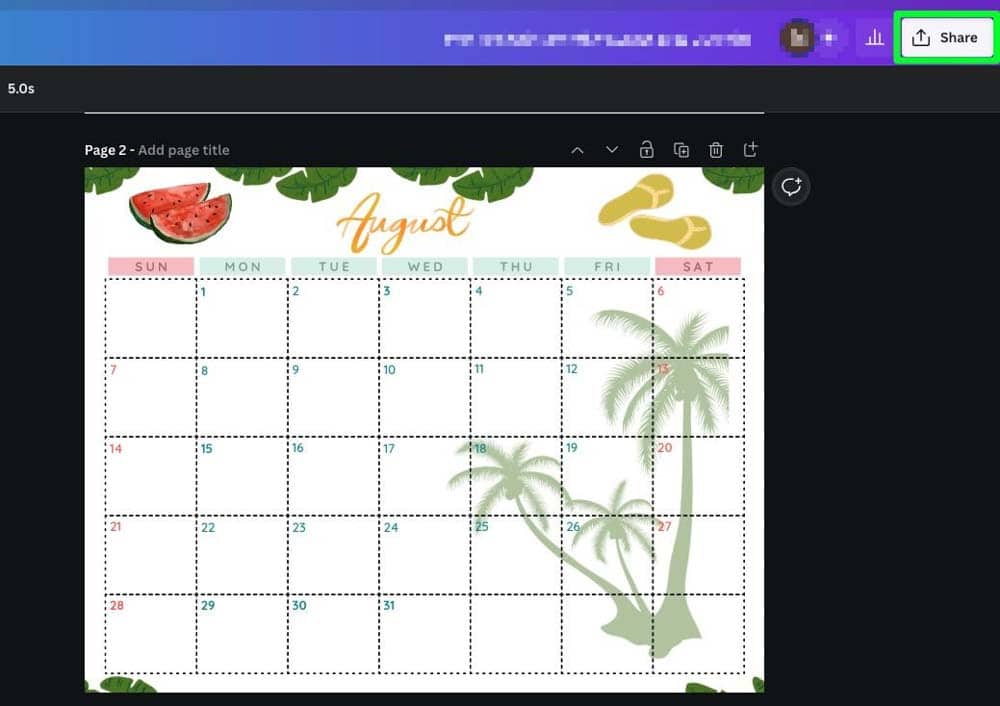
Once you are satisfied with how your calendar looks, it’s time to print it. The best way to print your calendar and maintain its image quality is by exporting it as a Print PDF.
To start, click on the Share button in the top right corner.
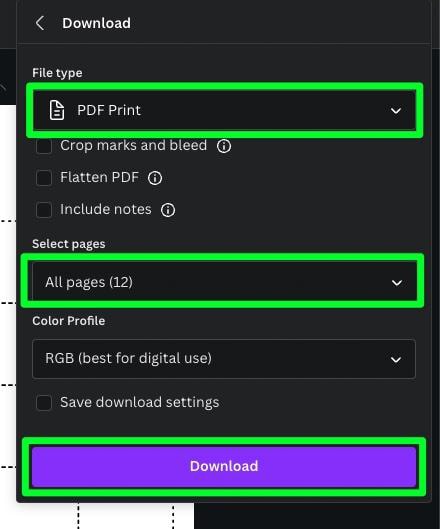
In the options that pop up, select Download.

For file type, you can choose JPEG or PNG if you wish, but choosing Print PDF will keep everything together in one file, making it easier to print. Also, don’t choose PDF Standard, as this is more suited for online viewing.
For Select Pages, make sure that All Pages is selected.
Finally, click Download, and Canva will ask you where you want to download your file. After you pick the destination, your calendar is ready for printing.
Now your calendar is complete, and you can share or print it as you wish. Ultimately creating a calendar from scratch in Canva is more time-consuming, but it’s the easiest way to make a calendar perfectly suited to your tastes. If that’s not as important to you, going with calendar templates is definitely a more time-effective option.
