

It may seem impossible to put your own ebook together, but it’s much easier to make an ebook in Canva than you may think. One of the biggest advantages of Canva is how easy it is to use for both graphic design novices and veterans. This guide will give you the complete step-by-step process of creating an ebook in Canva, from picking out templates to adding page numbers. Everything except for writing the actual ebook, which I will have to leave up to you…
This guide will also cover exporting your ebook as a PDF and answering the question that may be on many of your minds: are you allowed to sell Canva ebooks?
So let’s get started.
How To Make An Ebook In Canva
If you’ve ever made an ebook in InDesign, or a similar graphic design program, you’ll be glad to hear that creating an ebook in Canva is just as easy, thanks to how it handles adding and reordering pages.
The following eight steps will cover everything you need to know about creating an ebook in Canva.
Step 1: Find The Best Template For Your Ebook
Yes, you could start a brand new document and create your ebook from scratch, but there’s a much easier and quicker way by using one of the premade ebook templates.
Finding the perfect premade ebook template is more challenging than it may seem at first.
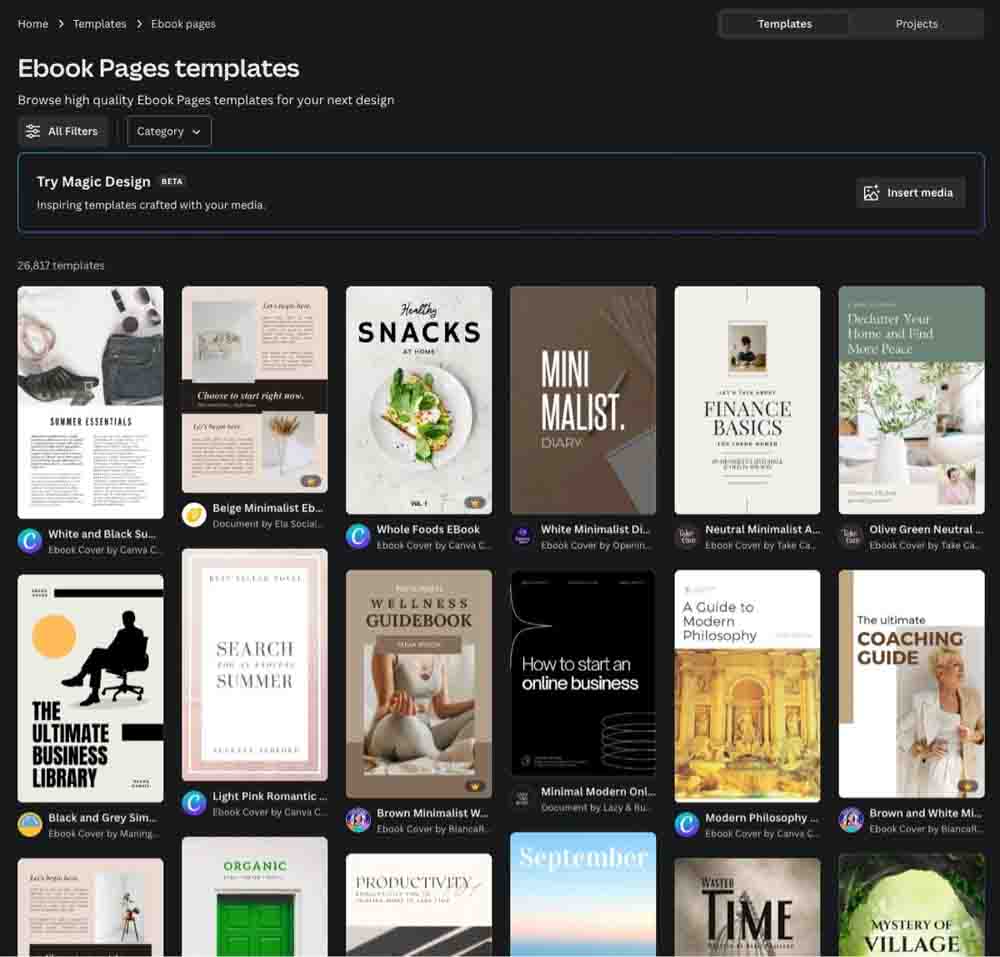
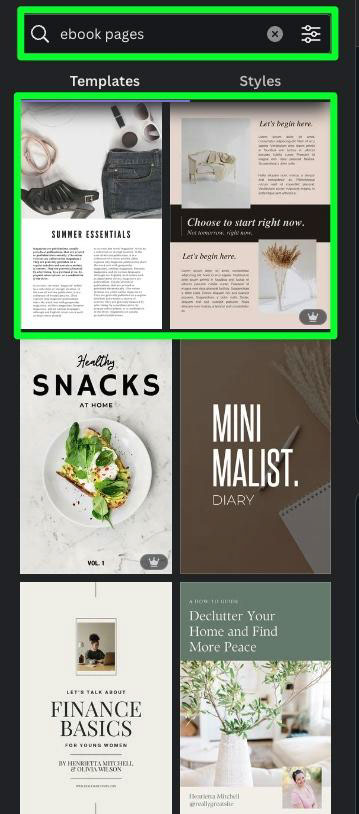
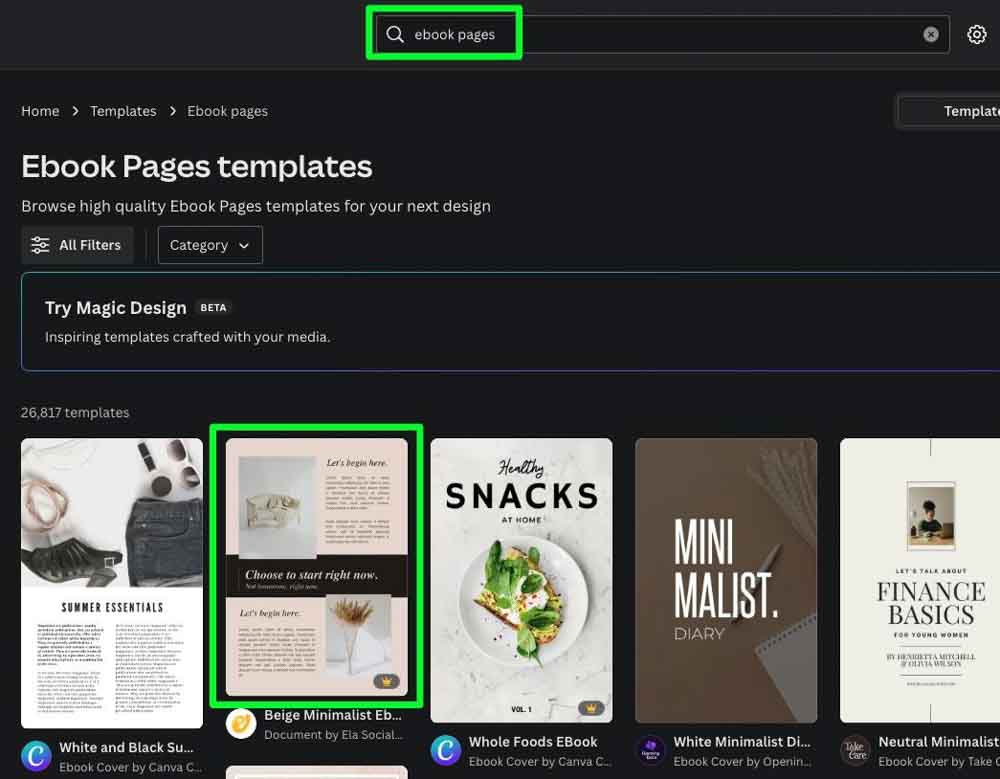
In the search bar on the homepage of Canva, search for Ebook Pages.
Note: if you search for “ebook” or “ebook template,” you will mostly be presented with ebook covers, which is not ideal.

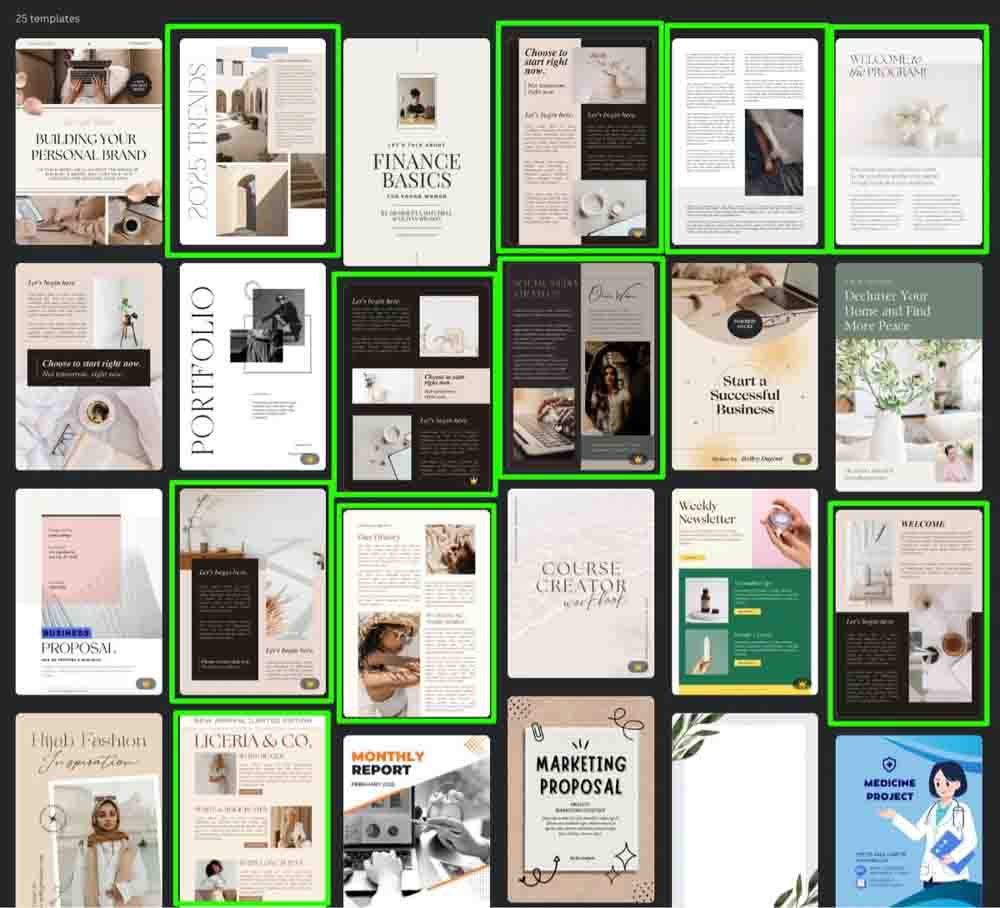
After searching for ebook pages, you’ll have over a thousand templates that fit the phrase. The bad news is you’ll still be presented with mostly ebook covers. You’ll have to dig a bit deeper to find the templates you need.
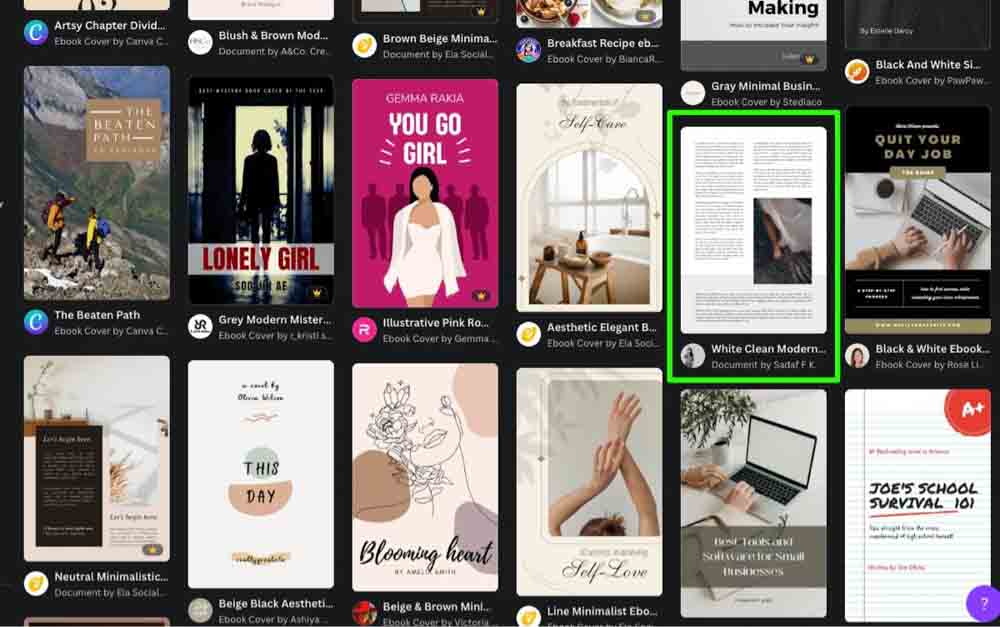
First, scroll through the options you have so far. Clicking on an ebook cover will only bring up the cover itself, so avoid all the ebook covers.
Instead, click on one of the templates that looks like the inside of an ebook.
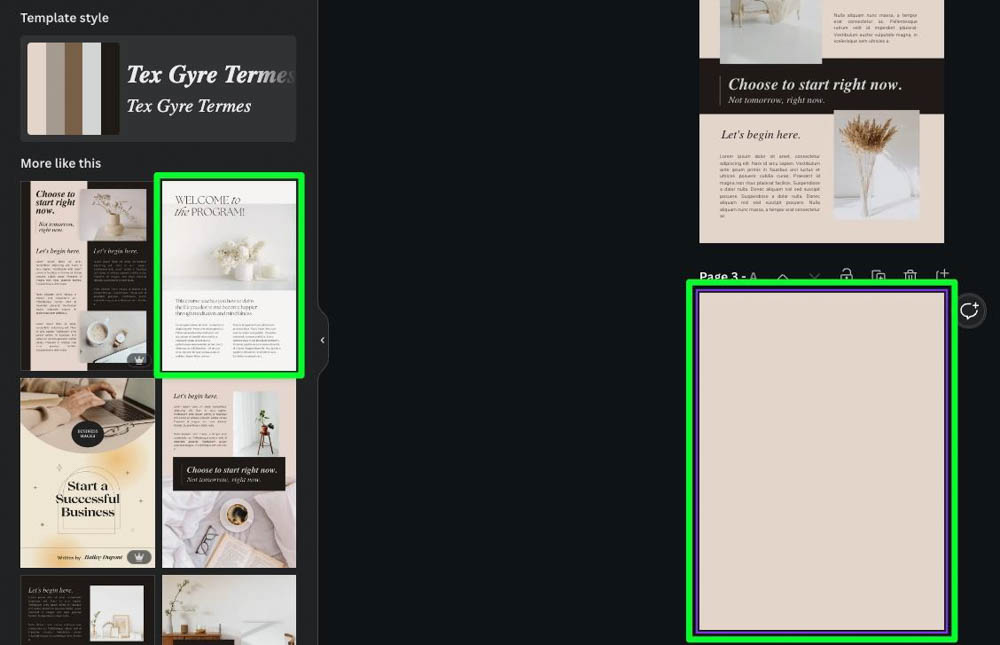
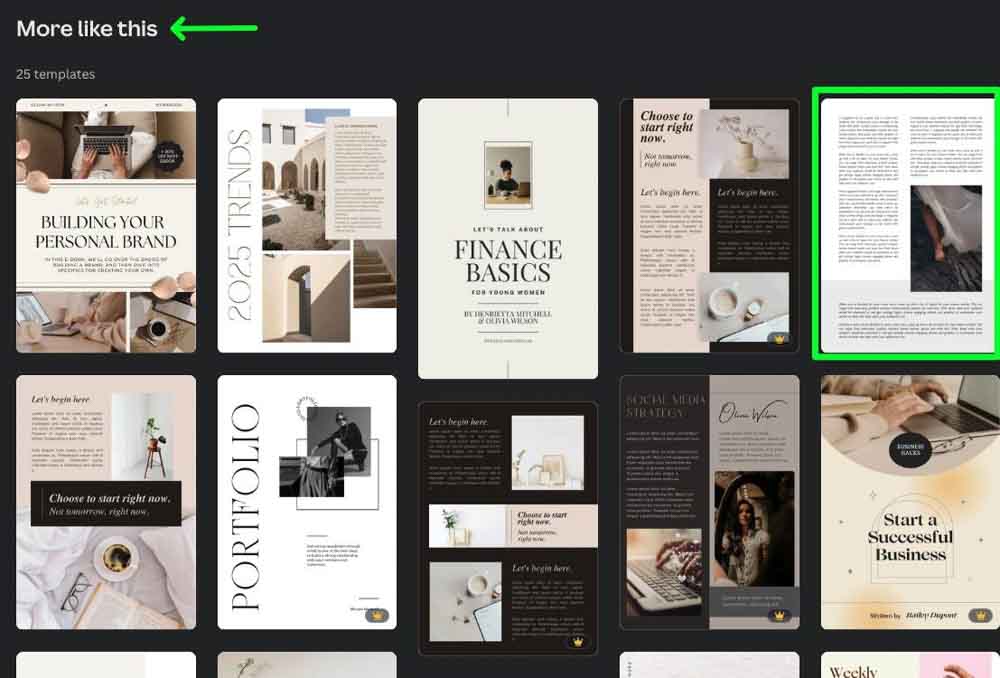
Clicking an ebook page template will bring up a subpage where you can find other templates under the More Like This Section.
If you scroll down this section, you’ll find many more templates that you can use.
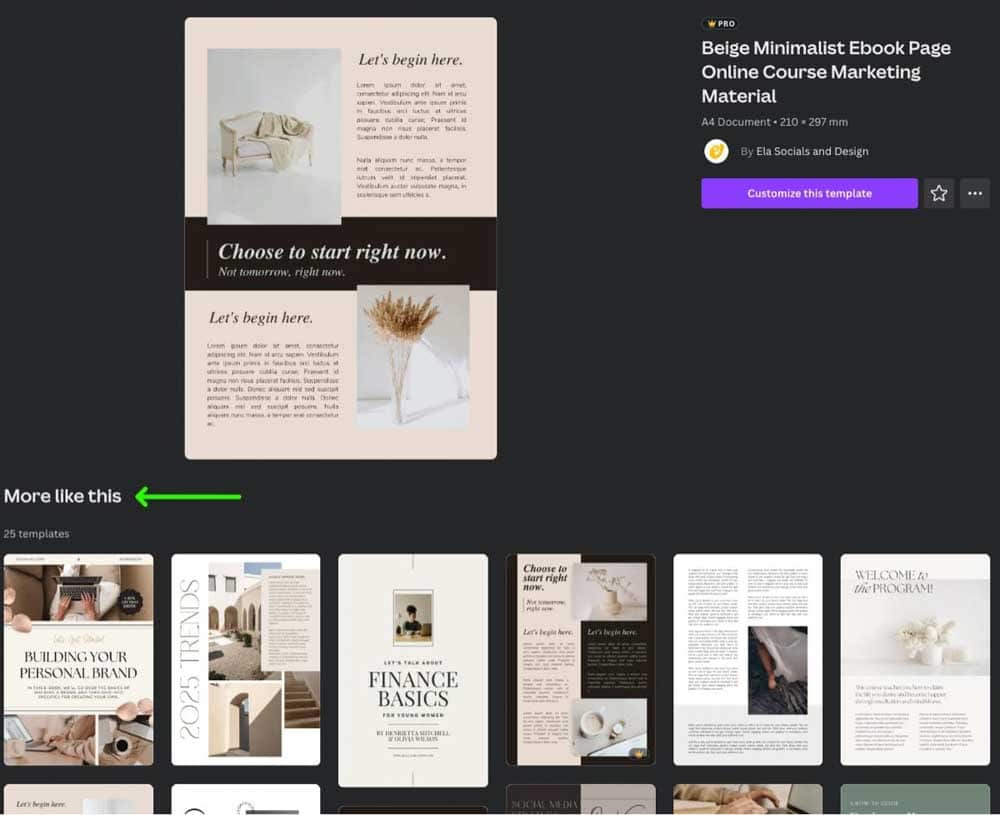
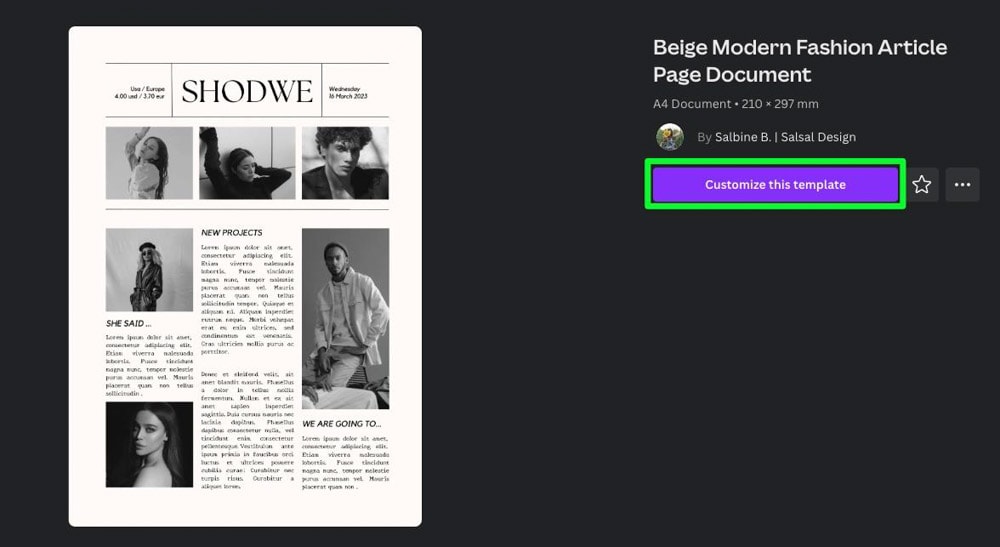
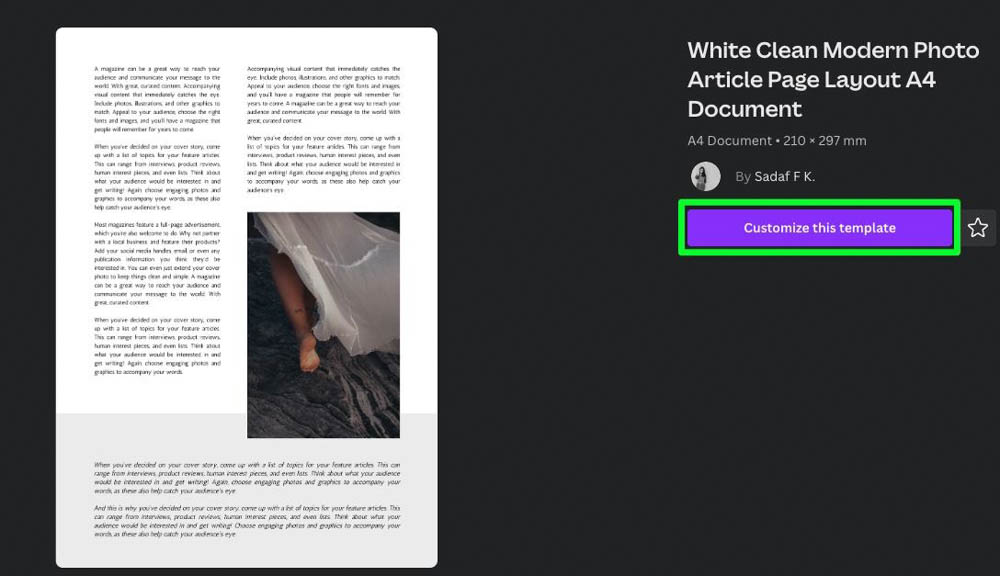
Once you’ve found the exact ebook template page you want to use, click on it, then click Customize This Template. This will open the template in a new tab.
Step 2: Resize Your Template (Optional)
Chances are, you won’t end up with the correct size for your ebook by choosing a random ebook page template. Thankfully, Canva makes this problem easy to solve by using the resize feature.
Note: This step only works if you have a Canva Pro account, as the resize feature is not available for the free version.
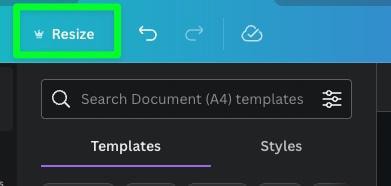
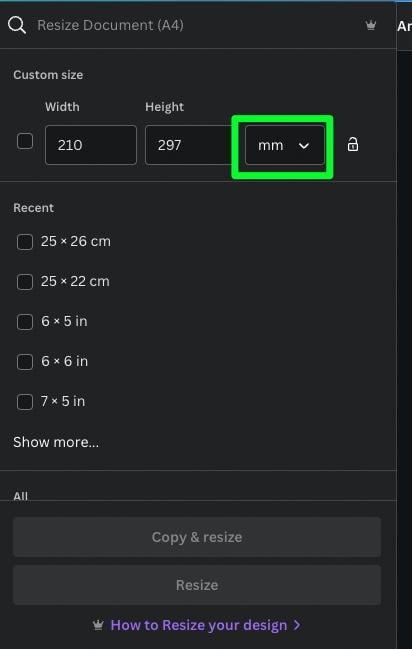
To start, click the Resize button in the top left corner of the screen.
In the submenu that pops down, you want to change the measuring unit of your dimensions first, as changing the measurement will affect the rest of your dimensions.
To do this, click the Measurement box to the right of the Height box. In the menu that drops down, choose your desired measurement. If your chosen template is already the correct measurement, just leave this box alone.
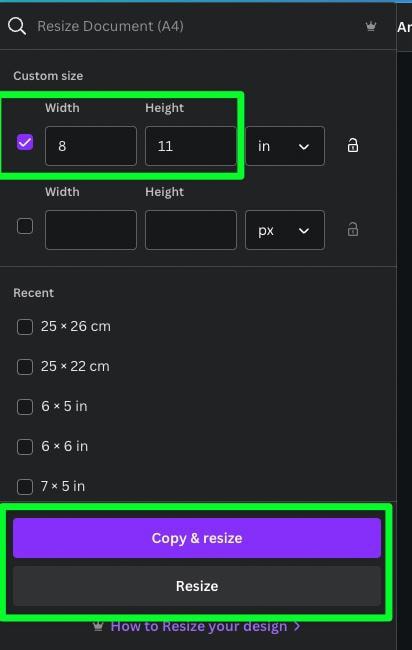
With your measurement set, you can now adjust the Width and Height of your template.
Once you’re satisfied, you have two choices to confirm your decision.
- Copy & Resize – This option will resize the template to your chosen dimensions in a separate tab so you still have the original to edit later if you need to.
- Resize – This option will resize the template, making it permanent. Only use this option if you have no plans to edit the original template later.
After choosing to Copy & Resize or Resize the template, it may appear as if nothing happened on your canvas. Don’t worry. You can rest assured that the template was resized to your chosen dimensions.
Step 3: Add More Pages To Your Ebook
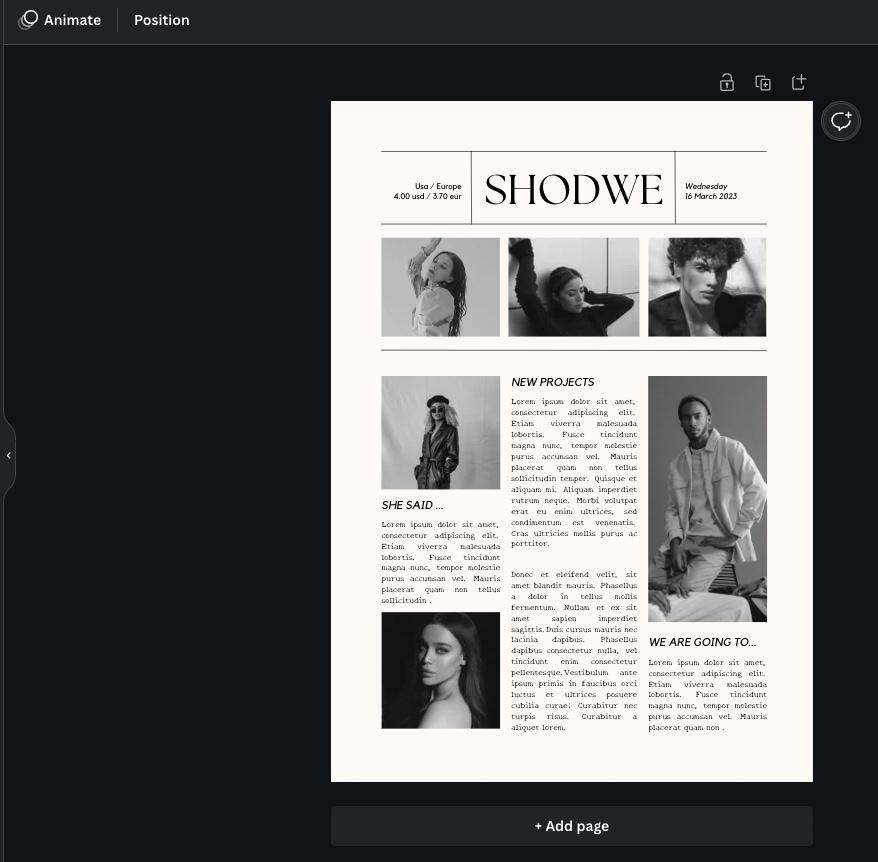
Now that your canvas is the correct size, it’s time to add more pages to complete your project. When you use an ebook template, the template usually comes with only one or two pages, so you’ll have to import the rest of the pages yourself.
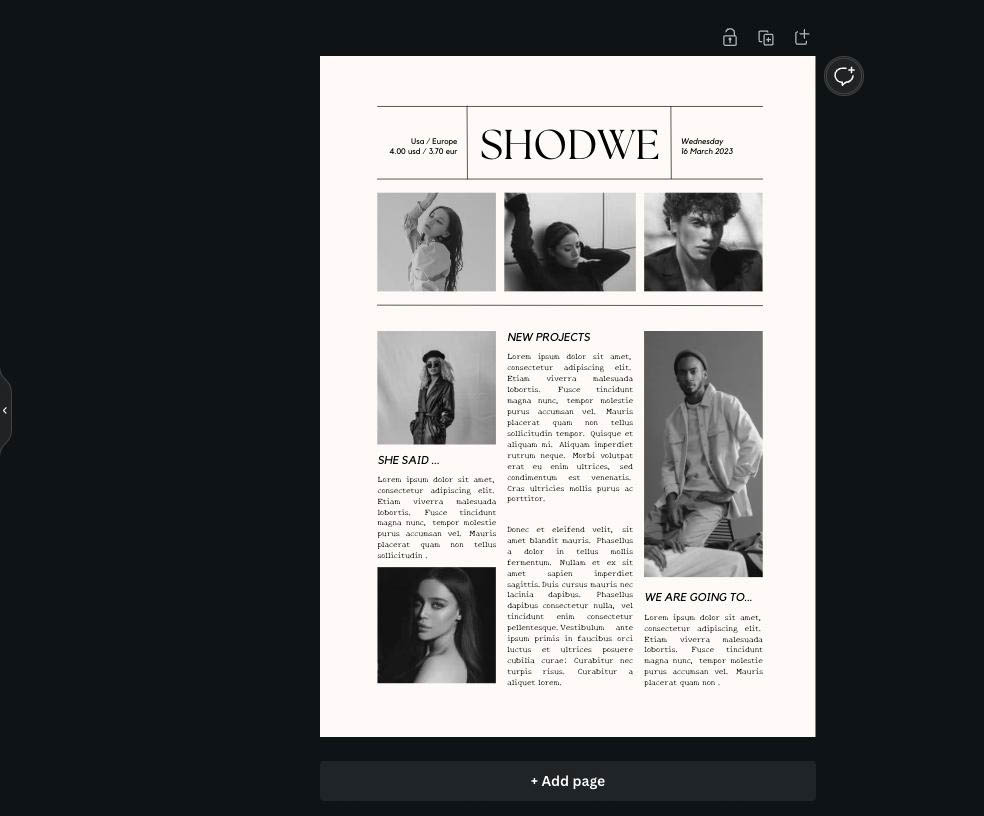
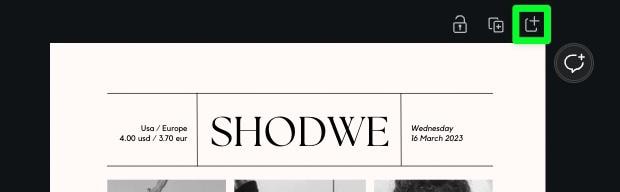
First, add a blank page to your project by clicking the New Page button above the canvas or Add Page below the canvas.


You have two ways to import additional ebook pages to your project from here. You can use the suggestions in the Side Panel or copy and paste ebook pages from other templates.
How To Use The Side Panel Suggestions
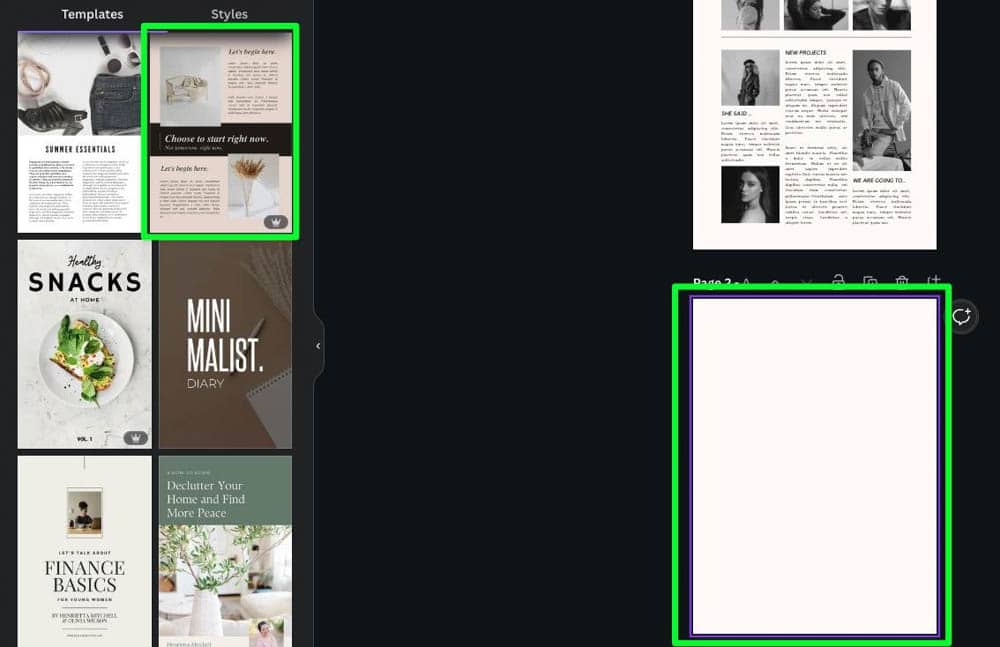
Once your blank page is ready, direct your attention to the Side Panel, in the search bar, type ebook pages.
Your results will be similar to when you searched for ebook page templates. Canva will bring up both ebook pages and cover templates in the side panel. Just ignore the covers and focus on the ebook pages.
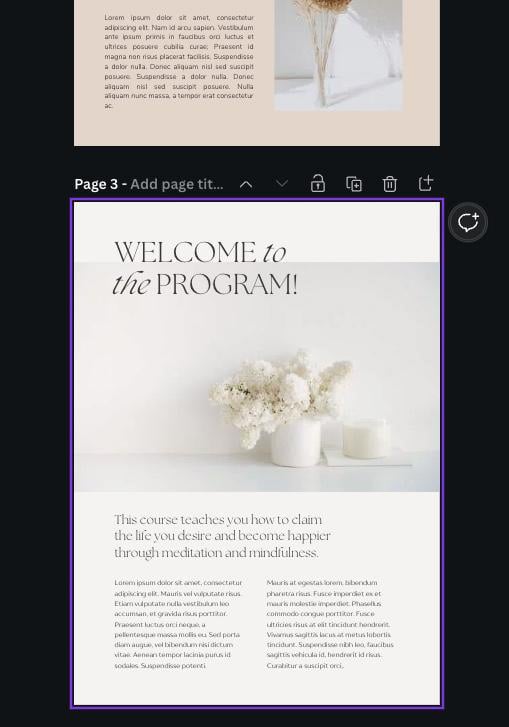
Once you’ve found a page you like, click on the blank page to select it, then click on the ebook page template in the Side Panel. This will place the template on the blank page.
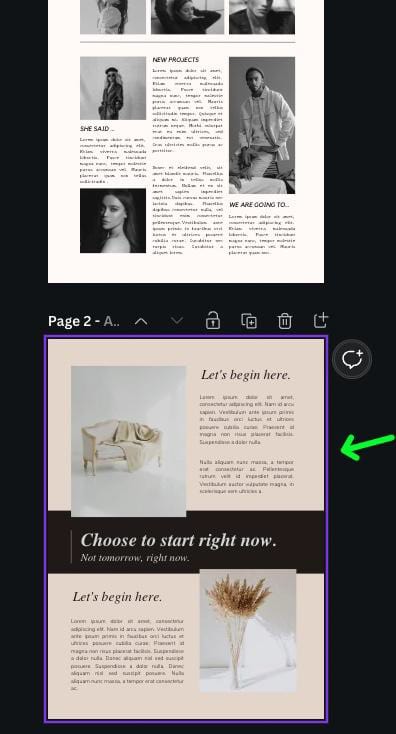
Next, add a new page by clicking the Add Page button.

Canva will suggest similar templates in the Side Panel to make your life easier. Click on a template, then scroll down to the More Like This Section.
Once you find another page that looks good, select your blank page, then click on your chosen template to place it down.
Now, you just need to add a new blank page, then rinse and repeat.
Copy And Paste From Other Ebook Page Templates
The second way to fill your project with ebook pages is suitable for those who want more control when finding the perfect template.
Return to the Canva home page and search for ebook pages again. Scan through your choices and select an ebook page template.
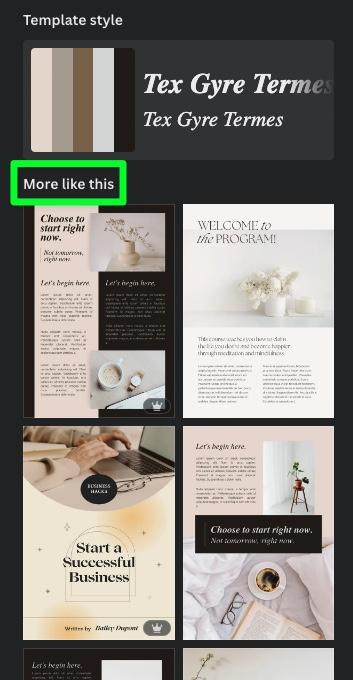
Scroll down to the More Like This section and click on a template that looks like it could work for your project.
In the information page that pops up, click Customize This Template. The template will open up in a separate tab from the project you’re currently working on.
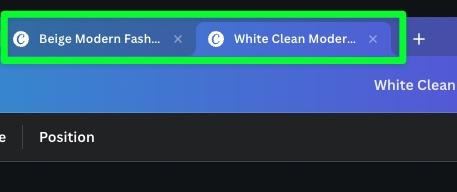
Click on the new tab to view your chosen template. Then, drag your mouse over the entire page to select every element. Copy all the elements to your clipboard by pressing Control + C (Win) or Command + C (Mac).
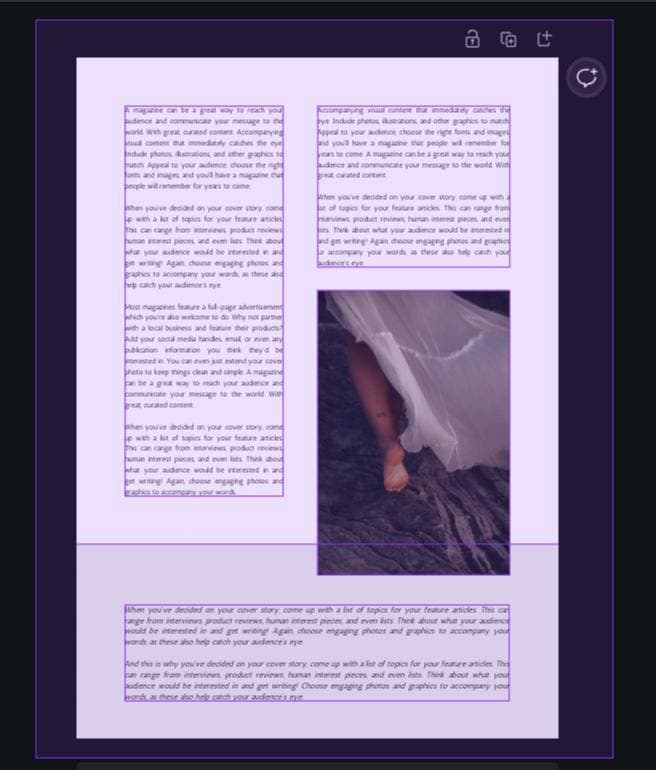
With your elements copied, move over to the project you’re working on and click on a blank page. Then, press Control + V (Win) or Command + V (Mac) to paste the copied elements to the blank page.
Repeat this process as many times as you have to.
Don’t worry about finding a hundred different templates. You just need to find a handful of suitable templates that work for your project. The next step will help you quickly fill out your project.
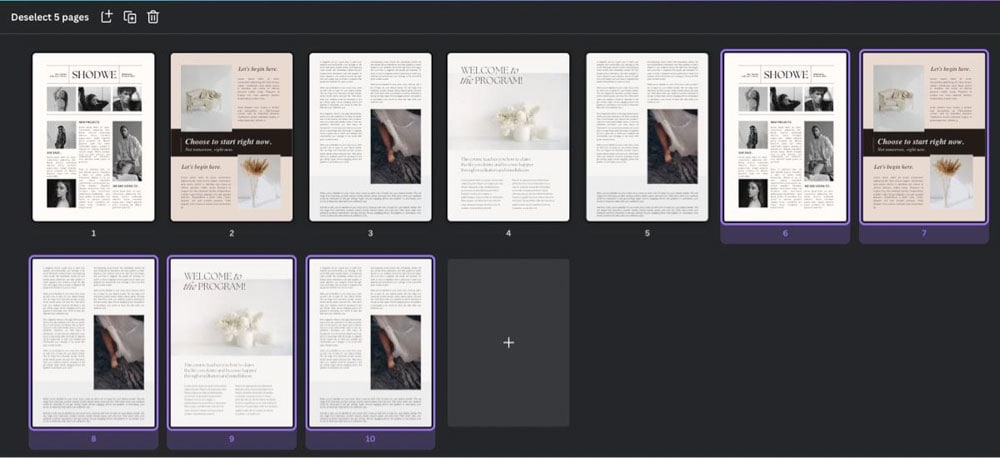
Step 4: Organize Your Pages In The Grid View Panel
Once you’re satisfied with your chosen templates, it’s time to duplicate and reorder your pages.
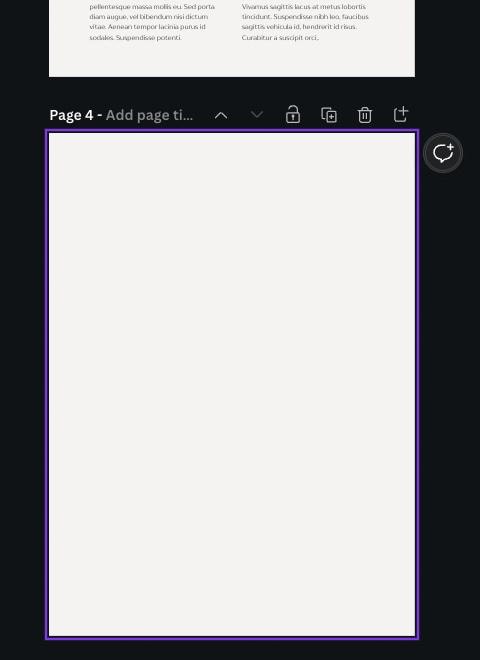
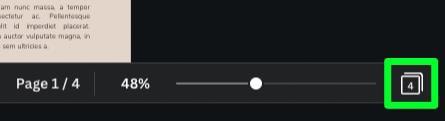
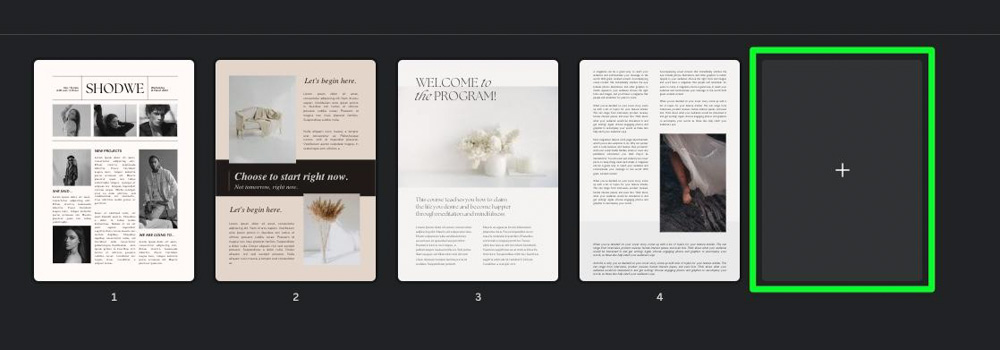
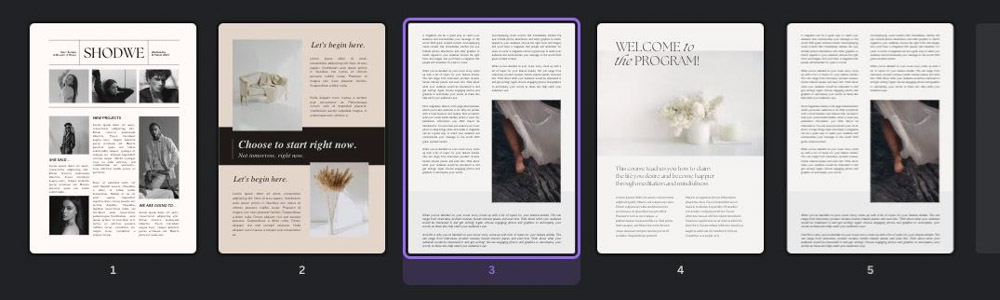
The easiest way to do this is to use the Grid View option. With your canvas open, click the Grid View Icon at the bottom to bring up a bird’s eye view of the entire project.
If you need to add a new blank page, you can click the big Plus button.
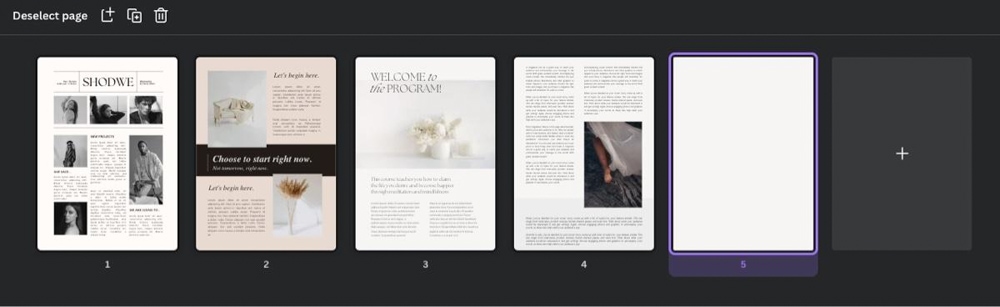
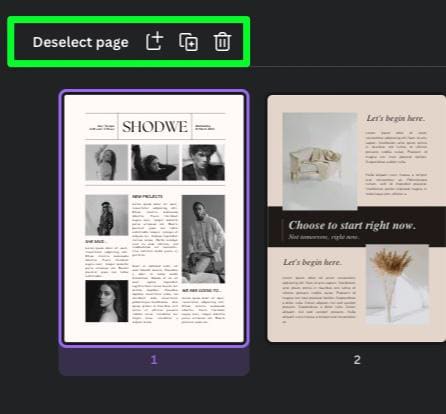
The most important options in this view are the controls above the first page. You have four options:
- Deselect Page – Use this option to deselect the currently selected page.
- Add Page – This option will add a page after the selected page.
- Duplicate Page – This option will make an exact copy of the currently selected page.
- Delete Page – Use this page to delete the currently selected page.
Once you have the desired pages ready to go, you can easily reorder the pages by dragging the page where you need it in the page order.
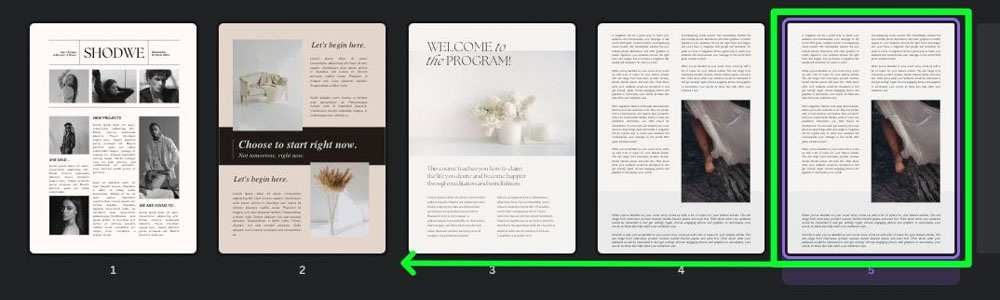
One of the most important things to remember is that you can duplicate multiple pages simultaneously. Doing this will speed up the process of filling out your project considerably.
First, click on the first page in the line, hold down Shift, then click on the last page. You will know all your pages are selected when each page is glowing purple.
Click the Duplicate button to make an exact copy of each page.
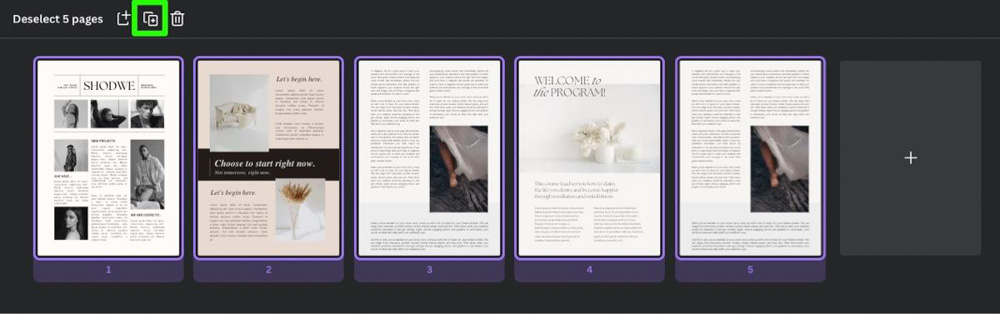
You can repeat this process as often as needed to get to your ebook’s page count.
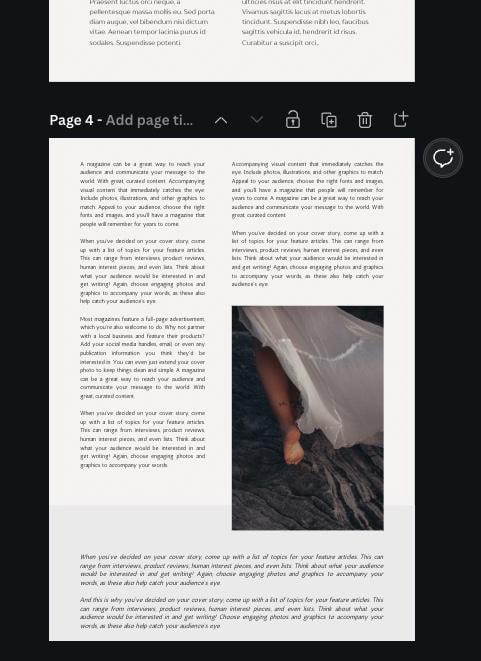
Step 5: Replace The Text On Each Page
The most important part of creating an Ebook on Canva is adding your own text. Now that the basic structure and pages of your ebook are set, you can start replacing the placeholder text that came with each template.
Note: Before adding text in Canva, ensure all your text is written in a separate Word document, Google Doc, or your preferred word processor. Having your text ready in a separate document will make this process smoother than writing and designing your ebook simultaneously. Plus, you’ll have a backup copy of your text if something happens to Canva.
First, you can easily replace any subtitle text on the page by double-clicking on it, then rewriting it.
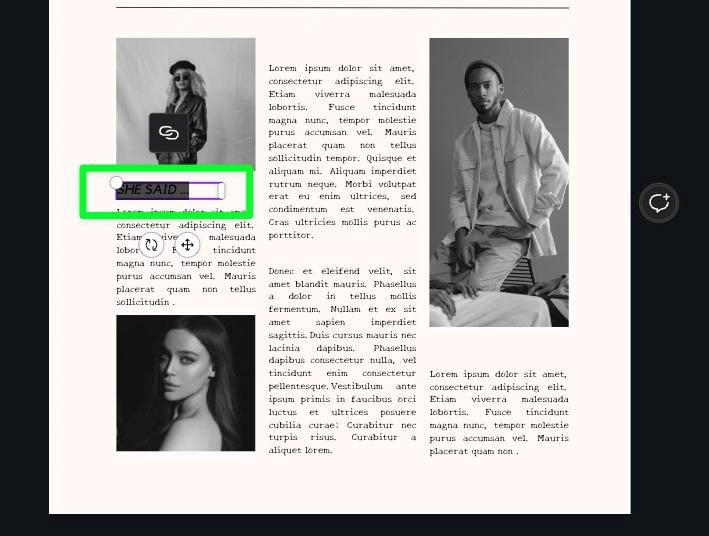

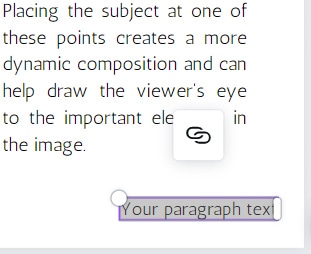
To replace a text block of placeholder text with your own, copy a few lines from your separate document, then double-click the text block and press Delete to clear it out. Then, paste your own text in the block.
You can also add a new text box if you need more space for your body copy.
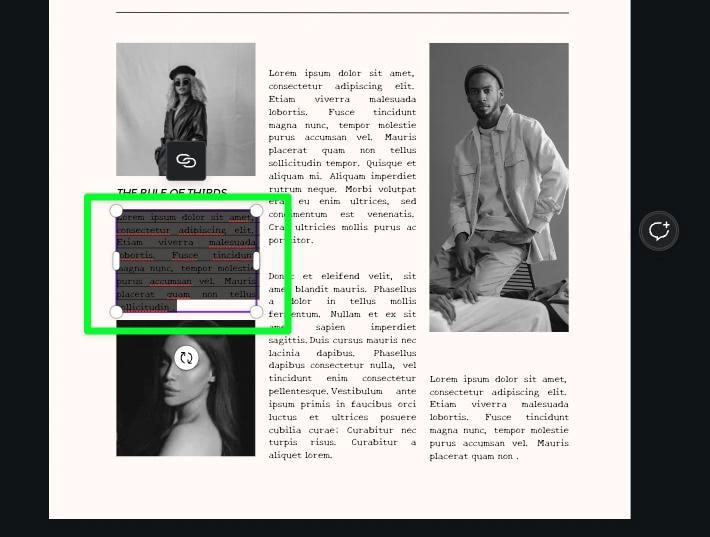

Repeat this process for the rest of the placeholder text. Feel free to move your text blocks around to create a better-looking page.

After you’ve replaced all the body text on the page, don’t forget to replace the title text if there’s a placeholder title.
First, delete any extra elements or words surrounding the template title, then double-click the text and replace it with your own.
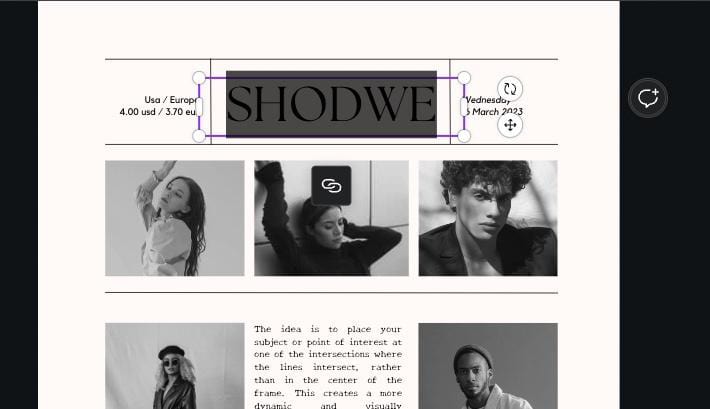

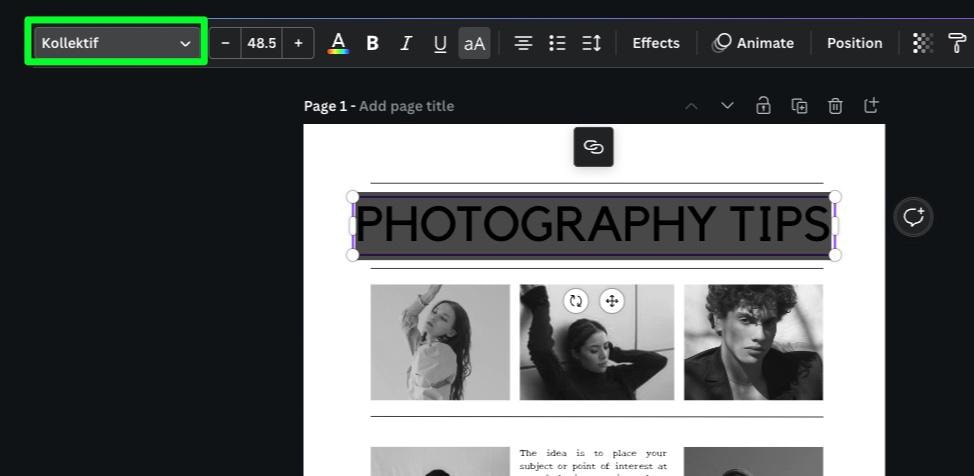
With your title text down on the page, you can change the font of the text at any time by selecting the text, then clicking the Font drop-down menu at the top of the page. Choose the font that works the best in the list that pops up. You can also add more fonts to Canva if needed.
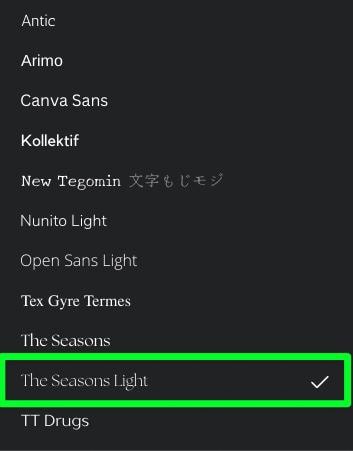

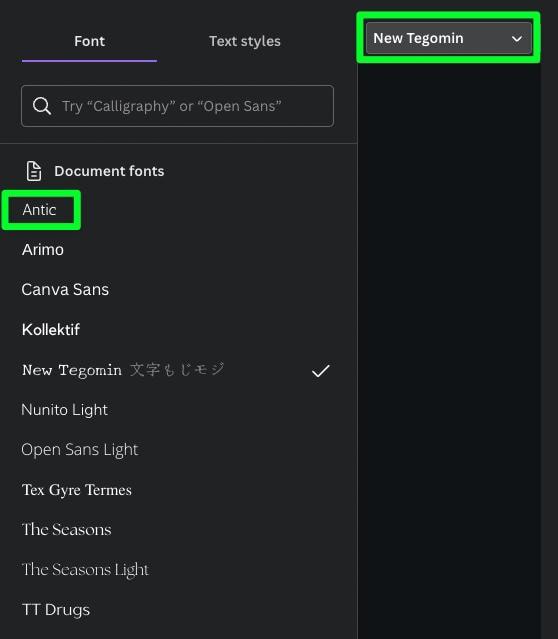
To change the font for your body text, hold down Shift and select all the text blocks you want to change. Once all the blocks are selected, click the Font drop-down menu and choose your desired font.


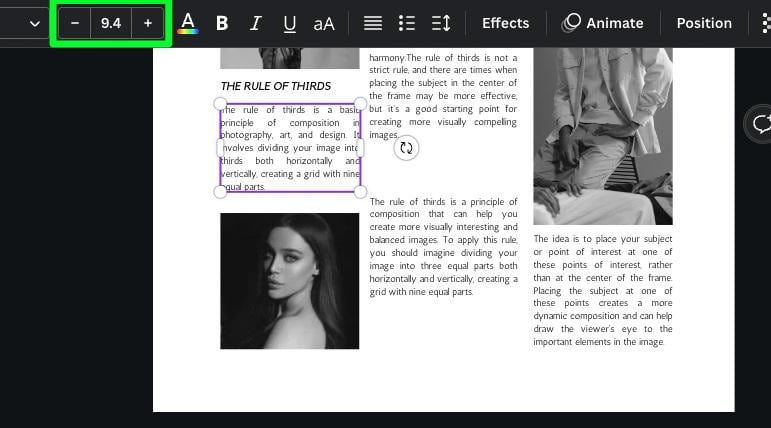
After changing the body text font, you may notice that the size of your text is now bigger or smaller. If this happens, you can change the size of your text by first selecting it, then using the Size Controls above the canvas.

That’s all it takes to change the text on each template page. Repeat this process for all the pages in your project.

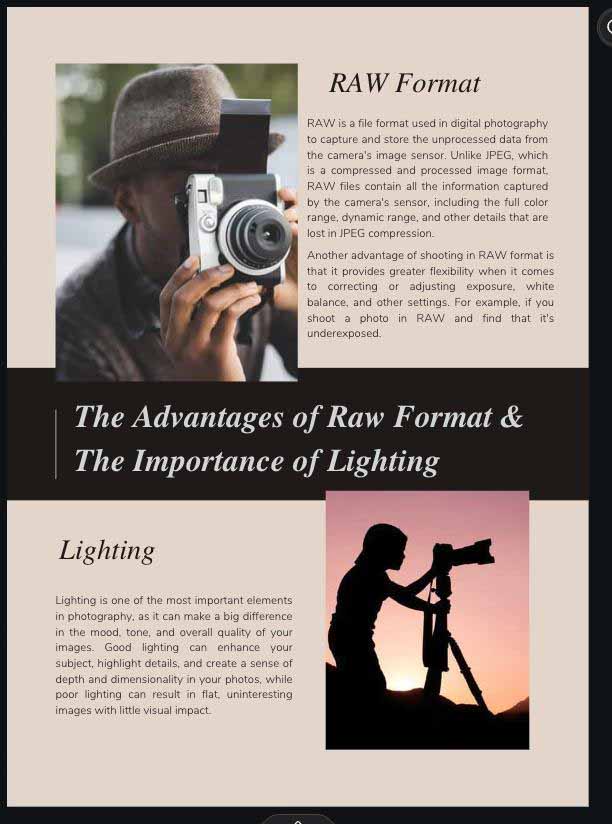
Step 6: Replace The Images On Each Page
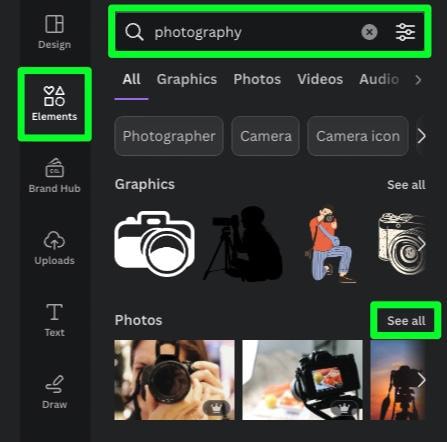
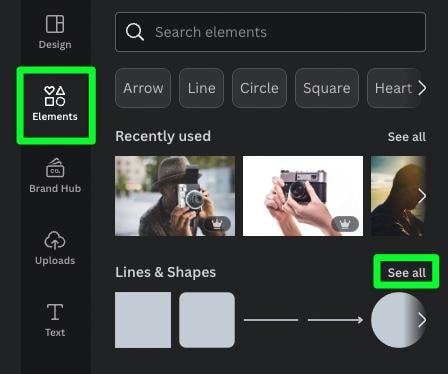
The second most important part of creating your ebook is replacing all the images on each template page. To start, click Elements in the left side panel, then use the search bar to search for the niche or theme that fits your ebook.
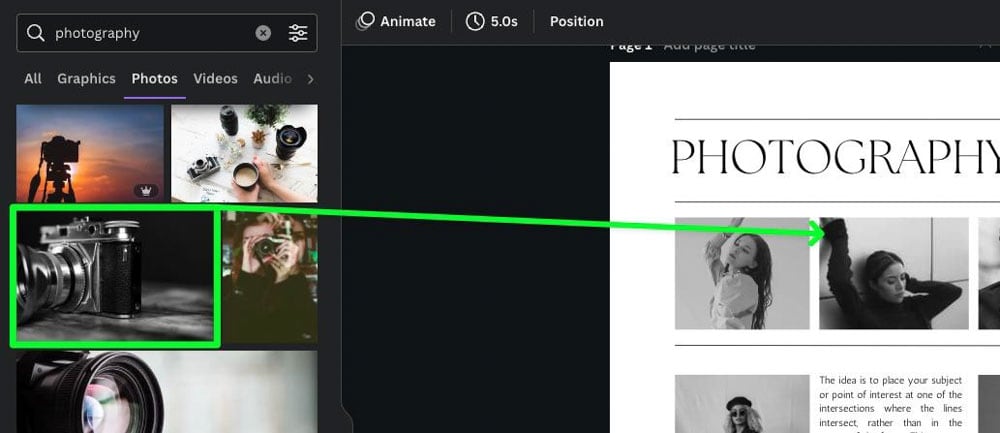
Once you find an image that works, simply drag the image on top of the template image on your canvas to replace it.
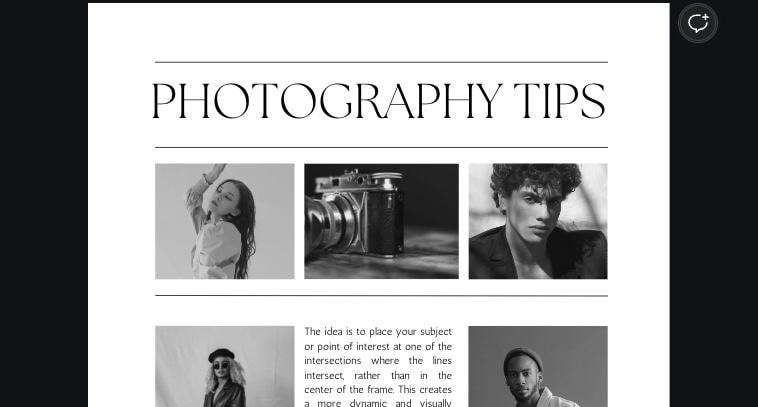
Repeat this process with all the template images on your page.
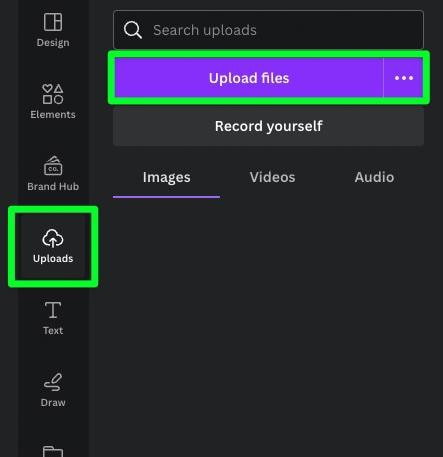
You can also add your own photos to Canva by clicking Uploads and selecting Upload Files. You will be prompted to choose your file from your hard drive, and you can access it under the Uploads tab.
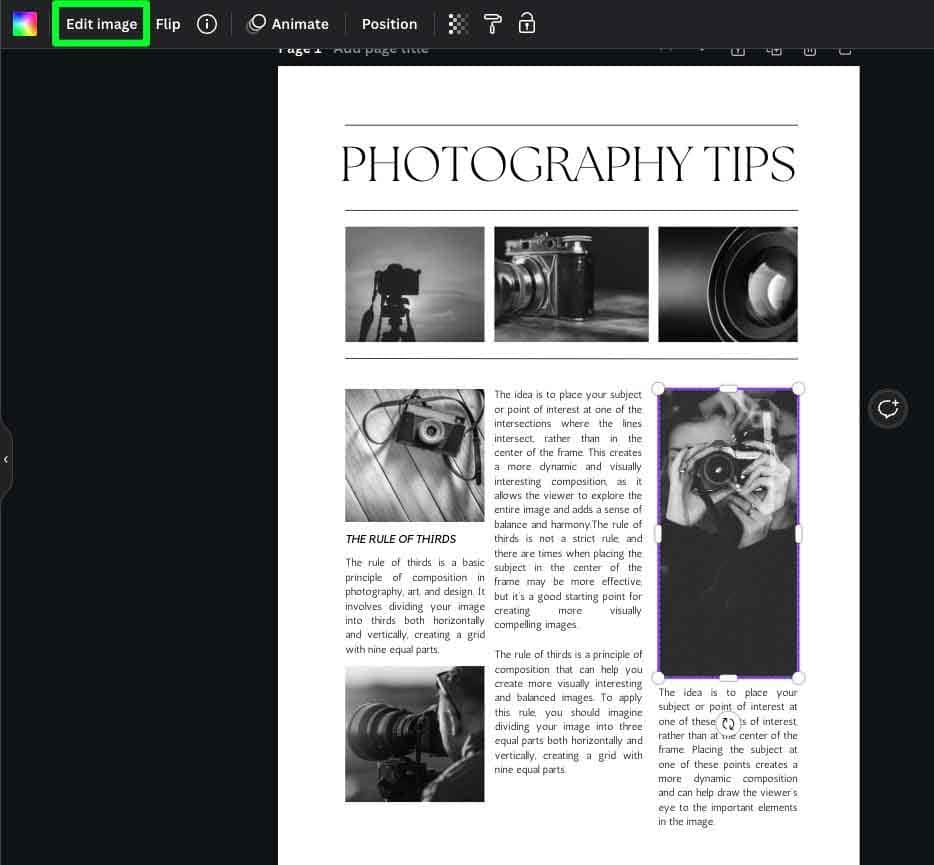
Note: Depending on your chosen template, a filter may be automatically applied to the image when you replace it. To replace that filter, select the image, then click Edit Image.

Then, in the Side Panel, scroll down to Filters and click on See All.
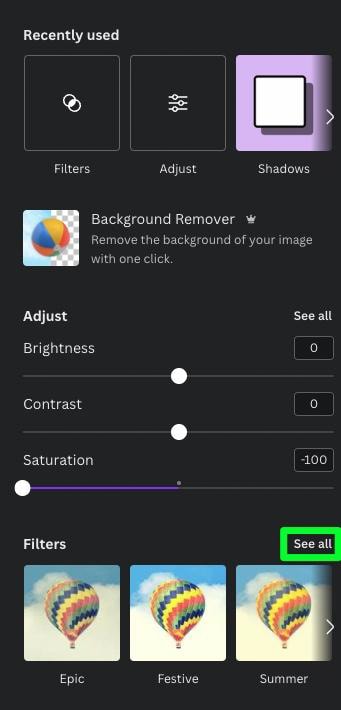
From here, you can choose from one of the many filters available to match your ebook.


Repeat this step to replace the images on each page of your project.

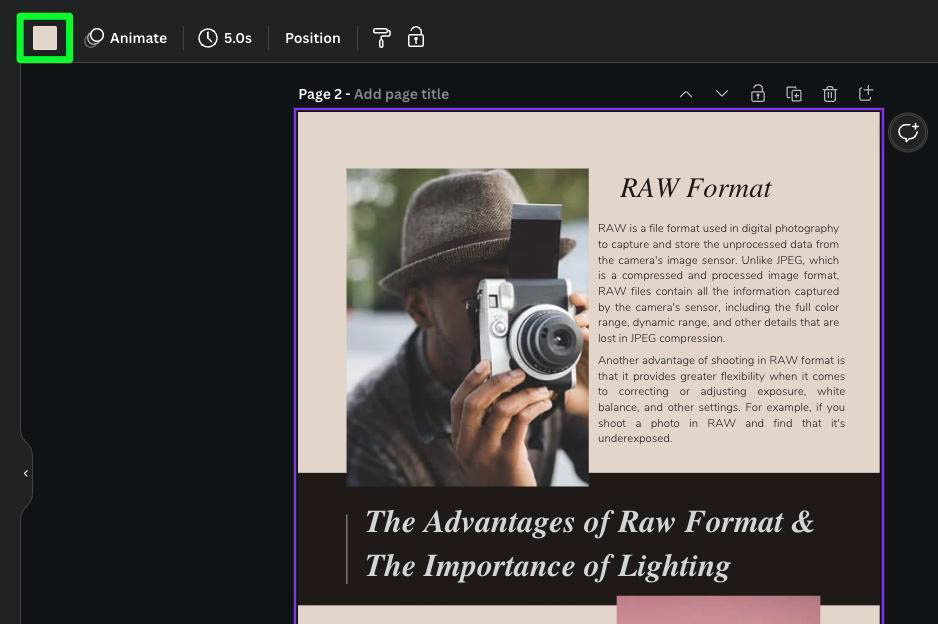
Step 7: Choose The Correct Colors To Fit Your Ebook
The last visual update for your ebook is ensuring each page’s colors are consistent and blend well.
First, you can edit the color of most of your elements by selecting the element and then clicking the Color Picker above the canvas. Then, choose the color that works the best in the list.
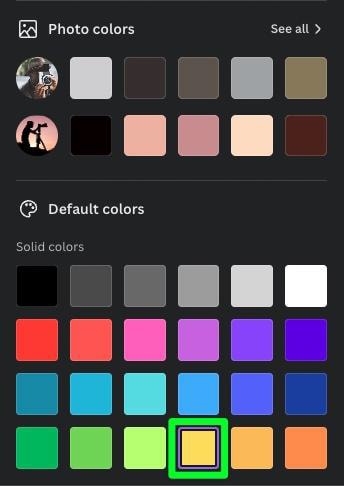

If you’re not a color theory person, you can let Canva choose your colors.
To do this, click Design, then select the Styles Tab. Scroll down to the Color Palettes section and click See All.
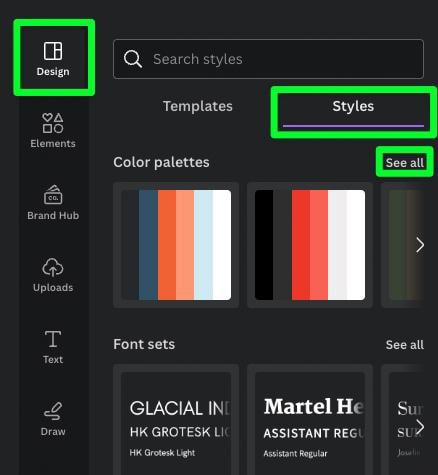
You can now choose from one of the many available color palettes to change every color on your page.
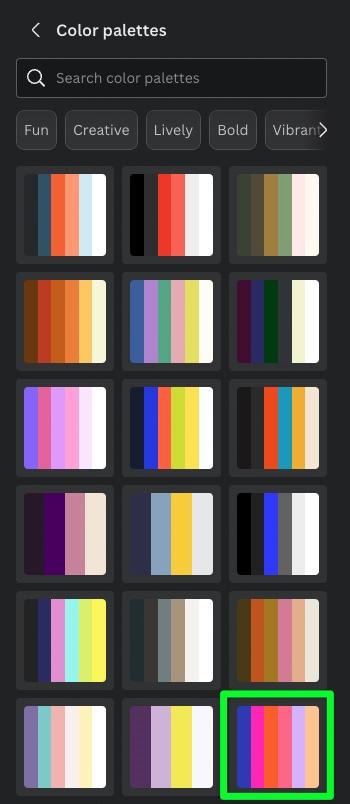

To keep all the pages in your project consistent, use the same color palette on each page in your project. You may have to click on the same palette multiple times to use the same color combination.
You can also use different color palettes on each page if you want to as well.

Step 8: Add Page Numbers
Unfortunately, there’s no way to automatically add page numbers to your project. So you will have to add page numbers manually.
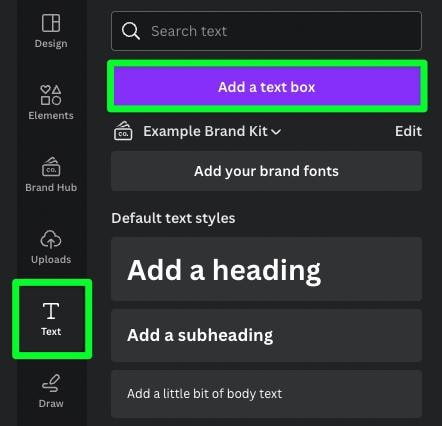
First, with your project open to the first page, select Text, then click Add A Text Box. This will add a blank text box to your project.
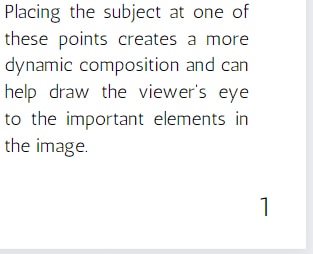
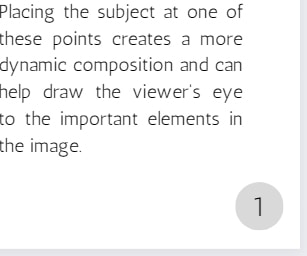
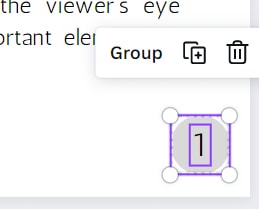
Move the text block where you want your page number to be. Double-click inside the text block and input your first number.
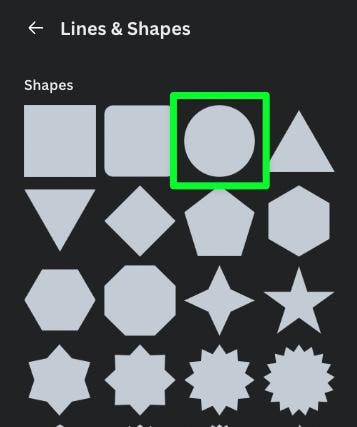
If you want to, you can easily add a quick shape behind your number by clicking Elements, scrolling down to Lines & Shapes, then selecting See All. Click on your desired shape in the list to add it to your canvas.
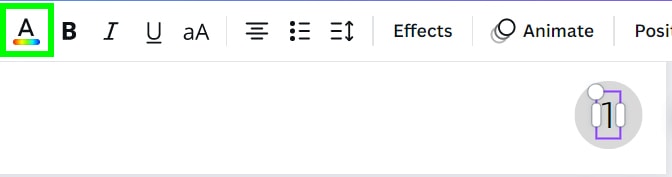
Next, place the shape behind your page number. If you need to, select the number, then change its color with the Text Color Picker.
Once you’re satisfied with your first number and the shape behind it, select both elements, then press Control + C (Win) or Command + C (Mac) to copy the elements.
Then, scroll down to the next page and paste the elements down by pressing Control + V (Win) or Command + V (Mac) to paste the elements down. Doing this will paste the objects in the exact spot as they were on the first page.


Once your page number is pasted, double-click it, then change it to the right number. Repeat this process for the rest of the project.

How To Export Your Ebook As A Multi-Page PDF In Canva
With your ebook finally finished, it’s time to export it as a PDF.
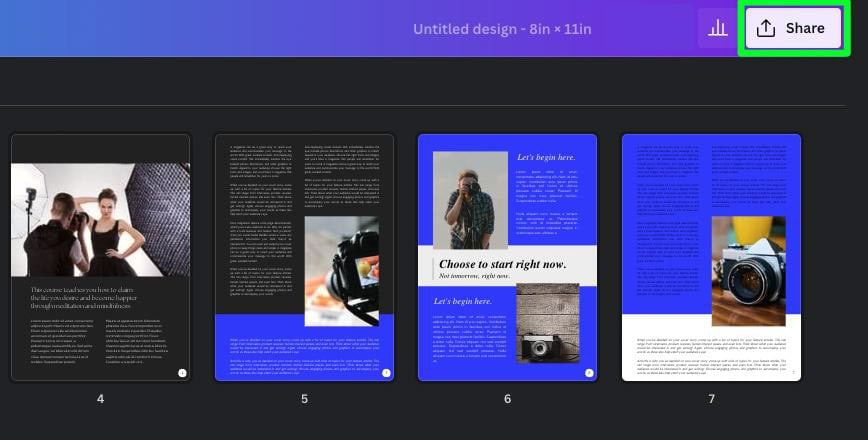
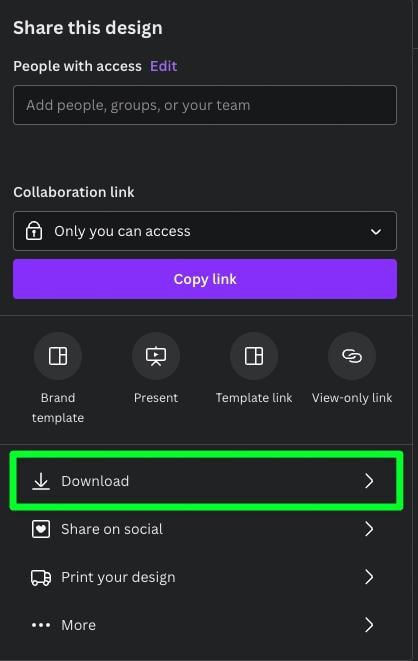
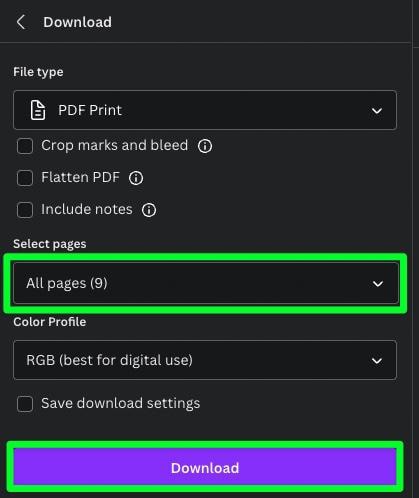
To start, click the Share button in the top right corner of the screen. In the menu that pops down, select Download.
Next, open the File Type drop-down menu, then choose PDF Standard or PDF Print.
- PDF Standard – Choose this option if you plan on presenting your PDF online as a downloadable document.
- PDF Print – Choose this option if you plan on printing your PDF.
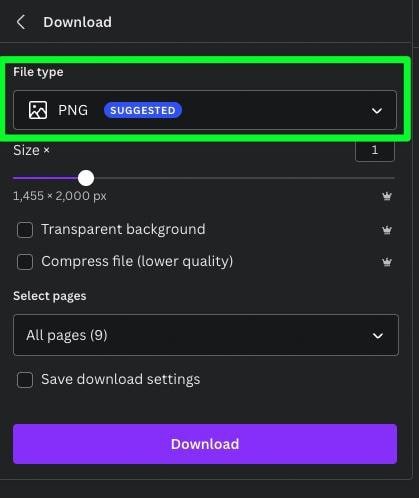

With your File Type set, make sure All Pages is selected under Select Pages.
Press Download to download the PDF to your computer.
Can You Sell Your Canva Ebooks?
You have the right to sell your Canva ebooks as long as you follow this rule: you must design the ebook yourself, or when using a template, you must completely change each template page to make it as unique as possible.
You can’t throw together a collection of template pages and call it a day. You need to make each page of your ebook your own. To do this:
- Make sure each text block is filled with your own text.
- Make sure every template image is replaced with your own images, a free image, or an image you have the rights to.
- Move around some of the elements, delete some, or add a few elements of your own.
If you fail to make each template page your own, you could run into copyright issues that may cost you money down the line. In general, to avoid these issues, be sure to customize all the text and images as much as possible to create an ebook that in unmistakably your own. After all, that will leave the best impression on your readers anyways!
Happy Creating!
