

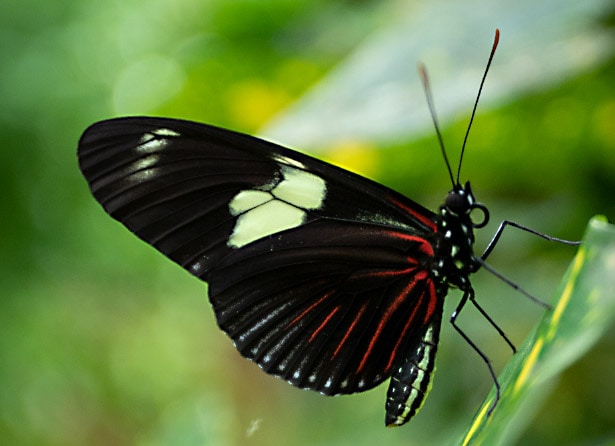
When shooting in RAW format, unprocessed photos aren’t automatically sharpened like JPEG images. If you regularly shoot in RAW or have a photo that is not quite sharp enough, you need to know how to use the Unsharp Mask to sharpen images in Photoshop.
Unfortunately, if your focus was completely wrong during shooting, there is no way to correct this in post-processing. However, if your focus is slightly off or you want to enhance the in-focus details, the unsharp mask in Photoshop helps crisp up the photos to produce a clearer and sharper-looking image.
Video Tutorial
How To Create The Unsharp Mask In Photoshop
Step 1: Right-Click On The Image Layer And Select Convert To Smart Object
To add the Unsharp Mask filter to an image, you should first convert the image layer to a Smart Object. Converting the layer to a Smart Object means you will add the filter as a smart filter.
To convert your image to a Smart Object, right-click (Win) or Control + click (Mac) on the layer in the Layers Panel and select Convert to Smart Object.
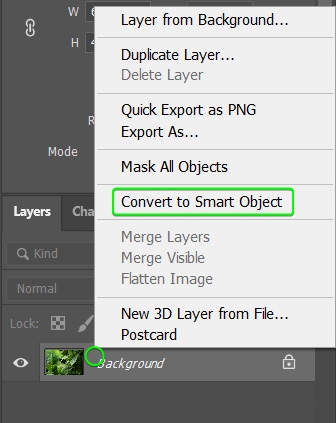
If your image was a locked Background layer, it will automatically unlock and change to Layer 0. You can confirm that the layer is a Smart Object by checking the icon that appears in the layer’s thumbnail.
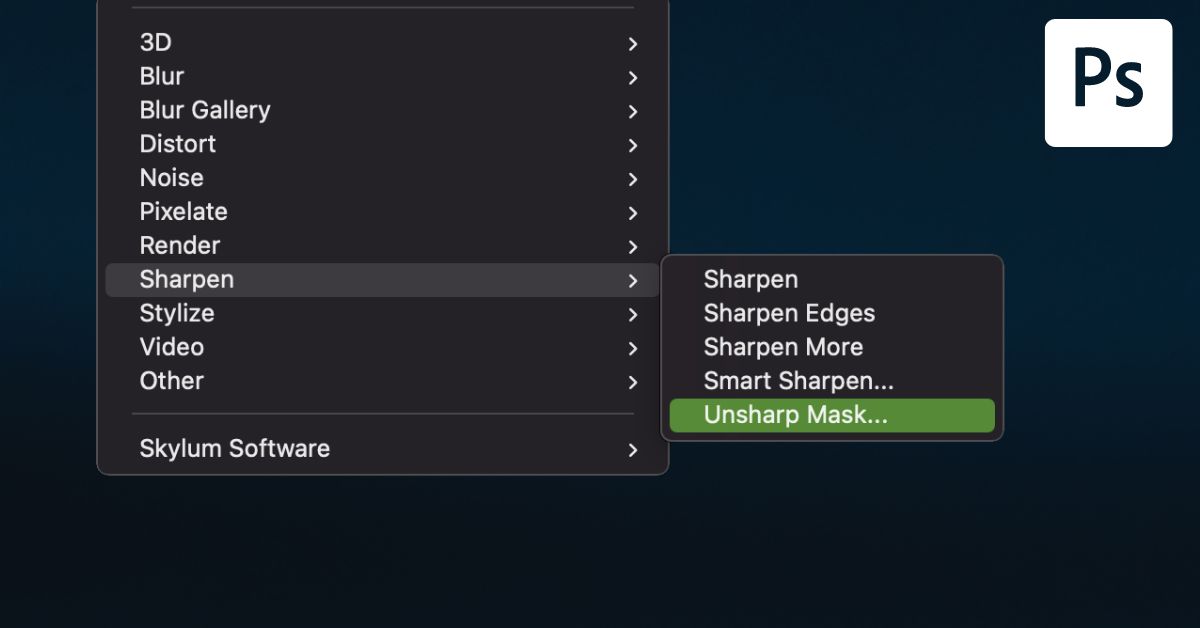
Step 2: Go To Filter > Sharpen > Unsharp Mask To Add The Unsharp Mask
You can now add the Unsharp Mask by navigating to Filter > Sharpen > Unsharp Mask. Once you follow the menu path, the Unsharp Mask dialogue box opens, previewing the image and sliders to adjust the filter. Check the box next to Preview to see the effect on the image.

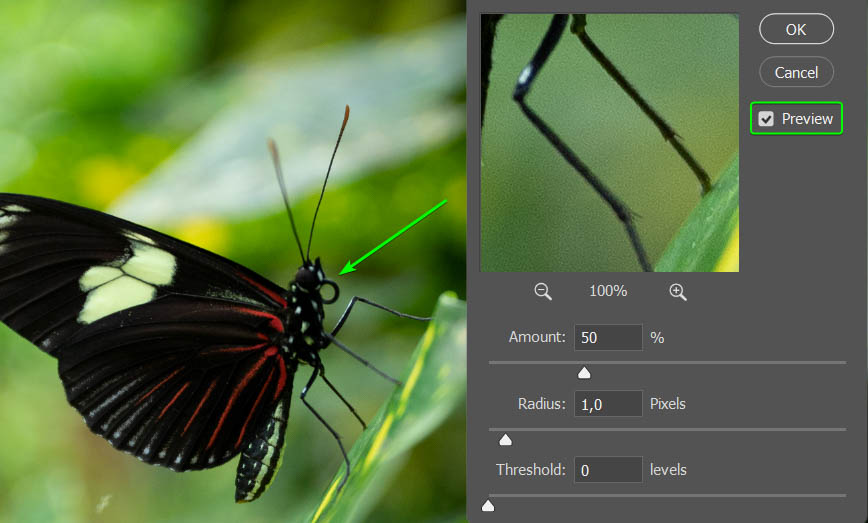
You can click and drag around the preview box to focus on a different image area or click on the image itself.
Note: You should only sharpen a photo at the end of your editing process once you have added all your edits, resized the image, and set the correct resolution for your output. If you sharpen an image earlier in the process, the effect may be distorted.
Step 3: Adjust The Unsharp Mask Settings
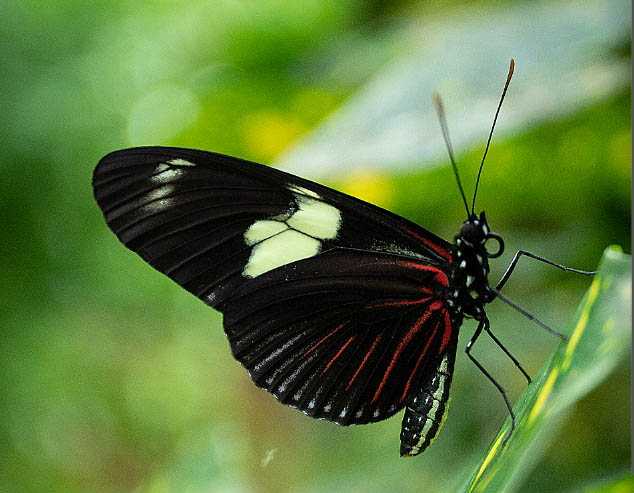
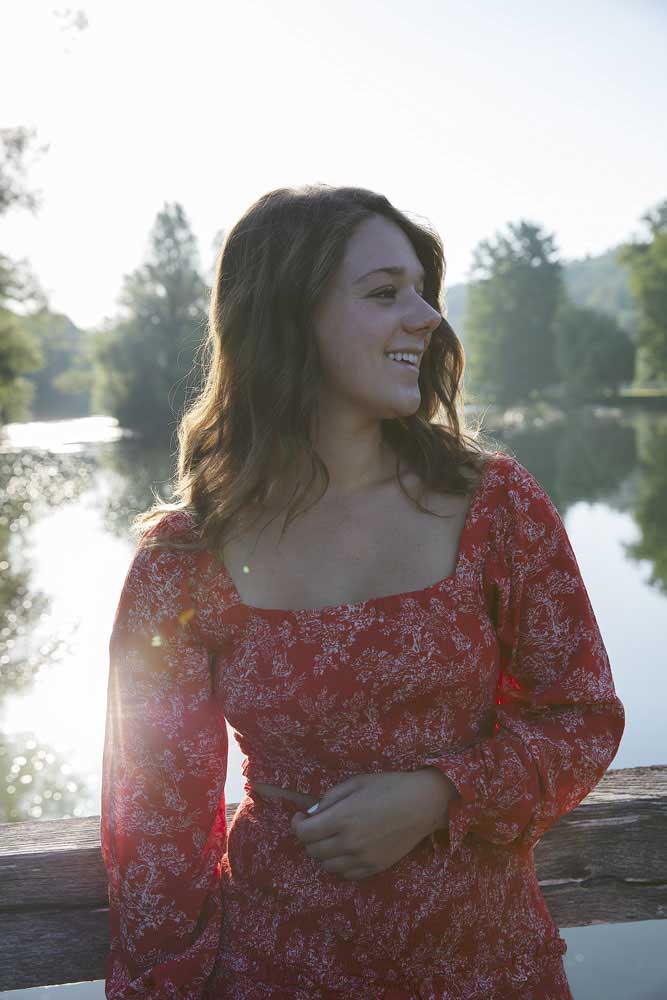
The first slider in the Unsharp Mask dialogue box is the Amount slider. This slider determines how much contrast is added to the image to make the image appear sharper. I have increased the Amount slider to 500% to show how it affects the image.
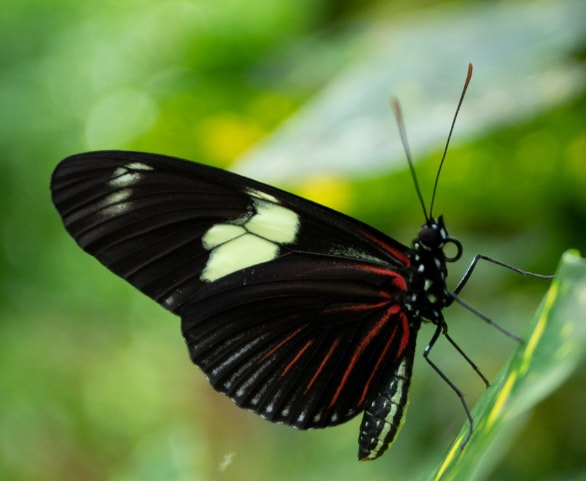
The next slider is the Radius slider, which determines how many pixels Photoshop affects next to the detected edge pixels. The higher the Radius value, the more pixels are affected, resulting in a more apparent sharpening effect. I have increased the Radius to 10 pixels to show the effect. However, you can see the haloing starting to affect the image negatively.
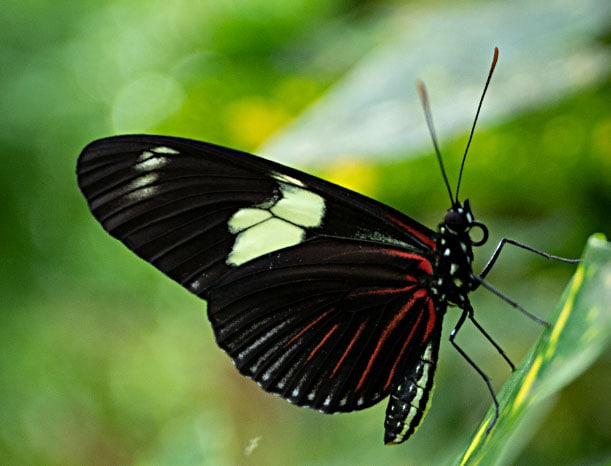
The last slider to adjust is the Threshold slider, which determines how different pixels should be from surrounding pixels to be considered edges. The Unsharp Mask affects the edge pixels, whereas those not seen as edges are left unaffected. Increasing the Threshold reduces the sharpening effect on the image and confines the effect to changing the apparent edges only. You can now see the difference when I set the Threshold to 0 and 20 levels.
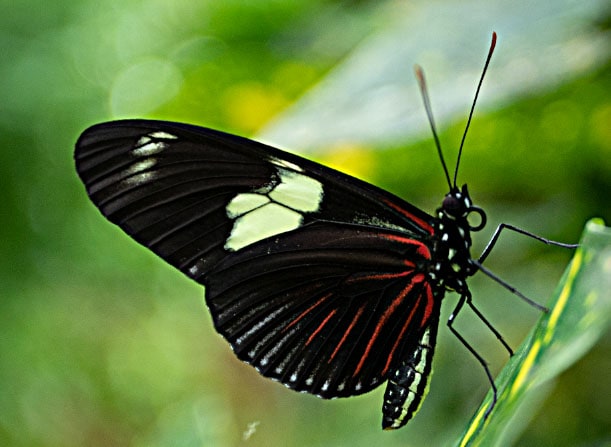
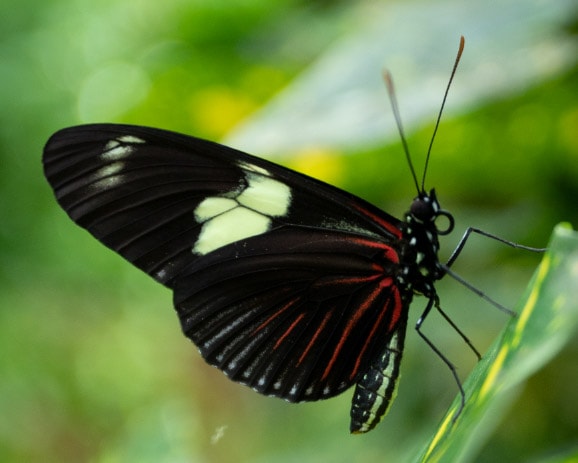
For my image, I have set the Amount to 80%, the Radius to 10 pixels, and the Threshold to 0 levels.
Step 4: Change The Blend Mode To Luminosity To Prevent Color Shifting (Optional)
Color shifting occurs when the mask affects colors and the image’s brightness, causing certain colors to become brighter and other colors to darken. A simple fix to eliminate color shifting is to add a blend mode to the smart filter. To add the blend mode, double-click on the smart filter’s Blending Options icon, which is to the right of the filter in the Layers Panel.
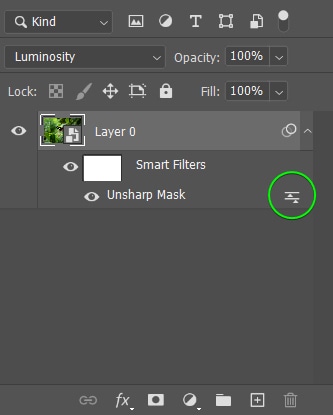
When the Blending Options window appears, change the Mode to Luminosity.
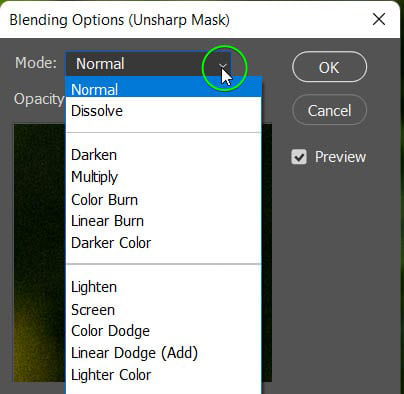

This blend mode preserves your image’s original color values. As a result, your image is clearer without the colors being affected.
Recommended Settings To Use With The Unsharp Mask In Photoshop
| General | Landscapes | Portraits | Web | ||
|---|---|---|---|---|---|
| Amount | 50%–200% | 100%–150% | 100%–120% | 150%–200% | 50%–120% |
| Radius | 1–5 pixels | 1–1.5 pixels | 1–3 pixels | 1–5 pixels | 0.5–2 pixels |
| Threshold | 2–20 levels | 6–10 levels | 4–6 levels | 2–20 levels | 2–20 levels |
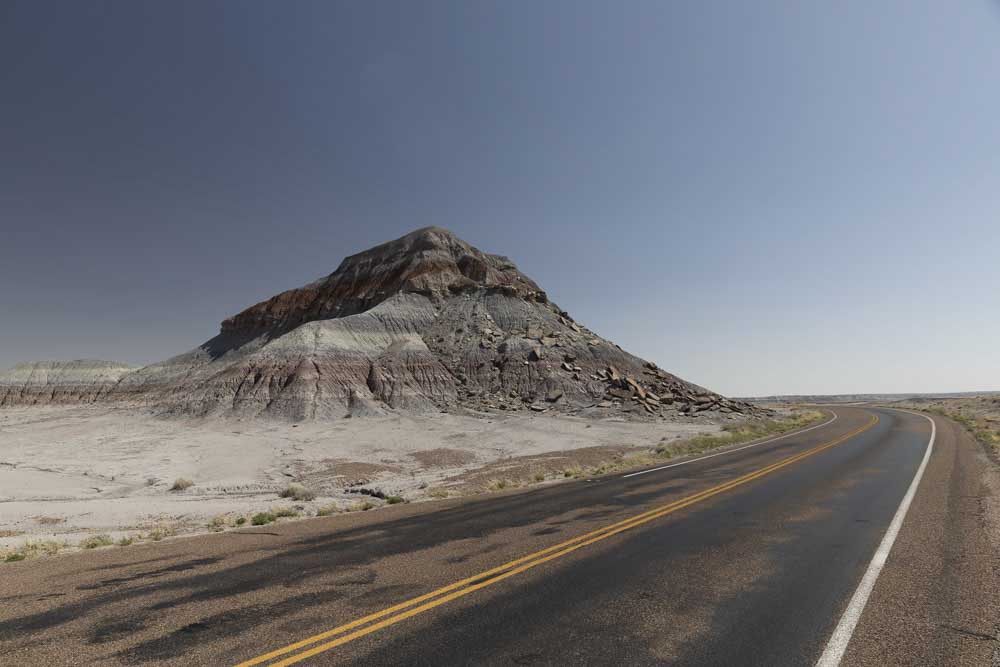
There is no one-size-fits-all for sharpening an image, and the settings you apply depend on your photo. The Unsharp Mask affects pictures differently based on the details in the image. While you can follow the above table as a guide for sharpening your image, I recommend you experiment with the Unsharp Mask settings to find the best ones for your photo.
Now to learn more about other methods to sharpen your images in Photoshop, be sure to check out my guide to sharpening in Photoshop.
