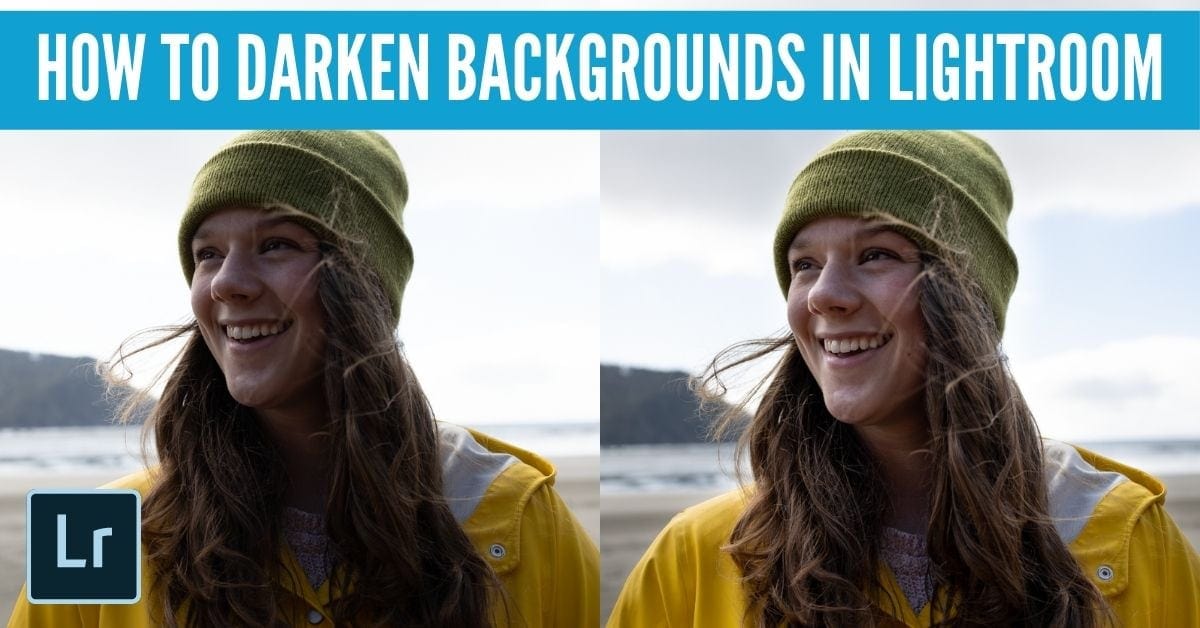

Whether you want to isolate your subject or correct a bright background, there are several easy ways to darken backgrounds in Lightroom. From basic adjustment sliders to selective adjustments, there’s a tool for any situation you face.
To darken the background of a photo in Lightroom, select the Radial Filter (Shift + M) and create a radial mask around your subject. In the filter settings, make sure the “Invert” option is unchecked. Now click and drag the Exposure slider to the left to darken the background of your photo.
Now that’s one of the fastest ways of doing it, but there are some added nuances to this process. Let’s break down the radial filter method more in-depth and discuss 2 additional ways of darkening backgrounds.
How To Darken The Background In Lightroom
1. Using The Basic Panel’s Adjustment Sliders
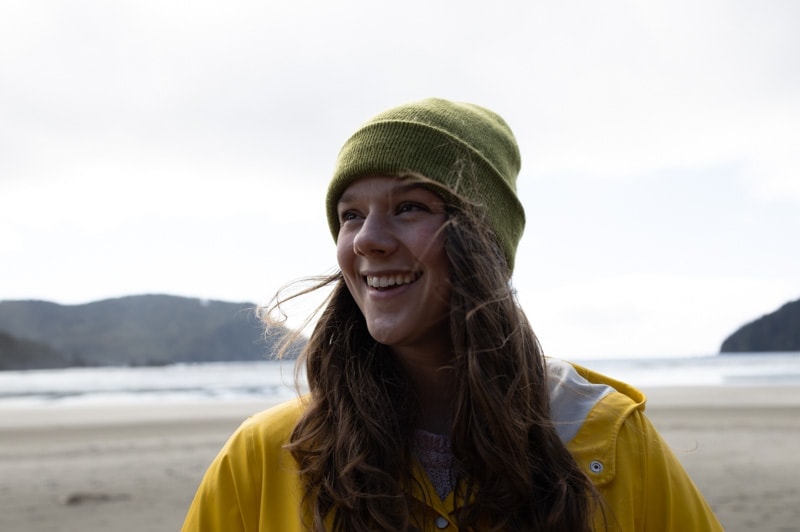
When you’re working with a photo that has a bright or overexposed background, you may not need to make a selective adjustment. Instead, you can tone down these bright areas using the highlights and whites sliders.
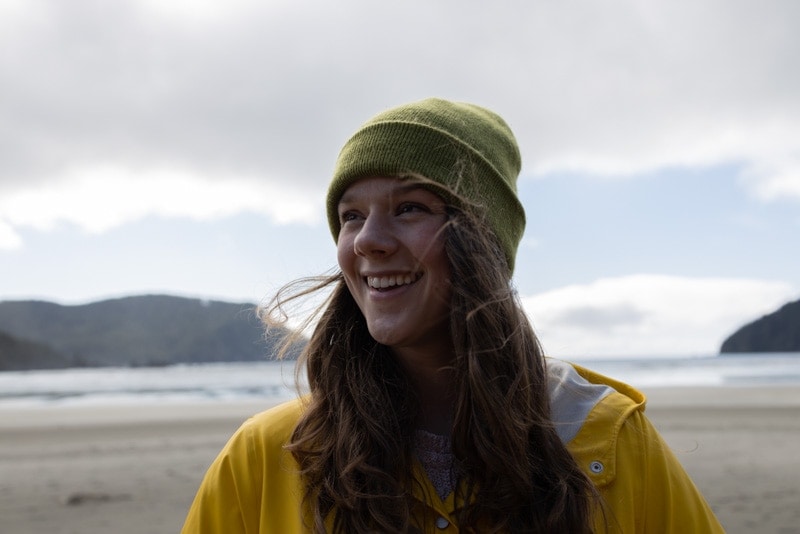
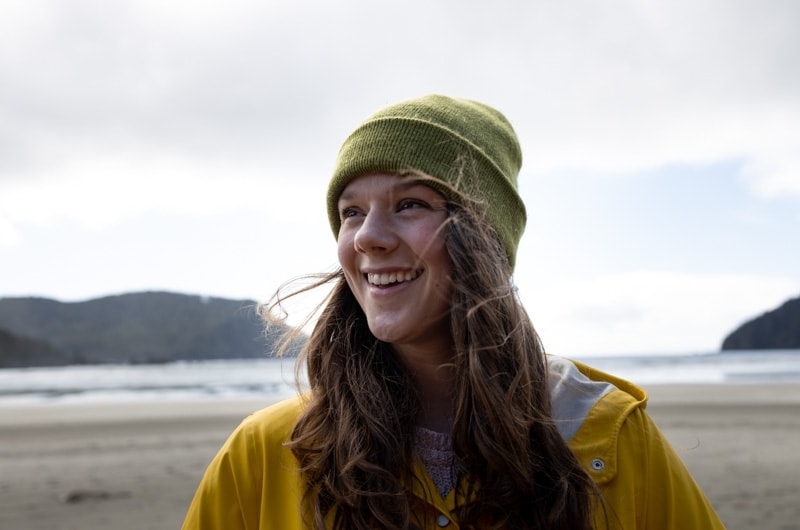
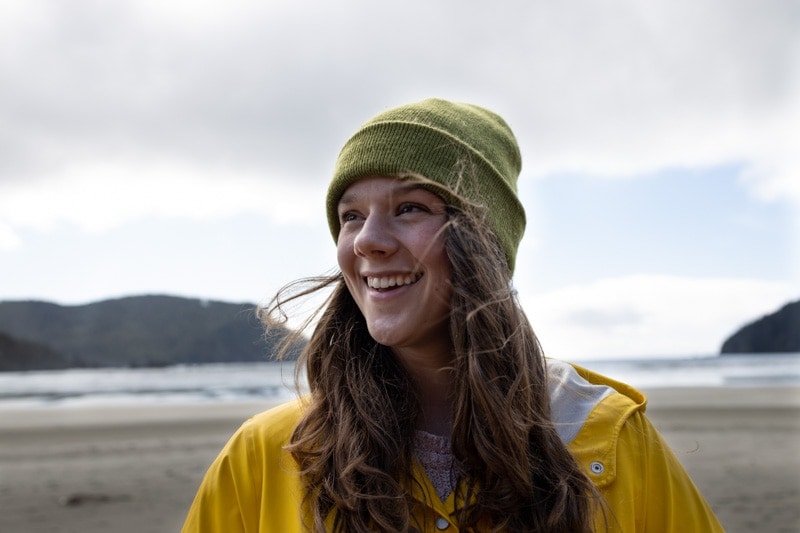
For example, this image has a bright background that I want to darken.
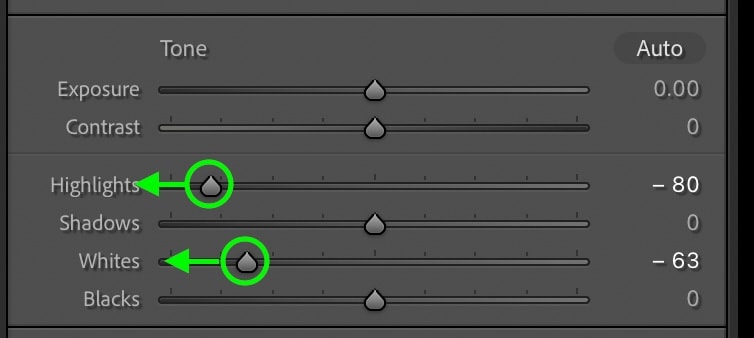
Within the Develop Module, inside the Basic Panel, there are a variety of exposure adjustment sliders. By dragging down the highlights and the whites, the background of the photo becomes darker.
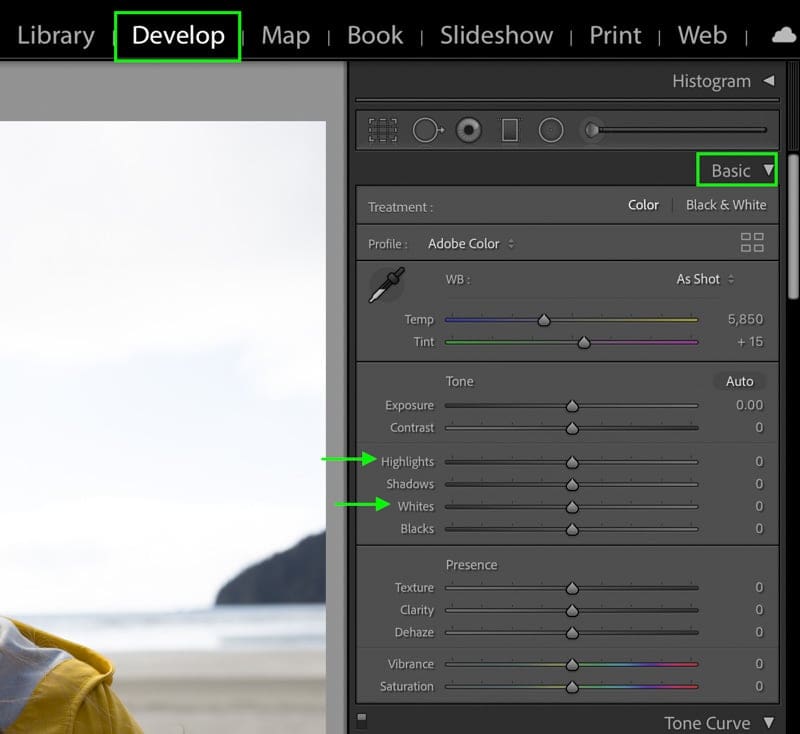
This is perfect for recovering lost details in brighter areas and fixing the overall exposure of the photo.
Since these sliders apply a global adjustment, this isn’t ideal if you want to make your subject stand out from the background. With a portrait, for example, darkening the highlights will also darken skin tones. So rather than sacrificing the brightness of your subject for a darker background, you can use selective adjustments to isolate the background.
The following two methods are the best selective adjustments to use!
2. Using The Radial Filter
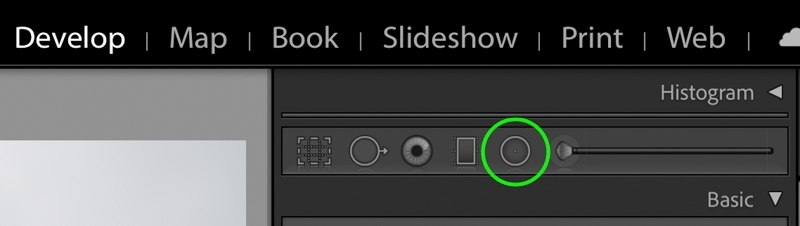
To darken the background of a photo with the Radial Filter, you’ll need to first create a new filter by clicking on the icon of pressing Shift + M.
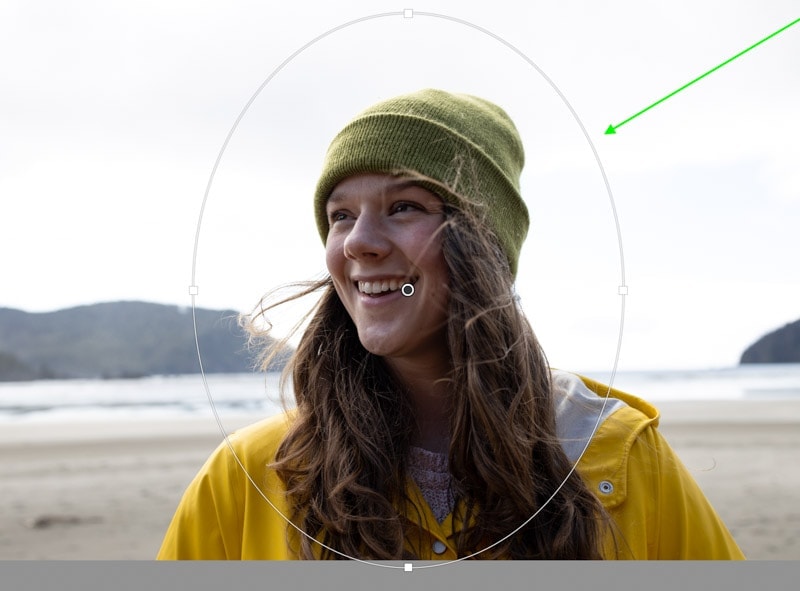
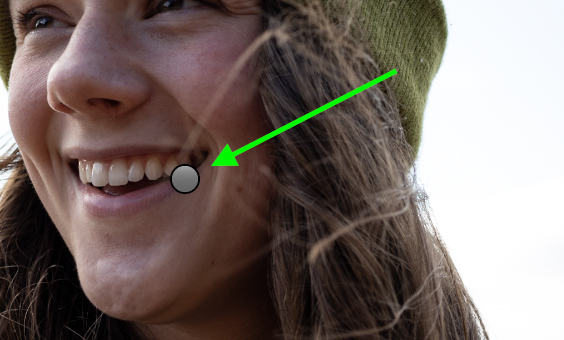
With the Radial Filter selected, click and drag out on your image to create the filter. The further you drag out, the larger the filter will be.
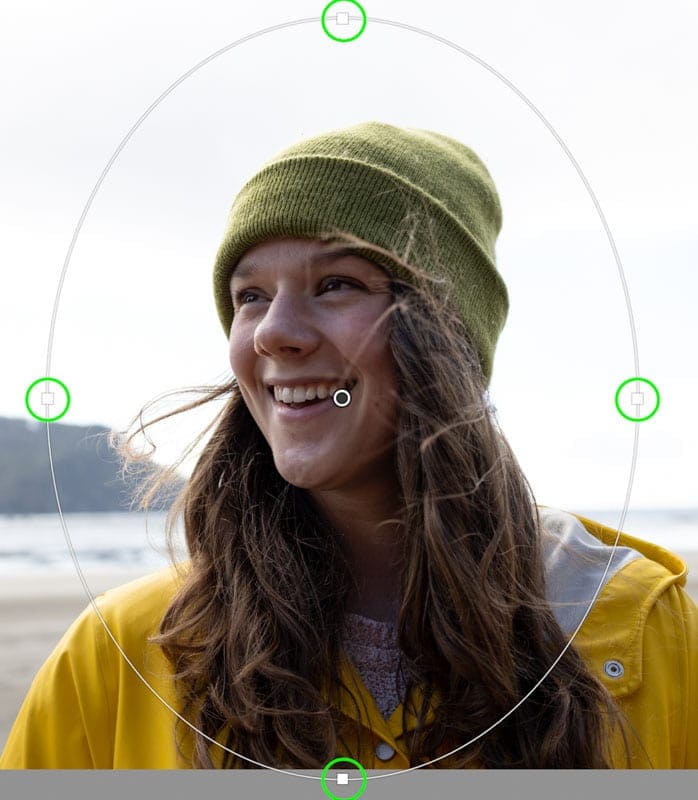
You can easily adjust the size of the filter by clicking on any of the anchor points found on the outer edges. If you need to reposition the entire filter at once, simply click in the center and drag it to a new location.
The goal is to position this filter to surround the subject in your photo. That’s because everything on the outside of the filter will get darkened.
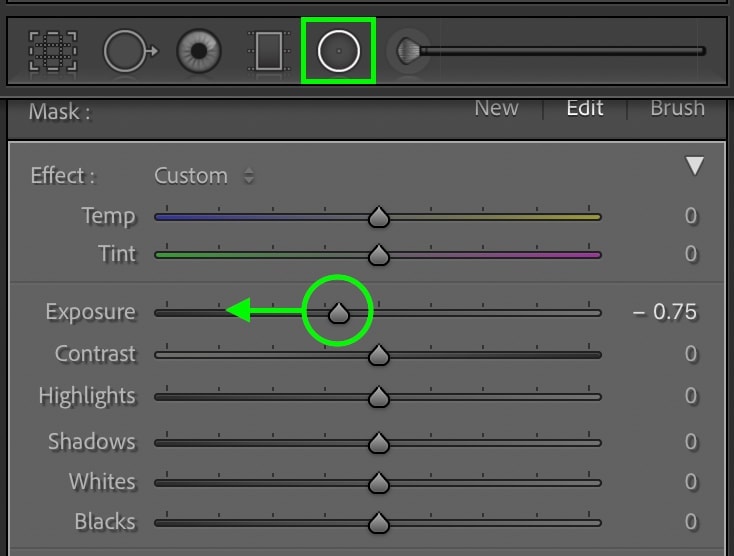
Now that the Radial Filter is in place go to the filter settings panel and uncheck the “Invert” option. Likewise, set the feather to 50 or higher for a more blended adjustment. With these settings, your adjustments will target the outside of the gradient rather than the inside.

Finally, click and drag down on the Exposure Slider to darken the background. You can also adjust the highlights, whites, shadows, and blacks sliders for more refined darkening effects.
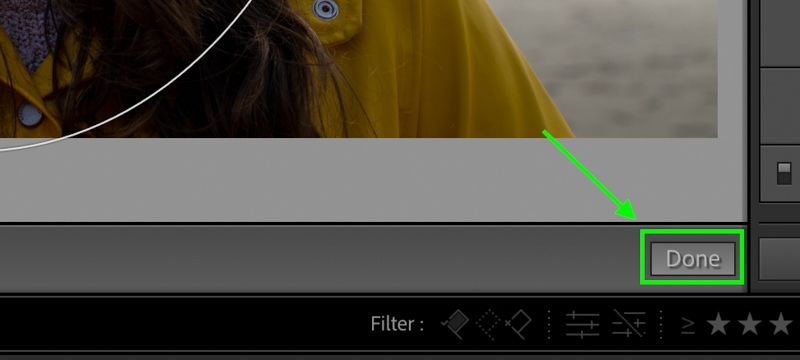
Once you’re happy with the adjustment, click Done in the bottom toolbar.
After you continue along with your edit, you may want to come back to adjust this Radial Filter. You can easily reaccess it by selecting the Radial Filter, then clicking on the edit pin associated with the filter. When the edit pin is selected, you can adjust all of the darkening adjustments from before as needed!
The Radial Filter is a straightforward way to isolate your subject and darken backgrounds in Lightroom, but it’s limited to the shapes it can create. After all, it only creates circular masks! With this third tool called the Adjustment Brush, you can better control exactly where your darkening adjustments are applied.
3. Using The Selective Adjustment Brush
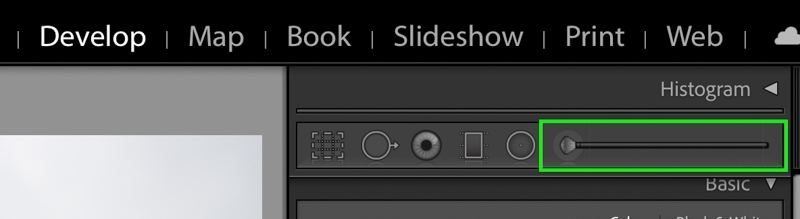
First, to darken the background with the Adjustment Brush, select the tool from the upper toolbar or press K on your keyboard.
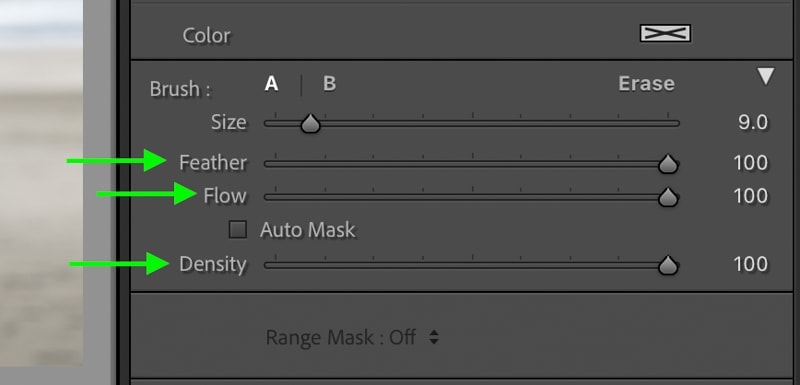
Before you paint anything on your image, go down to the brush settings panel found beneath the adjustment sliders. For a general use brush, set the Feather to 100, the Flow to 100, and the Density to 100. Also, ensure that Auto Mask is unchecked to ensure your mask affects all the areas you paint over.
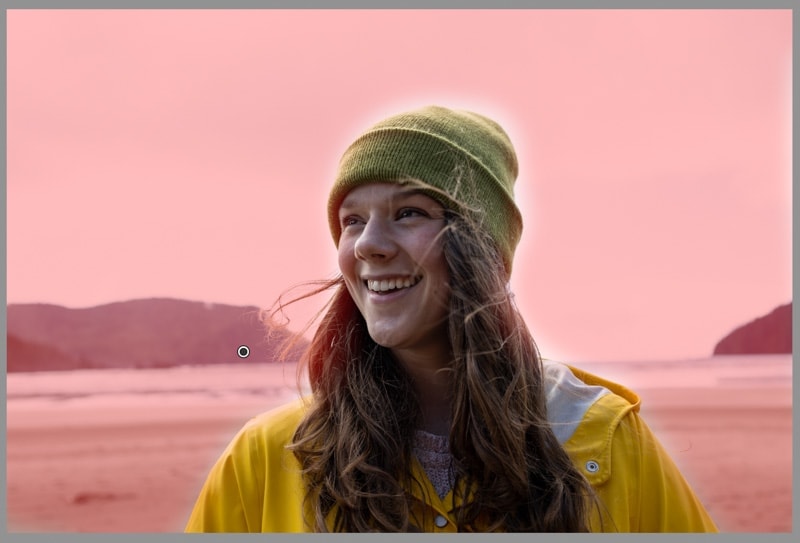
Now it’s time to paint your mask onto the image. Just remember that wherever you paint is where the darkening adjustments will take place! By clicking and dragging around your image, you can easily paint on your adjustment. If you need to adjust your brush size, scroll on your mouse or use the [ or ] keys.

By default, you won’t see anything painting on your photo, but by pressing O, you can view your mask displayed via the red highlight. Continue to paint until this red highlight covers your entire background. Once complete, press O again to hide the mask.
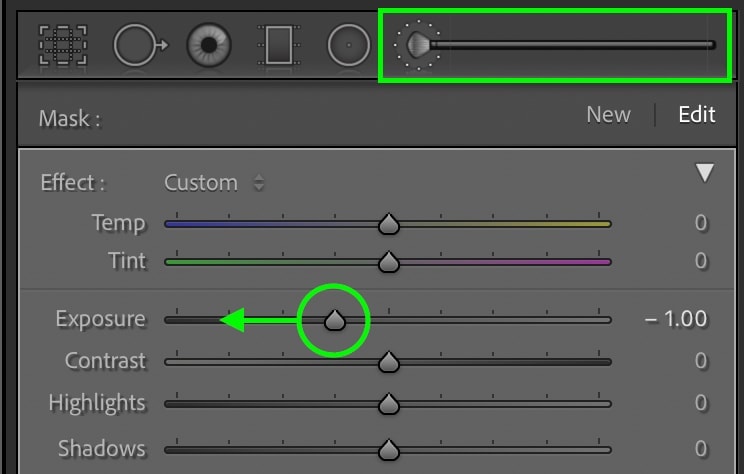
Now you can darken the background by dragging down the Exposure Slider.
In some cases, you may want to remove the darkening adjustment from a certain area. With the Adjustment Brush still selected, hold the Alt or Option key to switch to the Eraser Brush. This will help you erase any of the darkening adjustments you don’t want anymore to refine your adjustments quickly!
Once you’re finished with your adjustment, press Done to commit to your changes.
Just like with the Radial Filter, you can access your Adjustment Brush adjustments later on in your edit if needed. By selecting the Adjustment Brush, then clicking on the associated edit pin, you can fully adjust your background darkening effects.
Once the edit pins are selected, you can change the darkening values or even add to or remove parts of the mask.
Now you know three of the best ways to darken the background of a photo in Lightroom. This is perfect for correcting overexposed backgrounds or isolating your subject from the background. Depending on exactly where you need to apply these effects, it’s made easy with global adjustment sliders, the Radial Filter, and the Adjustment Brush.
Happy Editing!
Brendan 🙂


