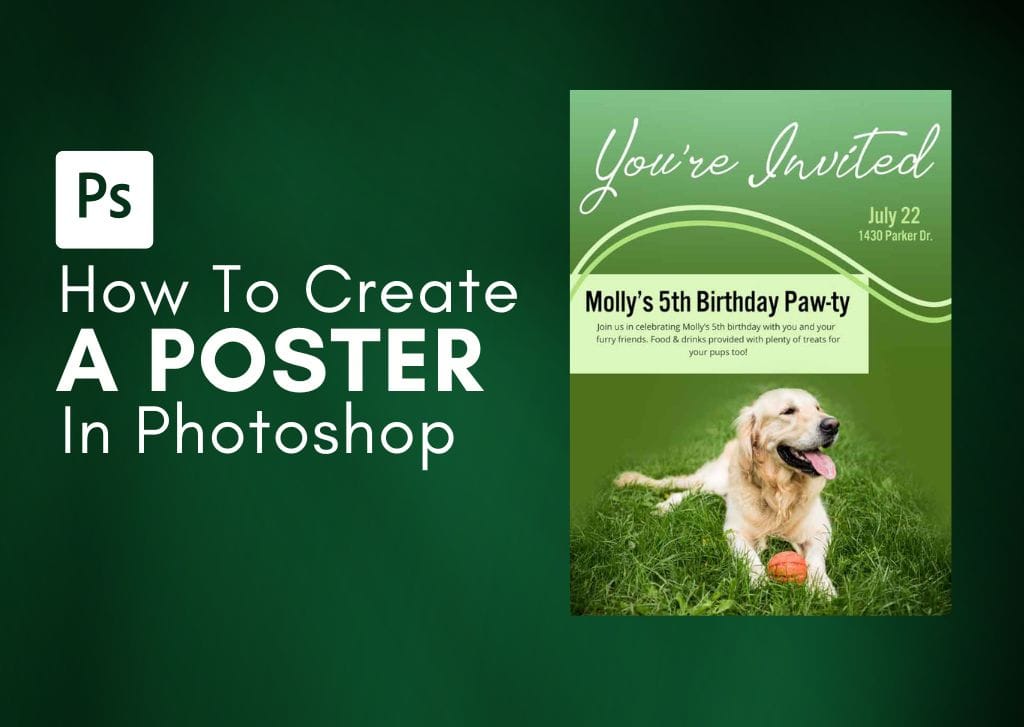

No matter what type of poster you need to create, Photoshop has everything you need to create one in just a few minutes. You can choose the size and design the entire poster from scratch, utilizing shapes, graphics, photos, and text. You can then print the poster or even share it digitally. So let’s walk through it together and take a look at the process of creating a poster from scratch in Photoshop!
How To Make A Poster In Photoshop
There may be many moving parts when creating your flyer, but the following steps break it down so you can easily make a poster in Photoshop to fit your needs.
Step 1: Create A New Document
The first step is to get a new document ready with the dimensions of your poster. The dimensions you set for your document will depend on whether you plan to print your poster or send it out digitally.
If you plan to print, you’ll likely want to use a document the size of a standard flyer, which is 8.5×11 inches.
So, to get a new document started, head to File > New.

The new document window will appear where you can set the size of the document. As I plan to print mine, I’ll change the size to a standard 8×11-inch page.
Here you can either change the unit to Inches and type 8 and 11 into the Width and Height boxes, respectively, or head to the Print tab at the top of the window and choose the standard Letter size template. The PPI (Pixels Per Inch) should be set to at least 300 for the best print resolution.
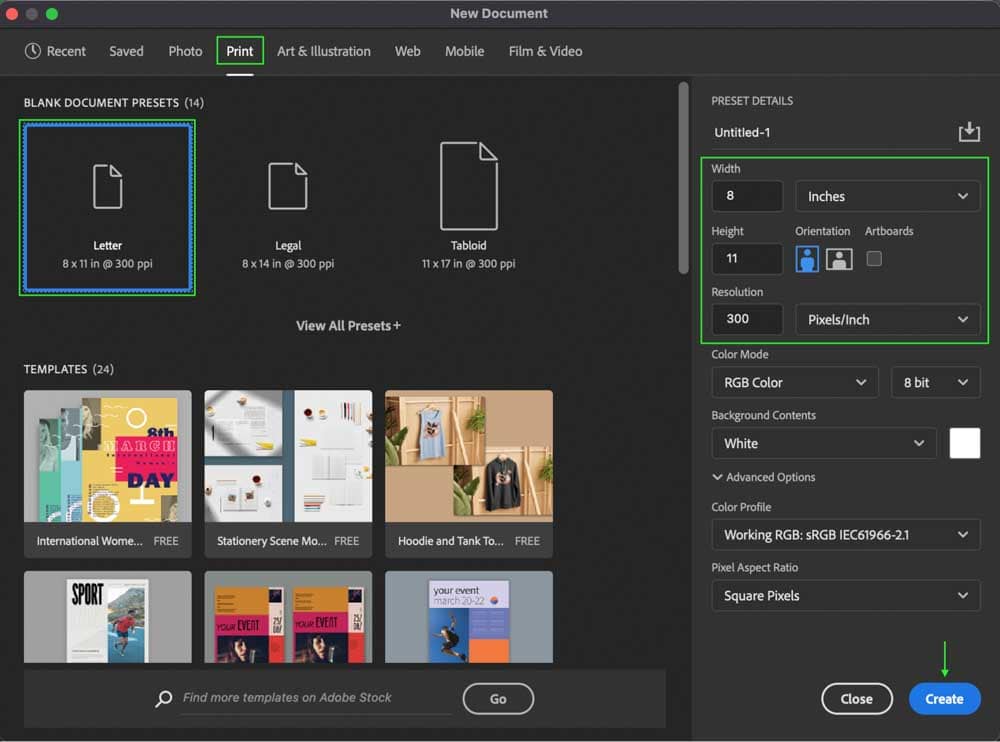
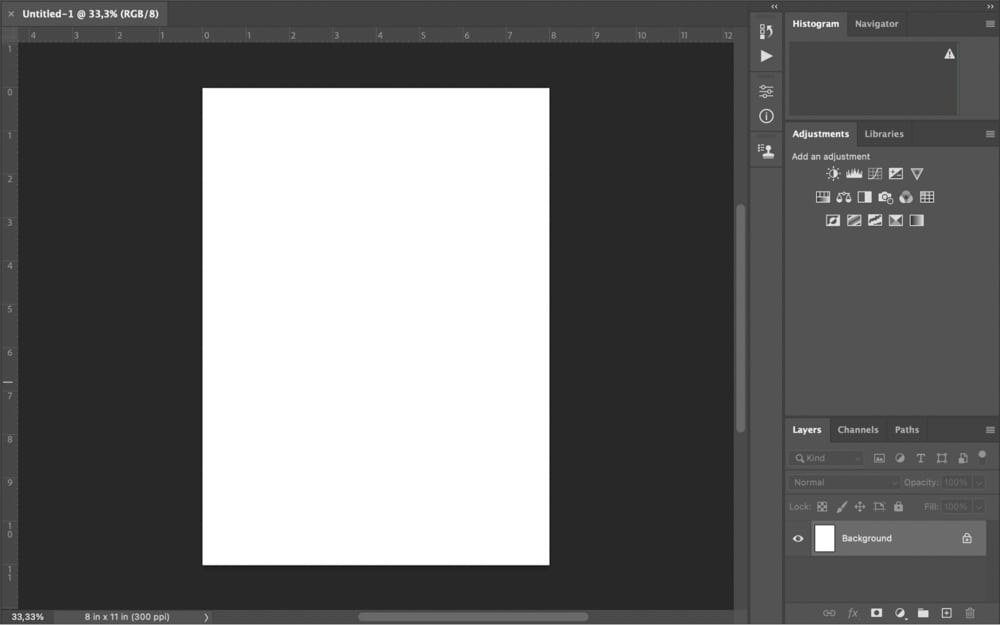
Click Create, and the document will appear in your workspace and in the Layers Panel as a Background Layer.
Step 2: Add An Image
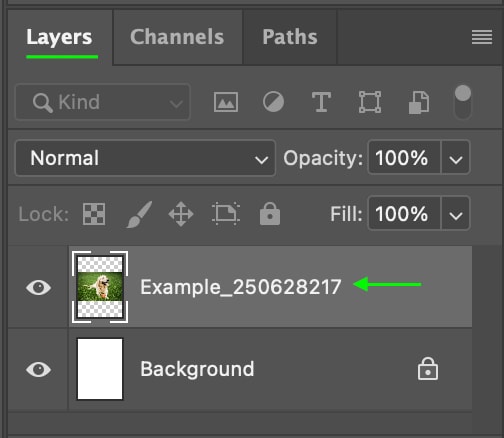
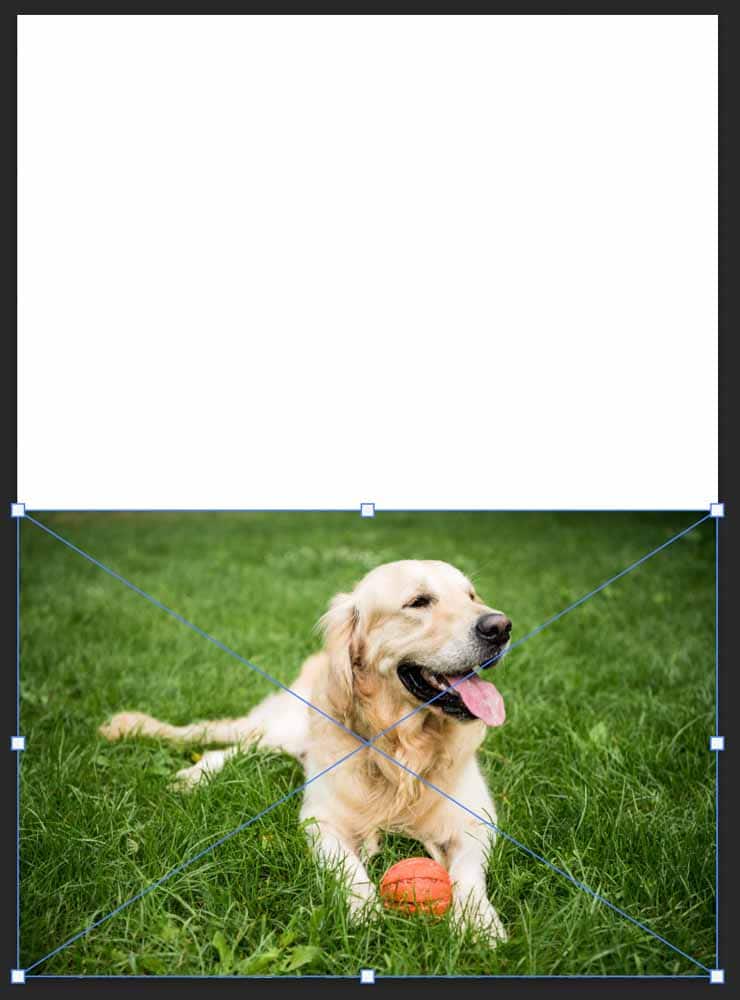
Next, I’ll add an image to my poster by clicking and dragging the photo from my files to the document. It will appear on the document and in the Layers Panel.
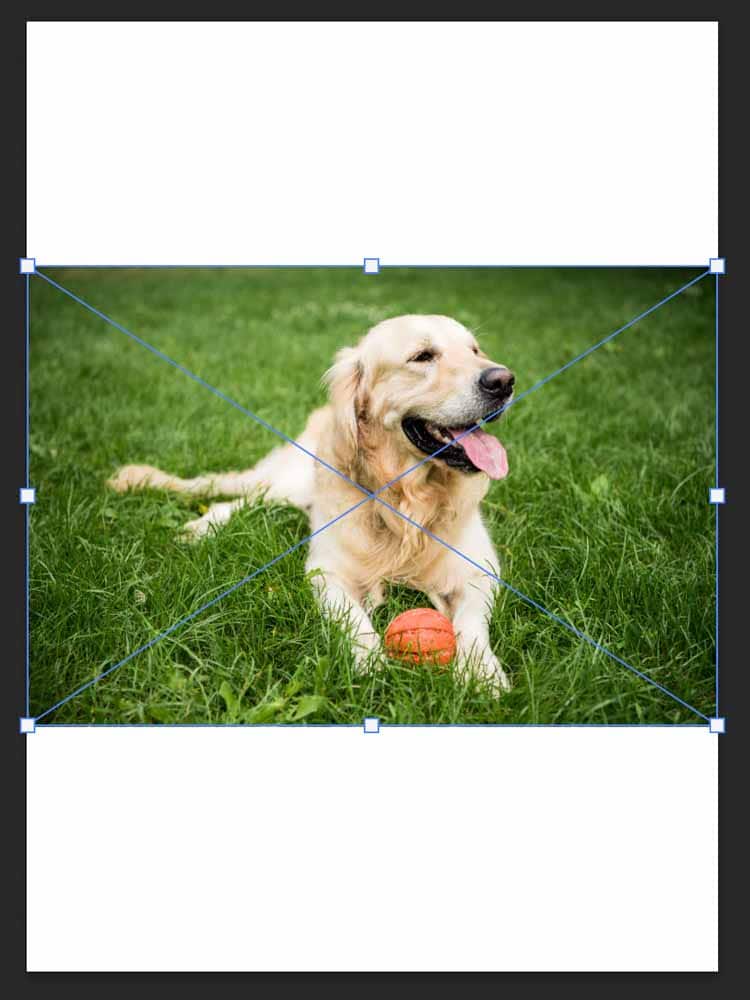
You can then size the image by dragging the toggles around the outside and then place the image where you’d like by clicking and dragging it. If you do not have these options, make sure the Move Tool (V) is selected and that “Show Transform Controls” is checked in the Options Bar while the Move Tool is active.
Step 3: Blend The Image Into The Background (Optional)
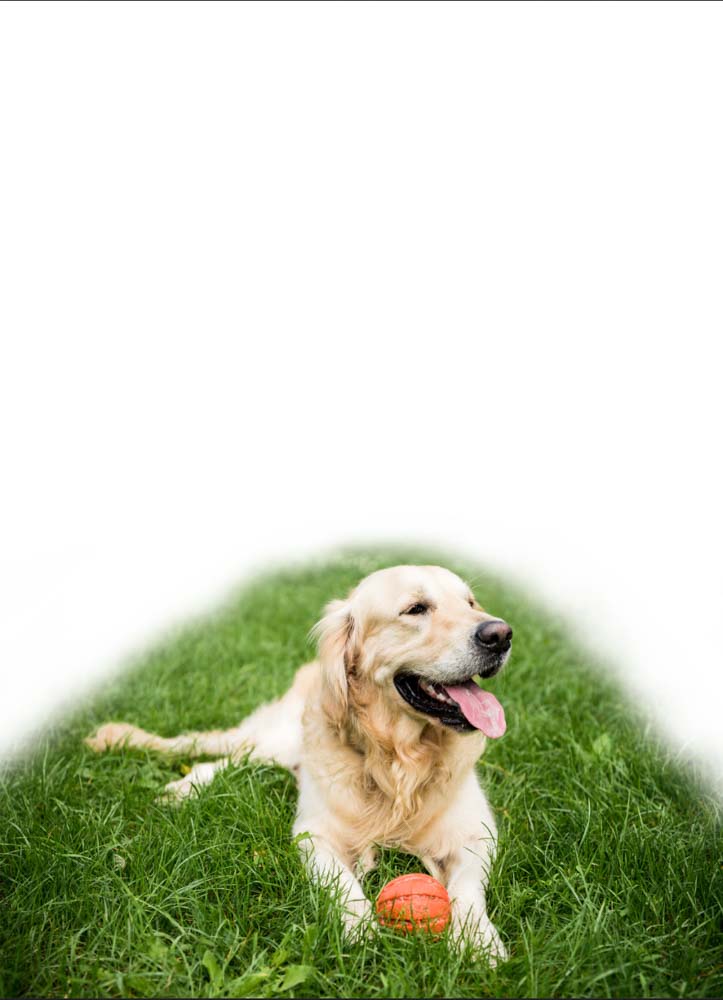
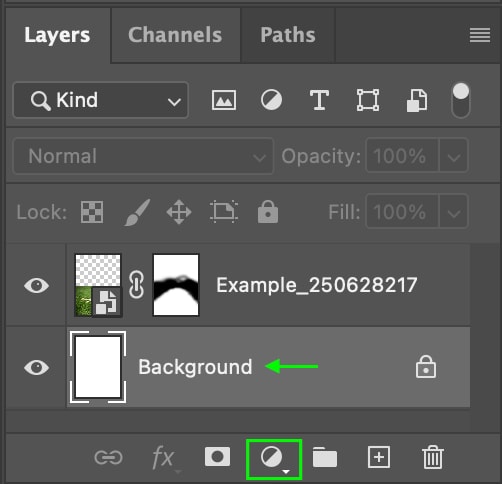
Once the image is placed how you’d like, you can fade it into the background by applying a layer mask. First, add a layer mask by heading to the Layers Panel. Ensure you’ve selected the Image Layer, and then click the Layer Mask icon at the bottom of the panel.
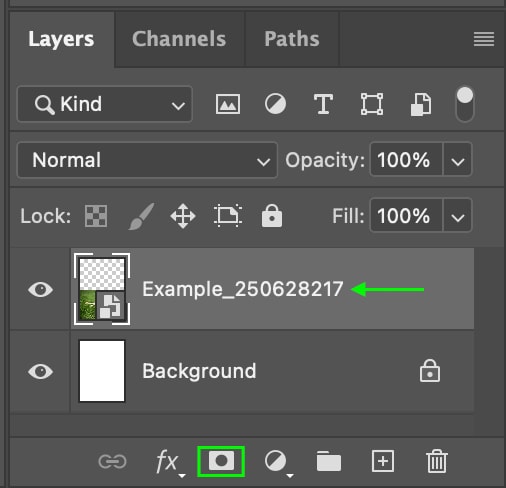
The mask will be applied, and you’ll see the Layer Mask icon beside the image layer thumbnail.
Now, I can blend the edges into the background using the Brush Tool (B).
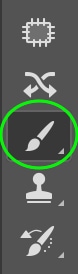
In the Options bar, set the brush type, size, and hardness by clicking the arrow next to the brush size.

For the best results, go with a Soft Round brush, and set the Hardness to 0 and the Size big enough to brush strokes around the edge of the photo and blend it sufficiently into the background.

Make sure the foreground color is set to black, as this will hide parts of the image layer.
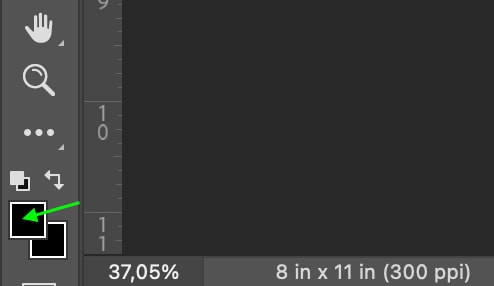
Then, paint around the edges of the image at the top to blend it into the background using the brush until the edges look blurred into the white background.
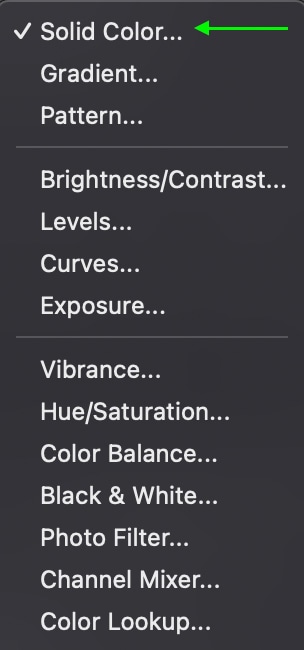
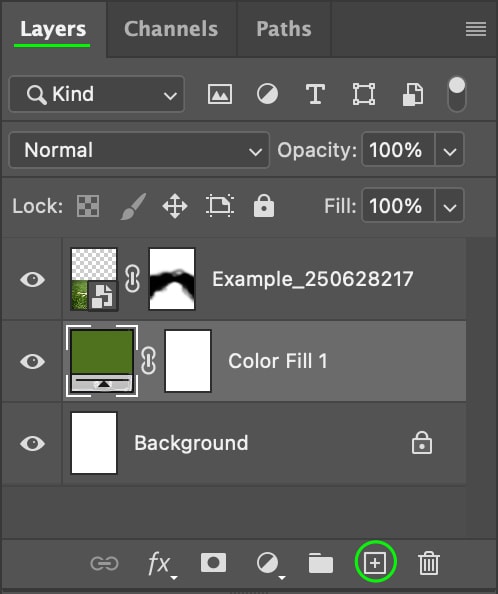
Step 4: Add A Background Color
Next, you can add a color fill layer to the background by clicking the Background Layer in the Layers Panel, clicking the New Fill Or Adjustment Layer icon, and selecting Solid Color.
The Color Picker window will appear.
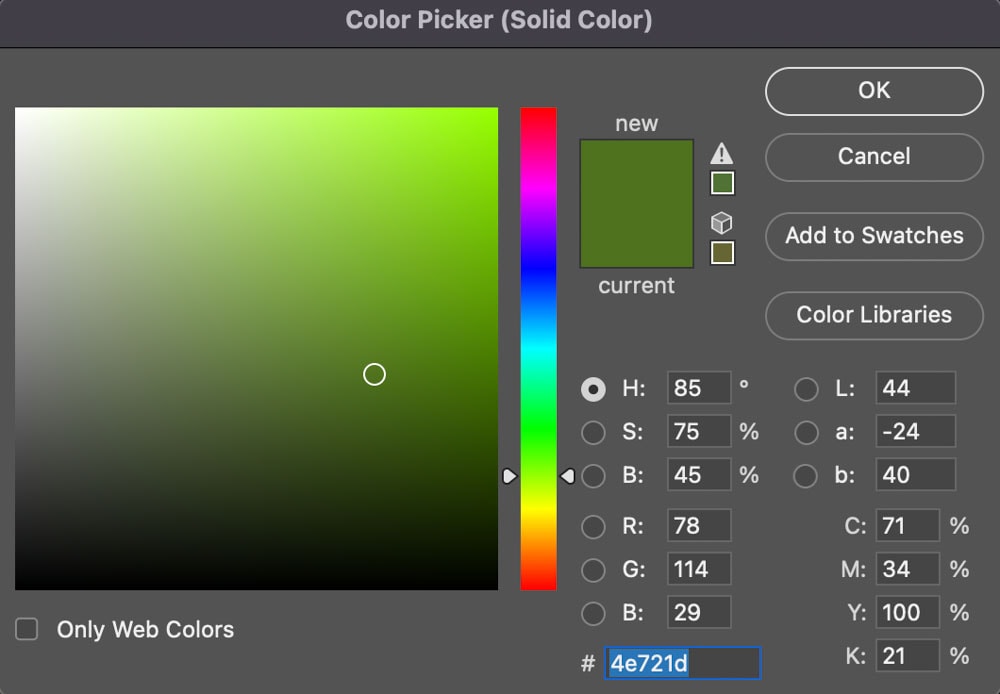
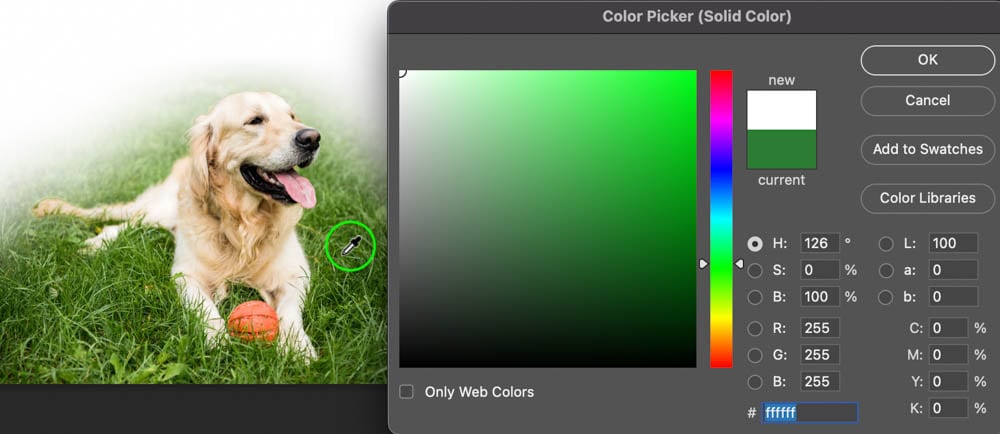
For my background, I’ll sample the color of the grass by clicking the image – when you hover over your document, the cursor will change to an eyedropper. Click to select the color and click OK to change the color of the background.
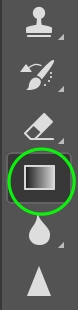
Step 5: Add A Gradient (Optional)
To add some dimension to my poster, I’ll add a gradient from lighter green at the top to the darker green I selected as the background. I can do this by clicking the New Layer icon at the bottom of the Layers Panel.
Then, I’ll head to the Gradient Tool (G).
In the Options bar, click the Gradient drop-down menu.

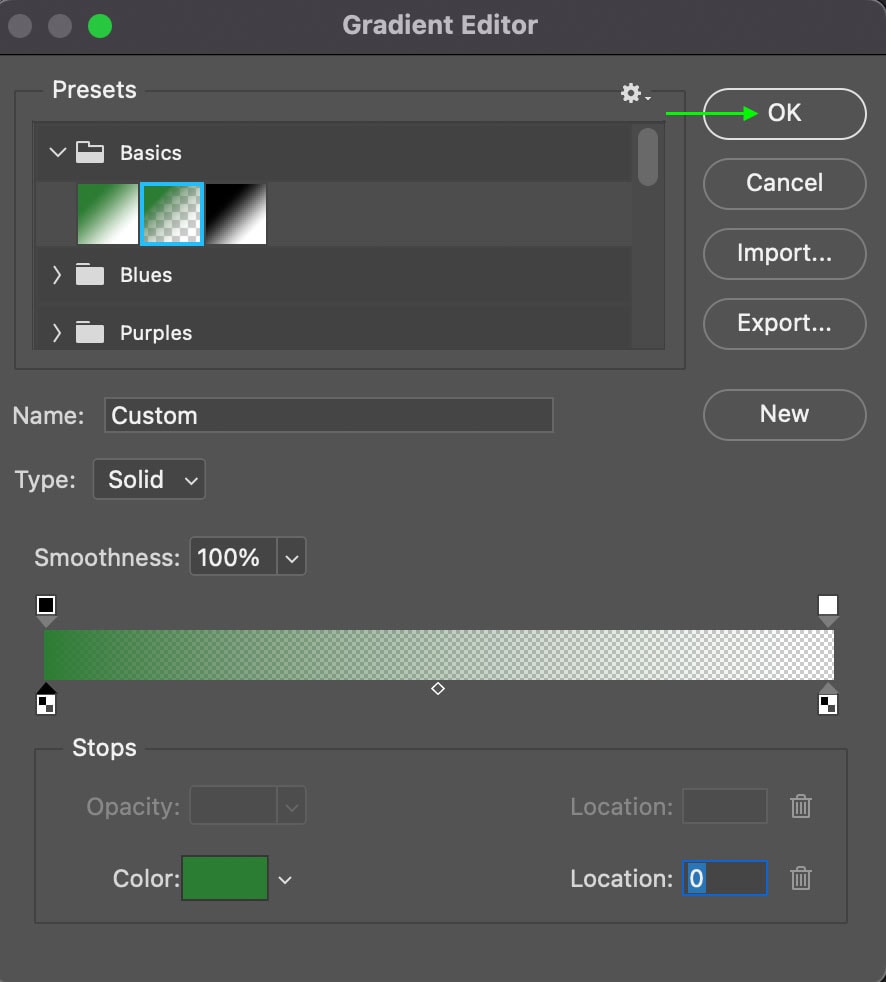
In the panel that opens, I’ll make sure I’ve selected the Foreground to Transparent gradient, which can be found in the Basic tab. I can set the Foreground color by clicking the bottom toggle on the left side of the sample gradient and then clicking the Color box.
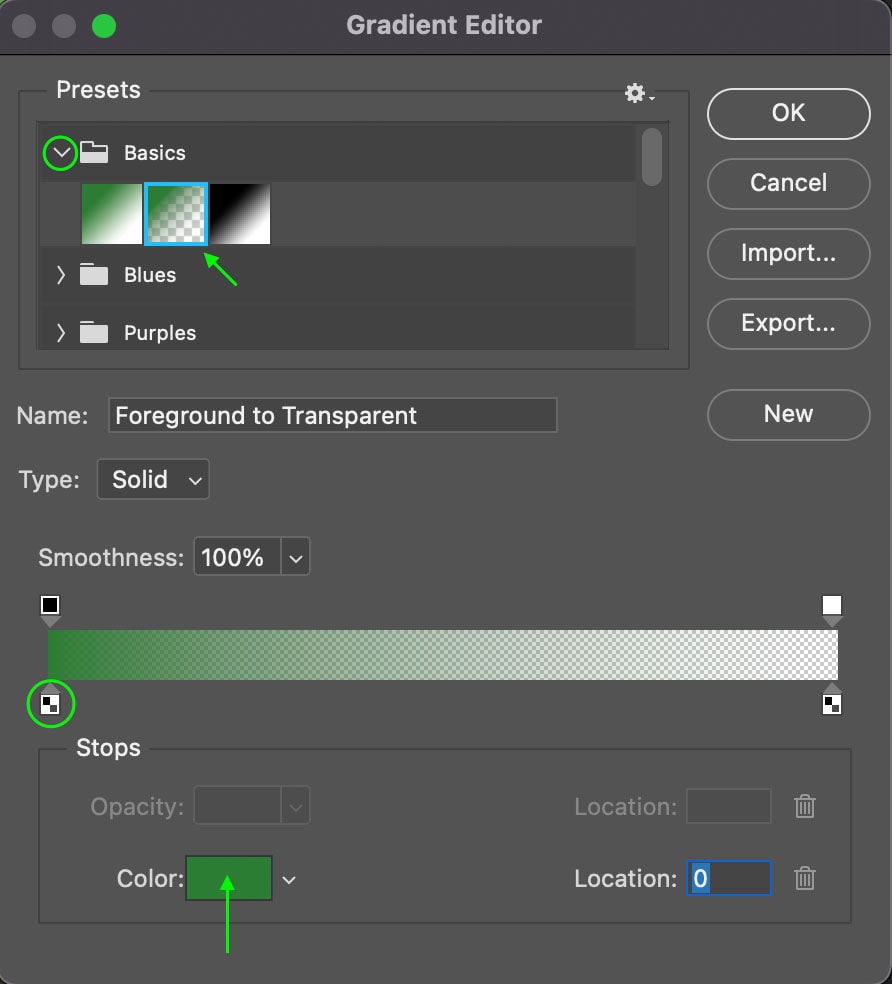
The Color Picker Window will open. I’ll then click the green color I set as the background on my document to select that color and then find a lighter version of the color to use as the top of my gradient.
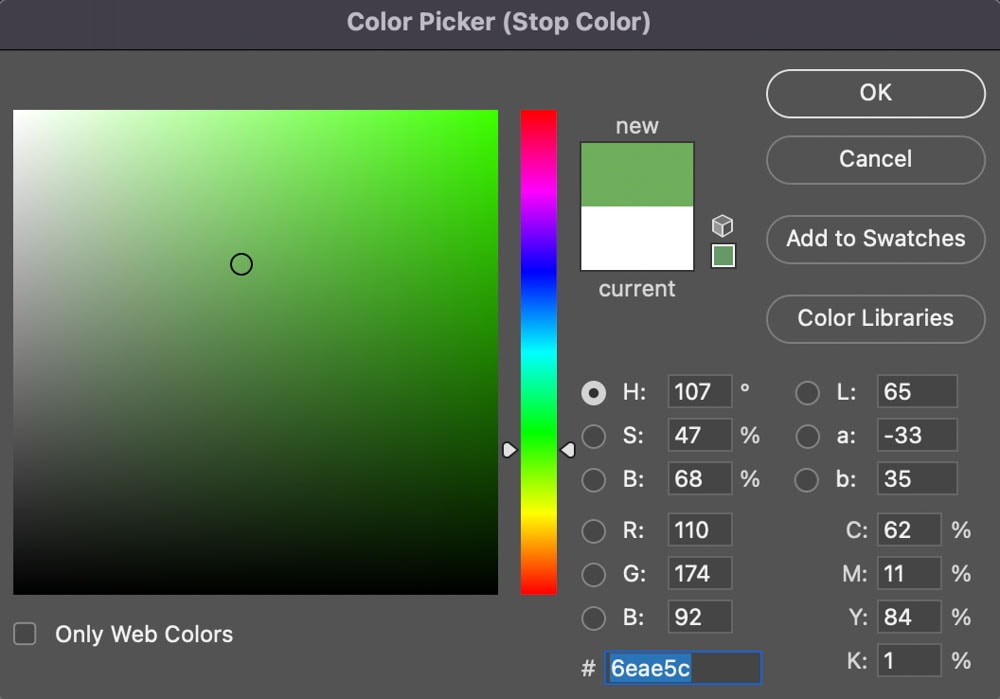
When I click OK, I can make the gradient by clicking the top of the document and dragging it down to where I want the gradient to fade.
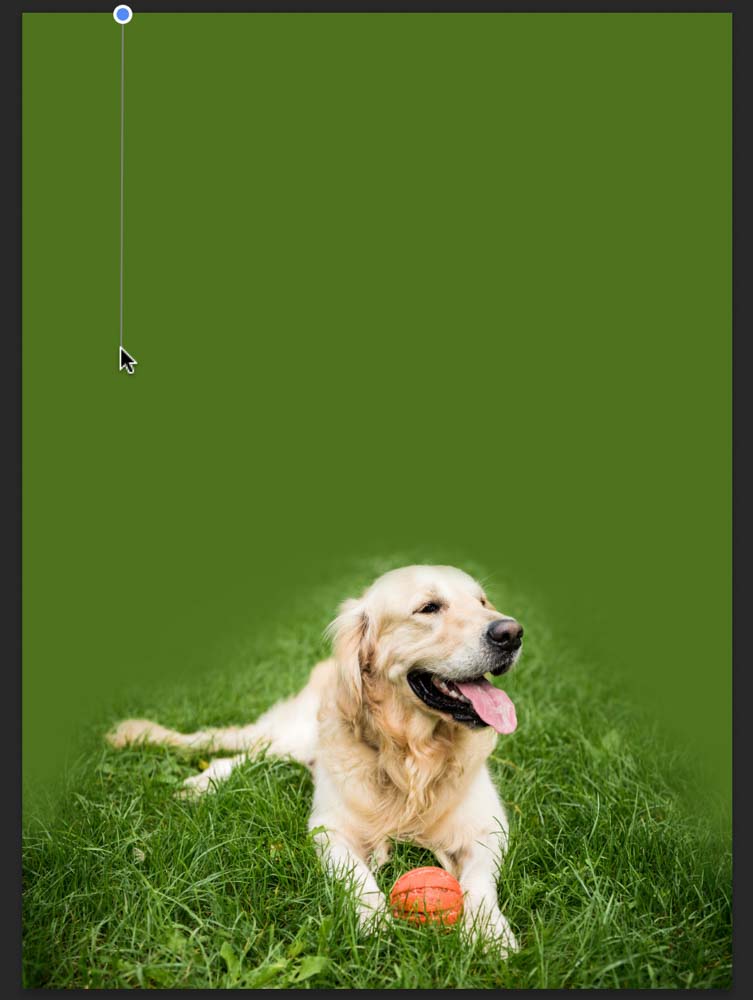
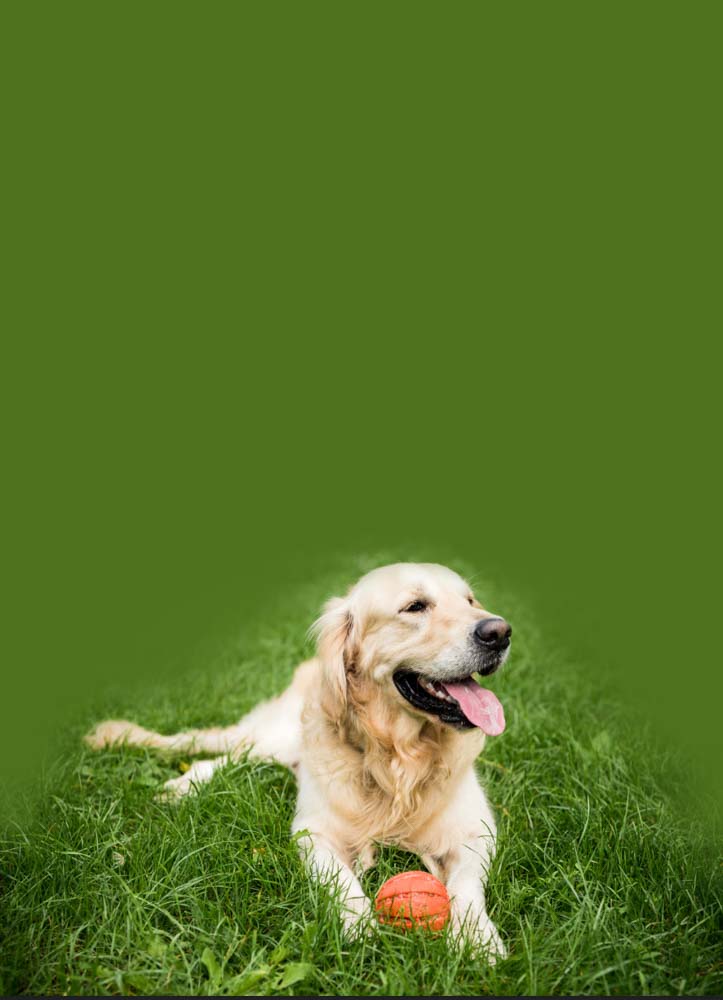
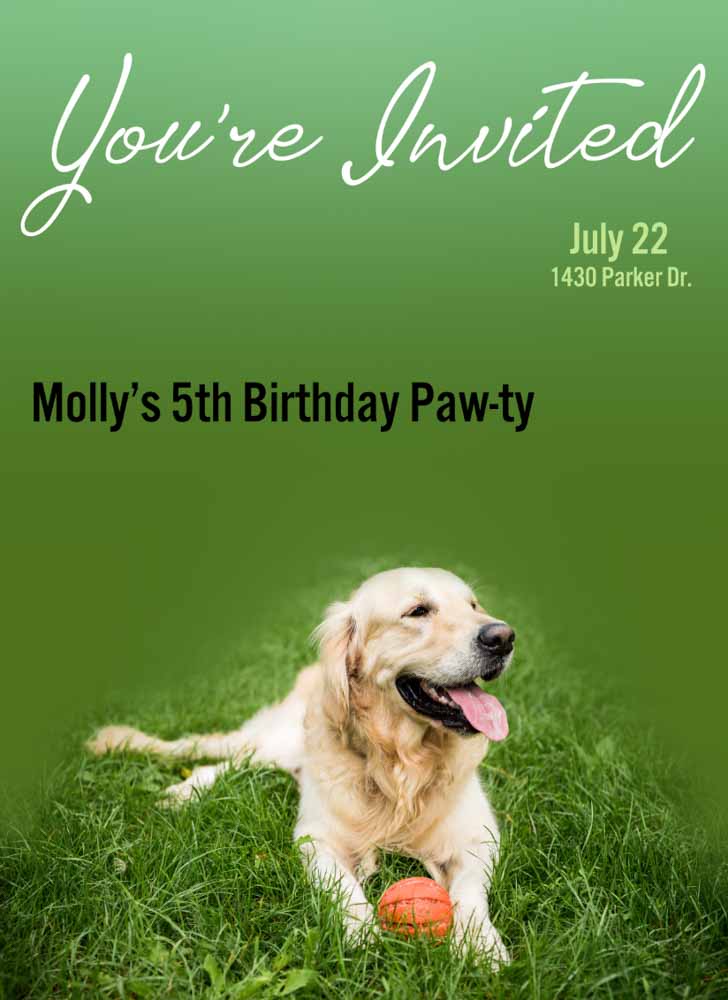
The result is a lighter green gradient going down into the darker green.

I’ll then add one more radial gradient to the center for a bit of a glowing look by clicking the Radial Gradient icon from the Options bar and then setting the gradient to a light, almost white-green at 25% Opacity.

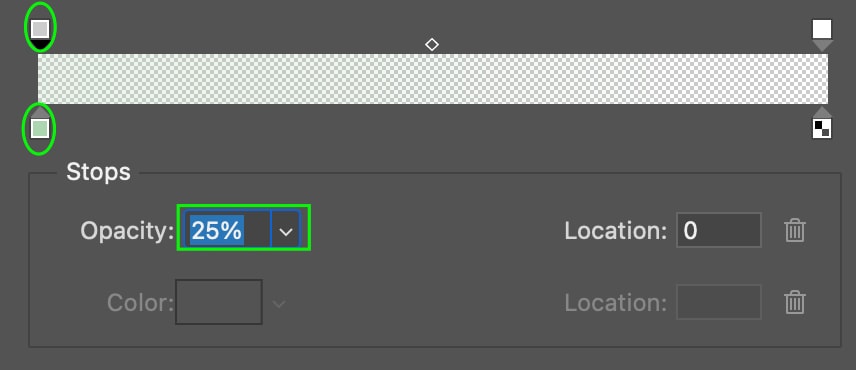
I’ll drag the gradient out from the center to the top to add a glow to the poster.

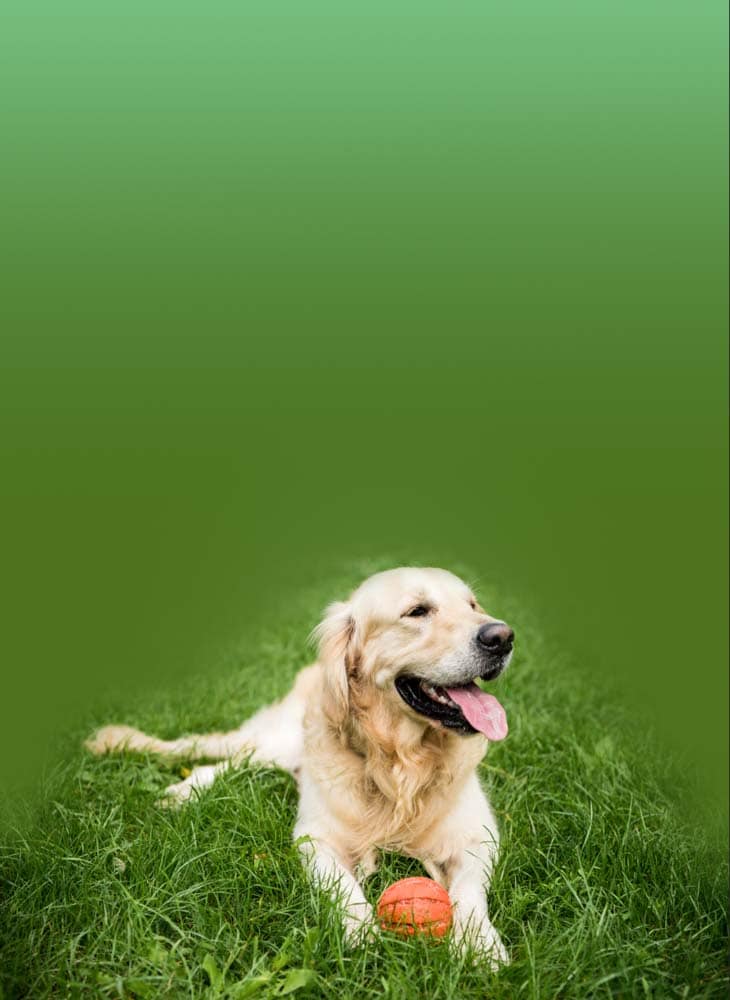
The gradients help give the whole poster more dimension than if I’d stuck with one color.
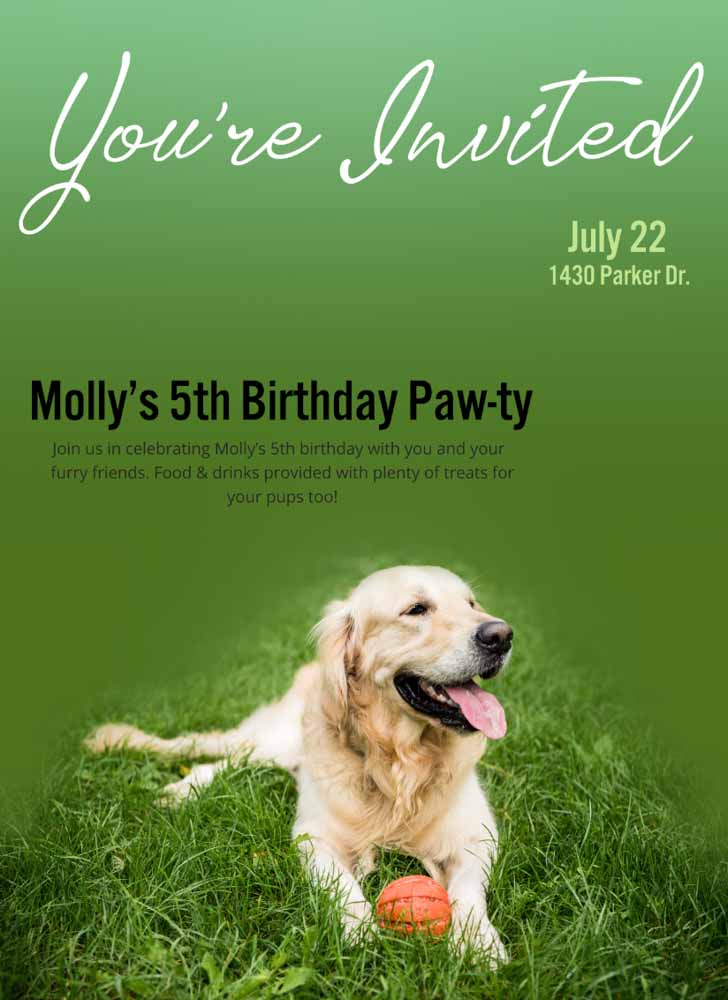
Step 6: Add Some Point Text
Next, you can add some text to your poster. I’ll start by adding all the point text, which is the text that stands alone, such as titles and headers (as opposed to paragraph text, which is contained in a specific space).
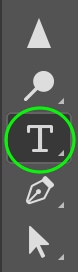
I’ll add text by heading to the Type Tool (T).
Click on your document once and type to add the text you’d like. You can move the text where you want by pressing the V key to toggle the Move Tool, then clicking and dragging the text box.

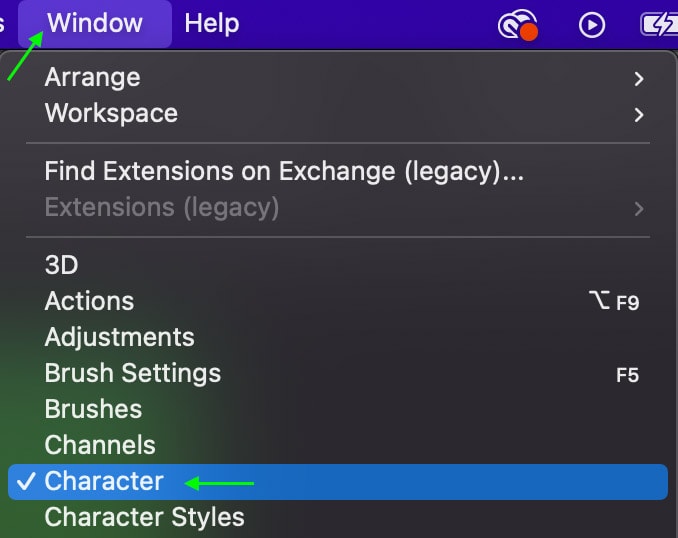
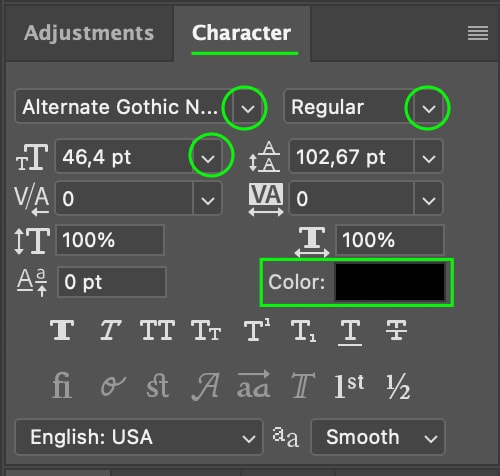
The best way to edit the appearance of your text is to work in the Characters Panel, as you can see everything you’ll need at once. To open the Character Panel, if you’re not seeing it in your workspace already, head to Window > Character.
In the Character Panel, you can edit various parts of the text’s appearance, like the Font, Style, Size, and Color of the text.
You can add as much point text as you’d like by clicking to add more text boxes on your document and editing them as needed in the Character panel.
Step 7: Add The Paragraph Text
To add paragraph text, which allows you to keep a block of text within a specific area of the image, you can click and drag to create a text box on your document while still using the Type Tool (T).
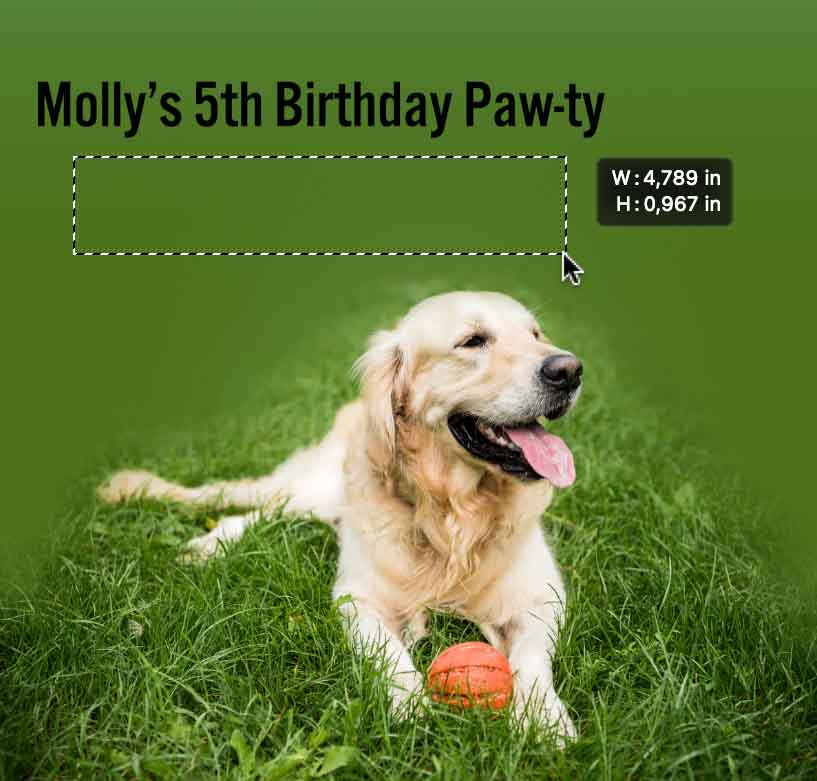
You can then type whatever text you’d like and edit it in the Characters Panel. The text will stay contained within the box.
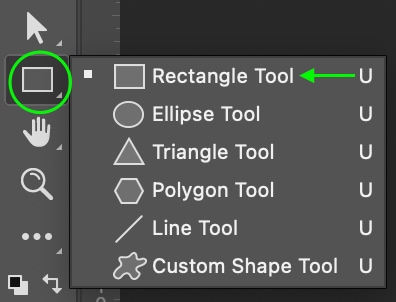
Step 8: Add Shapes And Graphics
You can use Photoshop’s Shape Tools (U) to add shapes and give your poster a bit of flair.
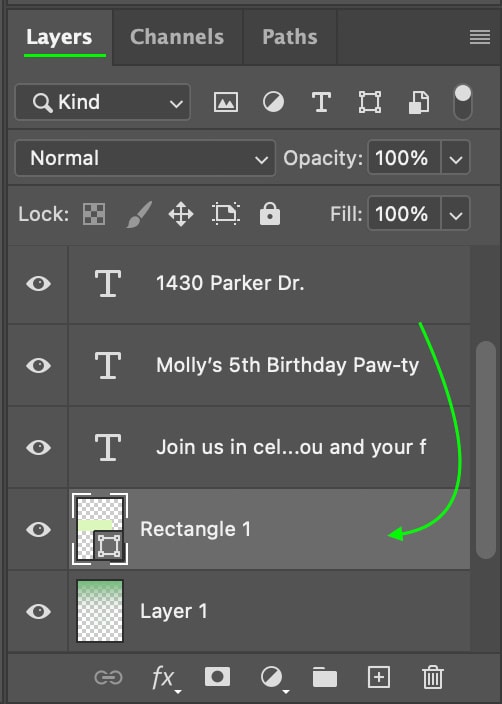
For instance, if I want to make the black paragraph text stand out a bit more by adding a light-colored area behind it, I can grab the Rectangle Tool (U) and drag out to create the rectangle.
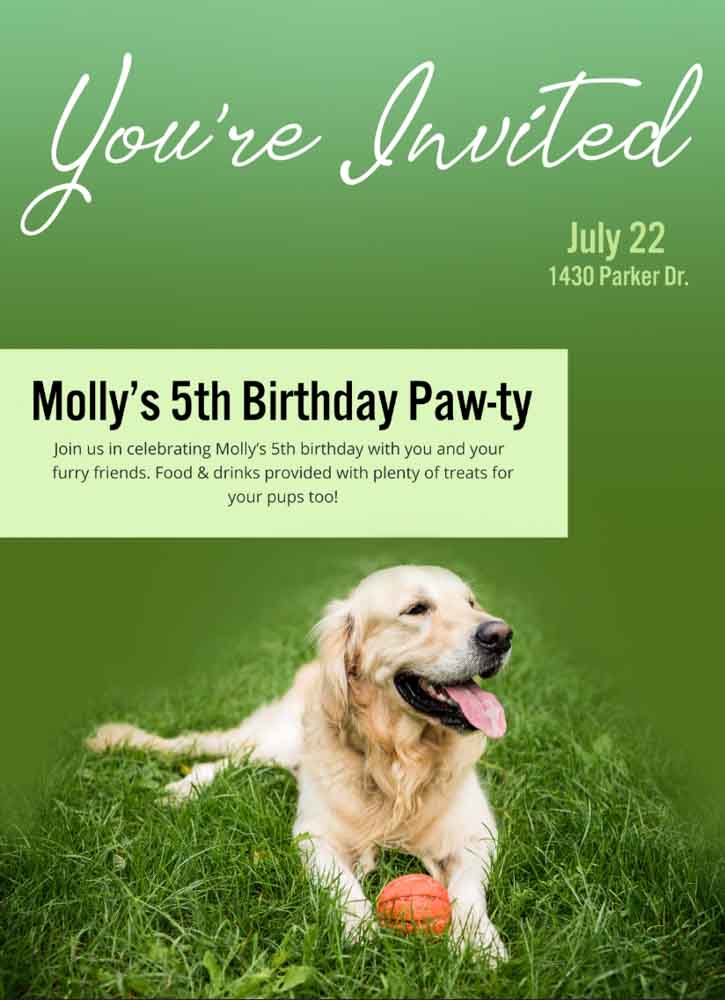
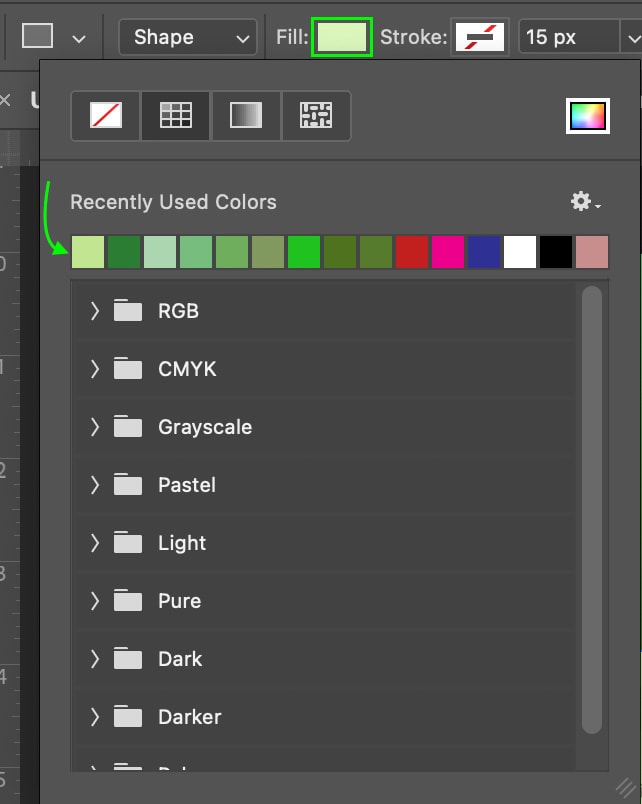
I colored the rectangle light green, like some of the other elements on my poster, by clicking the Color Fill box and choosing one of the green colors I’ve already used. You can also use the Color Picker to select a color or choose one of the colors from the tabs.
If you have a shape blocking elements you want to remain visible, you can reorder the layer stack in the Layers Panel by clicking and dragging the shape layer below the other elements.
I’ll also add a few lines to make the poster more exciting. To do this, I’ll head to the Pen Tool (P) and set the tool to Shape in the Options Bar.

I’ll then set the Fill to Transparent by clicking the Fill Box and selecting the Transparent option.
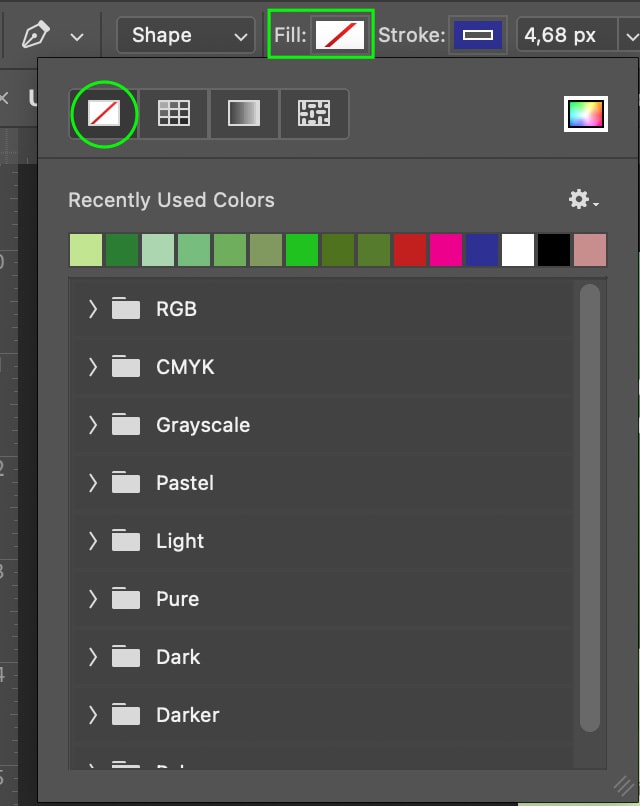
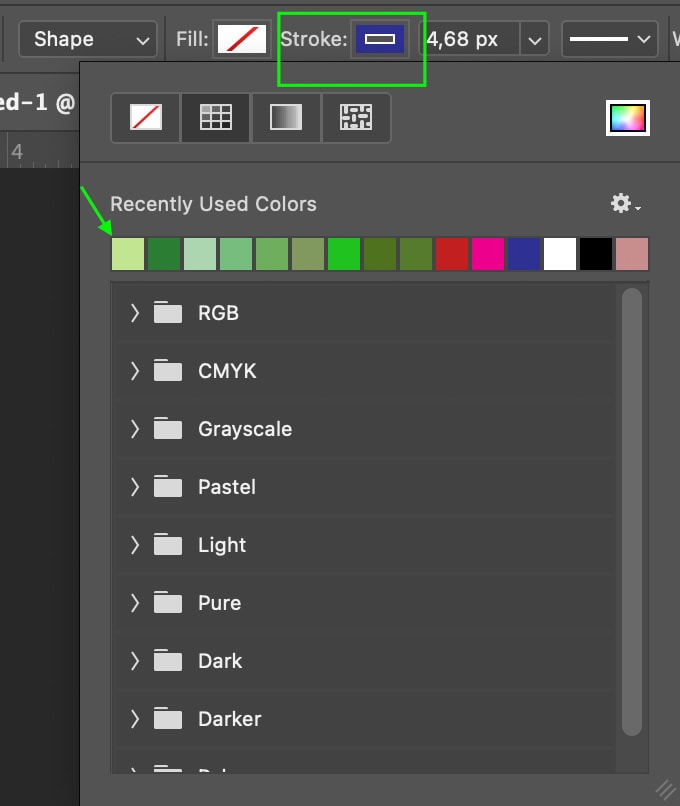
Then, I’ll set the Stroke to a light green color, as this will make up my curved line design.
I can then click to add an anchor point starting my line and click again to add another anchor point. You can create a curved line by holding down when placing the second anchor point and dragging until the line is curved to your liking.
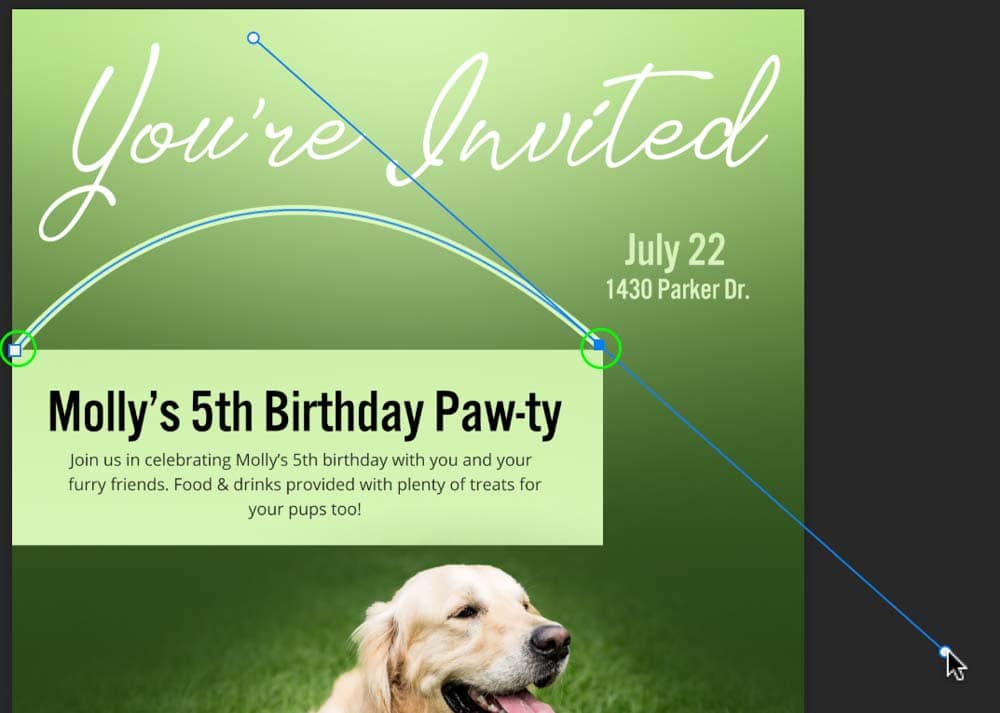
Repeat the process until you’re happy with the results.
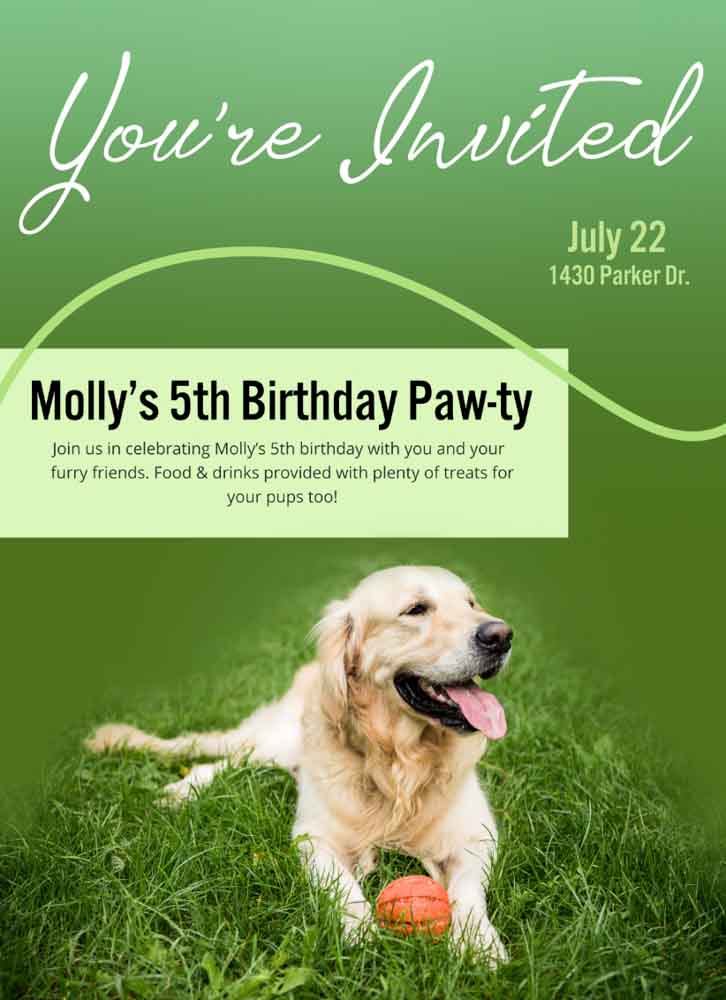
I’ll repeat the process again to add one more line in a lighter green color to complete the look.

Step 9: Export The Poster As A Jpeg
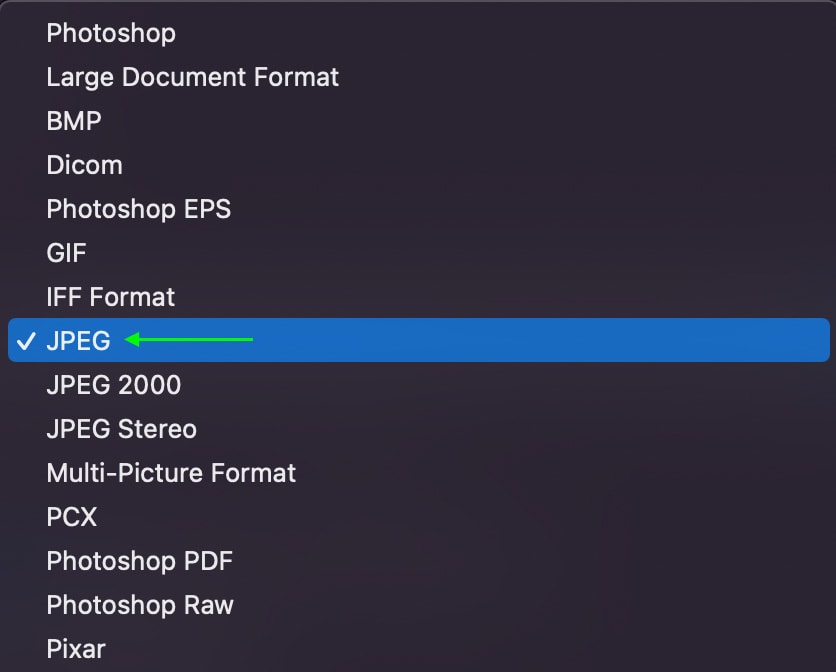
Finally, you can save and export your poster as a Jpeg, which is the best file format if you plan to print the poster.
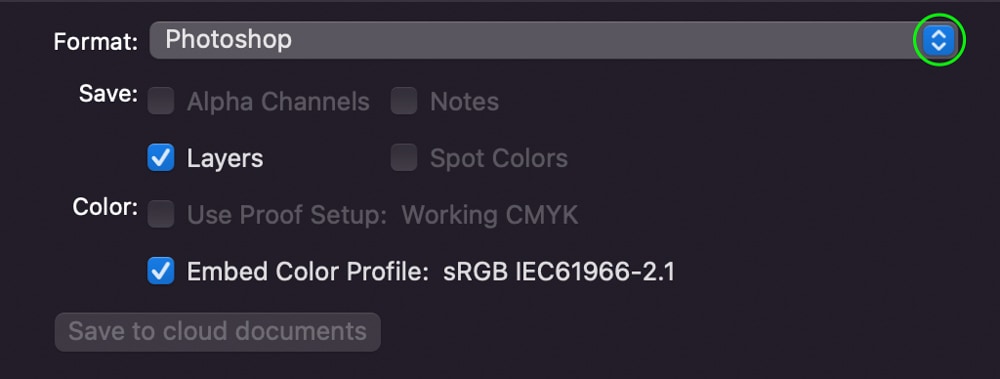
You can export by heading to File > Save A Copy.
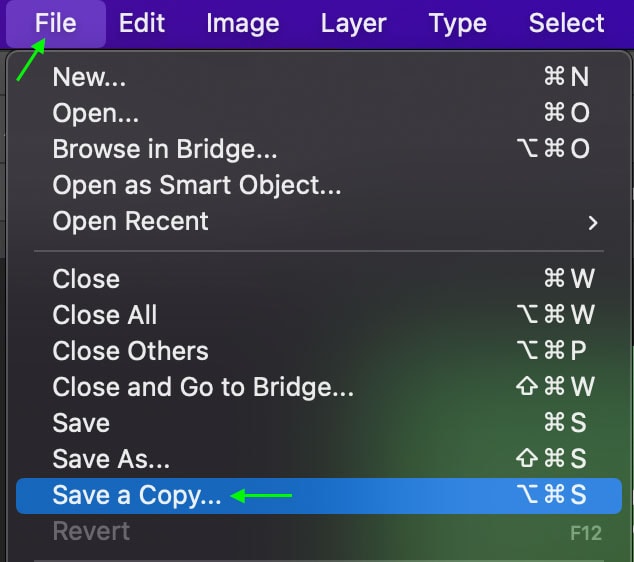
In the window that appears, click the Format drop-down menu and select JPEG.
Once you click Save, the poster will be saved as a JPEG to your files, and the document will remain open in Photoshop for you to continue editing or save as a PSD to edit again in the future.
Now you will be creating something different than the poster I made here, so just remember that the same steps will apply regardless of which design you are trying to create.
Happy editing!


