

Smart objects are one of the most useful layer types in Photoshop, but only if you know how to edit them. Smart objects allow you to create adjustments non-destructively since you are editing the smart object “container” rather than the actual layers inside. Better yet, smart objects consolidate multiple layers into a single smart object layer making them a good option for organizing your layers panel too. The problem is after a smart object is created, how can you edit the contents inside?
To edit the contents of a smart object in Photoshop, double click on the smart object layer thumbnail to reveal the contents. In a new tab, the smart object will open and you can edit its contents. After editing the smart object, press Command/Control + S to save and update it in your project.
Now learning how to reveal the contents of a smart object is just the beginning. Throughout this post, you’ll also learn how to resize a smart object, edit the layers within a smart object, and how to edit smart filters in Photoshop. But first, let’s look at what a smart object is and how to create one.
How To Create Smart Objects In Photoshop
Smart Objects are layers that contain image data from raster or vector images, such as Photoshop or Illustrator files.
With Smart Objects, you can perform non-destructive edits such as scale, rotate, skew, distort, perspective transform, warp, and more. Since the smart object places your layers inside of a “container,” you end up adjusting this container rather than the original layers inside. This helps to prevent your layers from losing quality or to edit multiple layers at the same time. I highlight more about the uses of smart objects in this post.
Now, I’ll take you through two different examples you can follow to create or turn any layer into a Smart Object. Here’s the first approach:
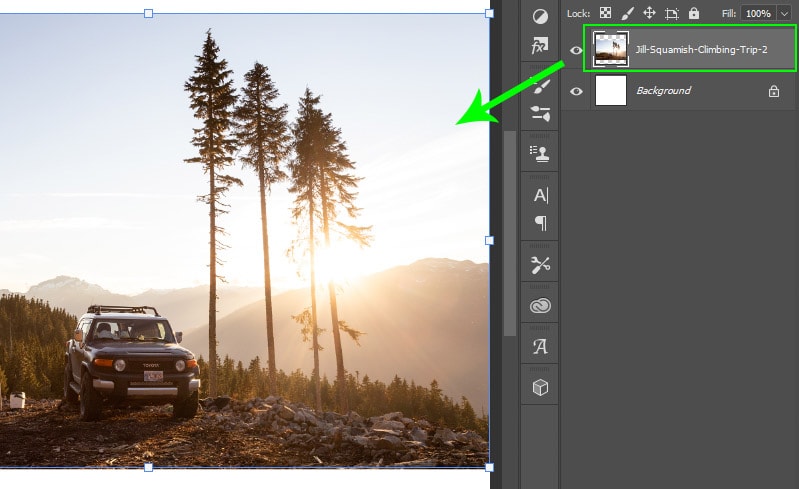
To start things off, select the layer you want to create a Smart Object out of in the layers panel.
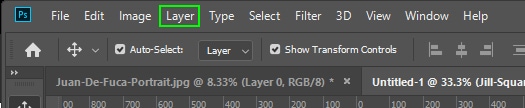
Then select Layer > Smart Objects > Convert To Smart Object to convert your selected layer.
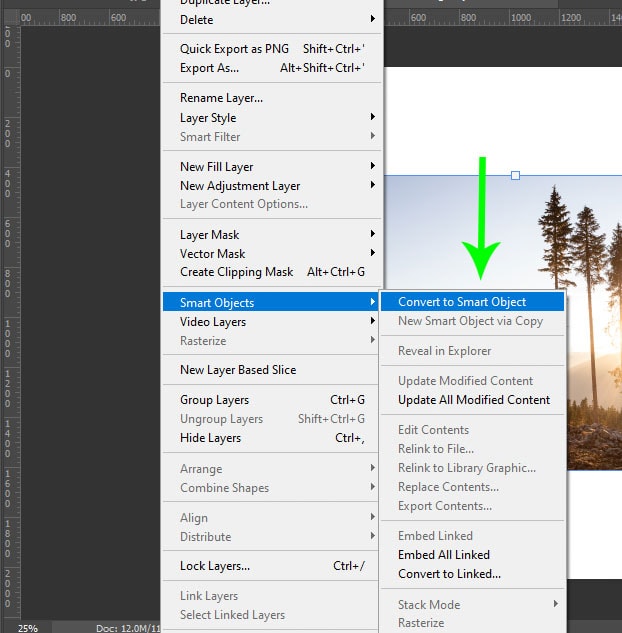
Alternatively, a quicker way of creating Smart Objects in Photoshop is to right-click on the layer and select “Convert to Smart Object.”
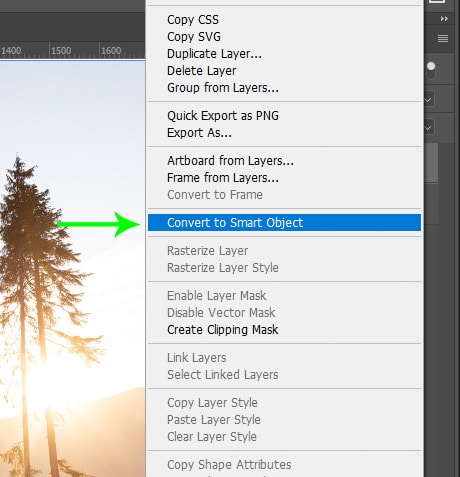
Once converted, Smart Objects are indicated with this icon shown in the green circle below.

How To Edit A Smart Object In Photoshop
There are two ways you can edit a Smart Object in Photoshop. First of all, you can edit the Smart Object as a whole using adjustment layers and clipping masks. Alternatively, you can directly edit the contents of a Smart Object.
Option 1: Using Adjustment Layers and Clipping Mask
Adjustment layers will offer you a lot of control and flexibility when editing images compared to direct adjustments.
For example, you can make non-destructive changes to the color in an image without permanently changing its pixels. That means you can freely make adjustments without the worry of making a mistake.
By default, adjustment layers affect all layers under it. When the goal is to edit a single layer with your adjustments, then you’ll need to use a clipping mask. Let’s go through an example together.
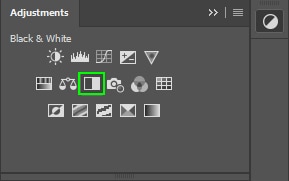
To start things off, create a new Adjustment Layer and place it above your image layer. This adjustment layer can be made via the Adjustments Panel or via the adjustment layer options at the bottom of the Layers Panel.
Now to ensure the adjustment layer only affects the layer directly below it, you need to create a clipping mask. This becomes very important when you have multiple layers in your project!
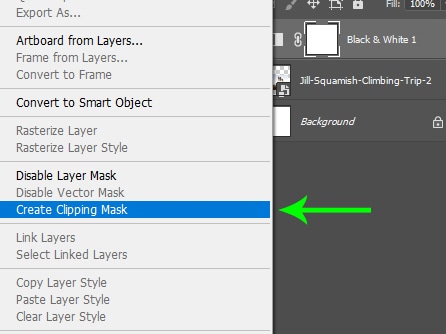
To create a clipping mask, right-click on the Adjustment layer and select “Create Clipping Mask.”
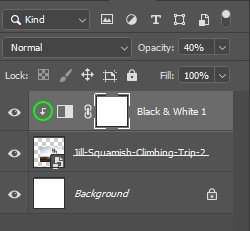
Once applied, you will see a right-angle arrow pointing down to the image layer. This means the clipping mask is active, and your adjustment will only affect the one layer it’s clipped to.
Option 2: Editing Contents Of A Smart Object Directly
It’s also possible to edit individual layers embedded in a Smart Object without editing the entire image.
For instance, when using mockups, you can edit the scale, position, and adjustments of layers within a smart object.
When you edit a Smart Object’s contents, the source content is opened in either Photoshop (if the content is raster data or a camera raw file) or the application that handles the placed format by default (for example, Adobe Illustrator).
When you save changes to the source content within a smart object, the edits will save as part of the smart object in the original Photoshop document.
In this example, I am editing a business card mock-up.
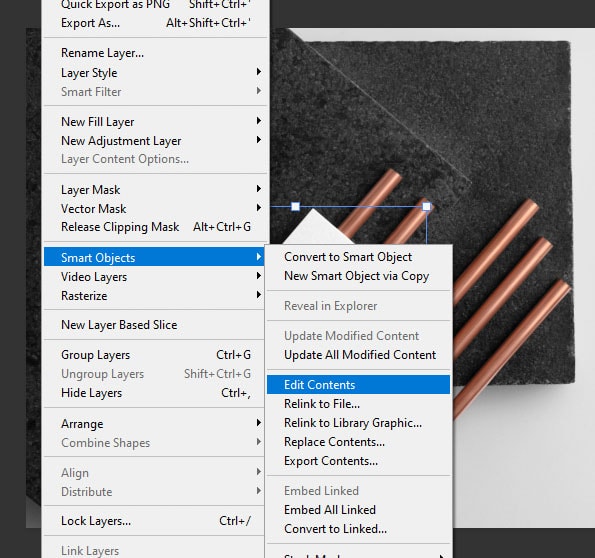
The first step is to select your Smart Object from the layers panel. In this case, it’s a business card.


With the Smart Object layer selected, click on Layer > Smart Objects > Edit Contents in the drop-down menu. This will open a new window in Photoshop displaying the contents of the smart object.
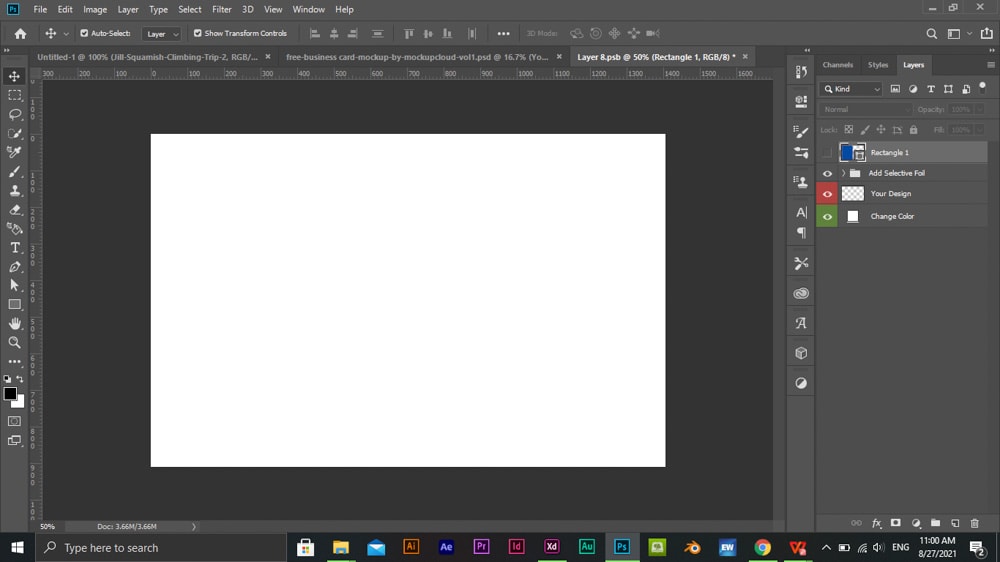
You can also just double-click on the Smart Object’s layer thumbnail to open the Smart Object and edit the contents.
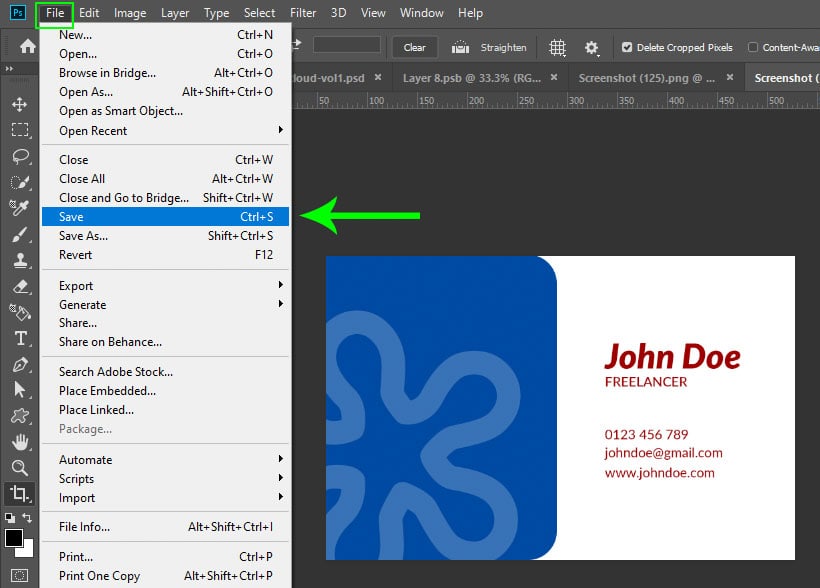
After editing the smart object, you need to save your changes. You can do this by pressing File > Save.
Keyboard shortcuts:
You can use a keyboard shortcut to save changes made within a smart object too:
- Windows: Control + S
- Mac OS: Command + S
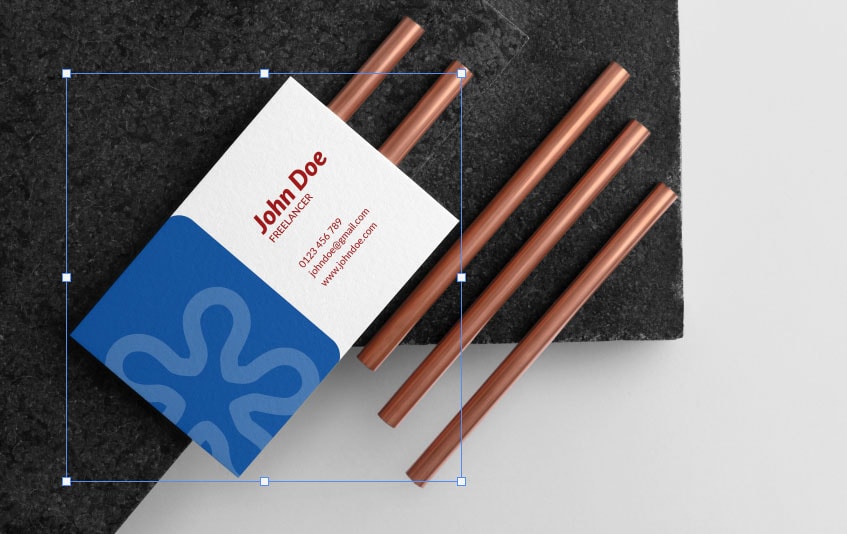
Going back to the main mockup document, your smart object will be updated with the changes you made. To continue editing the content of a Smart Object just follow the same steps and save your changes.
How To Resize A Smart Object In Photoshop
If you need to rescale a photo, then you are going to love Smart Objects. Without getting into the boring tech stuff, when you choose to import your photo as a Smart Object, it embeds the original photo directly into the document itself.
So when you go to resize an image, it uses the original embedded photo. This way, the image doesn’t become all pixelated and soft when scaled.
In this example, I will show you the fastest way to resize a smart object using the move tool or free transform.
First access the Move tool (V) and select the Smart Object from the Layers Panel.
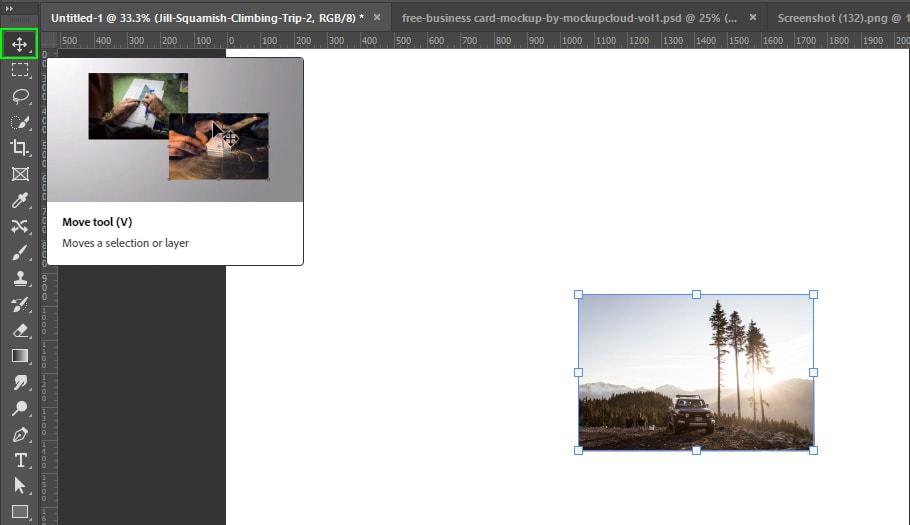
With your layer selected, position your cursor on any handles of the smart object and drag. You can drag outward to scale up and drag inward to scale down.

Once you’re happy with the size and position, press “Enter” on the keyboard to save the changes.
Why Is A Smart Object Not Directly Editable? (How To Fix)
“Could not complete your request because the smart object is not directly editable.”
This is an error some photoshop users face when trying to edit a Smart Object.
This error usually happens when you try to perform operations that alter the pixel data directly. In other words, trying to perform cloning, dodging, or painting directly on a Smart layer won’t work. Luckily there are a number of workarounds to this.
First, you can simply create a new layer and apply your edit there. This way you don’t need to rasterize the smart object but can still add new adjustments such as a brushstroke.
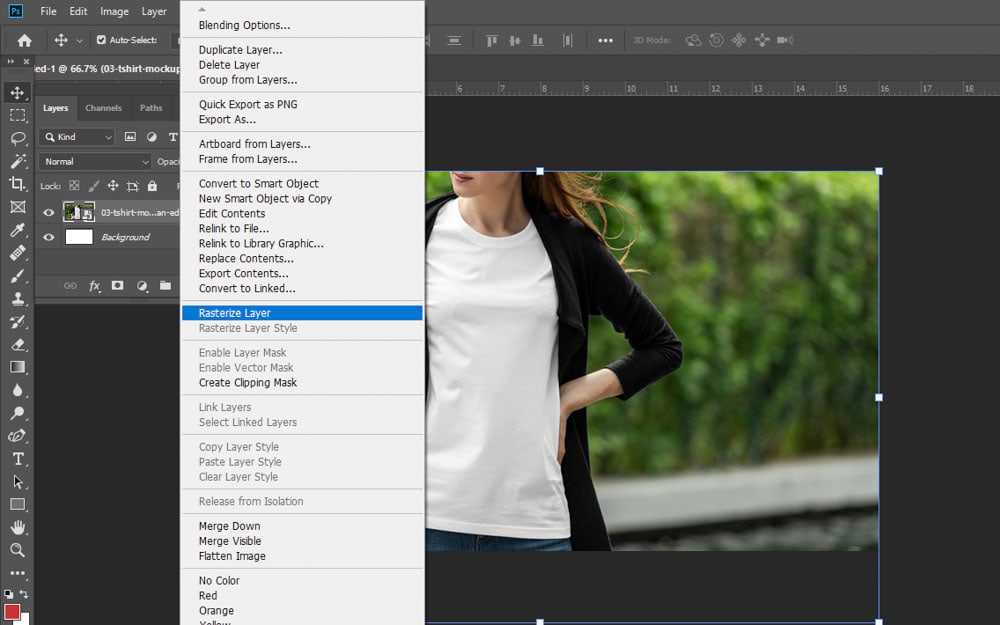
However, If you still want to edit the Smart Object directly, then you’ll have to convert it to a regular layer by rasterizing it.
You can do this by right-clicking on the Smart Object layer and selecting Rasterize Layer as shown below.
How To Edit Smart Filters In Photoshop
The main advantage of Smart Filters is that you can change the settings at any time without making permanent changes to the image. This is extremely useful when working with any type of filter adjustment such as a gaussian blur for example. When working with smart objects, smart filters are automatically enabled whenever a new filter is applied. You can learn more about smart filters and how they work in this post.
Let’s go through the steps of how to apply, edit and delete a smart filter:
Step 1: Select the Smart Object Layer
Select the Smart Object layer you want to add in the layers panel.
Step 2: Select a Filter
With your layer selected, choose a filter to apply. Any filter you apply will automatically become a smart filter beneath your smart object.
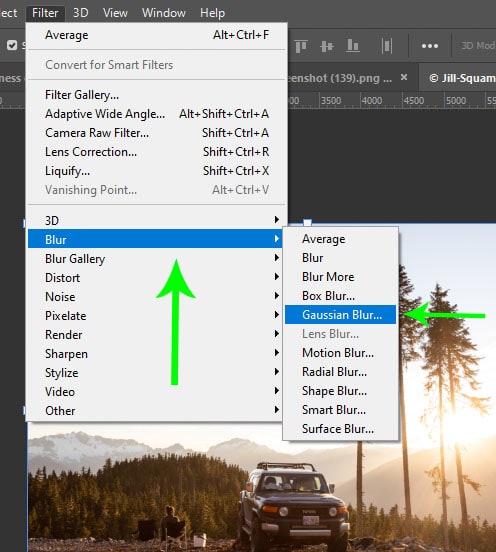
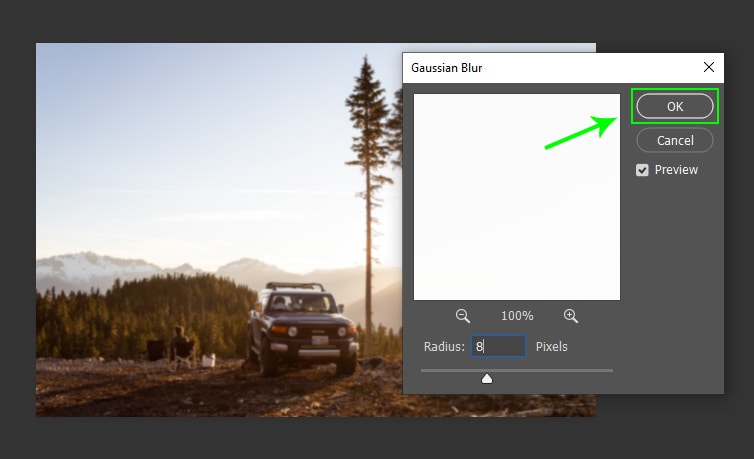
In this example, let’s use a Gaussian Blur filter. You can create this by going to Filter > Blur > Gaussian Blur.
Step 3: Edit The Filter Settings
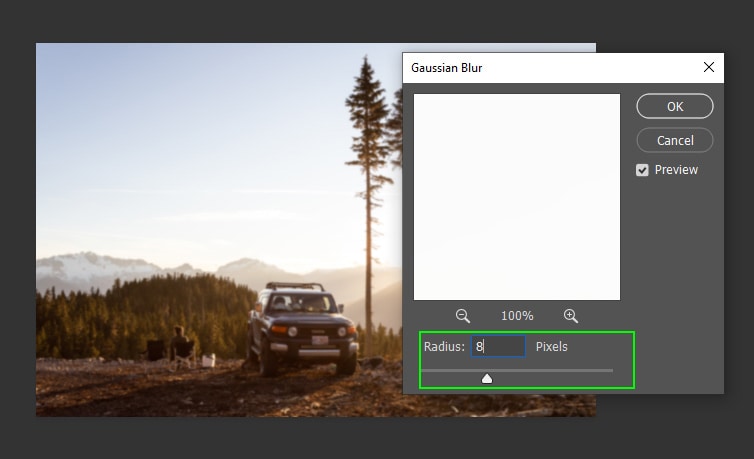
The gaussian blur filter is quite simple as you only control the amount of blur using the radius slider. Every filter will have different setting options.
Step 4: Click “OK”
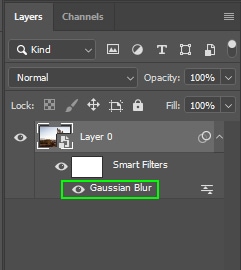
Once the filter is applied, a smart filter appears beneath the smart object layer in the Layers Panel.
How to Edit Smart Filters in Photoshop
The main advantage of smart filters is that they can be edited after they’re applied. This is something regular filters don’t have. It is also possible to edit Smart Filters with their blending options and even mask portions of the Smart Filter.
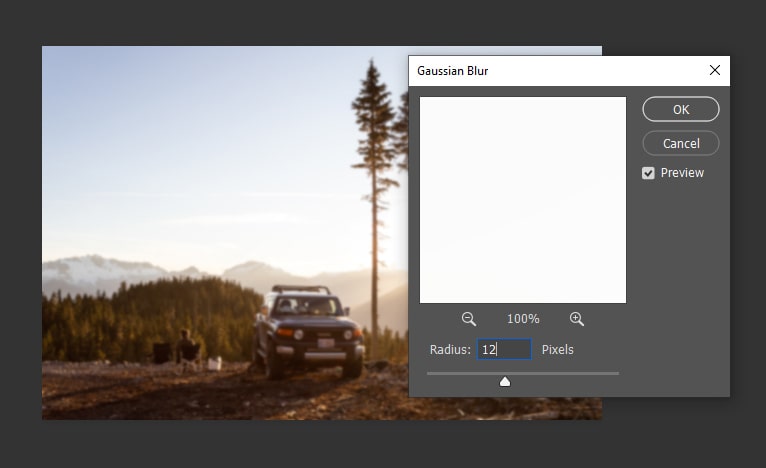
In this example, let’s edit the smart filter I just created by double-clicking on the filter below the smart object. In this case, that’s “Gaussian Blur.”
This opens the filters dialogue box where you can adjust the settings once again. Once complete, click OK to update the filter settings on the image.
How to Delete A Smart Filter
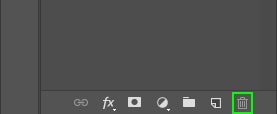
In the event you don’t like the result of a smart filter, you can easily delete it. To delete an individual smart filter, drag it to the delete icon at the bottom of the Layers panel as shown below.
To delete all smart filters applied to a smart object layer, select the smart object and choose the Layer > Smart Filter > Clear Smart Filter.
So there you have it: simple ways to create and edit Smart Objects in Photoshop. Once you get a hang of these tips, you can play with your images without worrying about the loss of quality.
Happy Editing!
