

When creating projects in Photoshop, you can place an image into any shape you’d like – circles, triangles, or custom shapes. There are many methods to fill shapes with an image in Photoshop, but I’ll be going over one unique way you probably haven’t heard of before that opens more creative doors.
How To Fill Any Shape With An Image In Photoshop
The method we’ll use to fill shapes with images uses several shapes combined on one shape layer and fills the entire layer of shapes with an image, creating an interesting effect. This can be easily recreated using the steps below.
Step 1: Draw Shapes With The Shape Tool (U)
You’ll want to select the Shape Tool and draw whichever shape (or shapes) you’d like. Click and hold the Shape Tool (U) and choose the shape you want to make from the options.
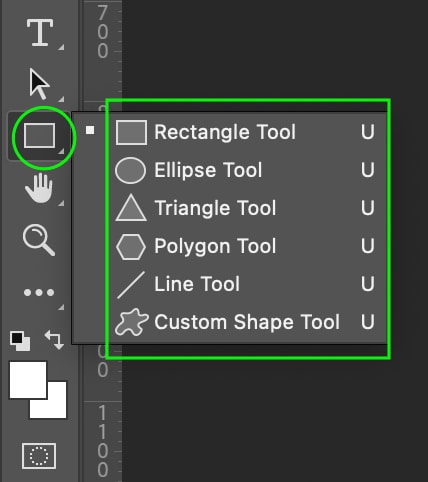
If you choose custom shapes, you can select one of Photoshop’s shapes or draw your own. To choose one of Photoshop’s custom shapes, select the Custom Shape Tool and click the icon in the Options Bar to choose from the custom shape options.

Now you can draw your shape or shapes on your document by clicking and dragging. For this project, I want to make several triangles that I will later combine on a single shape layer to fill all the shapes with an image simultaneously.

Because I’ve made three different triangles, I’ll see three different shape layers in my Layers Panel.
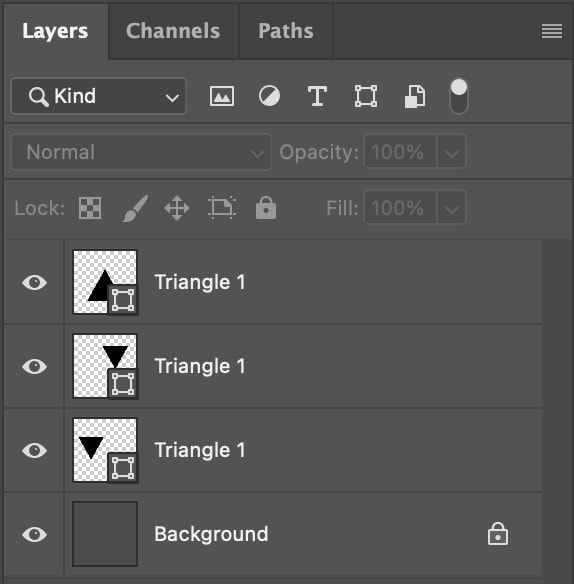
This is fine for now, as we’ll combine these into one layer in the next step.
Step 2: Merge The Shapes Into A Single Layer
Once you’ve created your shapes, you’ll need to merge the layers into one so that you can apply the image to all the shapes simultaneously.
To merge the layers, in the Layers Panel, hold the Shift key while clicking all the shape layers. They will appear light gray when selected.
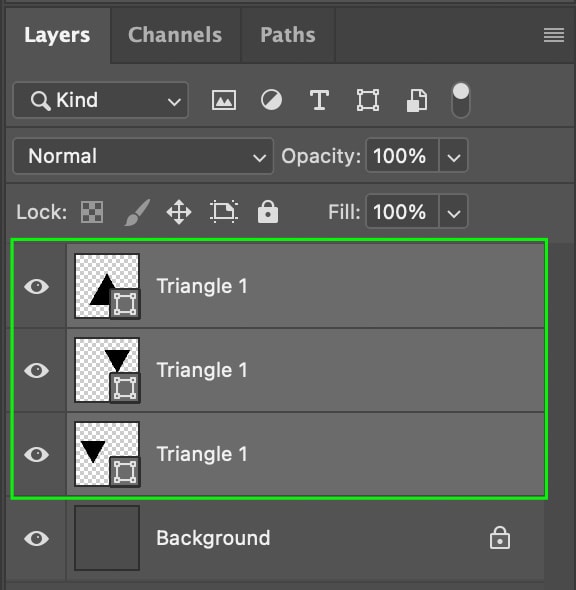
Now you can use the shortcut Control + E (Win) or Command + E (Mac) to merge all the layers into one.

Because this layer is still a Shape Layer, you can return to the shape tool or double-click the shape layer at any time to change the colors or strokes of all the shapes at once.
Step 3: Import Your Photo
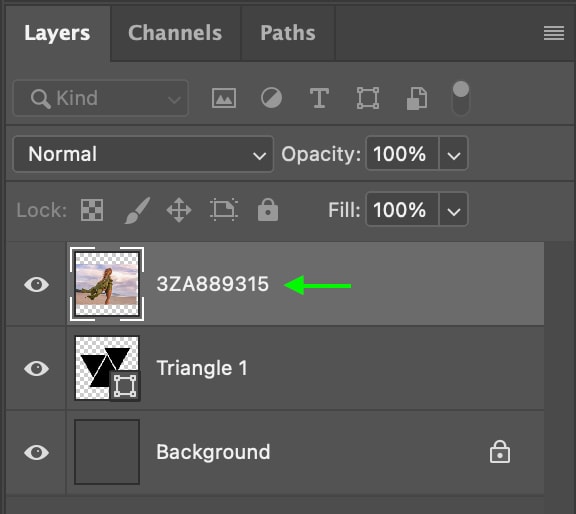
Next, you’ll want to import the image you’d like to use to fill the shapes. The easiest way is to locate the image in your files and drag it over to the Photoshop window and your document. The image will appear as a new layer in the Layers Panel.
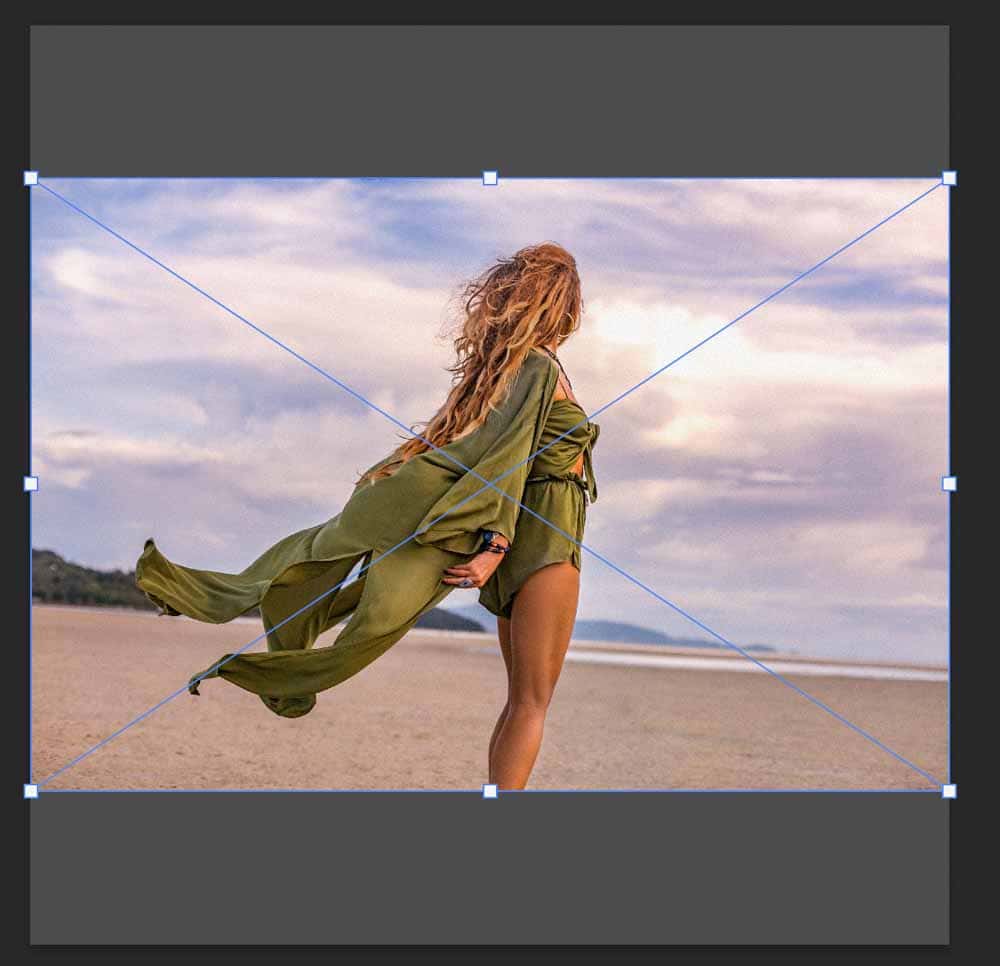
Once the image is on your document, you can use the white anchor points around the image to adjust its size. You can then click and drag the image to place it over the shapes the way you want (you can change it layer). For now, the image will sit on top of the shapes covering them, but we’ll change this in the next step.
Step 4: Clip The Image Layer
Now that the image is sitting over your shapes, you can add a clipping mask by going to the Layers Panel and right-clicking or Control + clicking the image layer.
Scroll through the options and select Create Clipping Mask.

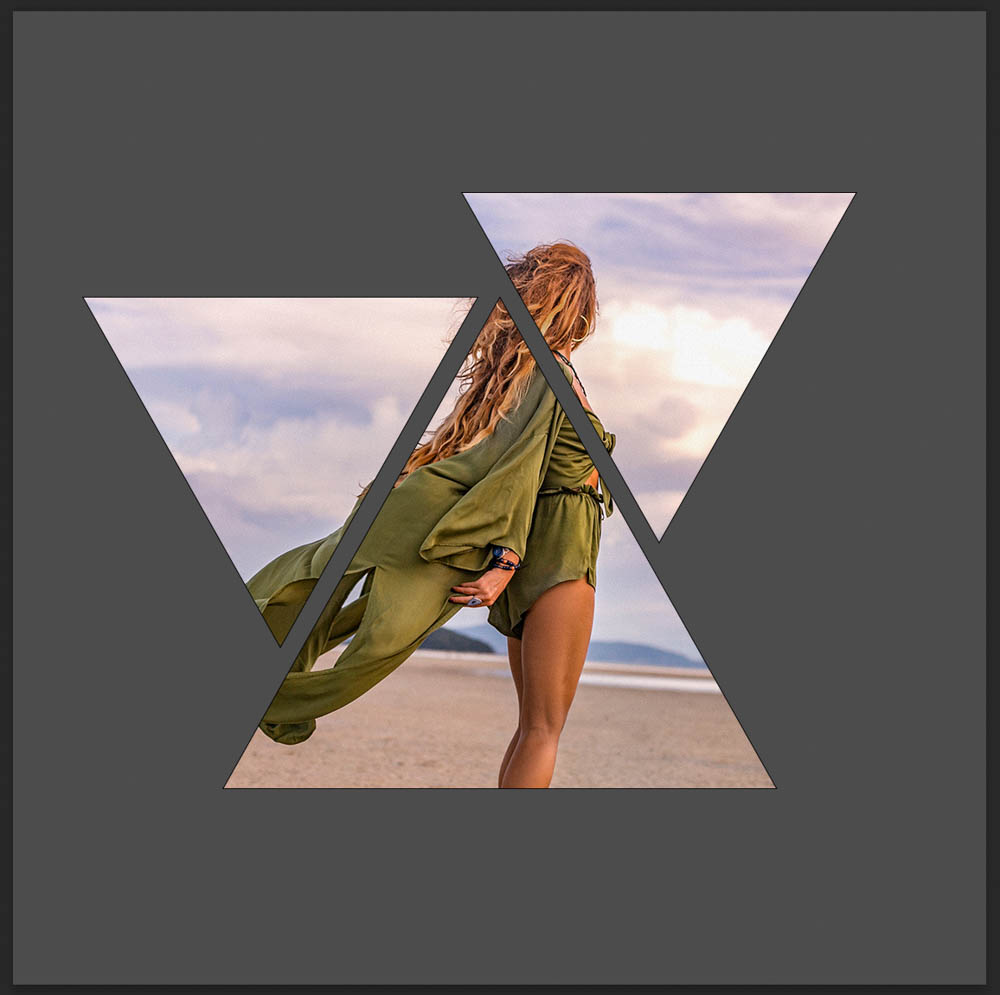
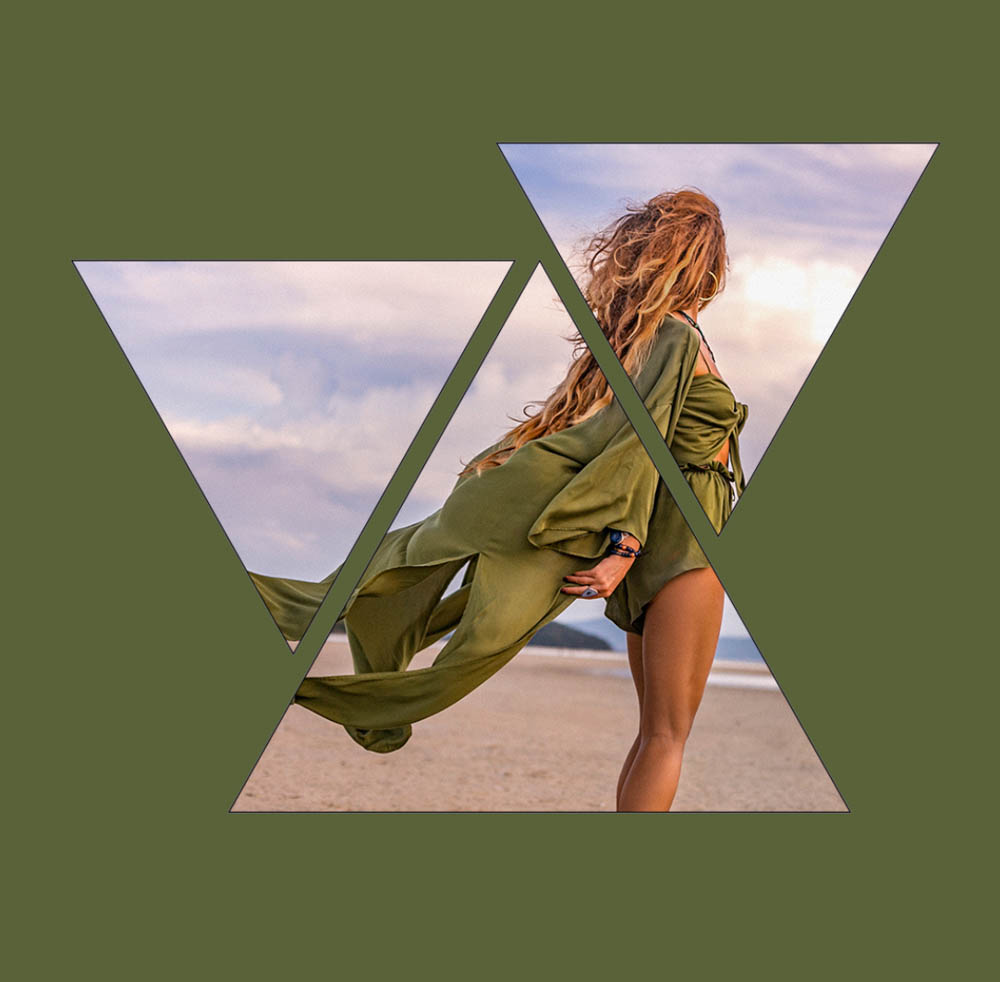
The photo will be clipped to fill the shapes.
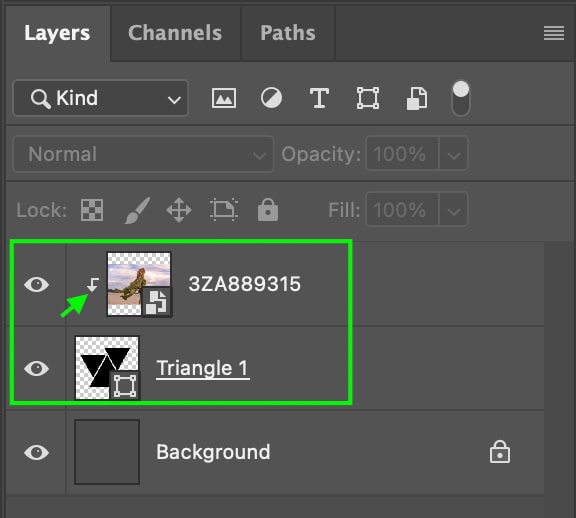
In the Layers Panel, you’ll see the clipping mask represented by an arrow next to the Image Layer pointing down to the Shape Layer.
Step 5: Position The Image In The Shapes
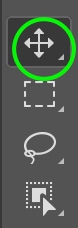
After clipping the image, there’s a chance you’ll want to adjust the position of the image inside the shapes. You can do this by clicking on the Move Tool in the Toolbar or using the shortcut by pressing V.

Click and drag the image until you’re happy with the placement. If you have issues here, make sure that the image layer is selected, not the shape layer.
(Optional) Step 6: Change The Background Color
If you’d like, you can change the color of the canvas behind the shapes, so the overall project looks more cohesive. The best way to do this is to add a new fill layer.
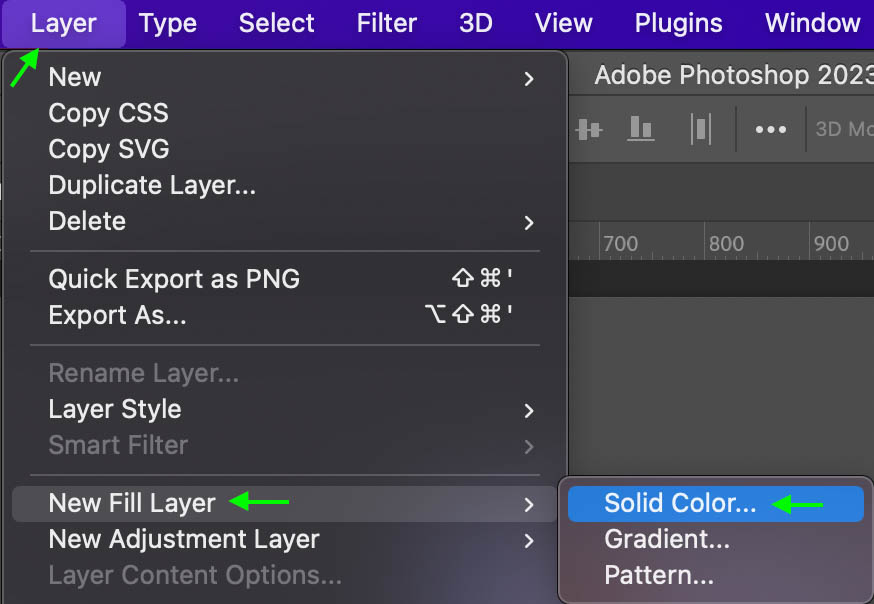
Go to Layer > New Fill Layer > Solid Color.
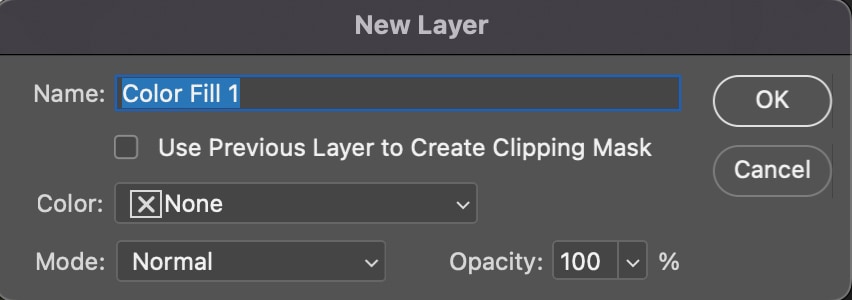
In the window, name your layer if you’d like and Click OK.
The Color Picker window will appear. Select the color you’d like and click OK.

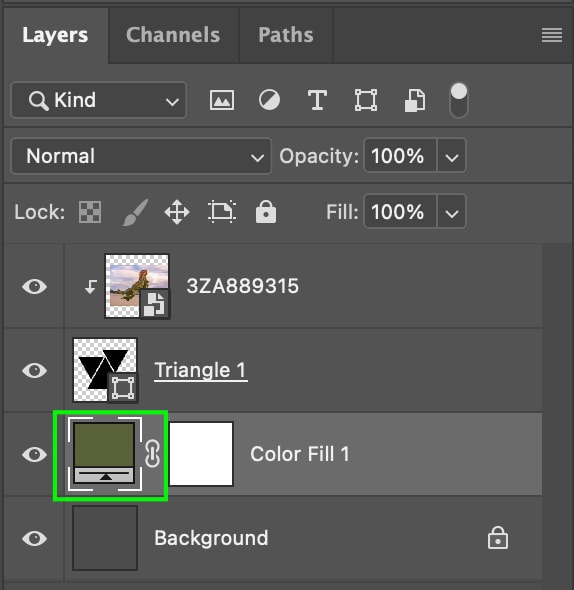
In the Layers Panel, you might see the Color Fill Layer sitting at the top of the layer stack. This means the color layer is currently sitting on top of everything else. Click and drag the Color Fill Layer below the image and shape layers.
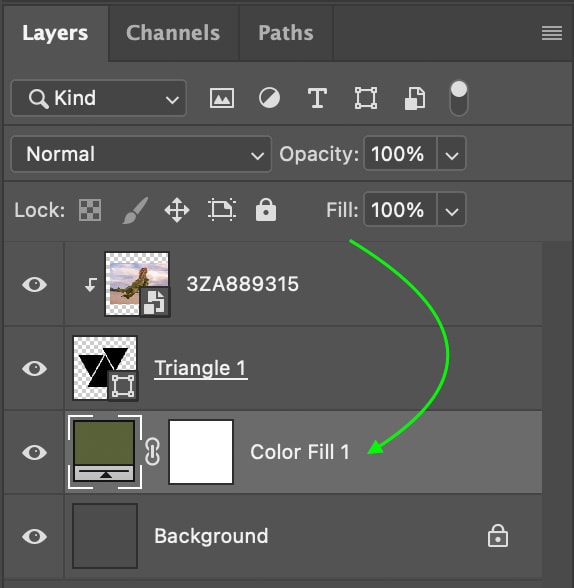
The fill layer will now sit behind everything else, forming a colorful background for your image.
If you ever want to change the background color, double-click the Color Fill Layer in the Layers Panel and pick a new color from the window.
(Optional) Step 7: Adjust The Shape’s Stroke
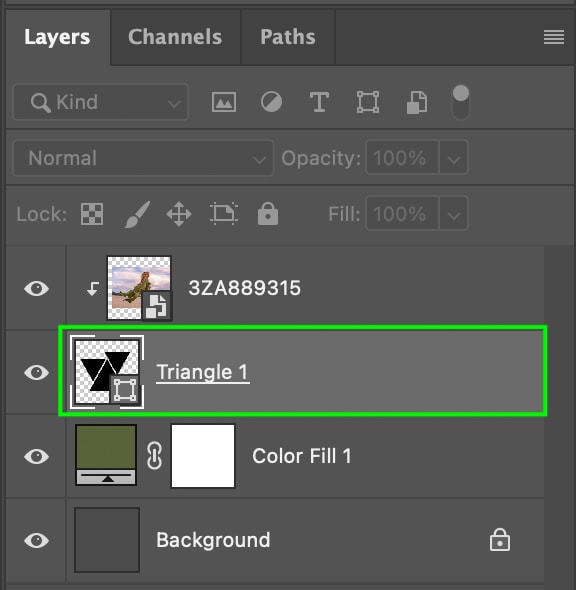
You can further enhance the project’s appearance by adding a stroke to the shapes. You can add a stroke by double-clicking the Shape Layer in the Layers Panel.
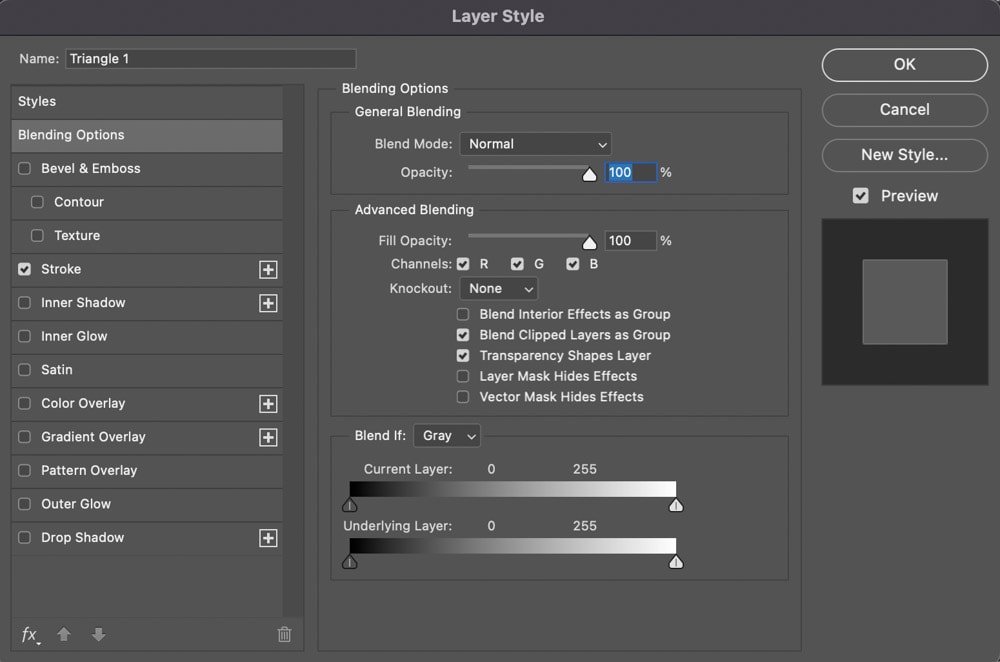
This will open the Layer Style window. On the left side of the window, you’ll see a list of various ways you can edit the shapes. Click Stroke, and you will see the Stroke Settings, and you can edit your stroke the way you’d like.
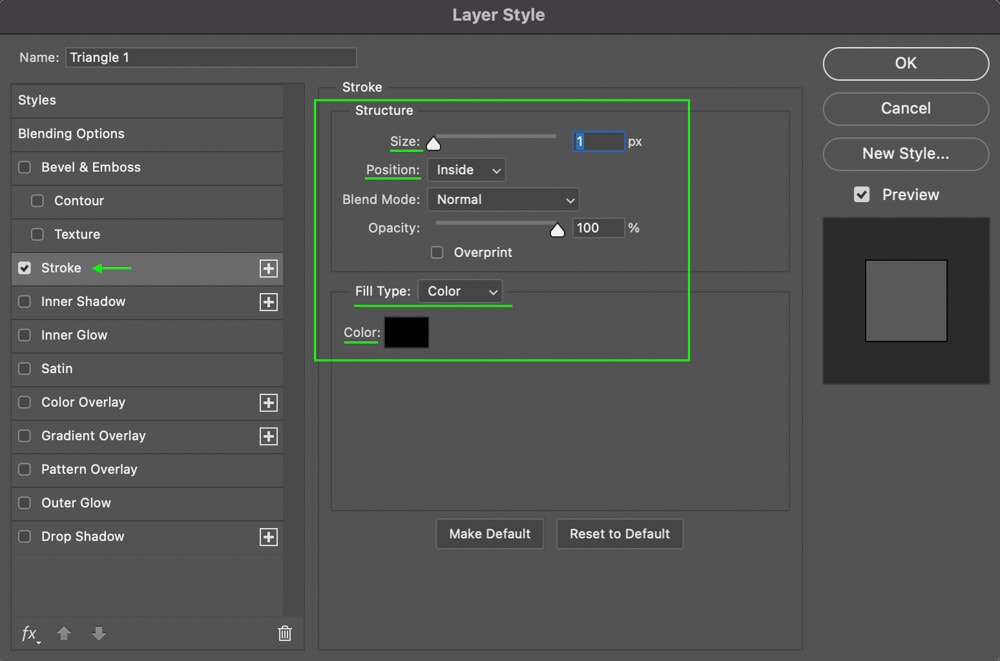
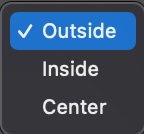
The main settings you can edit are the Size, Position, Fill Type (Color, Gradient, or), and stroke color. Edit them the way you’d like, but make sure you set the stroke Position to the Outside of the shape so it doesn’t cover any of the image.

I’ll keep a thin black solid stroke around the shapes, as this helps them stand out against the background without being too noticeable.
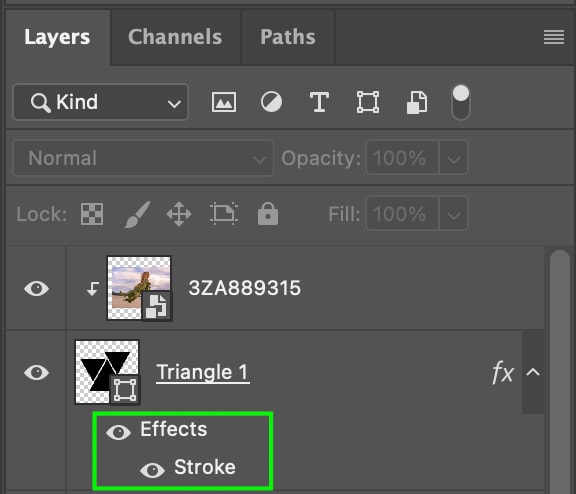
You’ll see the Stroke effect in the Layers Panel under the Shape Layer.
(Optional) Step 8: Add A Drop Shadow
Another easy finishing touch to improve the project is to add a drop shadow to the shapes. To do this, double-click the shape layer again to bring up the Layer Style window.

From the options on the left, click the Drop Shadow section.
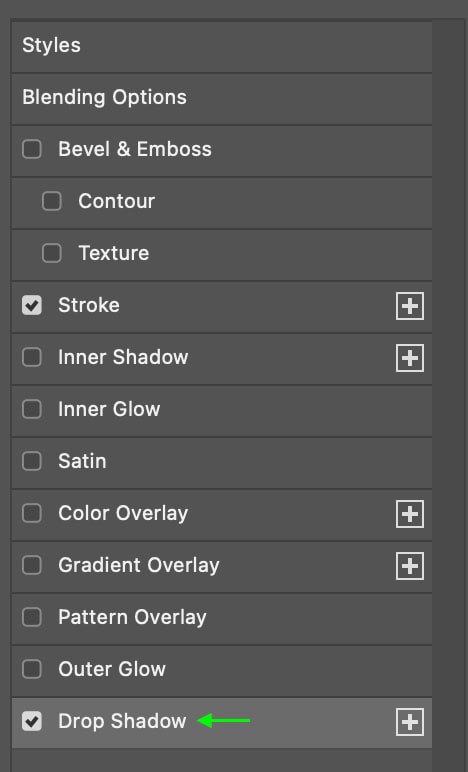
You’ll see the Drop Shadow settings. The ones to focus on are the Opacity, Angle, Distance, Spread, and Size.
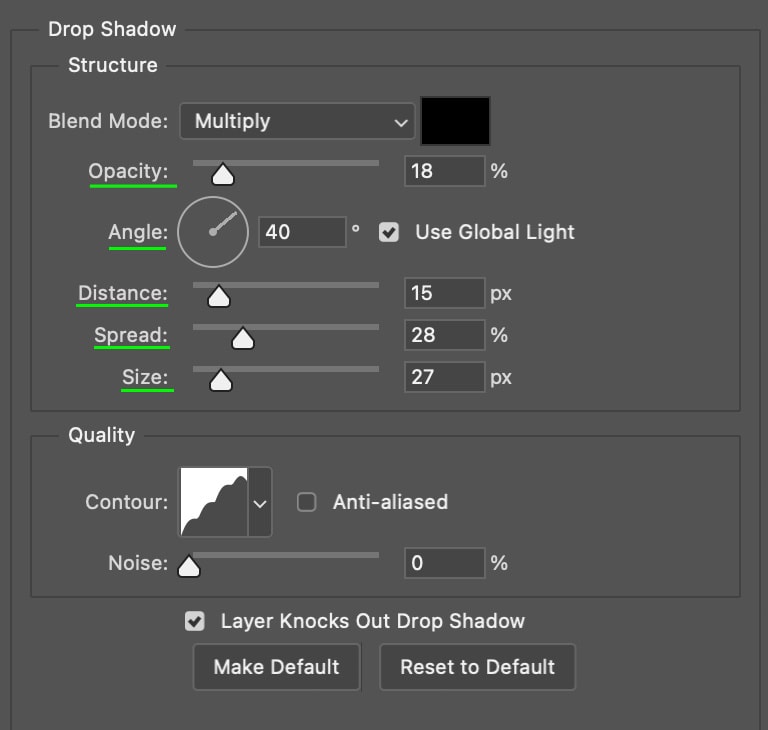
Adjust the settings until you like the way your drop shadow looks, but in general, it usually looks best to keep the distance, size, opacity, and spread all relatively low, resulting in a slight, subtle shadow.
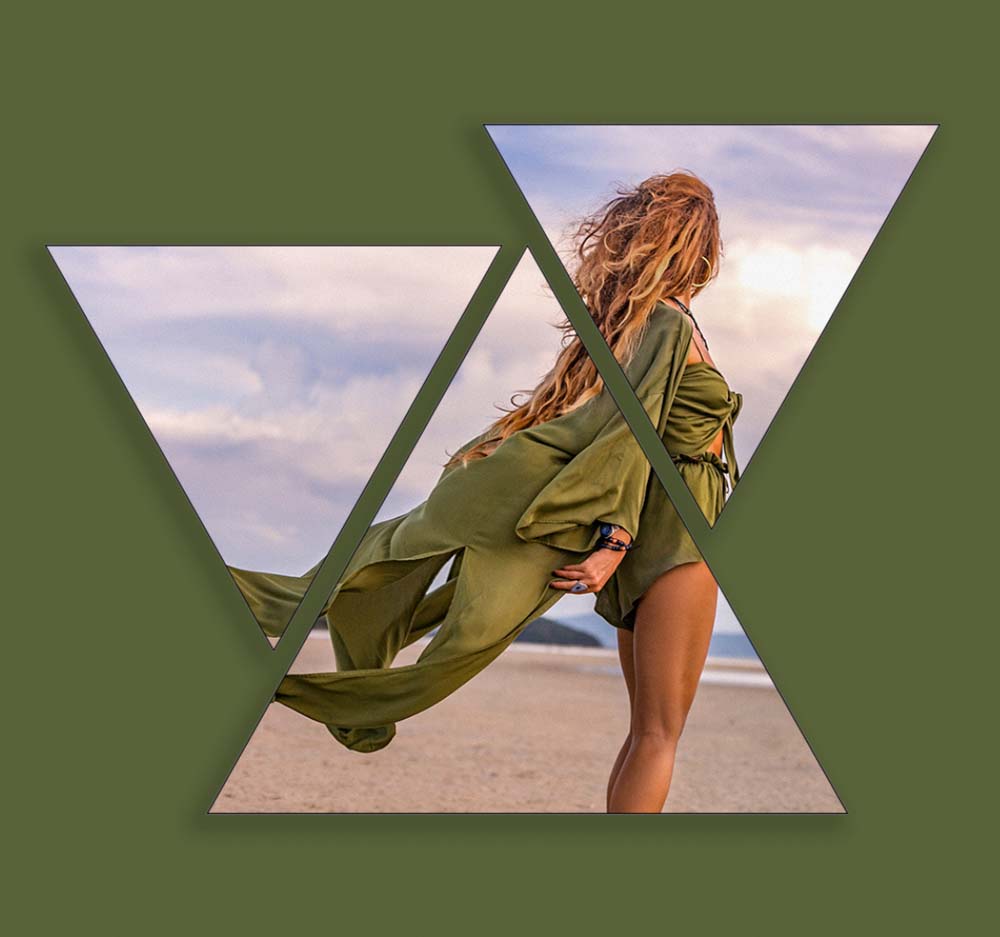
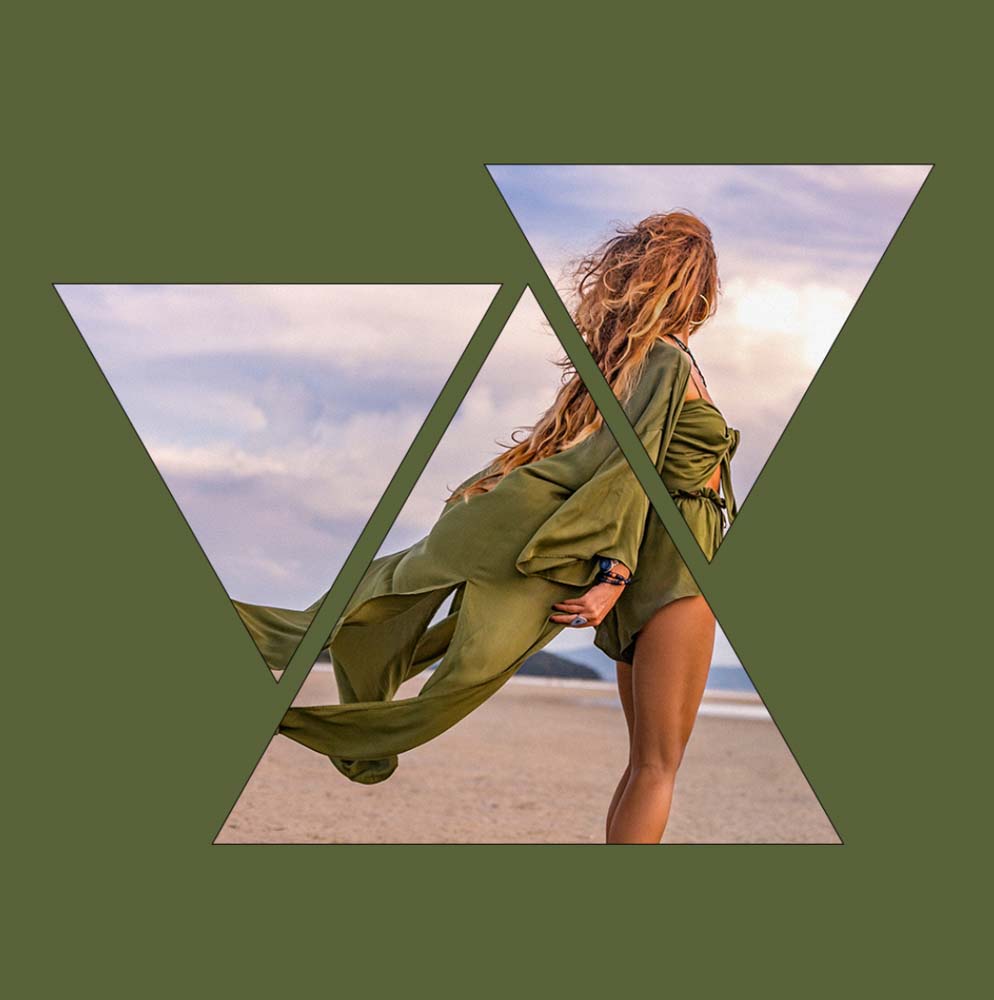
The effect you’re going for is now complete. You can use this method anytime you’d like to fill multiple shapes (or just one) with an image of your choice. Of course, the same steps would apply to a regular shape such as a circle or rectangle, but doing this offers far more creative opportunities for your images! At the most basic level, just add a clipping mask between your image and shape layer, and you are good to go.


