
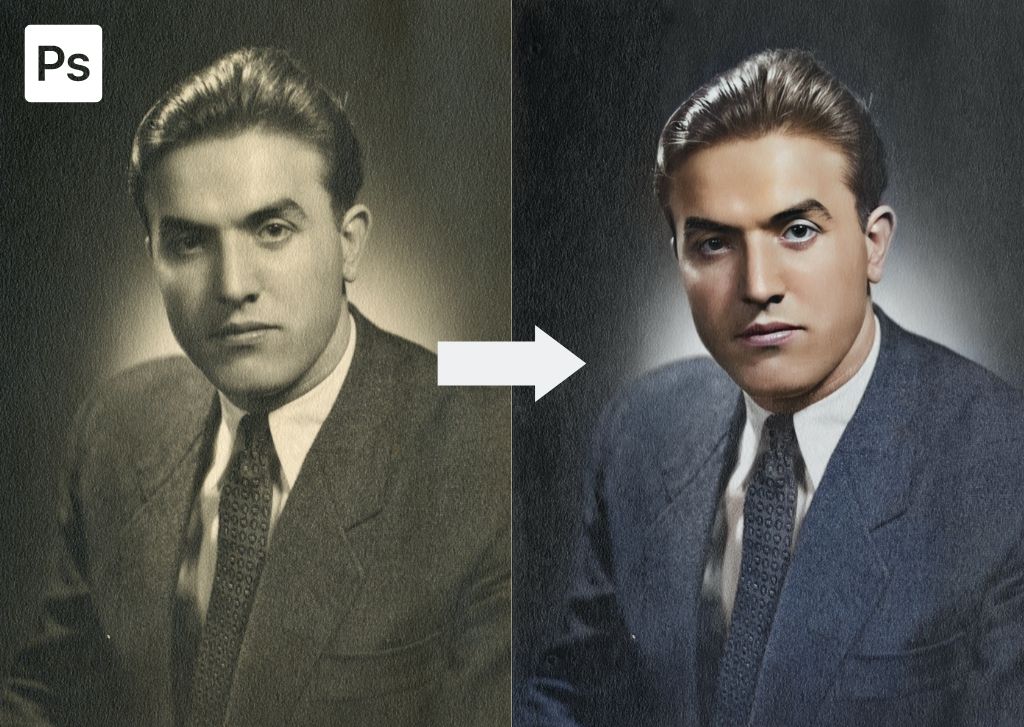

One of the best ways to preserve old photos is to take scans and restore them to a more modern state with Photoshop. That way you can enjoy looking back at old family photos without any discoloration or damage to the original print.
Now unfortunately I can’t help you to turn your physical photos to digital, but I can help you to restore your old photos with these simple steps in Photoshop.
How To Restore Old Damaged Photos In Photoshop
In this tutorial, I’ll show you how to use the restoration filter in Photoshop to restore old photos easily. This filter is a relatively new addition to Photoshop that simplifies the steps you usually take to restore an old image. Even for total beginners, this process will only take a few minutes.
Step 1: Scan The Old Photo
These days, there are many ways to scan images easily. While using a proper scanner will result in the best quality digital image, if you don’t have a scanner handy, you can use a scanner app on your phone (many free options work well). Just remember that those phone scanners won’t give you the best quality scan. I always recommend using a professional printer scanner if possible.
You can even take a picture of the image using a digital camera, just make sure the lighting is adequate with no shadows on the picture, and the quality is as clear as possible.
Once you’ve taken a scan or photo of the image, save it to a place in your files you will remember so that you can open it in Photoshop.
Step 2: Open The Digital Photo in Photoshop
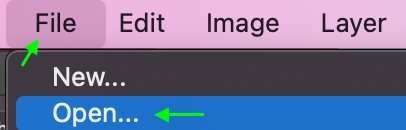
Once you’ve scanned the image to your files, open it in Photoshop by heading to File > Open.
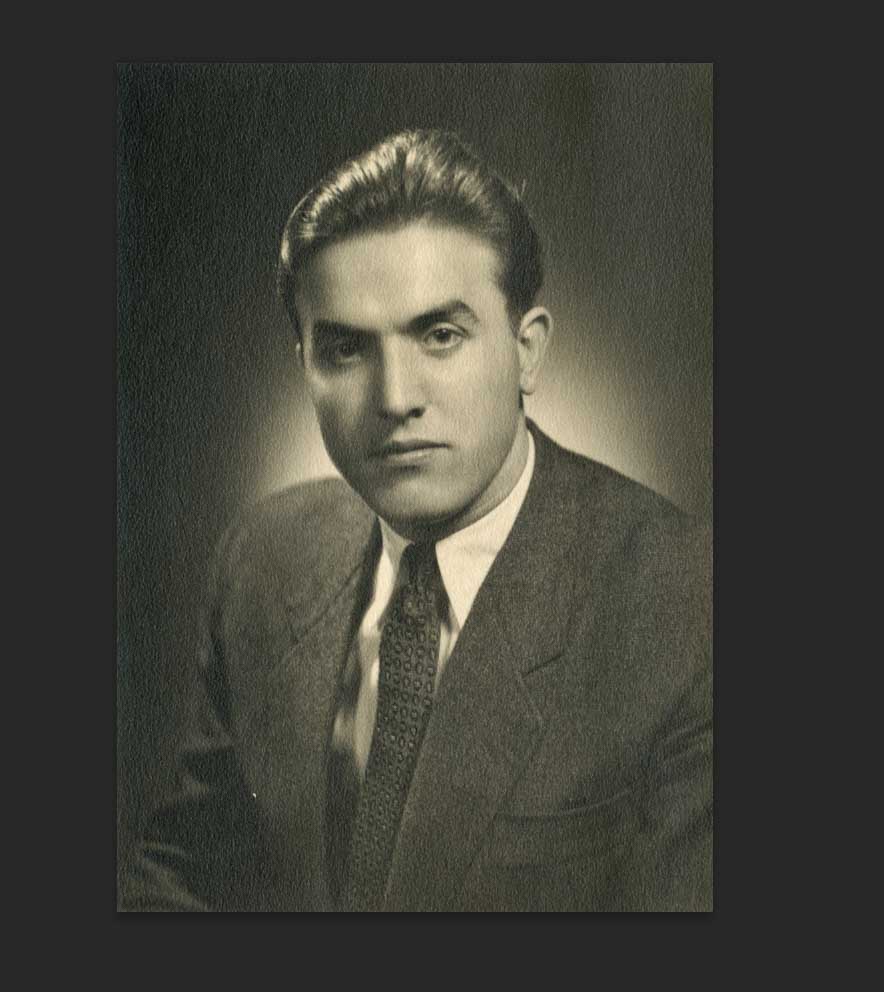
In the Import Window, find the image in your files. Click Open, and the image will appear as a new document in Photoshop.
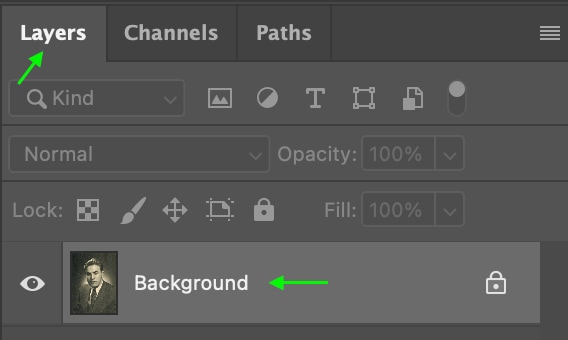
You can see the image as the Background layer in the Layers Panel.
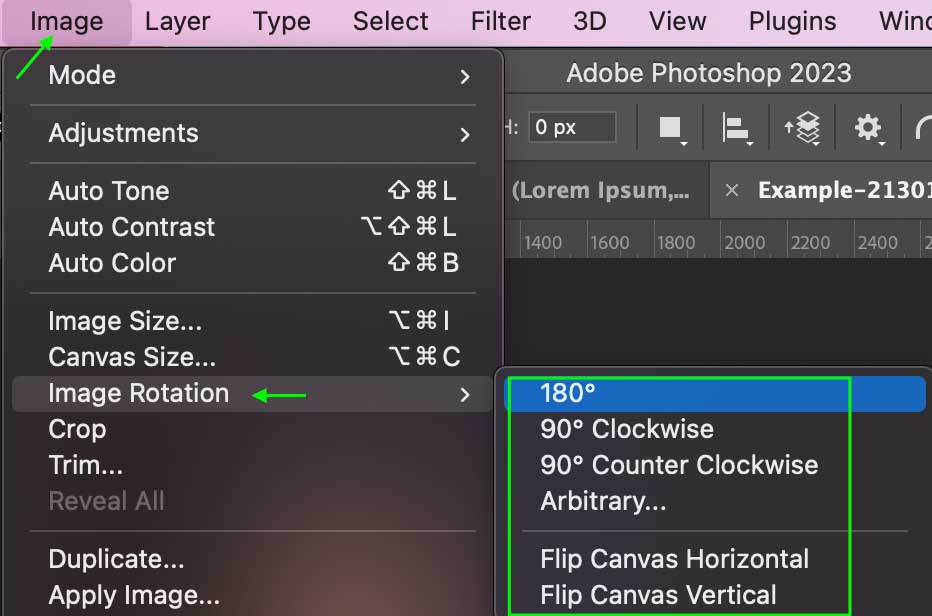
Step 3: Adjust The Orientation Of The Image
Once the image is open, you can make any adjustments necessary to the orientation of the image by cropping and rotating.
If you need to rotate your image, you can head to Image > Image Rotation and select the rotation type from the options.
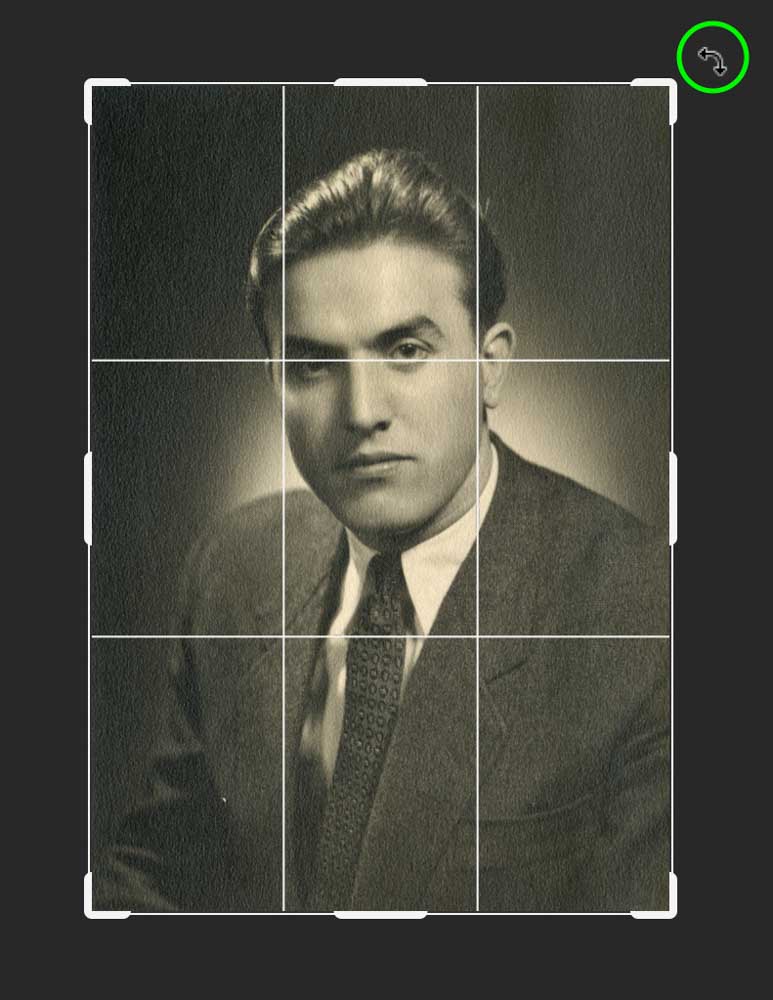
Then, if you’d like to crop the image, click the Crop Tool.

Drag along your image to crop it the way you’d like. You can crop and straighten the image using this tool, which is helpful as you can crop out any areas left out of the image after straightening.
To straighten while cropping, you can either click and drag along the area just outside the crop handles or use the Straighten Tool in the Options Bar to straighten the image along a reference line.

Step 4: Find And Download The Filter
With the Background layer selected, head to Filter > Neural Filters.
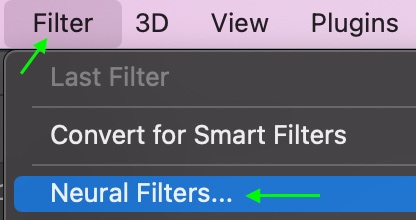
You will see a new tab appear with a list of the available Neural Filters.
Neural Filters work differently than other types of filters as they actually add pixels to the image to achieve the desired effect. They are non-destructive, and you can remove any Neural Filter by flipping the toggle at any time.
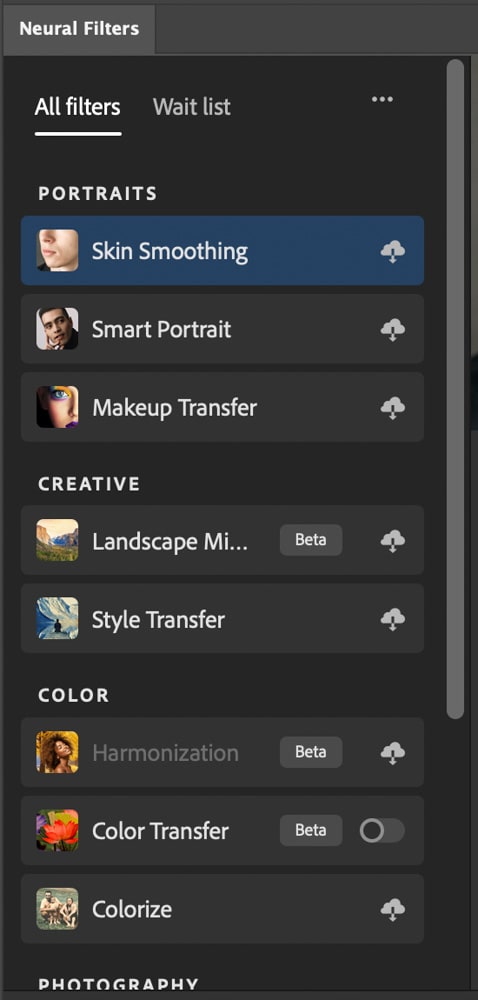
Scroll through the Neural Filters until you find the Restoration Filters under the Restoration section.
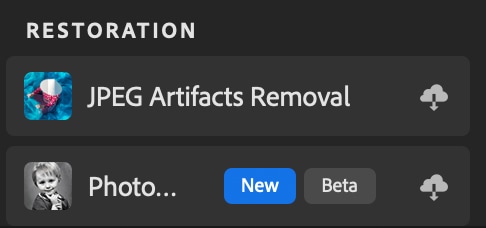
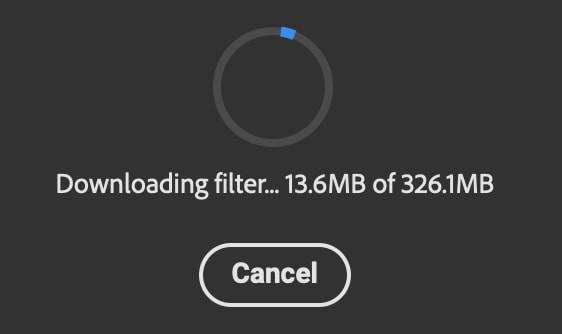
The filter you’ll use is Photoshop’s new Photo Restoration Filter. Unless you’ve already downloaded the filter, you’ll have to click the Download button and wait while the filter is added to your collection.

Keep in mind that you may need a certain amount of free disk space to add the filter. It may take a few minutes to download, and you can observe the progress in the progress bar.

Once the filter is downloaded, you’ll be able to use it.
Step 5: Toggle The Photo Restoration Filter
Once the filter has finished downloading, you can click the toggle to apply it to your image.

It will take a moment to apply, so be patient as the loading bar fills.

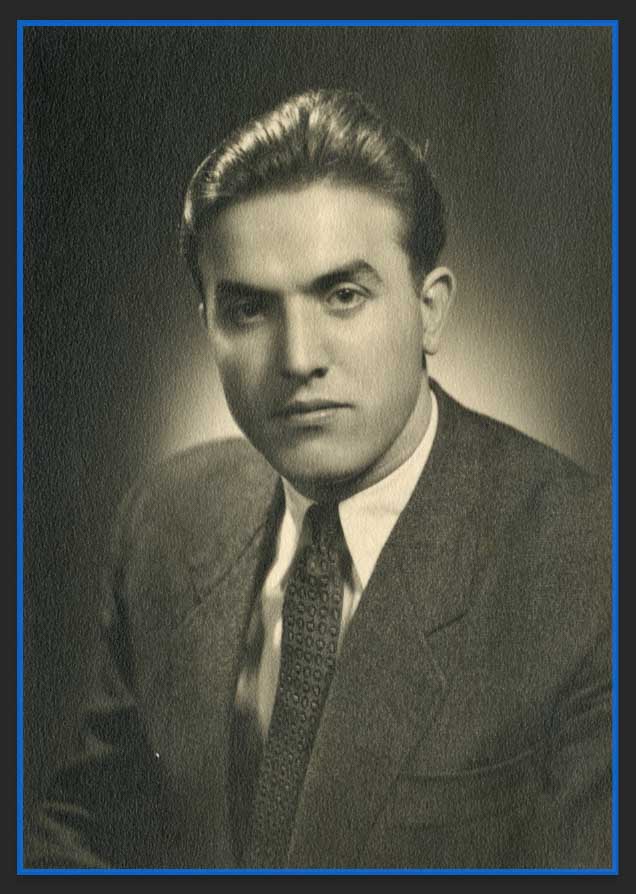
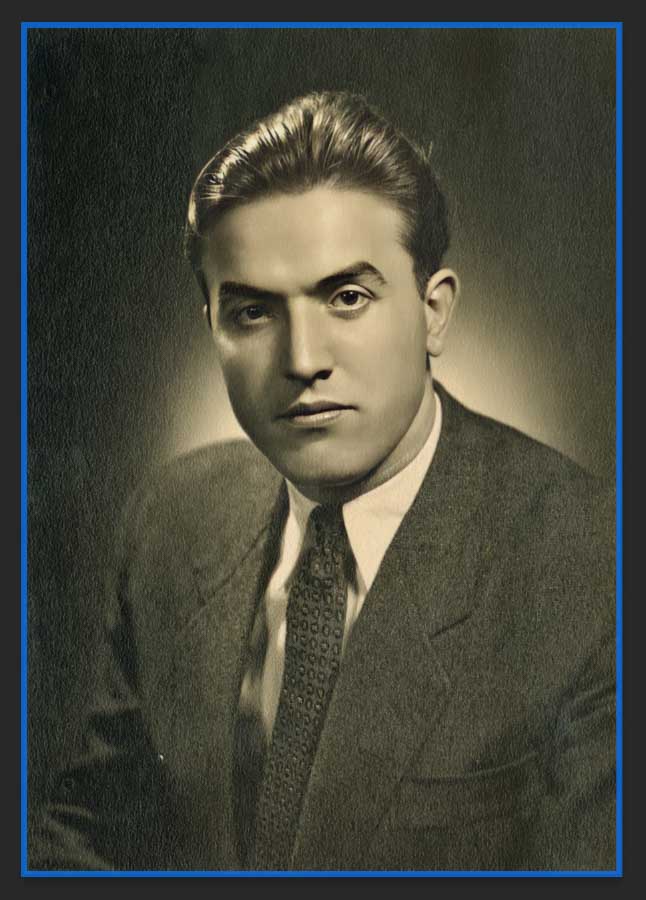
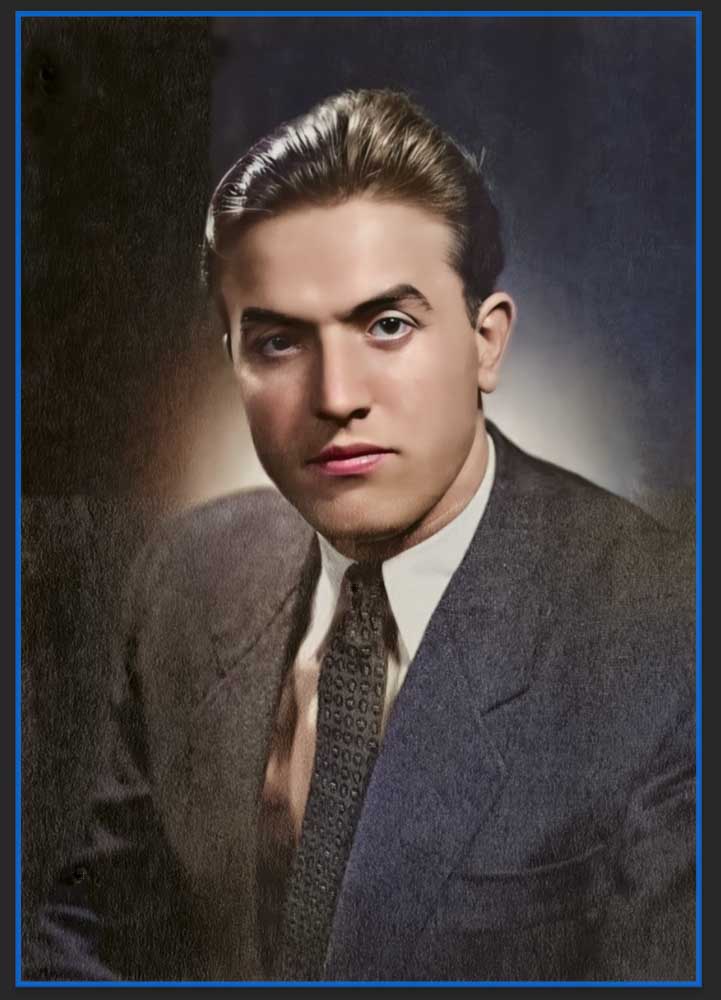
Finally, the filter will be applied to your image. You can see how much more clear and accurate the restored image looks compared to the original. It does a particularly good job of restoring skin tones and details in people’s faces.
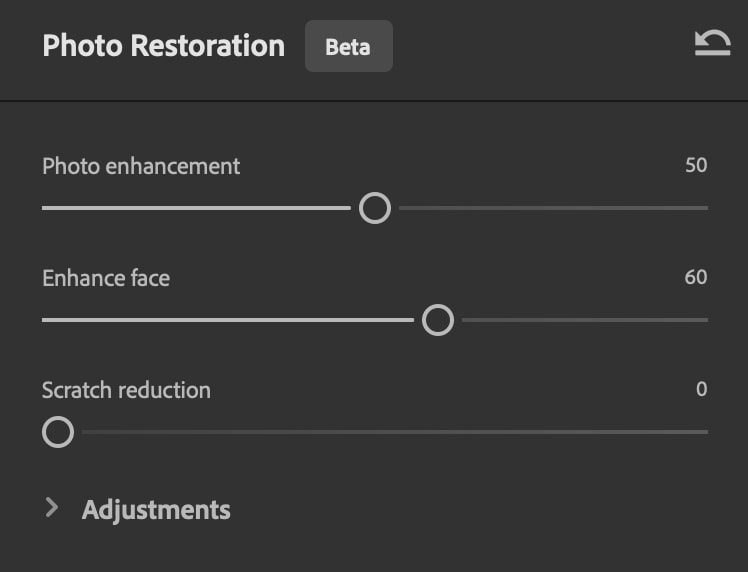
Step 6: Adjust The Filter
Once the filter has been applied, you’ll notice a section with different adjustments you can make to the filter’s appearance and strength.
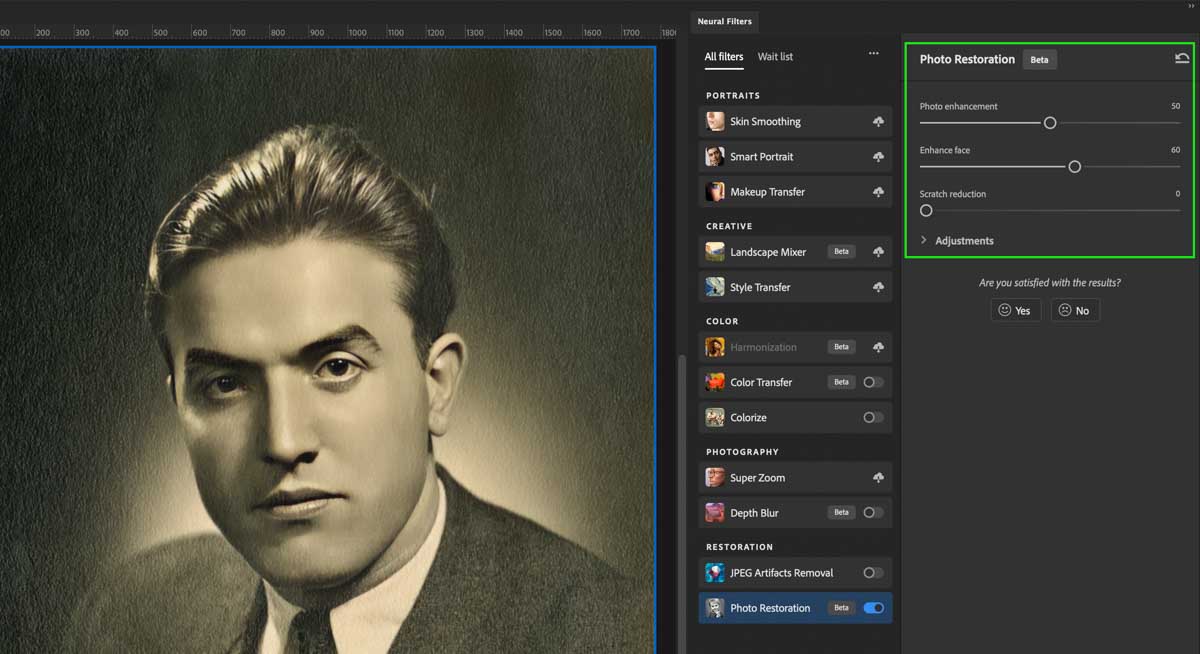
Photo Enhancement controls the overall restoration of the image. Enhance Face increases the contrast and clarity of any faces detected to create a more realistic appearance, while Scratch Reduction smoothes scratches and dust spots.
Play around with these settings until you’re happy with the image’s appearance. Again, remember that each adjustment will likely take a moment to process.
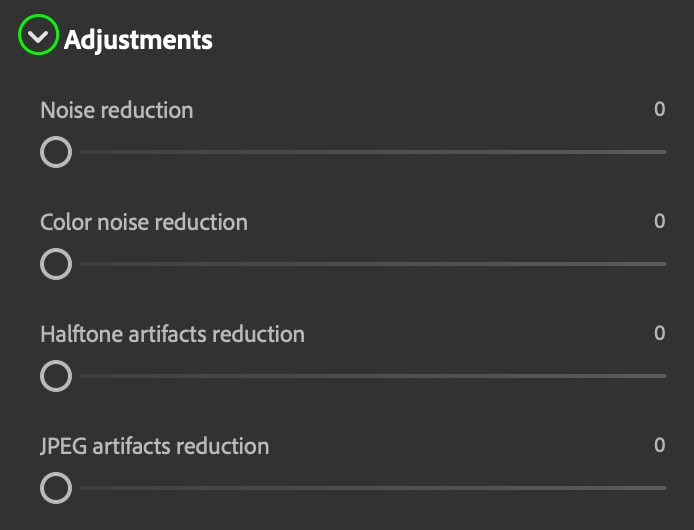
You can also adjust specific settings that commonly help restore old and damaged photos, like noise and artifact reduction, by clicking the drop-down arrow next to Adjustments and dragging the toggles.
I strongly recommend using the Color Noise Reduction slider if your image looks slightly discolored or brown. It does a great job of correcting those issues without much work.
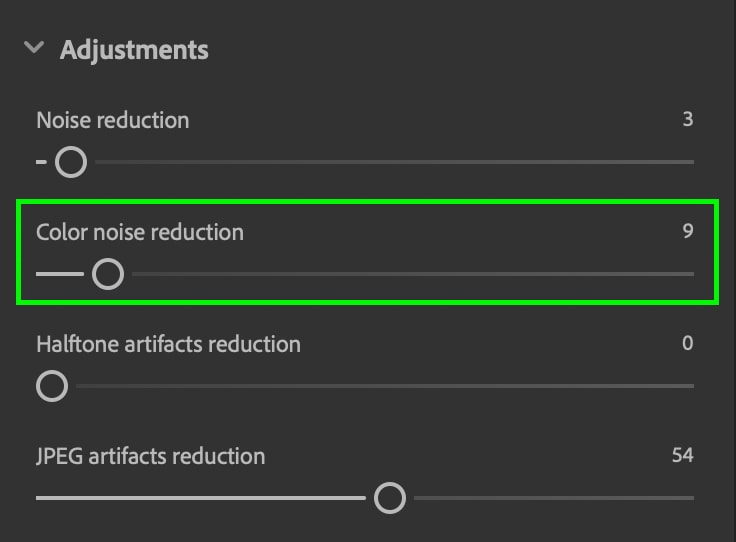
Every image you work with will have different needs, so this won’t be a copy-and-paste method if you are trying to restore multiple photos at once.
How To Restore Old Photos With Color In Photoshop
Adding color to old black-and-white images may seem difficult, but Photoshop makes it easy with the Colorize Neural Filter. Before using this filter, you’ll want to complete the steps above and use the restoration filter to improve the quality and reduce damage.
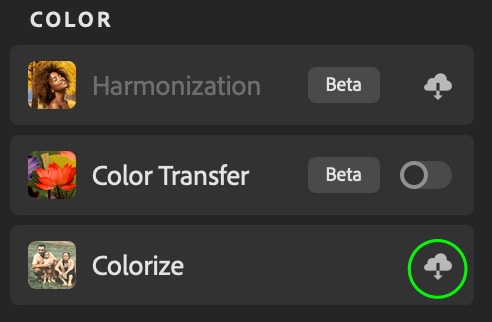
Step 1: Find And Download The Colorize Filter
Once you’ve applied the restoration filter and adjusted it to your liking, you can scroll through the Neural Filters until you find the Color Filters section, where you’ll see the Colorize Filter. Click the icon to download this filter.
Wait a moment while it downloads, and then you can access the filter.
Step 2: Apply The Colorize Filter
Once the Colorize Filter has finished downloading, flip the toggle on to activate the filter.

It may take a few minutes to process, but then you’ll see the image filled with color.

Step 3: Adjust The Filter’s Settings
If the color isn’t perfectly accurate at first, don’t worry. Like with the restoration filter, there are adjustments you can make to the filter that change its application. You can find the various adjustments under the Colorize panel.
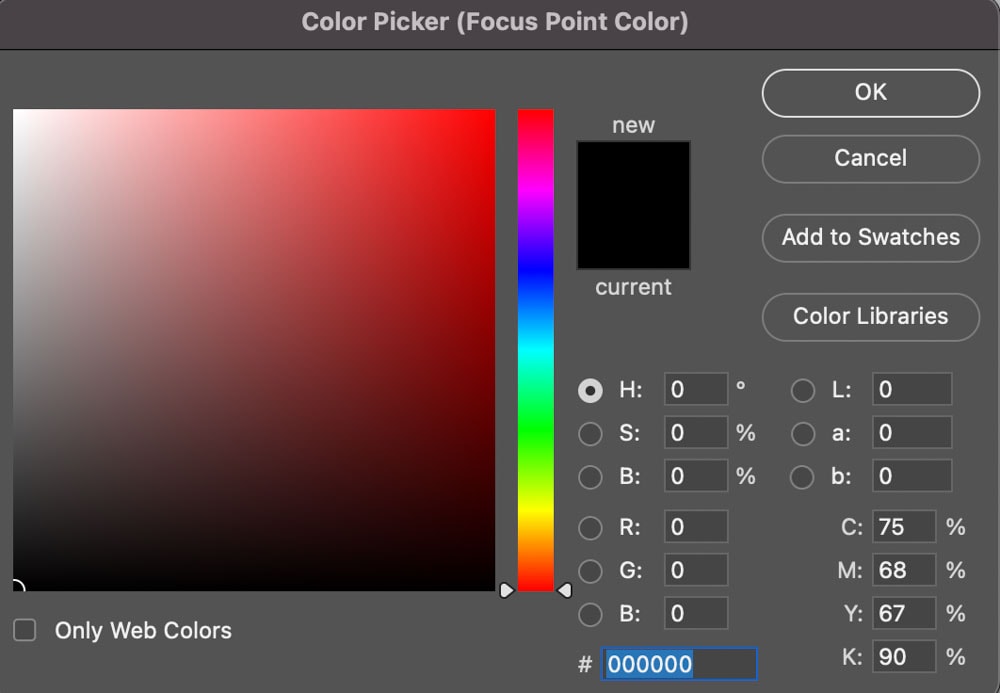
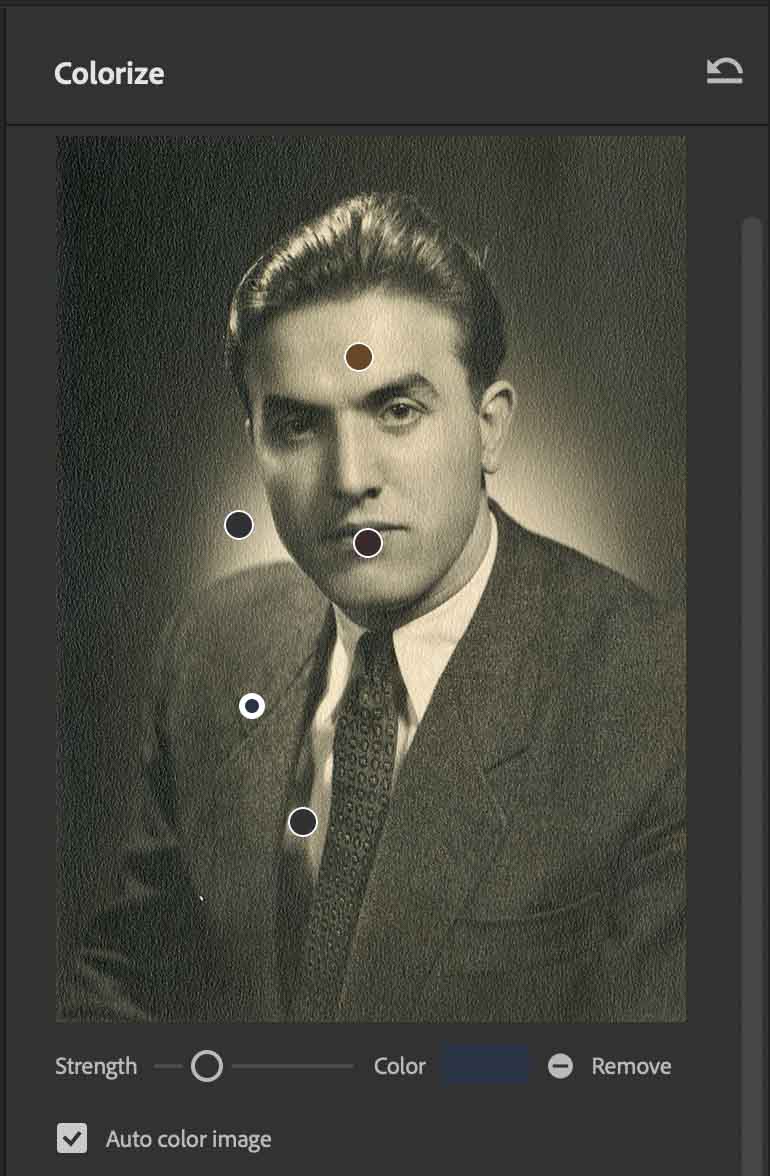
To start, you can manually colorize the image by clicking different areas of the sample image to add focal points and selecting the color in the Color Picker window.

This is optional but may help you get the most accurate color possible and give you control over the specific colors on each part of the image. In this photo, I added several colors to different sample areas to correct the colors. For example. I added a brownish color to improve the look of my subject’s skin tones.
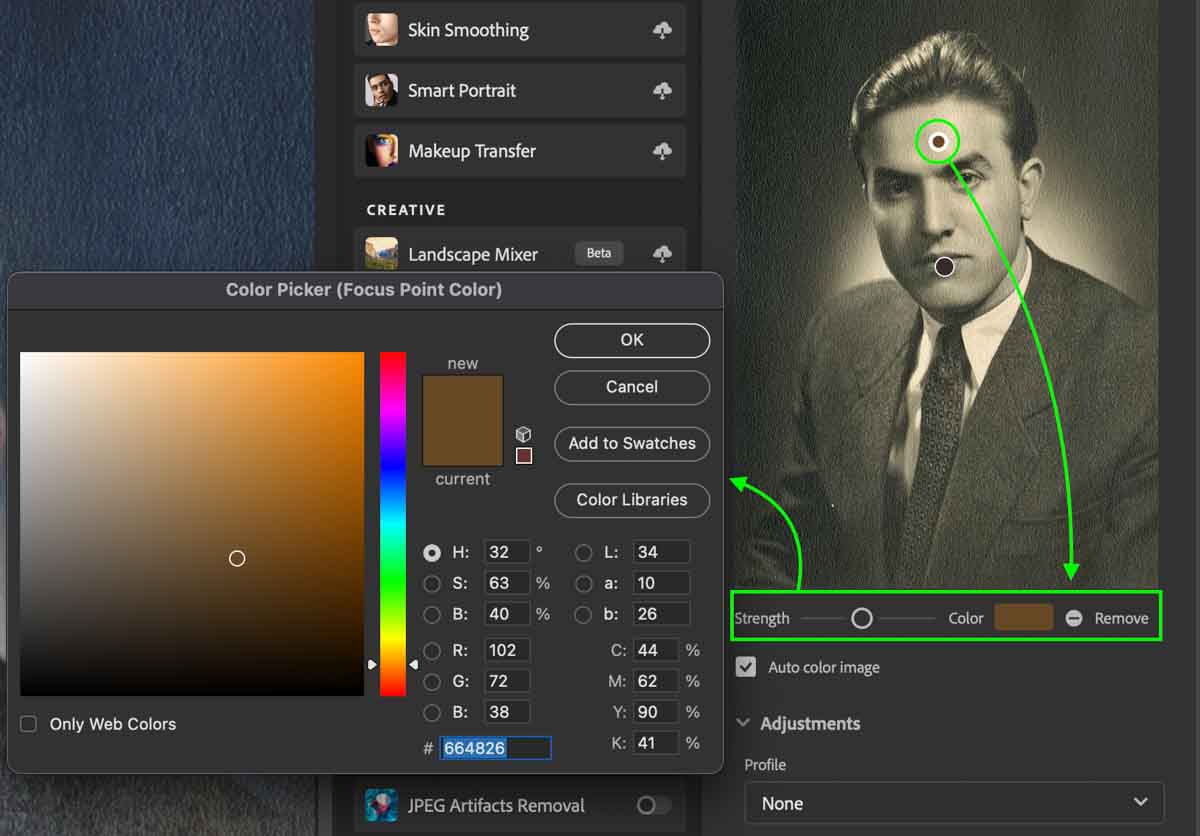
I then added additional colors in other problem areas to give me a variety of color samples added to my photo.
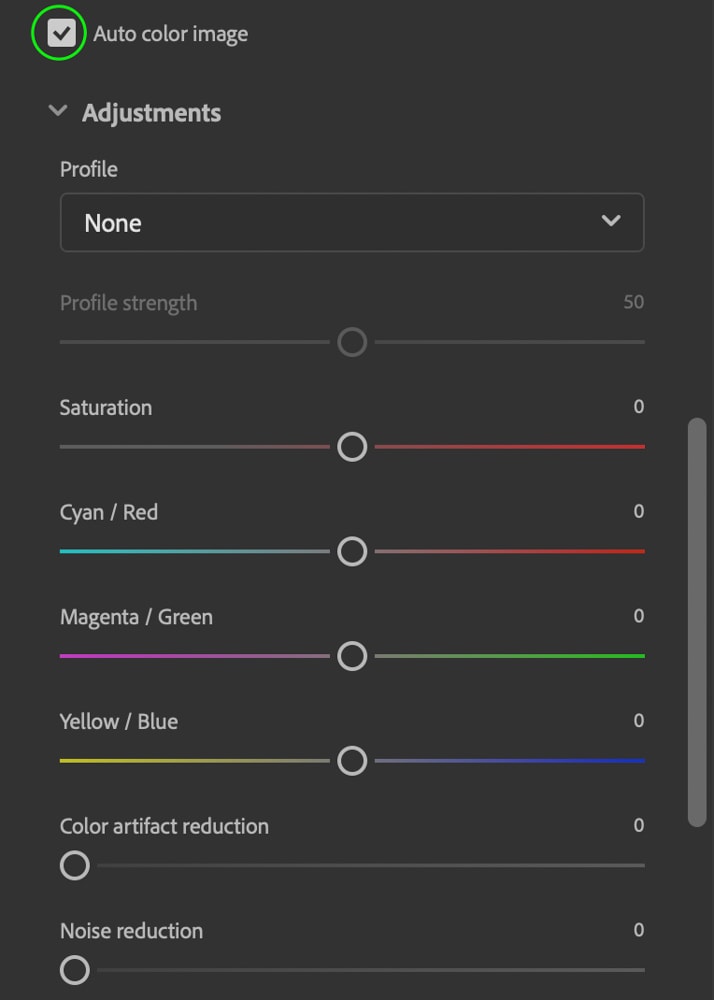
With all that said, if you’d like the image to remain colorized automatically, keep the Auto Color Image option checked. Below, you’ll see the other adjustments you can make to the color, including profiles, saturation, color artifact, noise reduction, and tone changes to specific colors.
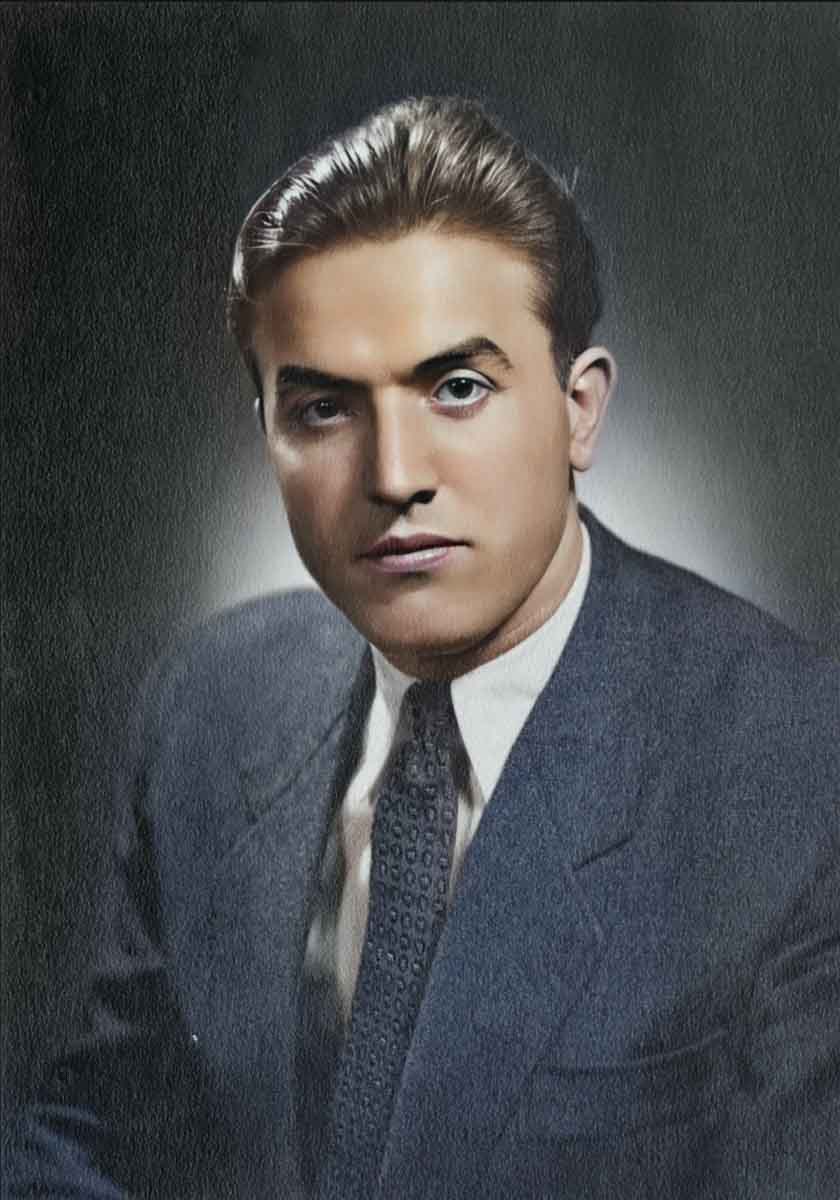
Each image will have a tone and saturation that looks natural, so adjust the settings until you find a colorization that looks best to you. It might not be perfect, but if you assess the before and after below, you’ll notice the restored photo has come a long way from the original.
If you’d like to learn more about colorizing black and white photos to get a more refined result, see my guide to colorizing black and white images in Photoshop.
