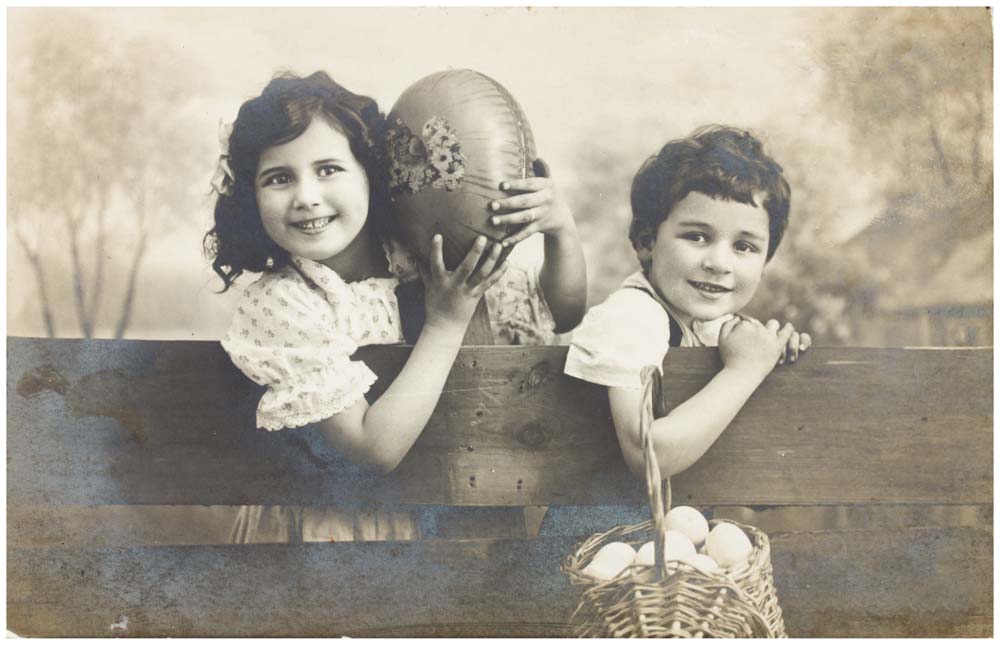

Colorizing a black and white photo in Photoshop makes it feel new again. This allows you to look at a picture of your ancestors, for example, from a new perspective that wouldn’t otherwise be possible.
Fortunately, colorizing a photo in Photoshop has become less complex over time. In 2021, Adobe launched the colorize filter. It was initially released as a beta filter and has now been improved, offering many adjustment options. Even though the colorize filter is still not perfect, it helps a lot with colorizing a photo.
Video Tutorial
How To Add Color To Black & White Photos In Photoshop
Here is how to colorize black and white photos in 9 steps.
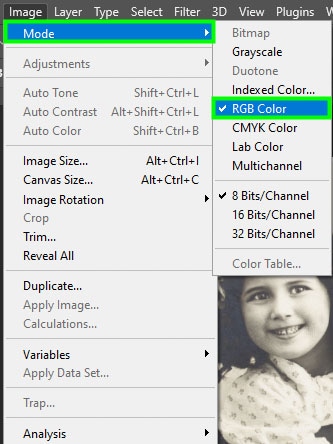
Step 1: Set The Image To RGB And Remove Any Dust Or Scratch Marks
There are mainly two things you need to check before colorizing your image. First, check if your photo is set to RGB mode. This is important because otherwise, the colorization will not work correctly or even at all.
To do this, go to Image > Mode. Then, check RGB Color.
Second, check if your image has dust, scratches, or other common old photo issues. Then, consider restoring the image before colorizing it. To do this, you can use the spot healing tool, the clone stamp tool, or any other tools or methods of your preference to restore old photos.
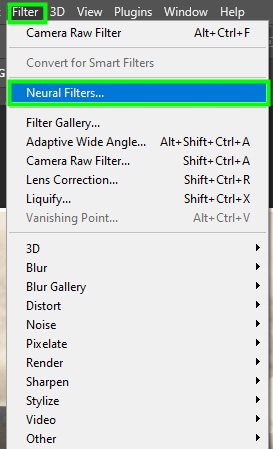
Step 2: Select The Colorize Filter In The Neural Filters Workspace
Now go to Filter > Neural Filters. Adobe’s neural filters use artificial intelligence to modify your images in many ways.
You will find two lists with all the neural filters available in the Neural Filters workspace.
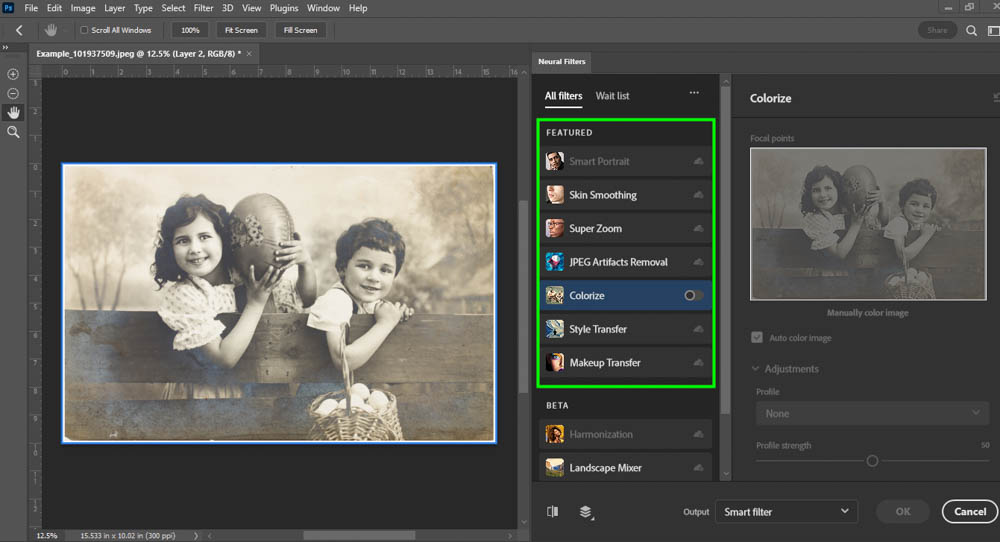
The Featured filters are the tested and ready-to-use filters. The Beta filters are the ones under development. For colorizing your photo, select the Colorize filter from the featured filters.
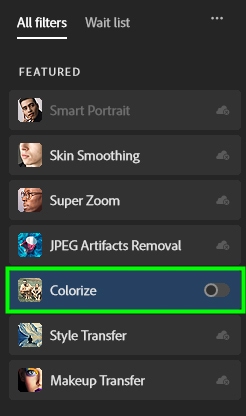
If it’s your first time using this filter, you must click the cloud icon next to the filter to download it. Make sure you are connected to the internet before doing this.
As I had already used the filter before, I just had to enable it. This way, I could use it even while being offline.
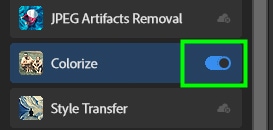
Once you enable the filter, it will take a few seconds to colorize your image.
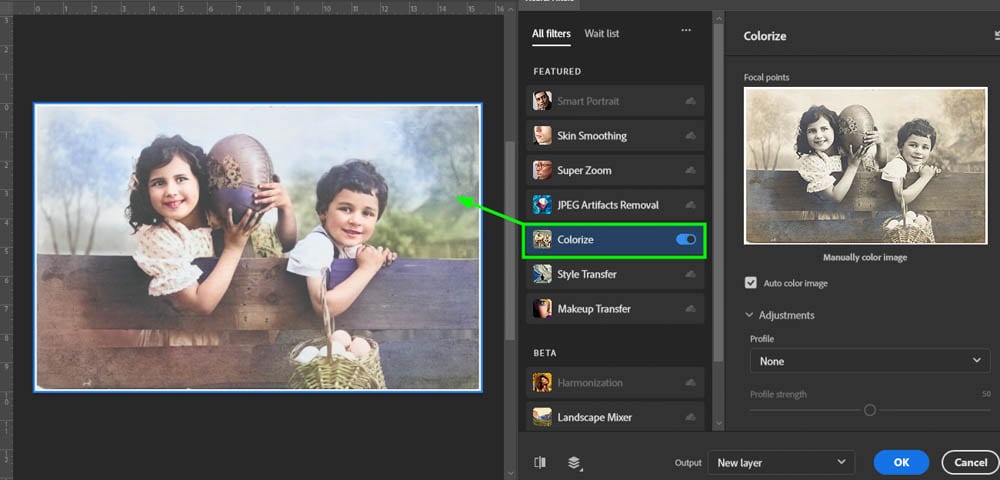
Adobe’s AI analyzes thousands of similar images to determine how your image will be colorized.
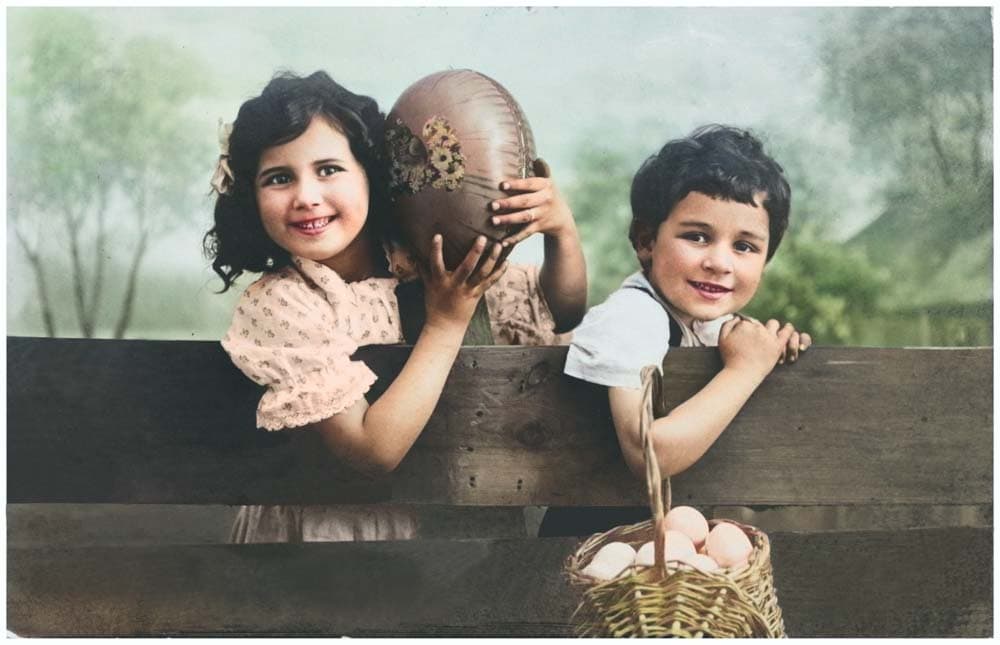
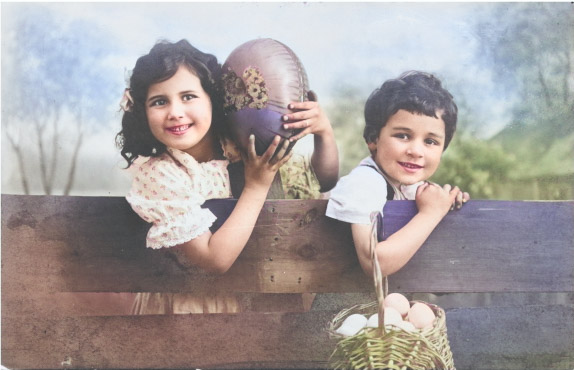
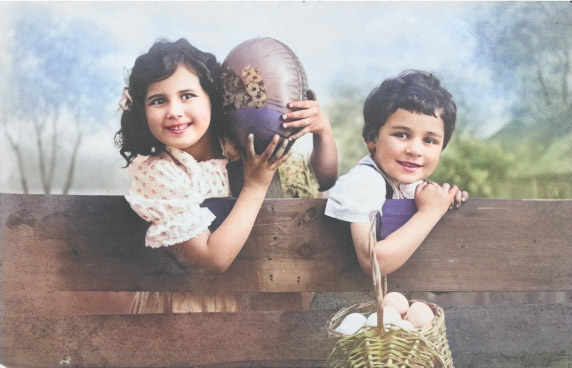
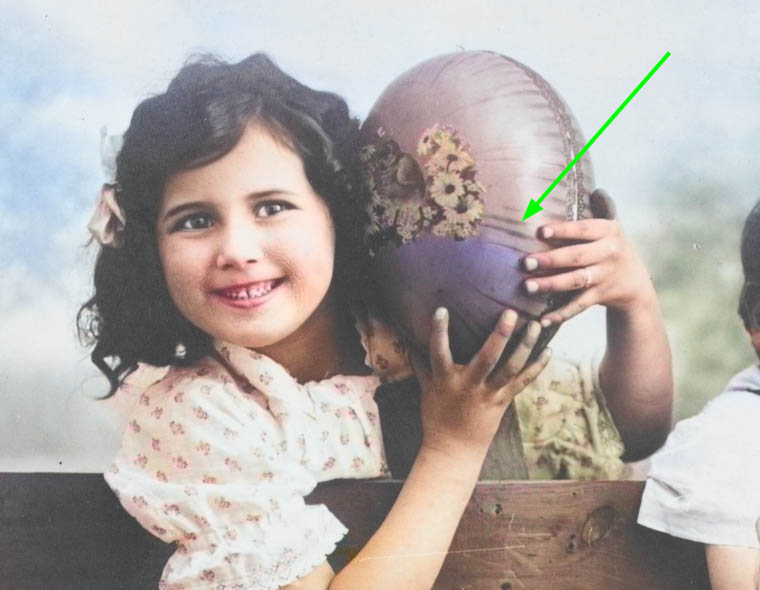
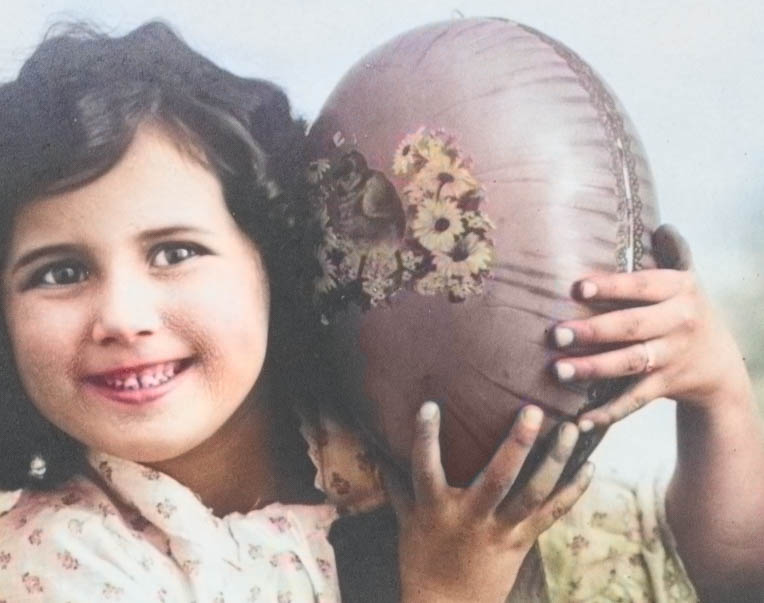
The AI accurately identifies most of the objects in your photos and fills them with colors that correspond to reality. For example, the eggs in my image gained a beige tone, a common color for farm eggs.
The filter is also especially good at colorizing skin tones, as seen in the image above.
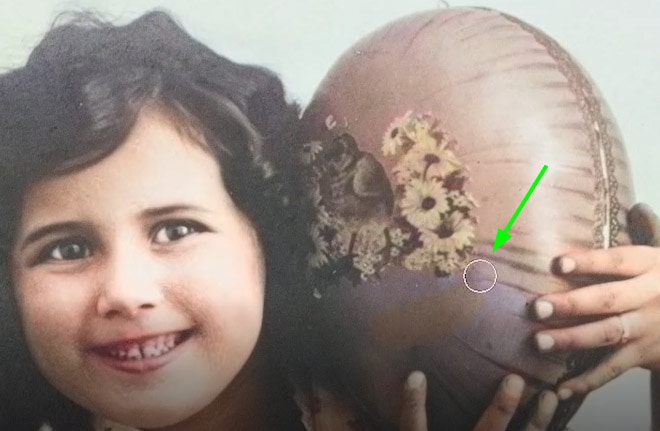
However, the tool often makes mistakes. In my image, for example, despite the fence being mostly brown, an appropriate color for a fence, it also gained some purple stains after the automatic colorization. Besides, despite being mostly pink, the easter egg on the girl’s shoulder also got some random purple stains.
Due to these bugs, you may need to adjust the colors in your image after the automatic colorization. I will show you how to do it in the following steps. You are good to go if your image is already colorized to perfection.
Step 3: Fix Colors Using Focal Points
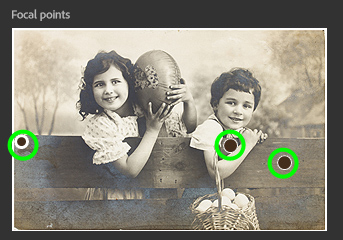
On the right side of the neural filters panel, you will find some options to adjust the Colorize filter. The first option available is Focal points.
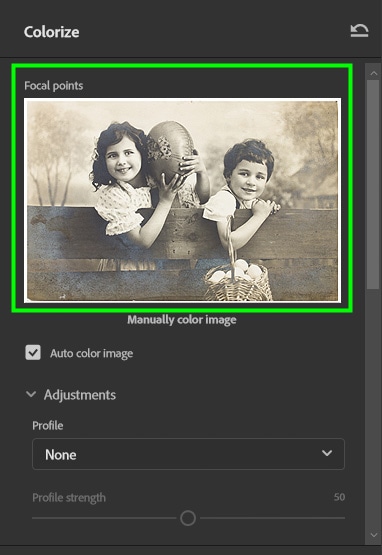
The neural filters workspace shows two versions of your image, the colorized image, and a miniature preview. Look at the colorized image to see where the colors are off, then place the focal points in the preview.
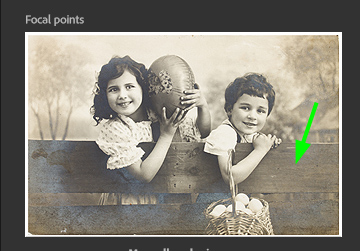
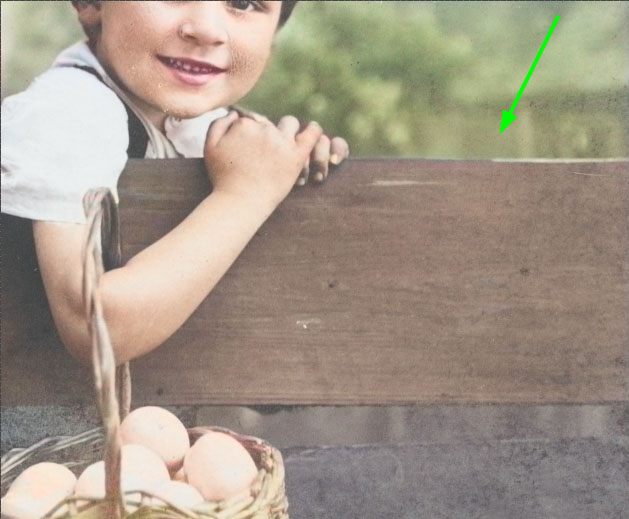
For example, I wanted to fix the purple stains on the fence.
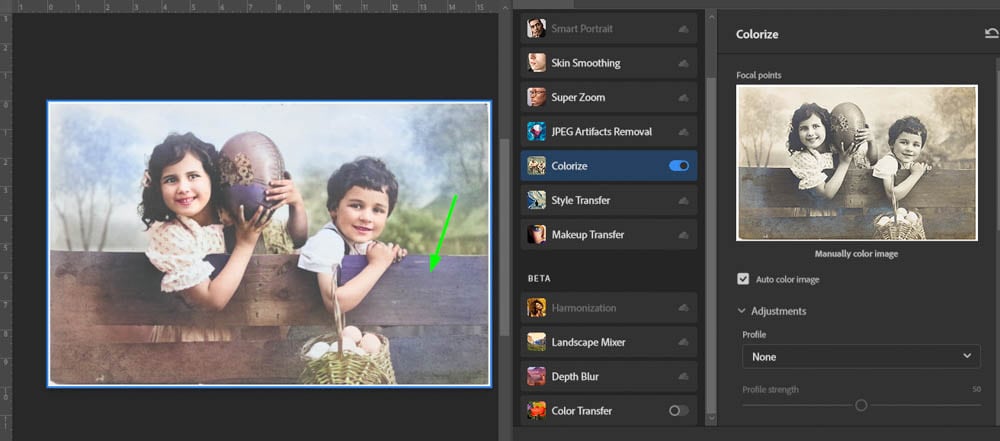
So I clicked the fence in the preview window.
The color picker panel will pop up when you click a spot in the preview. Then, you will need to choose a color to cover the desired area.
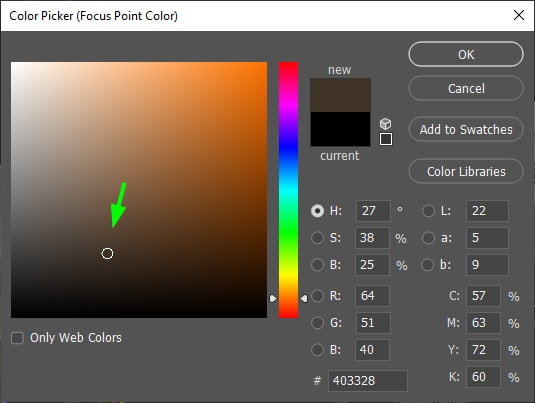
The target area will be covered in that color instantly.

You can add multiple focal points to your image. They will all appear in the preview window.
After adding a focal point to your image, you can change its color in the color box under the preview window.

To reduce the intensity of the chosen color, move the Strength slider to the left. To increase the intensity of the color, move the same slider to the right.


To remove a focal point, click the Remove button. Alternatively, drag it out of the preview.
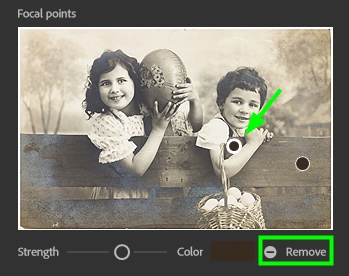
To change a focal point position, drag it to your desired spot. You can add multiple focal points of different colors to your image until you are satisfied with the colors.
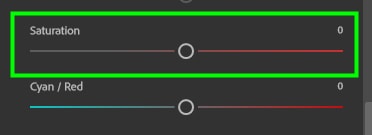
Step 4: Adjust The Image Saturation
Frequently, the colorized filter fills areas of your image with saturated colors. If that happens to your photo, you can fix this using the Saturation slider. Move it to the left to turn down the saturation or to the right to turn it up, although I think it’s never a good idea to increase the saturation of your colorized image.
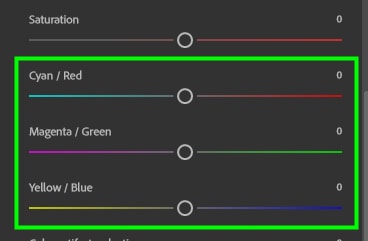
Step 5: Adjusting The Color Balance Of Your Image
Moving down the panel, you will find sliders to adjust the overall colors of your image. If, for example, you feel that your photo has too much magenta, move the slider to the green side, and if you think your image is too blueish, move the slider to the yellow side, and so on.
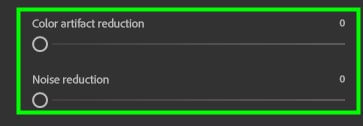
Step 6: Reduce Color Artifact And Noise
Under the color balance sliders, you will find options to reduce color artifacts and noise from your image. Most old photos have these issues, so it’s worth trying to fix them using these sliders. However, there are other methods you can try in the Photoshop workspace or even in Camera Raw.
Step 7: Save The Colorized Photo And Close The Neural Filters Workspace
After colorizing your photo, you must save it. You can choose between saving it as a New layer, New Layer Masked, Smart Filter, or New Document.
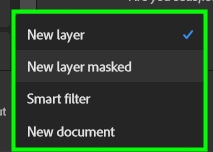
The New Layer option will save the colorized image as a new layer on top of the black and white layer.
The New Layer masked option will do the same, but a layer mask will be connected to the colorized image.
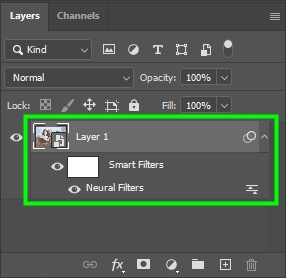
When saving the colorized layer as a Smart filter, you can click the Neural filter and edit the colorization at any time.
Finally, your colorized image layer will appear in a separate tab when choosing New Document.
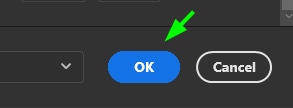
Click OK when you are finished.
Step 8: Fine Tune The Colorized Photo Manually
Although Photoshop AI does a good job colorizing your photos, it might be challenging to get perfect results using the Colorize filter. So after applying the automatic colorization, you can fine-tune it manually. Here is how to do it.
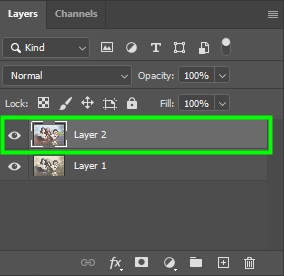
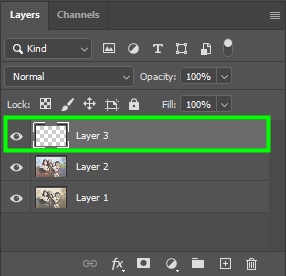
First, create a new layer by clicking the little cross icon at the bottom of the Layers panel.
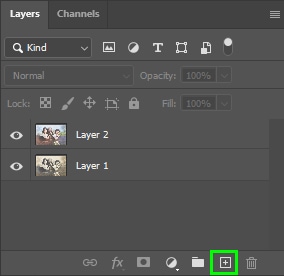
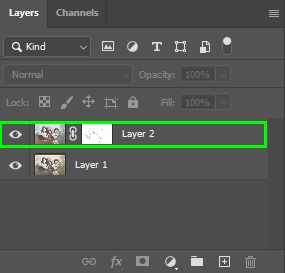
Then, change the Blend Mode to Color.
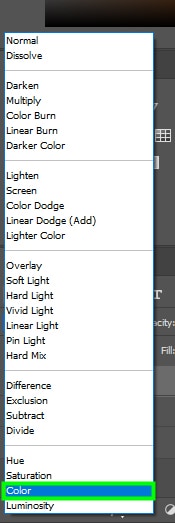
Changing blend mode to Color allows you to paint your image while preserving its luminance values.
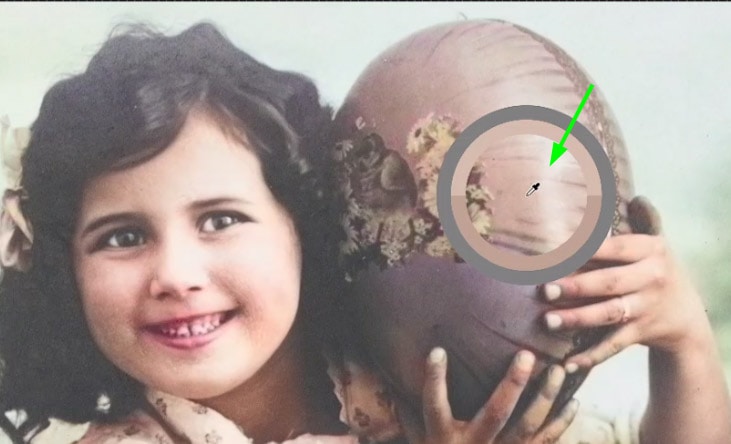
After changing the blend mode, zoom in on your image to see which colors still look off.
Zooming in on my image, I noticed some things that needed correction. At first glance, I noticed the easter egg on the girl’s shoulder had a purple stain that didn’t match the rest of the object.
Grab the Brush Tool from the toolbar (B) to fix problems like these.
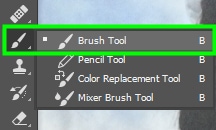
Then, position the brush on the desired object and click it while holding Alt (Win) or Option (Mac). This takes a sample from the color in that area.
Your brush will turn into an eyedropper tool once you do this.
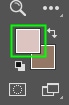
After sampling the desired color, it will appear in the color swatch at the bottom of the toolbar.
Then, you can paint over the target area.
Repeat this step until you are satisfied with the colors in your image.
Step 9: Fix The Shadows And Light
You may want to adjust shadows and light after colorizing your image. You have plenty of options to do this. Use the Levels adjustment layer, for example, to bring out mid-tones. Use the Curves adjustment layer to highlight shadows and lights that are overshadowed by a high-contrast image.
These are common solutions for problems with old photos after colorization. However, you should analyze your image to discover its problem areas, if any, and then decide what to do.
Colorizing a photo is a challenging task, even using artificial intelligence. Some people dedicate their lives to it, so it takes time and practice to master this skill. All in all, this tutorial will certainly help you improve your knowledge of photo colorization in Photoshop.