


We’ve probably all accidentally closed a program without saving what we were working on at some point. It’s a scary feeling, wondering if you’ve just lost the progress you made. This is why knowing how to save your edits in Lightroom is important since you don’t want to lose any changes you’ve made to your images.
But won’t Lightroom save automatically? And what are the different options for saving images? Let’s go over everything you’ll need to know about saving edits in Lightroom.
Does Lightroom Automatically Save?
When editing photos in Lightroom, you’ll want to know if Lightroom will save your edits if the program closes before you manually save the image.
The simple answer is yes – Lightroom will automatically save your edits once you exit the program.
However, the way that images are saved differs depending on whether you’re working in Lightroom Classic or Adobe Photoshop Lightroom (also known as Lightroom CC).
The two programs have similarities and differences in how they save images, so it is important to understand how each one saves your edits so that you don’t lose your work.
How Lightroom Classic Saves Your Edits
When Lightroom Classic saves your images automatically, it will save them to the Lightroom Catalog. However, you can also set Lightroom to save changes as a separate file next to the image file.
Saving To The Lightroom Catalog
The Lightroom Catalog is Lightroom’s way of storing your images, separate from the files on your computer. Therefore, if you save an image to the Lightroom Catalog, the edit data stays there. You’ll only be able to access the edited image from within the catalog. You won’t see the edits if you open the same original image file in a separate catalog.
This also means that if you delete the catalog, the edit data for the images in that catalog will be deleted along with it (though the original photos themselves will remain in your files). So it’s important to save images as separate files once you’ve finished editing them.
Saving Changes As XMP files
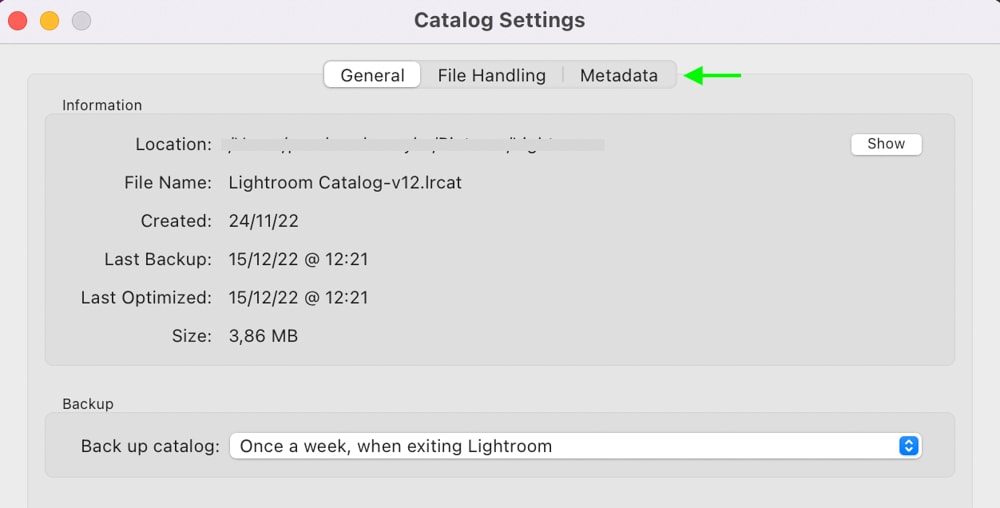
The other way to save your edit data in Lightroom is to save each image along with an XMP file. You can set this up by going to Edit > Catalog Settings (Win) or Lightroom Classic > Catalog Settings (Mac).

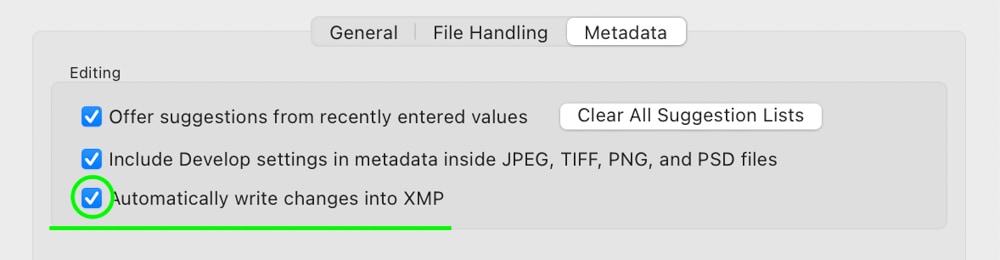
At the top of the Catalog Settings window, you’ll see different tabs where you can adjust settings. Head to the Metadata tab.
Check the box next to Automatically write changes into XMP (if it is already checked, you’re already saving your edits as XMP files, so leave it checked).
Now, if you access the root folder, you’ll notice separate XMP files next to the image files. When you edit an image, an XMP file is created containing those edits, which is useful if you want to access those specific edits from other catalogs.
However, this method usually results in loads of XMP files, especially if you edit many photos simultaneously. The only reason you might want to save edits as XMP files is if you’re working on a computer other than the one you usually work on. Otherwise, it’s probably easier (and saves more space) to just back up your catalog regularly.
Understanding How Adobe Photoshop Lightroom Saves Images
Adobe Photoshop Lightroom, the newer version of Lightroom, is cloud-integrated, so there is no need for catalogs. Instead, any changes you make are automatically synced to the Adobe cloud. You’ll be able to see your editing data whenever you’re logged into your account and have a stable internet connection.
How To Save Photos You Have Edited In Lightroom
While Lightroom will save the edit data automatically to the catalog, if you’d like to save the image as a new file on your computer with the edited changes, you’ll want to use one of the two best file formats: TIFF or JPEG. The file type you should use to save the image depends on several factors.
Saving As TIFF
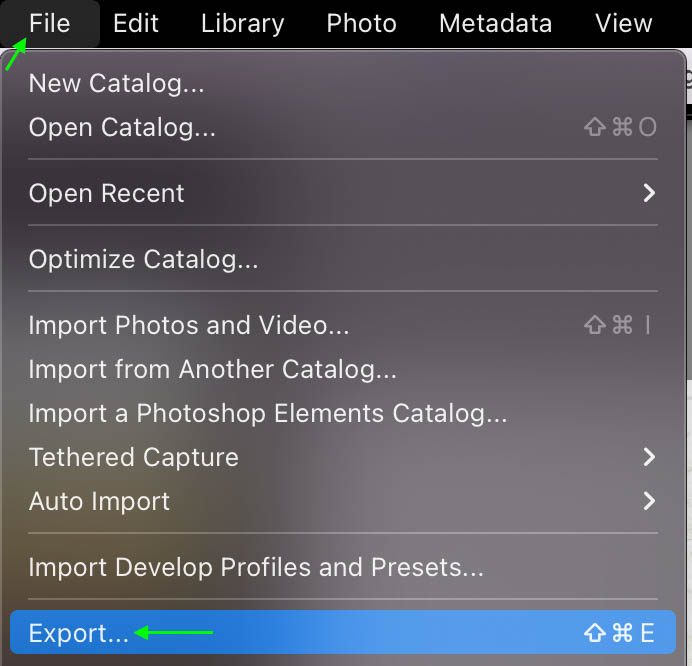
To save an image as a TIFF file, select the image or images you’d like to export in either the Library or Develop module and head to File > Export.
The Export Window will appear. Here, you can name your file and set an export location.
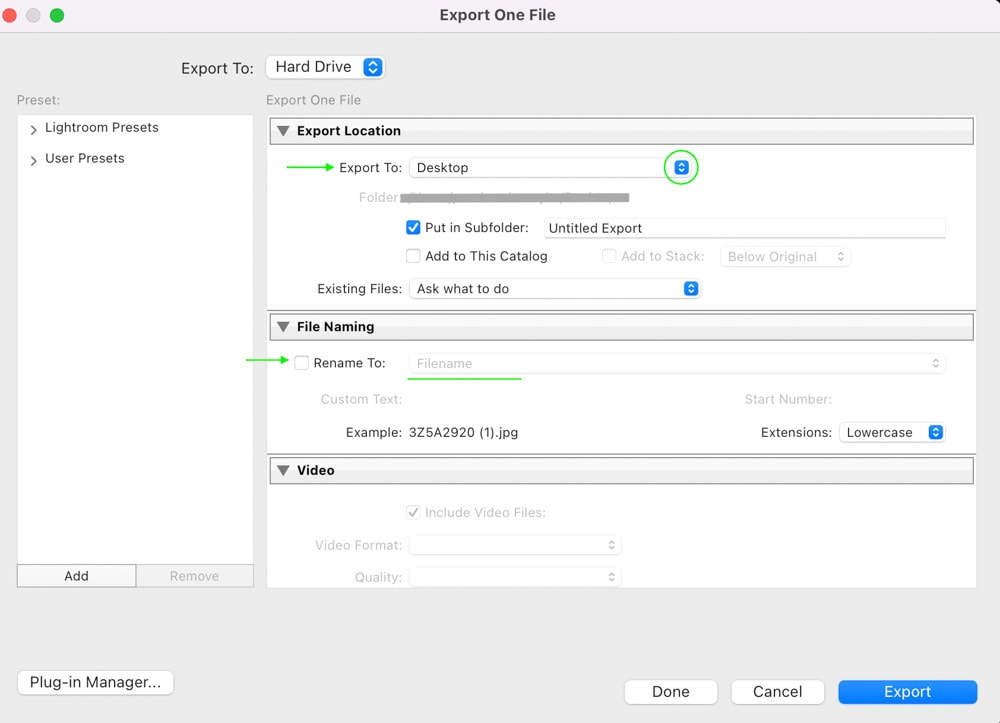
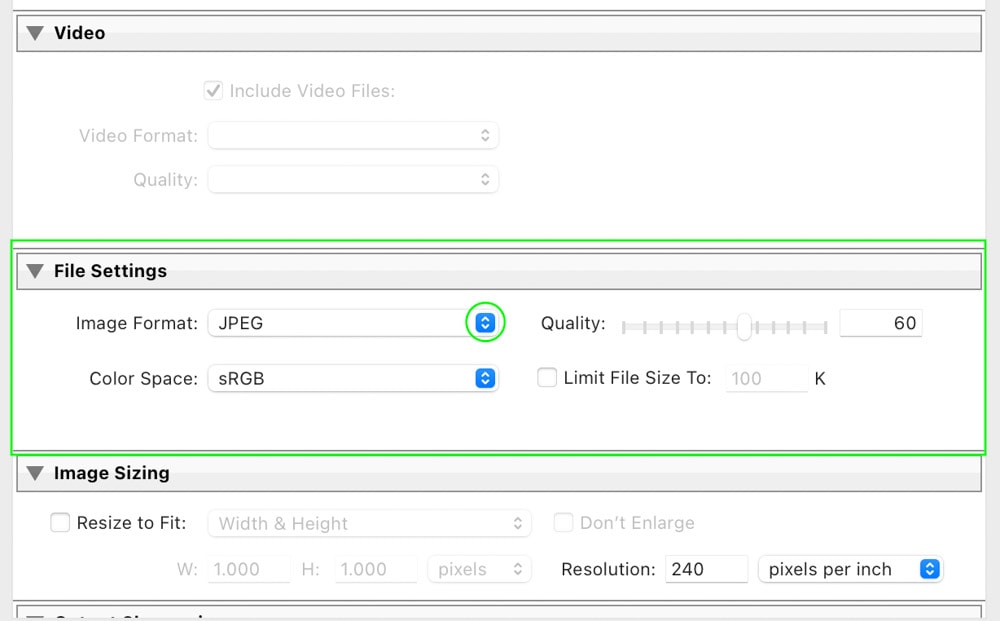
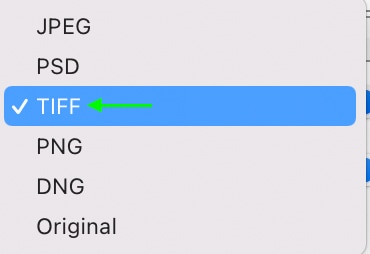
Finally, and most importantly, scroll down a bit until you see the File Settings tab. Open it and click the drop-down next to Image Format. From the options, select TIFF.
Click Export and the image will be exported as a TIFF file to your hard drive.
Exporting your images as a TIFF file keeps the raw file data and the adjustments you’ve made. This means you can re-open a TIFF file in Lightroom another time, and all the adjustments will be available for you to see and edit.
This is useful for any files you may come back to, though it isn’t the best if you plan to store or share lots of TIFF files because of the large size. You’ll need lots of space if you’re working with TIFF files often.
Saving As JPEG
The other option is to save your image as a JPEG. This will preserve the size while compressing the raw data and baking the edit data into the picture. You won’t be able to access the edit data to change it again, but the file will be considerably smaller and better for sharing.
To save your image as a JPEG, head to File > Export.
Give your image a name and save location.
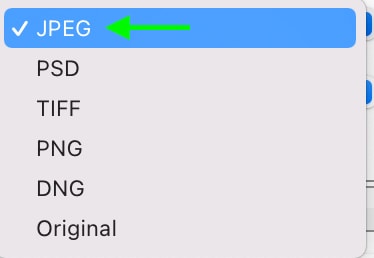
Then, scroll down to the File Settings section. From the menu next to Image Format, find and select the JPEG format (it may already be selected).
Click Export, and your image will export as a JPEG.
Now that you understand the different ways Lightroom will automatically save your images and how you can alter the save settings to your advantage, you can rest assured your photos are saving the way you want.
