
When drawing paths in Photoshop, you may want to add a stroke, whether to mark a path for reference or add an outline to a shape you’re working on. It may seem hard to find a way to stroke a path in Photoshop because there is no visible option to add a stroke or edit stroke settings. However, adding a stroke to a path or multiple paths at once is easy.
How To Stroke A Path In Photoshop
To stroke a path, first create a path with the Pen Tool, then right-click and select Stroke Path. Set the Tool type to Brush or Pencil, and click OK to apply the stroke. Remember that the stroke will be applied using your selected tools’ previous settings and your active foreground color.
Let’s take a look at this process more in-depth.
As I mentioned, to stroke a path, you’ll first need to create a path using the Pen Tool (P).

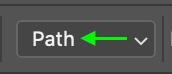
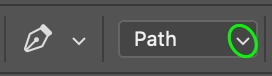
In the Options bar, make sure the type is set to Path.
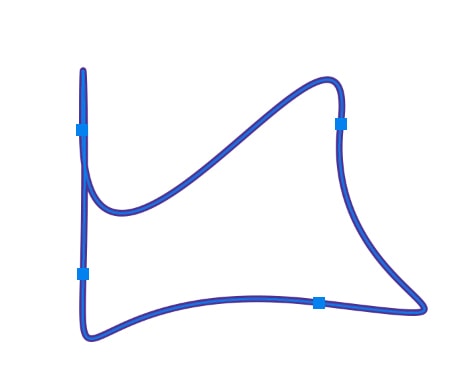
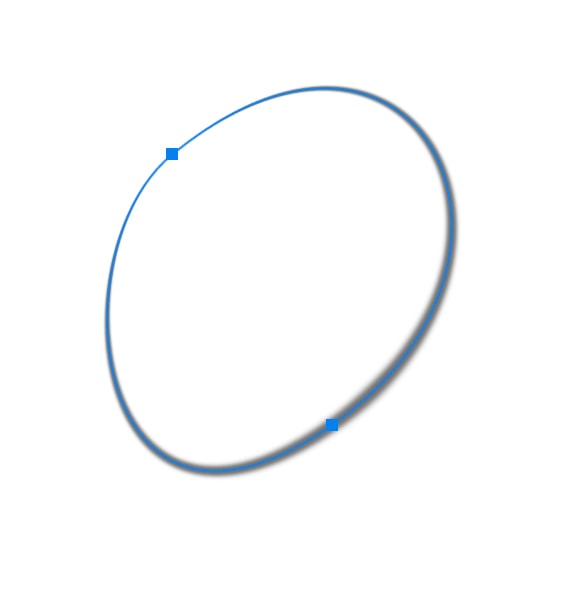
Click and drag along the document to create a path. For this example, I’ll just make a simple round path, but any path you’ve made will work.

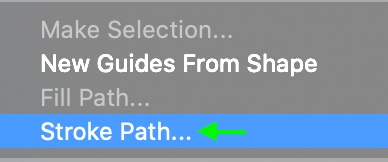
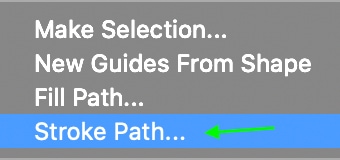
To stroke the path, right-click or Control + click the path and select Stroke Path.
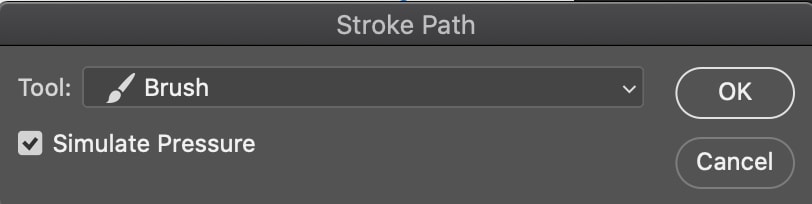
The Stroke Path window will appear.
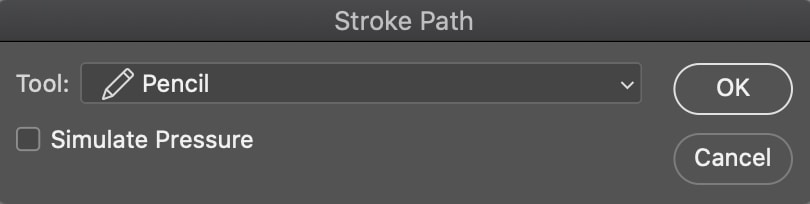
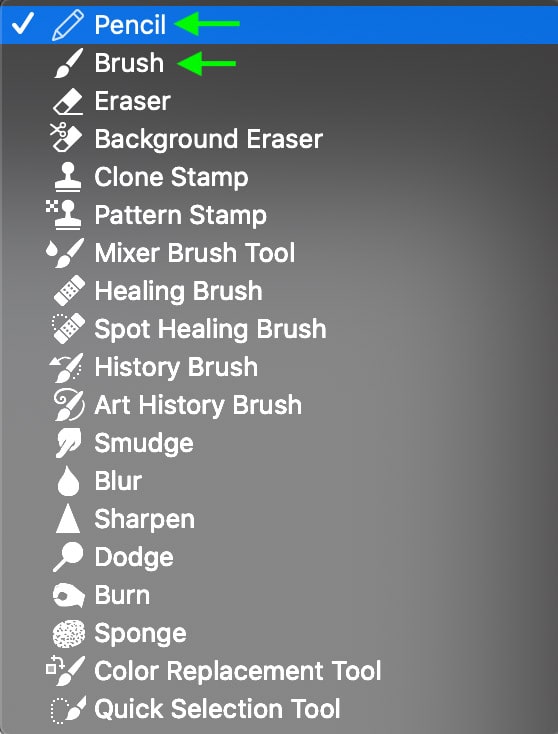
Here, you can click the Tool drop-down and select which tool you’d like to use to stroke the path.

Whichever tool you select, the last settings you had for that tool will be used to apply the stroke. Usually, the Brush or Pencil Tool is best for stroking a path, but you want to ensure the brush settings you last used have a low feather, or your stroke won’t be very sharp.

How To Stroke A Shape Path
You can also stroke a shape path in Photoshop, which gives you a bit more control over how the stroke appears on your shape and allows you to edit the stroke later.
To stroke a shape path, head to the Pen tool.

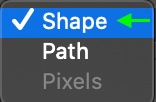
Set the type to Shape (rather than Path) by clicking the drop-down in the Options bar and selecting Shape.
You’ll see the Options bar change to reflect the Shape path options.

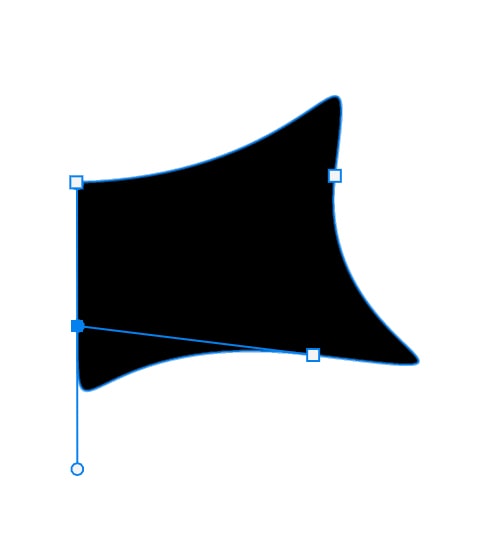
As you draw your path, it reflects the settings already set for the shape’s Fill and Stroke.
Click the Stroke icon in the Options bar to change the stroke appearance.

Select the color and style of your stroke in the window that appears. Do the same with the Fill icon and set it to transparent.
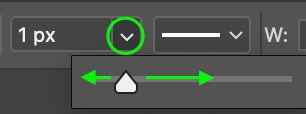
You can also set the width of your stroke by clicking the drop-down and sliding the toggle along the bar.
Finally, you can set the stroke line type by clicking the Stroke Options drop-down. You can choose between a regular line, dotted and dashed. At the bottom, you can set the alignment (where the stroke sits on the shape), the caps (the end of the stroke), and the corner style of the stroke.
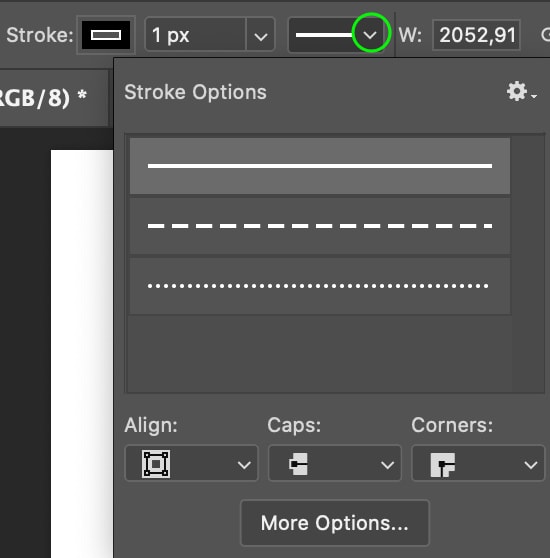
Your stroke will change as you adjust the settings.

Understanding Stroke Path Settings & Simulated Pressure
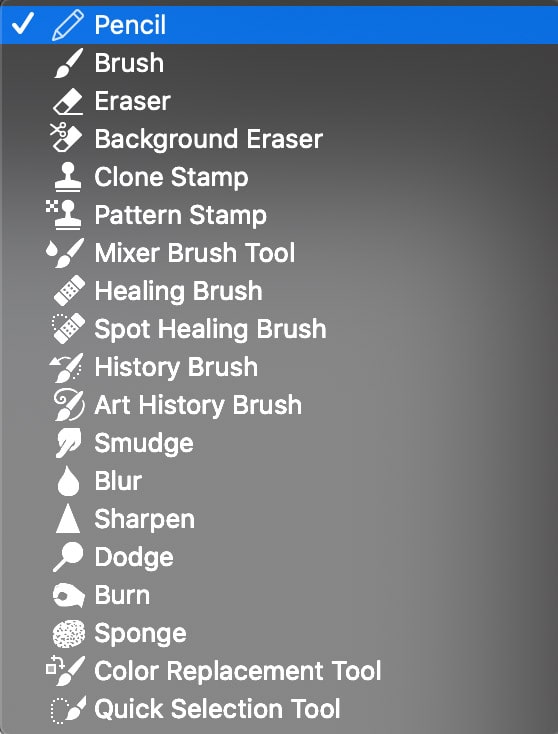
In the Stroke Path window, you can click the Tool drop-down to see all the tools you can use to add a stroke to the path. Each tool will yield a different result, but if you’re trying to make a basic colored line, it is best to stick with either the Pencil or the Brush Tool.
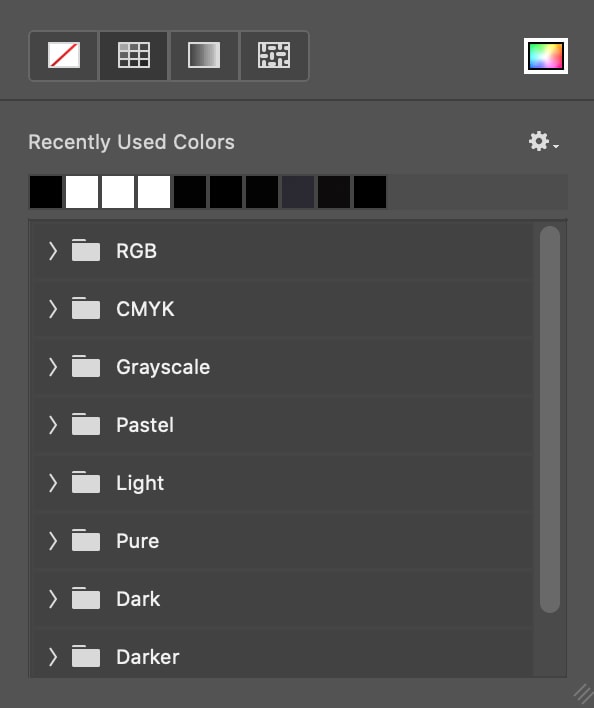
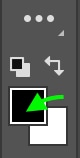
Remember that the stroke color will match whatever your active foreground color is at the time. If you’d like to set a specific color, you’ll need to set the foreground color before you stroke the path. You can do this easily by heading to the bottom left and clicking the foreground icon.
The Color Picker window will appear. Here, you can select whichever color you’d like the stroke to be and click OK when you’re done.
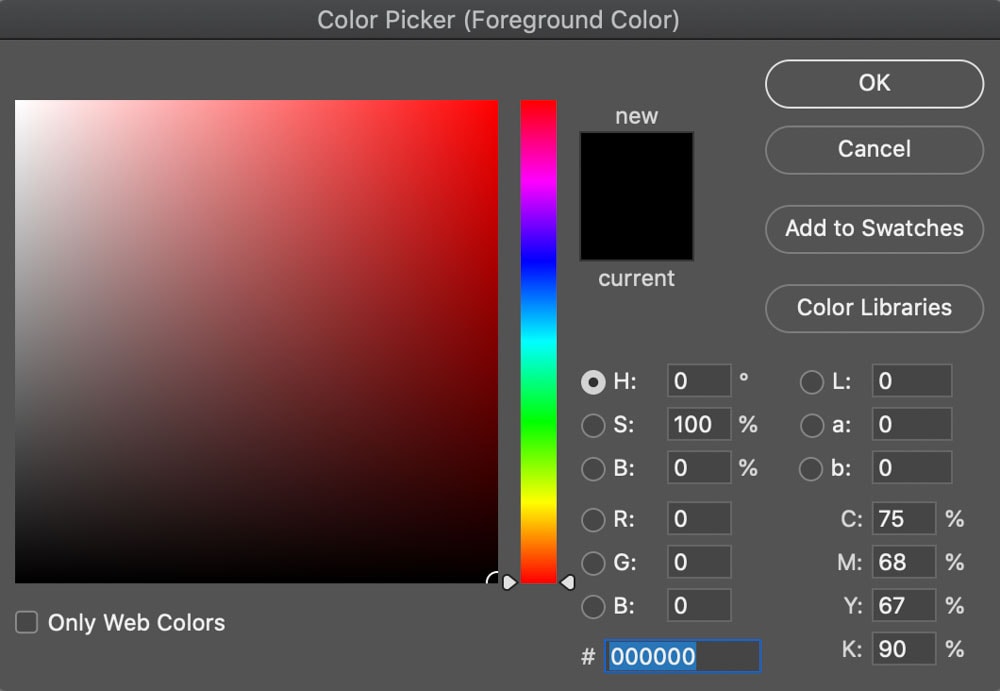
The foreground icon will change to reflect your chosen color.

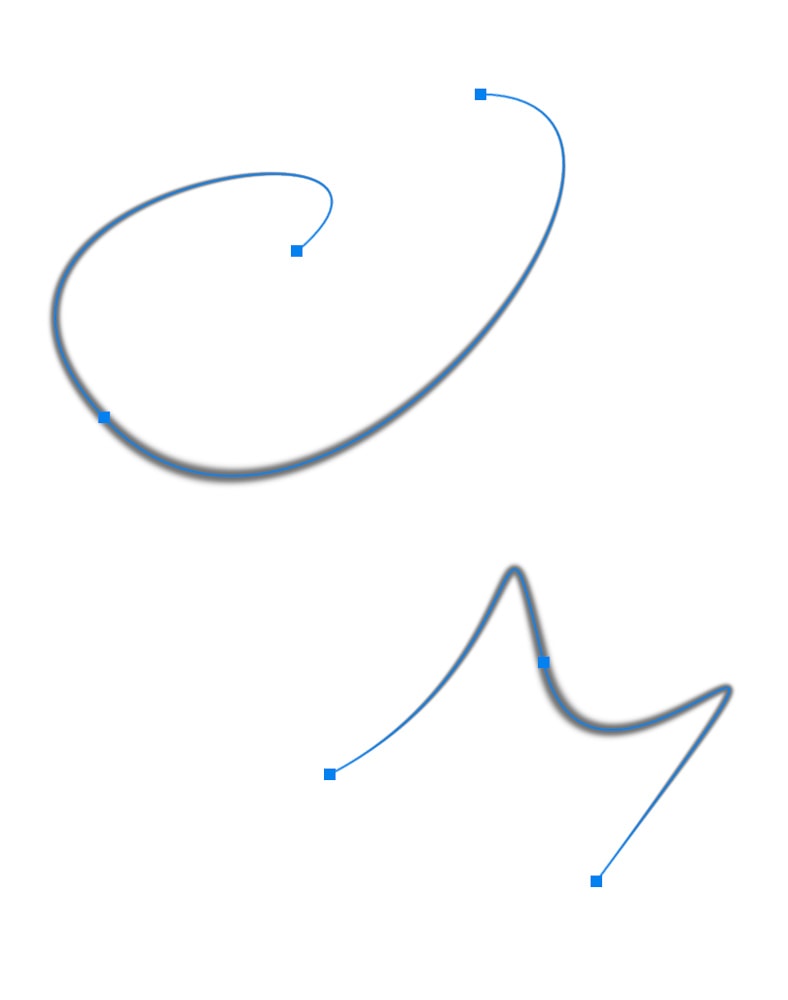
If you’d like, you can check the Simulate Pressure box. This will show any brushes that have the appearance of different pressures applied, such as the Soft Round Pressure and Hard Round Pressure brushes.
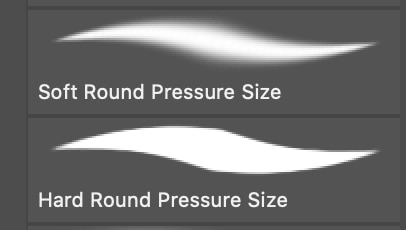
For any brushes with simulated pressure, the stroke will be heavier in the center and thinner at the edges, as if more pressure was applied in the center.

The simulated pressure will reflect on the path when the stroke is added.
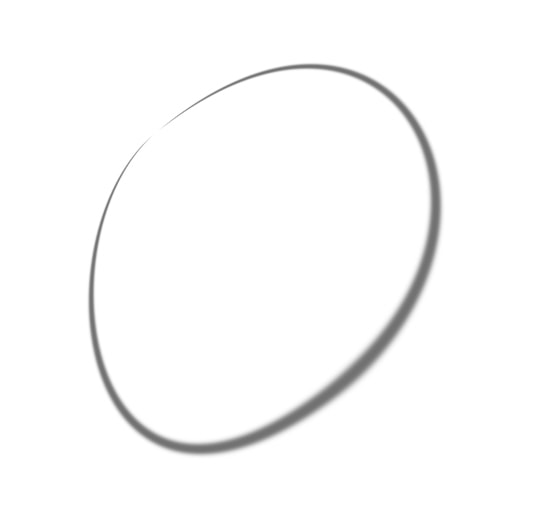
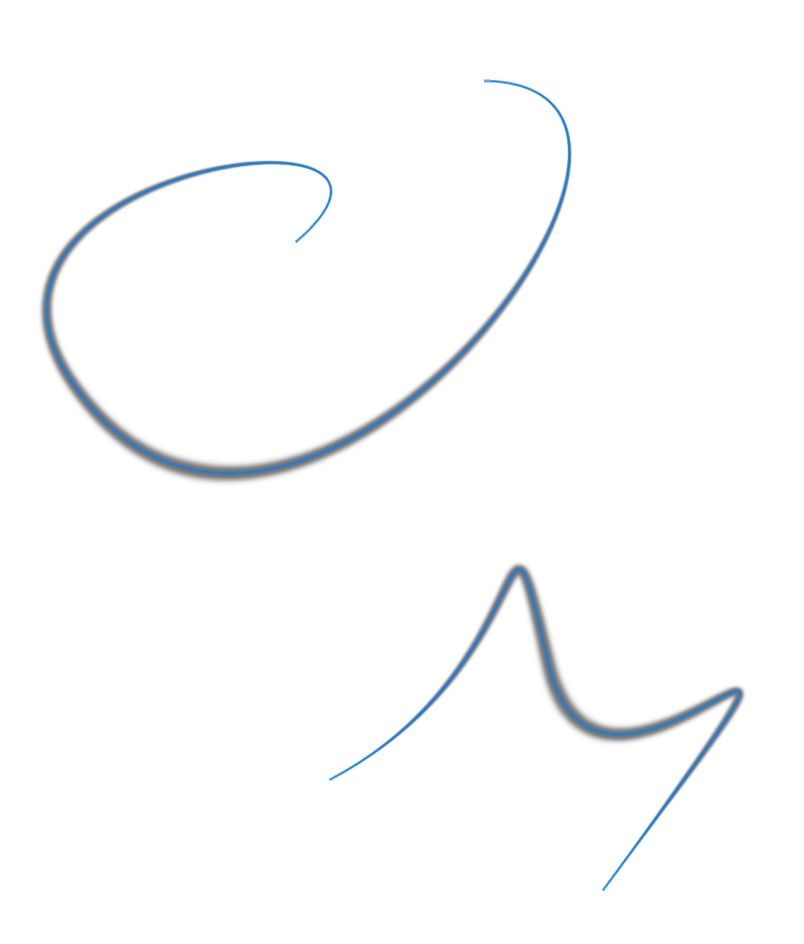
This may not be necessary and may not work well with all strokes, but it could add a bit of variety.
Remember that the strokes are pixel-based, so you can’t easily alter the stroke settings once it’s been added.
How To Stroke Multiple Paths At Once
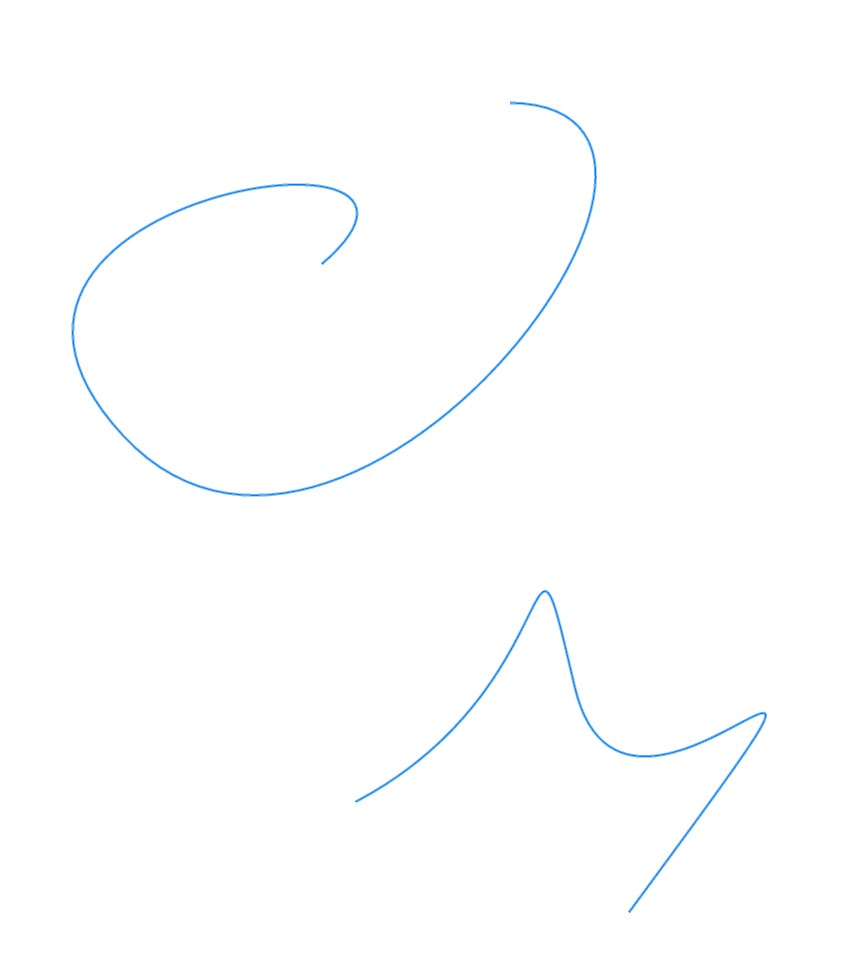
When you’d like multiple paths to have a stroke, you don’t have to make each one and stroke them individually. You can make your paths first and then add the stroke to all the paths simultaneously.
Once you’ve made a path, you can press the Escape (ESC) key to finish the path and then click to start a new one.
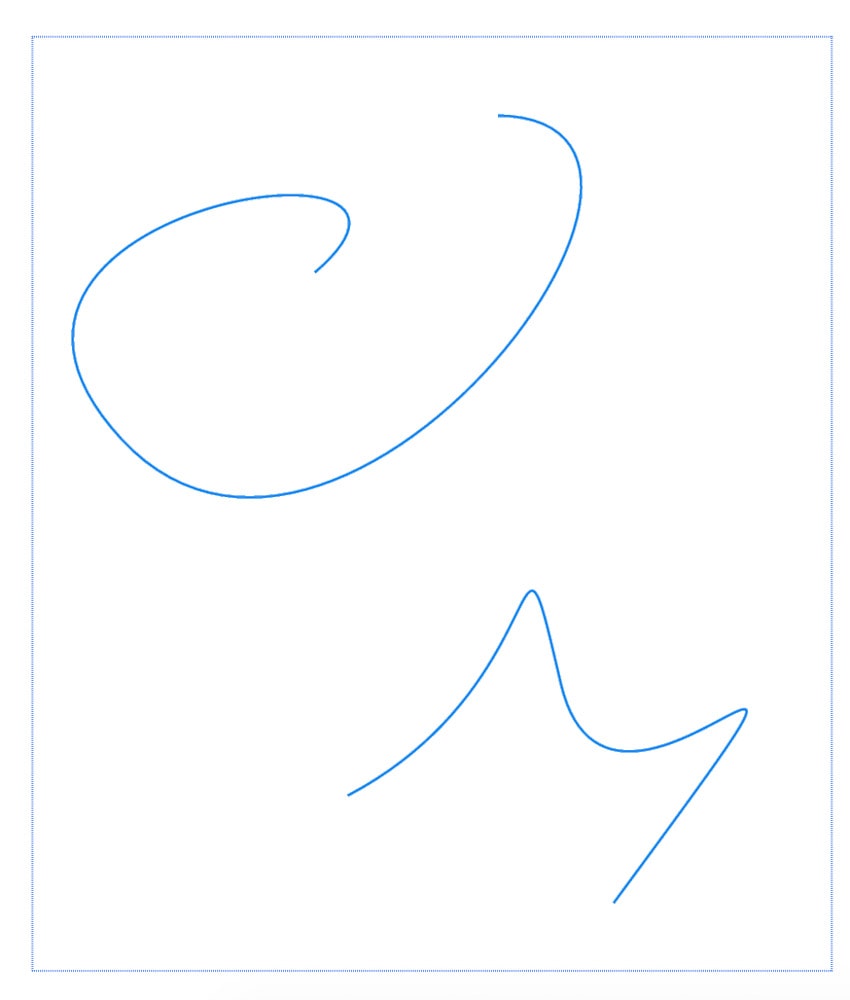
Once you have your paths, navigate to the Path Selection Tool, which looks like a cursor.
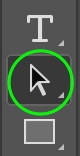
Click and drag to create a selection that surrounds the paths. When you release the cursor, this will select them both at once.
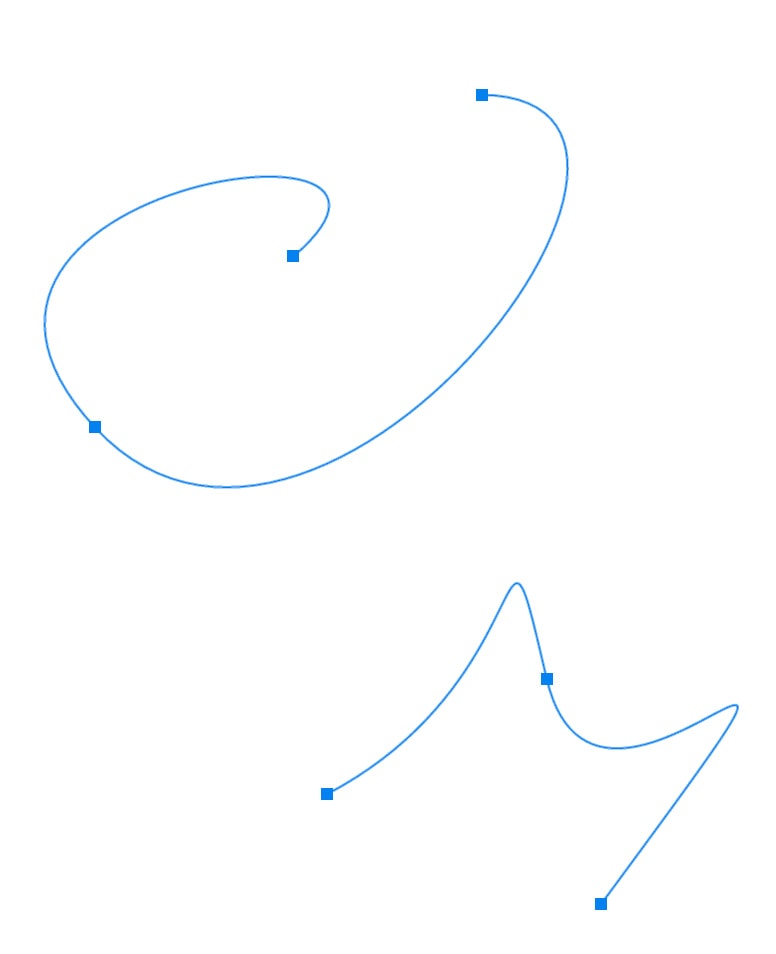
From there, you can right-click or Control + click either of the paths (don’t click elsewhere before, or it may deselect the paths). Select Stroke Path and set the settings as you would normally in the Stroke Path window.
All selected paths will appear with strokes according to the stroke path settings.