
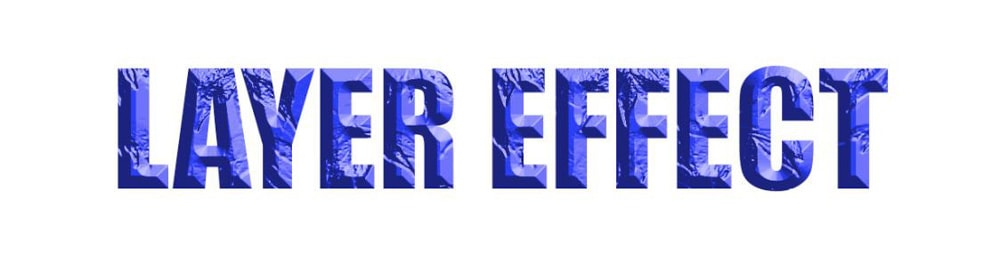
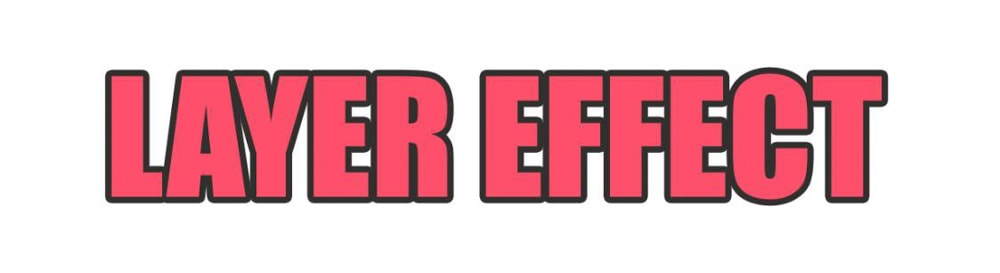
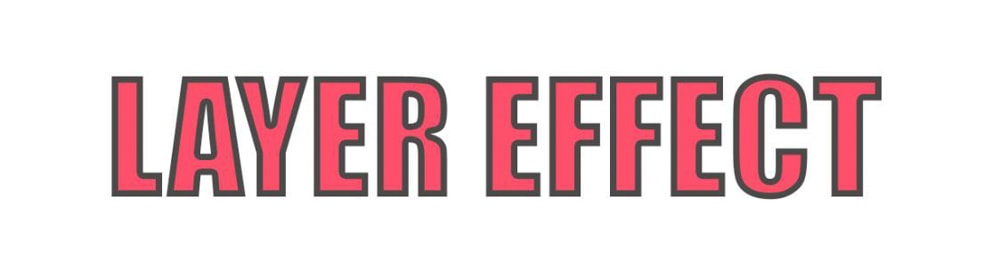
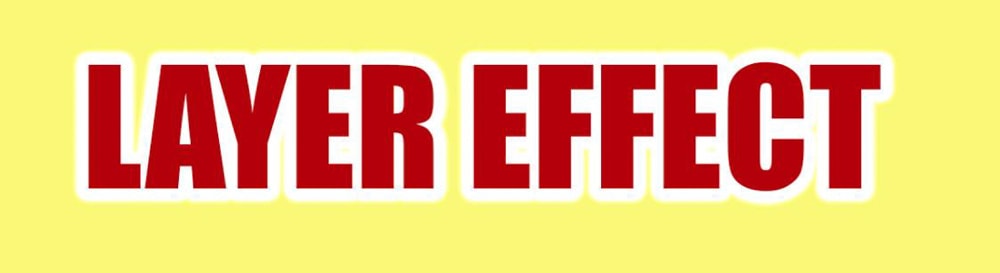
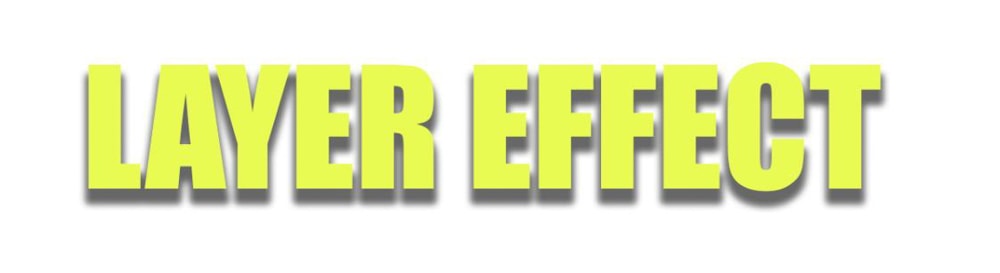
It’s common for most Photoshop users to use the terms “layer style” and “layer effects” interchangeably. However, there’s a big difference between these two terms, and learning how to use them in your projects can result in some truly professional work.
I am here to teach you how to use layer styles and layer effects in Photoshop, including how to use the preset layer styles, how to import layer styles you find online, how to create your own custom layer style, and how to use all ten layer effects.
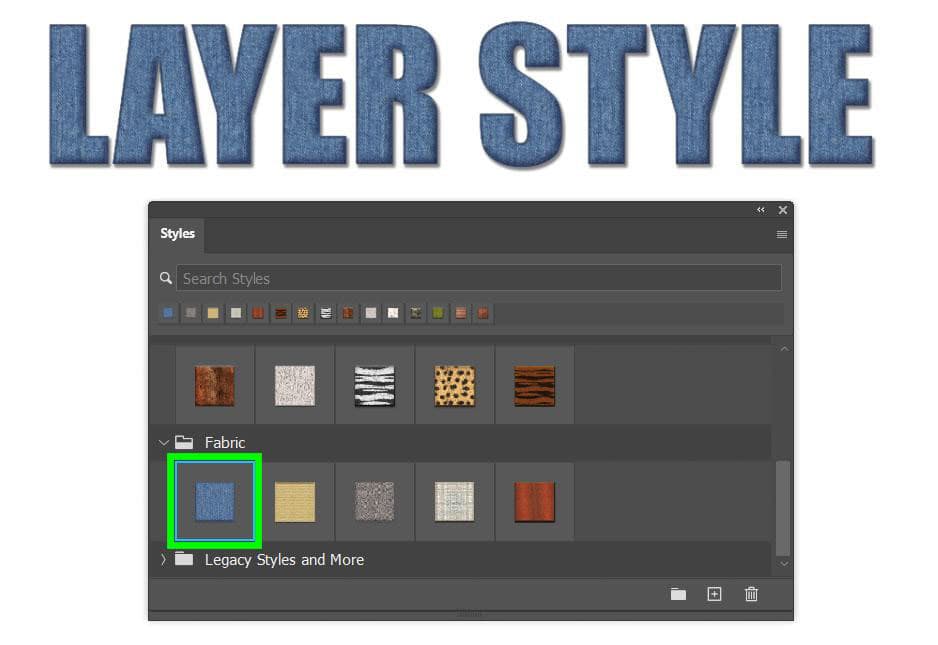
You can add a Layer Style by going to Window > Styles and opening the preset layer styles. If none of the presets work for your needs, you can download additional Layer Styles from the internet and add them to your Layer Style panel. You can also create your own layer style and save it as a preset.
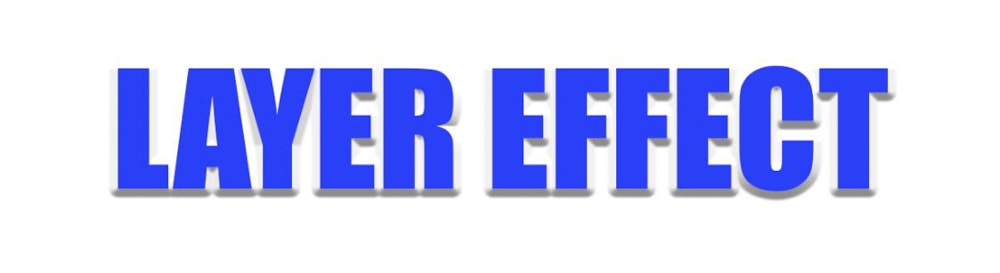
How To Apply A Layer Style In Photoshop
Step 1: Go To Windows > Styles To Open Preset Layer Styles
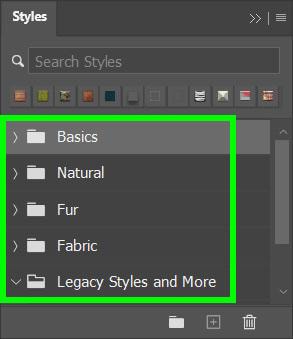
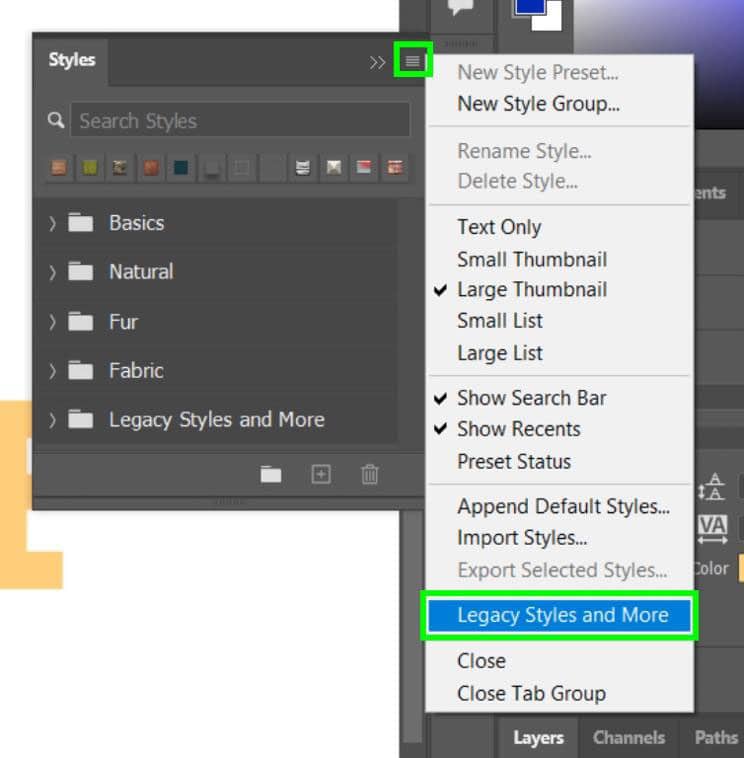
To find the preset layer styles available to you, open the Styles Panel by going to Window > Styles. Photoshop’s layer styles are organized in separate folders to make it easy to find the type you need for your project. When you first open the Styles Panel, the folder Legacy Styles and More may be missing. If so, you can restore it by opening the Hamburger Menu in the Styles Panel and selecting Legacy Styles and More.
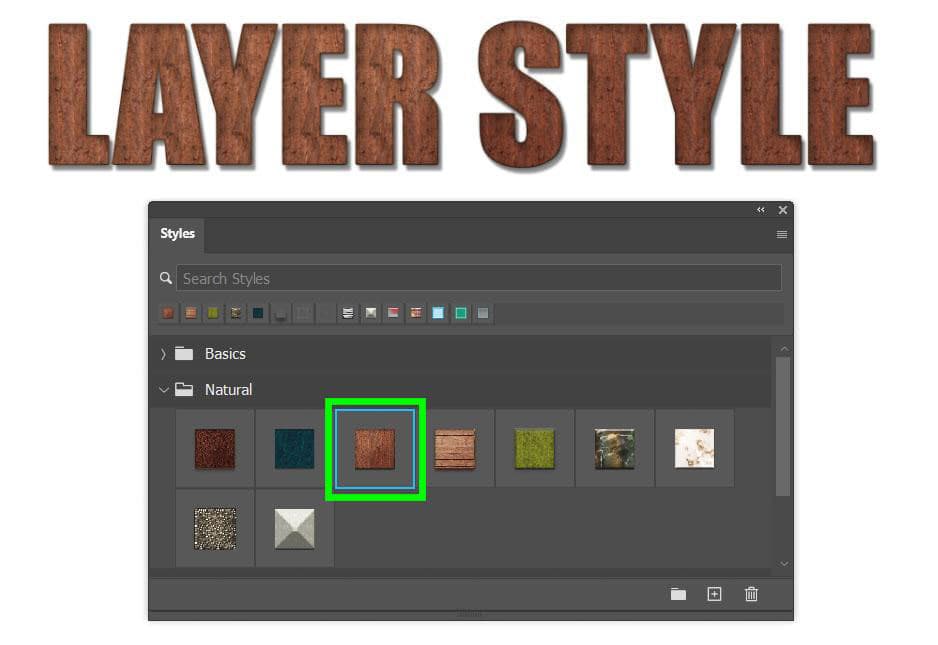
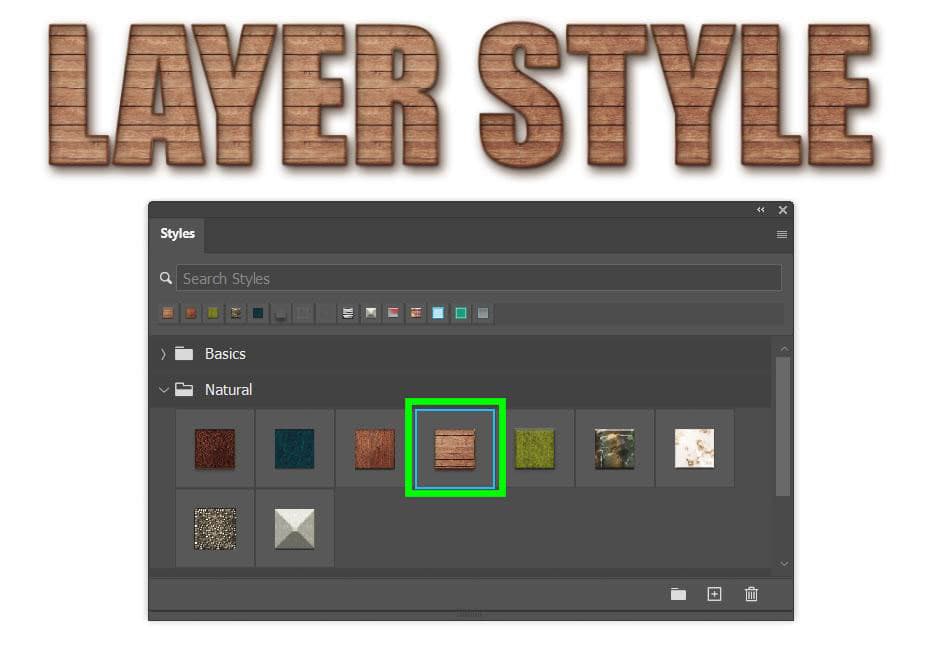
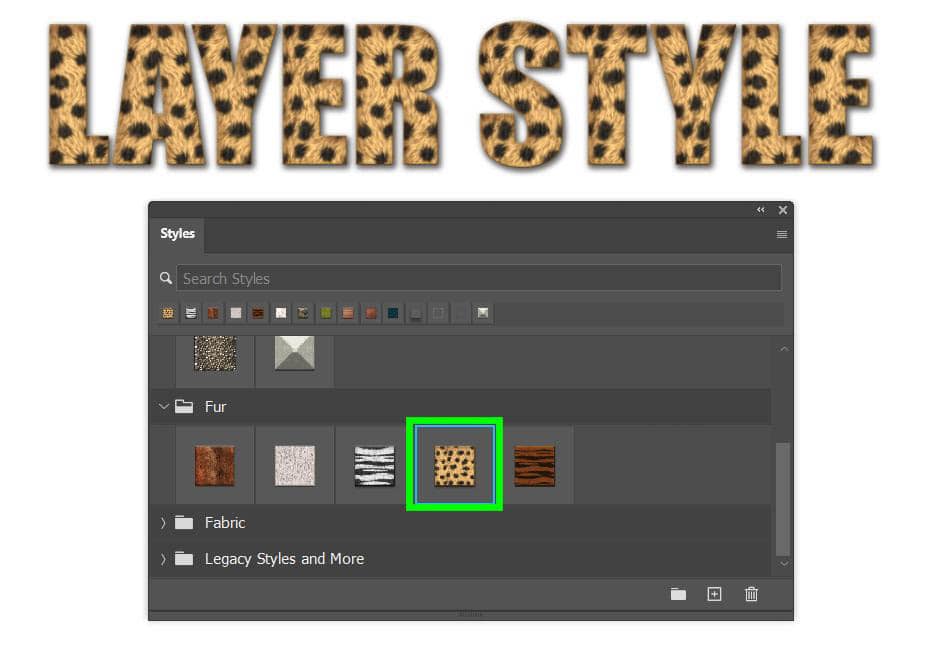
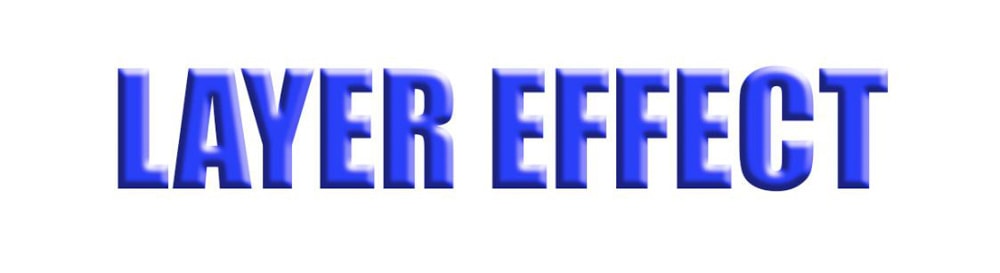
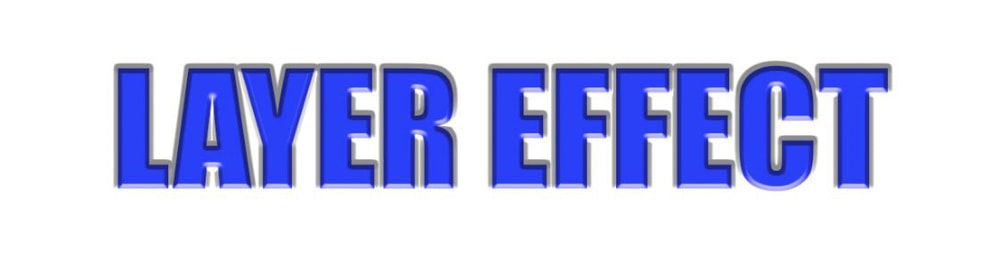
Step 2: Select Your Image Layer And Click On A Layer Style To Apply It
Once your layer with an image or text is selected, click on one of the layer styles in the Styles Panel. Your layer will instantly change into the style you clicked on, and you will not need to adjust any other settings.
How To Import Additional Layer Styles To Photoshop
Step 1: Find Additional Layer Styles On The Internet And Download Them
A few good and reputable sites to look for layer styles are Freepik, Brusheezy, PSD Gold, or Inscribe Mag. Once you find the right layer style or set of layer styles for your design, click the Download Button.
Step 2: Go To Window > Styles, Click On The Hamburger Menu And Select Import Styles
Now that your layer styles are downloaded onto your computer go back to Photoshop and open the Style Panel by going to Window > Styles. To download your layer styles into Photoshop, click on the Hamburger Menu in the Styles Panel and select Import Styles.
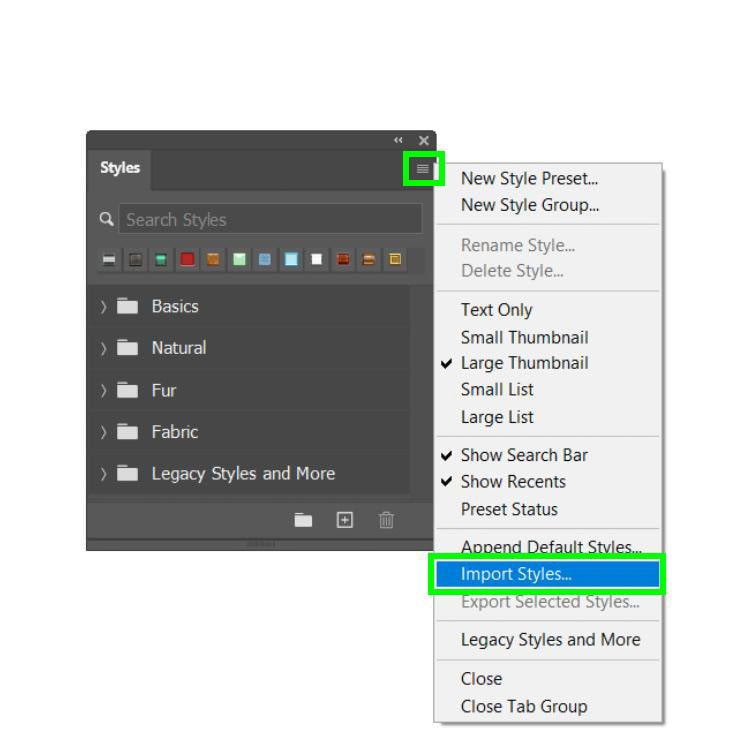
You will be prompted to find the layer styles you just downloaded. Once you find the file(s), click Load. Hitting Load will add a new folder to the Styles Panel containing the layer styles you downloaded.

How To Add A Custom Layer Style In Photoshop
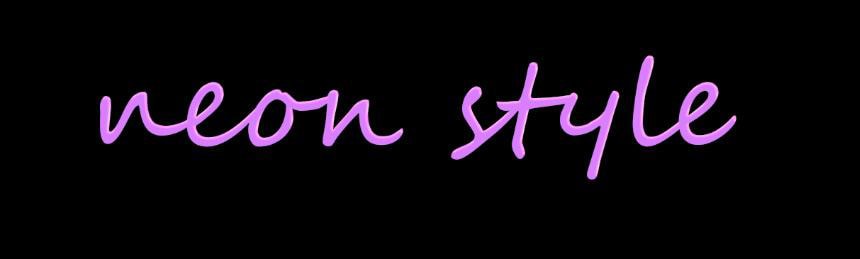
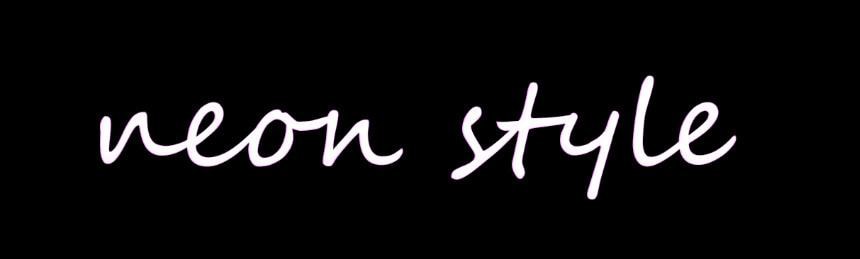
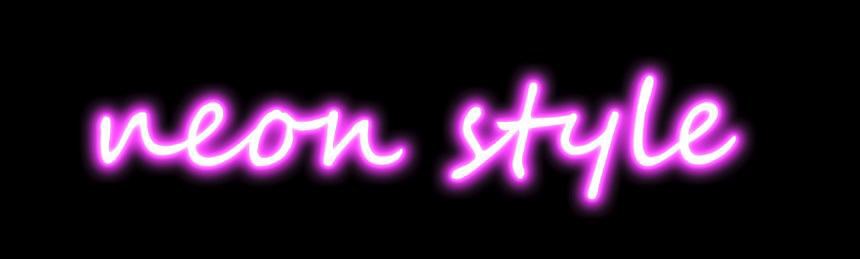
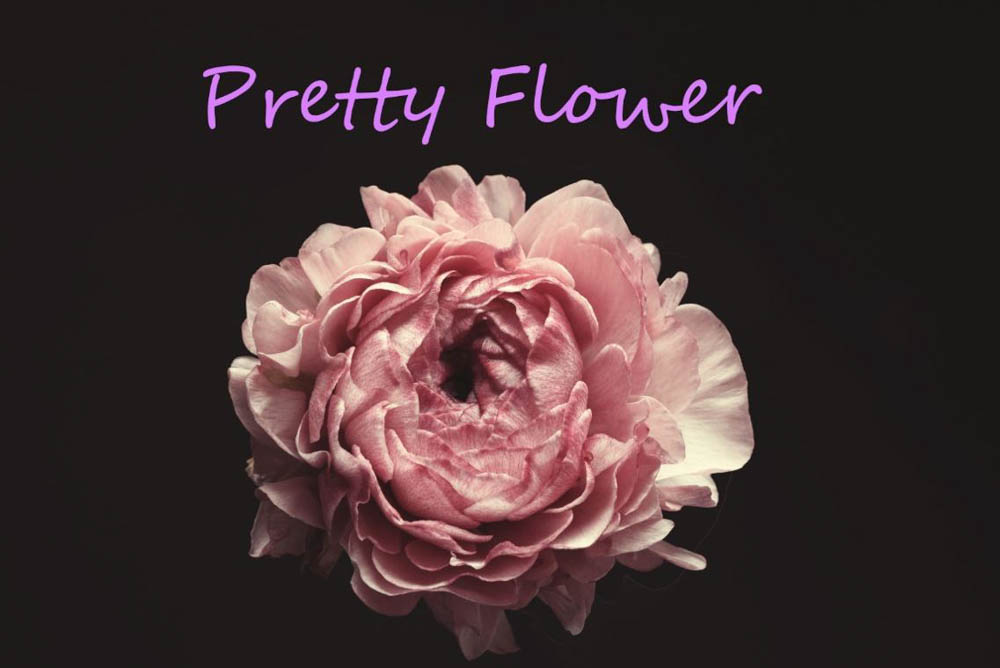
If you can’t find the perfect layer style, you can always make the perfect layer style yourself. A layer style is created by adding multiple layer effects together. For myself, I am creating a neon style by utilizing several layer effects. The possibilities are endless.
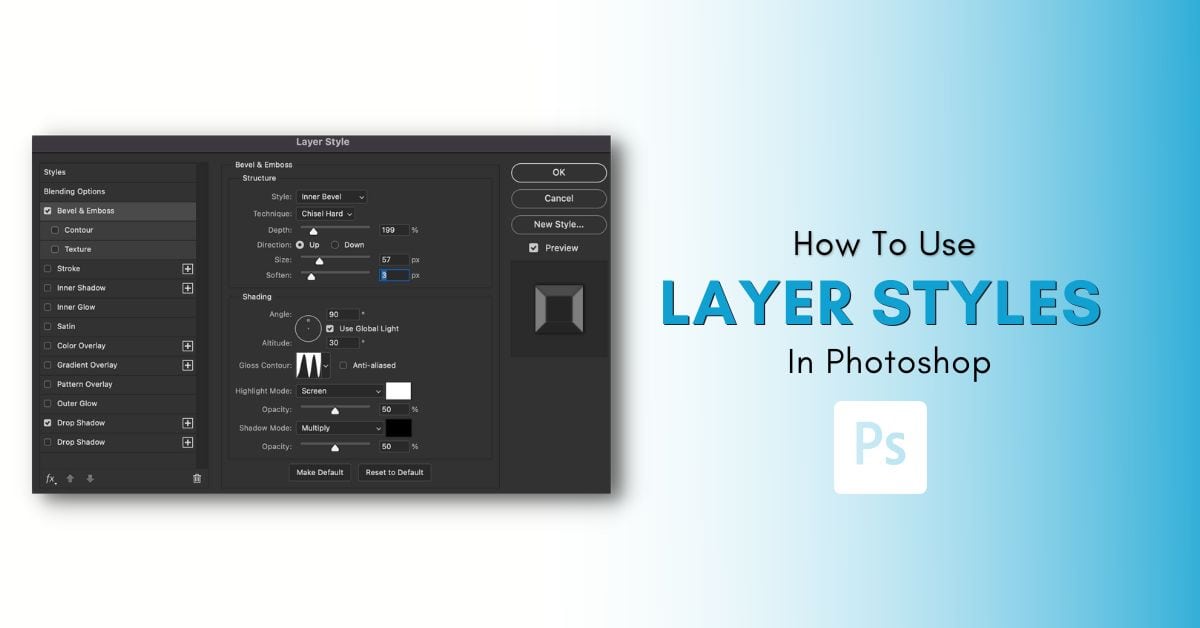
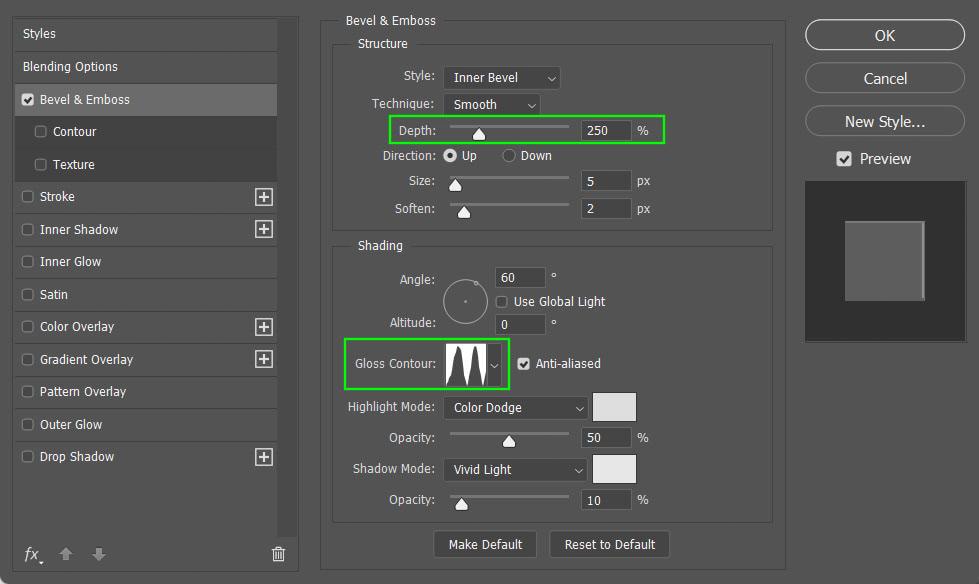
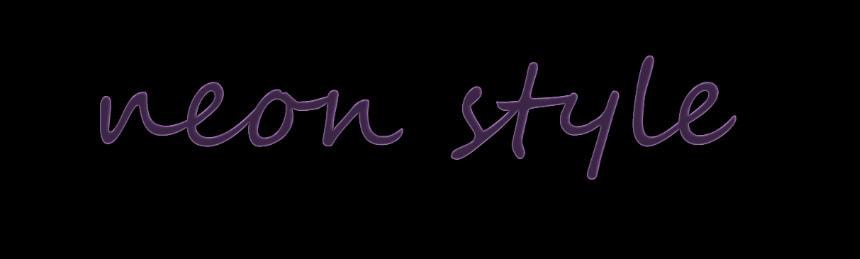
First, double-click on the text layer you want to edit in the Layers Panel to open the Layer Styles Panel. Then, add the styles using the options on the left. I first added a Bevel and Emboss style and edited the Depth and the Contour options.
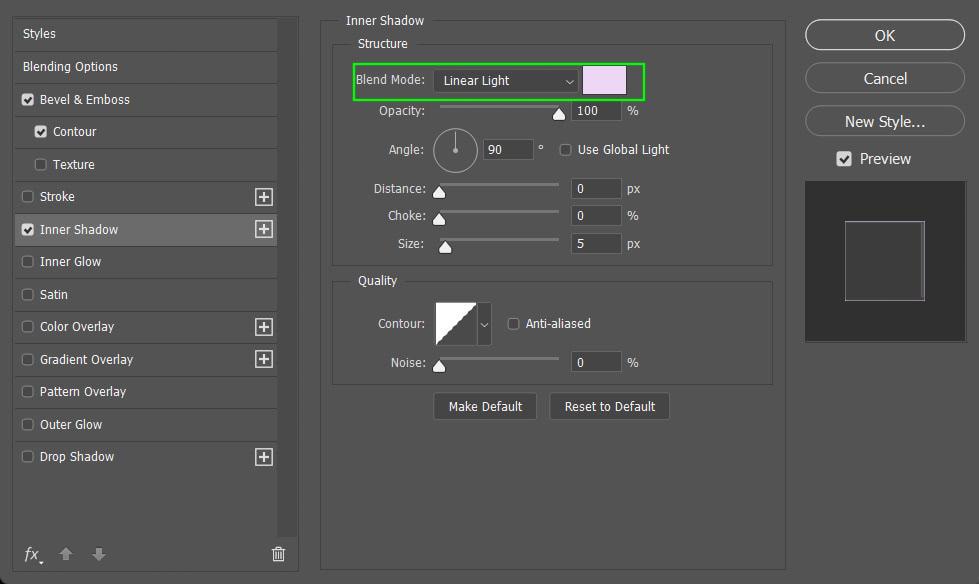
Now that the Bevel & Emboss is applied, I’m going to add an Inner Shadow. Experiment with the Blend Mode here. Go through all of the options to see which one works the best. I’m going to go with Linear Light here.
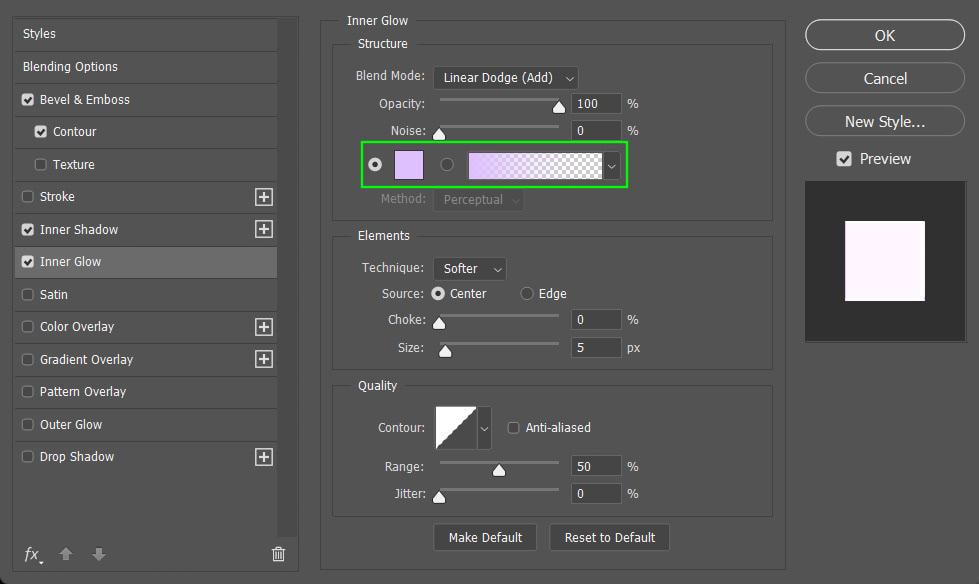
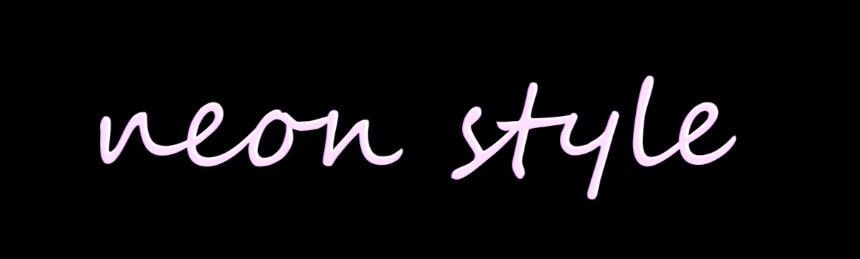
The third effect layer I’m going to add is an Inner Glow. Most of the settings here just need to be tweaked a bit, but the most important option here is the Color. Choosing the correct color is essential for a layer style like this.
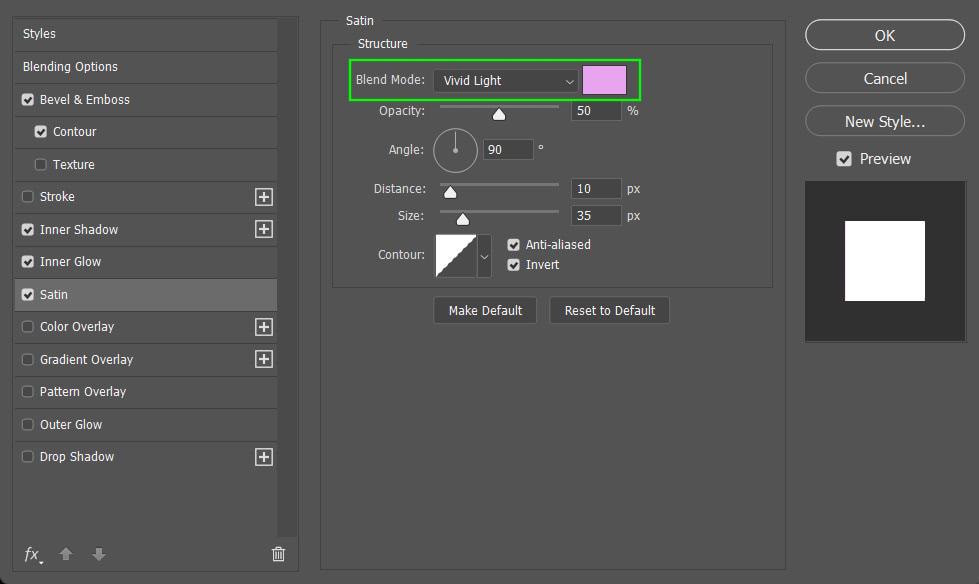
The next effect to add to this layer style is the Satin effect. This effect will help define the shine of the final product. The Blend Mode is also important with this effect, and I chose Vivid Light.
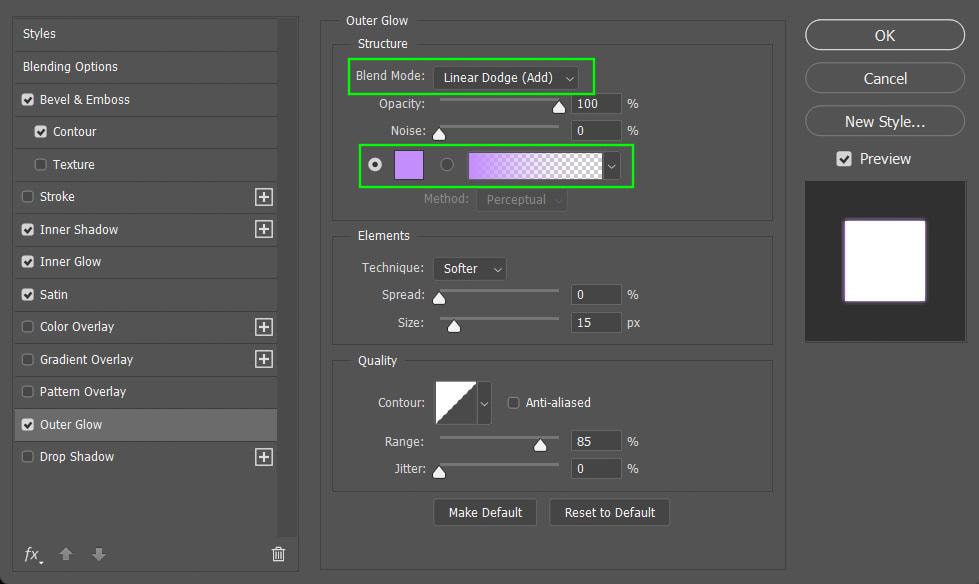
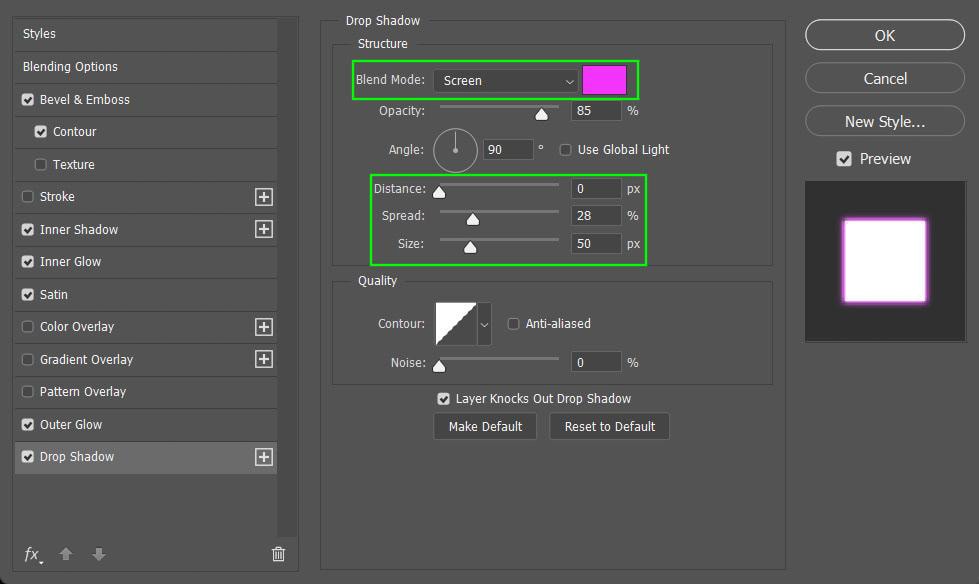
The next effect is the most important for making a neon layer effect. In order for a neon layer effect to work, you need to add an Outer Glow.
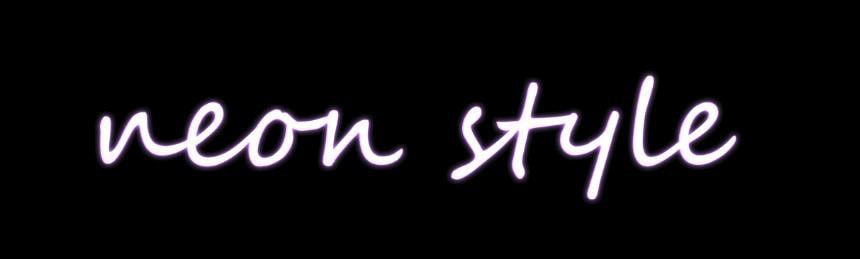
Finally, adding a Drop Shadow will create a contrast against the Outer Glow, making the neon effect more prominent. I repeated this process and added three Drop Shadows to my style.
Once your Layer Style is completed, you can save what you created to use in future projects. To do this, click on New Style in the Layer Style Properties Panel.
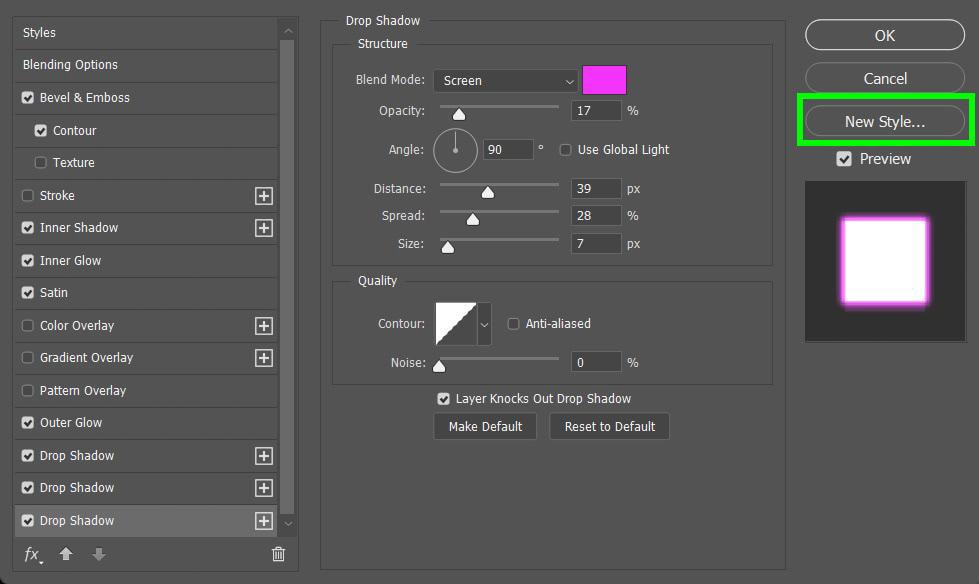
When you hit New Style, you will be prompted to name your new layer style. Once you name your layer, your layer style will be added to the Styles Panel. Once your layer style is available in your Styles Panel, you can easily apply it to another layer by clicking the layer and then clicking the layer style you just created in the Styles Panel.
Types Of Layer Effects In Photoshop
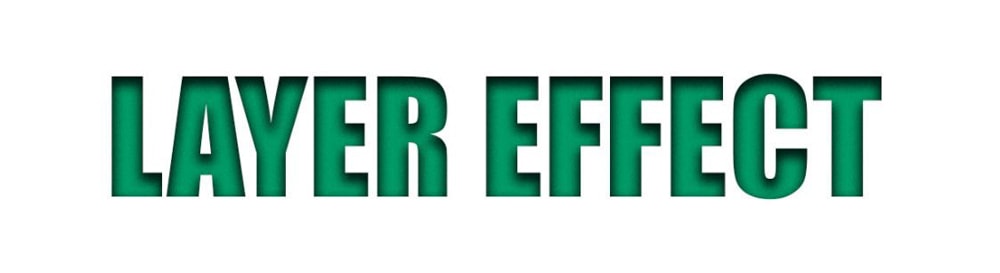
Bevel & Emboss
The Bevel & Emboss effect creates a “popped out” or “pressed in” look by adding a combination of highlights and shadows to your layer.
The two most used options for Bevel & Emboss are in the Style Drop Down Menu. Outer Bevel will make your layer pop out more. Inner Bevel will give your layer a basic three-dimensional look.
The Emboss option works very well for text layers, creating a “pressed in” feel.
Another fun option is the Texture option. This can be used to create a more creative effect.
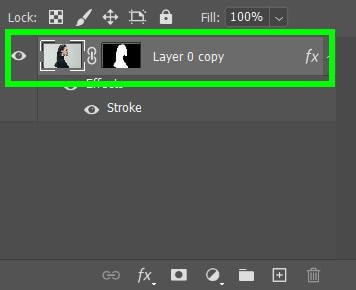
Stroke
The Stroke effect will outline your entire layer with the color, pattern, or gradient of your choice. Adding a Stroke effect is common for many Photoshop users. The two most used options are the Outside and Inside options.
The Stroke effect is perfect to use with people and objects to make them pop off the background.
Inner Shadow
The Inner Shadow effect will add a shadow to the inside edges of your layer, creating a recessed appearance. This effect is the quickest way to create a “pressed in” look that can lead to some very professional-looking designs.
Inner Glow
The Inner Glow effect will illuminate the inside edges of your layer. This effect will create an almost dreamy or angelic feel.
Satin
The Satin effect applies a polished finish to your layer using interior shading. This effect is useful for creating effects such as fabric and glass. This effect usually requires a lot of tinkering with the properties to make it work. Spend extra time with the Blend Mode and Contour options when applying the Satin effect.
Color Overlay
The Color Overlay effect will fill your layer with any color you choose. This effect can be used to make subtle color changes or more extreme color changes.
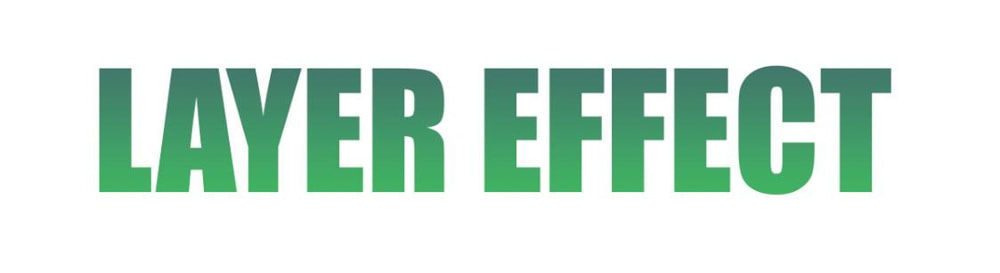
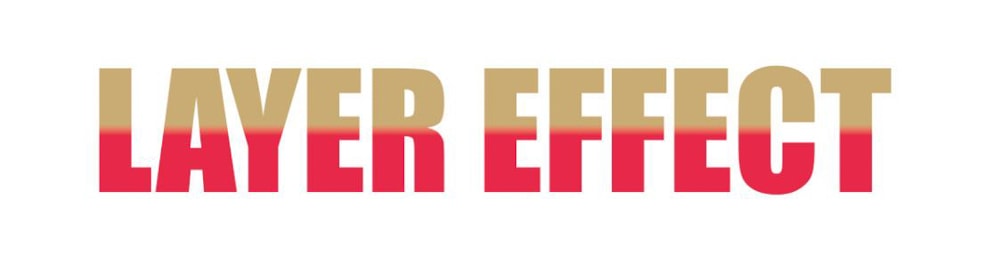
Gradient Overlay
The Gradient Overlay effect fills your layer with at least two colors of your choice that blend flawlessly. The most important option for this effect is the colors you choose. Open up the Gradient Drop-Down Menu to see all your options.


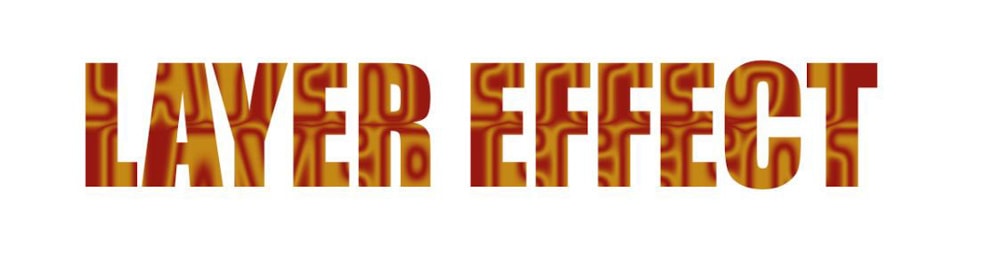
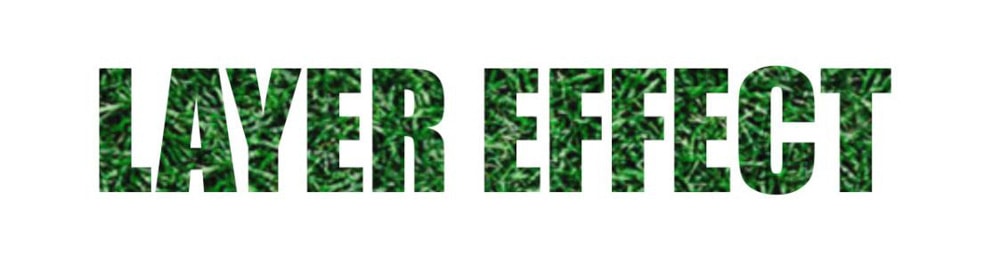
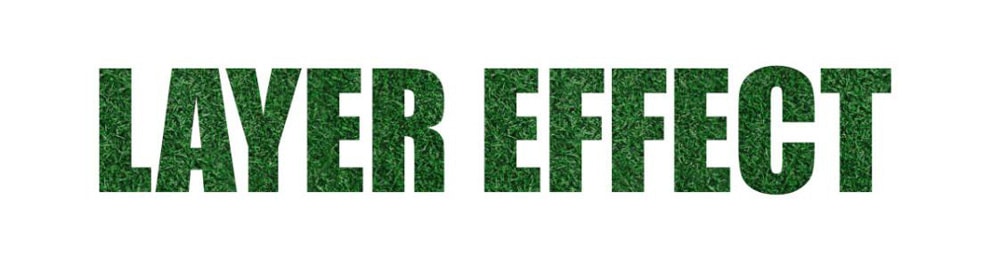
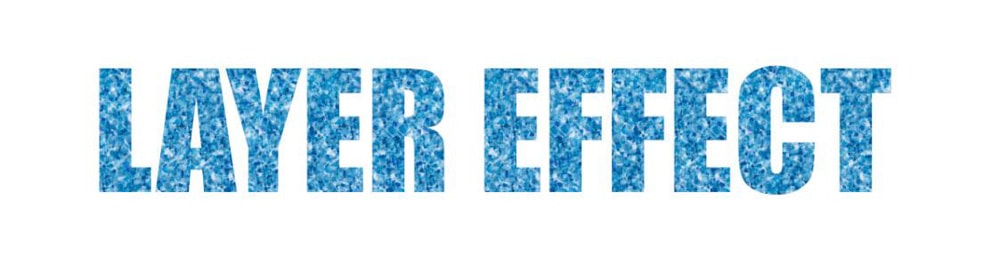
Pattern Overlay
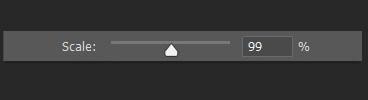
The Pattern Overlay effect will fill your layer with a pattern of your choice. For this effect, you’ll find all your pattern options under the Pattern Drop Down Menu.
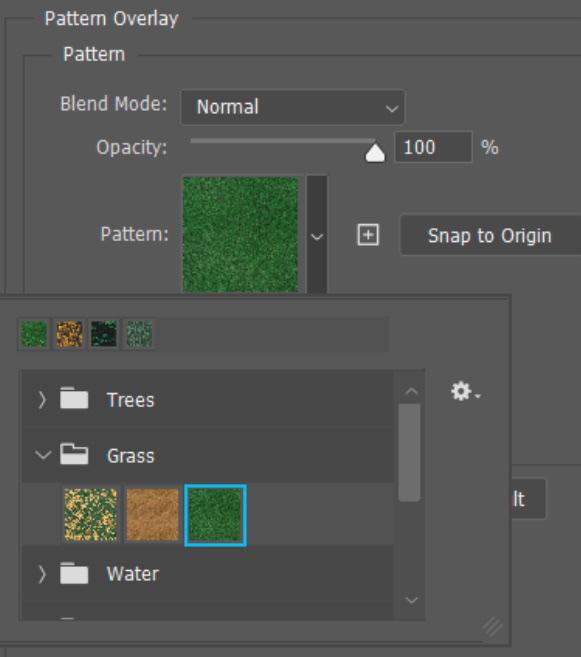
The most important option for this effect is the Scale. Adjusting the scale of the pattern will turn a blurry-looking pattern into a sharper one.
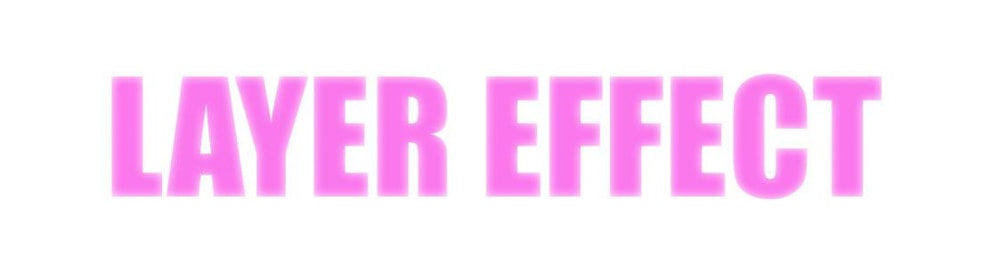
Outer Glow
The Outer Glow effect will illuminate the outside edge of your layer. For the best results for this effect, play around with the Blend Mode and Opacity.
Drop Shadow
The Drop Shadow effect will add a shadow behind your layer.
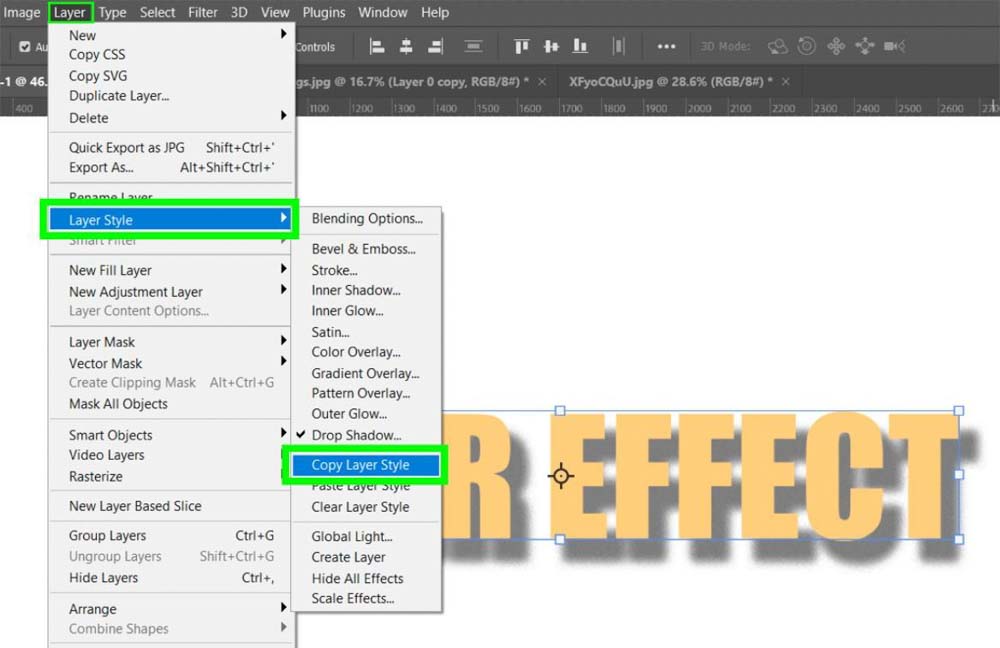
How To Copy Layer Effects In Photoshop
To copy a layer effect, click on your layer in the Layers Panel, then go to Layer > Layer Style > Copy Layer Style.
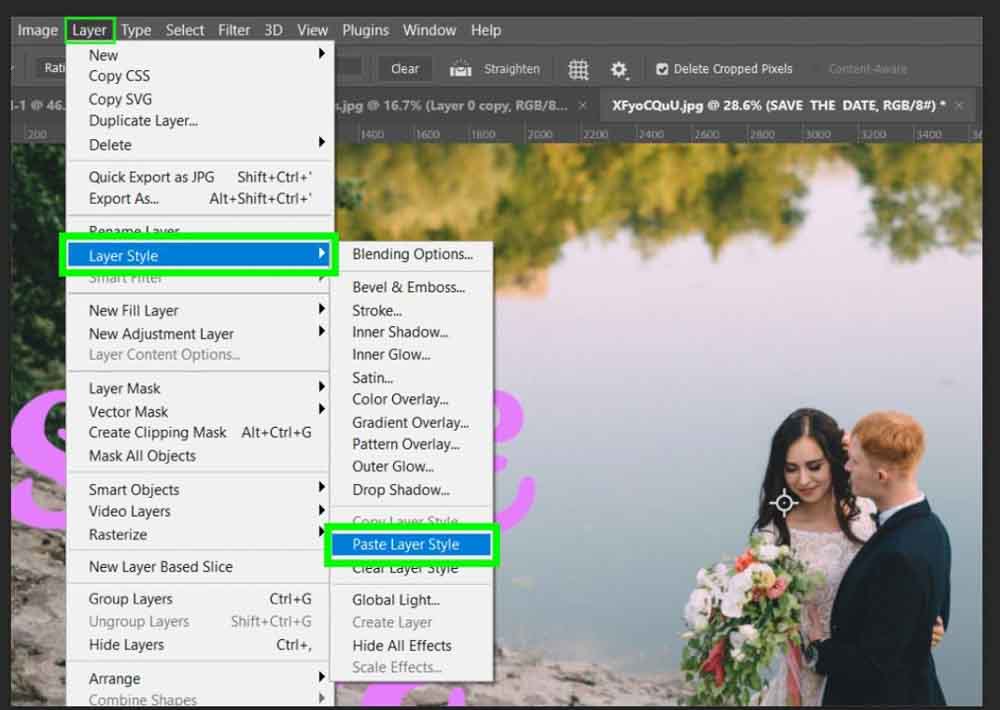
After you’ve copied the layer effect, return to the project you want to paste the layer effect to. Click on the layer you want to add the effect to and go to Layer > Layer Style > Paste Layer Style.
Now your design has the professional pop it needs!

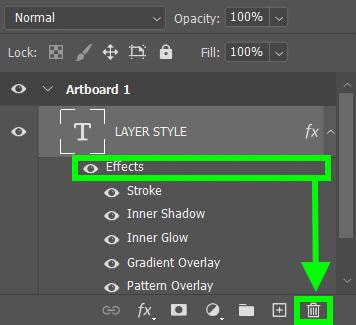
How To Remove Layer Styles
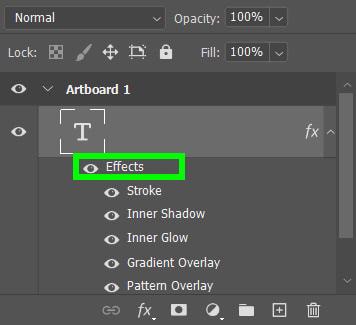
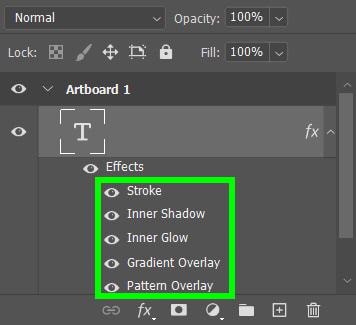
To remove the entire layer style, click and drag the Effects Bar under your layer in the Layers Panel to the Trash Icon. The Effects Bar will disappear from the Layers Panel, and the Layer Style will be removed from the design.
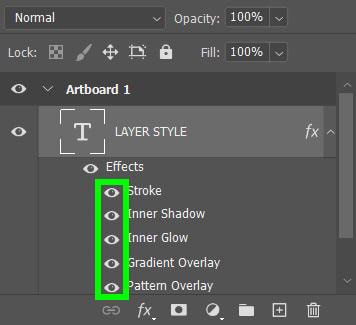
To temporarily remove an effect from your design, click on the Eye Icons next to the effects you’d like to hide.
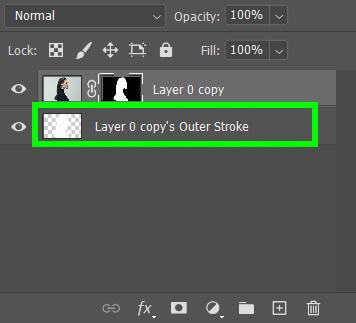
How To Convert Layer Styles Into Layers
To start, click on the layer you need to convert and go to Layer > Layer Style > Create Layer.
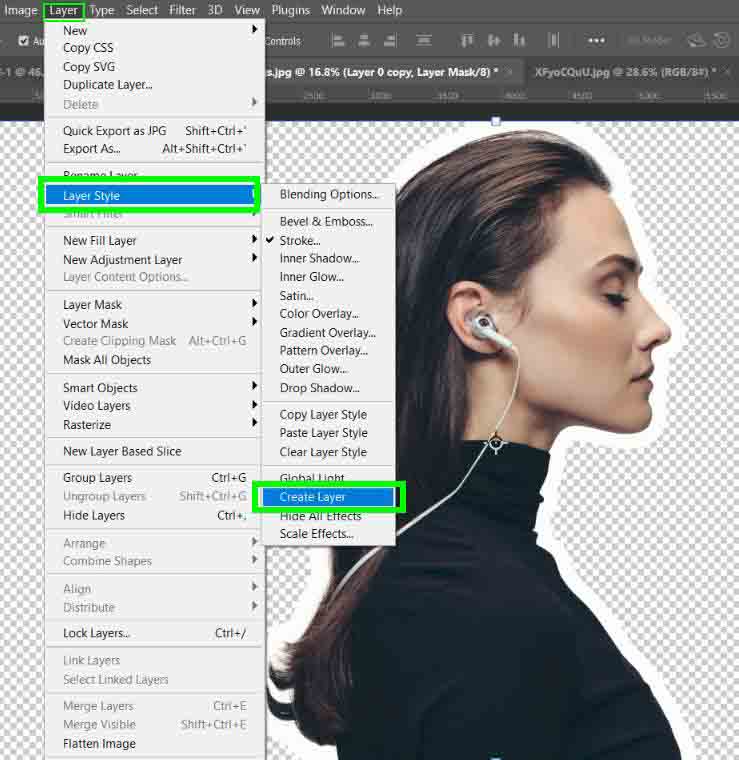
The effect itself will become its own layer that you can edit.
Layer Styles Vs Layer Effects In Photoshop
The best way to explain the difference between a layer style and layer effects is to say that the layer style is the “whole,” and layer effects are the “parts” that make up the whole.
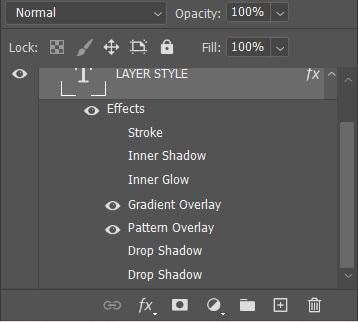
In other words, a layer style is a collection of layer effects. Layer effects are the non-destructive, editable effects themselves. The Stroke, Color Overlays, Pattern Overlays, and other effects come together to create the layer style.