
When you’re trying to make a selective adjustment with the adjustment brush but it’s not working properly, it makes for a serious headache. Not only does it slow down your editing process, but you don’t always know what’s causing it not to work. Luckily the reasons why the adjustment brush stops working in Lightroom are very straightforward.
To fix the adjustment brush in Lightroom, first, make sure the flow and density settings are at 100 in the brush settings panel. If they are not, the brush strokes will be very faint and appear as if the tool is not working correctly.
There are several other reasons why the adjustment brush isn’t working in Lightroom, but all can be fixed in seconds. Let’s break down all 7 of the common issues you may be facing right now.
7 Ways To Fix The Adjustment Brush In Lightroom
1. Make Sure The Density Is Set To 100
The first thing to check is that the density of your brush strokes is set to 100. If you have a lower density, such as 10, your brush strokes will be nearly transparent and make it seem like the tool isn’t working.
To fix this, select the Adjustment Brush (K) and scroll to the brush settings panel beneath the adjustment options. Next, look for the Density slider and move it to 100.
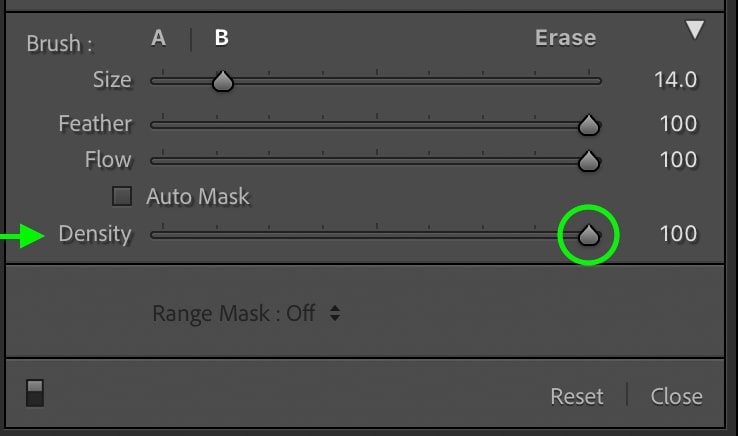
Now your brush strokes will be fully visible, and your spot adjustments will appear exactly as you intended!
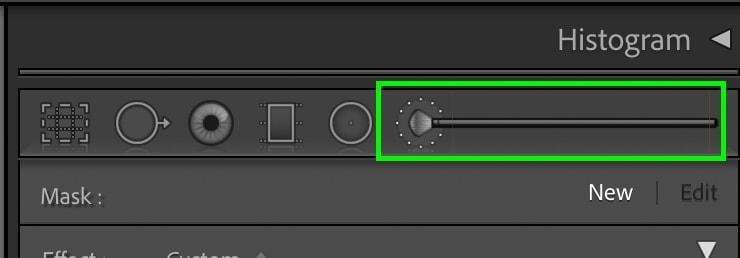
2. Make Sure The Flow Is Set To 100
While in the brush settings panel, check that the flow setting is at 100 as well. Similar to the density option, a low flow setting will make your brush adjustments paint lighter than you may want. This results in a more transparent brushstroke once again, making it seem as if the brush adjustment isn’t working.
To fix this, simply drag the Flow to 100 while the Adjustment Brush active.

3. Check Your Brush Size Is Correct
If your brush size is too small, your adjustments will be hardly noticeable. On the other end of the spectrum, too large of a brush will cover your entire photo and once and can leave you feeling confused about what’s happening.
Double-check that you can actually see your brush when you hover your cursor over your image while the Adjustment Brush is active. By visually seeing the brush size, you can tell whether the size is causing issues.
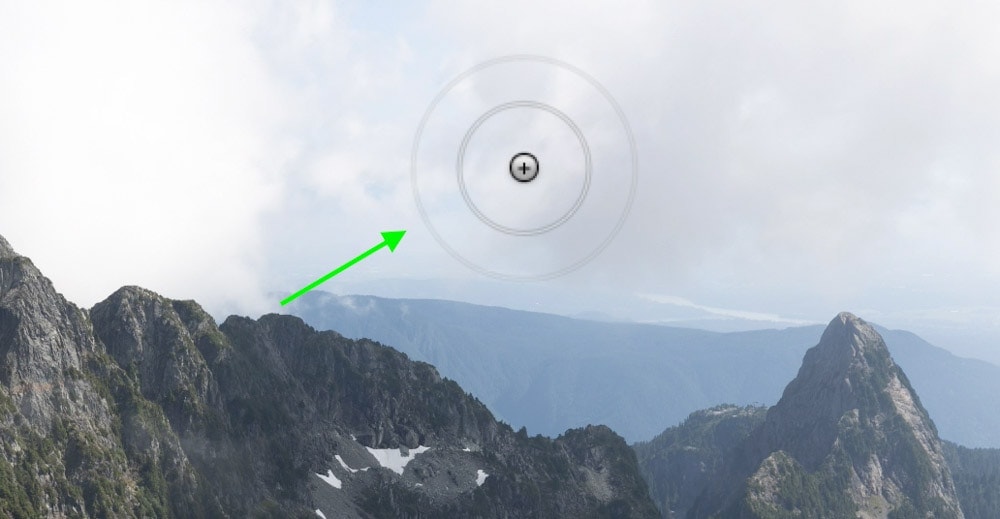
You can quickly change the size of your adjustment brush by adjusting the Size slider in the brush settings or scrolling on your mouse.
4. Ensure You’re Using The “Show Mask Overlay” Option
Especially if you’re new to using Lightroom, it can seem confusing when you paint over your photo, but nothing actually happens. This is because the adjustment brush mask is transparent by default, and if you don’t have any adjustment settings made, your brush strokes will appear to be “invisible.”
The best solution to this issue is to check off the Show Selected Mask Overlay option found in your toolbar.

If you do not see this toolbar, press T on your keyboard to bring it up.
With this option checked off, your brush strokes will appear as a red highlight to indicate your mask. This way, it’s easy to see exactly where your brush strokes are painting and how visible the brush strokes are.
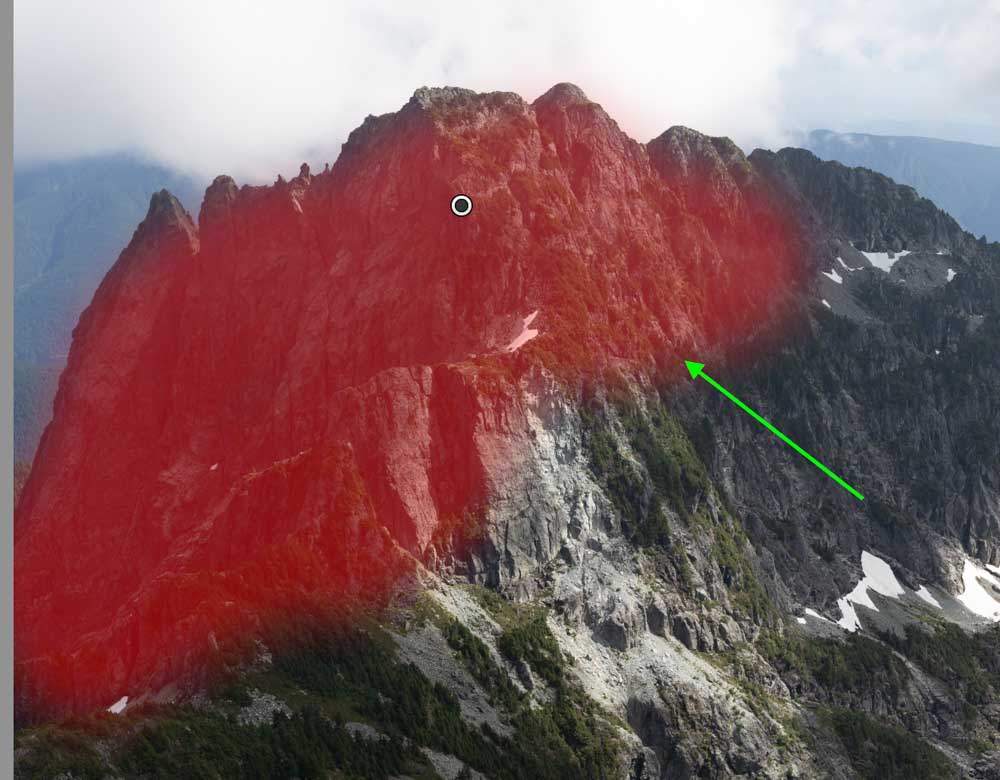
When it comes time to make your spot adjustments, uncheck this option to hide the red highlight.
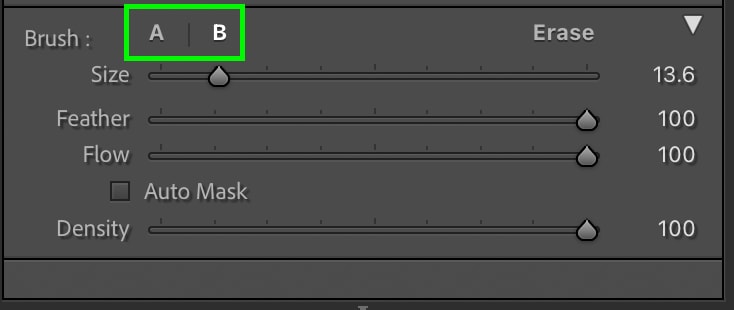
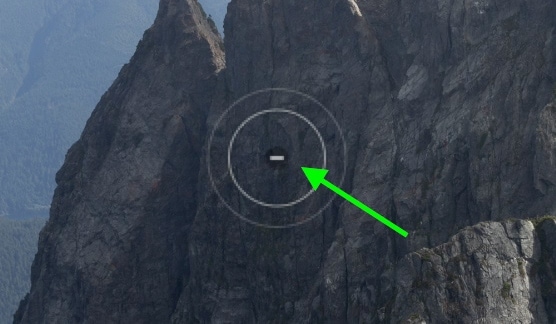
5. Make Sure The Eraser Brush Is Not Selected
In some cases, your eraser brush may be selected; therefore, you won’t be painting any new adjustments onto your photo.
To fix this, make sure the Adjustment Brush is selected by pressing K.
Then go down to your brush settings panel and click on the A or B brush option. This will select your adjustment brush and take you out of the eraser brush mode if that’s what you’re stuck in.
You can easily tell which brush is selected by looking in the center of your brush cursor. If you see a + icon, that means you will be adding new spot adjustments when you paint.
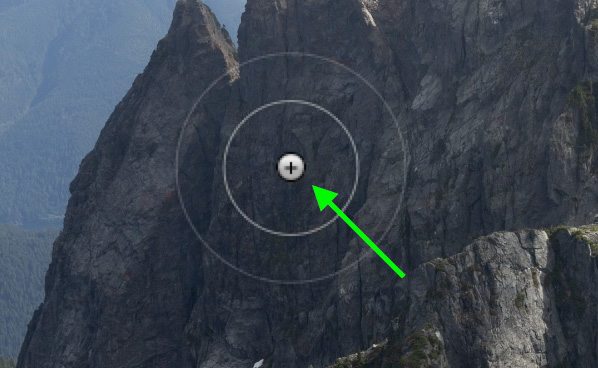
If you see a – icon, that means your eraser brush is selected, and you need to switch brush types.
6. Check Which Edit Pin Is Selected
For each new brush adjustment you create, an edit pin is added to represent that mask. These pins are grey circles that appear over your photo when the Adjustment Brush is selected. If you are trying to add on to an existing brush adjustment, you need to make sure the correct edit pin is selected, or it will not work.

After you have multiple edit pins, first click on the one you want to work with to make it black, aka selected.
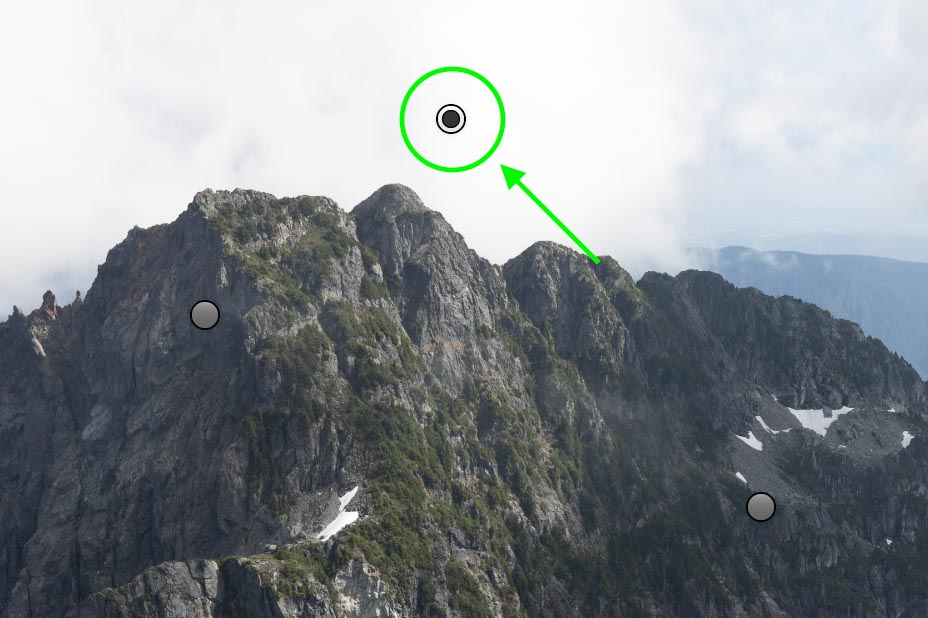
Now begin painting over your image as usual. This time you will be adding to the selected adjustment area you have chosen.
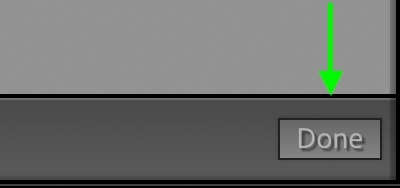
Once complete, you can click on other edit pins to add or erase spot adjustments or just click Done in the toolbar to exit the adjustment brush.
7. Check That You’re Using The Brush Adjustment Settings Panel
The final reason why the adjustment brush isn’t working in Lightroom is that you may be using the wrong adjustment panel. In Lightroom, there is a dedicated panel that appears once you have selected the Adjustment Brush.
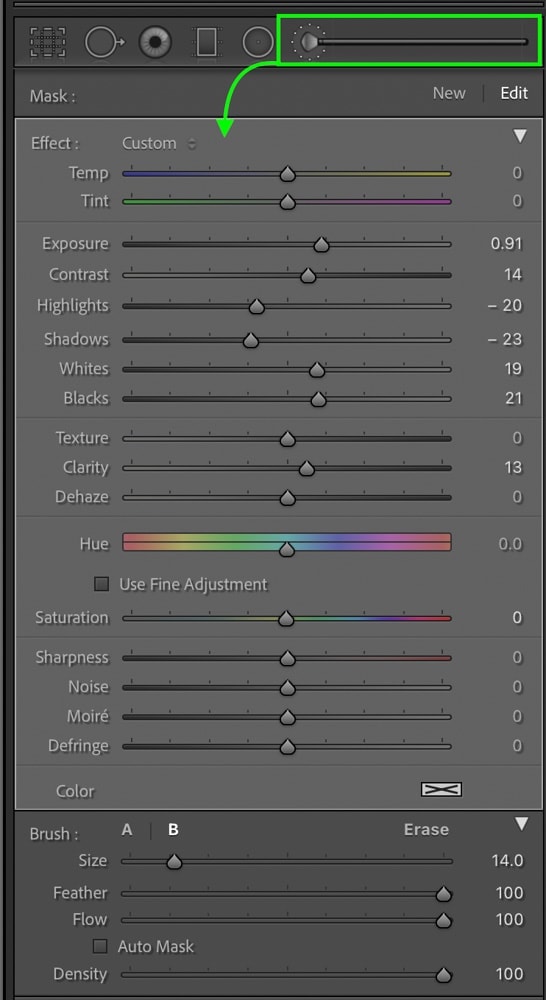
The problem is that it looks very similar to your global adjustments found in the Basic Panel.
If you have accidentally scrolled down your adjustments and began using the Basic Panel, your brush strokes will seem not to work since you’re adjusting the entire image.
Instead, make sure you’re using the selective adjustment settings panel so that your new adjustments are only affecting the brushed area.
How To Reset The Adjustment Brush In Lightroom
To reset the adjustment brush in Lightroom, select the Adjustment Brush by pressing K and scroll to the brush settings panel. Now click “Reset” at the bottom of the brush settings panel. This will remove all your brush adjustments and allow you to start over from scratch.
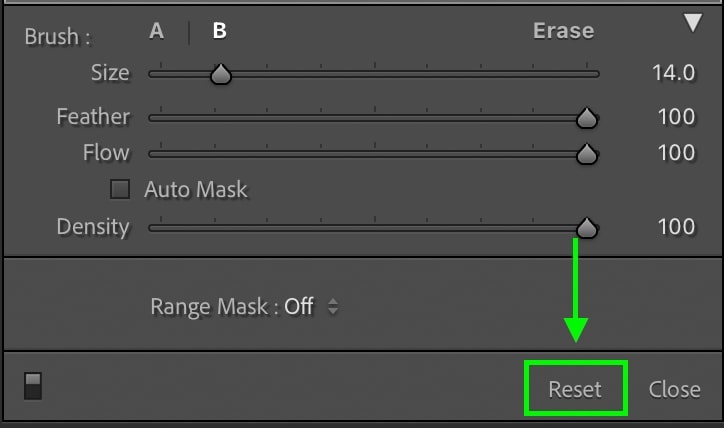
If all else fails, this is a valid option to choose to get yourself back to square one. Although it will not change your brush settings such as size, flow, feather, and density, it will get rid of unwanted adjustments. In situations where you messed up and want to quickly start over, this is the best way to do so.
Now with these 7 troubleshooting tips, you’ll be able to get the adjustment brush in Lightroom working again in no time. To help you make the most of this tool, check out the tutorials below to buff up your selective adjustment skills!
- How To See & Edit Brush Strokes In Lightroom
- A Complete Guide To Selective Adjustments In Lightroom
- How To Darken Backgrounds In Lightroom
Happy Brushing!
Brendan 🙂


