

Unlike most lens filters on the market, polarizing filters can cause a lot of confusion around what they actually do. They aren’t designed to darken your photo, protect your lens, or help you to capture long exposures, so how could they be useful? Polarizers carry a unique benefit that can help balance your exposure and improve the colors in your images. They can be used across all genres of photography and are an essential lens filter suited for beginners to professionals alike. Once you discover what a polarizing filter does for your photography, you’ll wonder why you didn’t start using one sooner.
What Does A Polarizing Filter Do?
A polarizing filter is placed in front of your lens to cut down reflections and reduce glare in your photos. They are most often used to reduce the glare off of water, eliminate the reflection from glass, darken the sky, or improve the overall contrast of your image.
Glare can be found in most things you photograph. From the highlight of a leaf to the light shining off a cardboard box. Whatever it is, if it has a smooth surface, it has the potential to create a bright highlight, otherwise known as glare.
At first, it might not seem like these reflections and glare are that significant in your image. That is until you get rid of them! After using a polarizing filter for the first time, you’ll be stunned at how much richer and life-like your photos appear.
When there is a ton of light reflecting off of different parts of your photo, it creates an overwhelming highlight. This highlight can wash out the colors in your image and make it more challenging to see the details beneath. With a polarizing filter, you can cut out these bright highlights to bring back the richness and detail once again.
How Does A Polarizer Work For Photography?

In a nutshell, a polarizing filter works by blocking out a certain wave pattern of light from entering your camera. A polarizer is made up of many tiny lines that will block polarized light from passing through the filter. As you rotate the filter, you can reposition these lines to block out a different source of polarized light.
Light travels in all directions and reflects off of anything it runs into. When light lands on a smooth surface, it changes patterns and begins to travel in a horizontal wave. This is also known as polarized light.
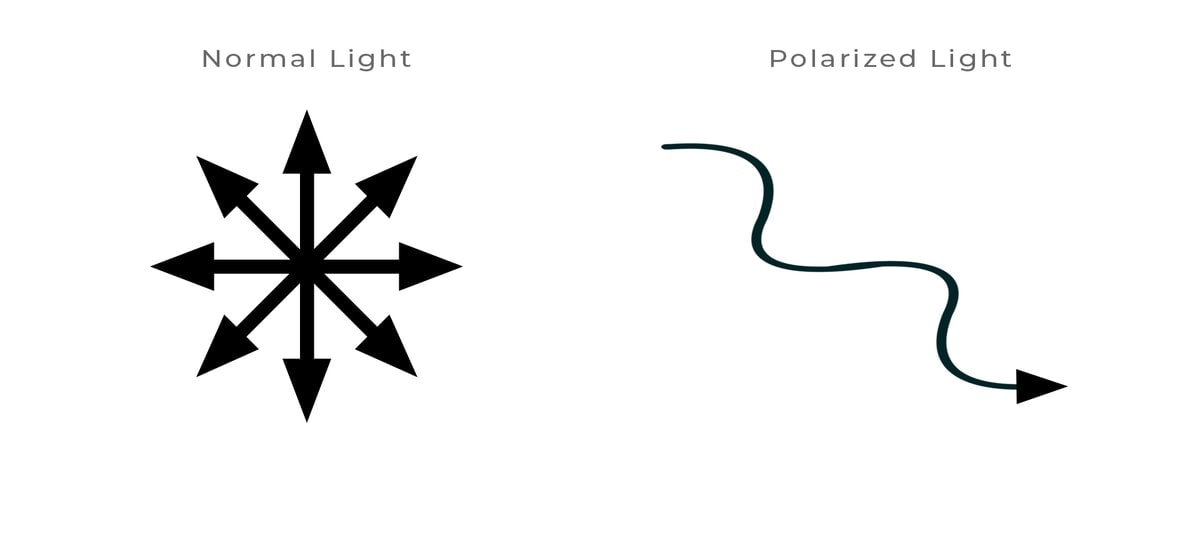
Rather than moving in all directions, this polarized light travels in a uniform pattern. Once this light lands on your sensor, your camera will see this glare or reflection coming off the surface that created the polarized light.
Now here’s where the trick comes in. A polarizing filter is made up of a series of tiny lines that will block certain light waves. Since polarized light moves in a horizontal pattern, it becomes impossible for them to pass through these lines in your polarizer. When the polarized light is unable to pass through the filter, it renders it invisible to your camera. This instantly eliminates the glare and restores the color and detail back into your photo.
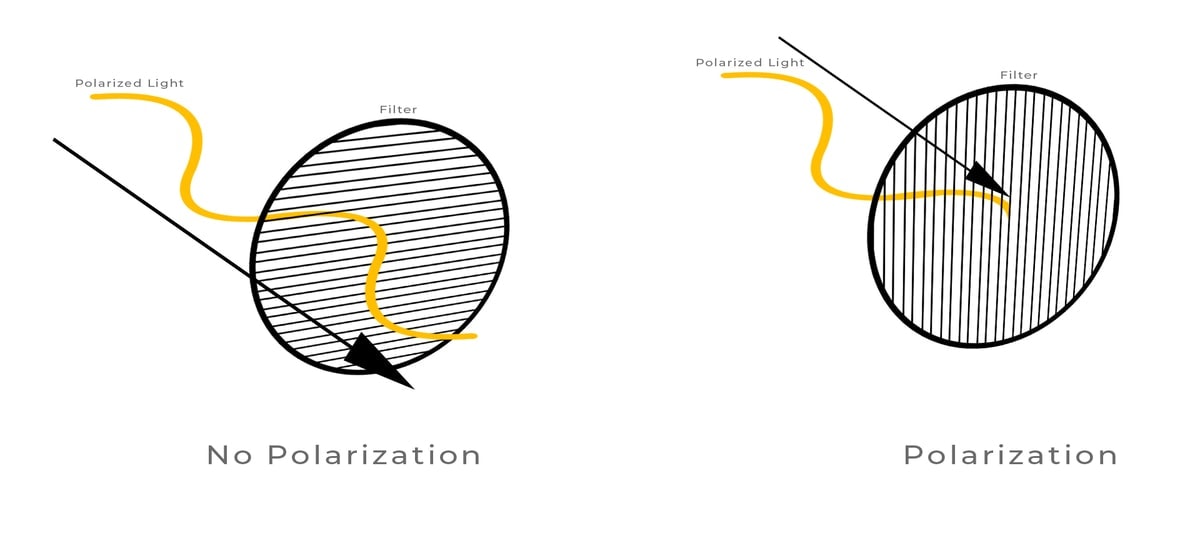
Now different objects or parts of your scene may give off polarized light at slightly different angles. This means that your polarizing filter will only affect certain parts of your image if the lines are oriented correctly. That’s why all polarizing filters for cameras can rotate. As you rotate the polarizer, you reposition the lines within the filter and block out a different area of polarized light.
Types Of Polarizing Filters For Photography
There are two types of polarizing filters in photography. With that said, if your camera was made within the last 50 years, you’ll want to opt for a circular polarizing filter. Although that’s the type that’s likely best for you, it can be interesting to know the differences between types of polarizing filters.
– Linear Polarizer
A liner polarizer eliminates polarized light with a single plane of tiny lines throughout the filter. As you rotate the filter, you will cut down or eliminate any glare and reflection caused by polarized light. The trouble is, certain parts of your camera rely on polarized light to make accurate focus and exposure readings. In certain orientations, a linear polarizer will make your autofocus or internal light meter completely ineffective. This type of polarizer was used in the earlier days of cameras but is not recommended for anything post 1970.
– Circular Polarizer
A circular polarizer works the same as a linear polarizer but with a slight difference. This type of polarizer is made up of two planes. The first layer contains the same tiny lines that block polarized light from passing. The second layer is made up of lines in a quarter grid pattern causing the light to move in a circular pattern. With a circular polarizer, your autofocus and internal light meter functions can still operate normally. This is because the added layer in circular polarizers makes the filter only effective from one side. That’s why if you have ever tried to look through your polarizer backward, it will not work. If you are using a modern-day camera with a light meter or autofocus capabilities, you’ll need a circular polarizer.
Reasons Why You Should Use A Polarizing Filter
There are a few primary reasons why a polarizer is useful for photographers. Let’s go over the ways a polarizing filter affects your images.
#1. To Enhance The Colors In Your Photos

All photographers love color and capturing it in the best ways possible. To make the most of all the colors in a scene, a polarizer is absolutely necessary. Sunlight travels in all directions and bounces off of everything in your scene. This overwhelming amount of light can cause glare or make colors appear flat and dull. With a polarizing filter, you can cancel out certain amounts of light to enhance the richness of your colors. Especially when taking photos in the middle of the day, a polarizer will make a world of difference.
#2. To Reduce Glare And Improve Contrast

As we talked about earlier, glare is the bright highlight caused by light reflecting off a smooth surface. It can be found on just about anything and is likely to be present in any photo you take. The trouble with glare is that it’s nearly impossible to eliminate in post-processing. It also brightens certain surfaces in your image and hides the true detail and color. With a polarizer, you can completely eliminate this glare and retain the most contrast as possible in your exposure. No more washed out or excessively bright images!
#3. To Cut Down Reflections


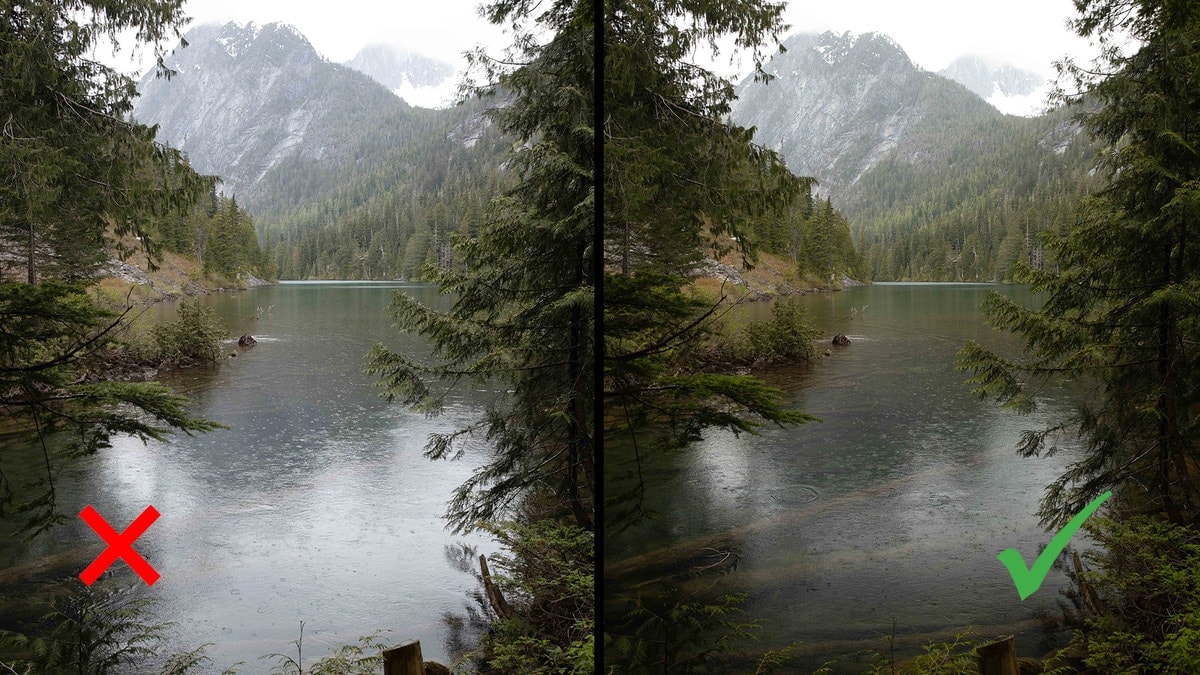
You don’t have to be shooting a window to catch reflections. Particularly for those who enjoy shooting landscape photography, lake or river surfaces can cause problems. Water can create a reflective surface, making it difficult to see the details lying below. In some cases, you’ll want to see through these reflections to capture interesting rocks or deadfall just below the surface. Without a polarizer, it would be impossible to eliminate these reflections and cash in on those added details. With a polarizer, a simple rotation of the filter and you can add a whole new level of dimension to your composition!
What Type Of Photography Is A Polarizer Best For?
When it comes to learning how to use a polarizing filter, it doesn’t matter what type of genre you shoot! Whether it be landscapes, wildlife, portraits, macro, food, or whatever else you do, a polarizer is a valuable tool.
The truth is, as long as you’re using a camera, you’ll run into unwanted glare and reflections. That’s why carrying a polarizing lens filter is so useful to all types of photographers.
With that said, a polarizer is particularly useful for those who photograph outdoors and have less control over light. When in natural light, you can’t control the brightness of the sunlight. Using a polarizer gives you slightly more control to dictate exactly what light will be captured in your photo.
The 5 Best Polarizer Filters For Photographers
At this point, you may be wondering why the heck you’ve never bought a polarizer before now. They are so insanely useful and the one type of filter I never leave home without. If you’re anything like me, you might struggle to settle on the right filter for you. There are just so many options out there! To make life easy, I compiled a list of my 5 favorite polarizing filters for photographers that you should absolutely consider.
#1. Freewell Magnetic Circular Polarizer (Editors Choice)
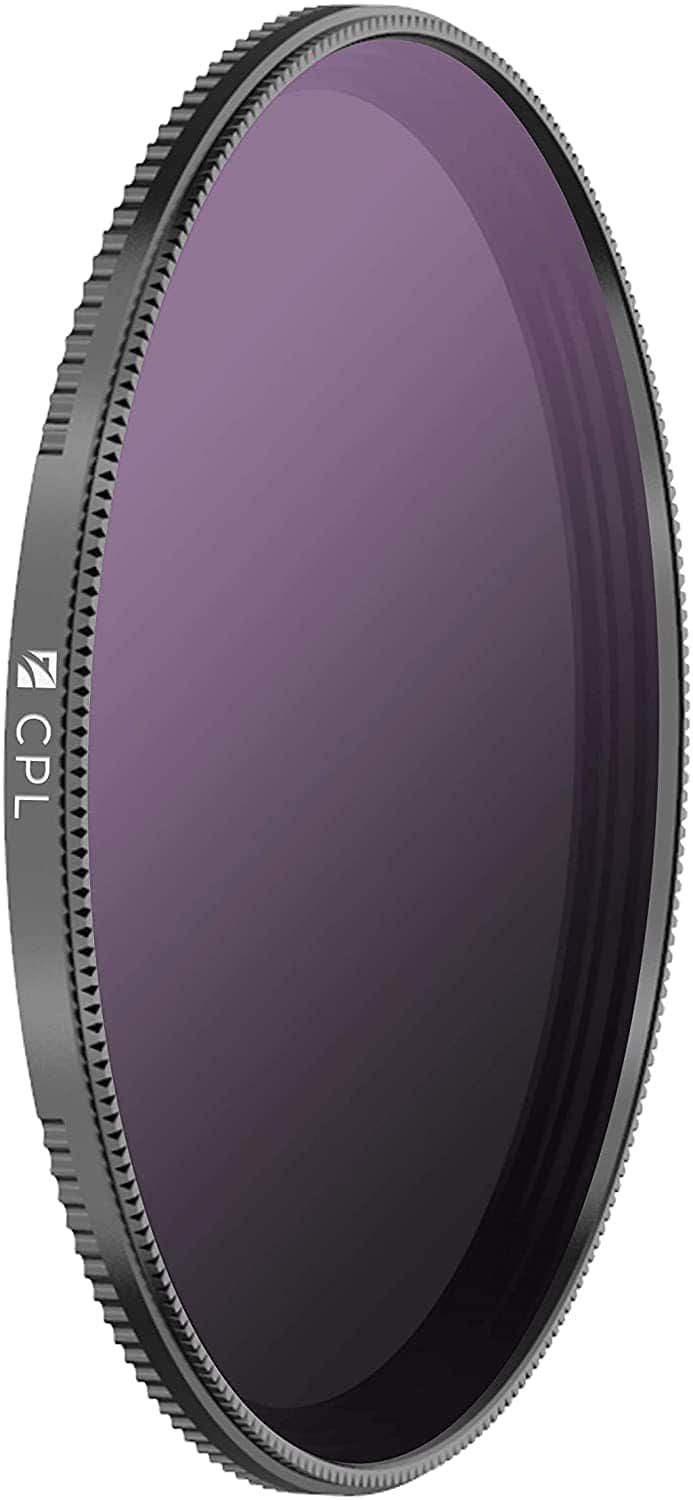
When Freewell first hit the streets with their magnetic quick-swap circular polarizer, I was hooked. Being able to quickly click on and off this polarizer is a total game-changer. I’ve personally used this filter for just over a year and have absolutely zero complaints. It’s been around the world with me, and I use it for all my client projects as my go-to polarizing filter. This filter never leaves my camera bag and is absolutely worth every penny. You can see my full review on the Freewell magnetic filter system here.
#2. Amazon Basics Circular Polarizer (Most Affordable)
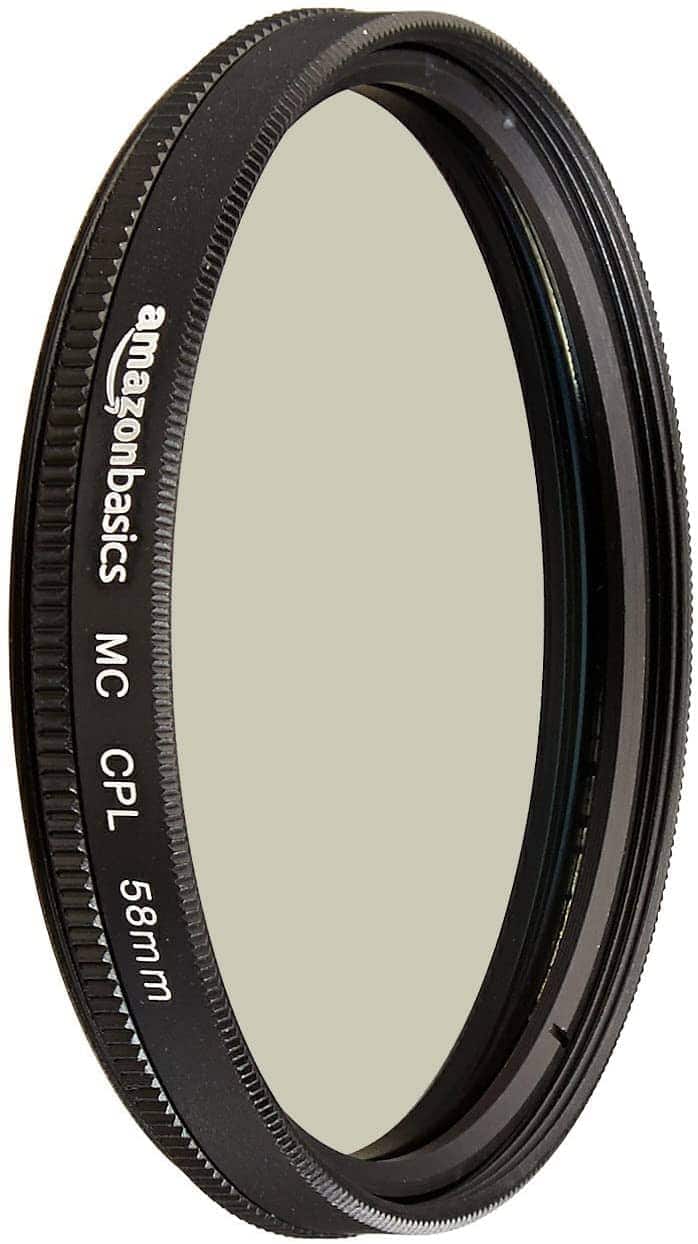
If you’re looking for something that will get the job done but won’t break your bank, look no further. The Amazon Basics Circular Polarizer is an affordable option for any photographer. This filter will effectively reduce glare and enhance the color of your images. It is an Amazon Basics product, so the build quality may not be sublime, but some people still seem to like them.
#3. Tiffen Circular Polarizer
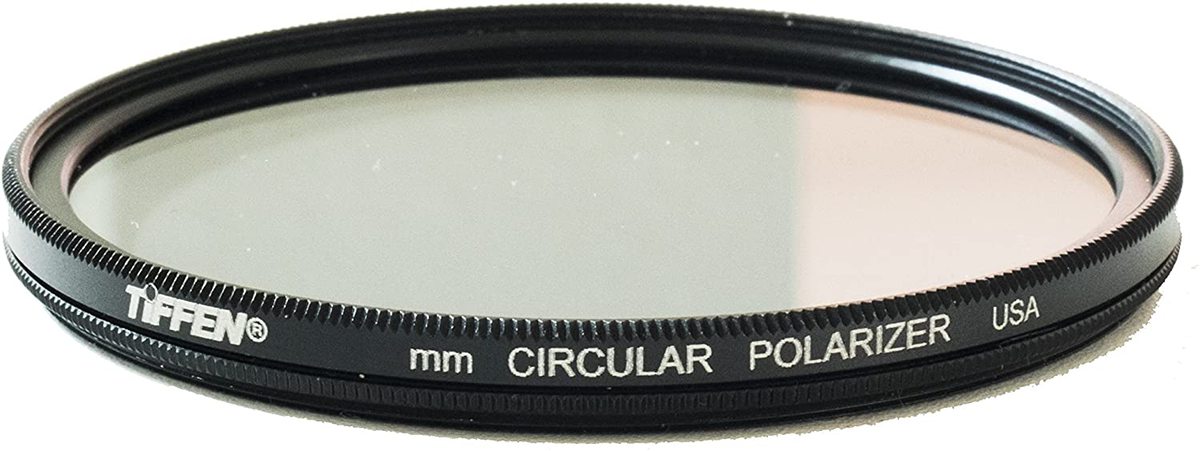
Tiffen is an extremely reputable filter brand that creates quality lens filters at extremely reasonable prices. The Tiffen Circular Polarizer is no exception. This filter is another great option for those wanting an affordable polarizer from a reputable brand name you can trust.
#4. B + W Circular Polarizer
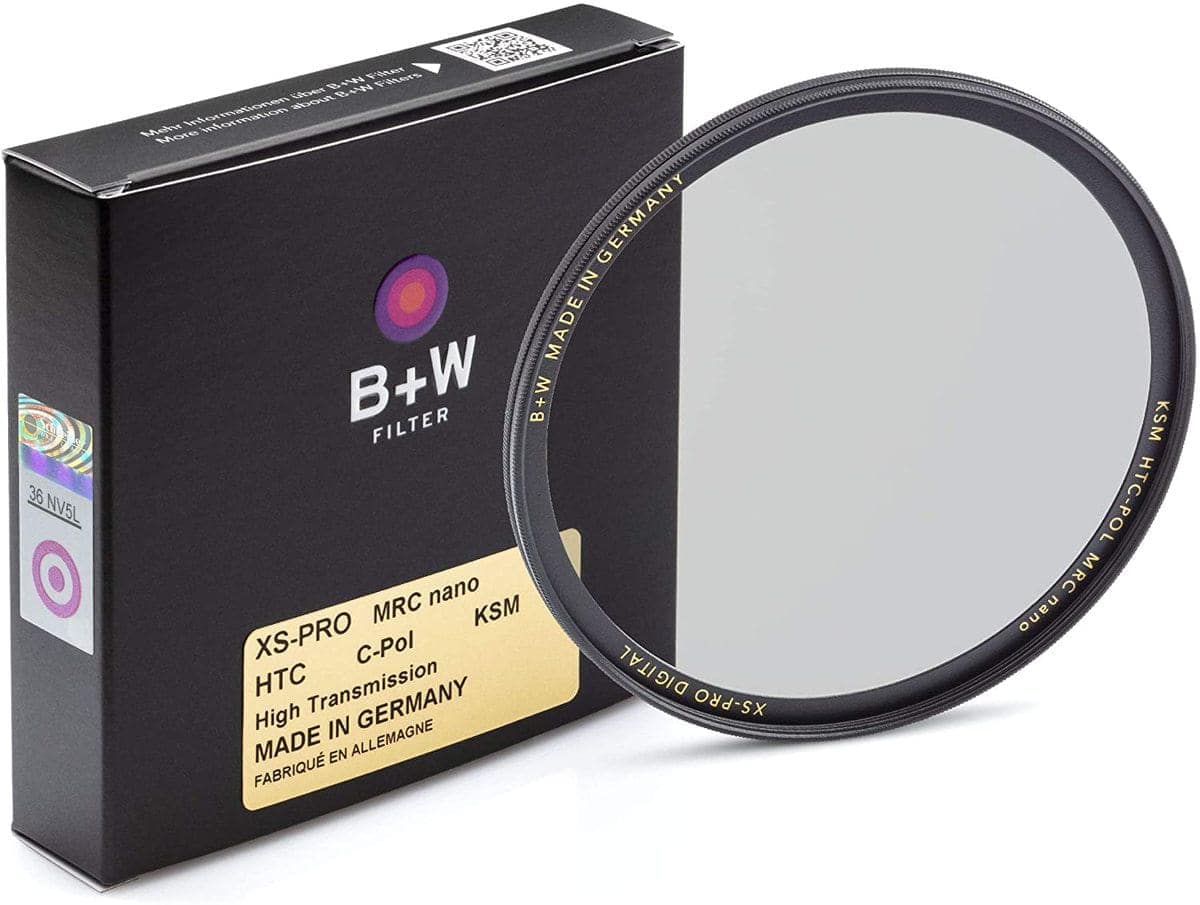
The B + W Circular Polarizer is an extremely popular filter option among many photographers. This filter has some of the best build and image quality of the bunch while boasting little color cast. If you want a professional filter that matches the high caliber of your photography, this is the one for you.
#5. NiSi Circular Polarizer + 6-Stop ND Combo Filter
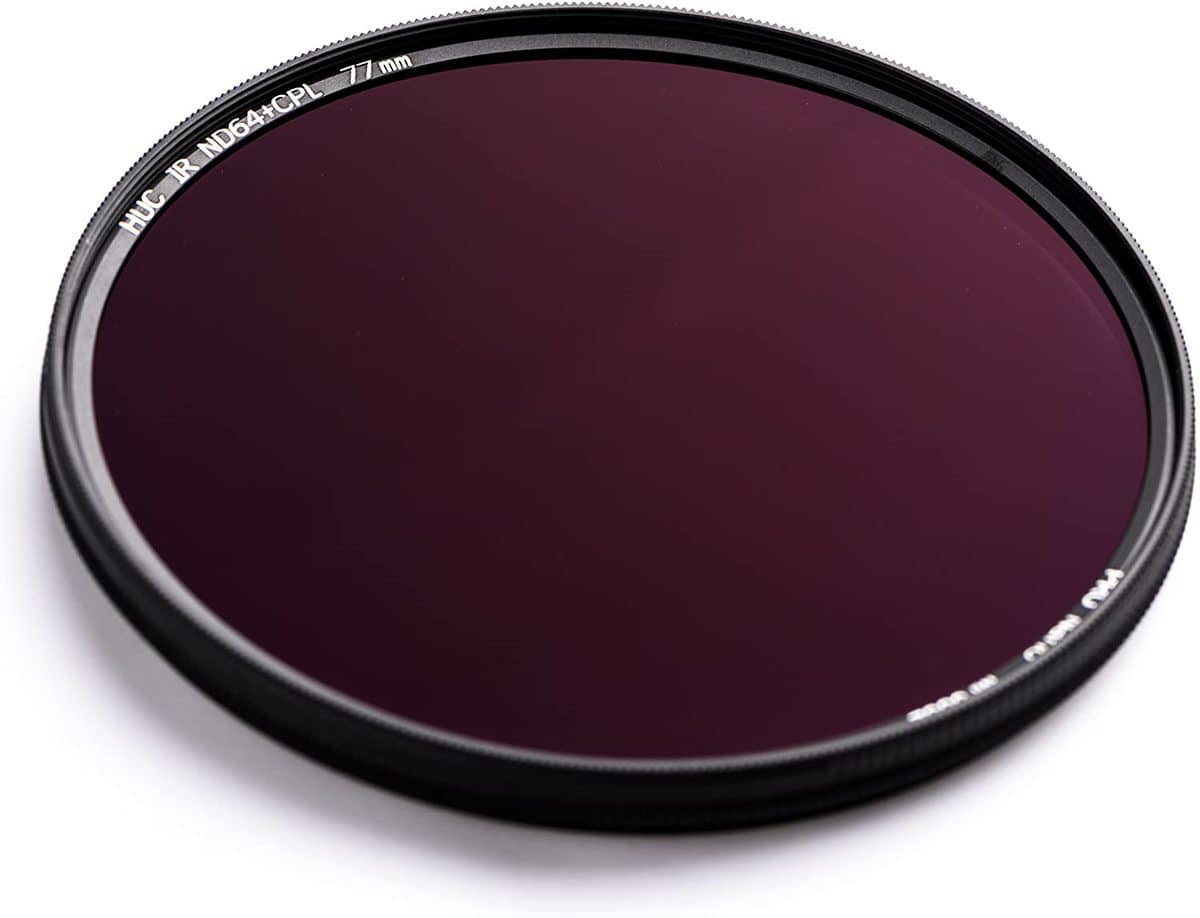
Polarizing filters are great, but what about when you also want to capture long exposures? Rather than stacking filters, the NiSi Circular Polarizer + ND64 combo filter is the all-in-one solution. I’ve used this filter for several years in my landscape photography and love it wholeheartedly. It saves me time and is less cumbersome than stacking two different filters. With the help of this combo filter, you can capture beautifully polarized long exposures with ease.
When You Should NOT Use A Polarizing Filter
Polarizers are great, but they can have their drawbacks in some situations. As you learn how to use a polarizer, it’s important to remember when not to use one as well. Let’s break down a few situations when you’ll be better off without this lens filter.
– When You’re Shooting In Low Light
If you’re taking photos in a low light situation, using a polarizer probably isn’t the best idea. The reason being, polarizers will darken your image by 1 to 2 stops depending on the filter. If you’re already struggling to get a good exposure, polarizers will just make it harder.
– When You Want To Capture A Reflection
When you’re photographing a lake or waterfall, sometimes you actually want to see the reflection. If you’re using a polarizer, you would completely eliminate the reflection and totally change the look of your photo. In any situation where there’s a nice and clear reflection, be sure to leave your polarizer in your bag.
– To Capture Rainbows
Although most of us love rainbows, polarizers do not. If you’re using a polarizing filter while trying to photograph a rainbow, you’ll end up getting rid of it completely. In these types of situations, it’s best not to use a polarizing filter.
– When Taking Photos At Night
When you’re taking photos of the stars or the moon, a polarizer will just serve as a massive annoyance. At night you need to let as much light as possible into your lens. Using a polarizer will only darken your photo, making it harder to capture the right exposure. Additionally, it’s nearly impossible to see the effects the polarizer is making on your image until after it’s taken. For the slight to completely unnoticeable difference it may make, it’s better not to use it at all at night.
Learning how to use a polarizer in your photography is a great way to improve your images without any post-processing. A polarizing filter is an incredibly valuable tool to enhance colors, reduce glare, eliminate reflections, and so much more! Regardless of what type of photography you shoot, a polarizing filter will be extremely valuable to you.
Based primarily on ease of use and adaptability, the Freewell Magnetic Circular Polarizer is my go-to filter choice. If you’re in the market for a high-quality filter that can quickly snap onto your lens, this is the best option out there. With a magnetic filter system, you don’t need to waste time threading and unthreading a filter. Just snap it on, and you’re done. To find more great lens filters to get started with, click here.
If you know someone who should learn how to use a polarizer in their photography, be sure to share this post and help support the blog!
If you enjoyed this article, be sure to subscribe to my weekly newsletter to receive free photography and photo editing tips straight to your inbox.


1 thought on “How To Use Polarizers In Photography (Polarizing Filters Explained)”
Comments are closed.