Adding transparency in Photoshop is a great way to easily change backgrounds, change a texture, or use an image for a new purpose. There are many different ways to add transparency in Photoshop, but the easiest is with a layer mask.
In this tutorial, you’ll learn not only about transparency in Photoshop but also the best way to save transparent images too. Let’s begin with the simplest item: adding a transparent layer.
How To Make A Transparent Layer In Photoshop
Whether you’re starting a new document or working on an existing document, there are many times you might need to use a transparent layer. You can easily add anything onto a transparent layer, making them highly versatile.
With your document already open in Photoshop, go to the Layers panel.
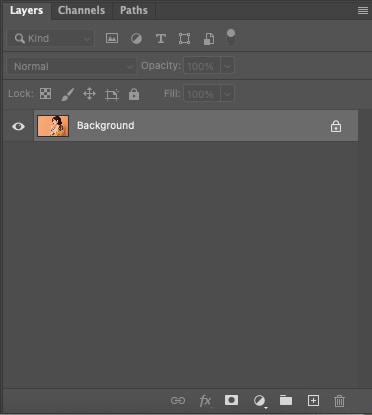
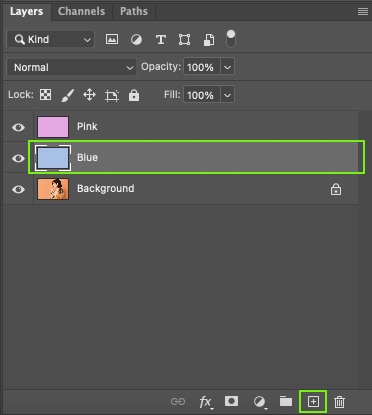
To add a new transparent layer, select the Create a new layer option at the bottom of your Layers panel.

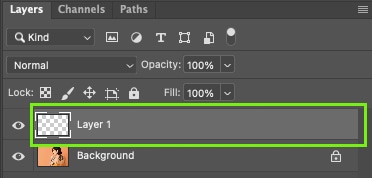
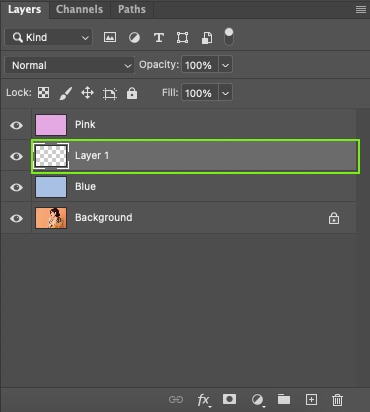
This creates a new transparent layer above the Background layer. The thumbnail will show a white and gray checkered pattern to represent the transparency.
You won’t see any visual difference to show transparency on the document itself, as the checkered representation is only shown if the layer has nothing else beneath it.
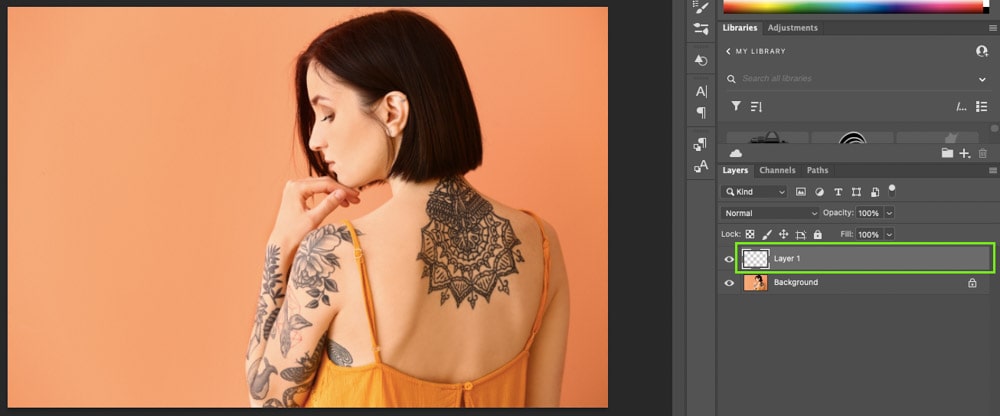
No matter how many layers you have, adding a new transparent layer will always open above the currently selected layer. If you want to add a transparent layer between other layers, select whichever layer will be beneath the transparent one and then add the new layer.
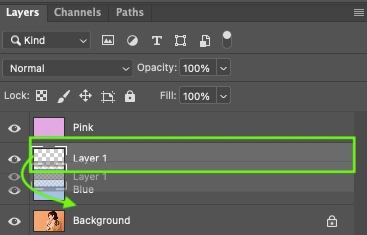
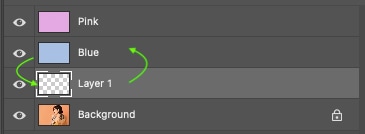
You can also drag layers to reorder them in the Layers panel. To drag, just click the layer you want to move and drag it to the gap you want to move it to.
How To Create A Transparent Document
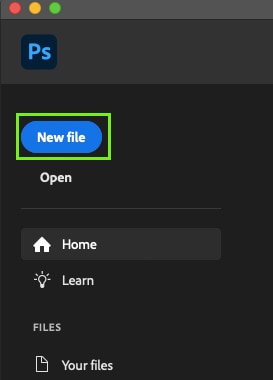
When you create a new Photoshop document, the window to set attributes for the new document has plenty of options, like size, color mode, and background color.
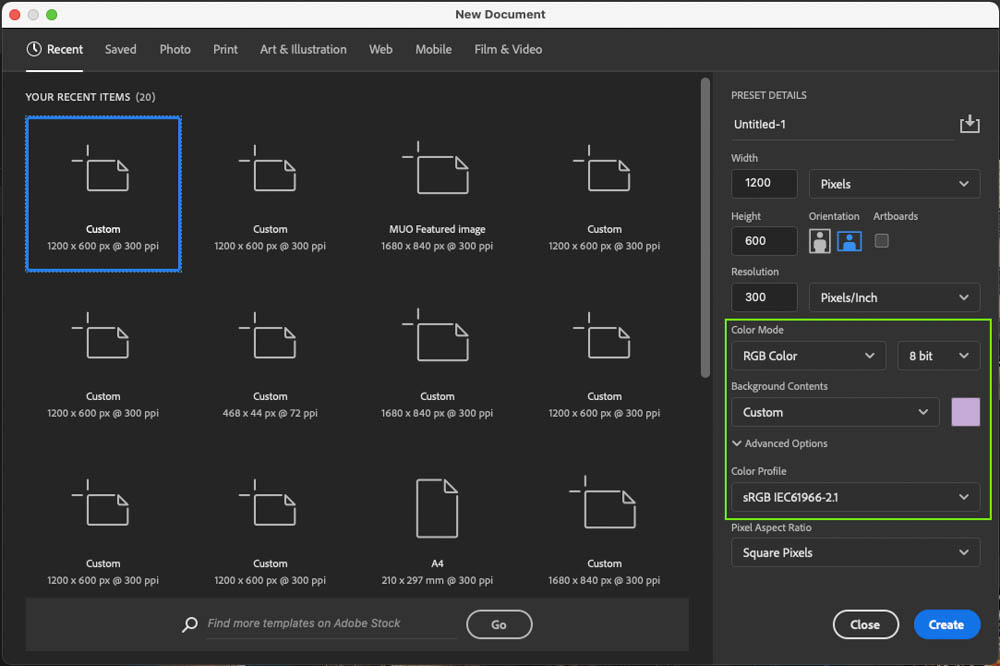
You can set your document background to transparent when making a new document in the New Document window.
Under the Background Contents option, click the dropdown menu to reveal different background options for your document.
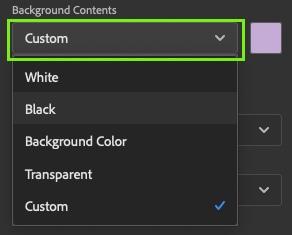
From the list, choose Transparent to create a document with a transparent background.

Once you’ve set the rest of the attributes, click Create to open the new document.

Your new document will open with complete transparency. You will also see the transparent layer in the Layers panel. Since we can’t physically see it, Photoshop will show a gray and white checkered background to represent transparency.

How To Make An Image Background Transparent
Using masks in Photoshop is the best way to create a transparent background on an image non-destructively. A mask covers or reveals parts of the layer it is attached to, but it doesn’t alter the original image at all.
To remove a background, start in the Layers panel and select your desired layer.
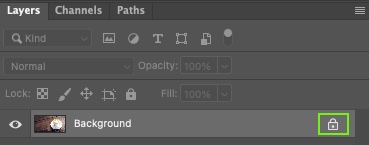
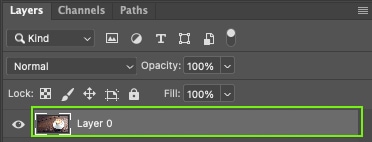
If the image you’re adding a transparent background to is the Background layer, you’ll need to unlock the layer before the next step. To unlock a layer, click the padlock on the layer.
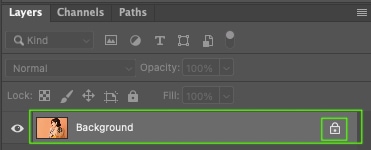
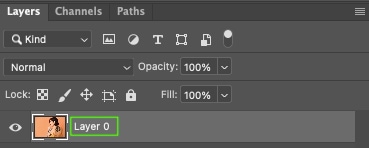
While you can add a layer mask to the layer and manually refine the mask to reveal the subject afterward, it is much easier to select the subject first and then create a mask.
To select your subject, select any of the quick selection tools (W).

With any of the three selection tools selected, go to Select > Subject.
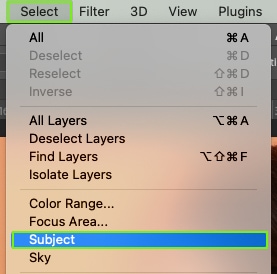
This will select the main subject of your image. You can tell what is selected as there are marching ants along the selection.

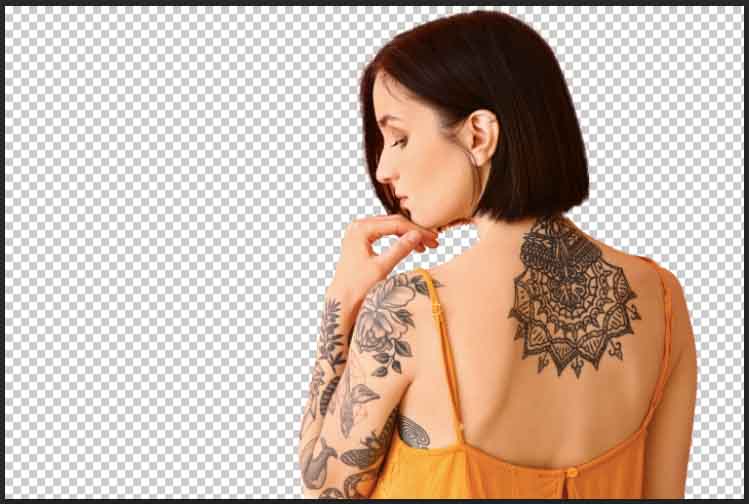
The selection only applies to the outside edge of the subject. It does not select any inner gaps, such as the gap under the woman’s chin or between her thumb and finger.

Luckily, you can use any of the quick selection tools (W) to fix these issues.
When your chosen quick selection tool is active, selection options appear in the Options Bar. These allow you to add a new selection, add to a selection, subtract from a selection, or intersect with an existing selection. For this example, I am using the Magic Wand Tool.

To remove any gaps or missing parts to the selection, choose Subtract from selection.

Then, I’ll use the Magic Wand Tool (W) to select the gaps that weren’t previously part of the selection.
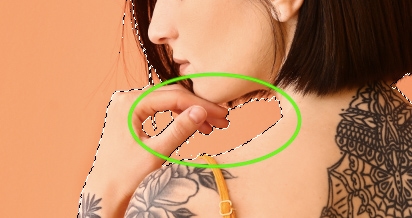
Do this until you’re happy with your selection.

Now it’s time to add the mask. The mask will make everything that isn’t selected appear transparent. In the Layers panel, click add layer mask.
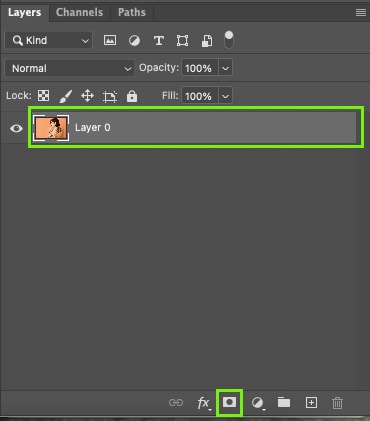
The mask appears as a thumbnail next to the layer’s thumbnail. The white areas show the visible subject, and the black areas are hidden (aka transparent).
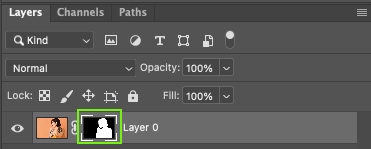
The image will show a white and gray checkered pattern to show the transparency in the masked background.
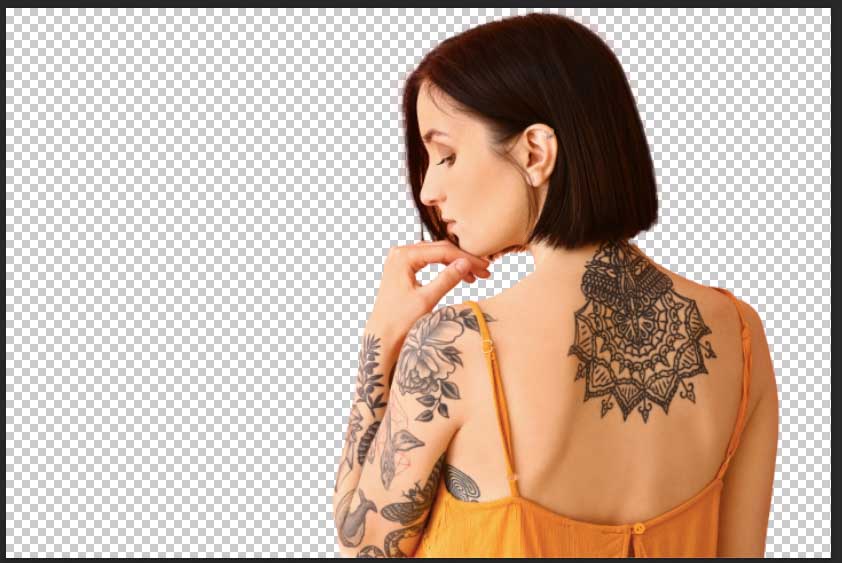
You can refine the mask if you’re not completely happy with it. To do this, use the Brush Tool (B).

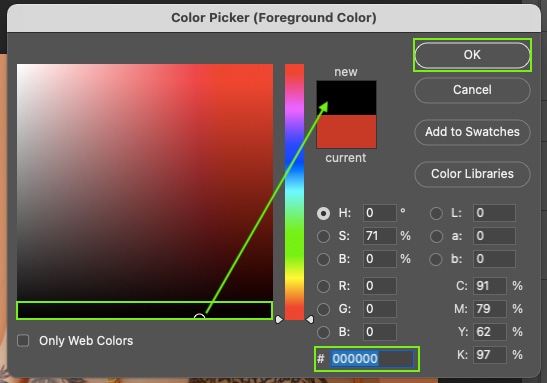
To add transparency to areas that were previously missed, change the Foreground color to black.

Then use the Brush Tool (B) to paint any parts you want to be transparent.
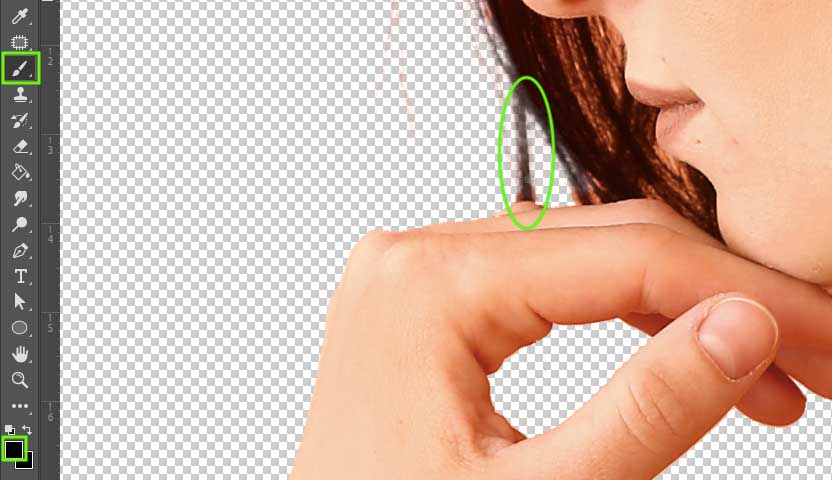
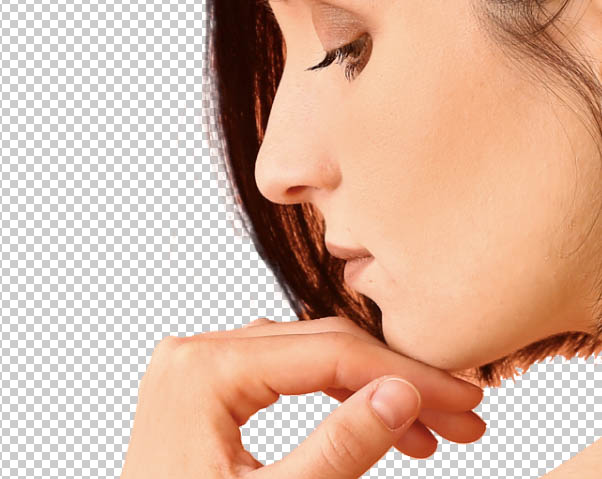
To reveal more of your image, set the Foreground color to white.

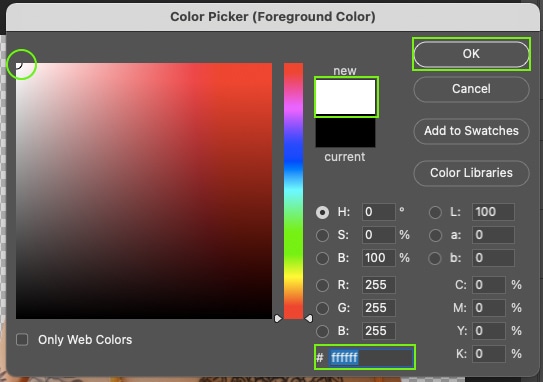
Then, using the Brush Tool (B), paint over any incorrectly transparent areas to reveal them again.
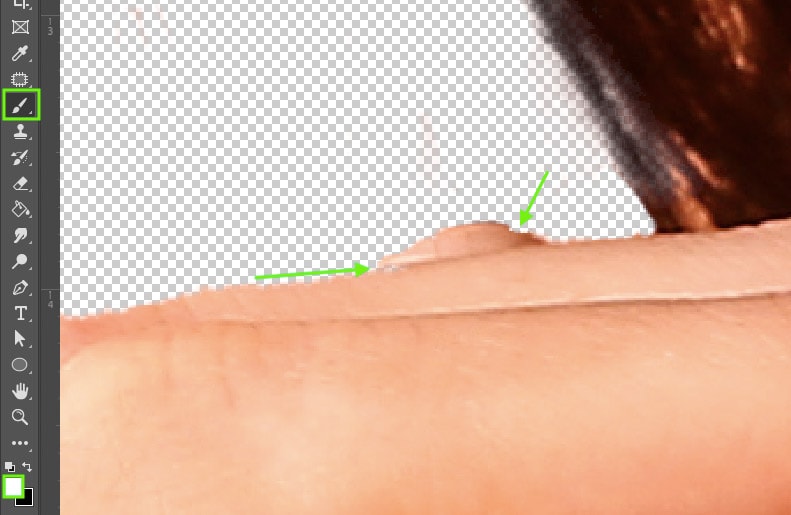
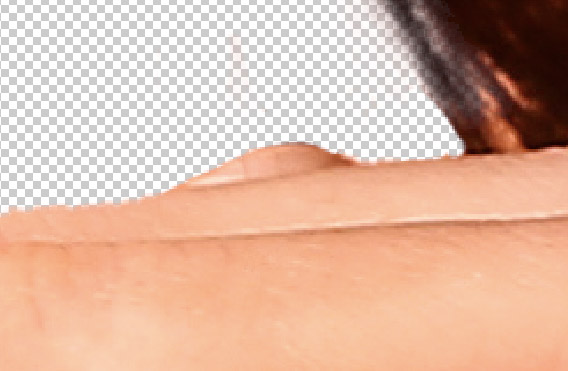
Keep refining your mask until you’re completely happy.
Since using a mask layer is non-destructive, you can easily disable or delete the mask to return your image to its original condition. Right-click the mask thumbnail on the selected layer and choose Disable Layer Mask.
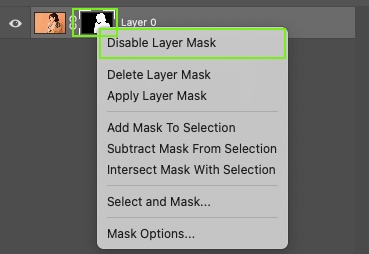
Your image will appear in its original form, and a large red cross will appear on the mask thumbnail. You can always enable the mask again by right-clicking the thumbnail and choosing to Enable Mask.

How To Make A Selection Transparent In Photoshop
To make the contents of a selection transparent in Photoshop, create a selection around the area you wish to remove. With an active selection, select the image layer and press the delete key. Alternatively, click the layer mask icon, then invert the layer mask to do this non-destructively.
Let’s break that down more in-depth.
If the layer you’re working on is the Background layer, unlock the layer using the padlock.
For this, you can use any selection tool in Photoshop as the same steps will apply. Find the selection tools on the toolbar; then click and hold to show more options on each one.
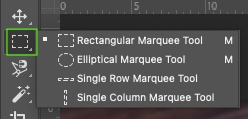
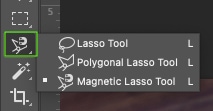

After choosing the appropriate selection tool, select the area you want to be transparent. When it is selected, you’ll see marching ants around the area.
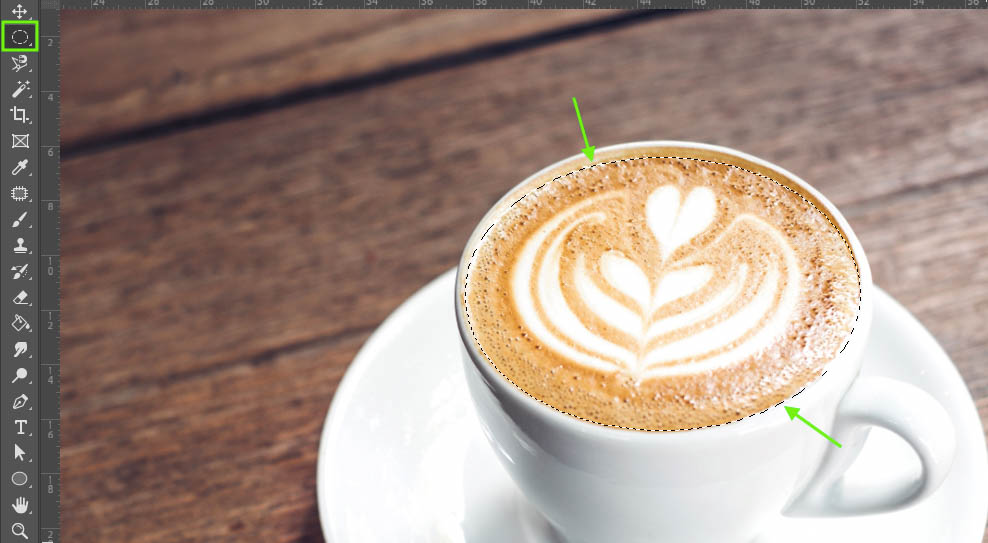
If you make a mistake and need to redo the selection, press Control + D (Win) or Command + D (Mac) to deselect and then create the selection again.
Once you are happy with your selection, head to the Layers panel and select Add layer mask.
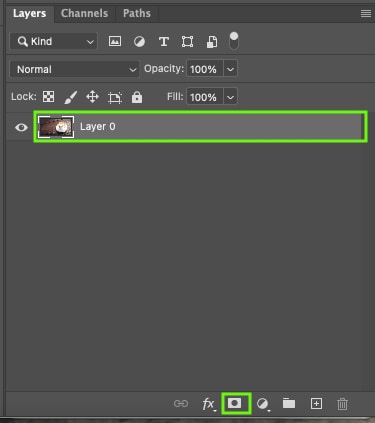
This applies the selection to a mask so the selected area is visible and everything else is transparent. You can see the mask in the thumbnail on the layer: black shows transparency, and white shows visible areas.
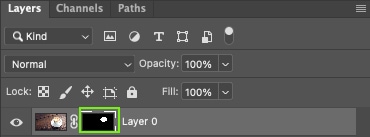
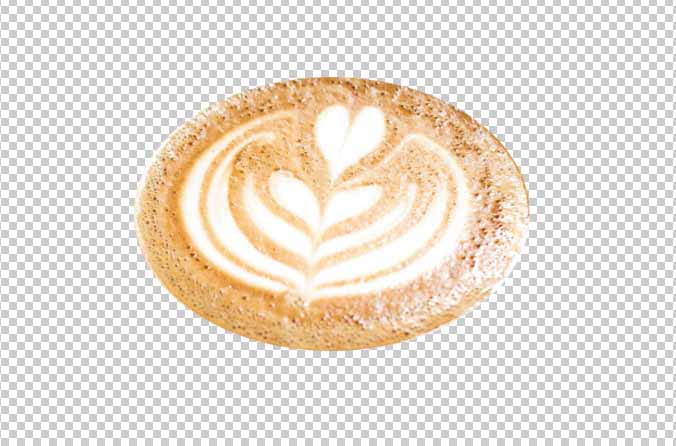
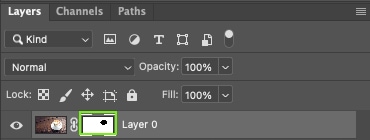
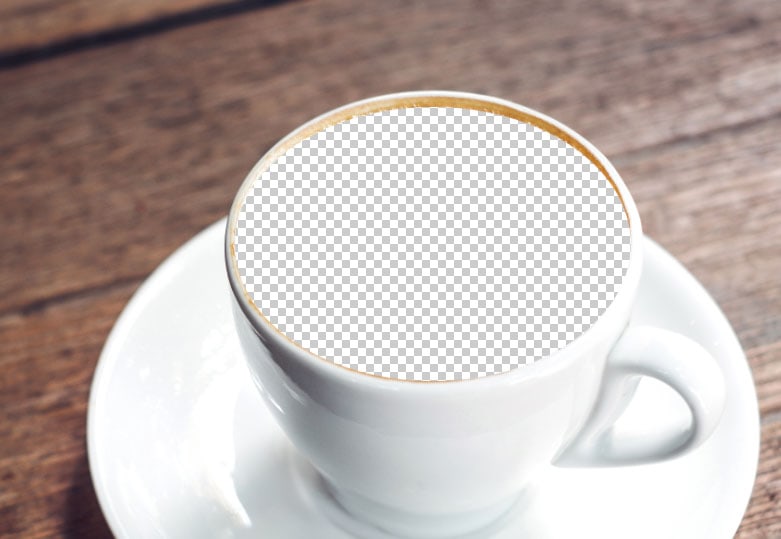
Since this is the opposite of what we want, I need to invert the selection. With the layer mask selected, press Control + I (Win) or Command + I (Mac) to invert the mask. Now the selection contents will be transparent.
How To Preserve Transparency Upon Export
While Photoshop offers many options for creating transparency in your images, layers, or files, not all image formats preserve transparency when saving. This means you can only export or save your transparent files in specific formats; otherwise, the transparency will appear as a solid white fill.
PNG is the best format for saving a transparent image, as it is also high quality while retaining transparency. It’s a widely accepted format, so you’re not limiting your options when using it.
Transparency is only supported for RGB images since you cannot print transparency.
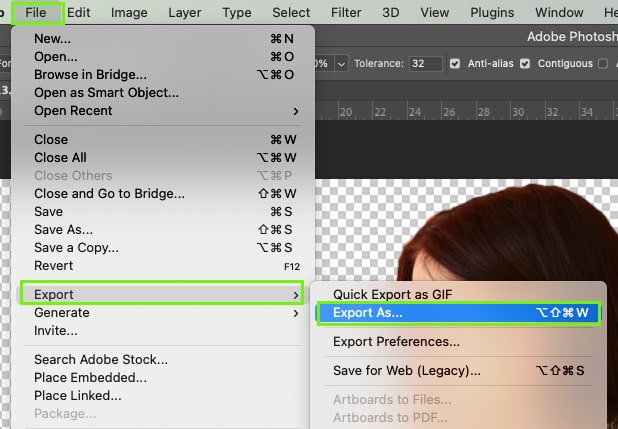
To export your transparent image in PNG, go to File > Export > Export As.
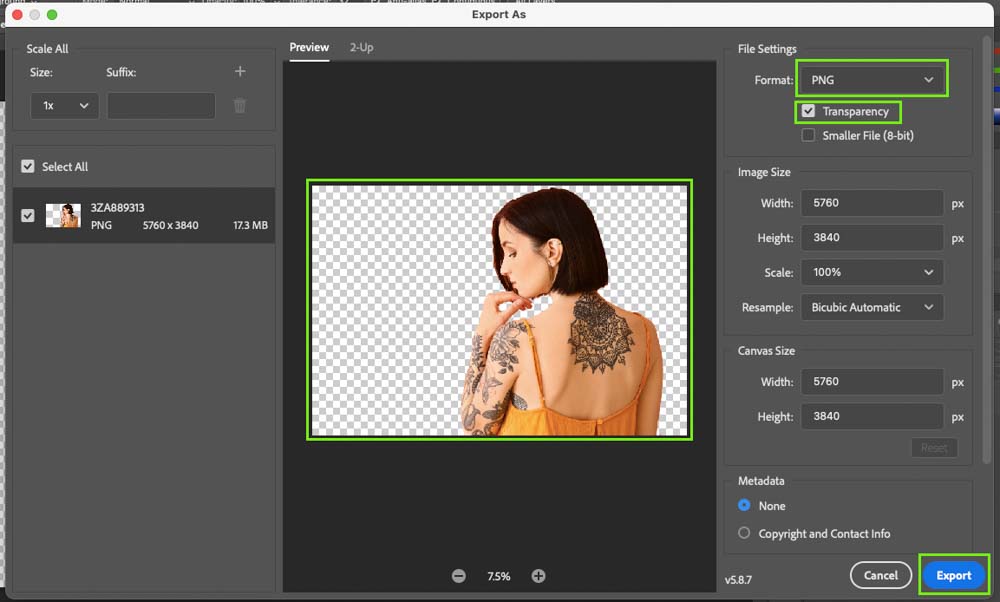
This brings up a dialog box for your exporting settings. There’s a preview box of your image, so you can check the transparency is set correctly. In the dropdown menu for Format, choose PNG, and under the dropdown menu, ensure that Transparency is selected.
Set any other settings you may need to change and select Export.
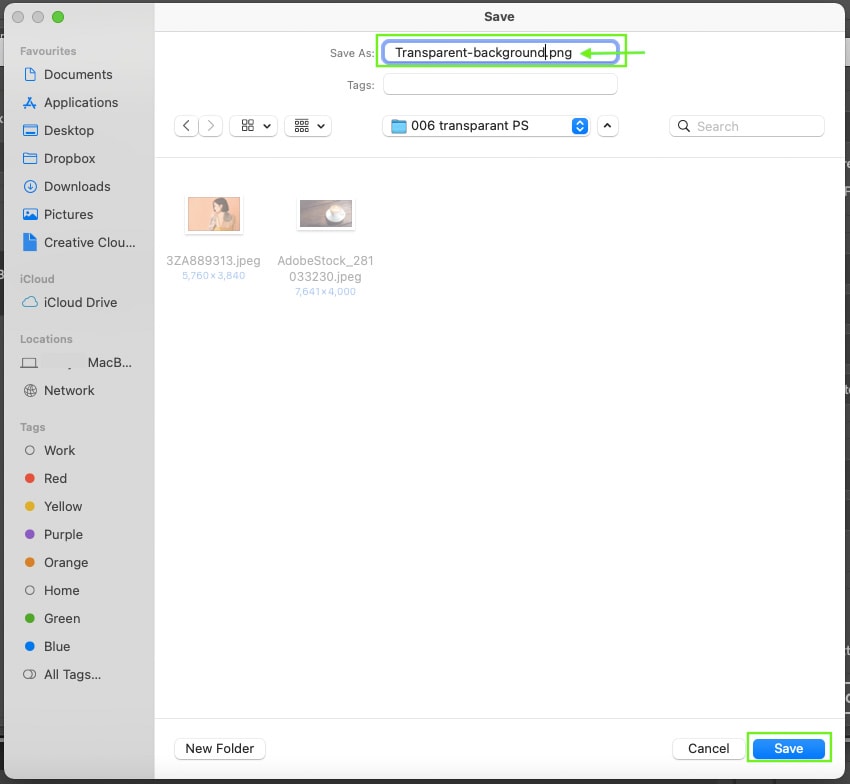
You can then rename your file and save it where you want.
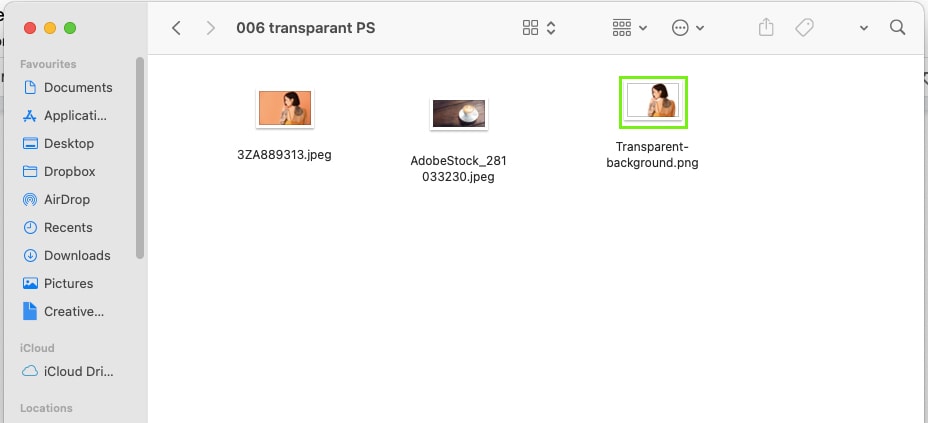
Although the file is transparent, when you see the file thumbnail in your folder, the thumbnail doesn’t show transparency.
Once you click to open the file, you’ll see its transparent background, without the white and gray checkered pattern.


