

Once you’ve created a graphic or transparent background, your next step is to save it as a PNG file. However, you may notice that Photoshop doesn’t always allow you to save your image as a PNG file. Luckily, solving this problem is simple to fix!
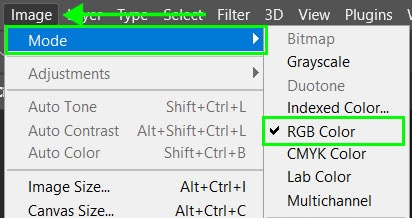
The most common reason Photoshop can’t save a PNG file is that the color mode of your project is set to CMYK, Lab Color, or Multichannel. To change the color mode of your document to be compatible with a PNG file, go to Image > Mode > RGB Color. Now you can export your file as a PNG!
The Portable Network Graphic (PNG) is a popular, patent-free file format, which has many useful functions. PNG files allow you to create transparent backgrounds to add the image to other projects. PNG files also have lossless compression, which keeps all the data of the image even when you resize it.
Although I’ll cover how to export a PNG file later on, let’s first dive into some common issues you may face during the export process that prevent Photoshop from saving PNG files.
Reasons Why Your PNG File Won’t Save In Photoshop
Here are three common reasons why your PNG file won’t save in Photoshop along with ways to fix the issues.
1. The Color Mode Is Set To CMYK, Lab, Or Multichannel
PNG format supports a few color modes but not all of them. A PNG format can be created using RGB, Grayscale, Bitmap, and Indexed Color modes that don’t have any alpha channels. The transparency of a PNG image will be preserved when the file uses the RGB or Grayscale color mode.
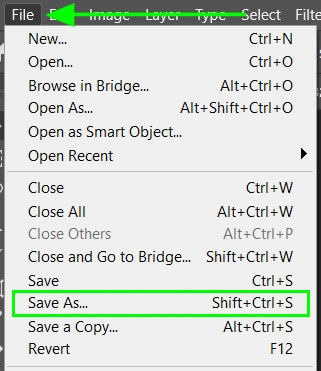
For example, let’s try to save a PNG file by navigating to File > Save As or using the shortcut Shift + Control + S (Win) or Shift + Command + S (Mac).
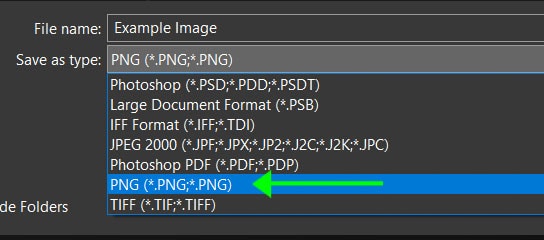
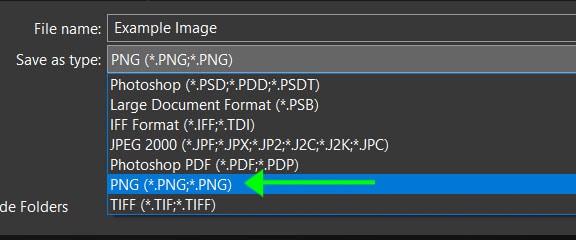
In the Save As window, you will notice a drop-down list that allows you to choose the file format you want to save your image in. In this instance, there is no option to select the PNG format.
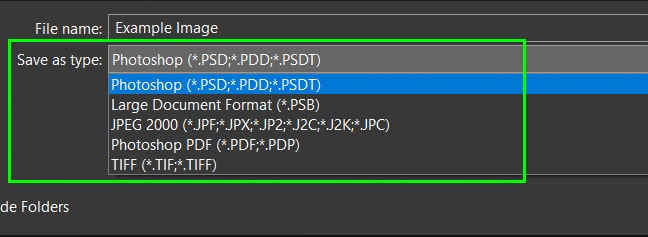
If your document color mode is set to CMYK, Lab, or Multichannel, the PNG format will not be available as seen above. This is because the PNG format is designed to be used on the web and doesn’t support these color channels.
- CMYK is used when an image will be printed to match the color options found in a printer.
- Lab is a highly specific color range that shows the colors the same on whichever device is displaying the image.
- Multichannel is used for specialized printing and contains more data than a PNG.
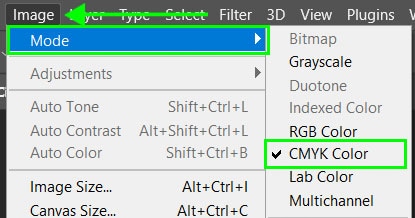
To fix this issue, navigate to Image > Mode, here you can see the document is set to CMYK by the checkmark next to the color mode.
Select the RGB color mode and then navigate to File > Save As and when you select the dropdown menu, you will be able to select the PNG format.
2. The Bit-Depth Value Is Too High
If your document is set to RGB but the PNG format is still not visible when trying to save your image as a PNG, your document may be set to the wrong bit-depth value.
To see what bit-depth (also known as bits/channel) your document is set to, navigate to Image > Mode and you will see the values at the bottom.
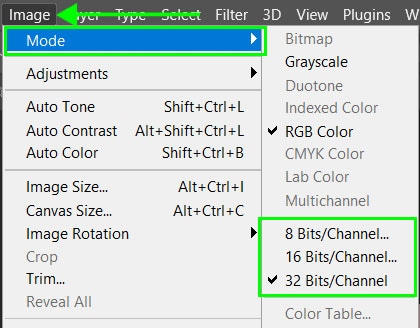
The PNG file format only supports 8 bits/channel or 16 bits/channel, while the 32 bits/channel is supported by other file formats including JPEG. The bit-depth dictates how much information is stored per color channel. Which essentially determines the quality of an image.
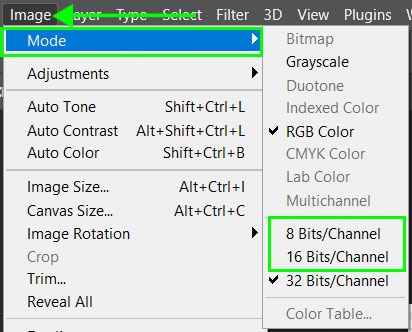
To change the bit-depth on your project, navigate to Image > Mode and select the 8 bits/channel or 16 bits/channel option. If your image was set to 32 bits/channel, for layered HDR images, Photoshop will ask you to merge the layers before changing the bit-depth, select Merge.

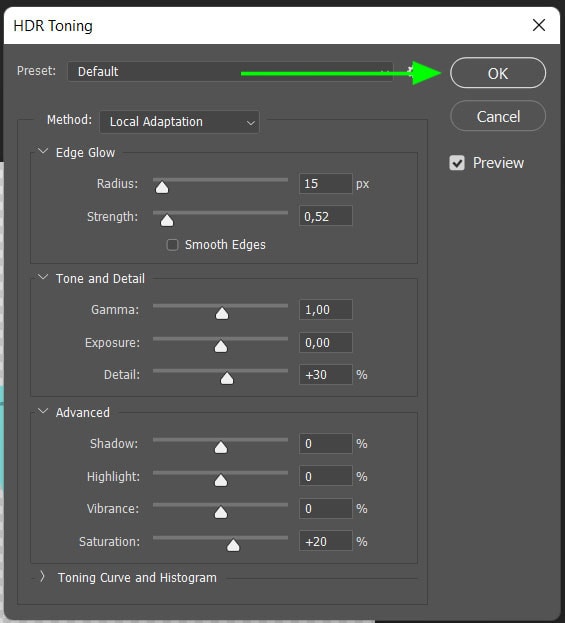
You will then have the option to change the HDR toning before selecting OK. These settings may change your image slightly, so it is best to start the project with a bit-depth of 8 or 16.
You will now have the option to select the PNG format when you save your file.
3. A Setting Or Preference Has Been Changed
If you have changed the above two settings and your image still won’t save in a PNG format, there may be a setting or preference that has changed on the program. Since it may be difficult to find the exact problem, you can reset all preferences to default to fix the issue.
When resetting all the preferences you may lose certain customized settings and presets, so be sure to save a backup before resetting the program.
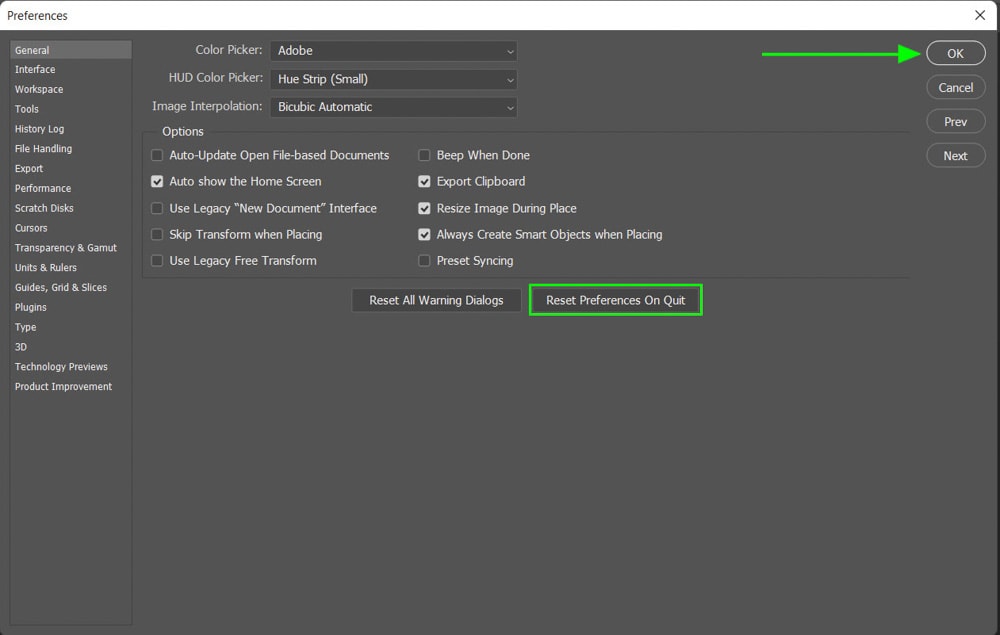
To reset preferences navigate to Edit > Preferences > General (Win) or Photoshop > Preferences > General (Mac) or press Control + K (Win) or Command + K (Mac).

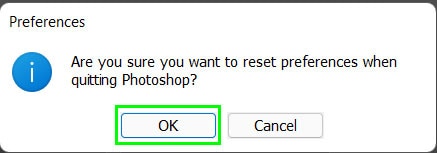
Select the Reset Preferences On Quit option at the bottom and select OK when Photoshop asks if you are sure. When you close and re-open the program, all the preferences and settings will be set to default.
How To Export A PNG File In Photoshop
When you export a PNG file, the program will automatically convert the image to the RGB color mode and reduce the bit channel to an acceptable channel for PNG files.
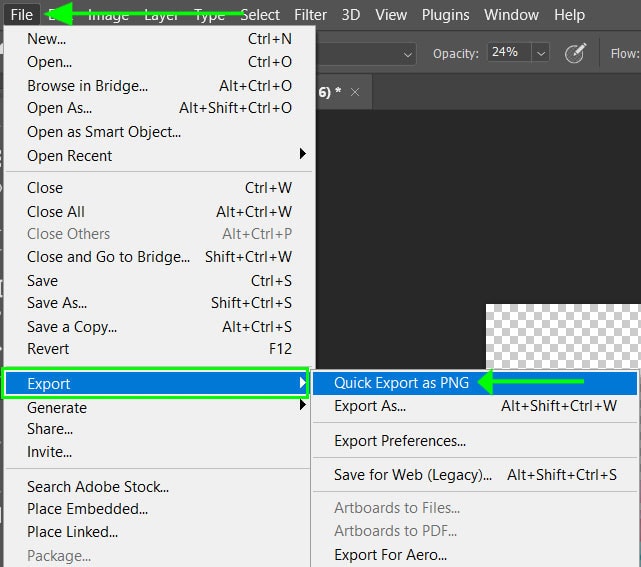
There are two ways to export a PNG file in Photoshop, the quickest way is to navigate to File > Export > Quick Export as PNG. When the window opens, the format is automatically set to PNG, so simply click Save. This method doesn’t give you control over your PNG settings.

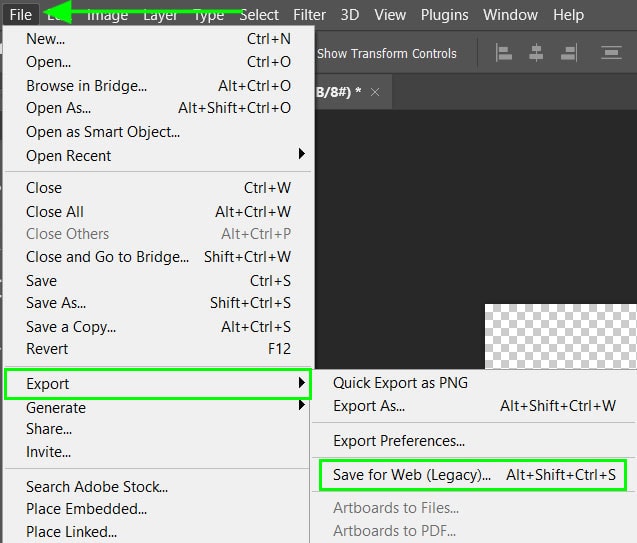
The second method is to navigate to File > Export > Save for Web (Legacy) or press Shift + Control + Alt + S (Win) or Shift + Command + Option + S (Mac).
Note: For this method, the document needs to be set at 8 bits/channel or 16 bits/channel.
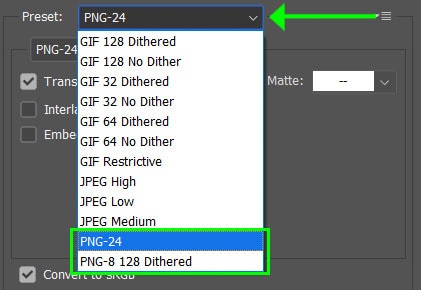
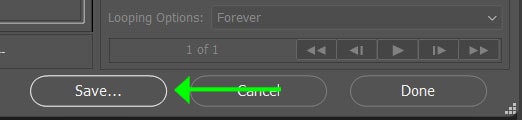
Select the PNG option from the Preset dropdown menu and save the image by pressing Save at the bottom of the window. In this window, you can adjust the PNG settings before you export it as a PNG. The color profile of the image will automatically be converted to RGB.
So if you’ve been having issues with exporting a PNG file in Photoshop, one of these three problems is likely the issue. With a couple of clicks, you can have the problem solved and be on your way to exporting in no time.
Happy Editing!


