
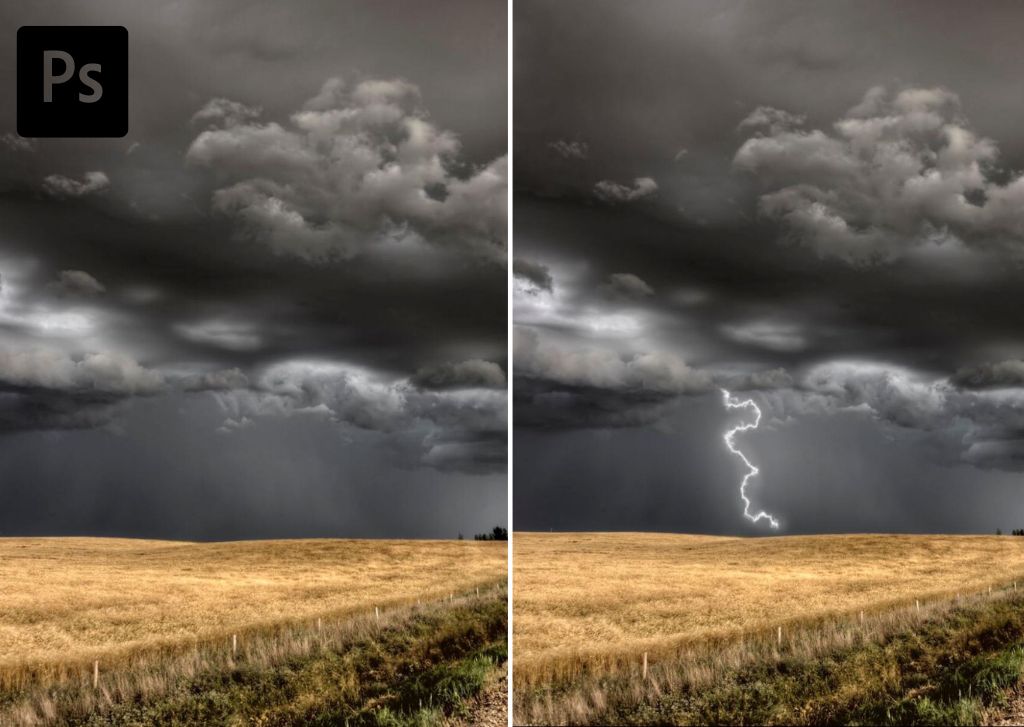

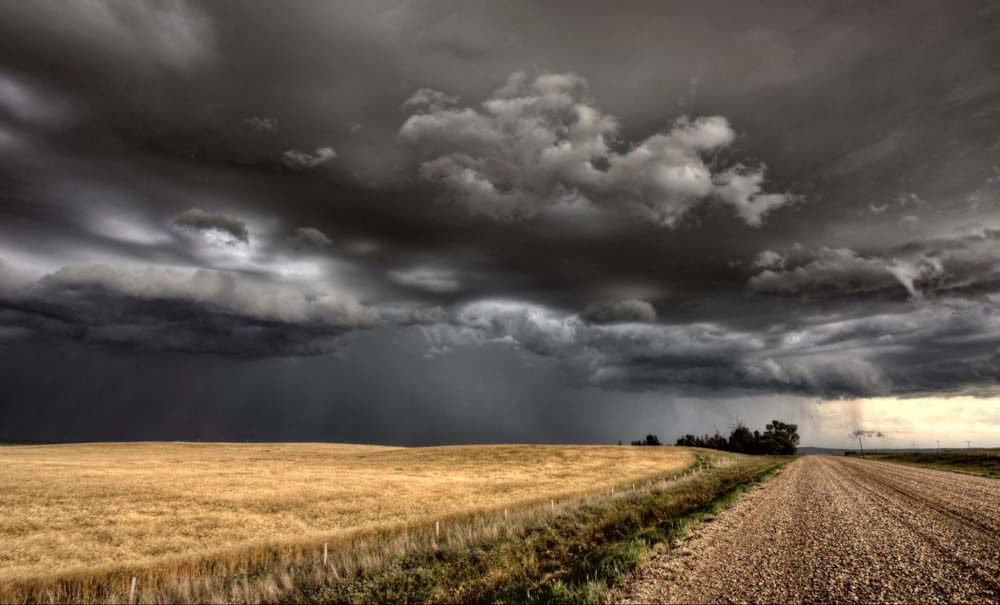
Photographing real lightning can be quite challenging, but Photoshop allows you to render rather realistic lightning instead! This can add much interest and increase your photograph’s ‘wow’ factor while still looking realistic paired with a stormy sky.
So here’s how to add lightning in Photoshop in just 12 simple steps.
First, duplicate the base layer and then add a new blank layer. On the blank layer, add a black-and-white gradient (G). Then, go to Filter > Render > Difference Clouds to add Difference Clouds to the photo. Once added, press Control + I (Win) / Command + I (Mac) to invert the clouds.
To isolate the lightning bolt, adjust the image levels with Control + L (Win) / Command + L (Mac) and then use the Brush Tool (B) to isolate the desired bolt. Use the Lasso Tool (L) to select the bolt and then copy/paste it to a new layer. Change the new layer blend mode to Screen. Finally, use Control + T (Win) / Command + T (Mac) to open the Transform Tool and place your lightning bolt in the right place.


First, duplicate the base layer and then add a new blank layer. On the blank layer, add a black-and-white Gradient (G). Then, go to Filter > Render > Difference Clouds to add Difference Clouds to the photo. Once added, press Control + I (Win) / Command + I (Mac) to invert the clouds.
To isolate the lightning bolt, adjust the image levels with Control + L (Win) / Command + L (Mac) and then use the Brush Tool (B) to isolate the desired bolt. Use the Lasso Tool (L) to select the bolt and then copy/paste it to a new layer. Change the new layer blend mode to Screen. Finally, use Control + T (Win) / Command + T (Mac) to open the Transform Tool and place your lightning bolt in the right place.
How To Make Lightning From Scratch In Photoshop
Step 1: Press Control/ Command + J To Duplicate Your Base Image
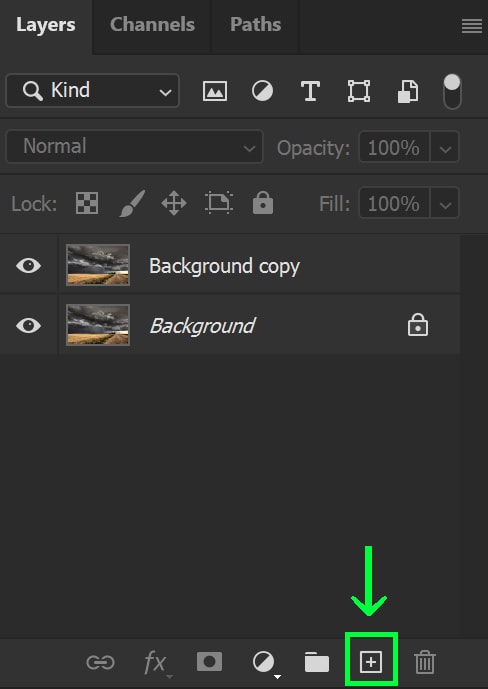
In the Layers Panel, you can duplicate the base layer by selecting the base layer and pressing Control + J (Win) or Command + J (Mac).

Step 2: Add A New Blank Layer By Clicking The New Layer Icon In The Layers Panel
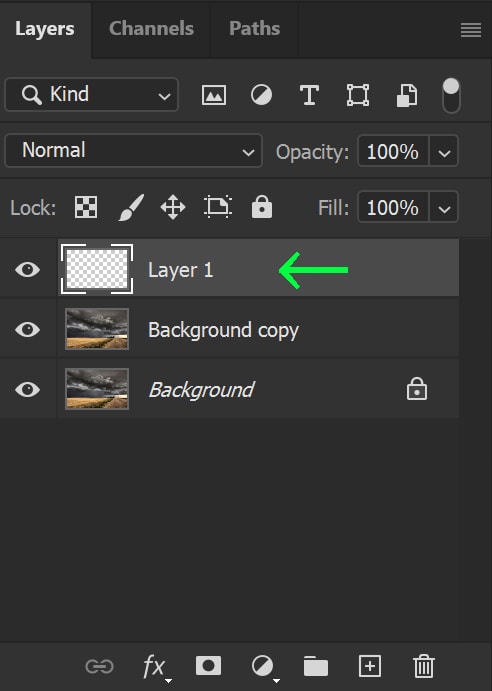
Once you’ve duplicated the base layer, you need to make a blank new layer on top of that. You can do so by clicking the New Layer icon in the Layers Panel.
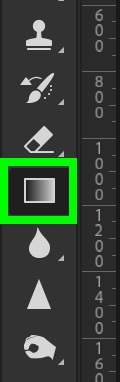
Step 3: Add A Black-To-White Gradient (G)
I’m going to add a gradient to the new blank layer I just made. To do so, find the Gradient Tool in the Toolbar or press G on the keyboard.
I then need to select the color gradient that I want. Press D on the keyboard to switch the gradient to black and white. You also need to make sure that the Linear Gradient option is selected. You will find this directly next to the gradient panel itself.

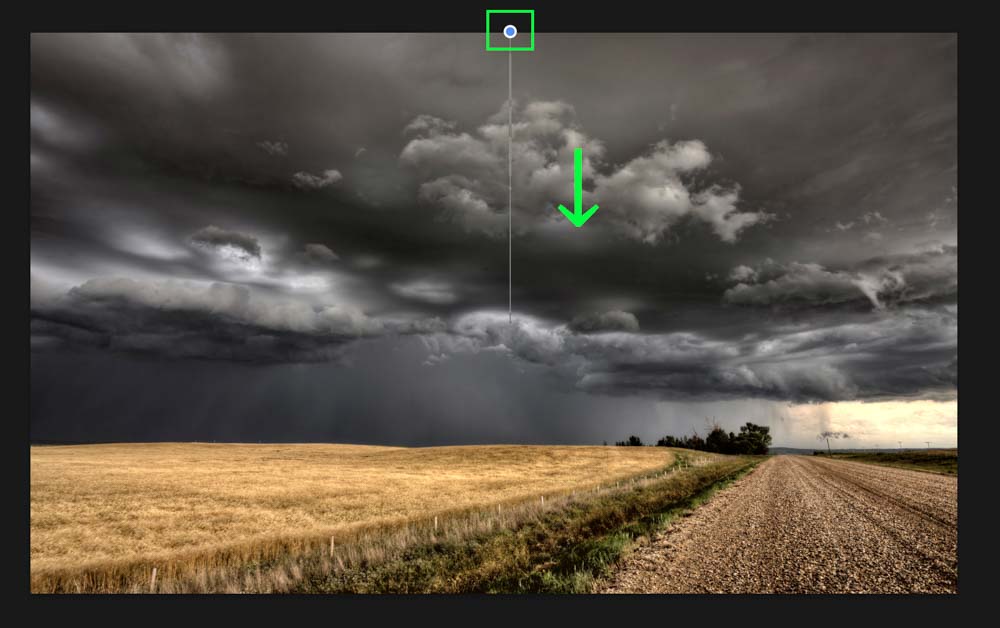
Once you have done the above, go to your image and click the top of the photo. Hold down Shift and drag down to the bottom. Holding down Shift ensures that you draw a perfectly vertical line. When releasing, you’ll be left with a gradient across the entire canvas.
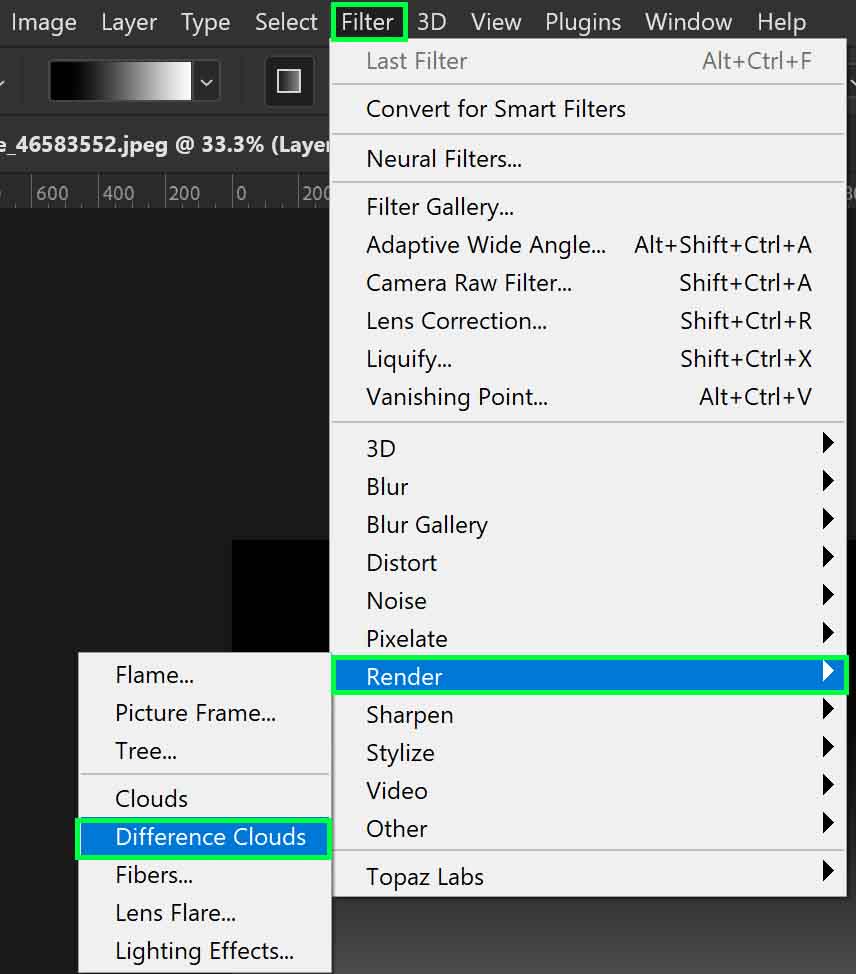
Step 4: Go To Filter > Render > Difference Clouds To Add A “Difference Clouds” Render
Now we are going to make the lightning bolt. Go to Filter > Render > Difference Clouds in the menu bar. Upon pressing Difference Clouds, your photo will look like this.
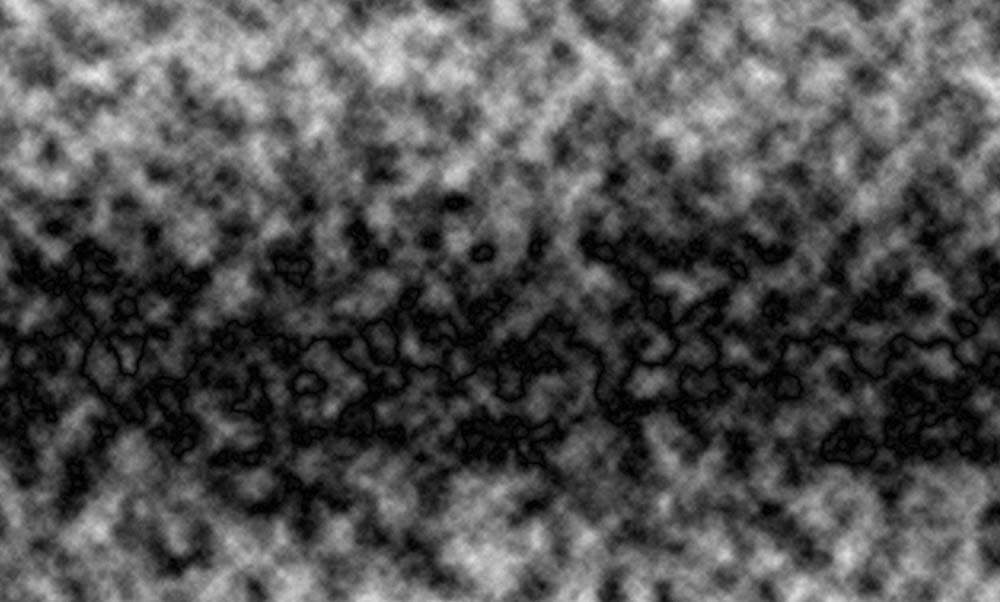
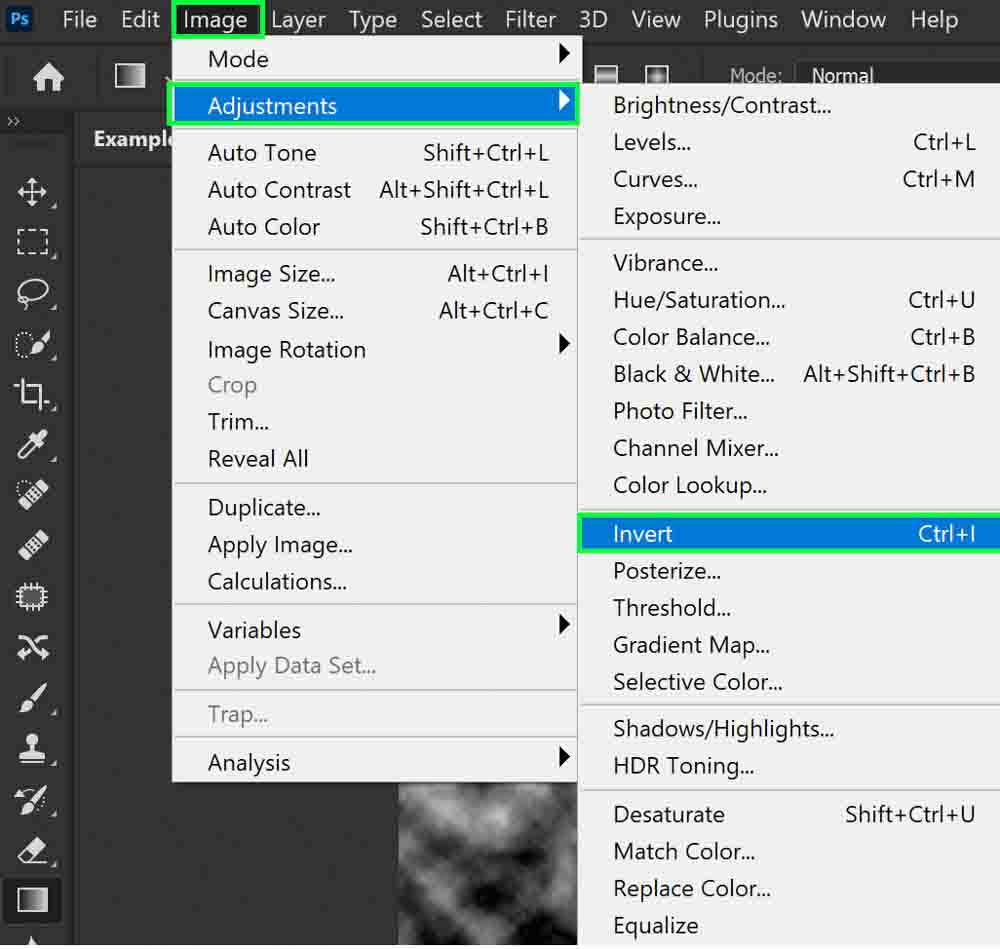
Step 5: Press Control/Command + I To Invert The “Difference Clouds” Render
To start creating the lightning bolts, the “difference clouds” need to be inverted. You can do so by going to Image > Adjustments > Invert or pressing Control + I (Win) or Command + I (Mac).

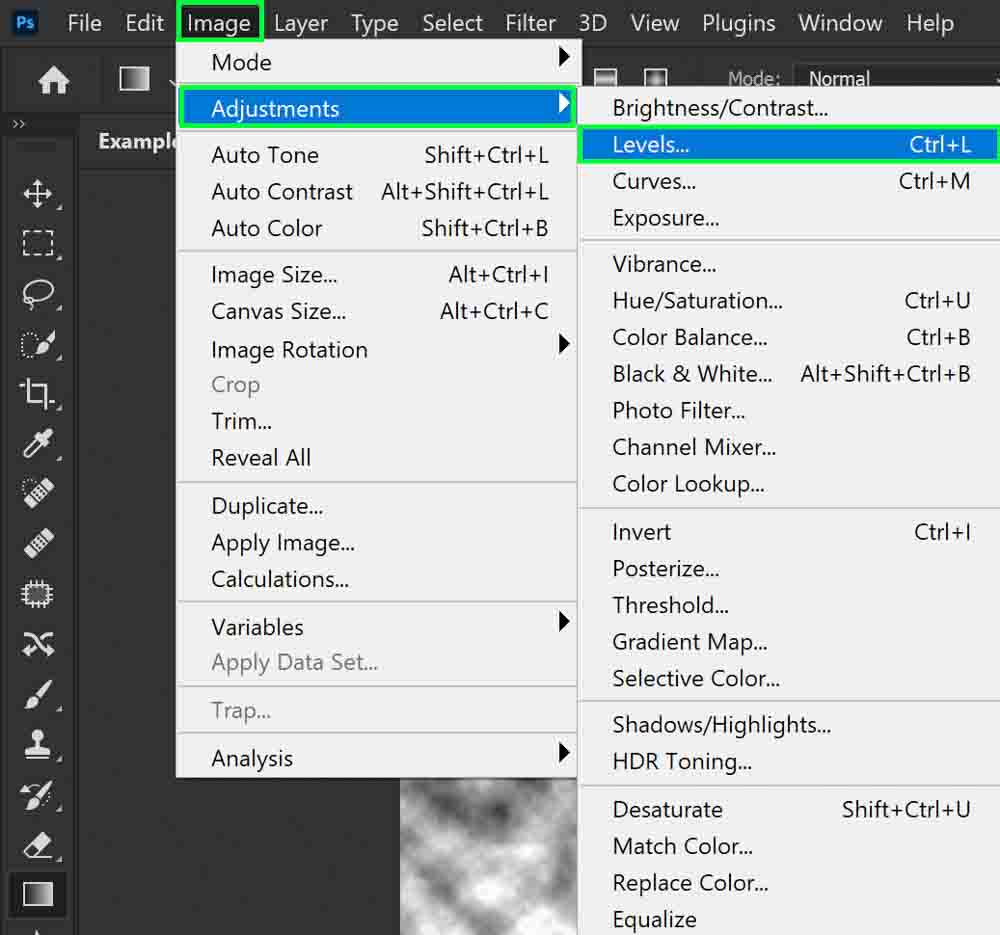
Step 6: Press Control/Command + L To Adjust The Image Levels
These edits will all start to make sense once you adjust the image levels! Open the Levels Panel with Image > Adjustments > Levels or press Control + L (Win) or Command + L (Mac).
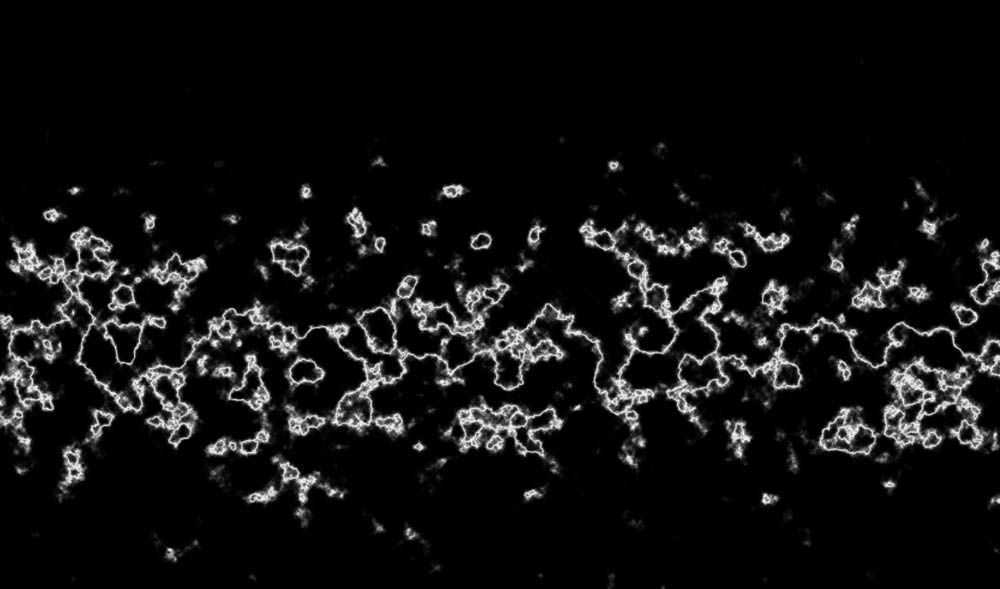
A window with a histogram display will appear. In the Shadow field, input 200. In the Midtones field, type in 0.24. Leave the Highlight field at its default setting.

Your image will now look like this:
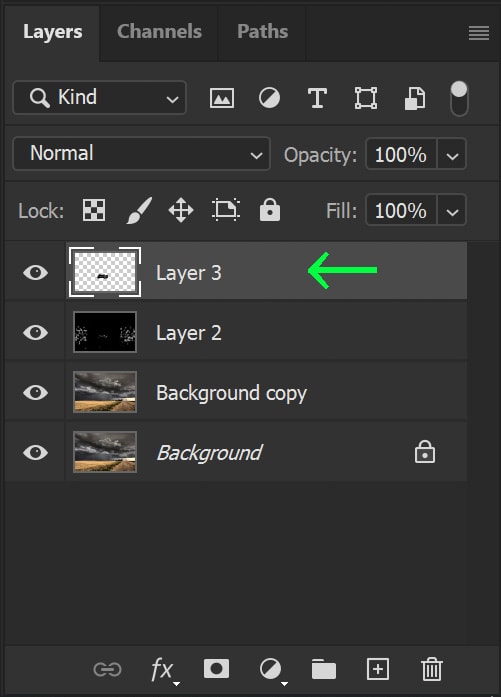
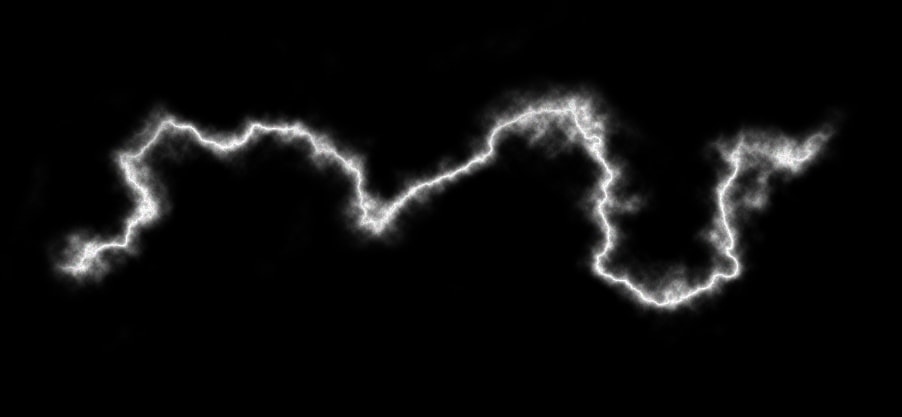
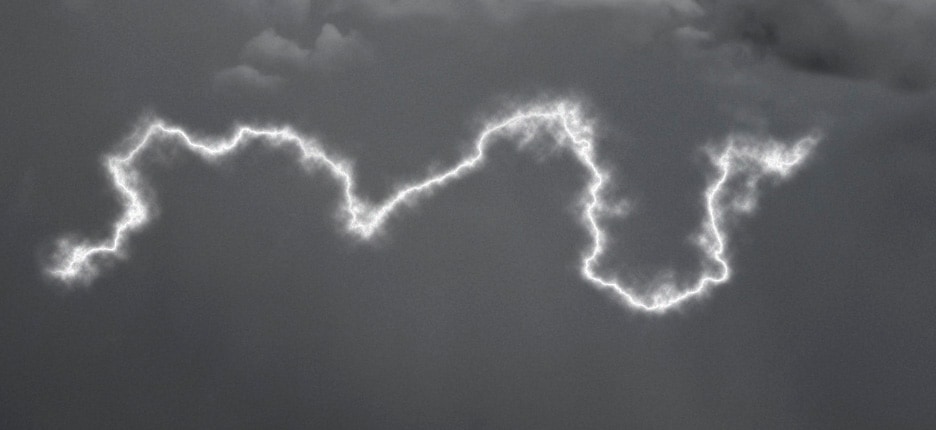
Step 7: Isolate The Lightning Bolt With The Brush Tool (B)
Although the above image result can look crazy and messy, there is definitely a lightning bolt in there! To isolate the bolt I want, I’ll use the Brush Tool (B). First, make a new layer above this one.
Then, for the brush tool settings, use the Soft Round brush with a Hardness of zero (you want the edges nice and soft). You should set the Mode to Normal and the Opacity to 100% in the Options Bar.

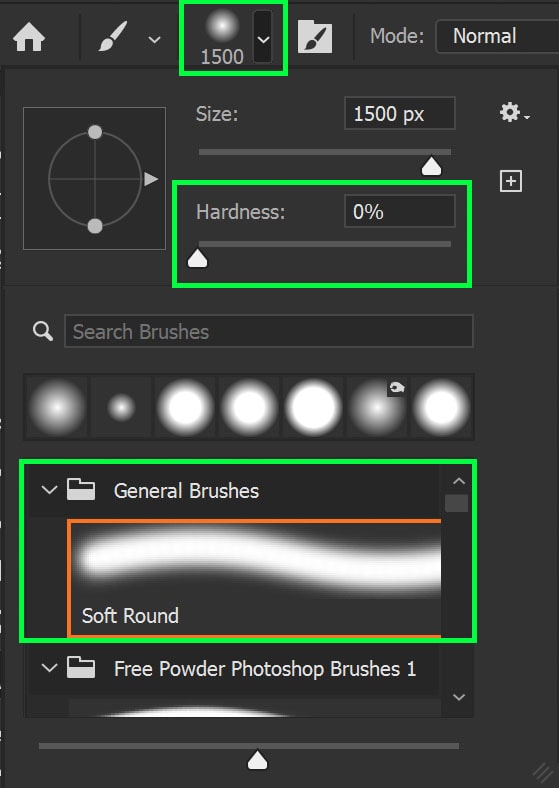
Set the foreground color to Black in the Toolbar.

Then, I will paint away all elements that aren’t a part of my lightning bolt. You can use the [ and ] brackets on your keyboard to adjust the brush size.
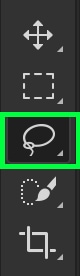
Step 8: Select The Lightning Bolt With The Lasso Tool (L)
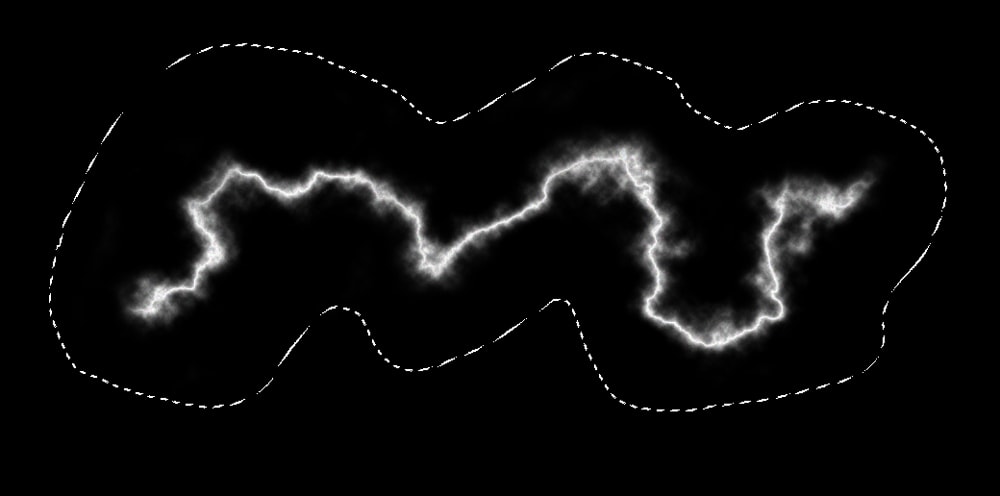
To select the lightning bolt, I’m going to use the Lasso Tool (L).
Once selected, draw a rough outline around the lightning bolt.

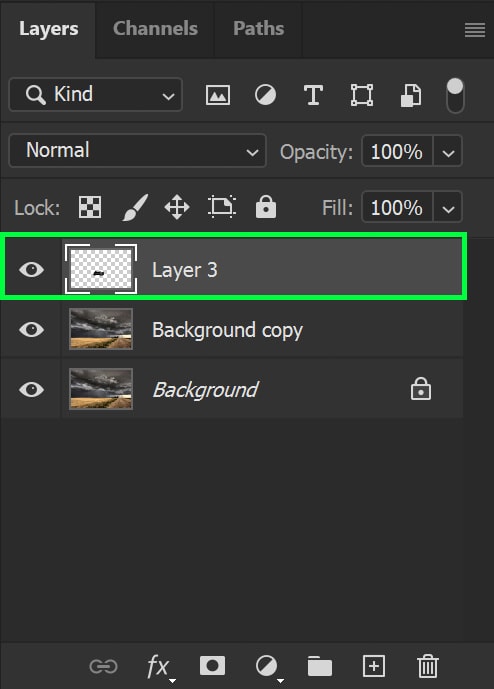
Step 9: Press Control/Command + C and Control/Command + V To Copy & Paste The Bolt Into A New Layer
Once the bolt is selected, use Control + C and Control + V (Win) or Command + C and Command + V (Mac) to copy and paste the isolated bolt into a new layer. You can then delete the original layer with the whole bolt image.
Step 10: Remove The Black Around The Lightning By Changing The Blend Mode To Screen
To remove all of the black around the lightning bolt, all you need to do is change the layer’s blend mode. In the Layers Panel, make sure that the layer with the lightning bolt is active by clicking on it. In the Blend mode menu (which says Normal by default), click to activate the dropdown menu. In the dropdown menu, select Screen.
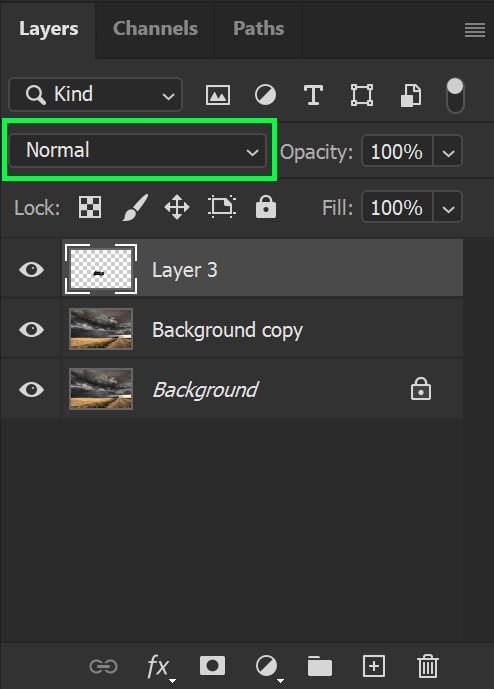
The result will show just the lightning and make the black transparent.
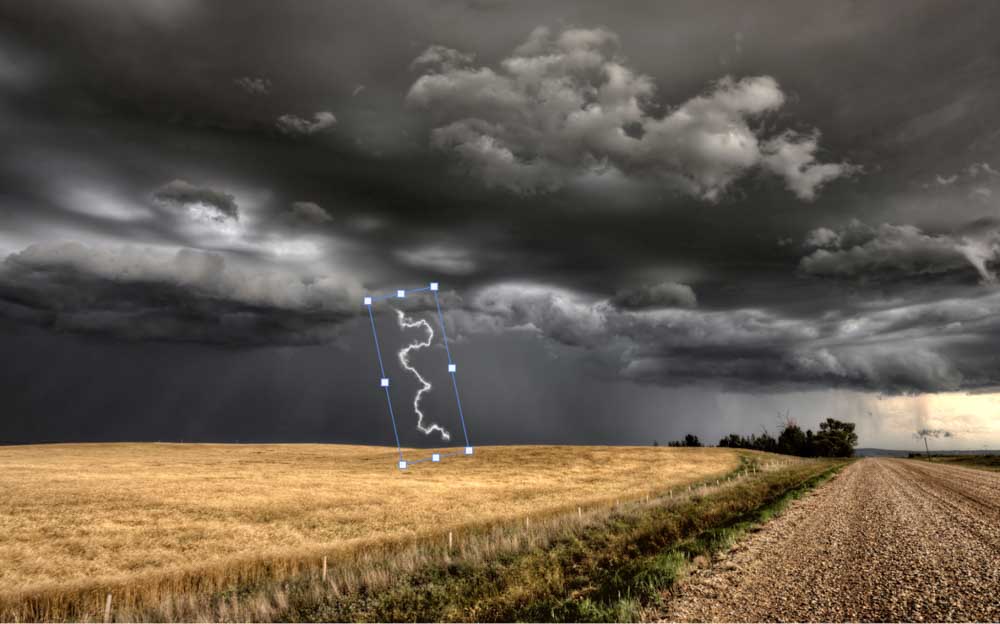
Step 11: Place The Bolt In The Right Spot With Control/Command + T To Open Transform
As you can see, my bolt is horizontal, but I need it to be vertical. Press Control + T (Win) or Command + T (Mac) to activate the Transform adjustment. With Transform active, you can rotate, stretch, and shrink the bolt in any way needed.
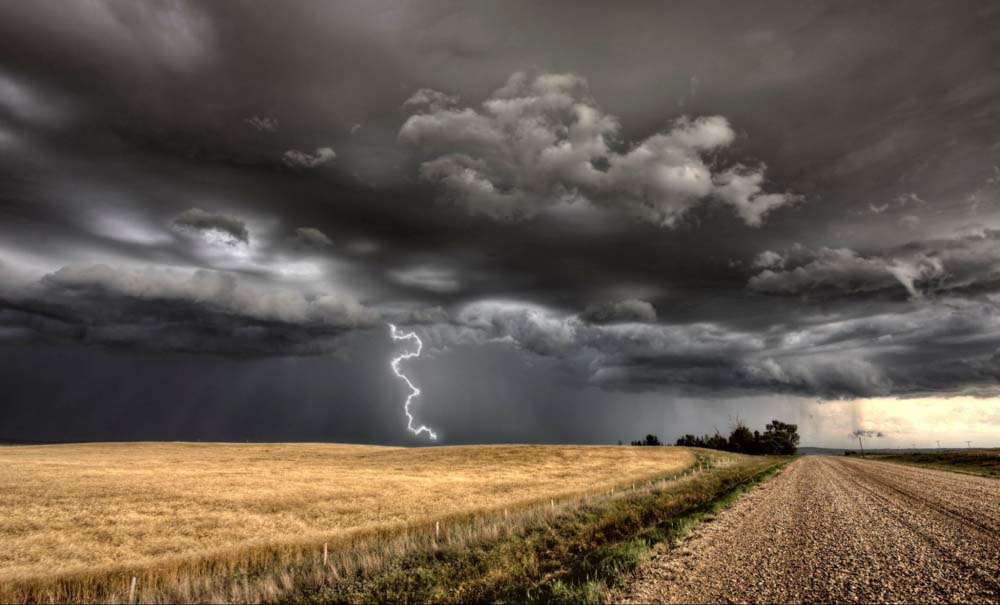
I placed the bolt in this particular spot of my photograph, ensuring that the top touches a cloud and the bottom is close to the ground.
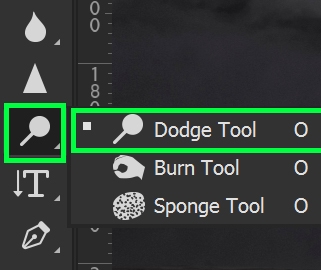
Step 12: Adjust The Image As Needed
In some cases, you may need to make some adjustments. I suggest using the Dodge Tool (O) to lighten all the areas around the lightning bolt, as that bold flash will spread the lightness around. Set the Dodge Range to Shadows and Exposure to 100% in the Options bar and paint behind the lightning bolt.

My photo was significantly enhanced by the addition of a lightning strike, changing the entire feel of the shot itself! You can do the same to your photographs, and I hope this tutorial helped you achieve just that.
Happy editing!
