
When working on a project, many novice graphic designers and photographers place their elements on the canvas and try to space them perfectly by eyeballing them. Why try to eyeball it when you can have Photoshop align and distribute your layers accurately?
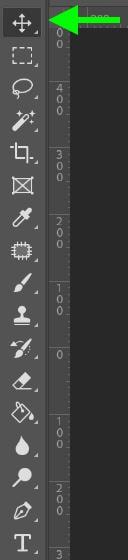
To align layers in Photoshop, select two or more layers from the Layers Panel, then activate the Move Tool (V). Now press Command + A (Mac) or Control + A (Win) to select your canvas, then use any of the align options found in the options bar to align your selected layers.
It’s a small thing to remember that will save you hours in the long run. By the end of this article, you’ll know everything you need to know about getting Photoshop to place your elements where you want them and space them evenly without measuring.
Alignment Settings Explained
The alignment options in Photoshop are all about placing your elements around your canvas or selected area, whether you want to center text, shapes, or move elements to the edge of the canvas.
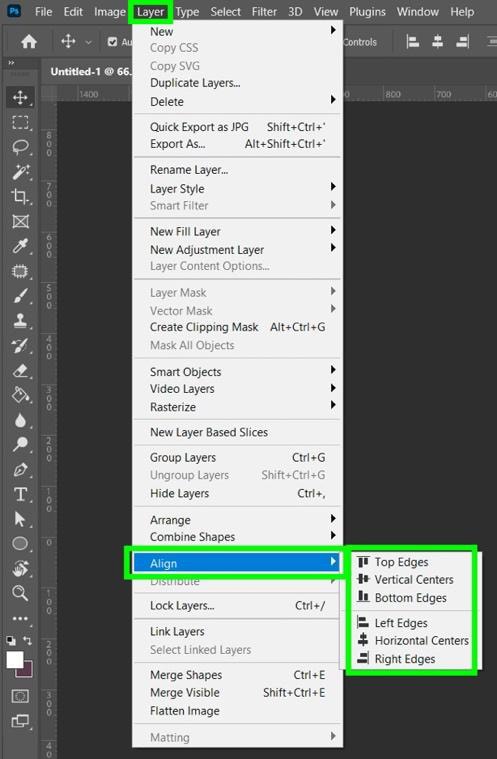
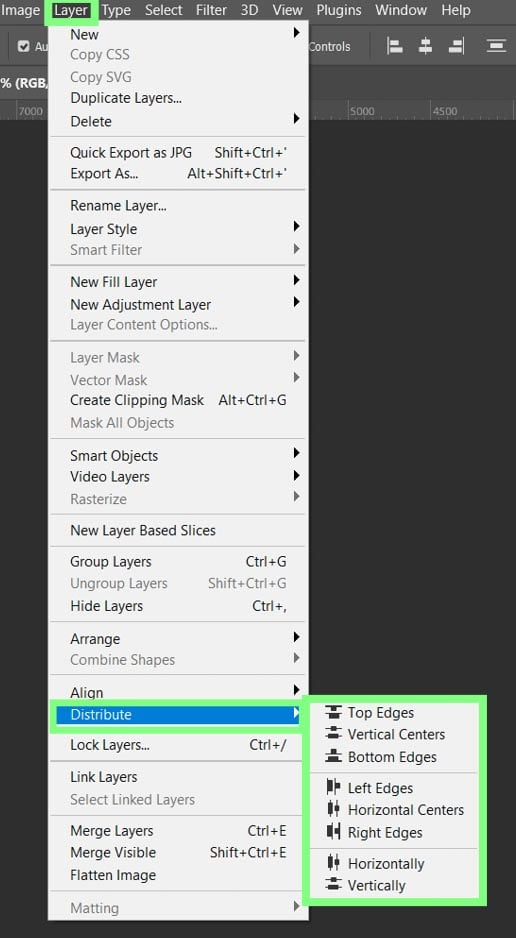
There are two ways for you to align the elements in your project. To use the first method, go to Layer > Align and choose the type of alignment you’re looking for.
The second and easier way to align the objects in your project is by selecting the Move Tool (V) and using the Options bar to align your elements.
To do this, select all the elements you wish to align in the Layers panel.

Then, select the Move Tool (V) in the Toolbar, to show the settings in the Options bar at the top of the screen.

- Auto-Select – To make things easier, tick on Auto-Select and then choose Layer in the drop-down menu. This will allow you to click on an element and select it immediately.
- Left Edges – This option will align elements to the left edge of your selection border or the leftmost pixel detected.
- Horizontal Centers – This option will align your elements to the center of the horizontal plane or your selected layers’ most horizontal center pixel.
- Right Edges – This option will align elements to the right edge of your selection border or the rightmost pixel detected.
- Top Edges – This option will align elements to the top edge of your selection border or the topmost pixel detected.
- Vertical Centers – This option will align your elements to the center of your selected layers.
- Bottom Edges – This option will align elements to the bottom edge of your selection border or the bottommost pixel detected.
It’s worth noting that a single layer cannot be aligned unless there is a selection. That means to align a layer to your entire canvas, you must first select the entire document by pressing Command + A (Mac) or Control + A (Win). From there you can use the alignment options to align your selected layer based on the active selection.
Distribute Settings Explained
The distribution settings in Photoshop are all about spacing your elements equally.
You can distribute the elements in your project by going to Layer > Distribute, then picking the way you want to distribute your elements.
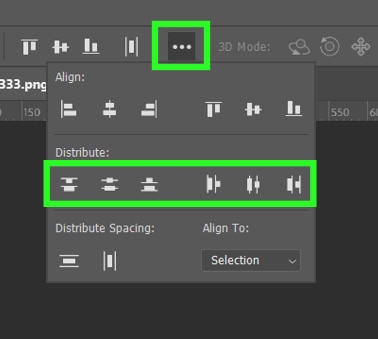
The faster way to distribute your elements is to select the Move Tool (V) and use the distribute options in the Options bar.

- Distribute Horizontally – This option will produce even spacing between all your selected elements on the horizontal plane.
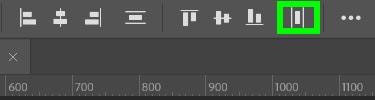
- Distribute Vertically – This option will produce even spacing between all your selected elements on the vertical plane.
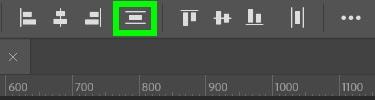
In the Options bar, you will also find the Three Dots Icon. Click it to reveal more options.
- Top Edges – Spaces your elements evenly, starting from the topmost pixel of each element.
- Vertical Centers – Spaces your elements evenly, starting from the vertical center pixel of each element.
- Bottom Edges – Spaces your elements evenly, starting from the bottommost pixel of each element.
- Left Edges – Spaces your elements evenly, starting from the leftmost pixel of each element.
- Horizontal Centers – Spaces your elements evenly, starting from the horizontal center pixel of each element.
- Right Edges – Spaces your elements evenly, starting from the rightmost pixel of each element.
How To Align Layers & Groups In Photoshop
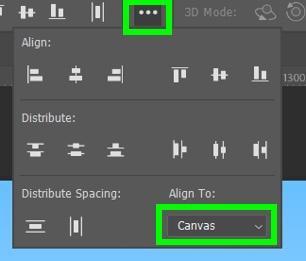
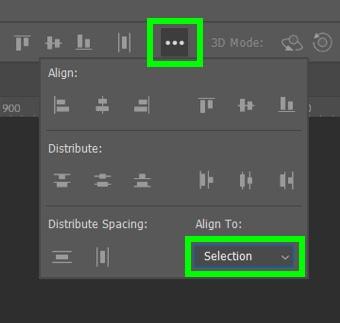
Before aligning your layers, ensure that you’re aligning your layers to the canvas.
To do this, select the Move Tool (V) and click on the Three Dots in the Options bar. Under the Align To drop-down menu, choose Canvas.
To align the elements of your project, you first need to select the layers you wish to align each time.
You can do this by clicking on your first layer in the Layers panel, holding down the Shift key, and clicking the last layer you wish to add to your selection. This will automatically select all the layers between the two layers you clicked.
You can also individually select your layers in the Layers panel by holding down Control (Win) or Command (Mac) and clicking on the layers you wish to select.

Align Left Edges
This option will align all your elements to the left edge of the canvas.
(Note: the images below will be aligned but not distributed. So the spacing between the elements will not be perfect. I will explain distribution later.)

Align Horizontal Centers
This option aligns your elements to the middle of the canvas, specifically to the vertical plane of your canvas.
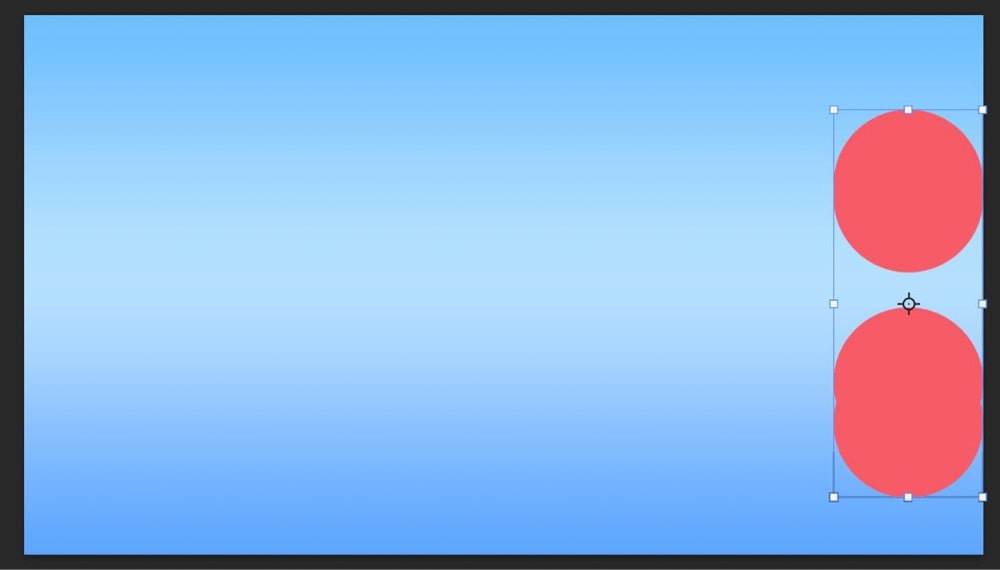
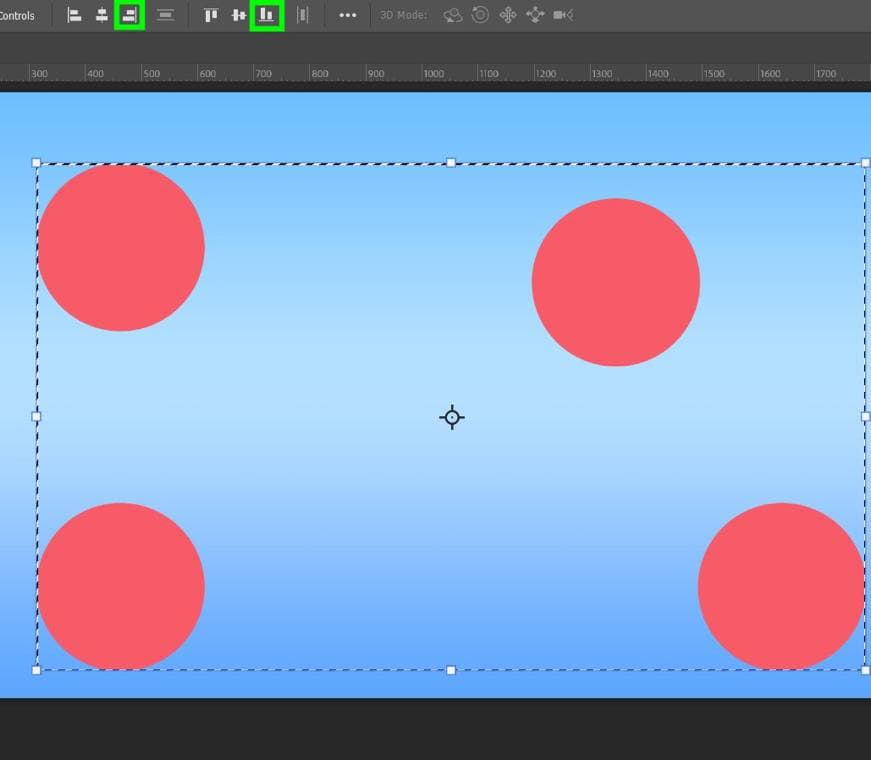
Align Right Edges
This option will align all your elements to the right edge of the canvas.
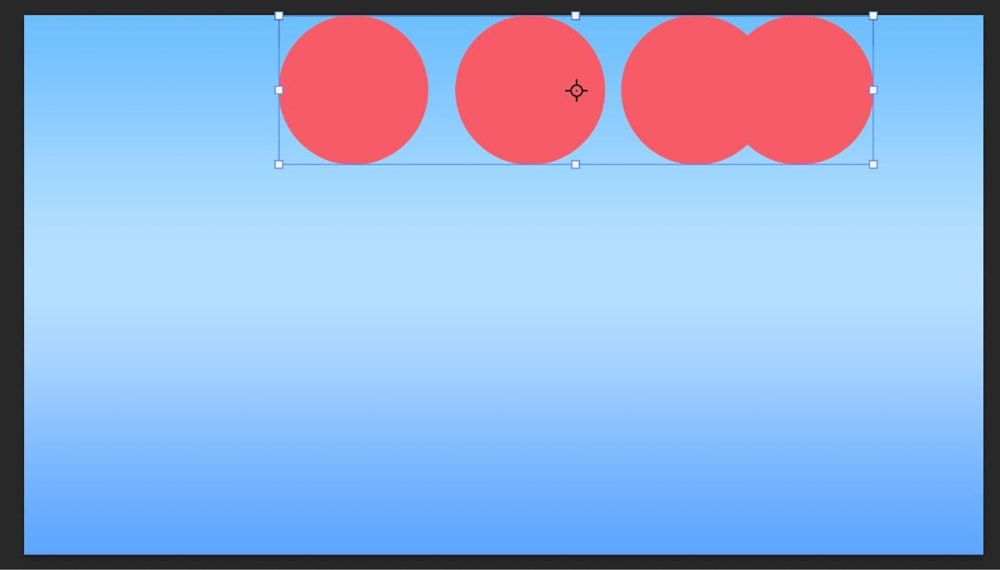
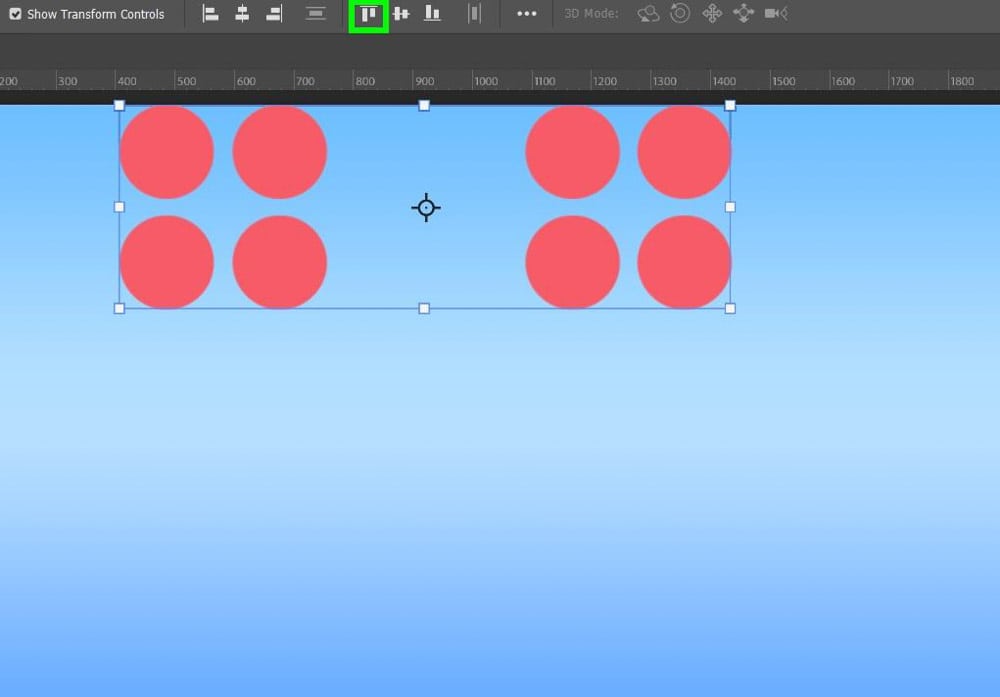
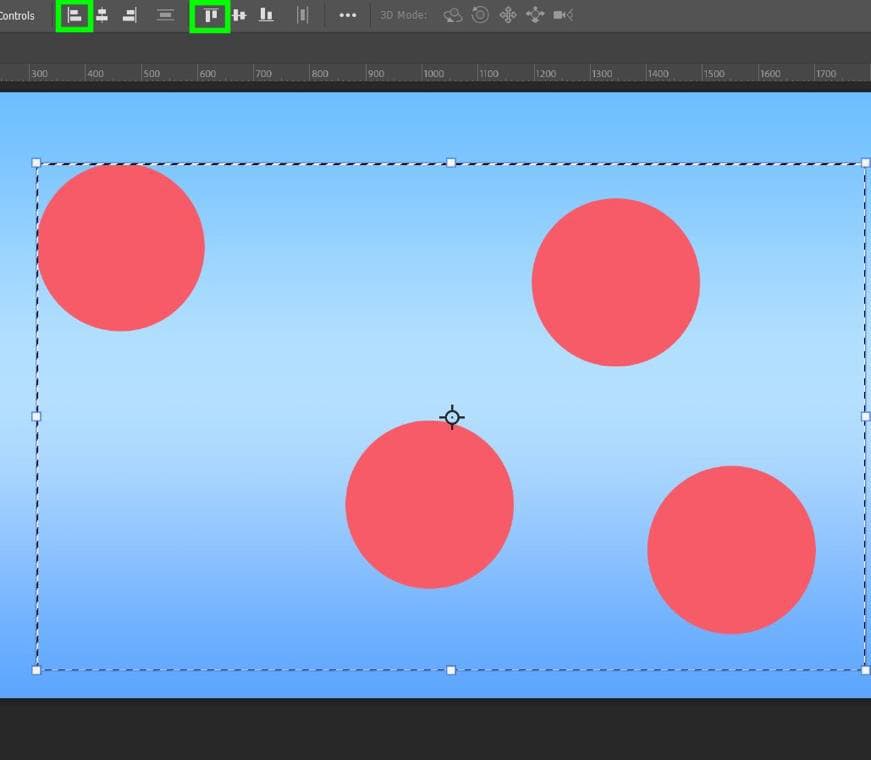
Align Top Edges
Using this option, you will send your elements to the top of the canvas.

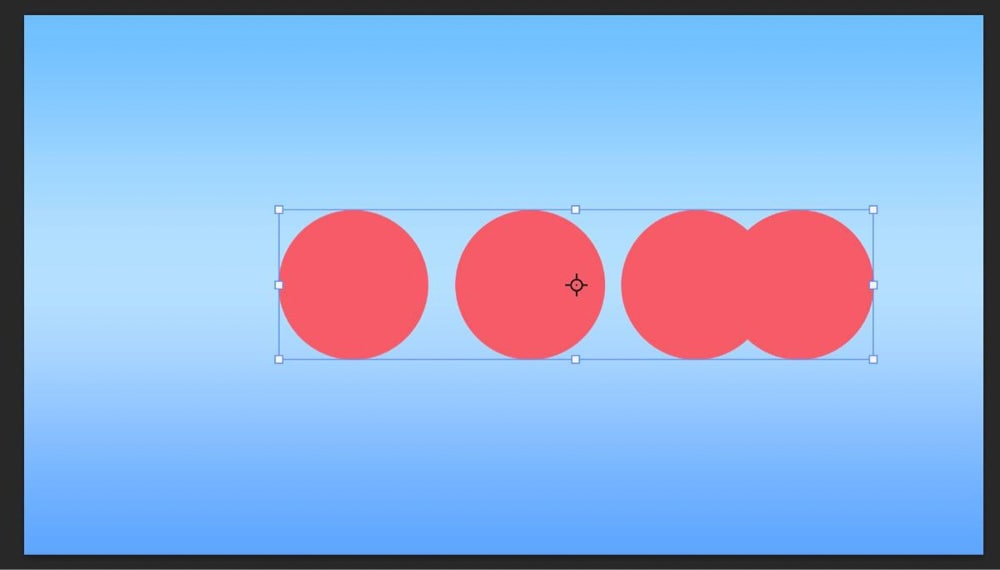
Align Vertical Centers
This option aligns your elements to the middle of the canvas, specifically to the horizontal plane of your canvas.
If you want your elements to be aligned to the perfect middle of your canvas, use this option in combination with the Align Horizontal Centers option.

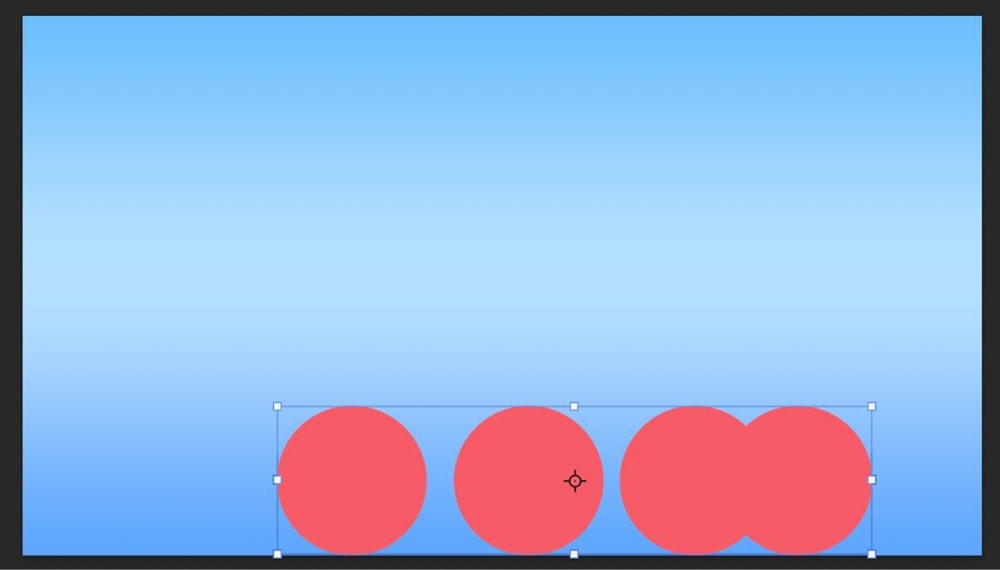
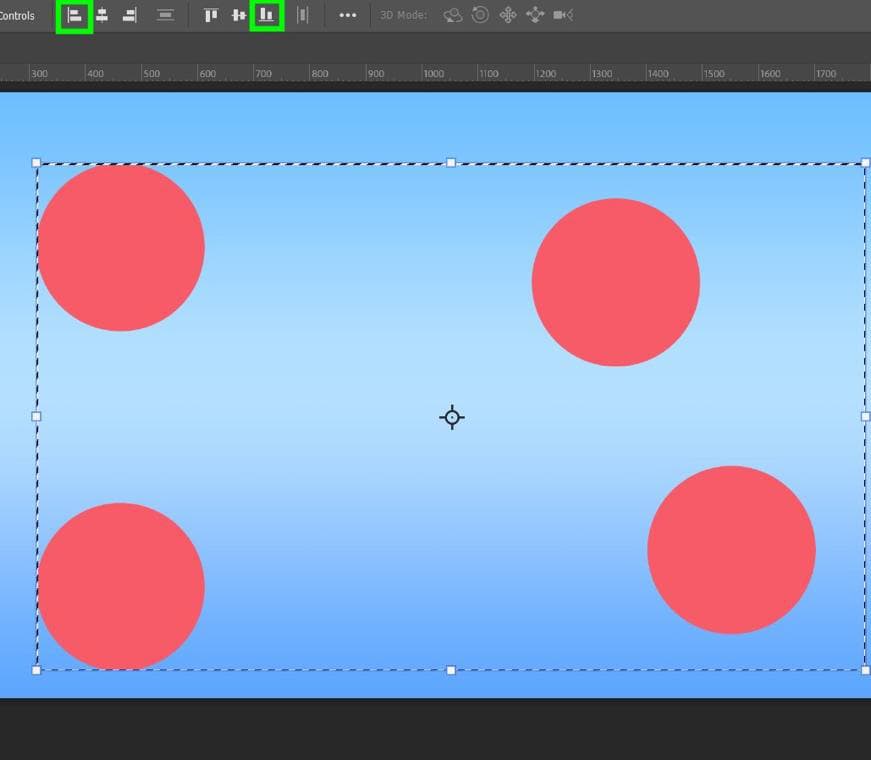
Align Bottom Edges
Using this option, you will send your elements to the bottom of the canvas.

Aligning Groups
All of these alignment options work with single elements as well as groups. Before trying to align groups of elements, ensure Group is selected in the drop-down menu for Auto-Select in the Options bar.
This will make it easier for you to select your group by clicking on it.

From there, you can align your groups precisely like you would with single elements.
Using Selection Tools
The other way you can align your elements is by using Selection Tools. First, make sure to choose Selection in the Align To drop-down menu.
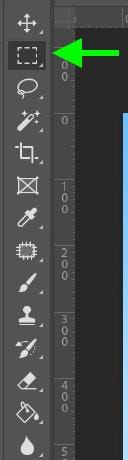
To start, select the Rectangular Marquee Tool (M), or any other selection tool, then form the shape you need on your canvas.
Select one of your elements and then click on an alignment option. Remember, you can combine more than one alignment option.
You will often need to combine alignment options to avoid having a random element float within your selection.
How To Distribute Layers In Photoshop
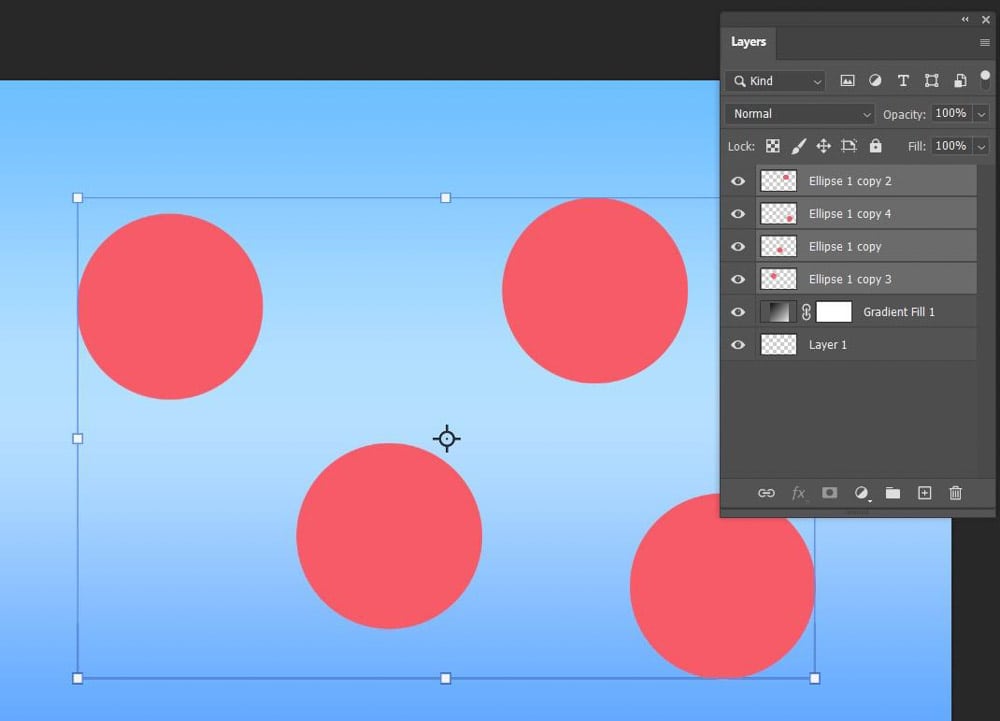
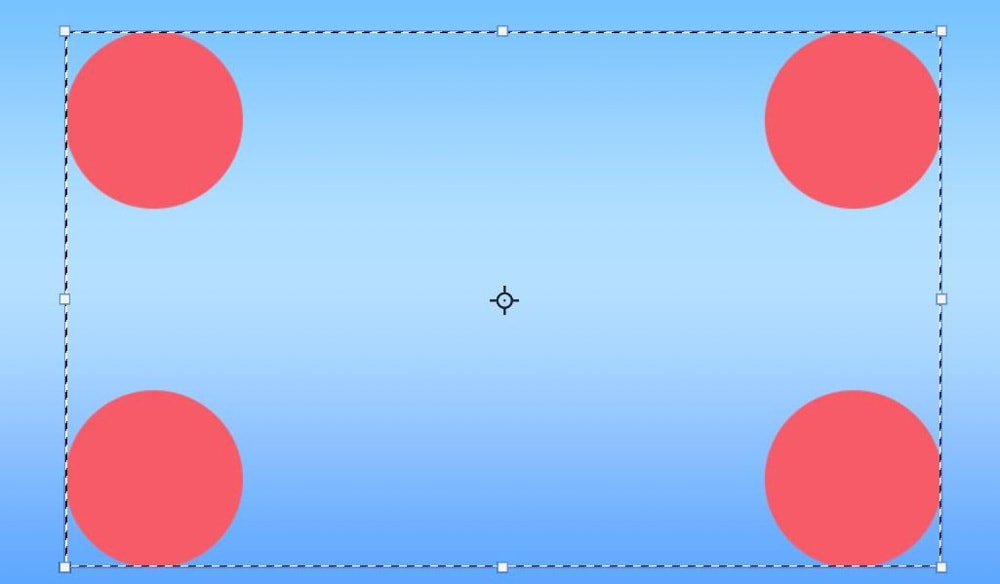
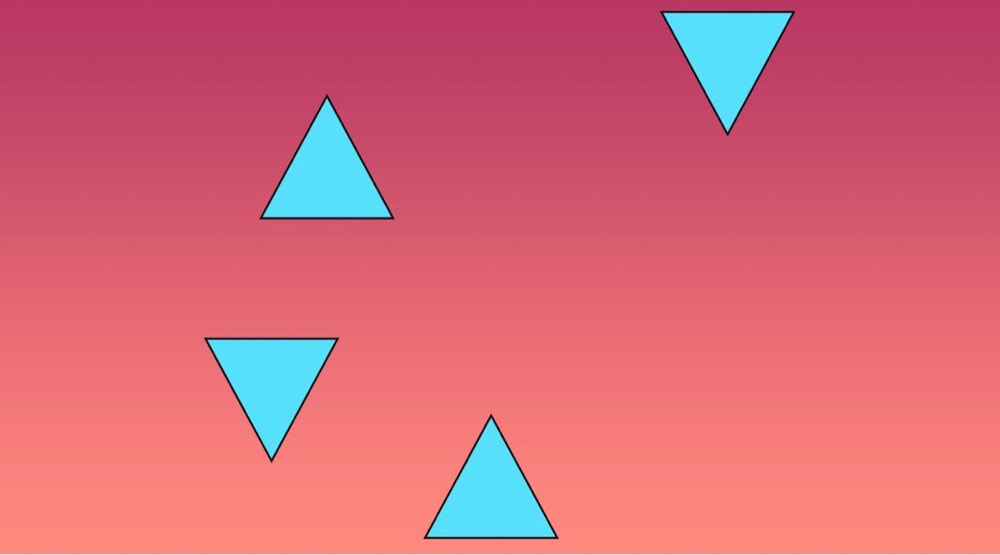
Distributing your layers is all about making sure your elements are evenly spaced. Distributing your layers works best after you’ve already aligned them. Here’s what happens when you don’t align your layers first.
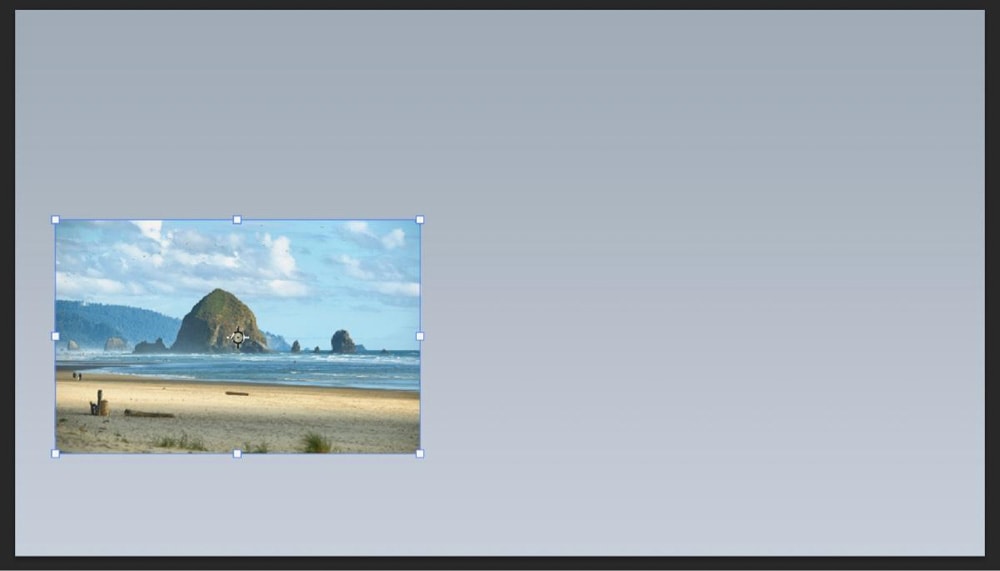
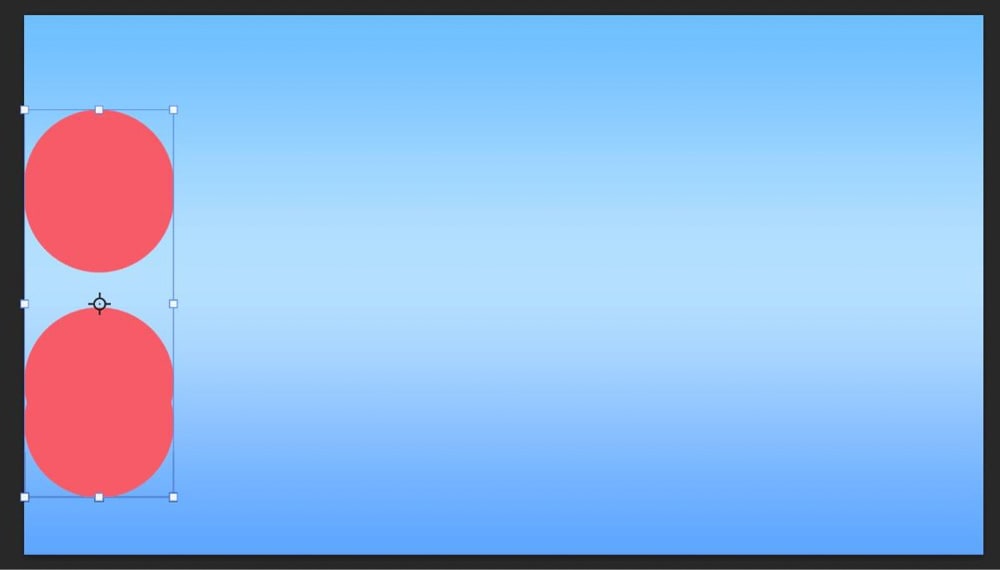
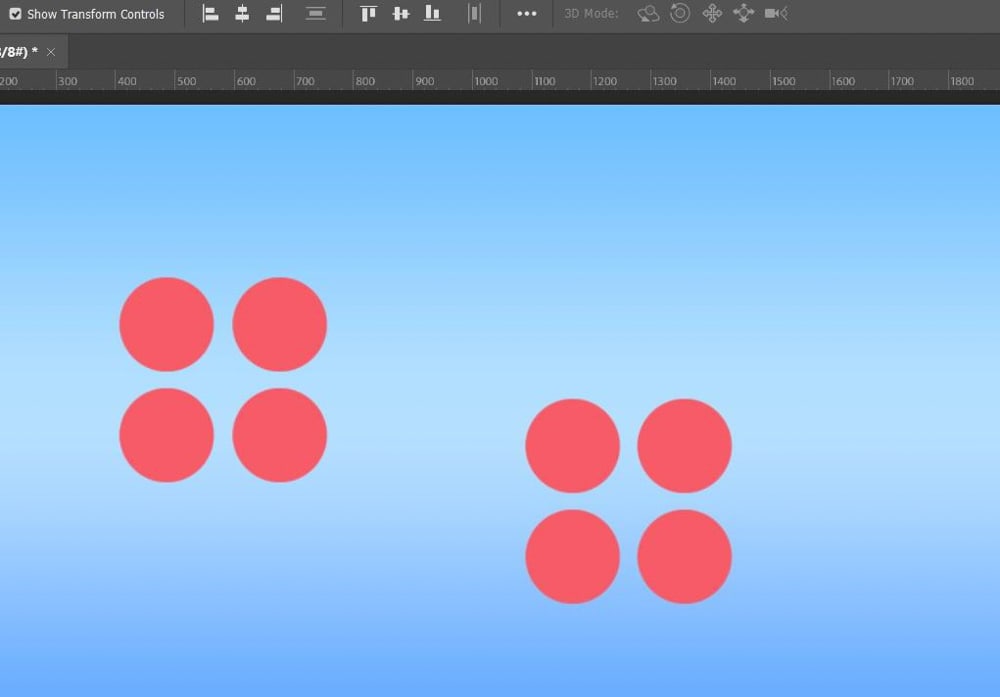
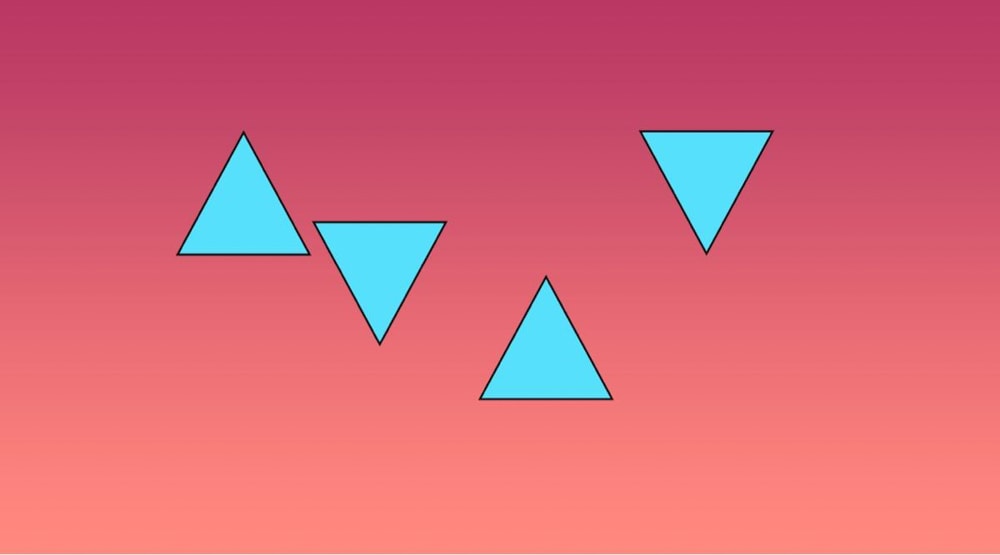
Here are some elements on a canvas:
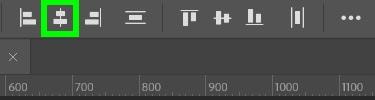
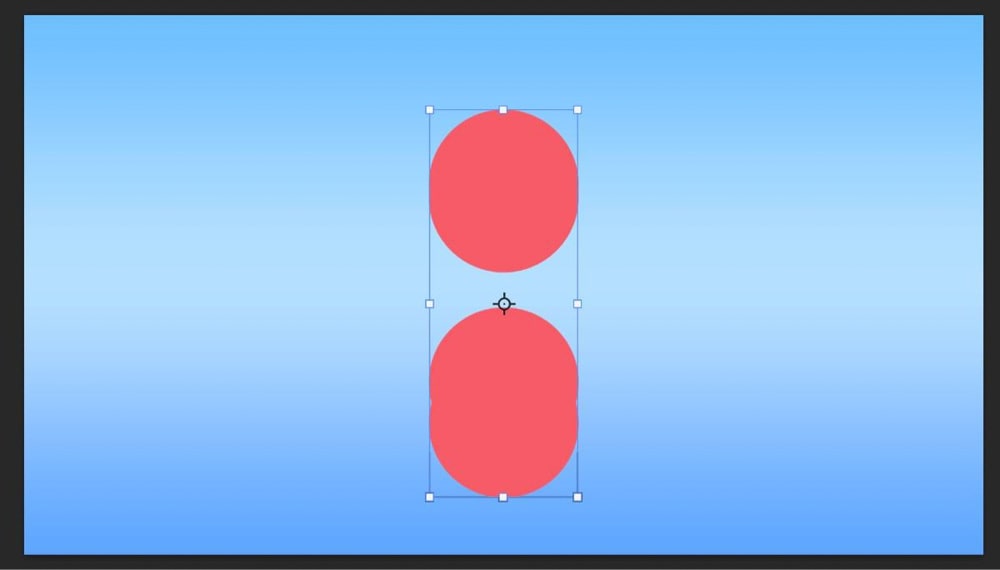
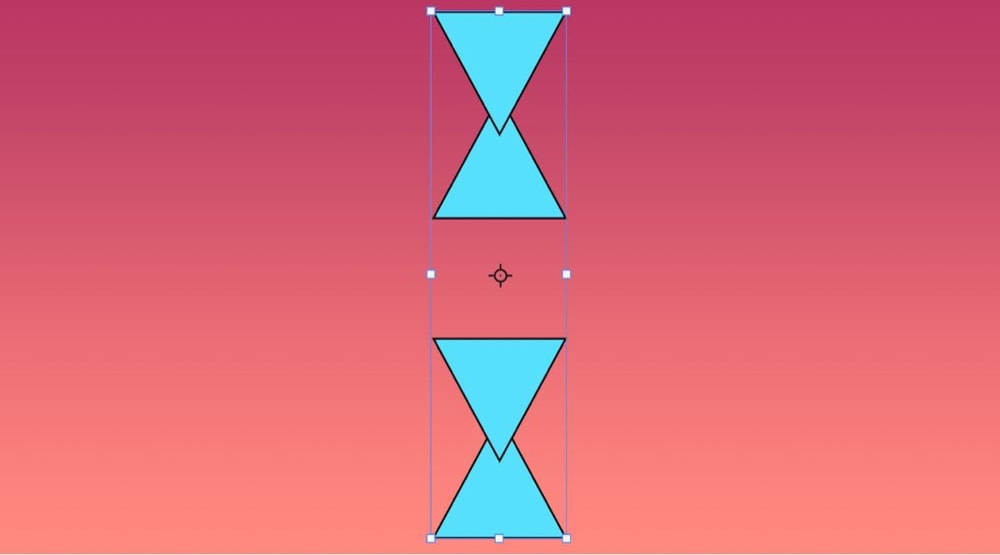
Here’s what happens when clicking the Distribute Vertically option.
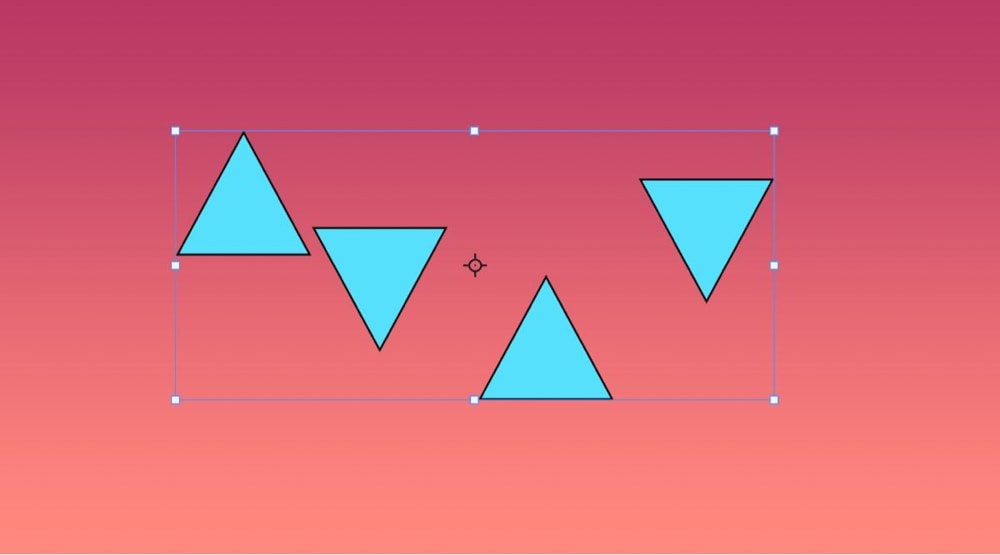
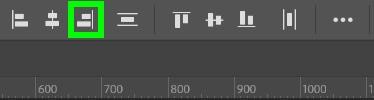
Barely anything happened. Now, let’s try aligning the elements with the Align Vertical Centers.
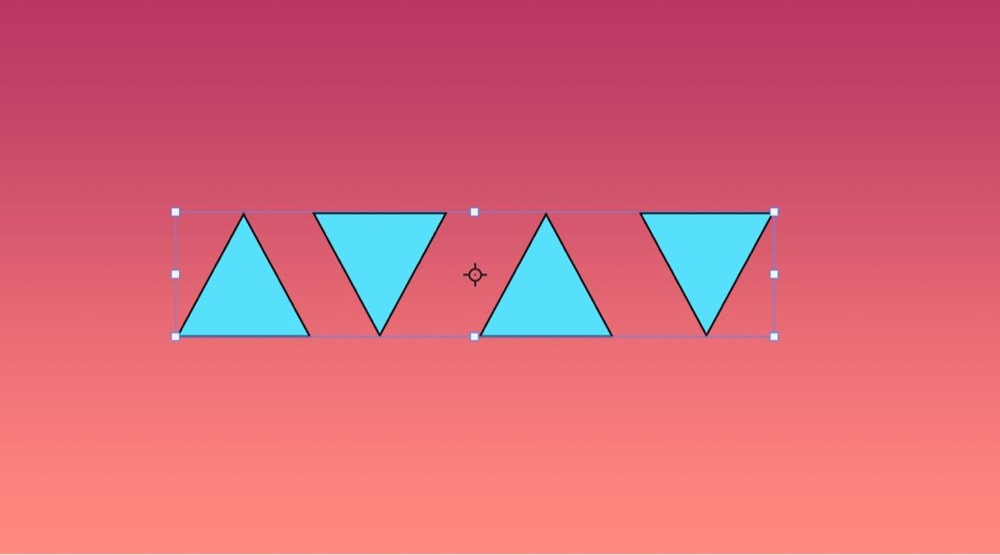
A much more significant change, but the spacing is not perfect. This is why aligning your elements first is better. Now is the best time to click Distribute Horizontally.

Here’s another example. First, select all your layers in the Layers panel, then click Align Horizontal Centers.
To evenly space your elements, click on Distribute Vertically.

Photoshop will space your elements perfectly in only two clicks.
There are so many different options and combinations for distributing your layers that there’s no way I can show all of them to you here.
Using Auto Align In Photoshop
You can use Photoshop’s Auto Align function by selecting your layers and then going to Edit > Auto-Align Layers.
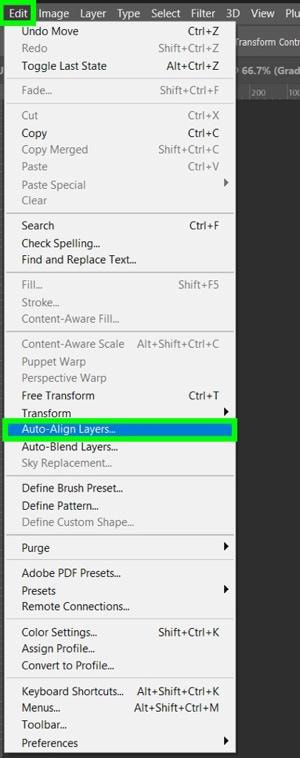
You will have six options under Projection:
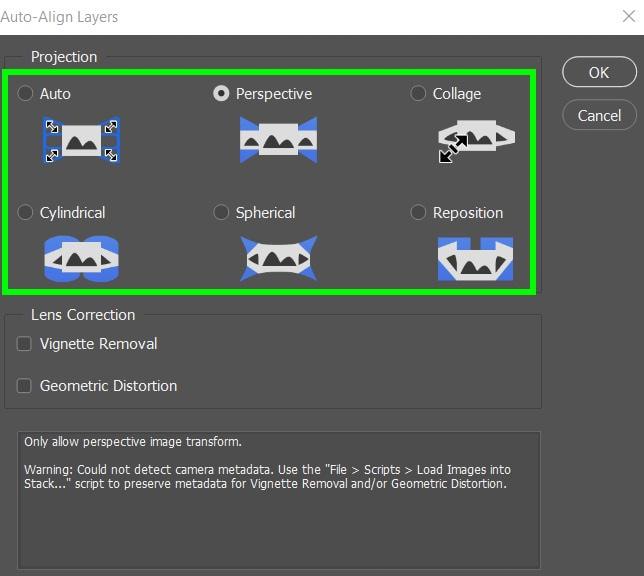
- Auto – Photoshop’s AI analyzes your images and determines if they should apply a Perspective or Cylindrical layout. This is based on which option will produce a better composite.
- Perspective – This option will use one of your images as a source and then overlap your other images around it to form a cohesive piece.
- Collage – Photoshop will align layers and overlapping content while retaining the shape of the objects. For example, if one of your layers is a circle, it will remain a circle.
- Cylindrical – This option reduces any distortion when using the perspective layout. This setting is best suited for producing wide panoramas.
- Spherical – Photoshop’s AI will designate your source image as a reference, then spherically transform the other images. This setting will often distort your images into a circular shape.
- Reposition Only – This setting aligns the layers of your project and matches overlapping content without distorting any of the source layers.
Most of these settings are easy to figure out for your project through trial and error.
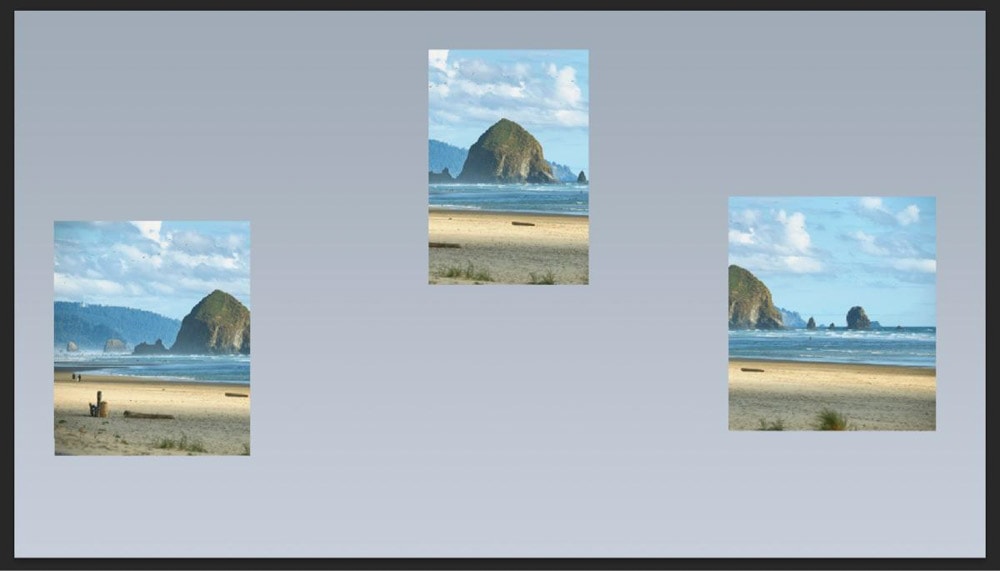
One of the options that will be used more often would be the perspective option. This option will allow you to essentially “stitch” similar images into one.
First, make sure your images have enough overlapping pixels. Photoshop suggests at least 40%.
Go to Edit > Auto-Align Layers. Choose Perspective and click on OK to confirm.
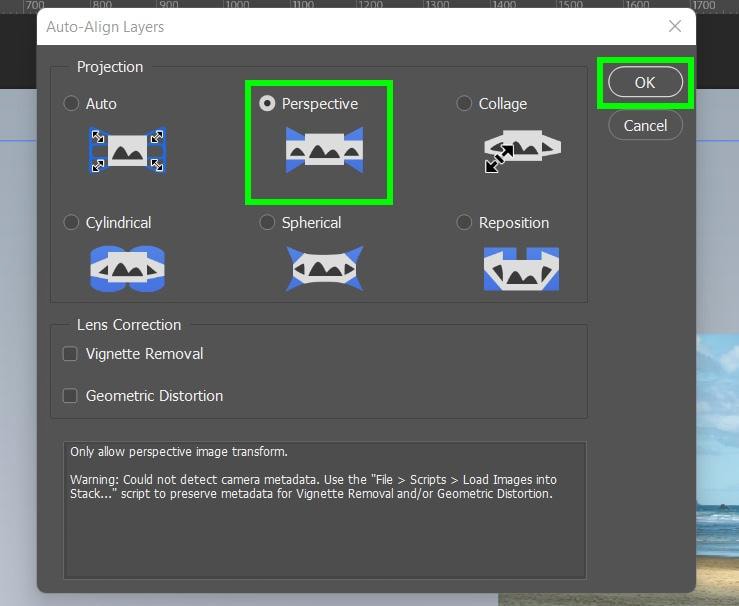
Your images will be glued together into one picture. This image should look seamless and much easier to create than if you tried to line up your photos manually. The auto-align feature is mostly used for panoramic images but can be also used with sliced images too.