
Adding a border or stroke to text is a great way to make it stand out. Creating a bolder stroke around your text highlights the words to make them pop in your design. The added stroke is also a way to separate your text from the background, especially if the colors are similar. There are various ways you can border text in Photoshop, depending on the effect you want.
Here are my top three ways to add a border around text, including adding a basic color, gradient, or pattern outline, adding several strokes around the text, creating an outline-only text, or adding a box around the text.
3 Ways To Border Text In Photoshop
Option 1: Adding A Basic Color, Gradient, Or Pattern Outline
You can fill your text stroke with a basic solid color. But if your project doesn’t call for anything basic, you can go really bold with gradients and patterns.
First, enable the Text Tool (T) in the Toolbar.

Then, enter your text on the canvas, as you usually do.

Change the color of your text by clicking the text color box in the Options bar.

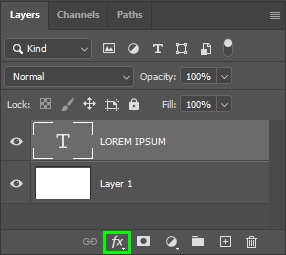
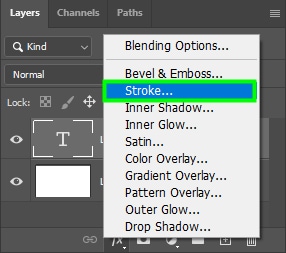
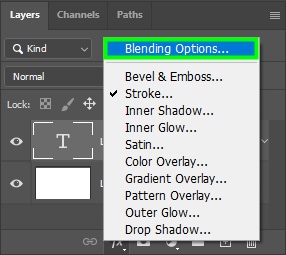
After that, click the layer style icon in the Layers panel and choose Stroke.
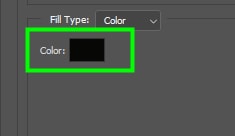
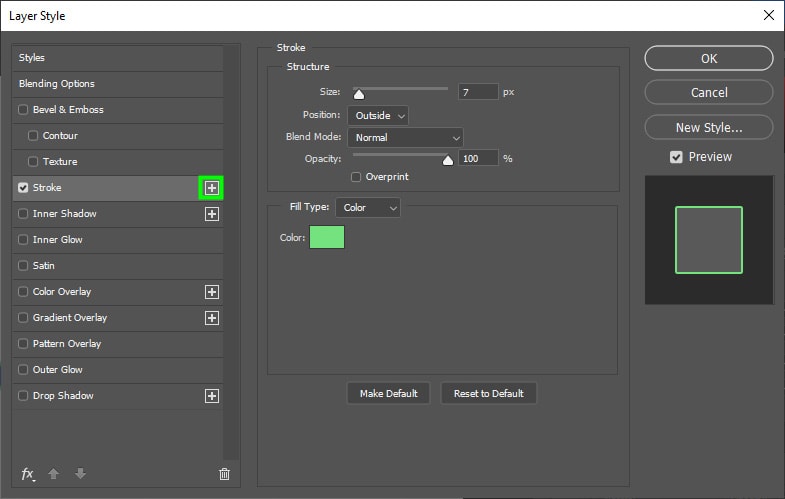
The Layer Style panel will pop up, and you will find some options to adjust the Stroke in the middle of the panel.
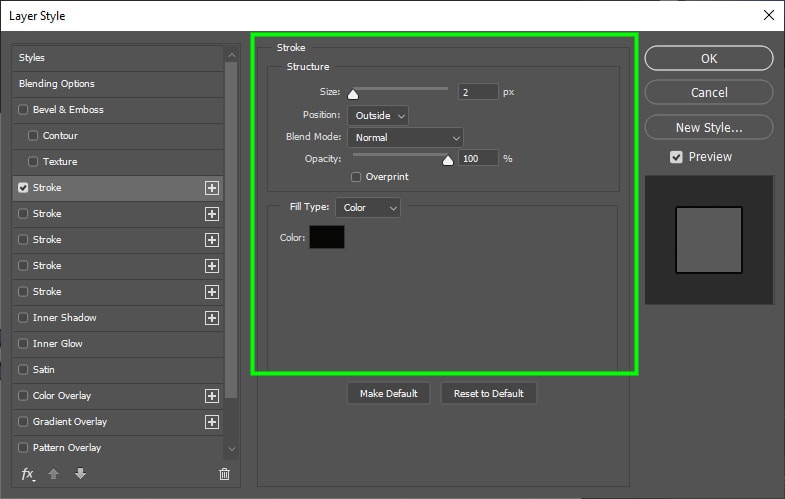
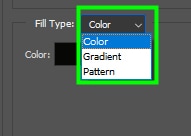
You can change the color of the stroke in the color fill box.
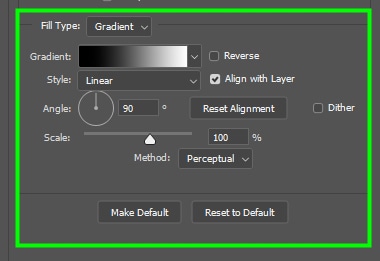
You can also use patterns and gradients to fill the stroke. You can customize each option in many ways.
You can change the Gradient’s angle, scale, and so on.
The options for customizing patterns are also abundant. For example, you can fill your stroke with either a preset pattern or your own saved patterns.

Ultimately, all stroke fill options allow you to create exciting text border effects.


After choosing how to fill the border of your text, you need to adjust other Stroke settings so that the border becomes visible and looks the way you want.
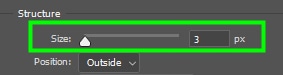
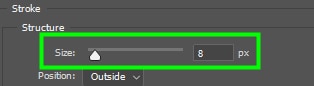
Adjust the stroke size by dragging the Size slider to the left or the right.
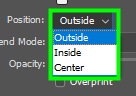
In the Position drop-down menu, choose between placing the stroke inside, outside, or the center of your text. Remember that positioning the stroke inside or to the center of your text may overshadow the text color.
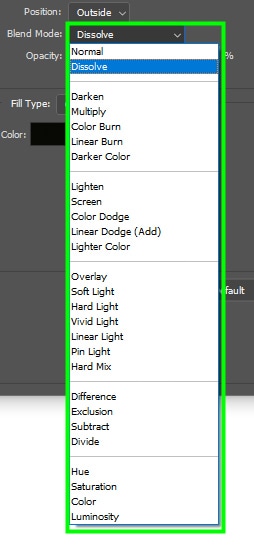
In Blend Mode, you can choose how the stroke interacts with the pixels of the layer on which it’s placed. The blend options are the same as the ones available for layers. I advise you to keep the blend mode set to Normal, so the stroke is evident.
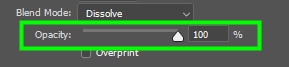
Adjust the transparency of the stroke using the Opacity slider.
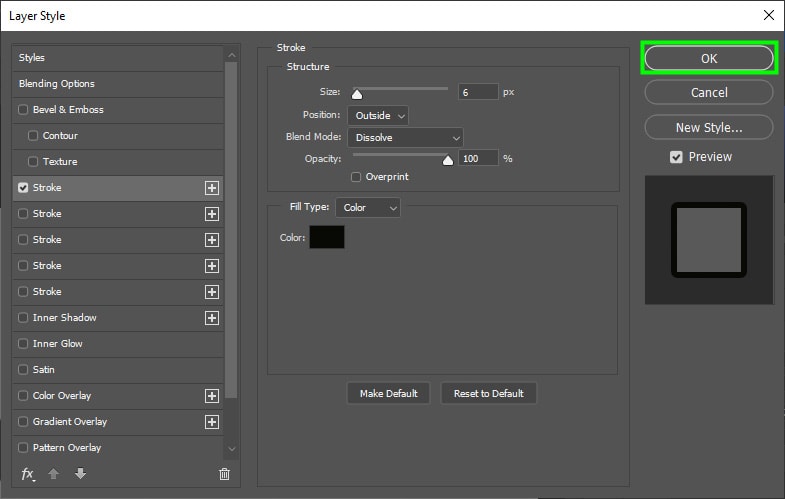
After adjusting all the stroke settings, click OK to confirm your choices and close the Layer Style panel.
How To Add Multiple Outlines To Your Text
Adding multiple outlines to your text gives it a vibrant look. You can add as many strokes to your text as you want. Here is how to do it.
To add multiple outlines to your text, you must apply another stroke layer to the text. To do this, apply the first stroke to the text, as you learned in the previous section of this tutorial.
Then, apply a second stroke to it. To do this, click the arrow next to the ‘fx’ on your text layer.
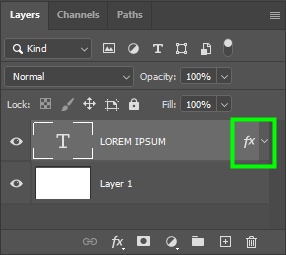
That will open all the text layer sub-layers. Double-click the Stroke sub-layer.
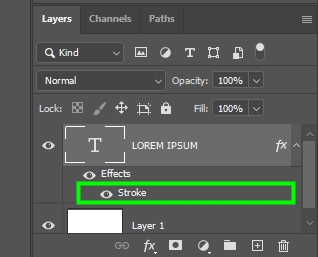
The Layer Style panel appears again. Notice that there is a plus sign icon next to the Stroke option. Click on it to create a new stroke.
An additional stroke section will appear in the Layer Style panel. Change the color of the new stroke in the Fill color box.
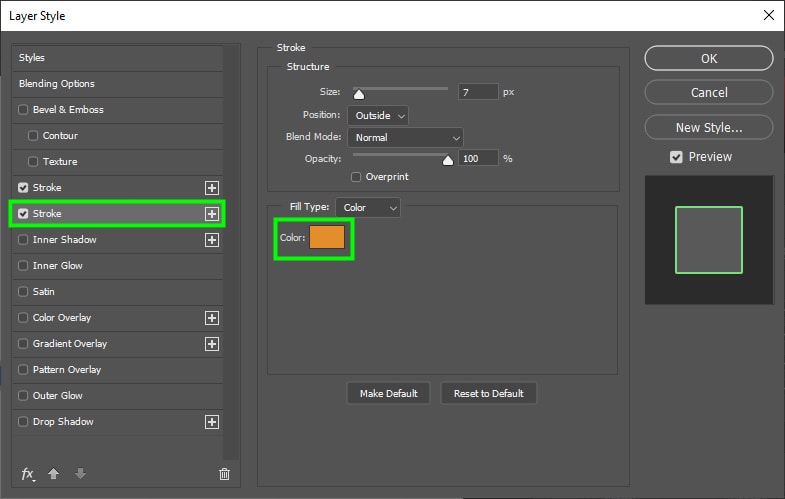
Then, drag the Size slider to the right until the new outline becomes visible.
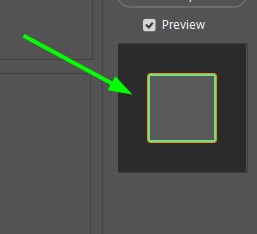
You can check whether the stroke is visible or not in the Preview window on the right side of the Layer Style panel.
Repeat the process to add as many strokes as you want to your text.


Option 2: Creating Outline-Only Text
Outline-only text is full of style and has a strong visual appeal.
To create an outline-only text, you must apply a border to your text beforehand; otherwise, the effect will not work. Review the first section of this tutorial to learn how to apply a border to your text.
After adding a border to your text, click the layer style icon and choose Blending Options. It’s the first option listed.
Next, locate Fill Opacity within the blending options.
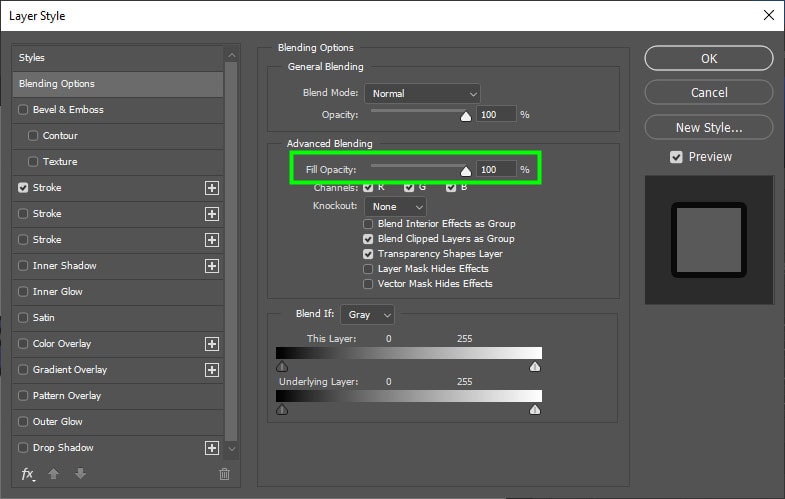
Then, bring the Fill Opacity down to 0%.
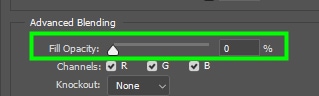
That will make the text transparent, and only its border is visible.

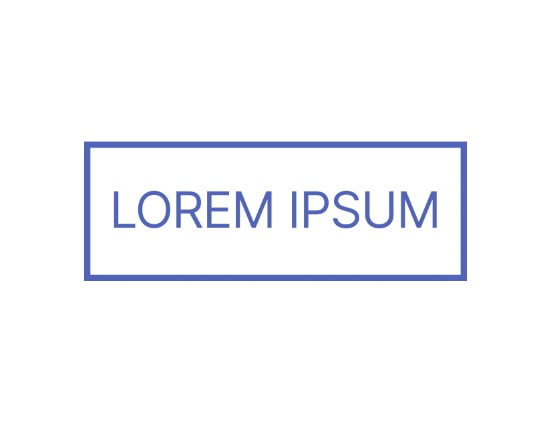
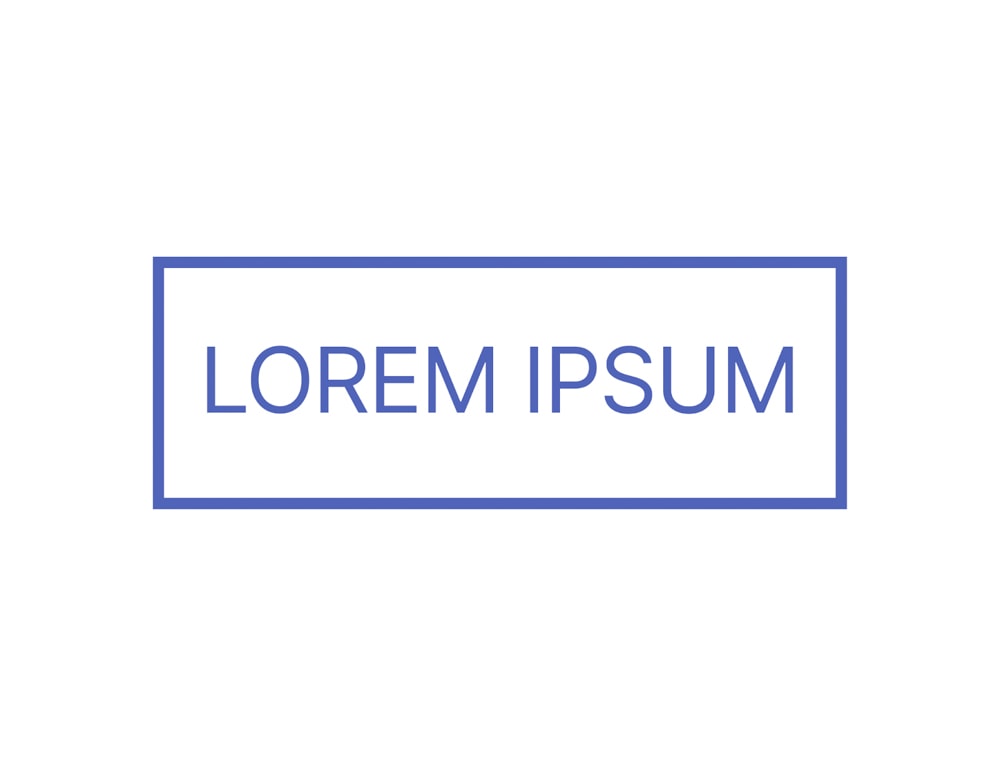
Option 3: Adding A Rectangular Border Around A Text Layer
Adding a rectangular border around text is a great way to draw attention or isolate it in a layout. To add a rectangular border to your text, draw a rectangle, set its stroke to any color you want, set the fill to transparent, and then position it over the text.
Here is how to do it. First, type the desired text on the canvas.
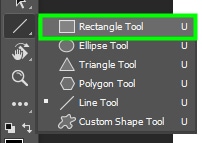
Then, select the Rectangle Tool (U) from the Toolbar.
Next, set the rectangle Fill to transparent and the Stroke to any color you want.

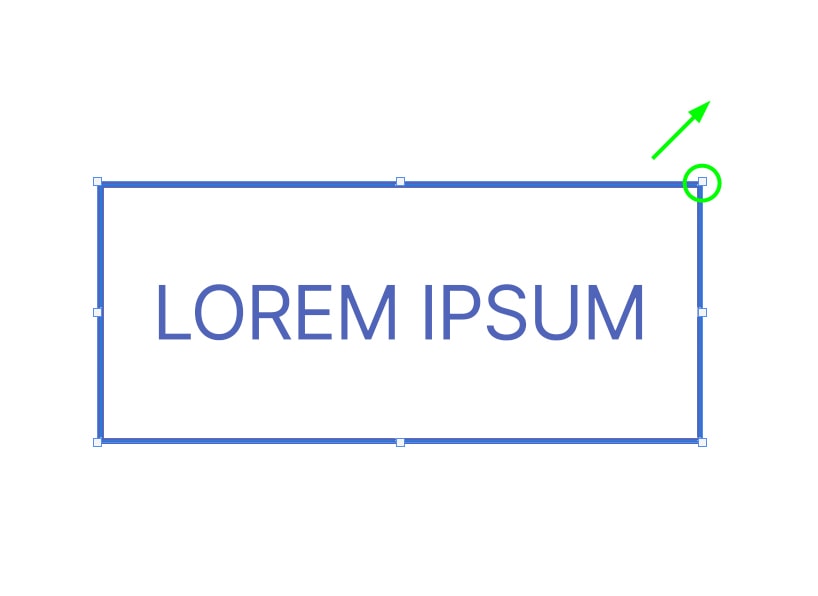
Then, drag out the rectangle shape over the text. That way, the rectangle covers the text, like a text box.

To adjust the size of the rectangle, push one of its control points outwards or inwards while holding Shift. Holding Shift preserves the proportions of the shape.

You can change the stroke size in the Properties panel on the right side of the workspace.
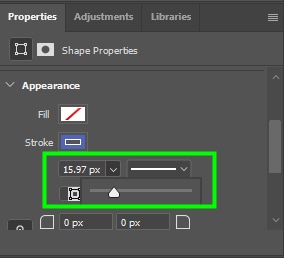
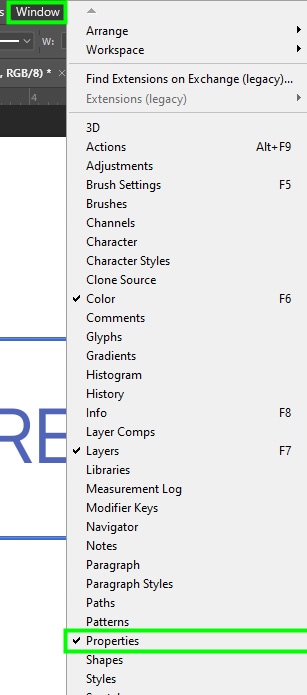
If you can’t see the Properties panel, go up to Window > Properties.
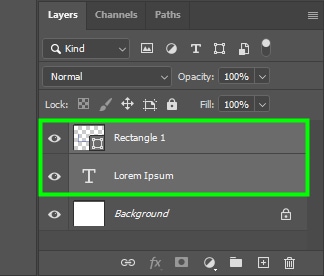
Once you are happy with the text and the rectangle, you have to ensure the alignment of your elements is correct, so the piece looks balanced.
First, align the text to the center of the canvas. To do this, click the text layer. Then hold Shift and click the background layer.

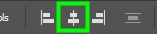
Make sure you select the Move Tool (V), then go to the Options bar and click the Align Horizontal Center option.
Lastly, you need to align the rectangle with the text. To do this, select the respective layers while holding Shift.
Afterward, go back to the Options bar and select Align Horizontal Center again.
By the end of the process, Photoshop will perfectly align all elements you created to the center of the canvas.
If you need to move the rectangle or the text somewhere, you can link them together, so they don’t become misaligned. To do this, click both layers while holding Shift, then right-click (Win) or Control + click (Mac) and choose Link Layers.
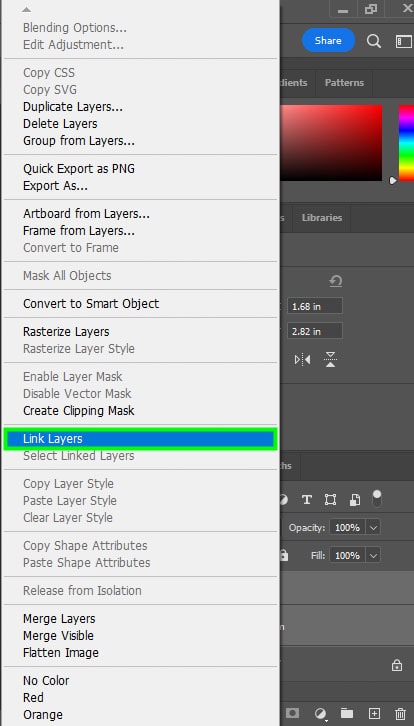
Now, when you use the Move Tool (V) when either the text or rectangle layer is active, you will move both layers together, keeping them centered.