
As photographers, you and I likely have a massive library of images. Luckily, you can organize photos in Lightroom Classic and CC to make it easier to access the photographs that you need when you need them!
If you’ve just been uploading photos to the computer and leaving them as is, that can make it fairly difficult to find what you’re looking for later on. However, with Lightroom’s various tools, such as catalogs, collections, folders, flags, and even color labels, keeping your archive neat and tidy is well within your reach.
In this tutorial, we’ll dive deep into Lightroom Classic and CC’s assortment of organization tools, helping you stay on top of your photos. By implementing a solid catalog structure, renaming images upon import, and sorting content using various labeling tools, you’ll no longer feel overwhelmed by your backlog of photos.
How To Organize Photos In Lightroom Classic
The best way to tackle organizing photos is to have a good structure, to begin with. By following a similar method to organizing image files on your computer, you can keep your organization cohesive and easy to upkeep. As a result, your newfound routine will quickly become a simple-to-replicate habit.
1. Create A Folder Structure Before Importing Into Lightroom
To start, create a folder structure on either your computer hard drive or on an external hard drive.
There are so many ways to organize photos on your computer. The method you decide should be one that makes the most sense to you personally. For me, I like to organize my folders as specifically as I can.
First, I organize my images into as broad folders as possible. For example, ‘Animal Photography’, ‘Street Photography’, ‘Sports Photography’, or simply by the year, and so forth.
Next, I create additional folders within these broader ones. These folders are named by date and job title (for example, “8-1-22 Smith Family”). If you don’t find it easy to remember specific dates, you can title by month, location, or just client name. Whatever works for you.
You can even further break down each subfolder into its own subfolders, especially if a photoshoot ran multiple days. Maybe you add folders like “Day 1”, “Day 2”, and so on into there.
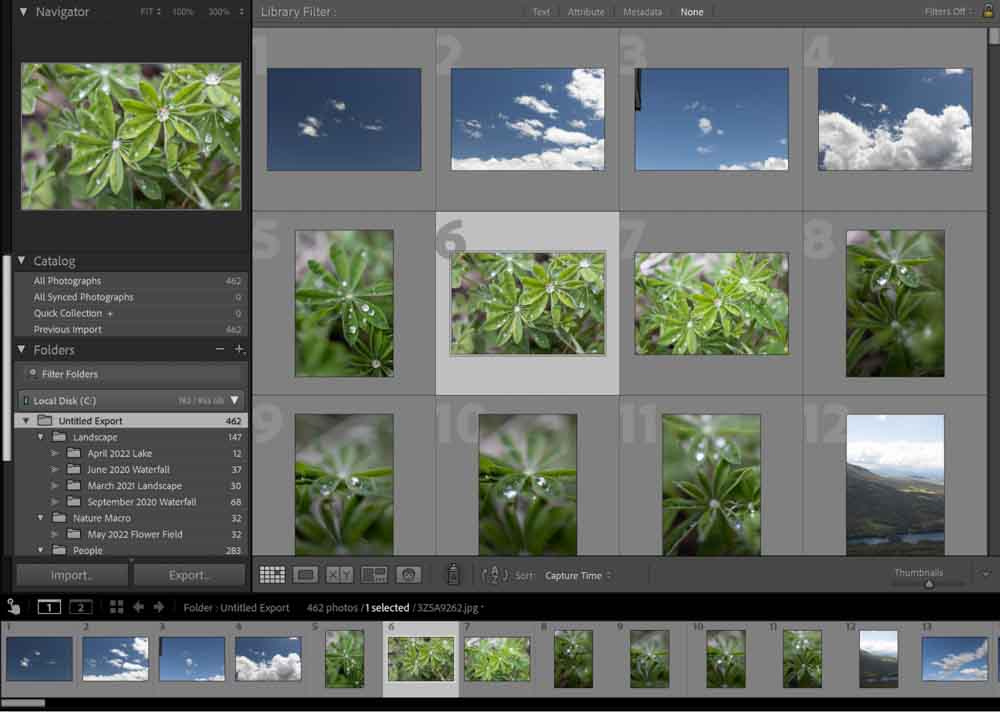
The folders end up looking something like this:

Create a system you plan to stick with because the goal is to turn this into a habit.
2. Using Lightroom Catalogs To Organize Images
After creating a folder structure, it’s time to import it into Lightroom. Lightroom has organization tools and terminology in place that can be unfamiliar to those that haven’t used the program before. The Lightroom Catalog is one such thing, so just keep the following information in mind, and all will be smooth sailing from there:
Lightroom Catalogs are simply links to your photographs. The catalog will show you a preview of your folder structure and photos, and memorize all of the editing and metadata adjustments you do on the photos.
Lightroom does not work directly on the file. All of the actual files remain stored on your computer or external hard drive. I’ll keep repeating this statement until it’s fully committed to memory because it’s important! This is why Lightroom is such a benefit to photographers because all of the editing is non-destructive; your actual file won’t be changed. Only exporting the image creates a new file.
Knowing where your images are on the computer or hard drive is a priority because Lightroom won’t find them for you. As such, if you are working off of an external hard drive rather than your computer, you will need to plug in the external drive every time you need to use the Lightroom catalog for that drive.
Equally, if you need to move images around, make sure to do it in Lightroom and not on your computer or hard drive – because Lightroom will lose the path to your photos.
Creating A Lightroom Catalog
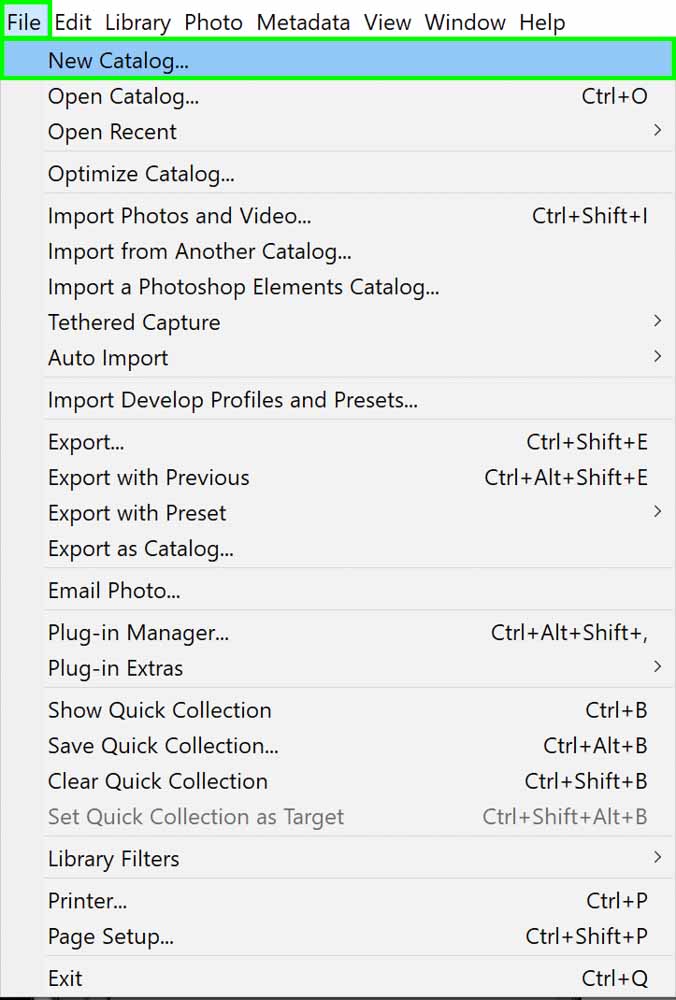
To make a new Lightroom Catalog, click File > New Catalog. Name the Catalog as you need to and select a destination for the Catalog file to live (I suggest saving it somewhere you can find it again, like a designated folder).
Once this is done, click Import on the bottom left-hand side of the Library module.

This will bring up the Import window. From here, select the primary destination of the images.
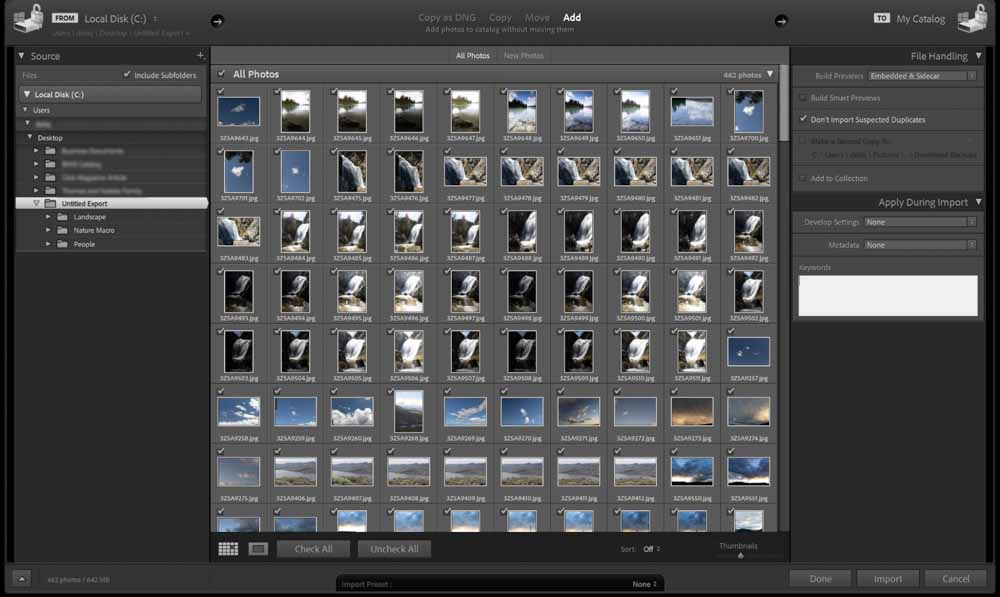
Click Import once more, and your catalog will be created.
How Many Catalogs Should You Make?
Lightroom Classic makes it possible to have more than one Catalog. You can only use one Catalog at a time, however, so it can be complex to have multiple catalogs if you need to work with images spread across different ones.
As such, it is recommended just to have one catalog. Because the Lightroom Catalog doesn’t have limitations on how many images can exist as a link there, there is no real need for more than one.
The exception to this is catalog size, which can become bloated over time.
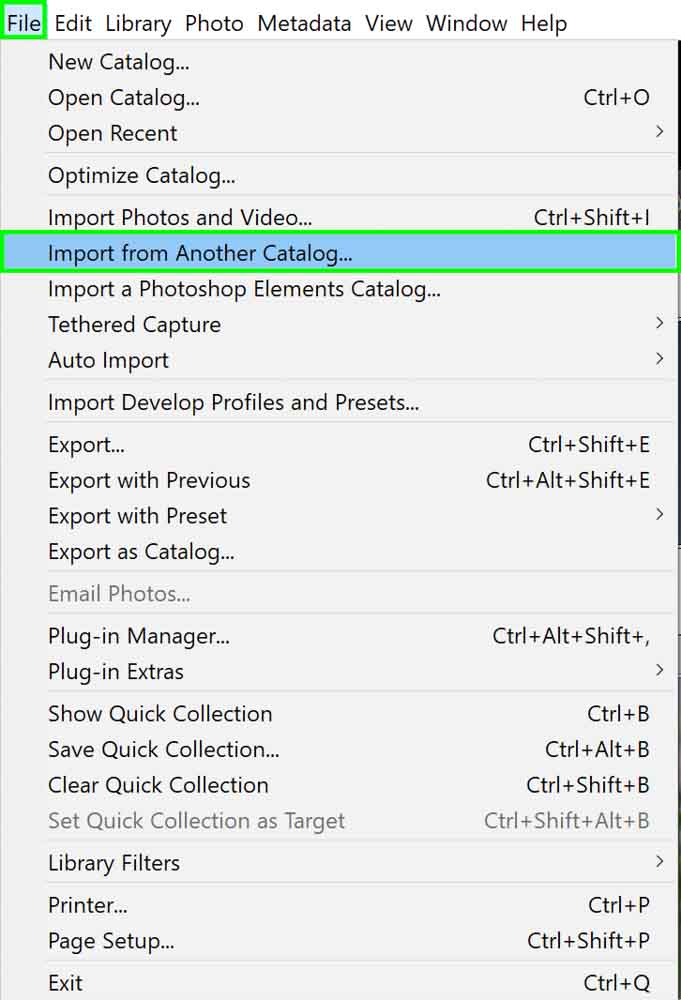
If you find that you’ve accidentally created multiple Catalogs, you can merge them all into one. Go to File > Import From Another Catalog. Select the Catalog you want to import from, and that’s it!
3. File Handling & File Renaming Upon Import
The default file names from a camera aren’t very helpful. How could you possibly remember that your favorite photograph of your neighbor’s border collie is DSC01267 and that family vacation you went on five years ago is DSC08230?
There is no way!
As such, adjusting the names and file settings upon import is useful for some photographers.
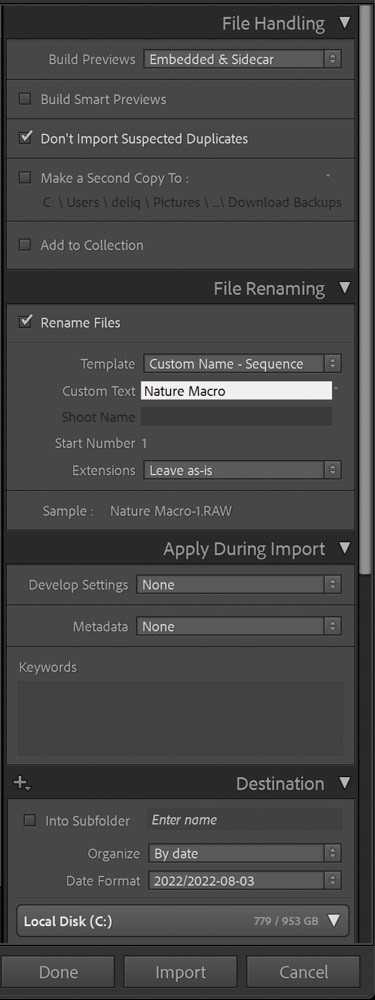
When you are in the Import dialogue box, if you select either the Copy or Move options at the top center of the screen, you will have a slew of import options available to you.

- The File Handling panel refers to how Lightroom Classic handles the imported file(s)
- The File Renaming panel allows you to rename the files automatically upon importing them into the program
- You can apply presets and/or metadata to the images in the Apply During Import panel
- The Destination panel allows you to specify where the images will be copied or moved to
4. Sort Photos In Lightroom Using Ratings, Flags, And Color Labels
As photographers, each shoot generally yields several hundred photos at least.
Some of those images definitely stand out from the others, and you might need some quick and easy access to them. This is where the labeling system comes in very handy.
Lightroom Classic allows you to flag photographs, add star ratings from one star to five stars, and even attach color labels. Not only does this help you sort on a visual level (as you can see all of these labels when looking through the library), but you can also select to exclusively view certain labels. For example, if you want to see all of the images you add five stars to, you simply filter five-star photographs. These sorting methods are useful for sorting your best images from your worst in a batch.
How To Add Ratings In Lightroom Classic
You can add Ratings in a few different ways.
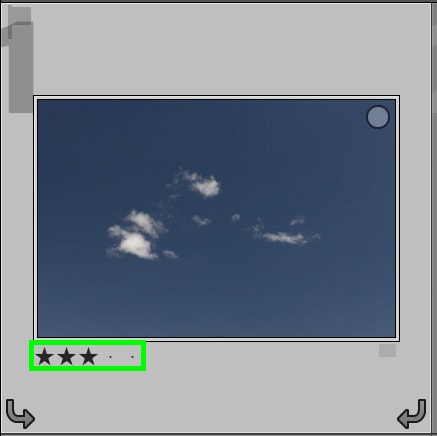
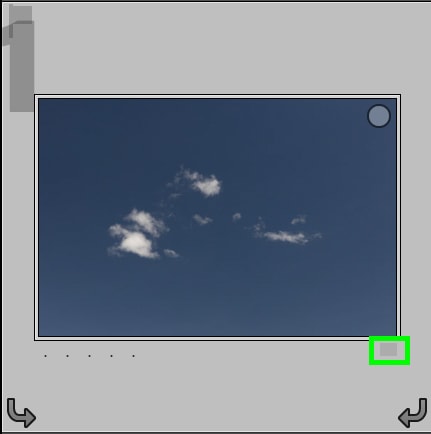
The first is clicking one of the five dots underneath each image you want to add a rating to. Clicking the first dot adds one star, while clicking the fifth dot adds five stars.
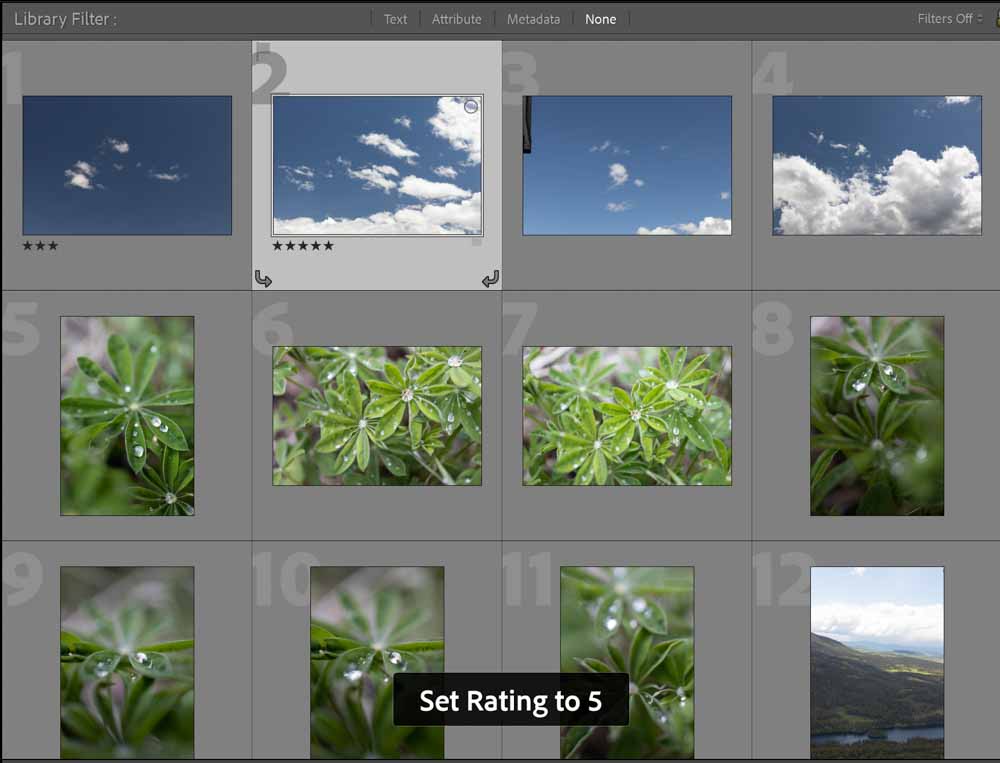
The second is using your keyboard to click numbers one through five to assign that number of stars to the image. To confirm that you’ve added the star rating, a message will pop up on your screen.
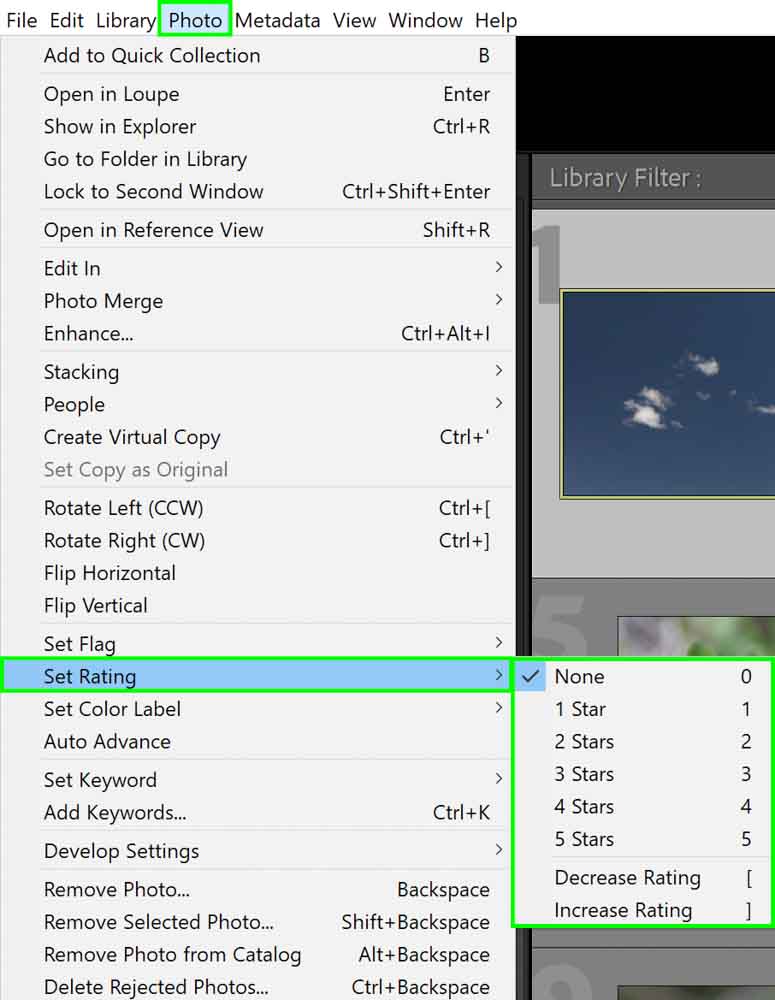
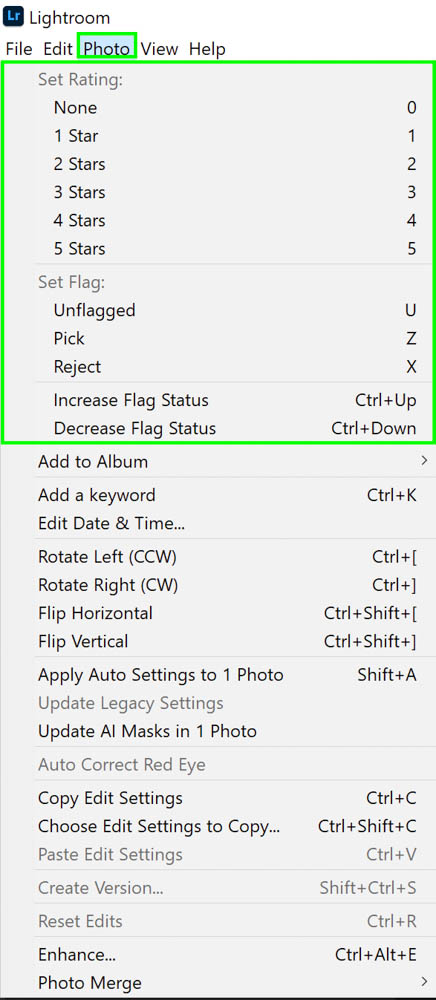
The third is selecting an image or images and clicking Photo > Set Rating, and choosing a star number from the menu.
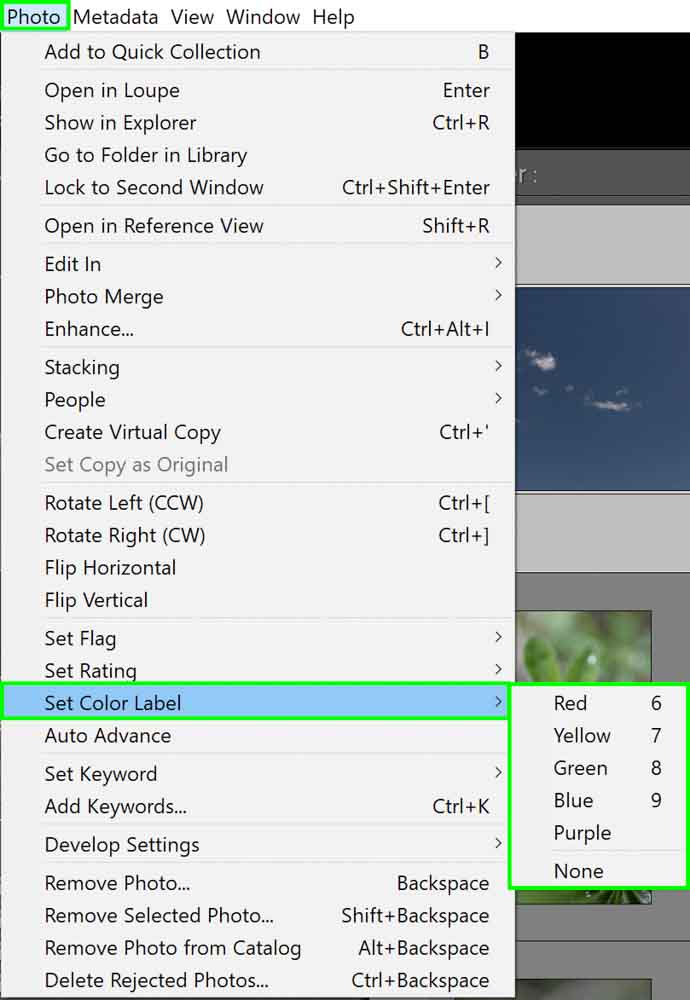
How To Add Color Labels
You can add Color Labels the same exact way you add ratings. The first is clicking the label icon underneath each image.
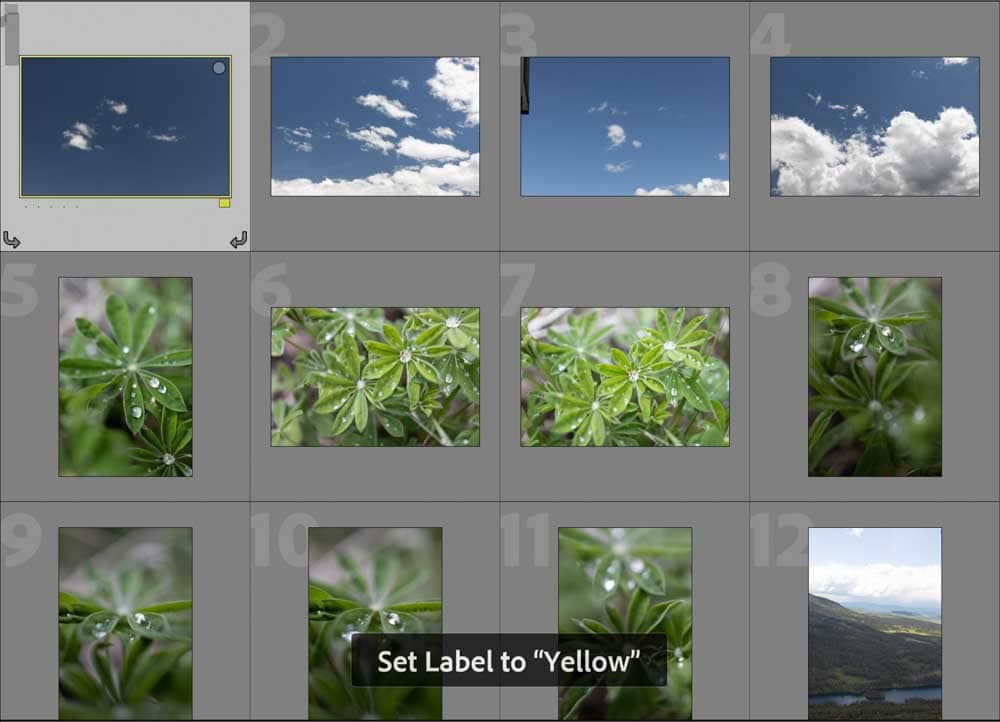
The second is using your keyboard to click numbers six through nine to assign a color. To confirm that you’ve added a color label, a message will pop up on your screen.
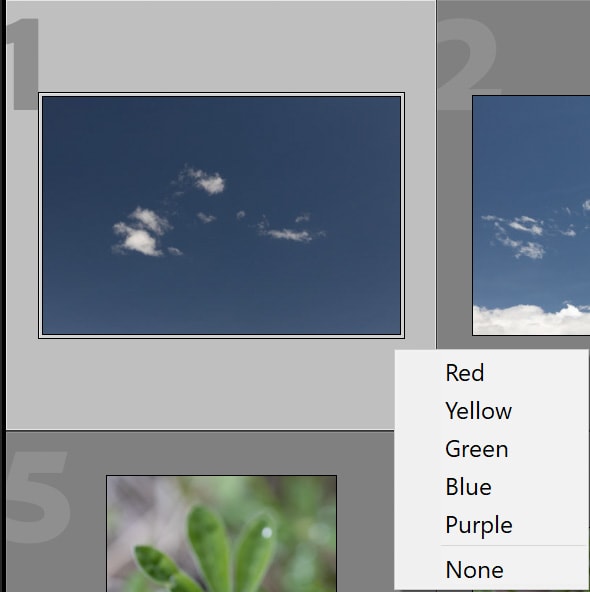
The third is selecting an image or images and clicking Photo > Set Color Label.
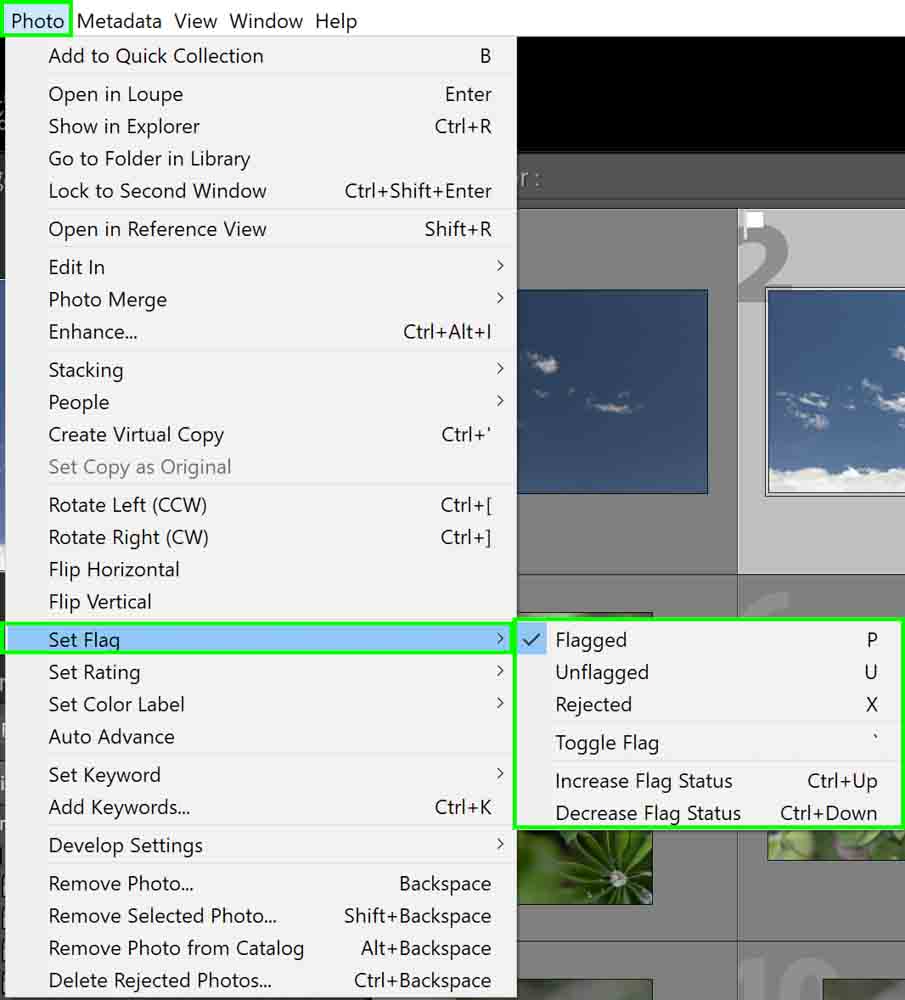
How To Add Flags
Similar to the previous options, there are several ways to add a flag. You can select the Flag icon when hovering over the image.

Alternatively, you can use Keyboard shortcuts P to flag a photo, U to unflag a photo, and X to reject a photo.

Flagged Photo
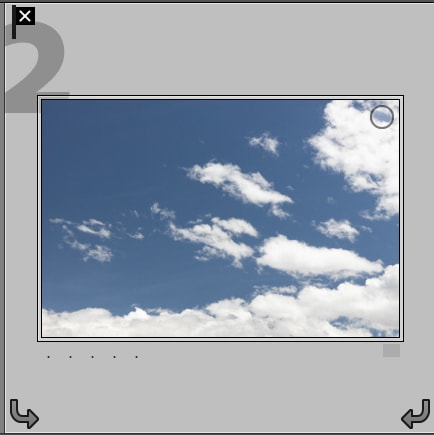
Rejected Photo
The final option is to click Photo > Set Flag and choose the flag you want. Unlike Ratings and Color Labels, however, even if you have multiple images selected, the flag will only apply to the one active photo.
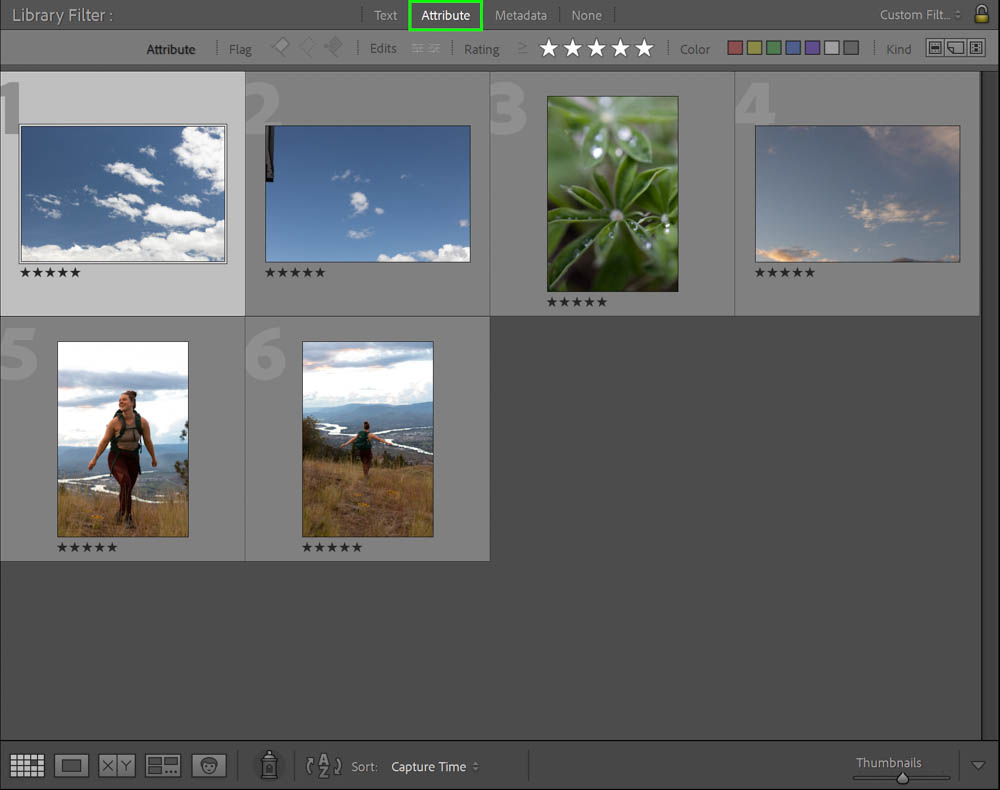
How To Quickly Filter Your Images In Lightroom
To organize your images by the label tool you used, go to the top of your Library module and click Attribute. Select the attribute you wish to display, and the images will appear.
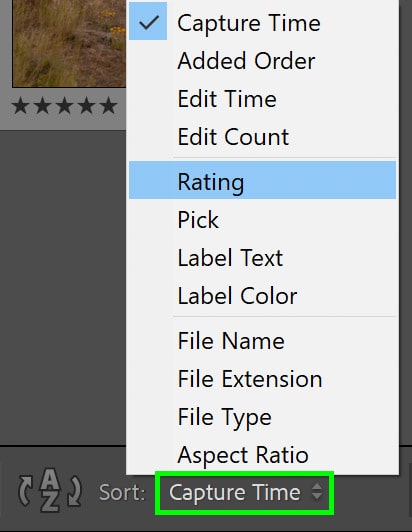
If you want to have your Library grid sort the images based on your labeling system, go to the bottom of your screen and click Sort: Capture Time (the default setting) which will bring about a dropdown menu.
If you are in the Develop module, you can also sort your images.

On the bottom right-hand side of your film strip, you will find a Filter option.
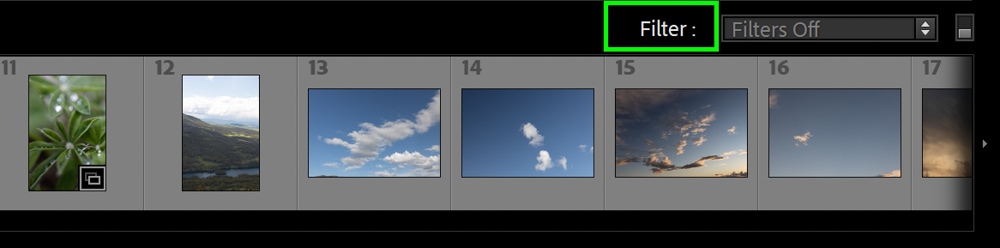
Click on the word Filter to shuffle through the various filter options. This helps you quickly navigate your labels while working in the Develop module.
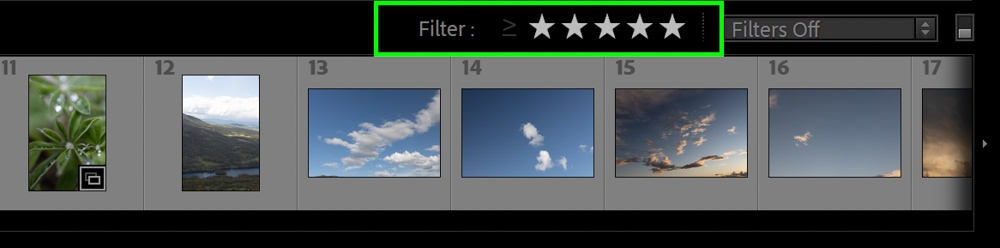
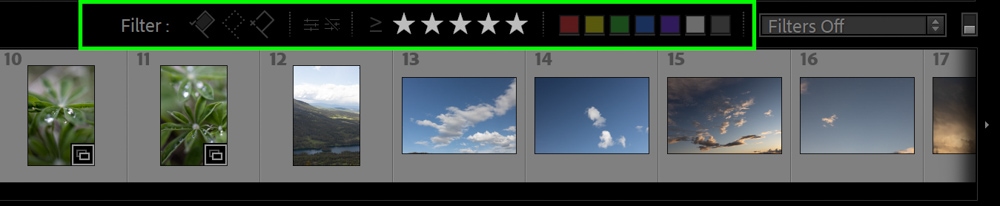
Keep clicking on Filter to have more labels appear.
Using These Tools To Cull Images
Labels, flags, and ratings can also become an integral part of your post-photoshoot workflow by using these to cull images after you’re done shooting.
When you load in a new photo session, you can quickly go through and mark the photos you want to keep. Mark them in whatever fashion makes sense to you, whether it’s organizing the best photos by a color label, ticking a flag, or adding five stars to them.
After marking the images, sort your library view to just the images with ratings, labels, or flags and remove the unmarked rest from your Lightroom Catalog.
5. Organizing Photos Using Collections In Lightroom
Although the terms ‘catalog’ and ‘collections’ are very different, they do get confused with one another frequently when first learning how to set up an organization system in Lightroom.
Unlike the Catalog, which mimics how your folders on the hard drive are organized, Collections allow you to group chosen photos together for easy access.
It’s basically making an extra standalone folder for a specific purpose, but Collections are located in a different panel from the Catalog, so they’re easy to find. As well, photos can be copied to multiple collections, they don’t have to be designated to just one.
Deleting a photograph from a Collection doesn’t delete the image from the Catalog. It simply removes it from the Collection.
Collections aren’t mandatory to use, but they can be pretty helpful. For example, if you are a photographer needing to make a gallery of dogs running, you can go through all of your images in the catalog, mark the shots of dogs running, and move all of these selected images to a Collection. Now, you don’t need to hunt them down since all of the photographs of running dogs are in one designated place.
Collections come in three varieties: Regular Collection, Smart Collection, and Quick Collection.
A Regular Collection is a grouping of any photographs you want to be grouped. It’s basically just a folder.
Smart Collections, as the name implies, automates a bit of the process. Smart Collections will add photos to itself without your manual effort based on what criteria you asked it to follow. For example, if you told your Smart Collection to add all five-star rated photographs into it, every time you mark a photo with five stars, it’ll automatically appear in the Smart Collection.
A Quick Collection is a temporary collection you can create for quick access while editing or sorting. Only one Quick Collection can exist at a time, so this really is for a quick task. A good use of a Quick Collection could be throwing in all of the photographs from a photo shoot that need an extra editing adjustment, like brightening the exposure.
How To Make A Collection And Collection Set In Lightroom
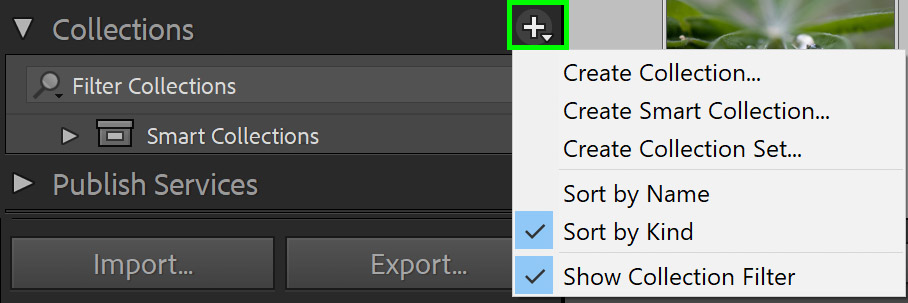
To make a Collection, go to the Collections panel and click the plus icon. This will bring down a menu from which you can make your selection.
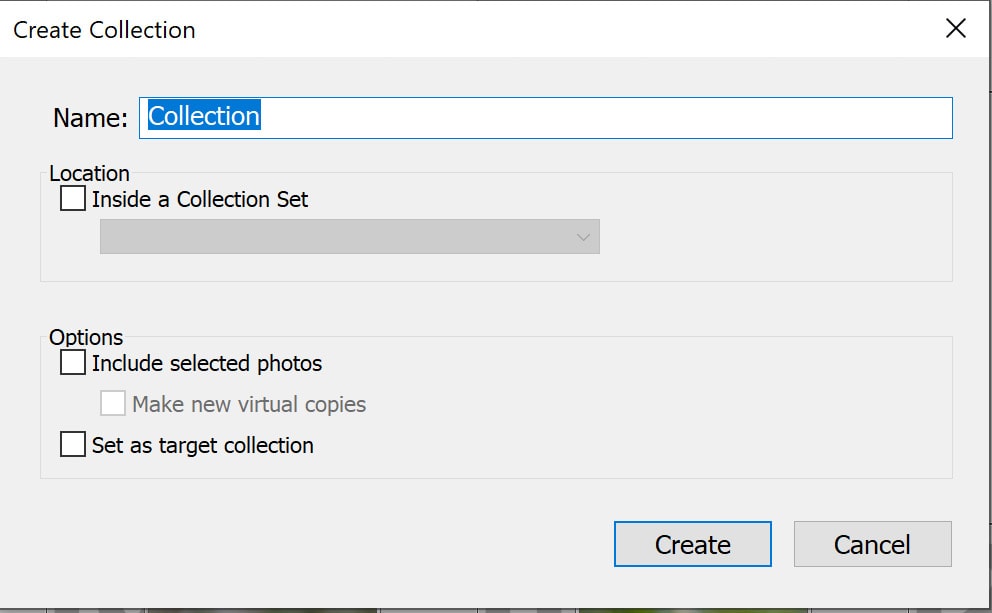
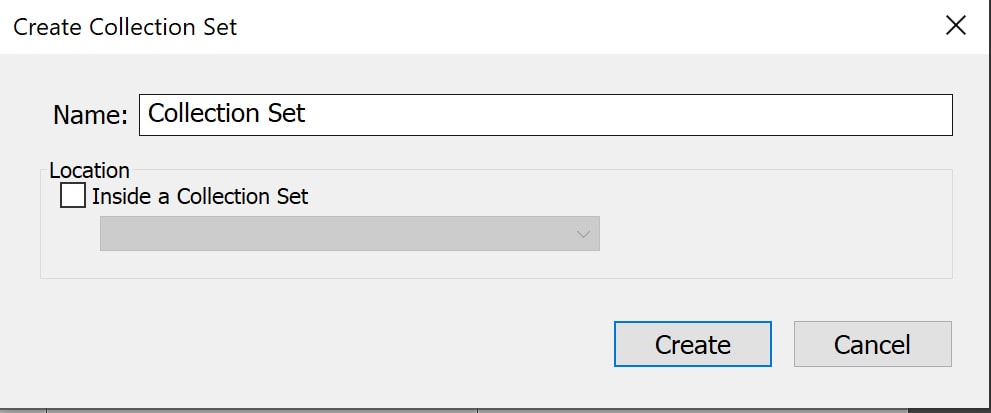
If you select Create Collection, a new menu will open asking for Collection settings. Input the name and mark the options as you see fit.
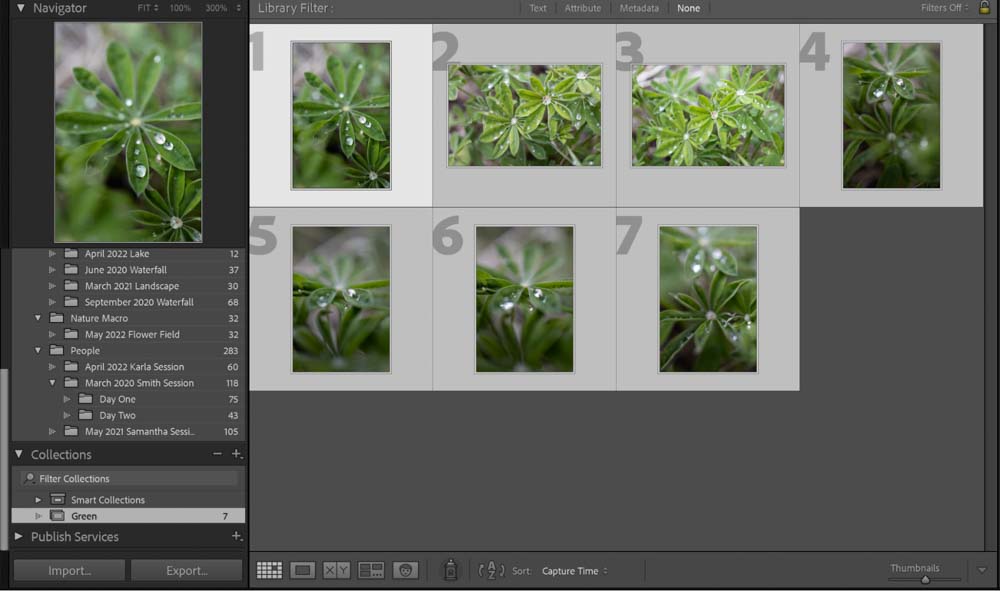
If you did not have the photos already marked to move into the Collection, you can drag and drop them.
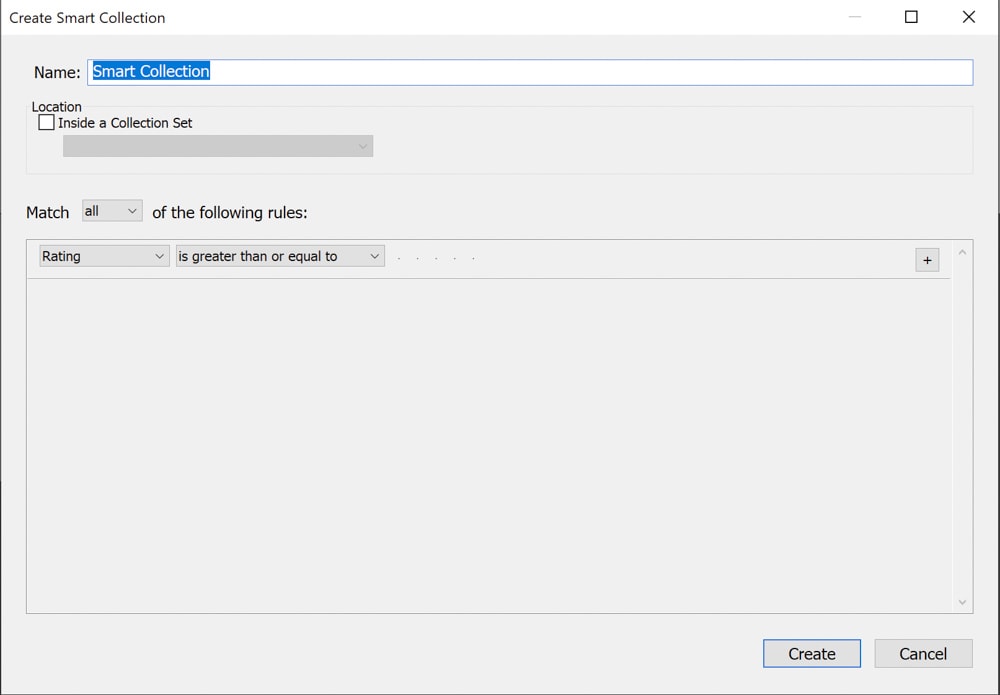
If you select Create Smart Collection, a more advanced menu will appear, prompting you to select the rules for the Smart Collection.
Another option you will find in the dropdown menu is Collection Sets. These are groupings of various collections. For example, you can make a collection set of all of the collections that feature animal photography and another collection that features people photography.
This just further helps organize all of your collections together, kind of like the folder structure on the computer.
How To Organize Photos In Lightroom CC
Although Lightroom Classic is a bit more expansive in its tool options, if you prefer Lightroom CC, you can still effectively organize your images. It’s a similar enough system, just with different names.
1. Using Albums & Folders
In Lightroom CC, Collections are now called Albums, and Collection Sets are now called Folders. To organize in CC, you just use these two features since there are no Catalogs.
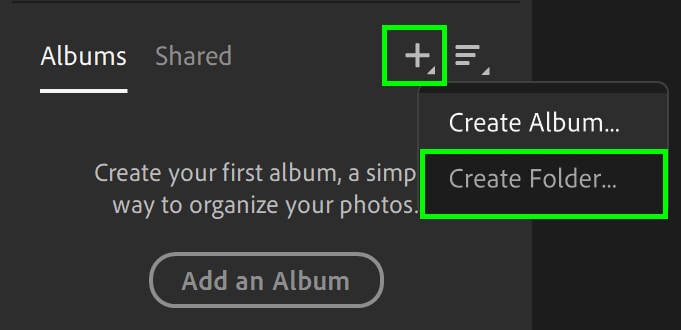
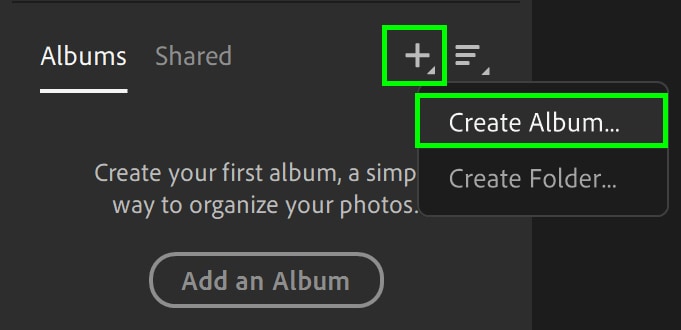
To create a folder, look to the left-hand side of your Lightroom CC screen. Go down to the Albums panel. Within this panel, click the plus icon to create a new folder.
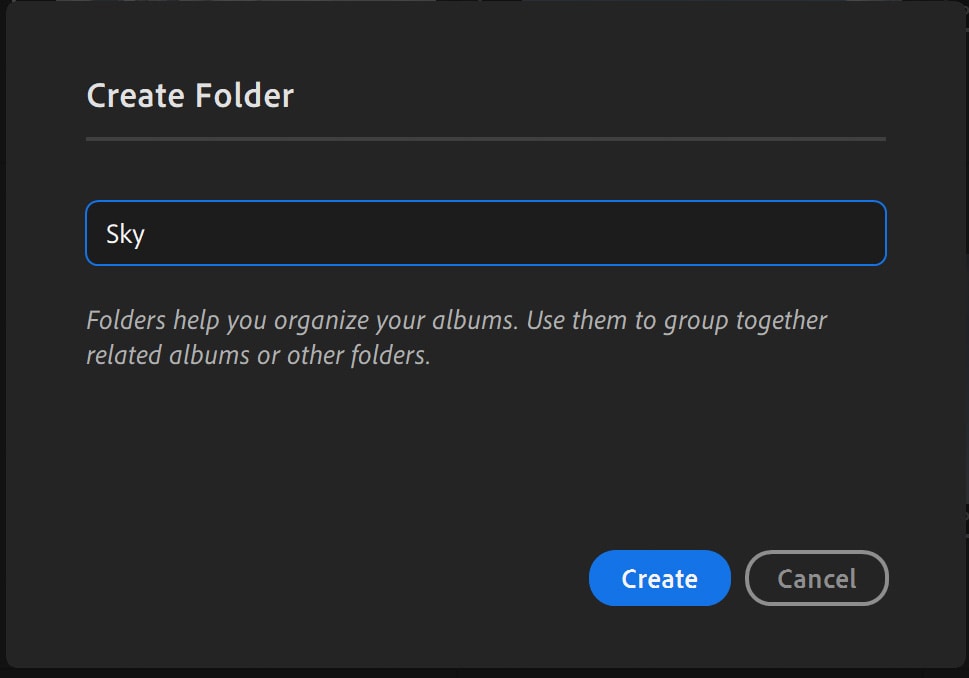
After clicking Create Folder, a window will prompt you to input a name.
Once named, start importing photographs and organizing them.
To create an album, repeat the above steps but select Album instead of Folder.
I would highly suggest following the folder and album structure you have started on your desktop in order to keep everything easy to locate.
2. Using Flags & Ratings
Just like in Lightroom Classic, you can mark images by adding flags or star ratings.
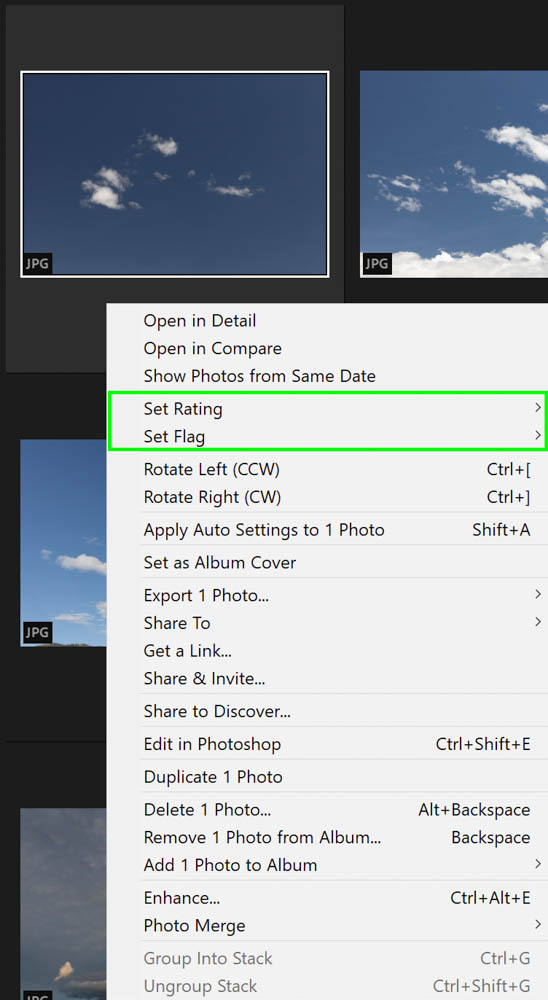
To add either a Flag or a Star Rating, hover over the desired image. Use the icons on the bottom of the image to add your markings.

Equally, you can right-click on the image and select either Flag or Rating in the dropdown menu.
You can also follow the Lightroom Classic example by clicking Photo and then making your selection.
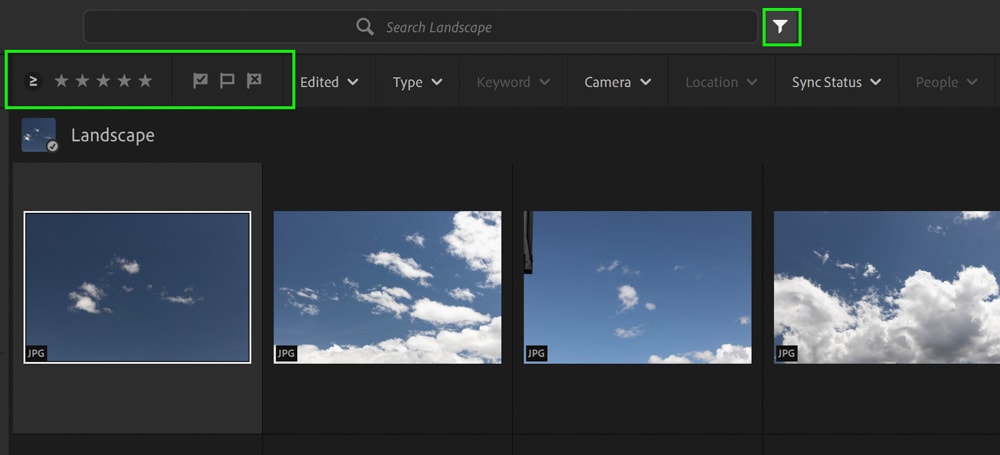
To filter images based on attributes, click the Filter icon to bring forth the organization menu.
How To Back Up Your Lightroom Catalog
After you’ve gone through the effort of keeping everything organized and tidy, you’ll want to back up your Lightroom catalog. This is something you should ideally be doing each time the program is shut down as well. Consistently backing up the catalog mitigates potential problems, such as corruption and crashes, because you’ll always have a recent copy saved.
By default, Lightroom will ask you if you want to back up the Catalog every time you exit the program. However, you can adjust these settings and create backup rules for the Catalog.
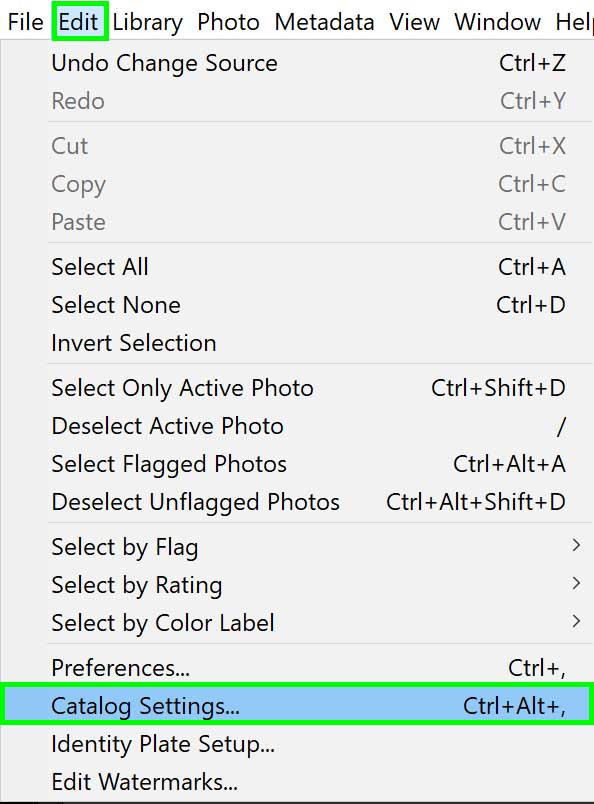
Go to Edit > Catalog Settings. You can also access the Catalog Settings with Control + Alt + , (Win) or Command + Alt + , (Mac).
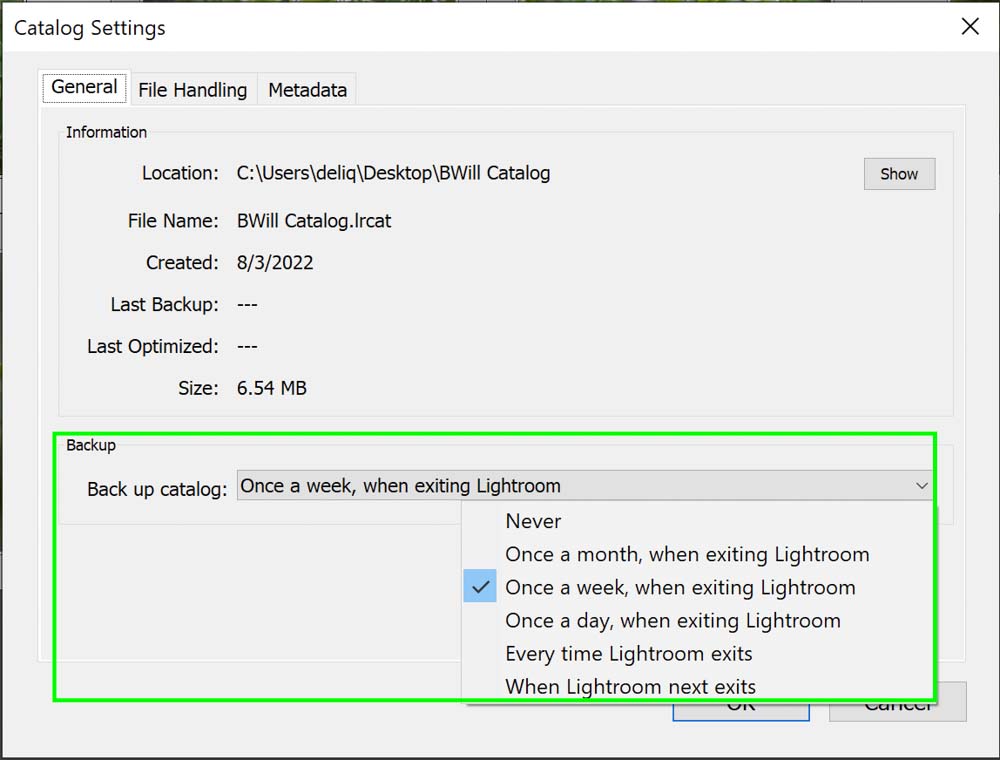
From here, you can press the dropdown menu next to Back Up Catalog and decide what works the best for you. My suggestion would be to select Every Time Lightroom Exits.
Once your full array of photos is well organized, finding the image you need will be a breeze.
With these organization tips in mind, you can take these techniques one step further by using this image organization method to sort thousands of photos quickly.


