
Margins and guides are helpful tools to ensure you don’t lose details of your Canva Designs when you print your projects. In this guide, you’ll learn how to use these margins and guides in Canva to ensure this problem never happens.
Plus, if you’re confused about what bleed is or how to add crop marks to your PDF, this guide also has you covered there.
How To Apply Margins In Canva
Step 1: Open Or Create Your Design In Canva
Canva’s margins are a half inch on each side, and you are unable to adjust the size of your margins. However, you can get around this by using guides, as explained later in the article.
To add these margins, make sure your project is open in Canva.
Step 2: Go To File > View Settings > Show Margins
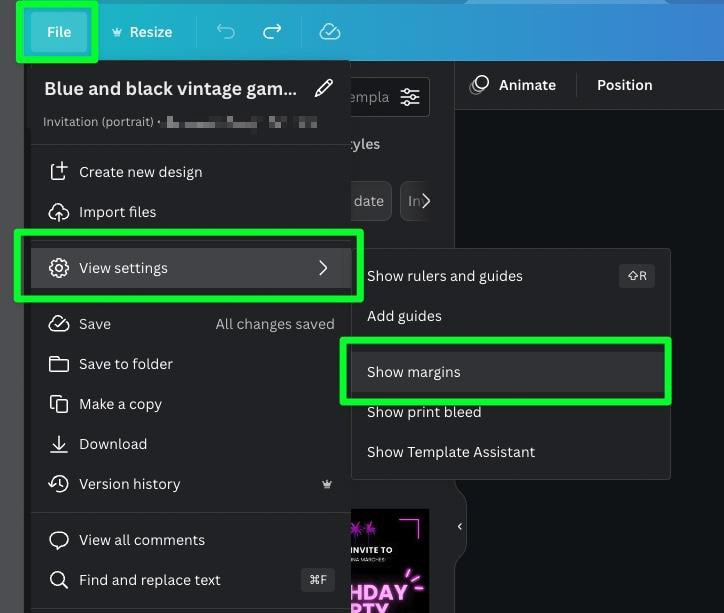
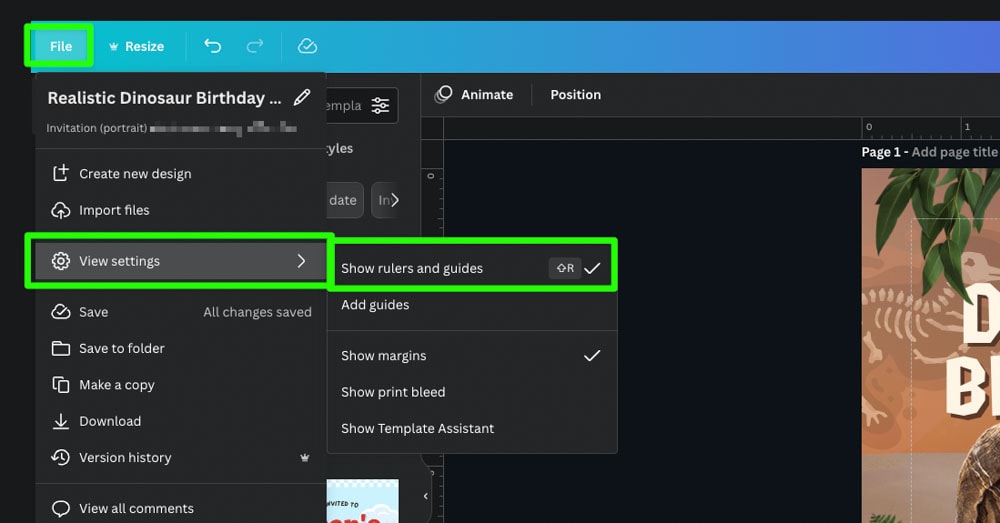
Then, click File in the top left corner of the screen. In the menu that pops down, hover over View Settings, then click Show Margins.
Note: You can use this same path to hide the margins by clicking on Show Margins to remove the checkmark that indicates the margins are visible.
On your canvas, you’ll see four slightly transparent lines that form a box in the middle of your design. These lines make up your margins.

You will need to turn on these margins for each project you work on, as margins will not be turned on automatically the next time you open up a new project.
How To Create A Custom Margin In Canva
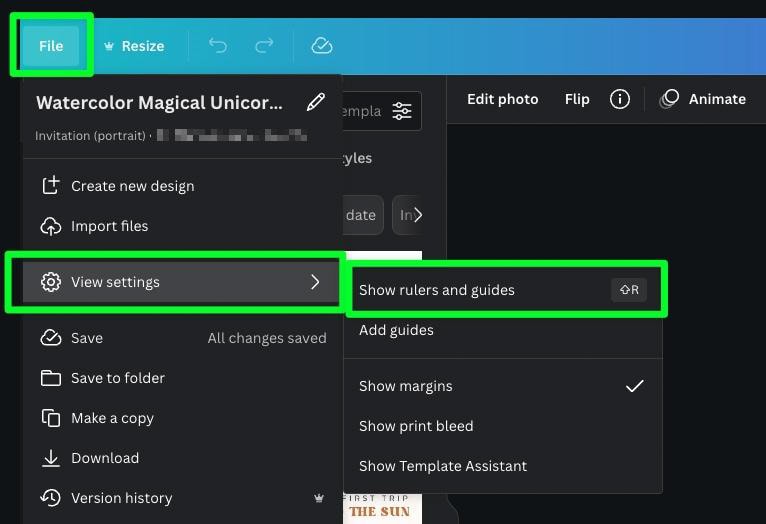
When you need a different margin size from the built-in margins, you can use guides. To add these open your file in Canva, click File, hover over View Settings, then select Show Rulers And Guides. Or press Shift + R.
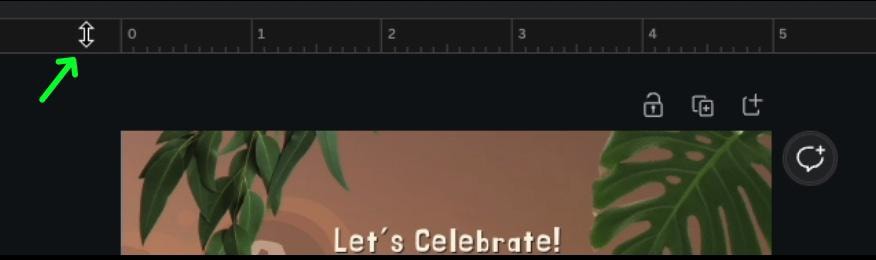
In the editor window, you will see a ruler at the top and left of the window, which is set to the unit of measurement your document is set to. So keep that in mind when placing your guides.
To pull a guide from either of the rulers, hover your mouse over one of the rulers until your cursor transforms into a double arrow.
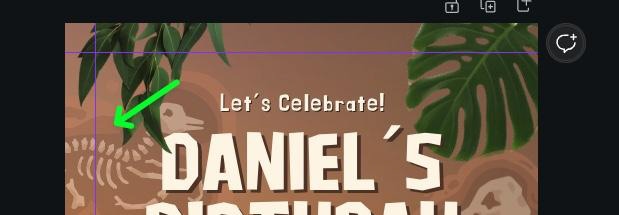
Once your cursor transforms, you can pull out a guide from the ruler. To do so, click and hold on the ruler, then drag down or to the right to add a purple line to your canvas.
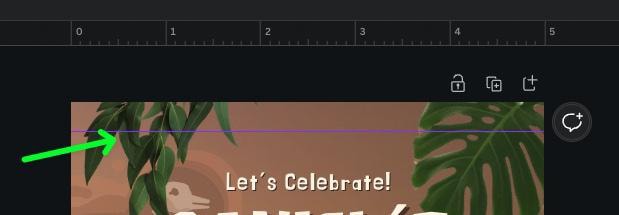
You can add as many guides as you need for your design. Just keep all your text and important elements inside the guides.
Once you’re done using the guides, you can turn them off so they’re not in the way. To do this, go to File > View Settings > Show Rulers And Guides. This will remove both the rulers and the guides from your canvas.
How To Enable Bleed In Canva
Bleed refers to the extra area beyond the intended dimensions of a page to ensure that your design reaches the edge of a page when trimmed for binding.
To enable bleed in your design, click File, hover over View Settings, and then select Show Print Bleed.
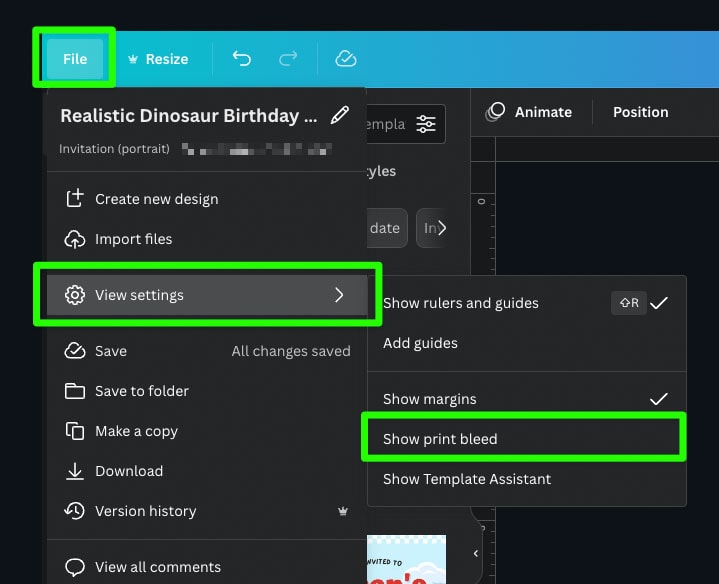
On your canvas, you will now see a slightly transparent rectangular outline around the edges of your design. Everything inside this outline should be visible after printing and cutting. Anything outside this outline should be cut off during the printing process.

How To Add Crop Marks To Your PDF File From Canva
If you need a version of your project that shows crop marks, you can do this during the exporting process. Crop marks show the printers where to trim the page to cut it to the intended size.
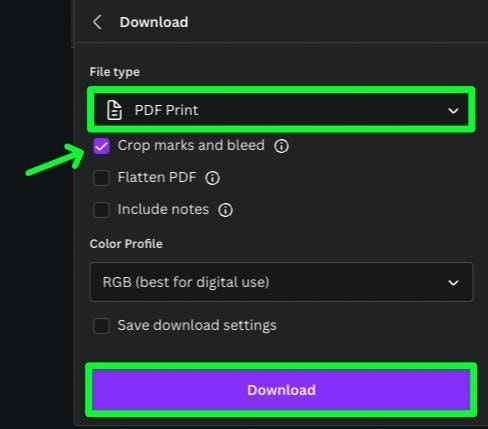
After completing your project, click the Share button, then select Download.

In the menu, choose PDF Print under File Type. Then, check the Crop Marks And Bleed box to enable the crop marks for when you print the design and click Download.
You will then see the crop marks on the corners of your downloaded file.

Using margins and guides in Canva is helpful to ensure you don’t have parts of your design cut out during the printing process. They can also be useful for aligning certain elements within a project to keep things consistent across multiple designs too!
Happy Editing!


So I’m trying to do a photo book in Canva and I need different margins on the pages how do I that?
If you need custom margins I would opt to use the Ruler and Guides method to manually place guide to create a custom margin. Beyond that there is limited options for margin customization in Canva.