

With all the small businesses and side hustles out there, everyone needs a logo nowadays. Many of those people will turn to Photoshop to make that logo. The question is, what is the best canvas size for a logo in Photoshop?
The other thing about logos is that one logo, at one size, is just not enough. You will need to resize your logo for headings, email signatures, social media, and more. In this guide, I’ll show you how to size the canvas for your logo in Photoshop and resize it after you create it.
The Best Canvas Size For A Logo In Photoshop
According to Adobe, the recommended size for the canvas of a logo is 1200px by 1200px. This way, you can scale your logo down without losing quality.
Ultimately, the best size for your logo depends on your project. 1200 x 1200 is a solid base size that will work with most projects.
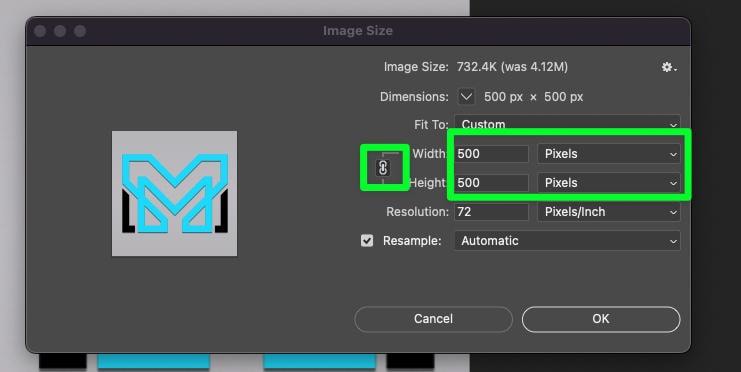
The smallest size that you should go is 500px by 500px. Any lower, and you won’t be able to produce the type of detail needed for modern web-based images.
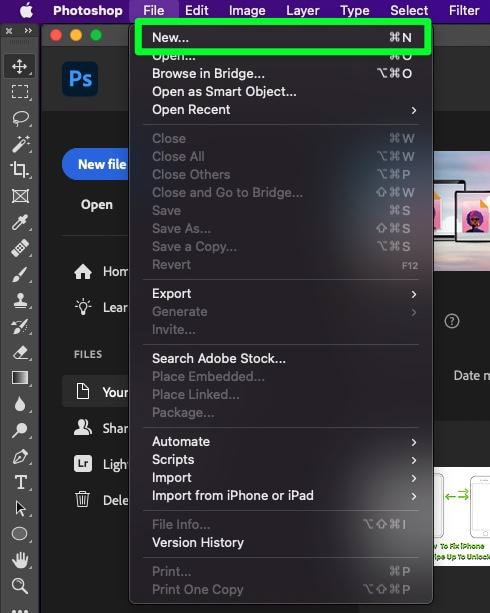
You can create a new canvas anytime by going to File > New.
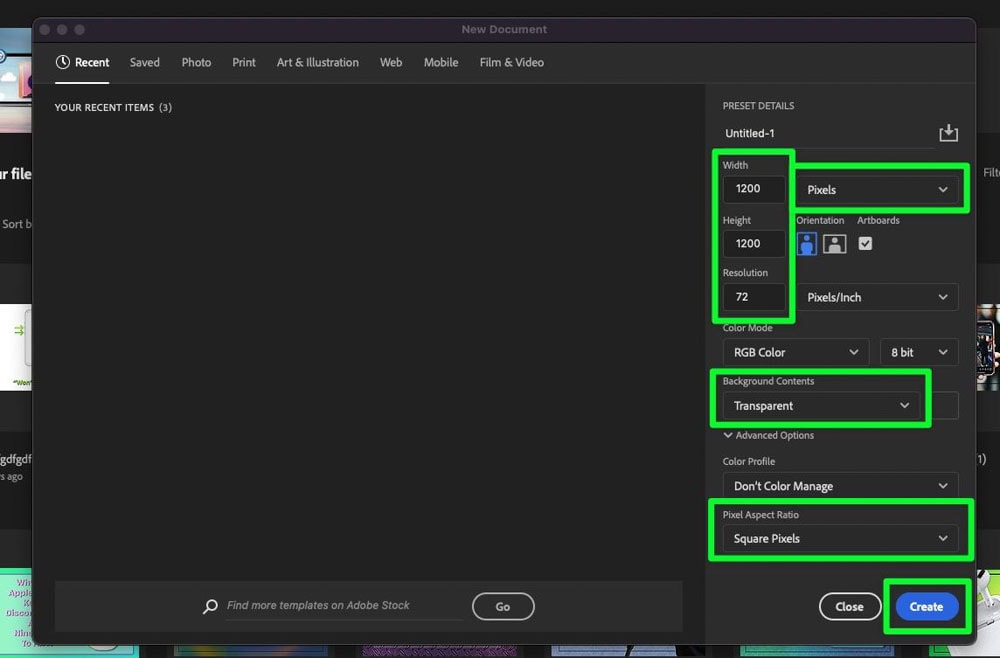
When the New Document properties panel pops up, make sure to use these settings:
- Width / Height – These settings depend on the logo size you wish to make. Input 1200 in both the Width and Height for a standard-sized logo.
- Pixels – Make sure Pixels are selected under this drop-down menu. You will have a much larger canvas if you accidentally pick inches or something else.
- Resolution – For logos, you want to keep the resolution at 72 PPI. This is the standard resolution for online images. Or 300 PPI for printing purposes.
- Background Contents – If you choose Transparent, you will have fewer constrictions while you work. This will let you pick whatever color or background you want before you export (or no background at all).
- Pixel Aspect Ratio – Make sure square pixels is set under this drop-down menu. You want to ensure you can resize your logo as easily as possible.
When you’re done picking your options, click on Create.
Clicking Create will produce a blank square canvas with a transparent background.
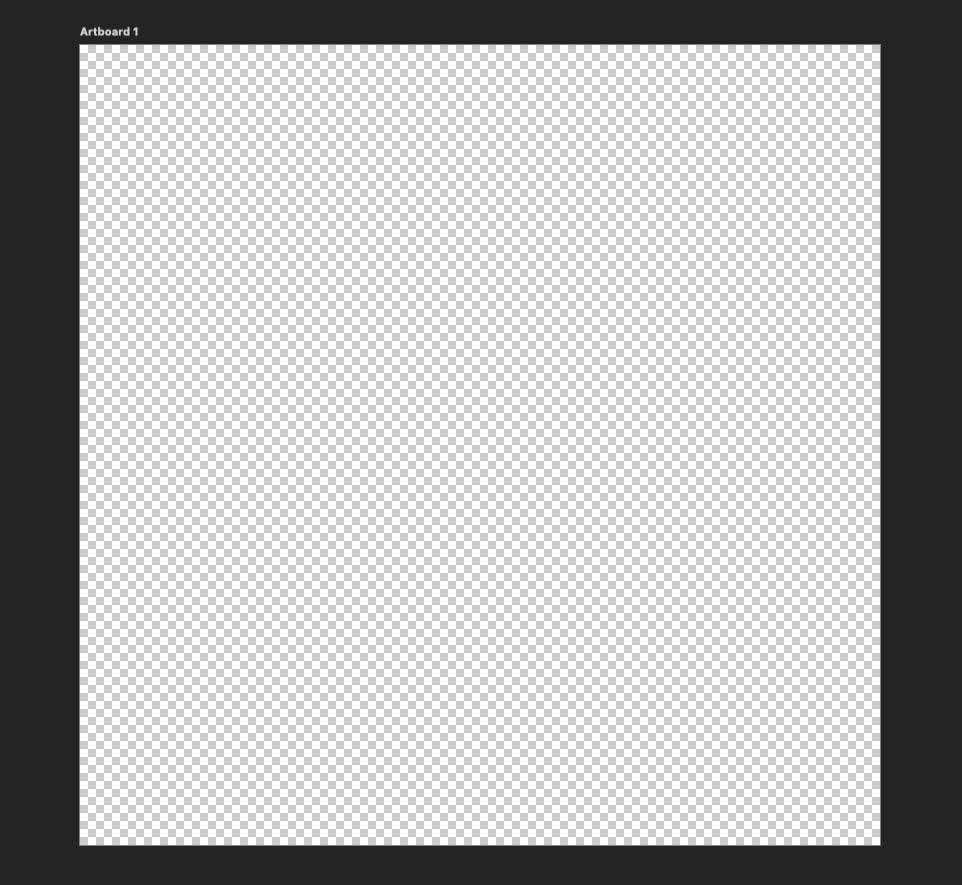
From here, you can create your logo and add any background color you would like.
Other Size Requirements For Your Logo
Not every logo is a basic logo. In the world of website design, email marketing, and general internet use, you will need to size your logo accordingly.
Favicons
“Favicon” is short for “favorite icon.”
These tiny icons are used for branding and maintaining a consistent online presence. These icons are commonly found on Browser tabs and URL address bars.
The most common canvas dimensions for Favicons are:
- 16px by 16px
- 32px by 32px
- 48px by 48px
These sizes will produce a tiny canvas.
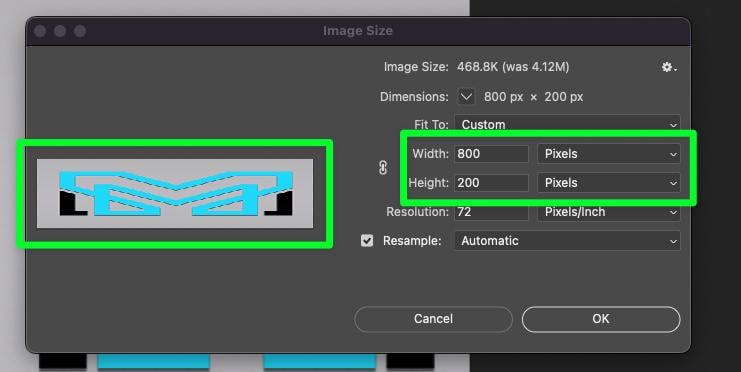
Website Headers
A website header is an upper section that gives visitors a glimpse of your website’s content. The website header sets the tone of your website.
Website headers come in all sorts of sizes. The standard classic header size is 800px by 200px. The size of the header that you will need will depend on your project.
If you don’t go with the standard header size, finding the correct one will require some research.
Email Signatures
An email signature logo generally includes your company logo and signature. These types of logos are designed to keep your brand relevant to your email recipients.
The most popular size for an Email Signature Logo is 300px to 400px wide and 70px to 100px high.
Keep the file size as low as possible while retaining quality, so the signature doesn’t slow down recipients when it’s loading.

How To Resize A Logo Without Losing Quality
One of the most convenient things about Photoshop is that you can take hours designing one image and then be able to resize the image with different dimensions, so you don’t have to waste even more hours.
This means you can take as much time as you need to while designing your logo and then easily change the size.
Step 1: Convert Your Logo To A Smart Object
Before you start resizing your image, it’s always a good idea to convert your rasterized image into a smart object. Doing this will ensure that your layer resizes accordingly while making adjustments.
To do this, right-click on your logo layer. In the long list of options that pop up, click on Convert To Smart Object.
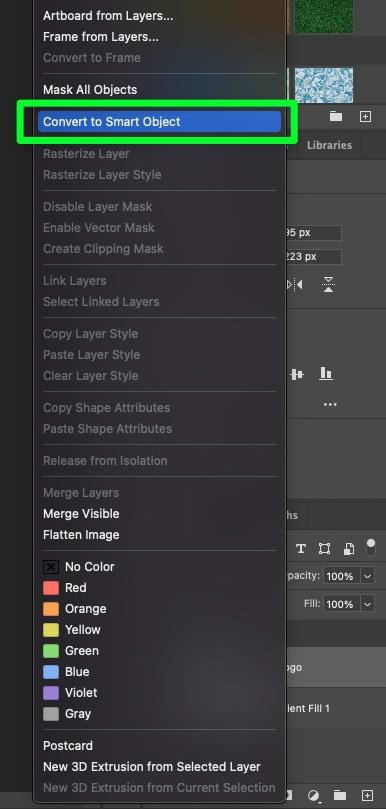
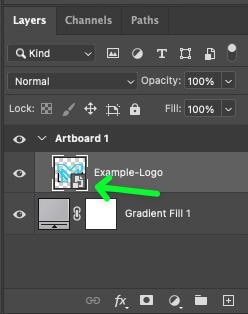
You will know this works when you see a little page icon in the corner of the layer.
Step 2: Open The Image Size Properties Panel
Once your logo is ready, go to Image > Image Size.
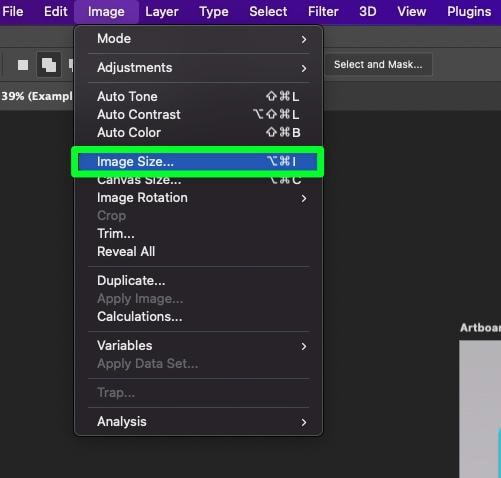
This will open up the Image Size Properties Panel.
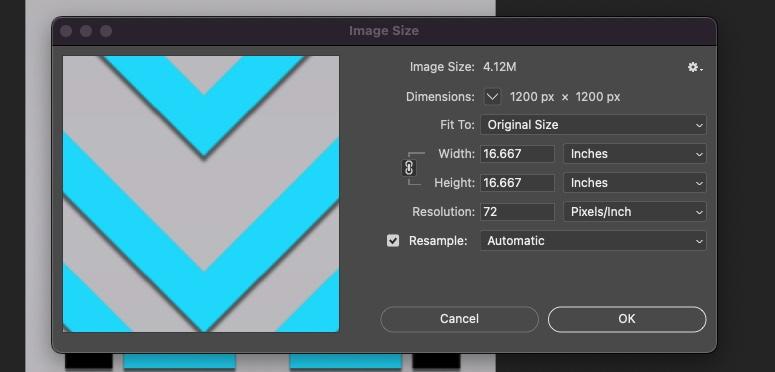
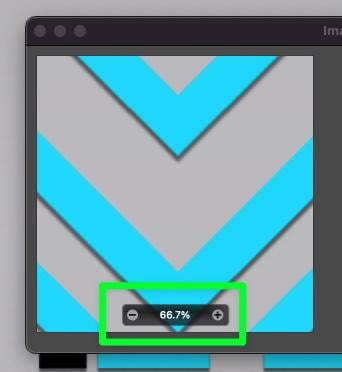
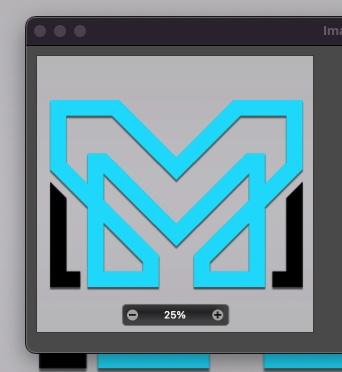
Step 3: Zoom Out In The Preview Window
The first thing you can do in the Image Size Properties Panel is optional, but it can help you while you adjust your options.
In the preview window, your logo will be zoomed in by default. You can zoom out with the minus button at the bottom of the window to get a more bird’s eye view of your logo.
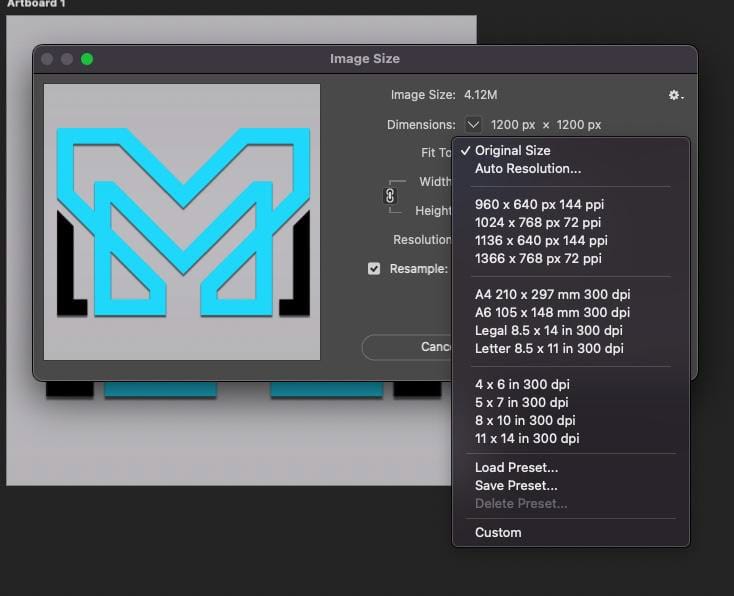
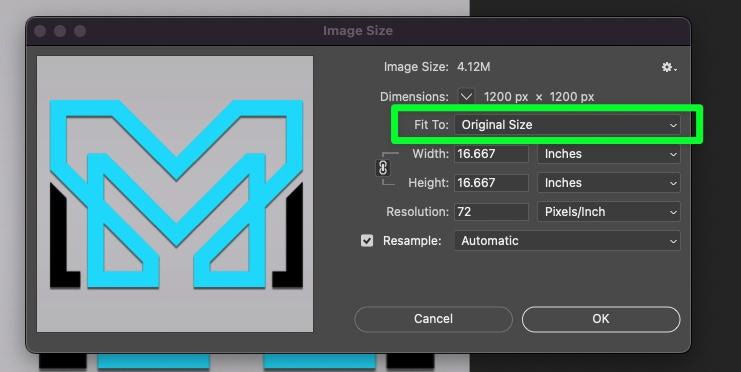
Step 4: Keep Fit To At Original Size
Fit To is an optional way to resize your image with preset dimensions. If one of those sizes works for you, then choose it. If not, leave this option at the Original Size.
Step 5: Choose Your Width & Height
This step is the most important for resizing your logo. The main thing to remember when resizing a logo is to keep the width and height the same size. Otherwise, you will end up with a stretched image.
Make sure the chain link icon is on to resize your logo correctly. This will restrict the aspect ratio so that when you add your first number in the width box, the height box will automatically adjust.
Also, make sure that Pixels are set in the drop-down menu.
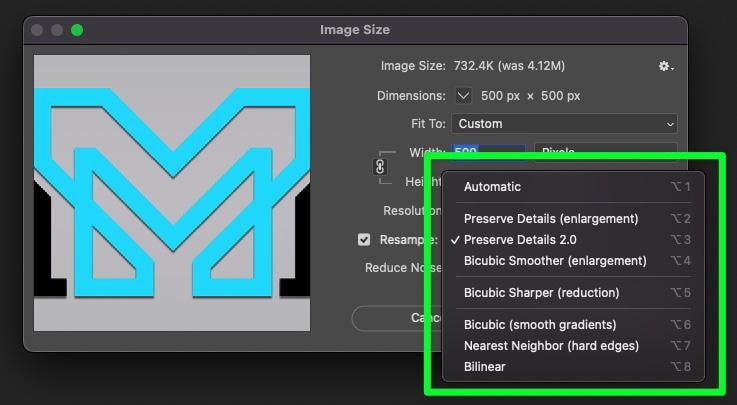
Step 6: Choose Your Resample
The last option is the Resample option. The drop-down menu will open up a list of sometimes complicated-to-understand resample options.
Each one of these options does something different, but for a logo, you mostly have to worry about Preserve Details 2.0.
This option is convenient when resizing images with its ability to preserve the details of your image as you resize it.
Step 7: Click OK
To confirm all of your options, click OK. Your logo is now ready to go.

Resizing A Logo To A Favicon In Photoshop
When resizing from a normal-sized logo to a favicon, you should expect some drop in quality. This is normal, as Photoshop can only do so much with such few pixels.
This is where Preserve Details 2.0 comes in, as it will at least help a little.
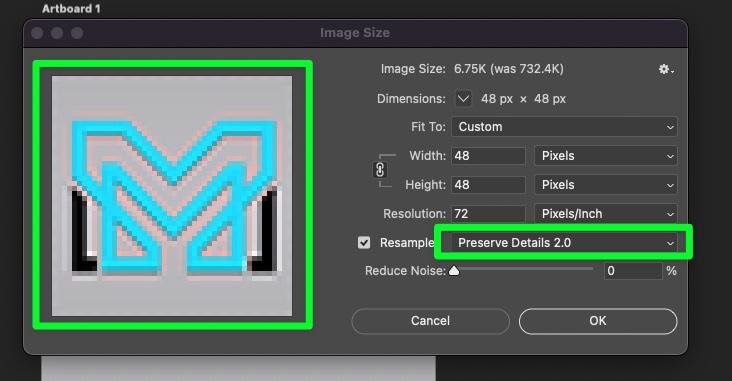
The quality of your logo will look bad zoomed in, but when zoomed out, usually your logo will look fine. This is fine because a favicon will usually never be zoomed in by the viewer.

With these different canvas sizes in mind, you can start to design your logo confidently and not worry about whether or not you have the perfect canvas size. After all, you can always resize it to suit your needs later on!
If you’re still in the process of designing your logo, I share how to design a logo in Photoshop in this guide.
