

You will often need to know how to draw straight lines in Photoshop to create tables, guides, and grids for photo collages, and much more. Thus, knowing this process is an essential skill. Luckily, it’s easy to do.
These straight lines can be drawn horizontally, vertically, or diagonally, but there are a number of ways to achieve straight lines. So, here are four ways to create straight lines in any direction to maximize your options!
Option 1: Draw Straight Lines In Photoshop Using The Line Tool
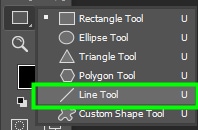
Step 1: Select The Line Tool From The Toolbar
To create a straight line, select the Line Tool in the Toolbar, which is located in the Shape Tool group (U), where you can also find other basic shapes to use in your creations.
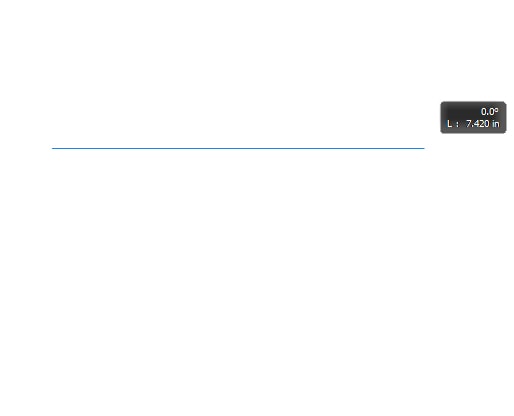
Step 2: Hold Shift While Clicking And Dragging On The Canvas
Then, click and drag out on the canvas to create a straight line. If you hold the Shift key, your line will stay at 0°.
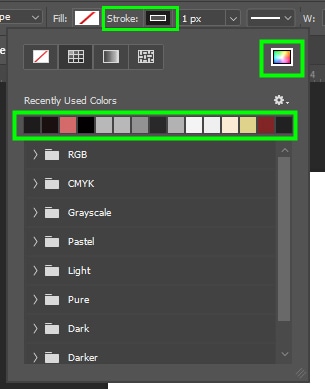
Step 3: Customize The Line (Optional)
You will find many options to customize your straight line in the Options Bar. The Stroke option allows you to change the color of your line. You can choose from your Recently Used Colors or click the colorful icon to open the Color Picker panel and pick any color you want.
You can also adjust the line thickness by moving the Stroke Size slider to the left or the right.
Option 2: Draw A Straight Line In Photoshop Using The Brush Or Pencil Tool
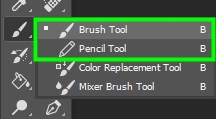
Step 1: Select The Brush Tool Or The Pencil Tool
You can use the Brush Tool (B) or the Pencil Tool (B) interchangeably for creating straight lines. You can find these tools in the toolbar. To activate either one of them, click its icon under the Brush grouping.
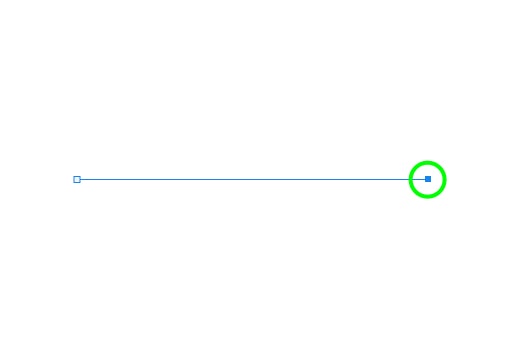
Step 2: Click Once On The Canvas, Hold Shift, And Click On Another Point
After enabling the desired tool, click anywhere on the canvas. Then, hold Shift and click another spot to create a straight line between the two points.

Step 3: Add More Straight Lines By Shift + Clicking (Optional)
The straight line will keep the settings you previously set for the Brush or the Pencil Tool. So ensure you are satisfied with those settings before creating your straight line. Otherwise, you will have to use one of these methods to thicken the lines later on.
You can keep holding Shift and clicking other spots on the canvas. That will create a series of straight lines. Clicking spots in opposite directions will change the course of the series of straight lines, which comes in handy to create broken lines, such as zig-zag lines. Creating a series of straight lines can also help trace objects.

Option 3: Draw A Straight Line Using A Pen Path
Step 1: Select The Pen Tool (P) From The Toolbar
To create a straight line using the pen tool, you must draw a path and then stroke the path. First, select the Pen Tool (P) from the toolbar.

Step 2: Click Once, Then Click On A Second Point To Create A Straight Path
Then, click anywhere on the canvas to create the first anchor point. Next, click another spot on the canvas to create the second anchor point.
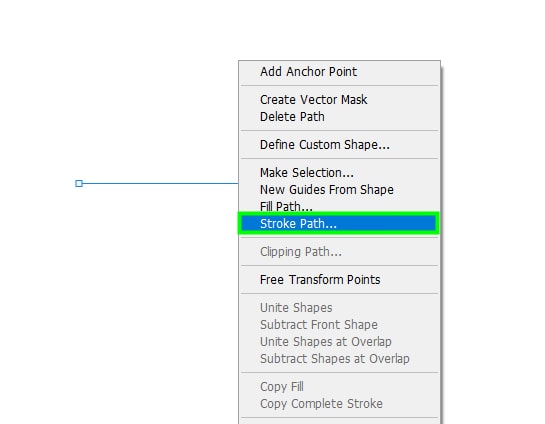
Step 3: Right-Click And Select Stroke Path
The connection between the two anchor points will make up a straight path. To turn the path into a stroked straight line, right-click the path and choose Stroke Path.
Then, choose a tool to stroke the path. You can select either the Pen Tool or the Brush Tool.
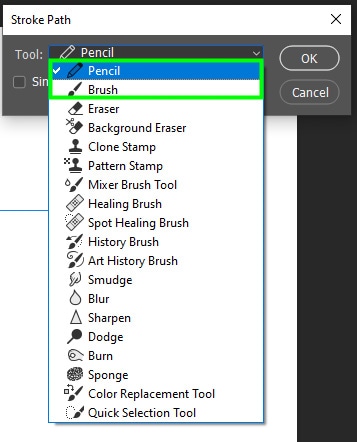
In my case, I chose the Brush Tool. Click OK to confirm the action. Once you stroke the path, it will turn into a straight line. Remember that your new line will keep the settings of the Brush or Pencil Tool you last had active.

Option 4: Draw A Straight Line Using The Marquee Tools
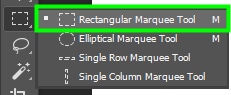
Step 1: Select The Rectangle Or Single Row Marquee Tool
Select the Rectangular Marquee Tool (M) to create a thick line or the Single Row or Single Column Marquee Tool to create a horizontal or vertical line that is 1px thick.
Then, set Feather to 0 in the Options Bar so your line doesn’t get blurred.

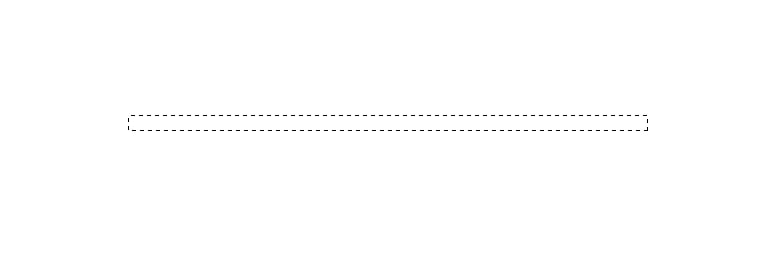
Step 2: Click And Drag On The Canvas To Create A Rectangular Selection
With the tool selected, click and drag your rectangular selection towards the spot where you want it to end. Let go of the mouse when you feel the selection size is ok. Using the Rectangular Marquee Tool, you can create a horizontal or vertical straight line.
Step 3: Press Alt/Option + Delete to Fill The Selection With The Foreground Color
To fill the line with color, set your desired foreground color (in my case, black), and press Alt + Delete (Win) or Option + Delete (Mac) to fill the selection. Then, press Control + D (Win) or Command + D (Mac). This process fills the line with your foreground color.

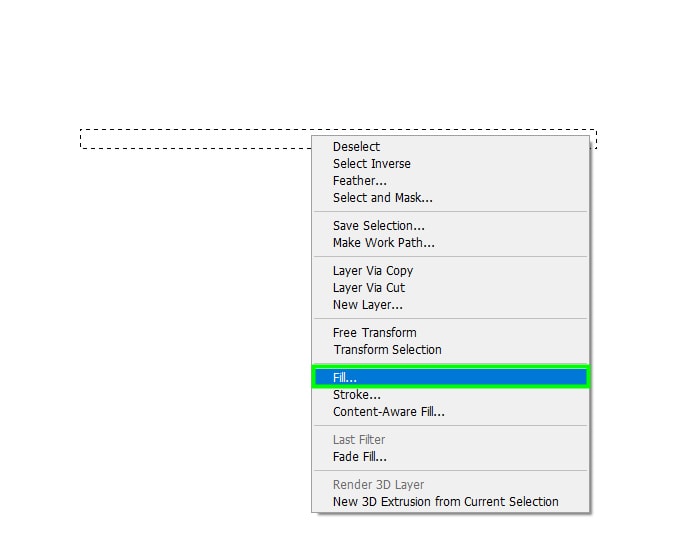
Step 4: Right-Click And Select Fill To Choose A Different Color (Optional)
Alternatively, right-click the rectangular selection and choose Fill.
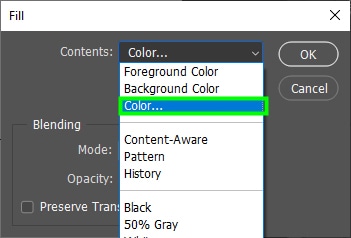
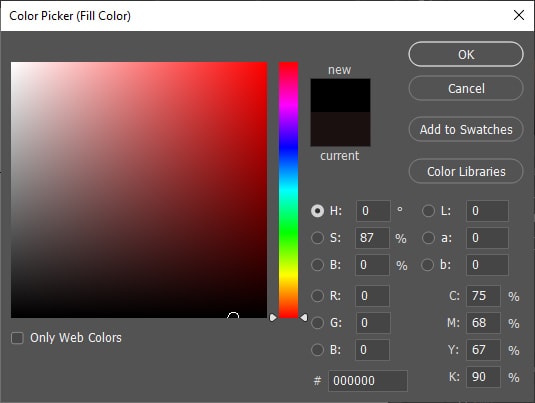
From the Fill dialog box, choose Color within the Contents drop-down menu. This action opens up the Color Picker Panel, where you can choose any color to fill the straight line.
Press Control + D (Win) or Command + D (Mac) to deselect the line and use it the way you want.

With these different methods, you have a variety of techniques to create perfectly straight lines to suit any workflow!
Happy Editing!
