

Unlike rotating a layer, the process of rotating a selection in Photoshop is a little bit different. Depending on whether you want to rotate the selection by itself or the selection plus its contents will require two different methods. Luckily you’ll learn both of them in this tutorial!
How To Rotate A Selection In Photoshop
Option 1: Using The Move Tool & Transform Controls
The first method you can use to rotate a selection is using the Move Tool (V) and the Transform Tool. This method is quick and easy, but it will cut the selection out of the layer, which means there will likely be a hole in your image that you’ll have to fill after rotating the selection.
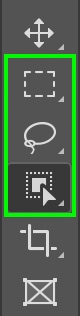
This method will work regardless of which type of selection you’re using: the Marquee Tools (M), Lasso Tool (L), Object Selection Tool (W), and Quick Selection Tool (W) will make selections you can rotate.
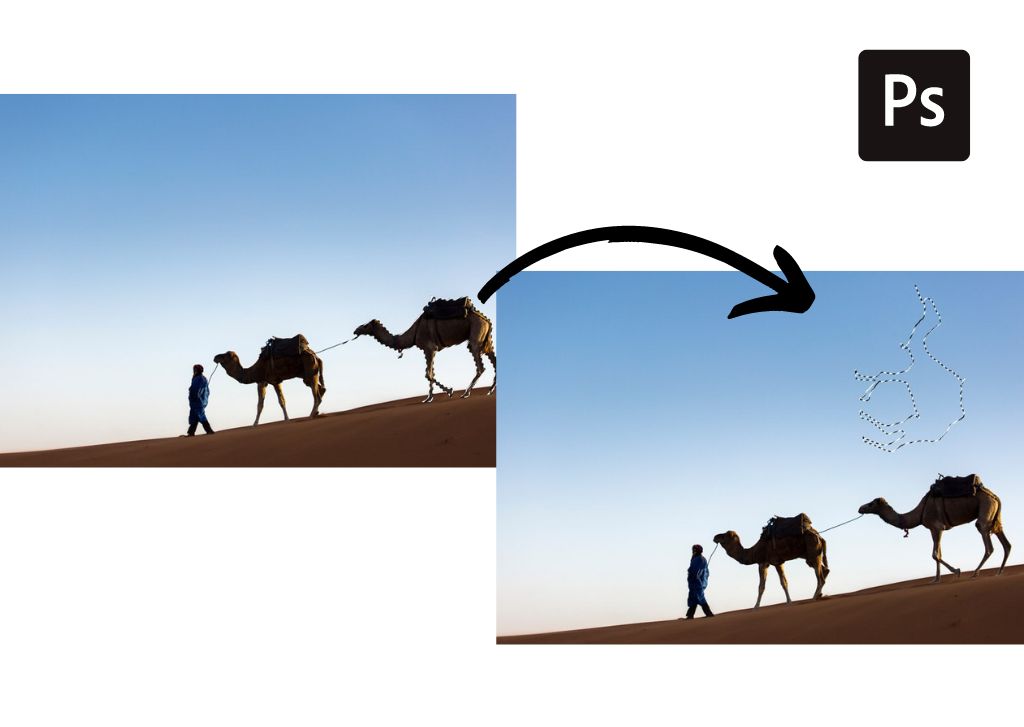
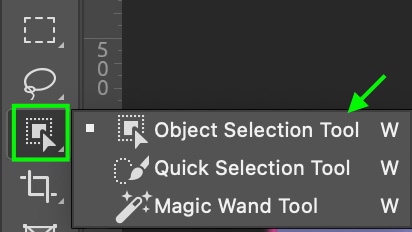
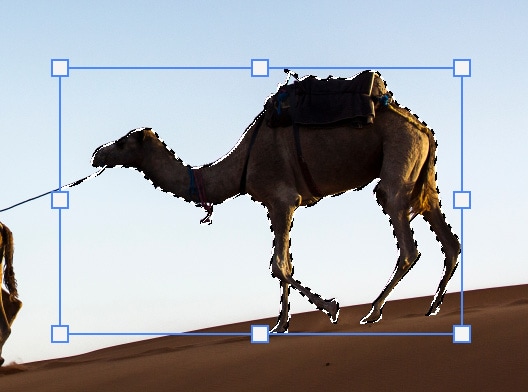
Select the tool you’d like to use and make a selection on your project or image. I’ll use the Object Selection Tool (W) for my example.
Then, I’ll draw the selection around an object in my image or click an object that Photoshop identifies (with the object selection tool, identified objects will feature a pink border when you hover over them).

Once you’ve made a selection, the marching ants will appear around the active selection.

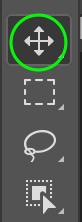
Now, toggle the Move Tool on by pressing the V key or clicking the icon.
Toggle Transform on using the shortcut Control + T (Win) or Command + T (Mac). This will add a transform box around the selection you’ve just made.
From there, move your cursor just outside the corner of the transform box, and you’ll see the cursor turn to a rotate icon.
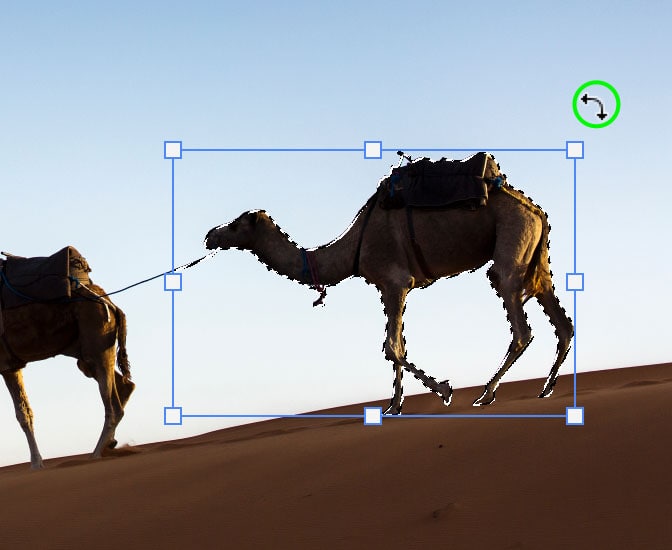
You can then drag to rotate the selection in whichever direction you’d like.
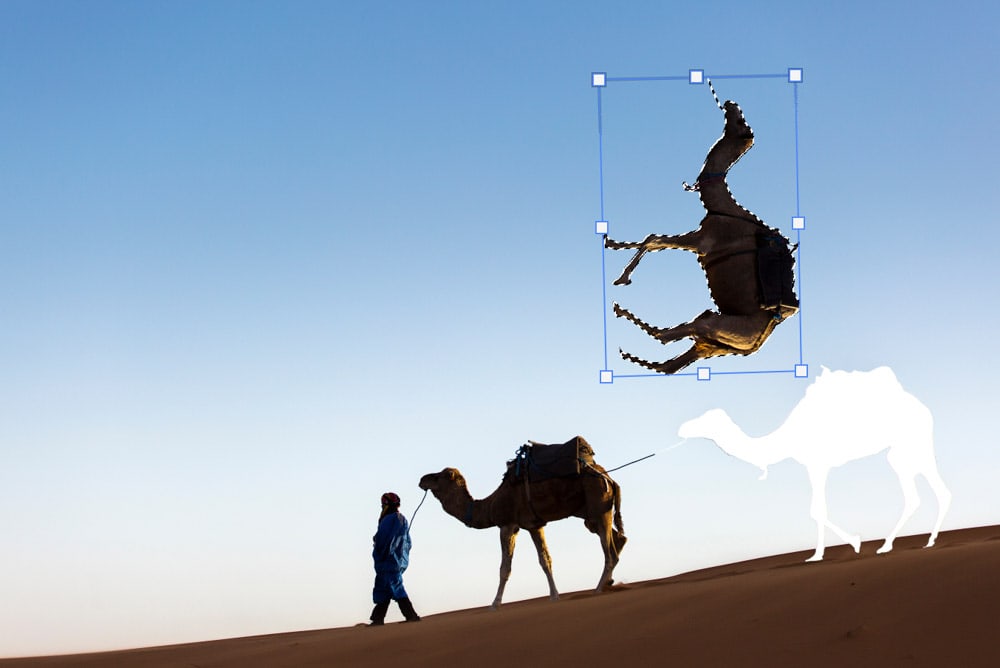
Press Control + D (Win) or Command + D (Mac) to deselect the selection after rotating and moving it.
When you rotate (or move) the selection, you’ll notice that it will become cut out of its area, leaving a hole where the original selection used to be. You can fill this in however you’d like, using content-aware fill, duplicating the layer, or using another method to fill in the blank spot.
Otherwise, you can use the following method to rotate a selection without cutting out parts of the layer.
Option 2: Using An Alpha Channel
The other way to rotate a selection is to save it as a new channel, as this will not remove the selection from your image but rather create a new selection with the same shape and size as the selected area.
You can then fill and move the selection around your image without leaving a hole where it used to be. This is the best option if you’re trying to fill a selection of an object or shape with text or color.
First, make your selection using whichever selection tool you prefer, and make sure it is active with the marching ants border around it.
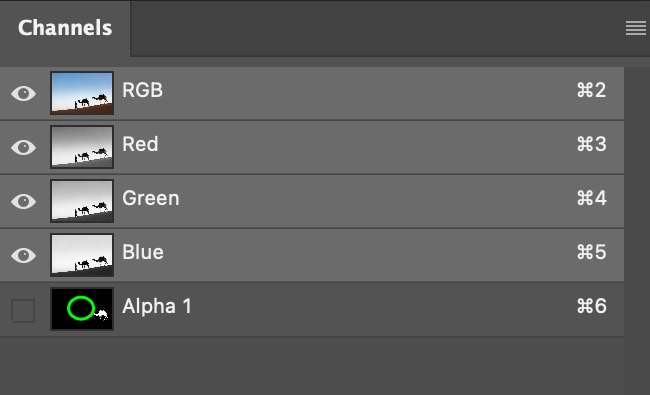
Then, head to Channels. If you aren’t seeing the Channels tab, go to Window > Channels, and the tab will appear.

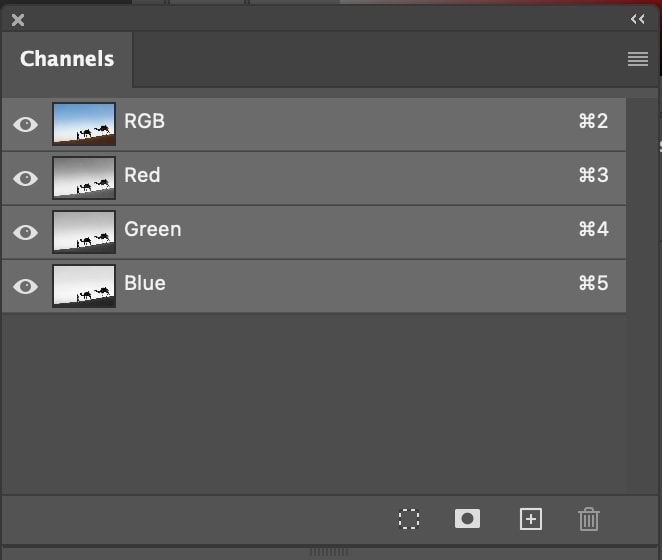
Then, at the bottom of the panel, click the Masking Icon to save the selection as a new channel.

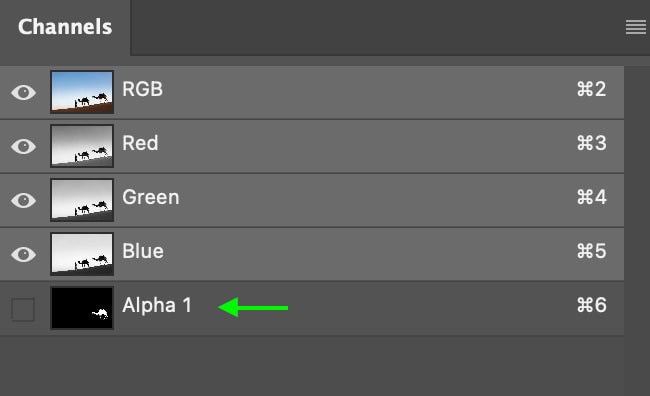
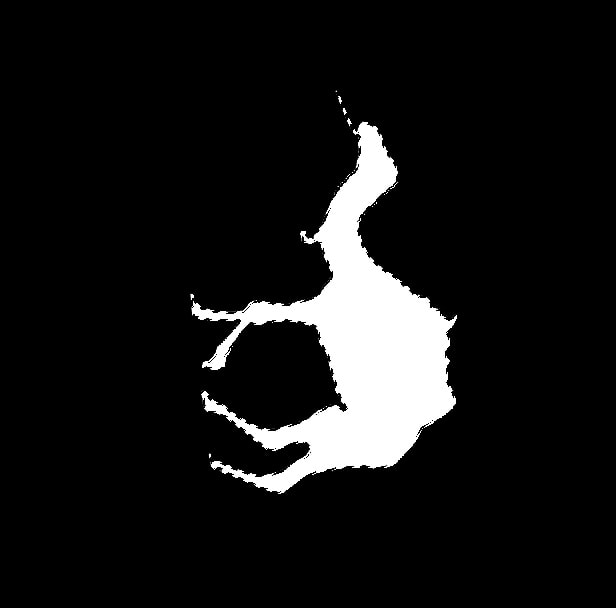
You’ll see the new channel at the bottom of the stack in the Channels panel as Alpha 1. Deselect the selection using Control + D (Win) or Command + D (Mac). Click this new channel, and you’ll see the image change so that the only thing visible is the outline of your selection.

Then, toggle the Transform Tool using Control + T (Win) or Command + T (Mac). The transform box will appear around the object.
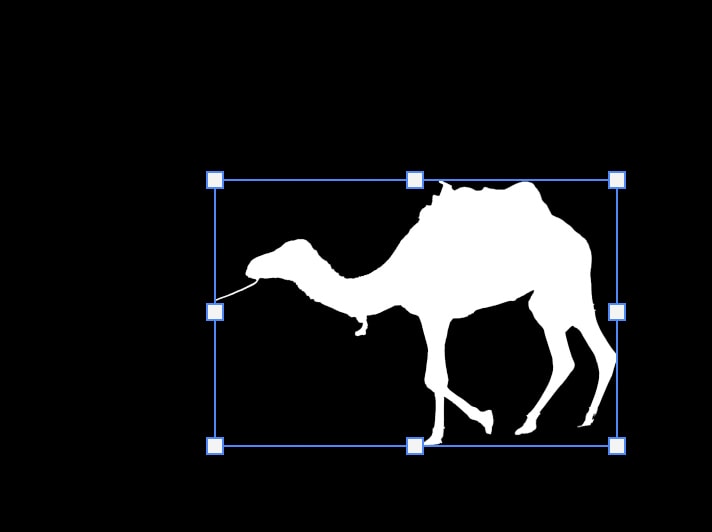
You can then rotate the mask by hovering your cursor just outside the corner of the selection and dragging it around.
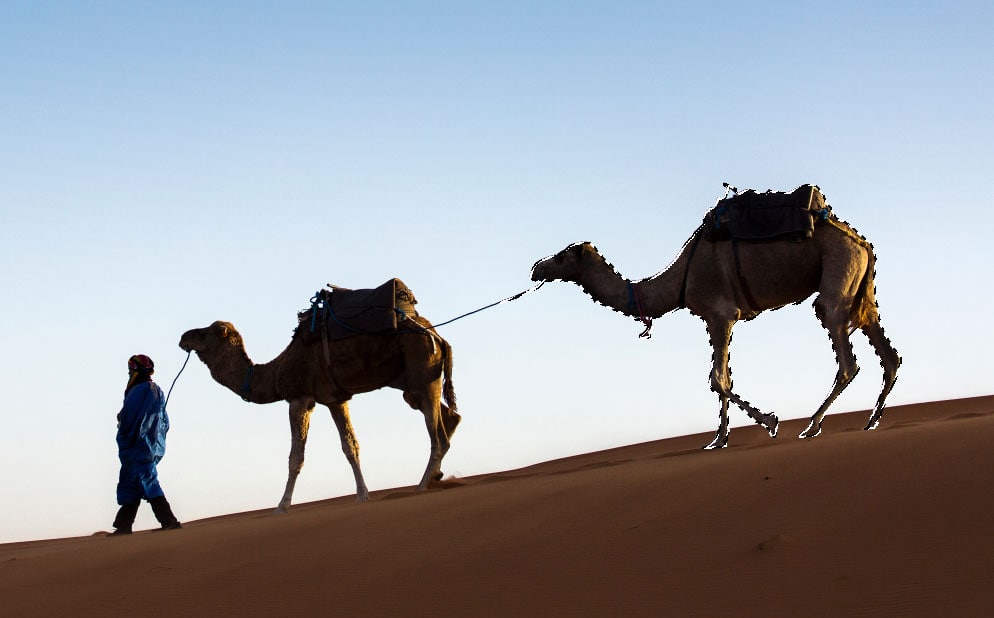
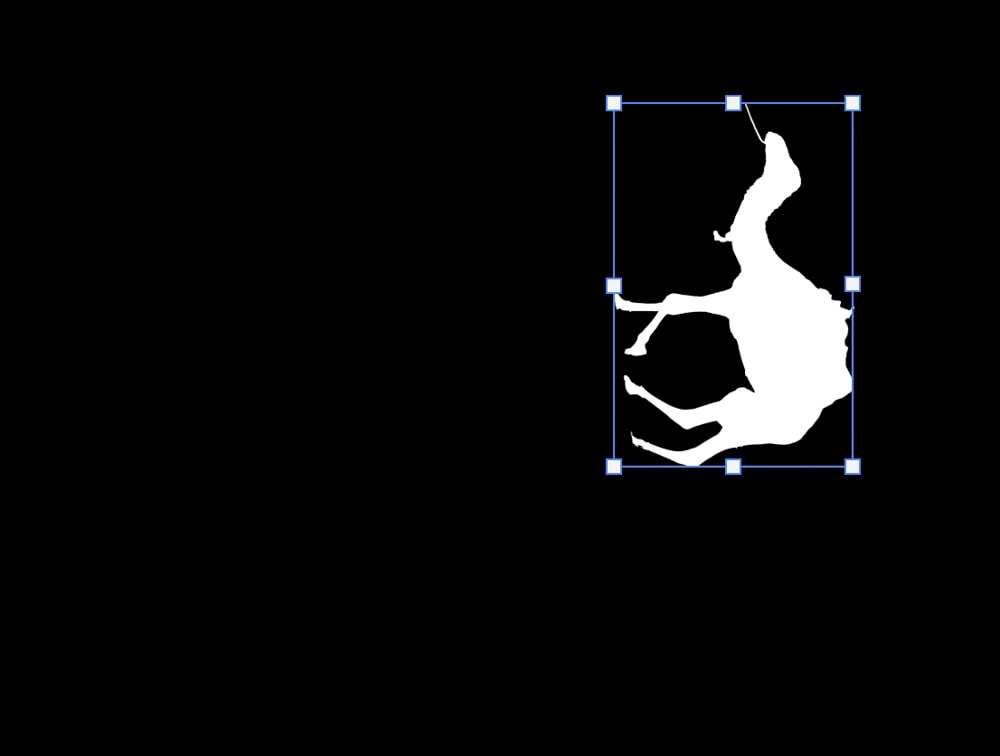
You’ll see the selection rotate, and you can move it around the document or even scale it if you need to. However, you won’t see the rest of the image, only the selection in white.
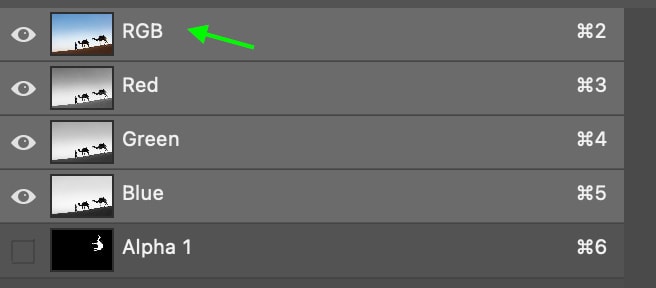
Once you’ve rotated the selection the way you’d like, select the Move Tool (V) and then hold Control (Win) or Command (Mac) and click on the new alpha channel’s thumbnail. This will re-select the object shown by the white area.
Then, return to the RGB Color Channel in the Channels tab by clicking on it to re-enable the color.

You’ll see the selection rotated with the image in full color and the original selection remaining – meaning there won’t be any cutout area in your project. If you want to continue moving the selection, simply click back to the Alpha 1 Channel in the Channels tab and toggle the Move Tool (V).
Once you’re content with the selection’s position, you can return to the Layers Panel and fill the selection however you’d like.
Happy editing!
