


One advantage of Canva over the more complicated graphic design programs is an element called a “frame.” Frames act as small containers in different forms, making cutting images into whatever shape you’d like easy. If you don’t like the default frame options, you will need to create a custom frame in Canva.
Canva doesn’t let you create frames inside the program itself, so you’ll need to use other software. But don’t worry; this guide will walk you through the entire process step by step so that you can create whatever frame you can imagine. This post will also cover how to save your new frame as a sort of template so you can use it repeatedly.
How To Create A Custom Frame In Canva
To make a frame, you first need a shape. This guide will walk you through creating and exporting your shape with Photoshop, but you can also do this with free software such as Photopea, which has a similar layout and process to Photoshop.
Step 1: Create Your Shape
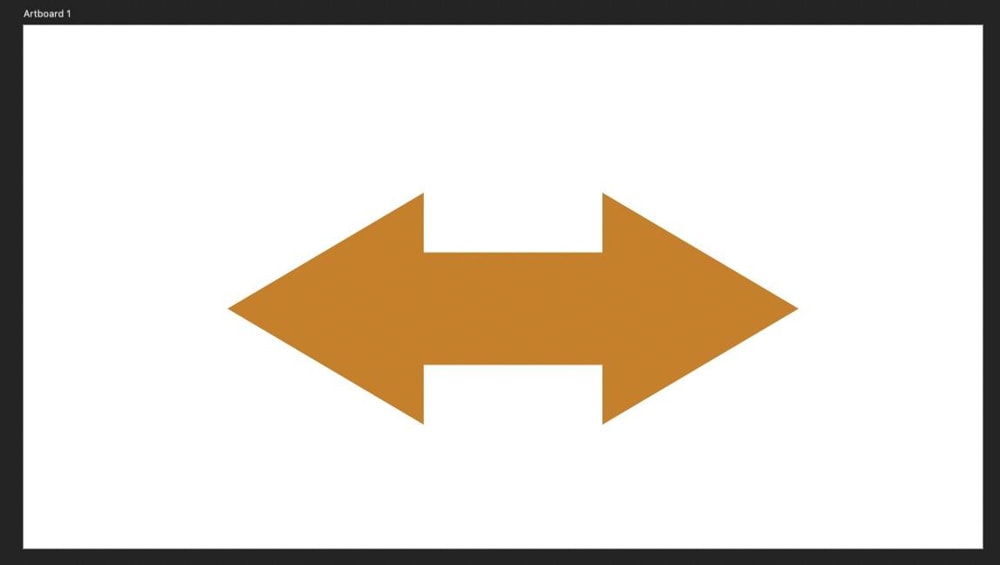
Your completed frame can look like any shape. In Photoshop, use the Shape Tool (U) to create whatever shape you need for your project.
Also, before you start assembling your shape, ensure the Stroke is set to 0 in the Options Bar. This will save you an extra step later on in the process.


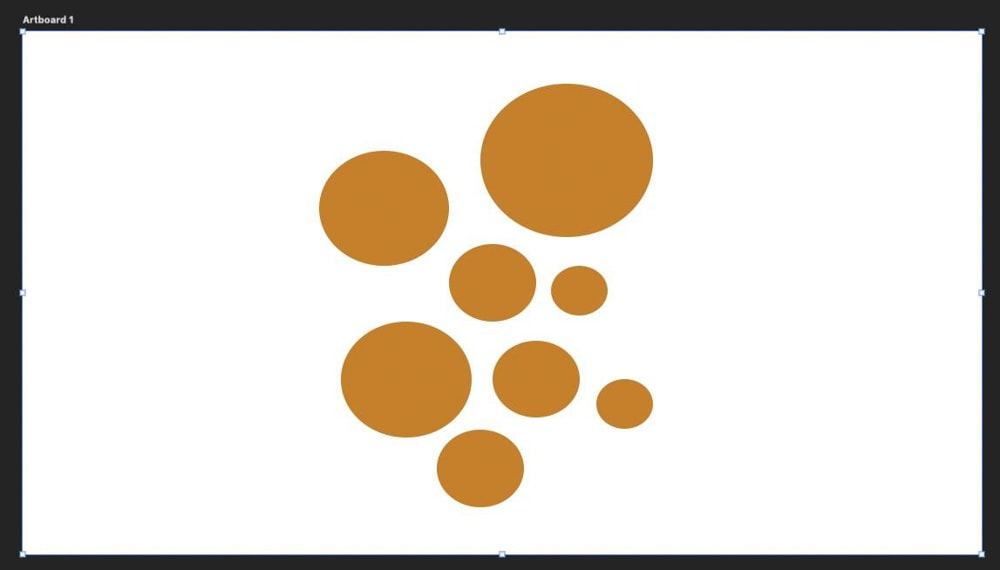
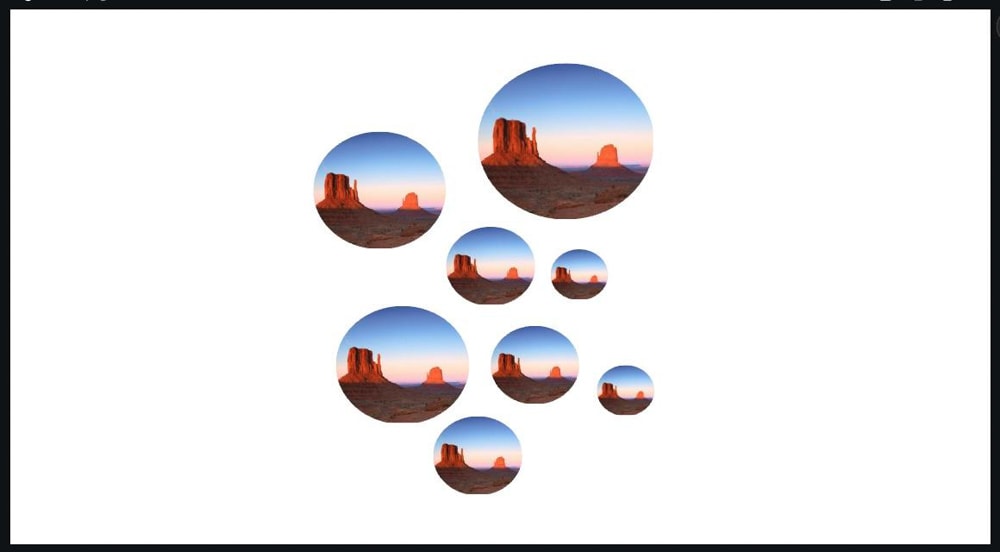
Your creation can be a group of connected shapes or separate shapes on the canvas, for example, a collection of different-sized circles bundled together. It all depends on your personal style.
Step 2: Merge Your Shapes Layers (Or Keep Them Separate)
Next up, if you’ve made a connected shape, you’ll need to merge all the shape layers into one layer.
If you have a collection of unconnected shapes like the circles above, then you have two options:
- You can merge all the shape layers to create one frame for Canva.
- You can leave all the layers separate, which will create a group of different frames bundled together.
Both of these situations will be expanded upon in steps 6 and 7.
To merge your shapes, first, shift-click each of your shapes or drag the mouse over them until each shape is selected.
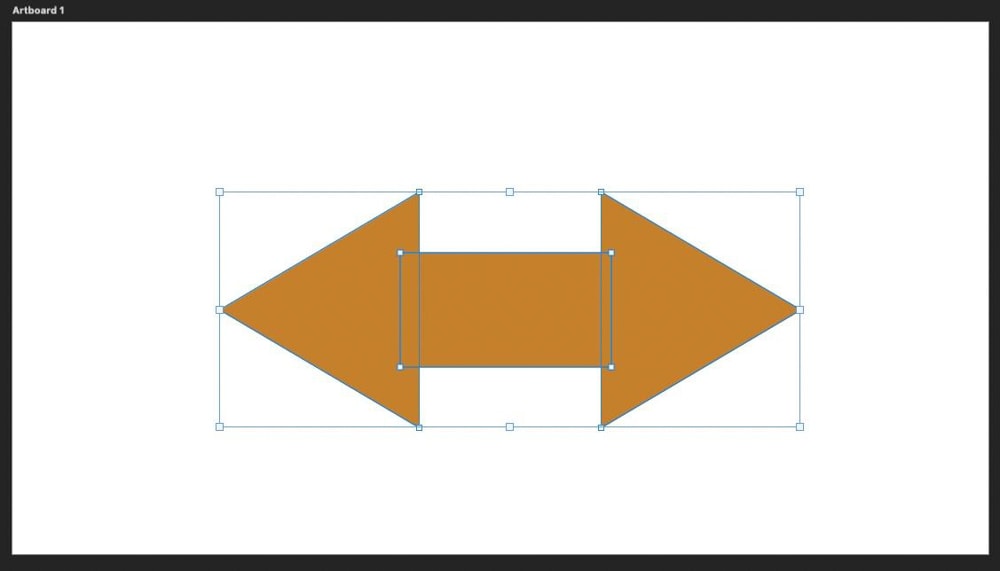
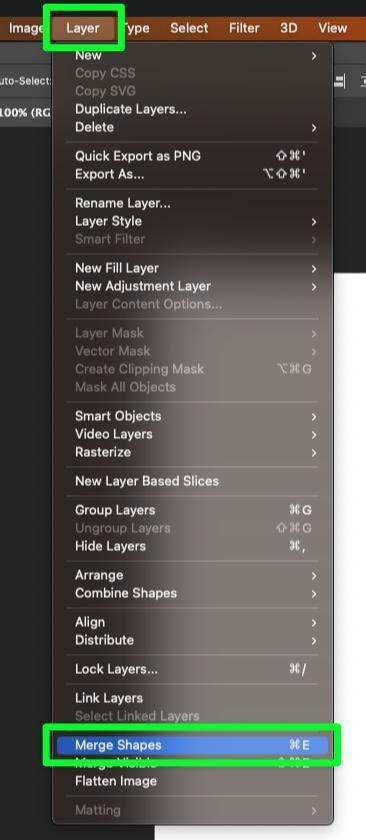
Once all your shapes are selected, merge your shape layers into one by going to Layer > Merge Shapes or pressing Control + E (Win) or Command + E (Mac).
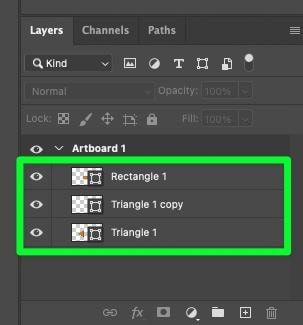
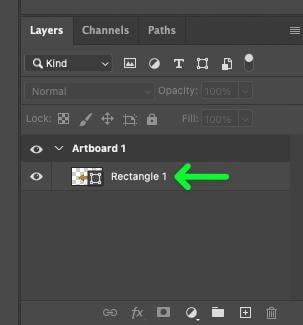
In the Layers Panel, you’ll find a single layer.
Step 3: Embed An Image To Your Project
Now that your shape is complete, it’s time to “fill” the shape with a temporary image that will act as a placeholder for your frame. This can be an image you want to use for your final project or any image you can quickly find.
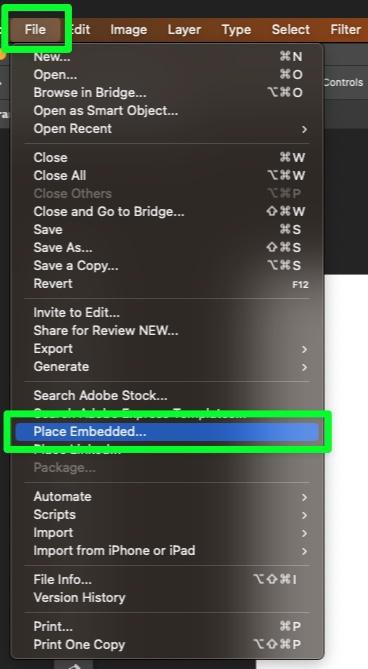
To embed your image, go to File > Place Embedded. You’ll be prompted to locate a photo on your hard drive.
Don’t just drag an image from another window. Embedding the image will preserve the image’s source content so the pixels of the image remain the same size.
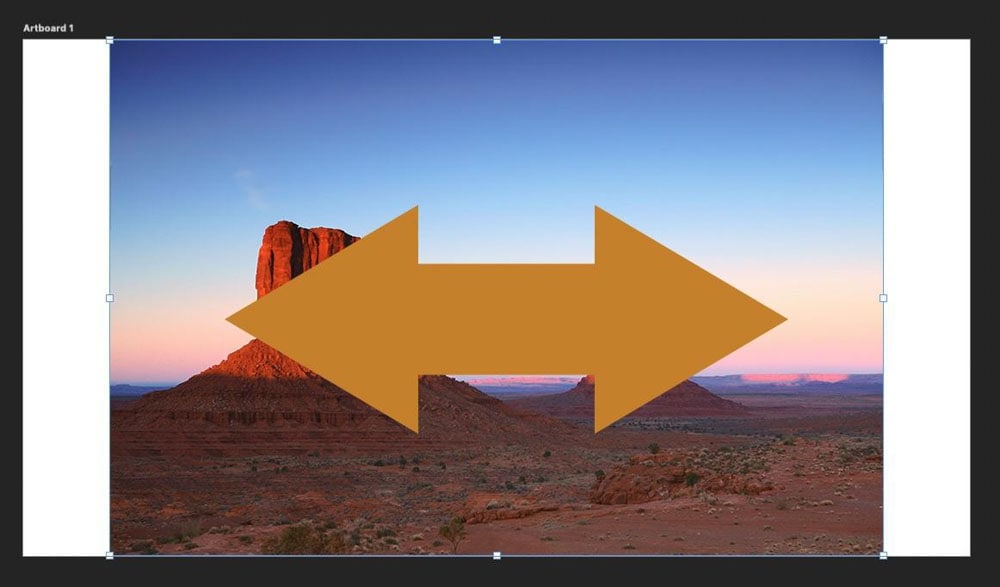
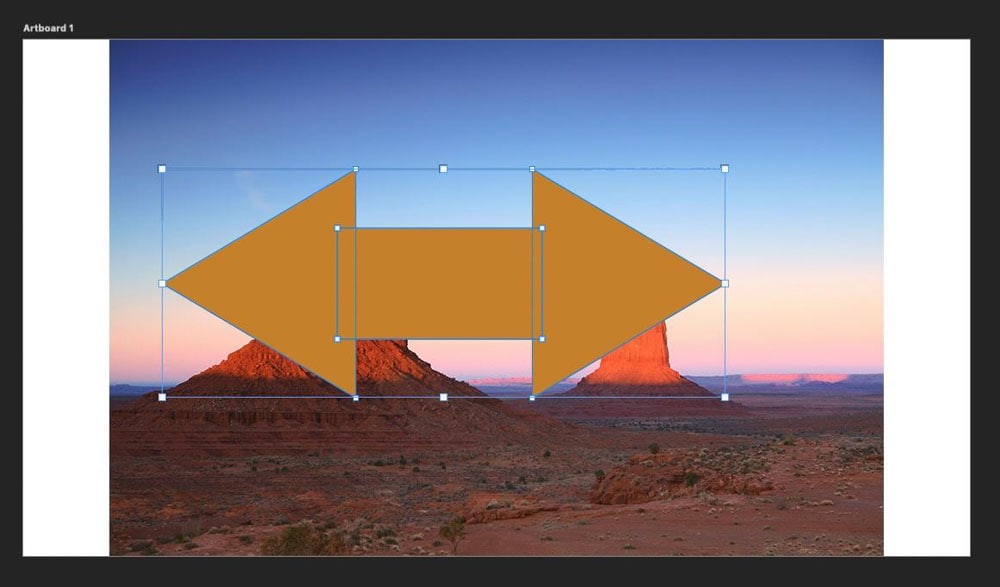
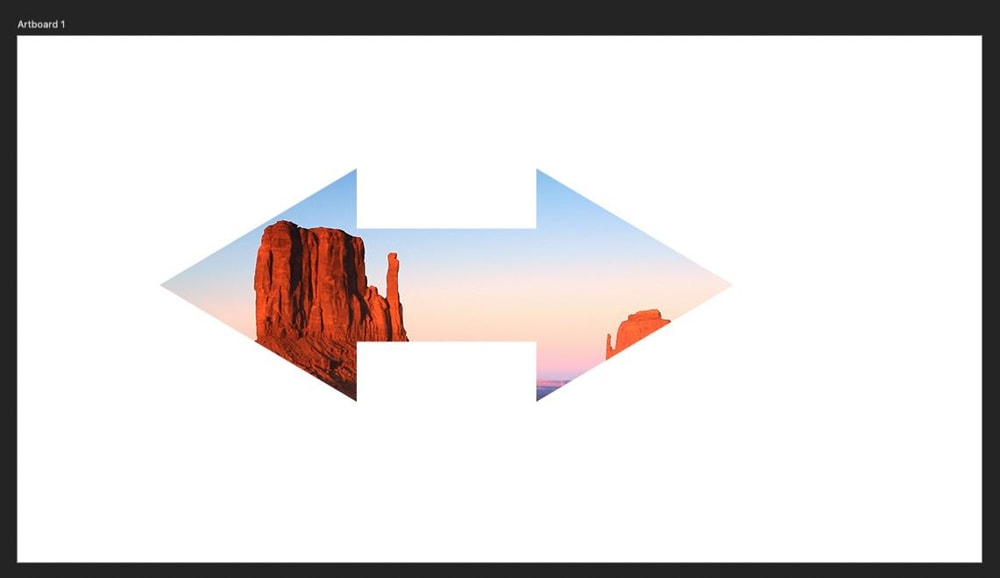
Once embedded, the image will appear in your project over your shape.
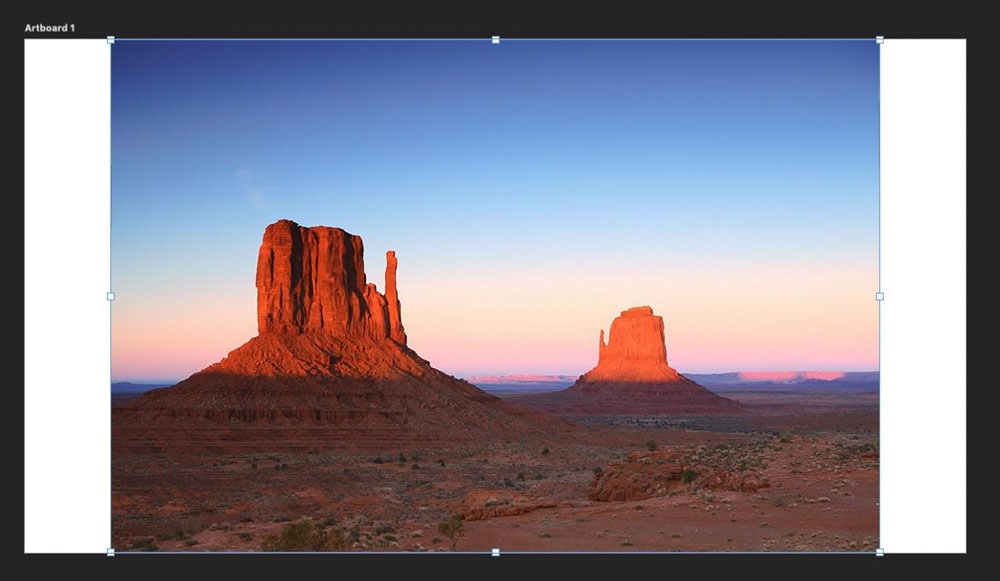
Your goal is to clip the image on top of the shape, but first, you may want to line up the shape where you want it.
To do this, drag the shape layer on top of the image layer in the Layers Panel.
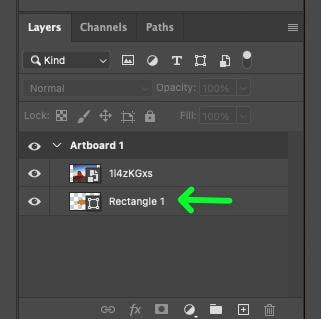
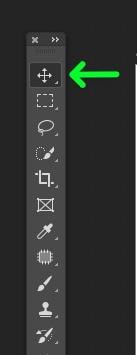
Then, use the Move Tool (V) to adjust your shape’s position and size. Ultimately, you don’t need to be perfect here, as this image is a placeholder. This process is a way to judge if your image works with the shape that you’ve created.
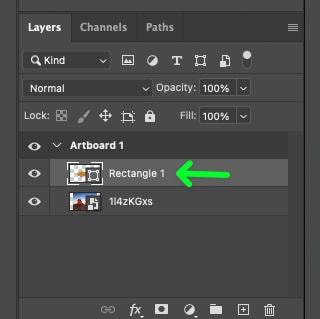
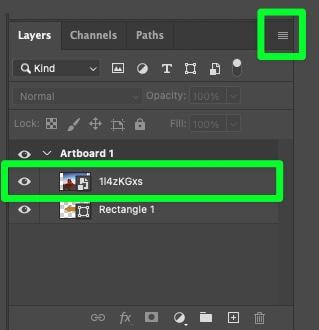
Once ready, drag the image layer above the shape layer in the Layers Panel.
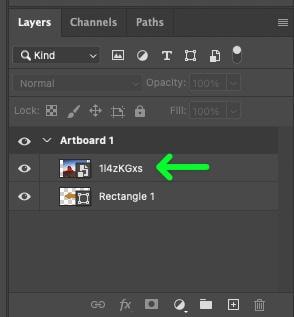
Then, create a clipping mask from the image layer by clicking the Layers Panel Menu icon and selecting Create Clipping Mask or pressing Control + Alt + G (Win) or Command + Option + G (Mac).
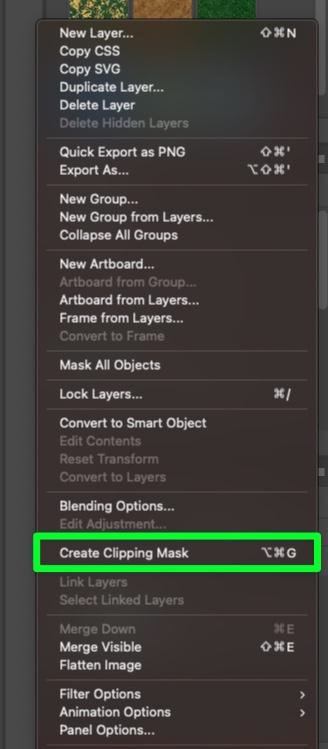
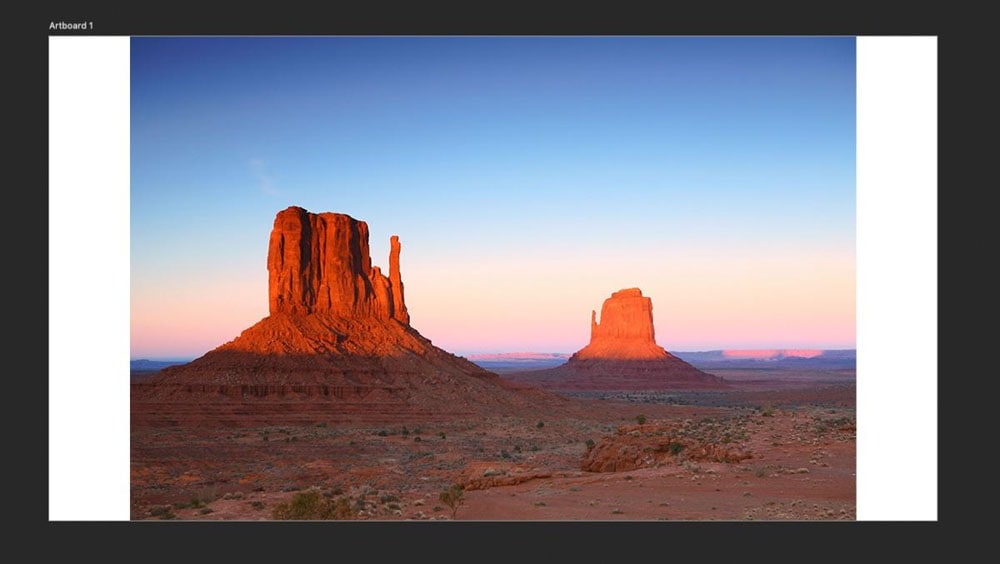
This will cut the image layer in the shape of the object below it.
Step 4: Save As A Photoshop PDF With No Compression
Now you’re ready to export what you’ve made so you can upload it to Canva.
This part is crucial, so make sure to follow along closely.
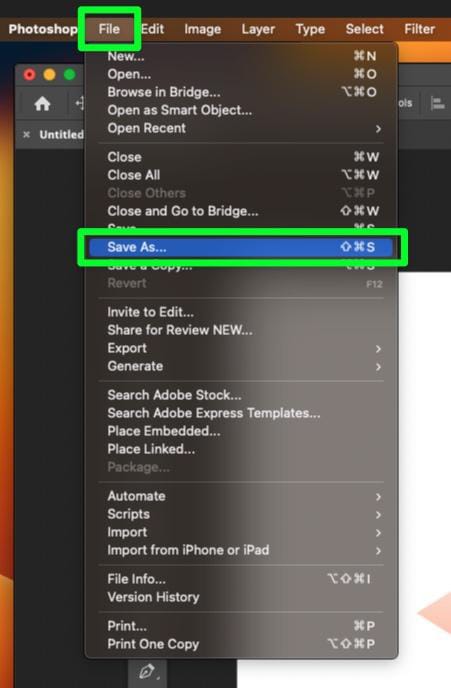
First, go to File > Save As.
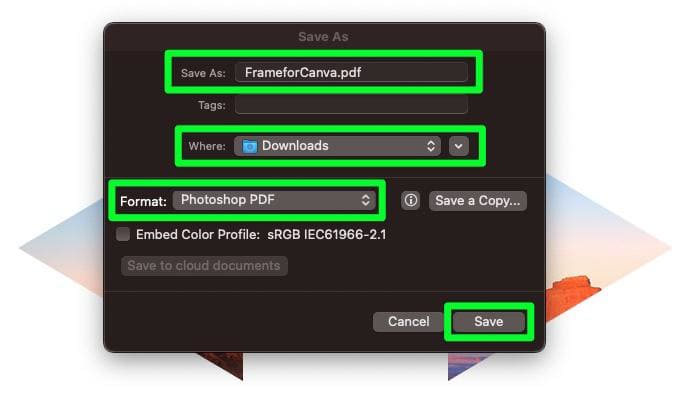
In the Save As options window:
- Choose the name for your file.
- Select where you want to save the file on your hard drive.
- In the Format drop-down menu, choose Photoshop PDF. This is required to maintain the layers needed for Canva.
- Click Save.
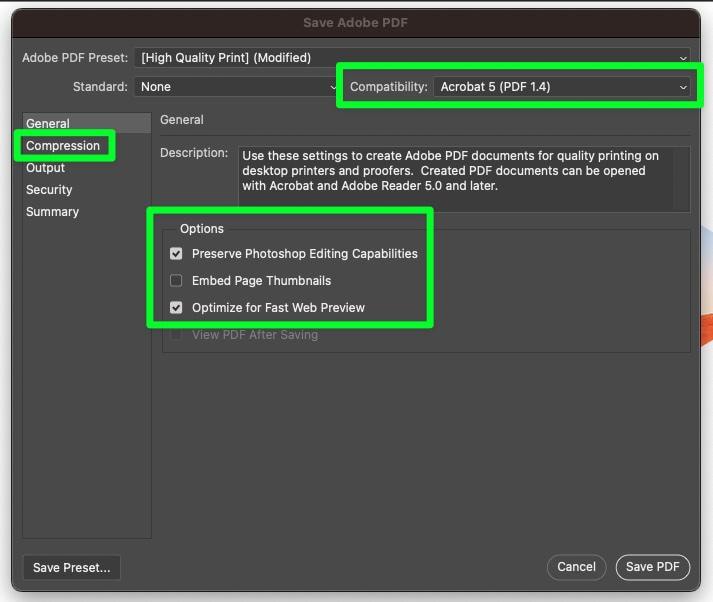
The Save Adobe PDF menu will pop up, and these settings are the most important when exporting your custom shape.
First, in the Compatibility drop-down menu, make sure Acrobat 5 (PDF 1.4) is selected.
Under Options, ensure that:
- Preserve Photoshop Editing Capabilities is checked on.
- Embed Page Thumbnails is checked off.
- Optimize For Fast Web Preview is checked on.
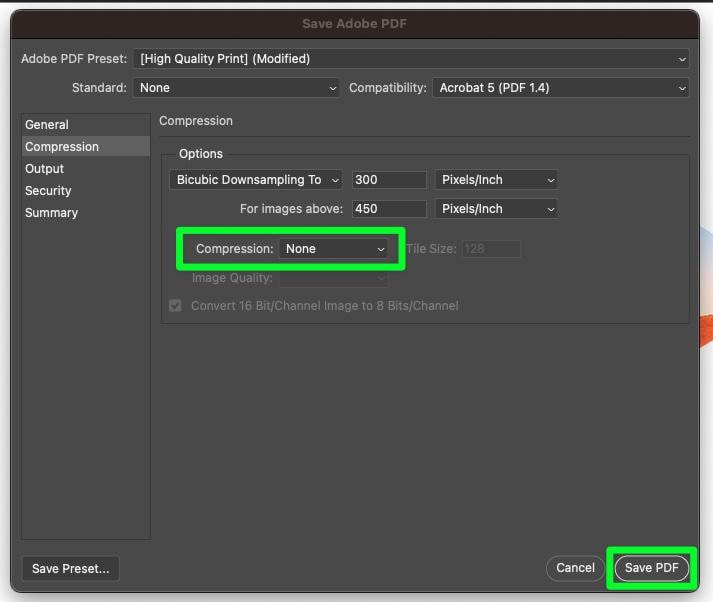
Next, click on the Compression tab in the left-side panel.
Leave the default settings for this window as they are, then check the Compression drop-down menu. Ensure that None is selected here so the layers aren’t flattened during the exporting process.
Then, click Save PDF.
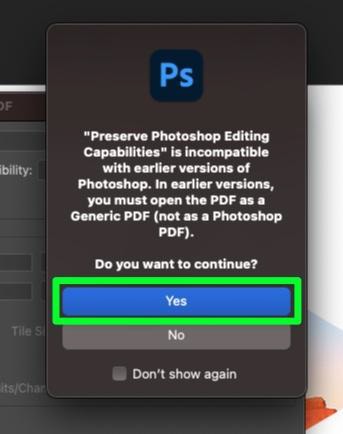
A warning may pop up about an issue with older versions of Photoshop. If this happens, click Yes, and the file will download to your computer.
Step 5: Upload The PDF To Canva
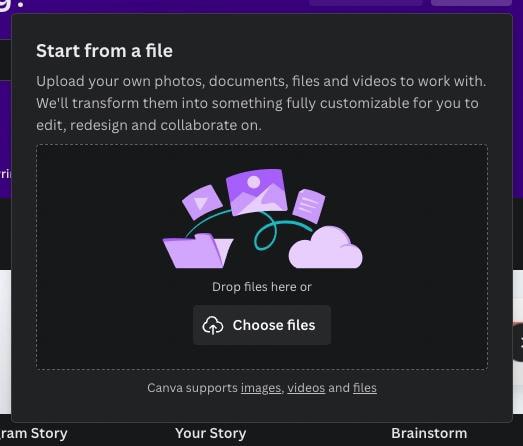
Once the PDF is downloaded, open Canva and click Upload on the homepage.

In the panel that pops down, either click the Choose Files button and locate the PDF or drag the PDF from another window into the panel.
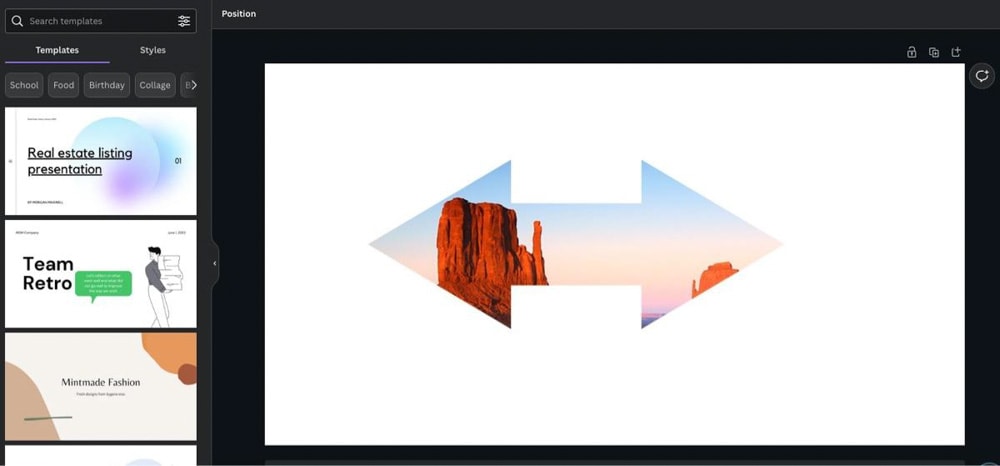
Once the PDF is uploaded, you’ll find it under Recent Designs. Click on it to open up the project in a new tab.
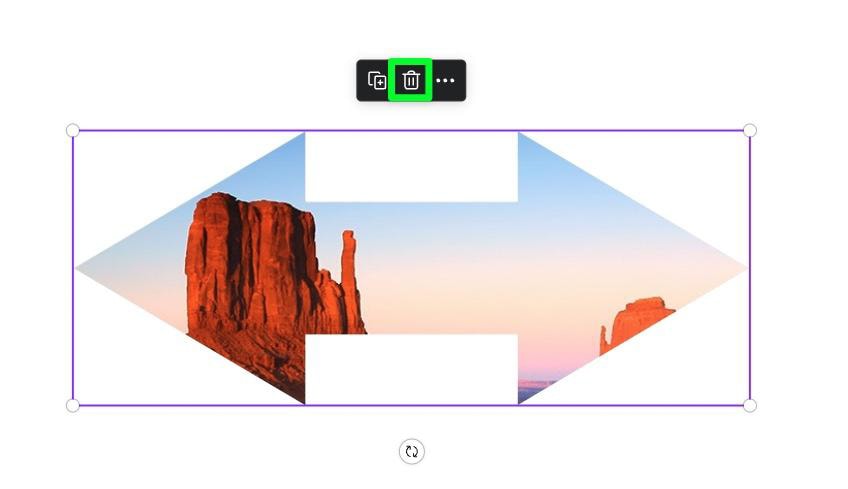
Step 6: Delete The Placeholder Image
Now that the PDF is in Canva, you no longer need the placeholder image.
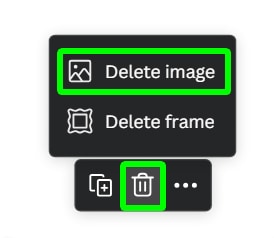
Select the image, then click the Trash icon in the Mini Options Bar. You’ll be given the choice to delete the image or to delete the frame. Choose Delete Image.
Alternatively, selecting the image and pressing Delete will remove it.
Deleting the image will leave you with just the frame indicated by the default frame picture.
If your frame is a collection of separate shapes that you didn’t merge, you must delete the placeholder from each shape individually.

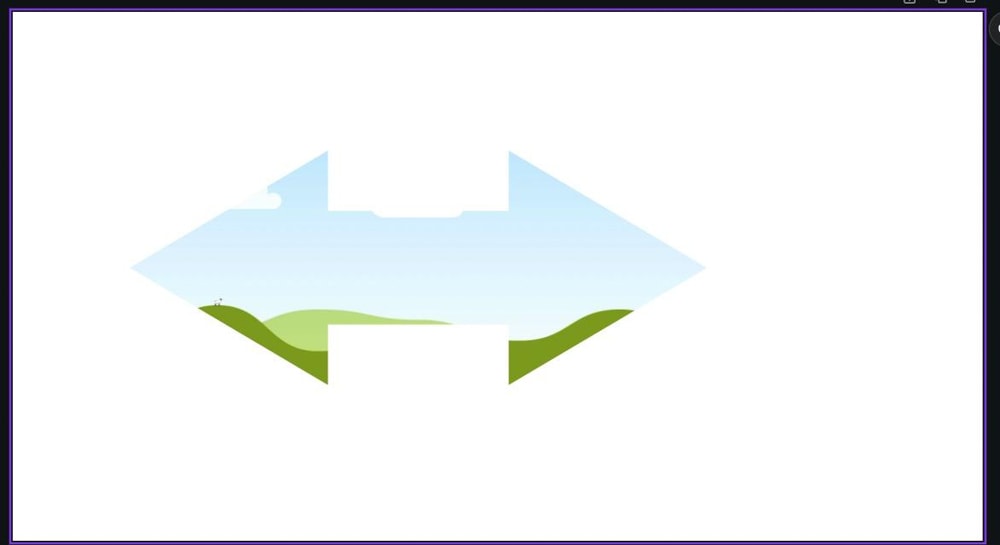
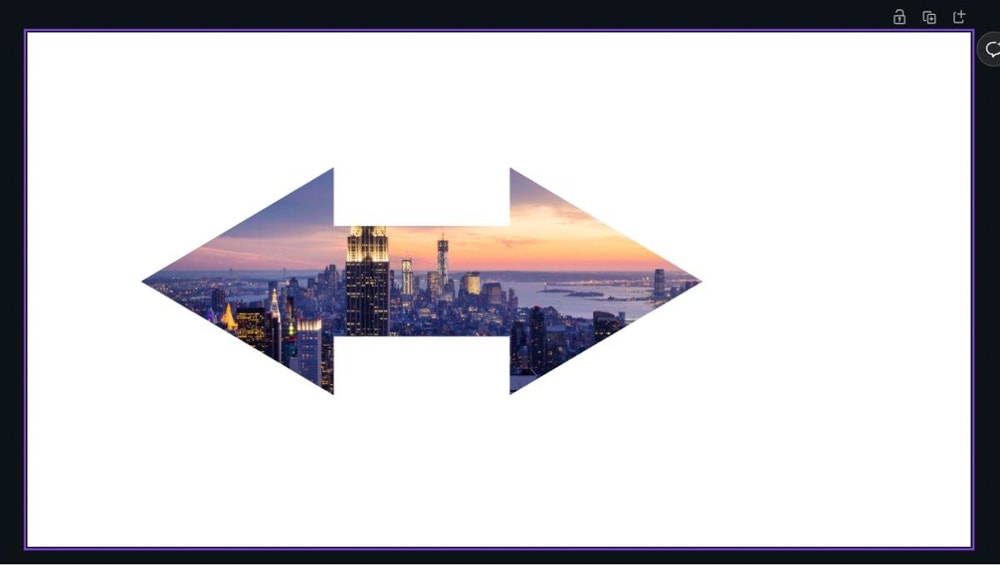
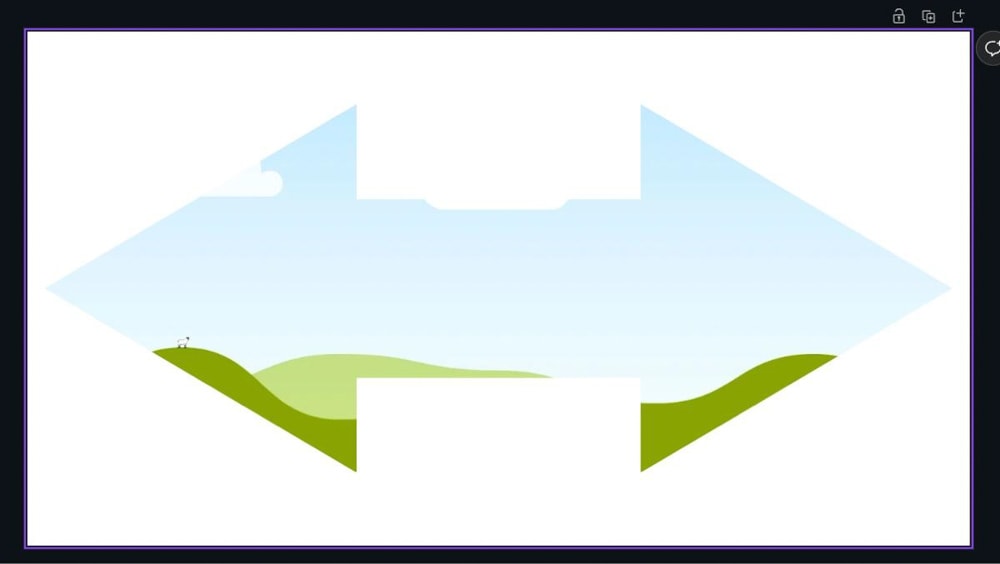
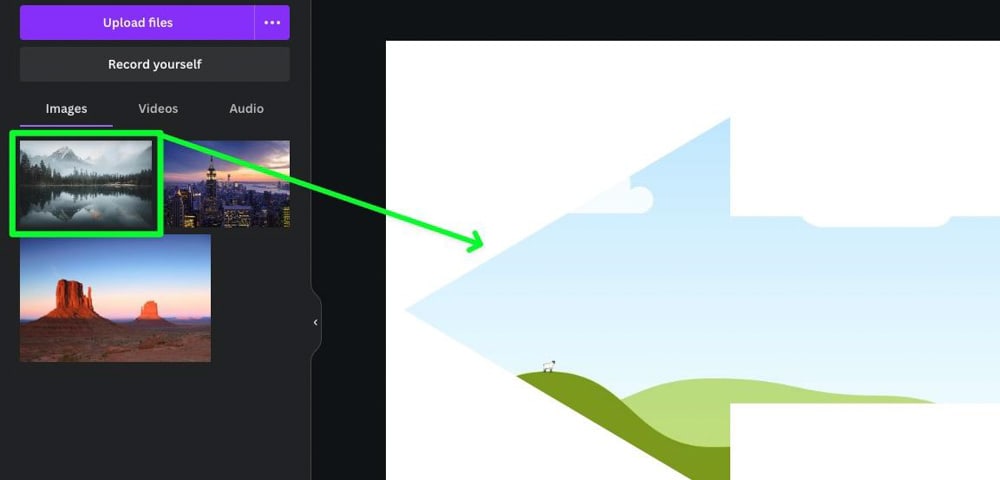
Step 7: Add Your Image To The Frame
Your frame is now officially ready to be used.
To do this, locate your image, then drag it from the Side Panel to the Frame.
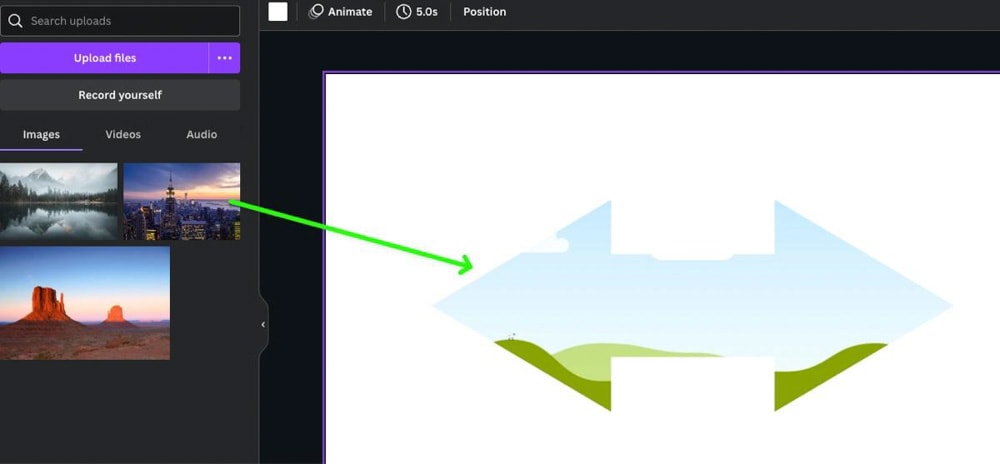

If your frame is a collection of separate shapes, you’ll need to fill each shape with a different image.
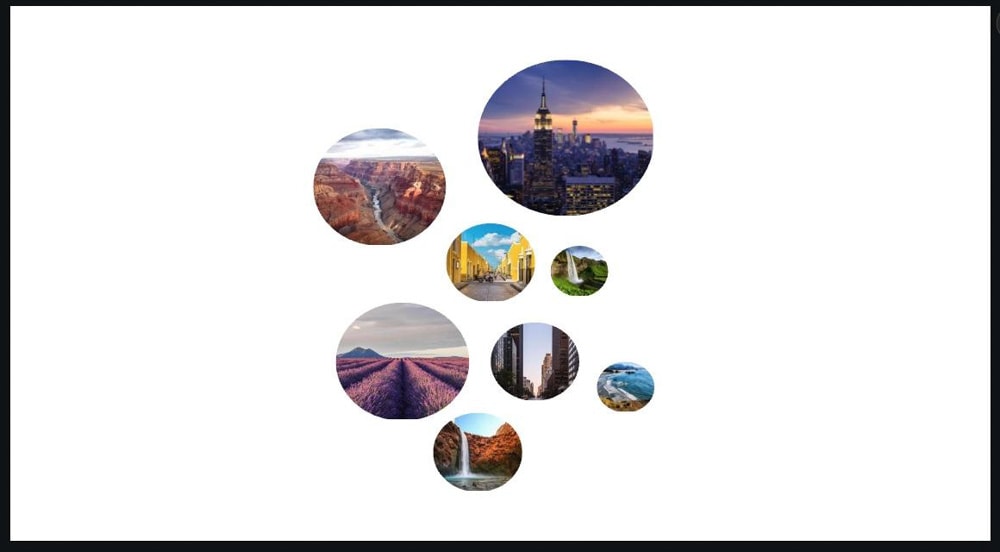
Step 8: Export As A PNG
Now that your image is inside your custom frame, it’s time to export your project as a PNG so you can use it in another project.
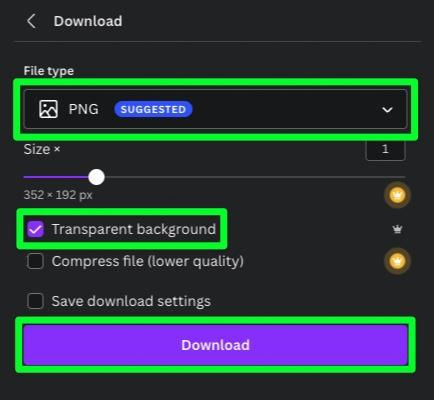
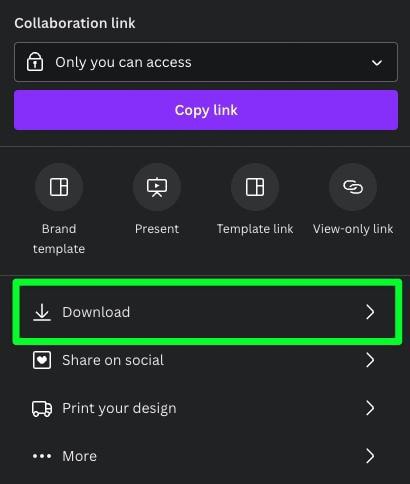
To do this, click the Share button in the top right corner of the Canva interface, then select Download.
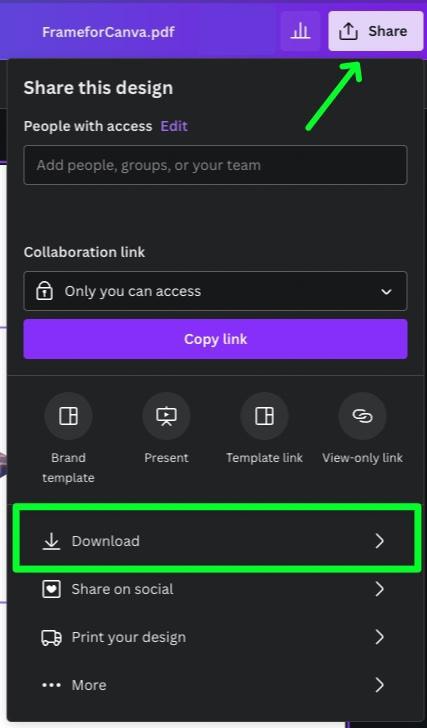
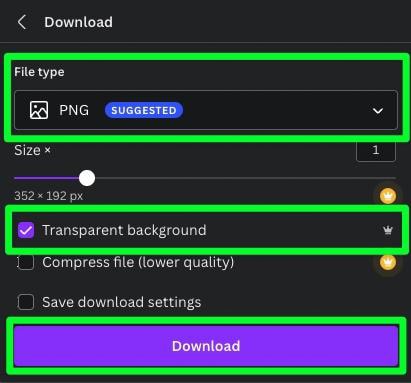
In the Download Options Menu, select PNG for the File Type, then check on Transparent Background.
Click Download when ready to download the project to your computer so you can add it to any other project.
How To Save A Custom Frame In Canva
Canva does not allow you to save custom frames with the rest of the frames found in the Elements tab.
Instead, you’ll have to save your frame in a new folder or a folder you’ve already created.
Step 1: Prepare The Frame
Before saving the frame, you should prepare it for storage. First, delete any image that might be inside the frame.
Then, resize the frame by clicking on it and dragging the side handles until the frame fills up most of the canvas.

Step 2: Create A New Folder (Optional)
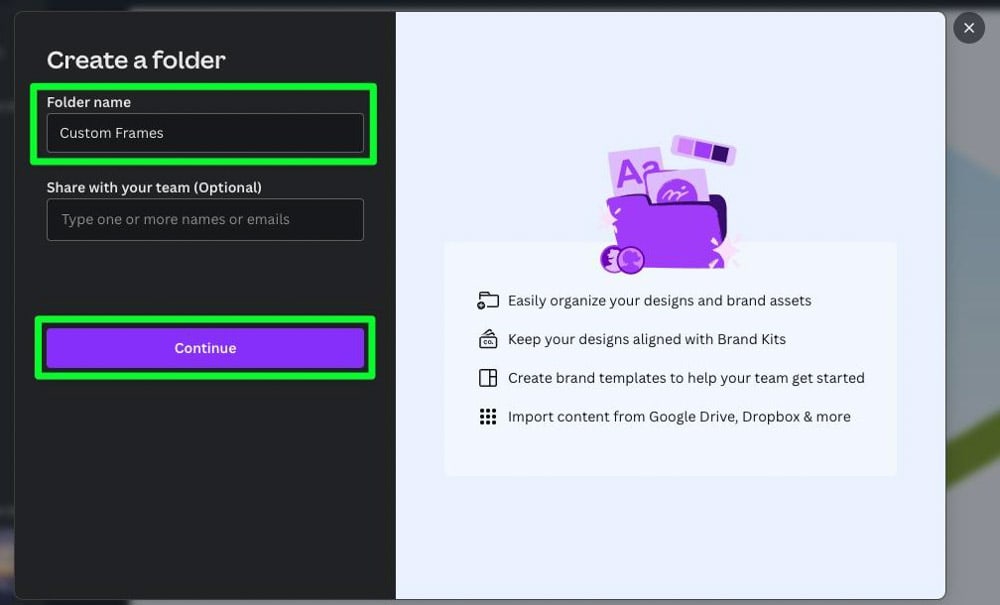
If you want to save your frame and any future frames in a new folder, you can do so by clicking the Projects button, then select Create Folder.
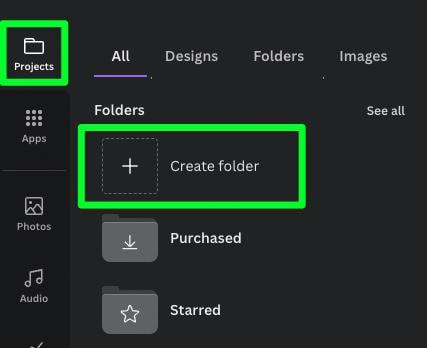
You’ll be prompted to name your new folder. Once you do, click Continue.
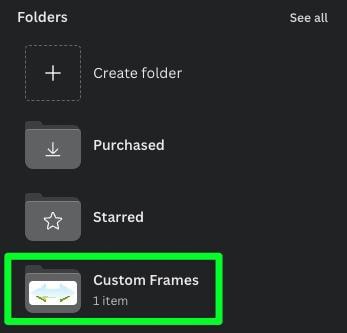
You can find the newly created folder under the Folders section.

Step 3: Save The Frame In The Folder Of Your Choice
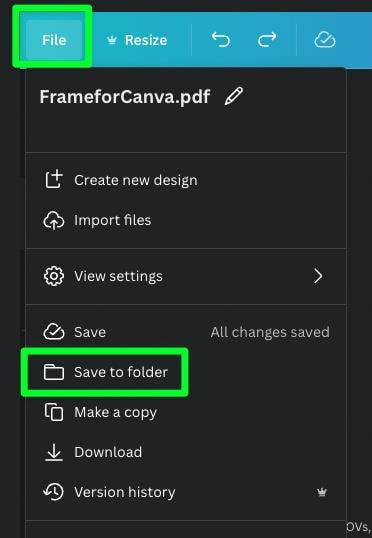
Once you’ve decided where to save your frame, go to File > Save To Folder.
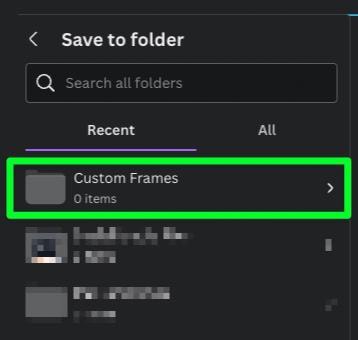
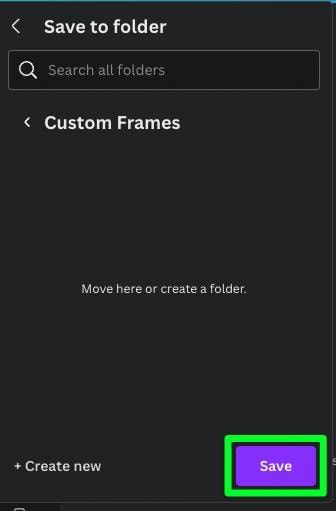
Choose the folder you wish to add the frame to, then click Save.
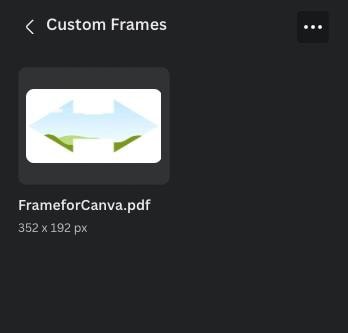
The folder may not update right away. If this is the case, close the tab and reopen the project. Your new custom frame should now be visible in the folder.
Step 4: Add An Image To The Frame
When you’re ready to use the frame, simply open it up, then drag an image inside it.

Step 5: Export The Project As A PNG
To add the finished product to another project, export it by clicking the Share button, then selecting Download.
In the Download Options Menu, choose PNG for the File Type, tick on Transparent Background, then click Download.
Step 6: Upload the Finished Product Back Into Canva
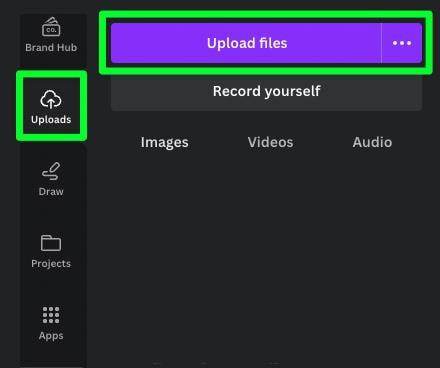
To make it easier for you to add the finished product to future designs, you can upload it back into Canva by clicking the Uploads button, then selecting Upload Files.
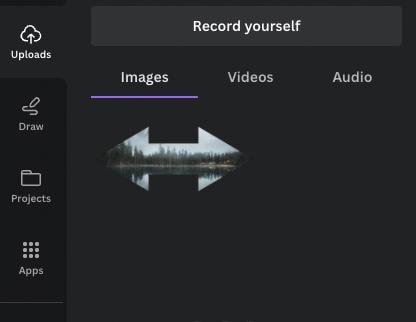
A window will pop up for you to locate the saved file. Once you do, you’ll find it in Canva in the Uploads section under Images.
To help save time, I suggest creating a batch of custom frames all at once so you don’t need to repeat this process regularly. Using a free app like Photopea or using Photoshop if you have access, this process only takes a couple of minutes once you get the hang of it!
