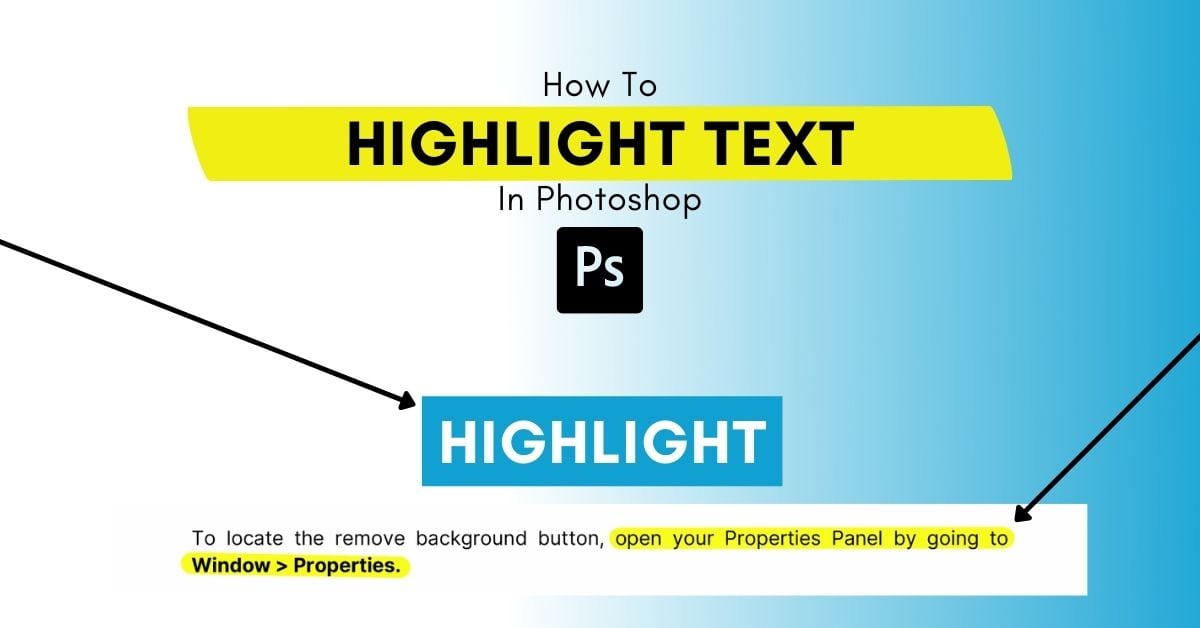

Whether you want to add a highlight for stylistic purposes or even add highlights to a PDF, it’s super easy to learn how to highlight text in Photoshop.
Here, you’ll learn how you can use shapes as a word highlight and how to highlight important text from PDF documents using the Brush Tool. So let’s get started!
Option 1: How To Highlight Text In Photoshop Using Shapes
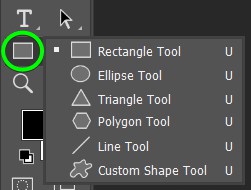
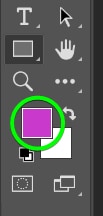
Step 1: Select The Rectangle Tool And Set The Foreground Color
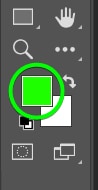
After you’ve written out your text, select the Rectangle Tool (U). For a non-traditional highlight shape, you can also use other shapes, such as an ellipse. Once you’ve chosen your shape, click the Foreground color swatch in the Toolbar and set your color.
Step 2: Click And Drag Across The Text You Want Highlighted
To draw your highlight shape, click at one corner of the text and drag to the diagonal corner of the word or words you’re highlighting. Your shape will hide the text.

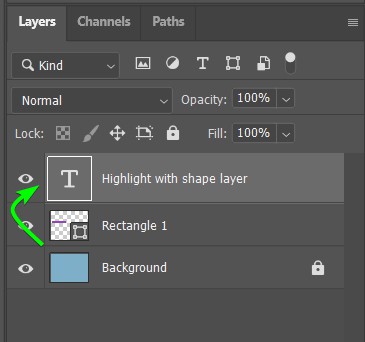
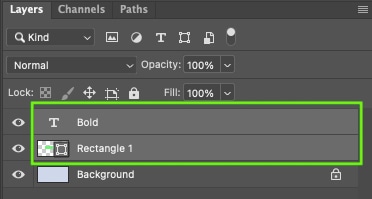
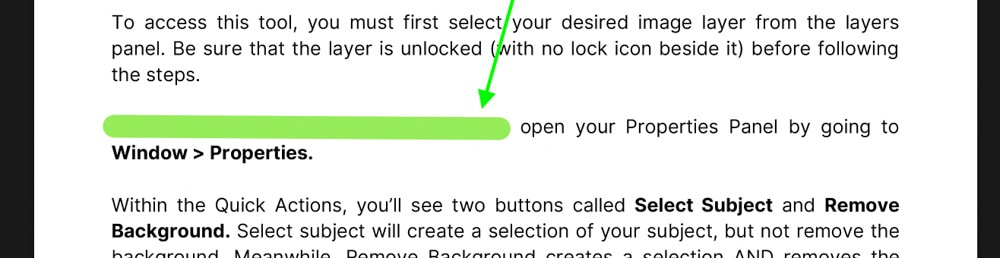
Step 3: Drag The Text Layer Above The Shape Layer In The Layers Panel
In the Layers Panel, drag the text layer to the top by clicking and dragging it above the shape layer.
Step 4: Resize The Shape Layer Using The Move Tool (Optional)
If you need to resize to highlight the text more effectively, select the shape layer. Then, use the Move Tool (V) to resize it by clicking on any anchor point and dragging to resize the shape.

Step 5: Align The Text Using The Alignment Tools (Optional)
To align the text and the highlight shape to the center, which works best if you’re only highlighting a one-word phrase or highlighting the entire text, select both layers by holding Control (Win) or Command (Mac) and selecting each layer.
With the Move Tool (V) active in the Options Bar, use the alignment tools to center the text and highlight together on the canvas. Using the alignment tools this way will only work if your highlight shape is for your entire text layer.
Use the tools for center alignment for balanced results: Align horizontal and Vertical centers.


From there, linking the shape and text layer together is a good idea to ensure they stay centered and move together if you need to reposition them in the project.
Option 2: How To Highlight Text With The Brush Tool
You can highlight text in PDF documents, as well as native files, in Photoshop. For this example, I’ll use a page from my Photoshop Blueprint ebook (available for free here).
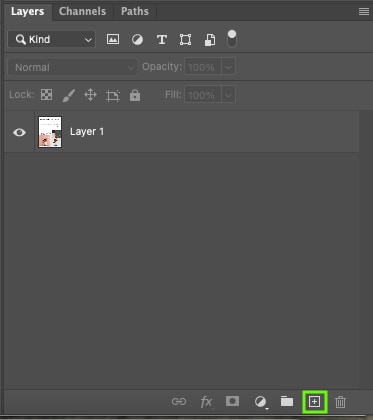
Step 1: Open The PDF In Photoshop And Add A New Layer
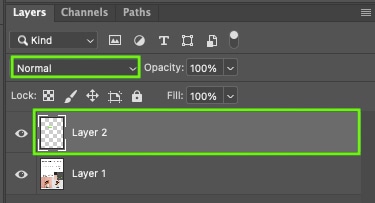
With your PDF open in Photoshop, go to the Layers Panel and select Create a new layer.
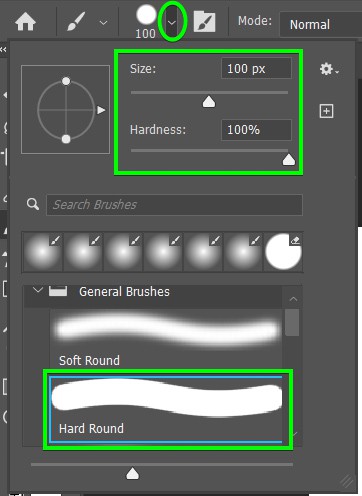
Step 2: Select The Brush Tool (B) And Adjust The Settings
Then select the Brush Tool (B).

In the Options Bar, choose a hard round brush and set Hardness to 100%. Set the size to be slightly larger than the text. You can also change the brush size by pressing [ to make it smaller or ] to make it bigger. Double-click the Foreground color swatch in the toolbar and set a highlight color.
Step 3: Brush Over The Text While Holding Control/Command
Click the Brush at one end of the text you’re highlighting, then hold Control (Win) or Command (Mac) and click the cursor where your highlight shall end. Holding Control/Command keeps the line perfectly straight and in line with the text.
Step 4: Change The Brush Layer’s Blend Mode To Multiply
After adding the highlight, you won’t see the words you’re highlighting. To fix this, go to the Layers Panel, keep your brush layer selected, click the dropdown menu for Blending Modes, and choose Multiply.
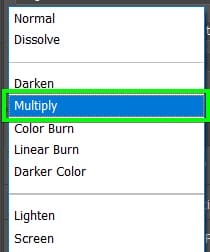
This gives your highlighted color a translucent highlighting effect.
You can then repeat this highlighting process with the same brush settings across all your PDF pages. From there, you will just need to export your PDF from Photoshop to ensure the highlights are visible in the new document version!
Happy Highlighting!


