
Whether you’re creating a printable design or needing to create a table for work purposes, it’s relatively quick to make a table in Photoshop. Although they are not very customizable, there are other design options that make Photoshop a worthwhile table-making tool.
So, let’s take a look at how to create a table from scratch and use it to create a printable template design.

How To Make A Table In Photoshop
Step 1: Go To View > Guides > New Guide Layout
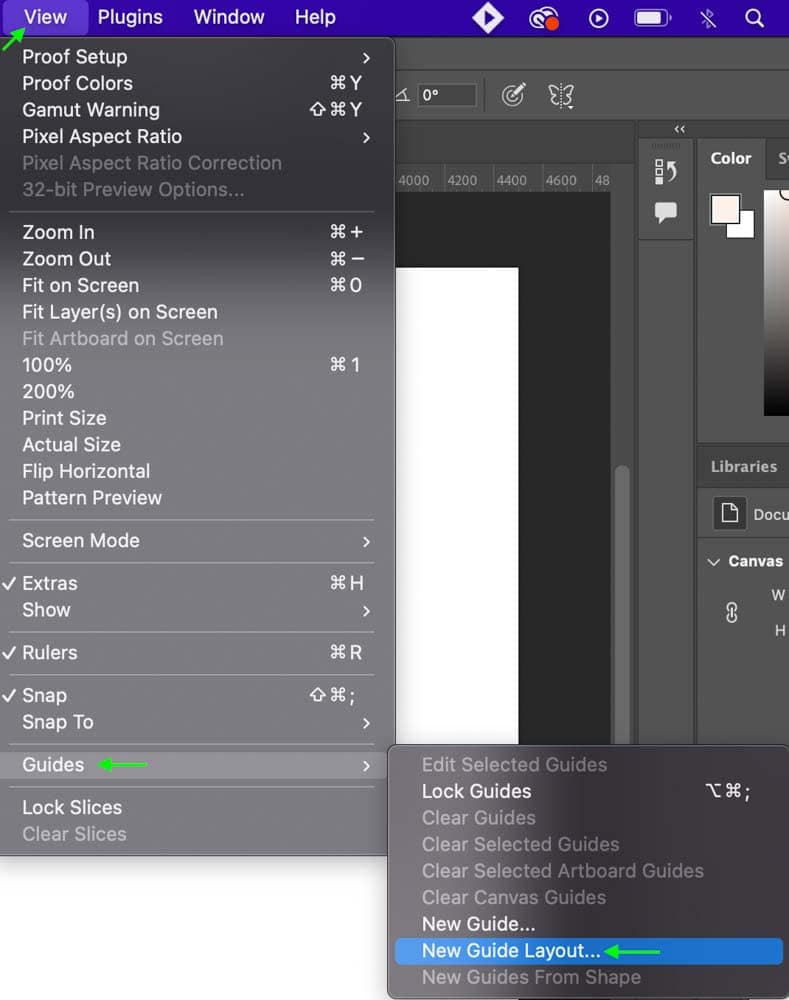
First, add guides to your document, which will form the grid lines of the table. Add guides by heading to View > Guides > New Guide Layout.
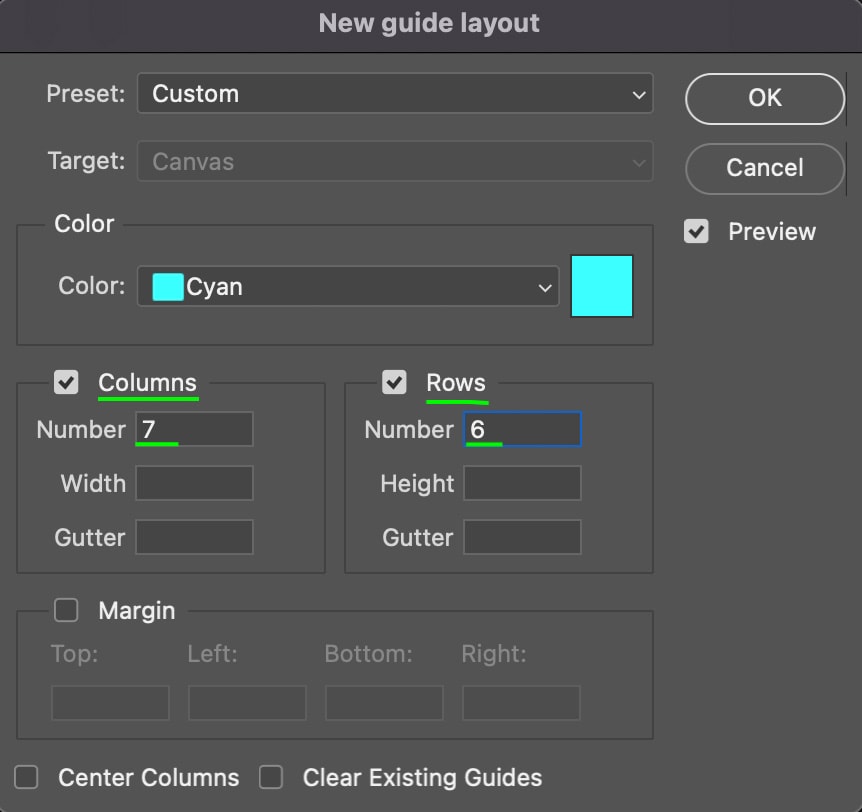
In the Columns and Rows sections, you can set the number of lines to however many columns and rows you need. It helps to add two more guidelines than the amount you need to ensure your table has a section of space around it.
Leave the Gutter empty because you won’t want a gutter for these grids. Click OK once you have added the correct settings.
Step 2: Add A Rectangle Frame Using The Rectangle Tool
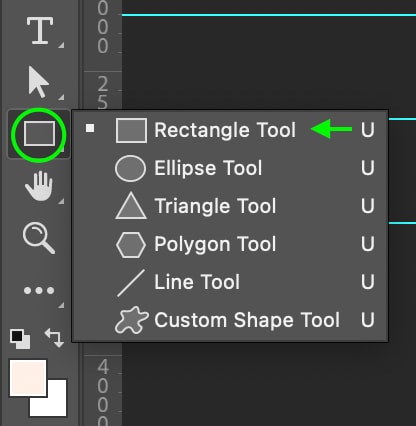
In the Toolbar, head to the Shape Tool (U). If it isn’t already set to the Rectangle, click and hold the tool and select Rectangle Tool.
In the Options Bar, click the Fill box and make sure the fill is set to Transparent.

Now, click and drag the rectangle to cover the area of the cells to create the frame of the table.
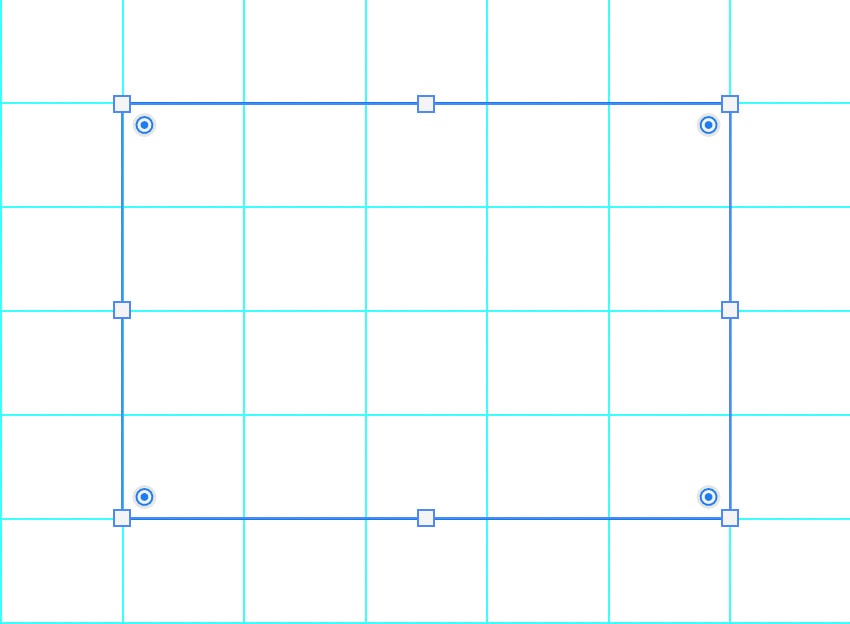
Note: As you drag, the shape should snap to place around the guides, but if it doesn’t, you can head to View > Snap To > Guides. This will ensure that your shape lays perfectly along those guidelines.
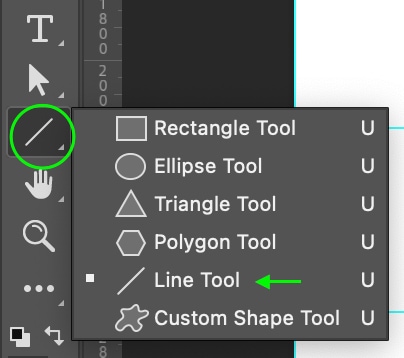
Step 3: Add Column And Row Lines To The Table Using The Line Tool
Head back to the Shape Tool (U). Click and hold the icon, and select the Line Tool.
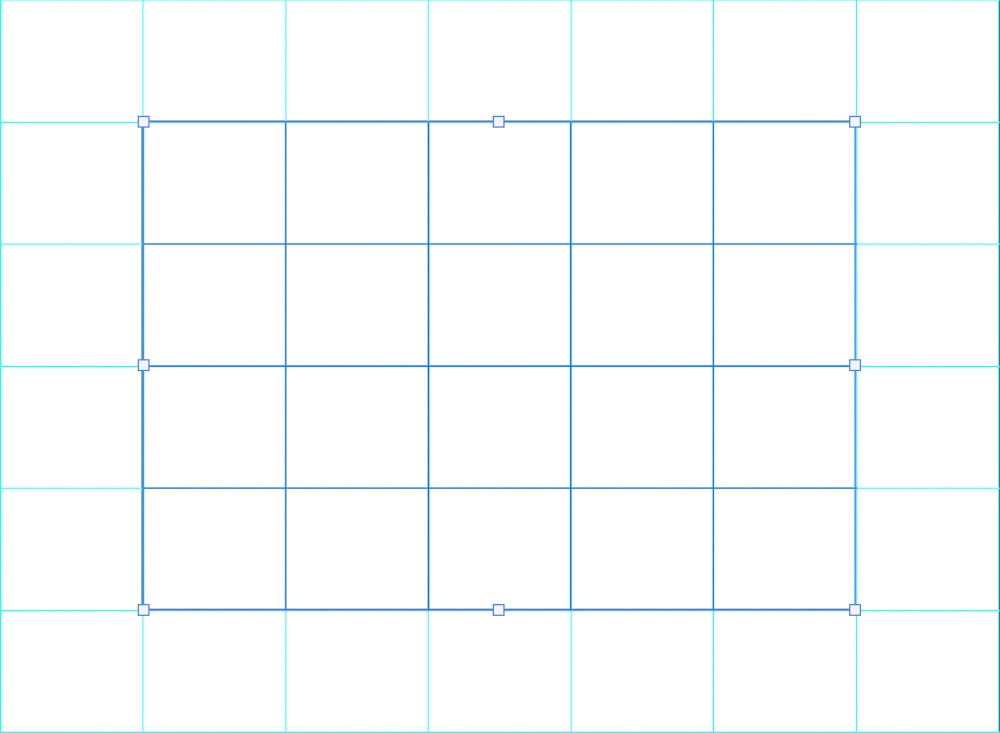
In the Options Bar, ensure the line Weight is set to at least 2 px so you can see the lines around the Grids.

Now, having enabled Snap To Guides (in the previous section), click and drag to create a line along the Guides. Hold Shift while dragging to keep the lines perfectly straight. Repeat until you have lines covering the entire rectangle along the gridlines.
You have now created a basic table in Photoshop. You can read on to customize the table as needed.
How To Customize A Table In Photoshop
Step 1: Add Text Using The Type Tool (T)
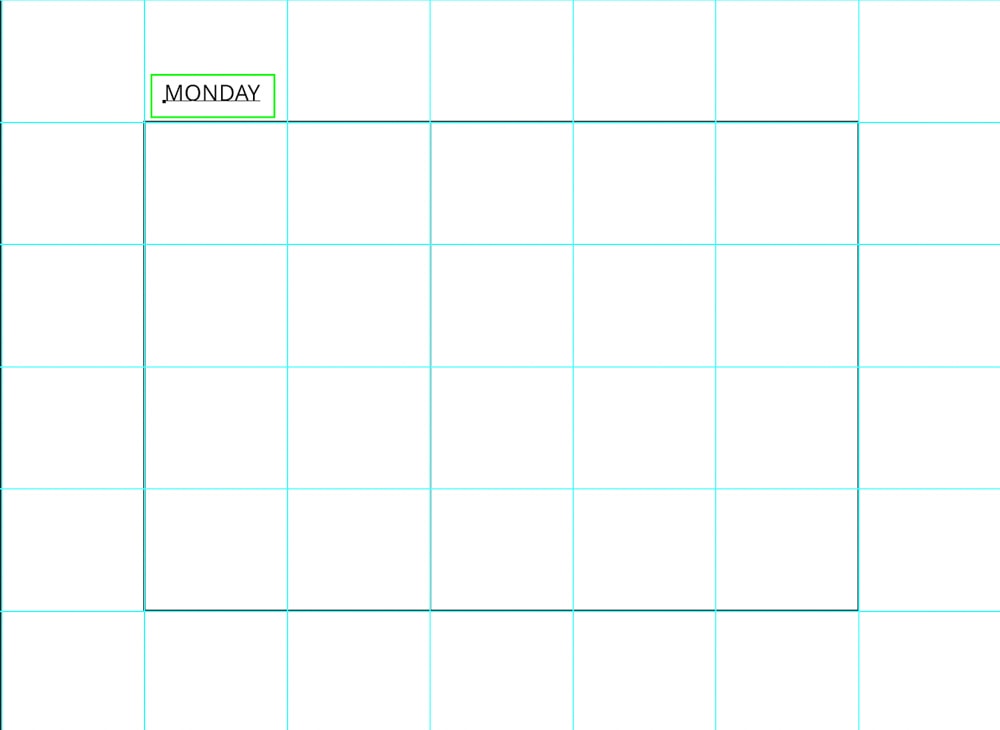
Now, if you’d like, you can add text to your table. To do this, click the Type Tool (T). In the Options Bar, you can set your text’s Font, Style, Size, and Color. You can also go back and edit these options after you’ve added the text.

Click to add a text box in the space you want and type in your text.
Step 2: Center Text And Other Elements
To center the text within the cell, I’ll head to the Marquee Tool (M). Drag a new Marquee around the cell containing the text, turning it into a selection.

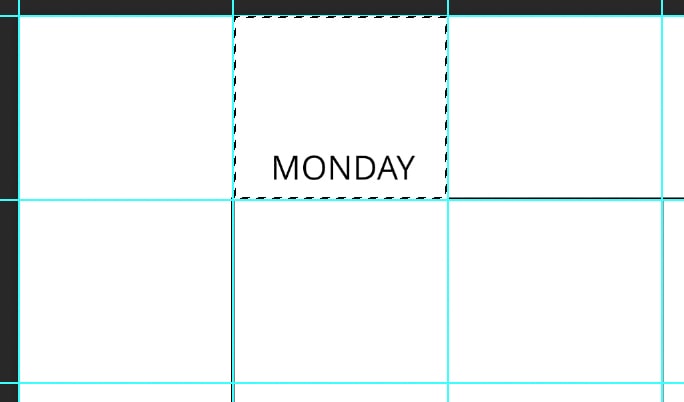
In the Layers Panel, make sure the Text Layer is selected. Then, head to the Move Tool (V). In the Options Bar, click the center format icon to center the text within the cell.

Press Control + D (Win) or Command + D (Mac) to deactivate the selection. Repeat this process until you’ve added all the necessary text to your sheet.
Step 3: Add The Table To Another Design
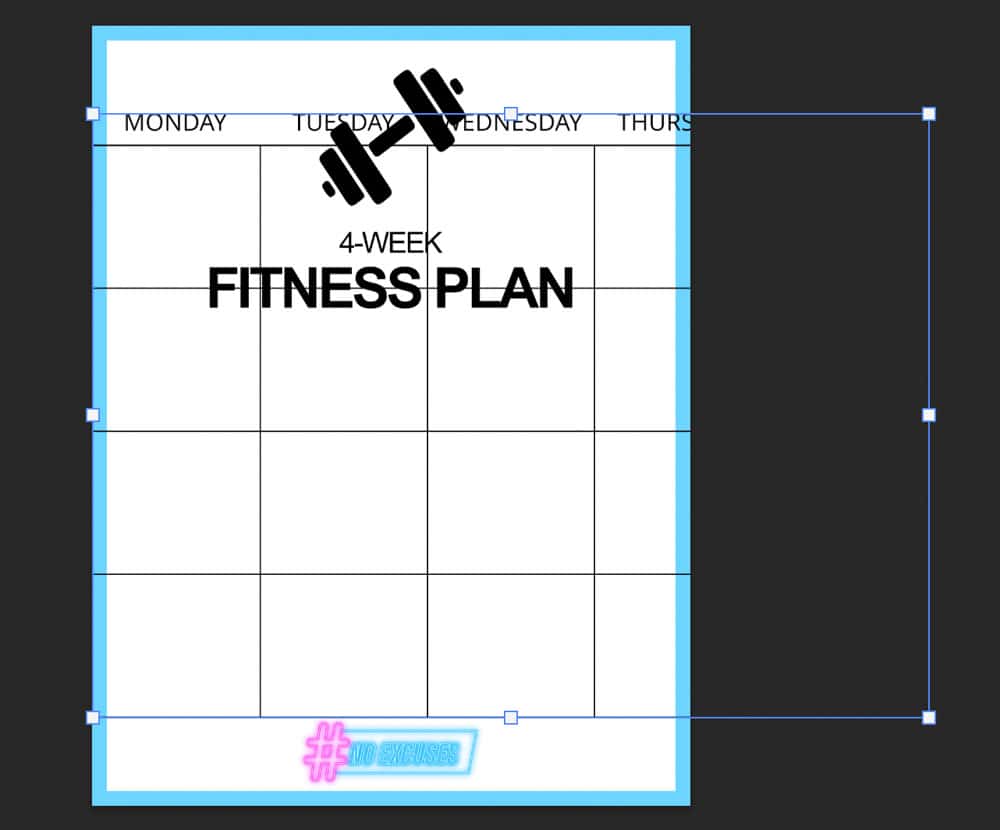
First, select all the layers that make up the table (you can merge the Layers for more organization). Then, press Control + C (Win) or Command + C (Mac) to copy it. Open the design in a new tab, and press Control + V (Win) or Command + V (Mac) to paste the table into the project.
To resize the table, select the Move Tool (V) and then the Transform Tool using Control + T (Win) or Command + T (Mac). Toggles will appear around the table, and you can scale and resize it to fit your project.

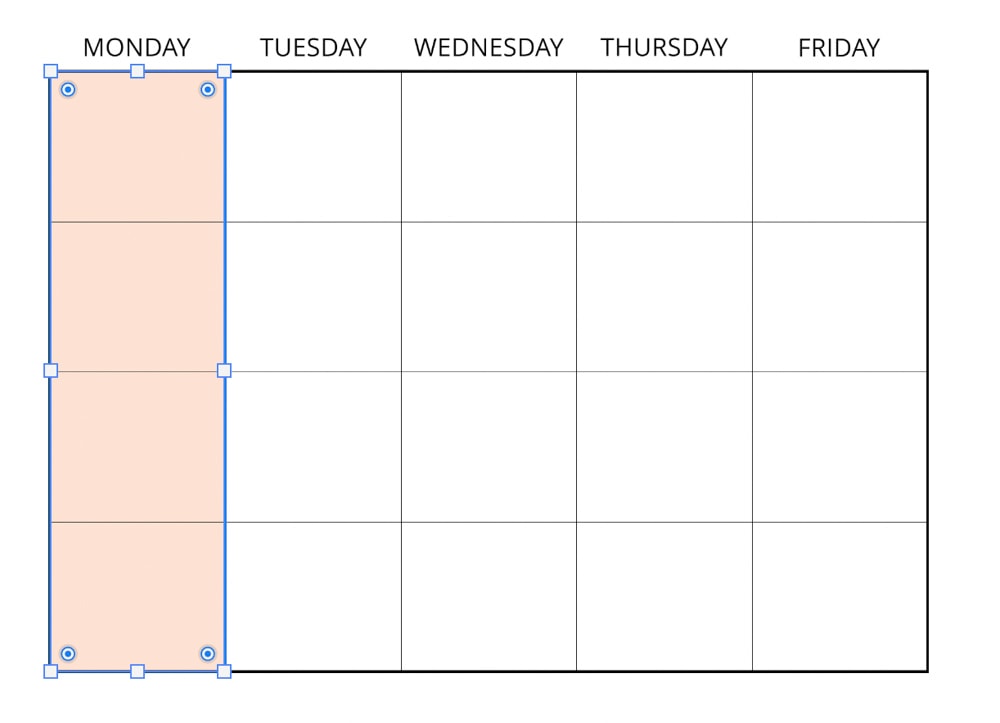
Step 4: Use A Rectangle To Fill Table Cells With Color
To fill a cell with color, click and hold the Shape Tool (U) and select the Rectangle Tool. In the Options Bar, set the color of your cell by clicking the Fill box.
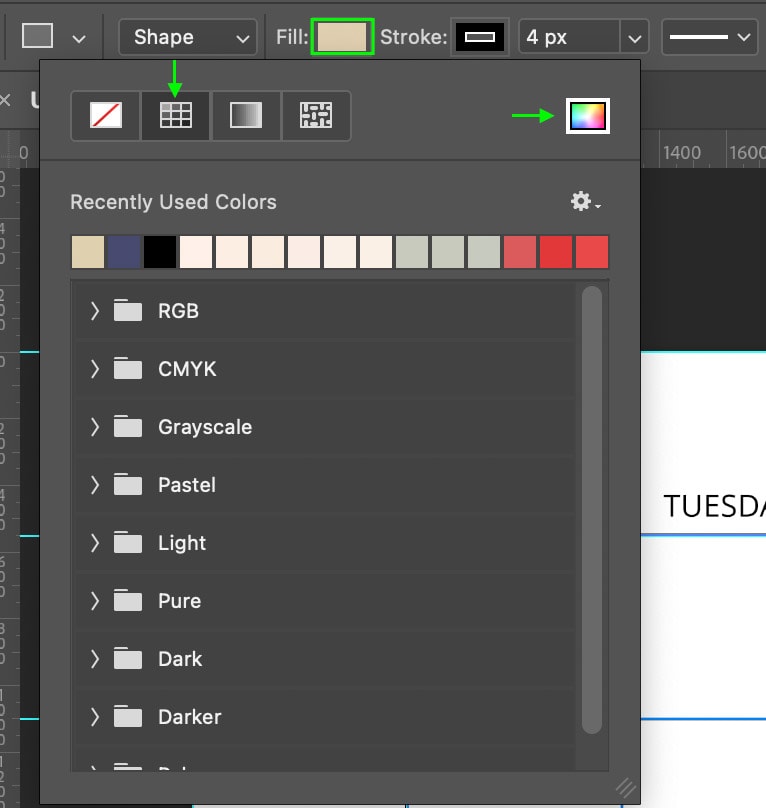
Now, you can set the Stroke of the rectangle to transparent by clicking the Stroke box and selecting the transparent option.

Once you’ve set the color and stroke, click and drag along the guidelines to create a rectangle covering all the cells to which you’d like to add the color.
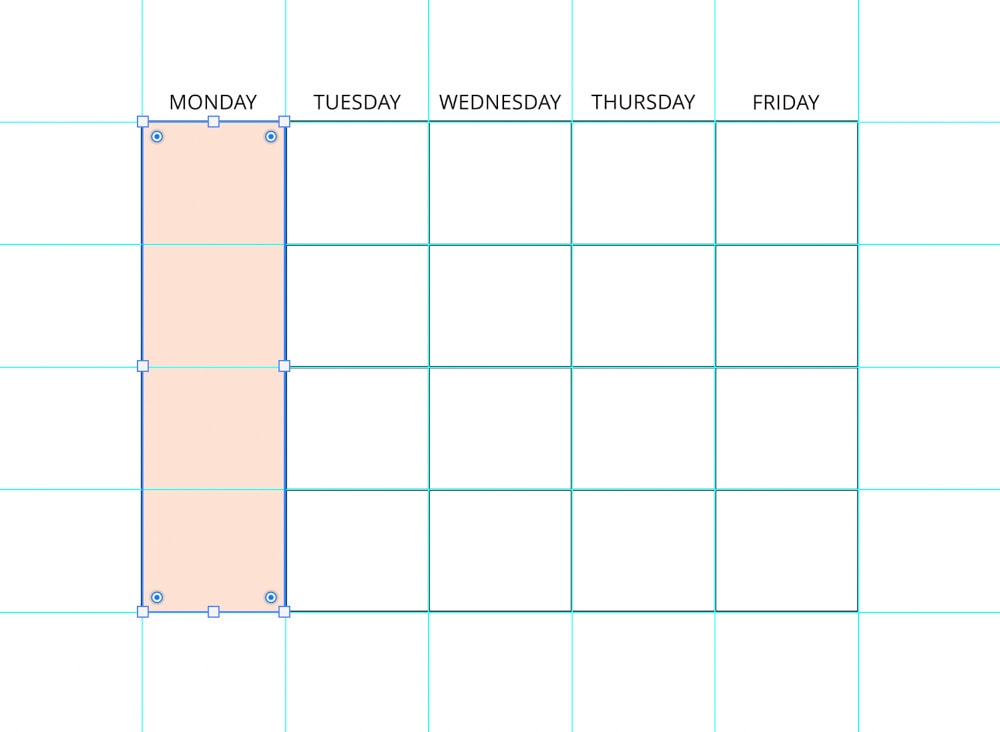
To make sure the color is sitting behind your black lines and not covering them up, head to the Layers Panel. Drag the new rectangle layer below all the other layers except for the Background. This will reorder the layer stack with the colored rectangle behind the other layers so that you can see the colored column with the black lines in front.

You can repeat this process to style your table with whatever colors you’d like. Once you’re happy with how your table looks, you can add elements like text or graphics or export your table.

So, this basic table is pretty easy to make in Photoshop, but anything more complex is better suited for a tool like Canva. To see what I mean, check out my guide to creating tables in Canva here to see how customized they can get.


