

Vector images are very useful when working with any type of graphics, such as watermarks or any graphic design project. Although commonly associated with programs such as Adobe Illustrator, it is possible to make a vector image in Photoshop, too.
Vectors can be scaled infinitely without quality loss. With the ability to resize without quality loss, it’s clear how vectors fit into your graphic design projects. Here are the basic steps to vectorize images so you can convert your rasterized graphics to vectors in no time.
Vector VS Raster Formats Explained
Raster formats are those that photographers tend to use every day, the very familiar JPEG, PNG, GIF, and more. Nearly all of the photographs you see online are rasters.
Raster images have pixels in them. In raster images, there are a fixed number of pixels, which means that you can’t change the size of the image without compromising the quality. That’s why blowing up a small JPEG file, for example, causes pixelation (seeing grainy pixels visibly) to occur.
On the contrary, vectors are images that do not rely on pixels. These images are constructed with math formulas rather than pixels. These formulas create points and lines, resulting in an image that you can stretch and shrink without any sort of quality loss. The mathematical formula simply adjusts to the new scale. You can blow a vector file up to the size of a billboard or shrink it down to the size of a business card, and both will be the same sharp quality.
Vector formats include SVG, EPS, AI (which is the Adobe Illustrator extension), and even the commonly used PDF.
The bottom line is if you need your image to frequently be scaled in different sizes (such as a logo or graphic), a vector file is the way to go. If your image will remain at the same resolution indefinitely (such as a finished photograph), that will remain a raster file.
How To Convert An Image Into A Vector In Photoshop
Unfortunately, Photoshop does not have a “convert to vector” button built into it — so it does take a few extra steps. But even then, converting an image into a vector isn’t too daunting in the program.
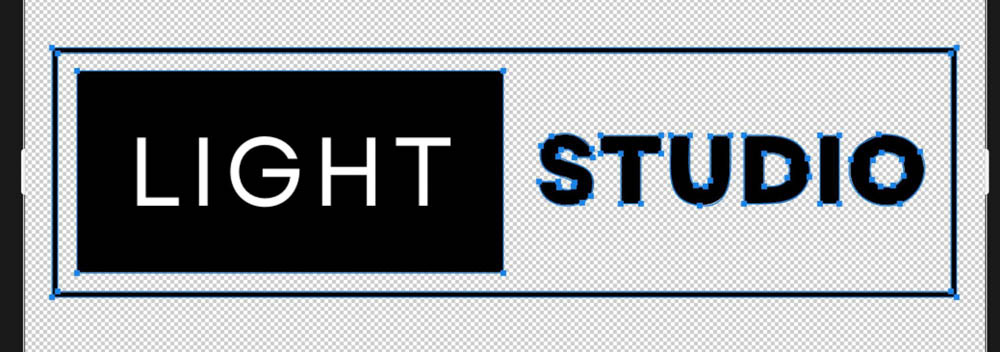
I am going to convert this PNG logo into a vector.

Step 1: Select The Lines In Your Image
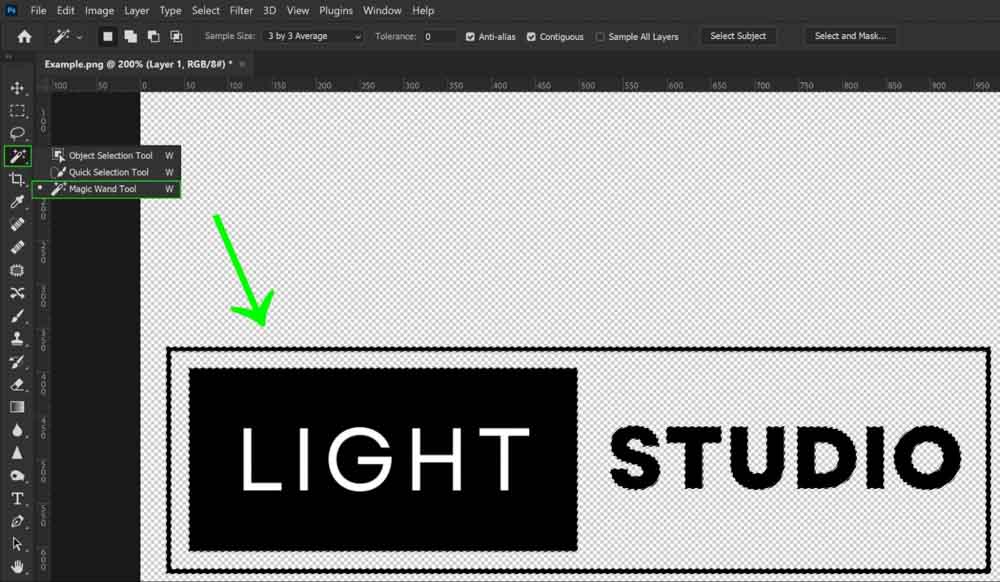
To convert the image into a vector, use any of the available selection tools in Photoshop to select the lines or subject of your image.
In this case, I used the Magic Wand Tool because the logo was already on a transparent background, which made it easy to click on the transparent areas and then invert the selection.
To invert the selection, either right-click or Control + click on any part of the current selection and then click Select Inverse, or you can press Control + Shift + I (Win) or Command + Shift + I (Mac).
Step 2: Turn The Selection Into A Path
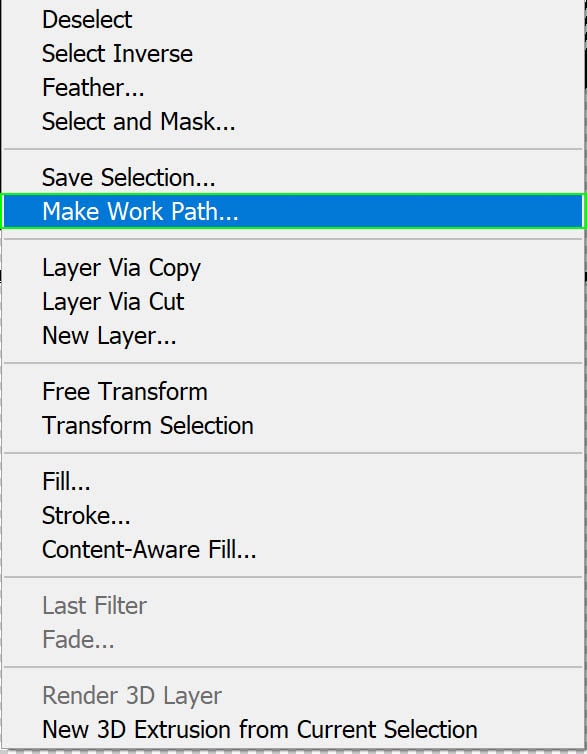
With your selection tool of choice still active, right-click or Control + click anywhere on the selection and click Make Work Path.
A window will pop up asking for your Tolerance. My suggestion would be to keep the tolerance around the 1 or 2 range.
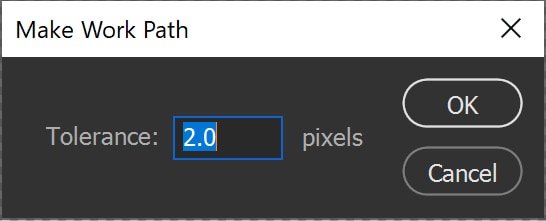
Tolerance in the context of making paths refers to how a path is allowed to deviate from its contours. If your tolerance value is a small number, then the path will follow the contour super closely. If it’s a large number, then your path will be very rounded.
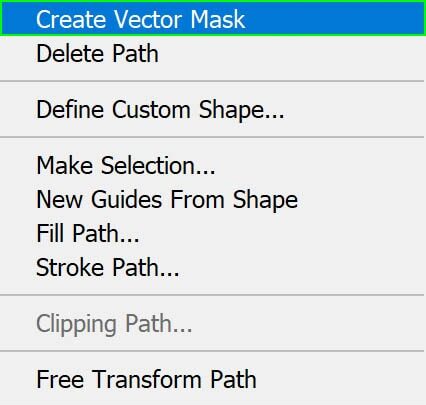
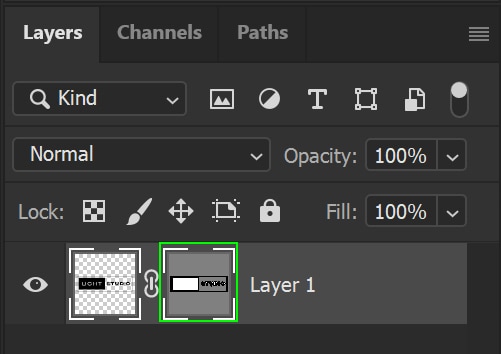
Step 3: Create A Vector Mask
With the Direct Selection Tool (A) selected, right-click or Control + click anywhere on your image. In the menu that appears, press Create Vector Mask.
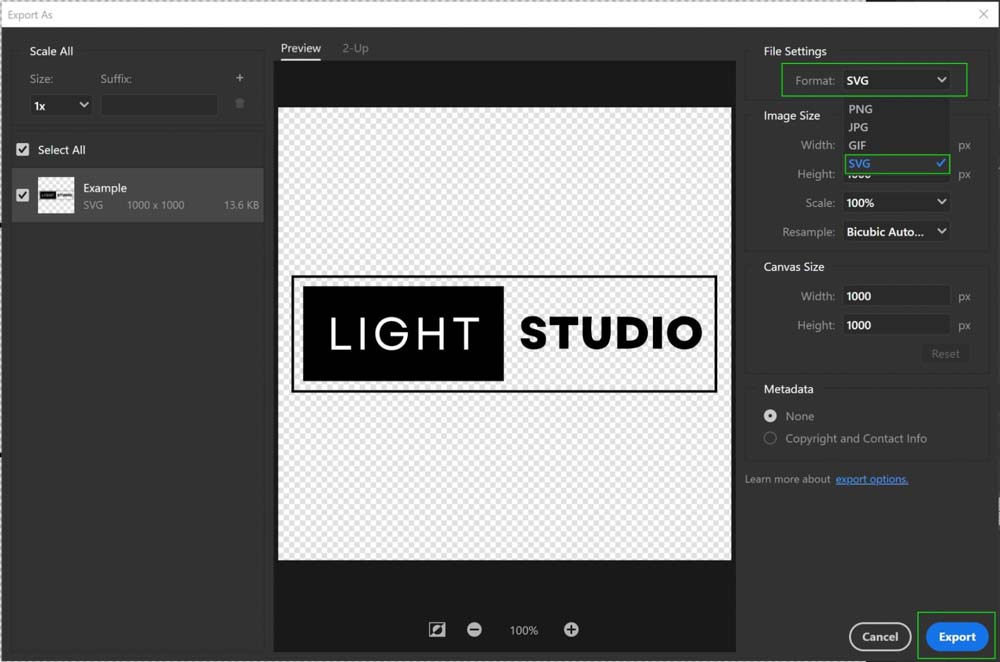
Step 4: Export The Vector File
With vectors, you can export the file as an EPS or SVG. Both generally achieve the same result, but the difference is that SVG files are used for vectors that go on the web, and EPS files are used for vectors that go into a print workflow.
Go to File > Export As or press Alt + Shift + Control + W (Win) or Option + Shift + Command + W (Mac) and select SVG from the format drop-down menu.
Note: Follow this tutorial for detailed steps to save the file as an SVG and if you have any issues finding the SVG format option.
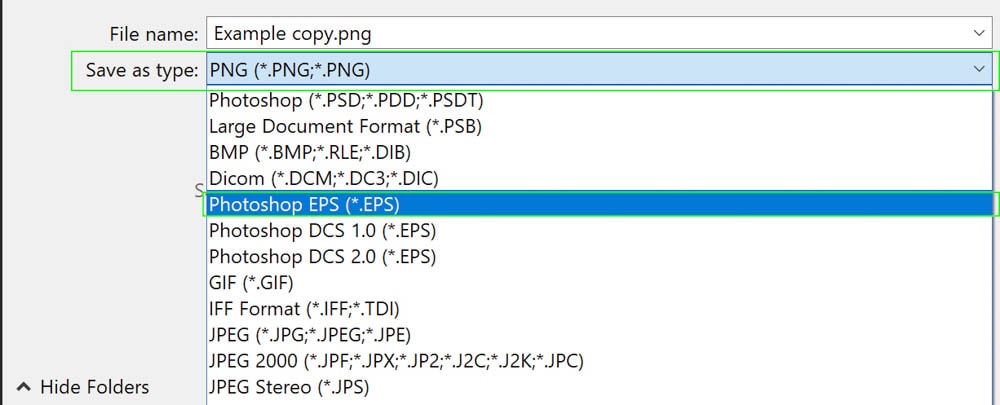
If you need an EPS file extension, all you need to do is go to File > Save a Copy or press Alt + Control + S (Win) or Option + Command + S (Mac).
This will prompt the traditional Save window. When pressing the Save as type dropdown menu, just go down to Photoshop EPS, and that’s it!
Happy Editing!
