
Creating business cards doesn’t have to be a hassle. Not only are there templates available online for you to use, but you can also make a business card in Photoshop by yourself. The program’s comprehensive array of tools allows you to customize your card to your liking and export it for printing when you’re done.
So let’s take a look at how to design a business card for yourself!
Recommended Dimensions For A Business Card In Photoshop
Everyone can picture a typical business card in their head — a small rectangle that fits easily in a wallet or pocket. Knowing the recommended dimensions for a business card is important so you can match your design to the standard.
Most business cards are 3.5 inches wide and 2 inches tall (which is 3.75 inches wide and 2.25 inches tall with bleed). If you’d like a vertical-style business card, you can switch those dimensions so the card is 2 inches wide and 3.5 inches tall.
You can enter these dimensions into the width and height fields when creating a business card-sized document in the next section.
How To Create A Business Card In Photoshop
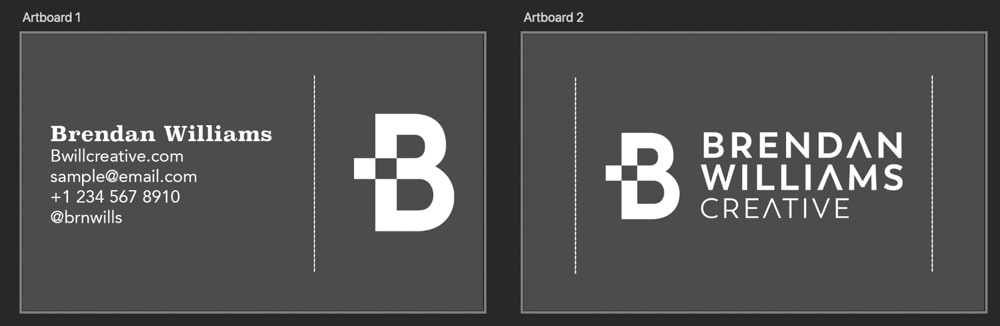
Creating the front and back of your business card is easy when working with Artboards, as you can edit both sides simultaneously. This will save you time and allow you to easily export both sides together as a multi-page PDF.
The following steps outline how to create your business cards with artboards in Photoshop.
Step 1: Create A New Artboard
First, you’ll need to create the document where you’ll make your business card. For this, I recommend using Artboards. Artboards work like a normal document, except you can have several canvases on one page and work on them simultaneously. This is perfect for making business cards, as you can see how the front and back of the card work together.
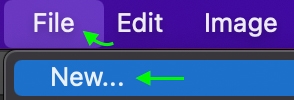
Head to File > New to open the New Document window.
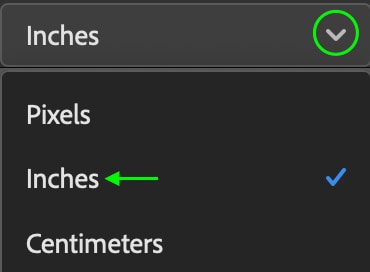
Now you can set the dimensions. First, change the unit of measurement to inches by clicking and selecting Inches from the options.
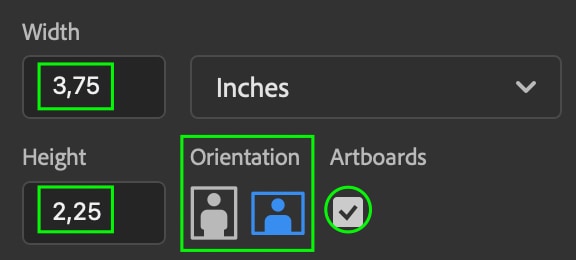
If you’d like a horizontal card, enter 3.75 as the Width and 2.25 as the Height. If you prefer a vertical business card, you can click the vertical orientation. You’ll also need to check the Artboards box to ensure you’re working with Artboards.
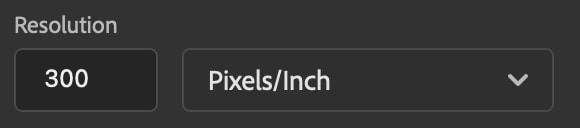
For the Resolution, enter 300 and change the unit of measurement to Pixels/Inch. This is enough to print the card with good quality.
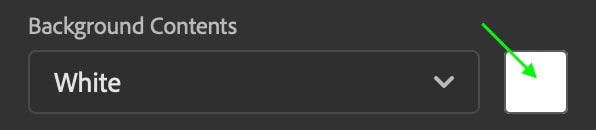
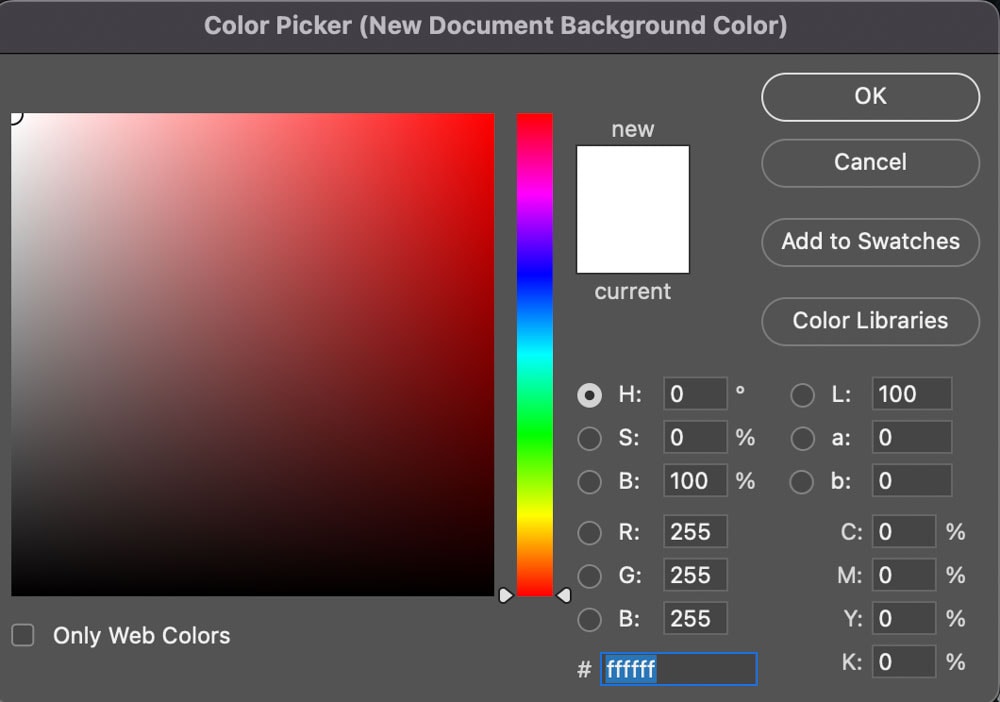
Finally, you can change the background color to whichever color you’d like the card to be. You can keep it white or click the color picker box and select a color.
Once you’ve finished adjusting the new document settings, click Create. The artboard will appear as the canvas.

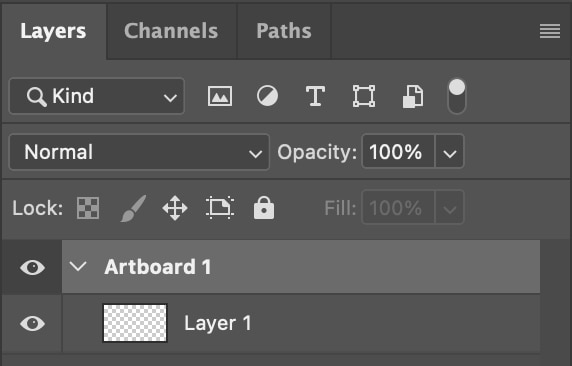
If you look at the Layers panel, you’ll see a section labeled Artboard 1. This is where the layers will appear once you begin adding elements to your Artboard.
Step 2: Add A New Page To The Artboard
Now that you have your artboard ready, you’ll want to add another page. It is best to have the two pages side-by-side so that you can easily edit and apply text, logos, and other design elements to both sides simultaneously.
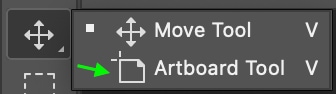
To add another page, head to the Artboard Tool, which can be found by clicking and holding the Move tool.
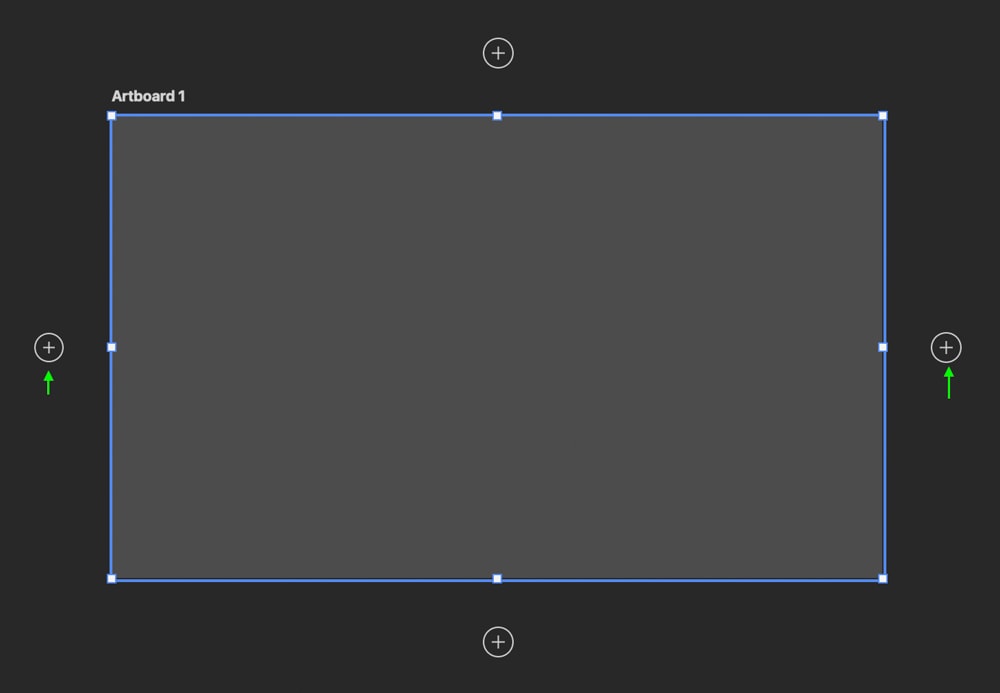
Once you’ve toggled the Artboard tool, plus signs appear on all four sides of the canvas. Click one of the plus signs on the side to add a new page on that side.
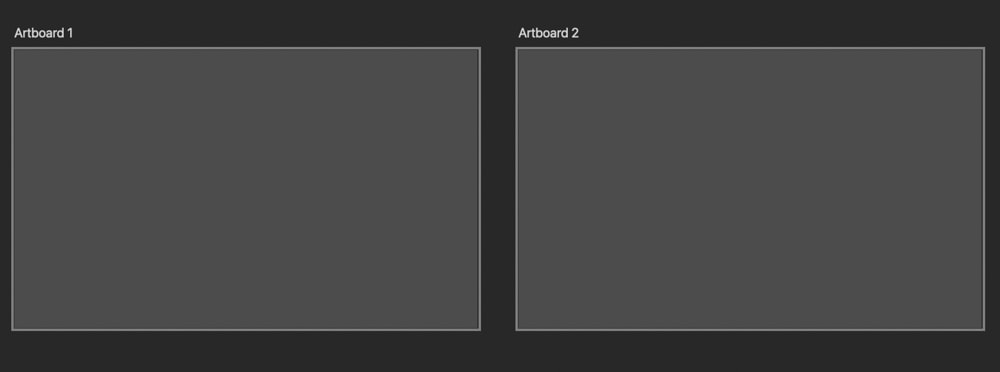
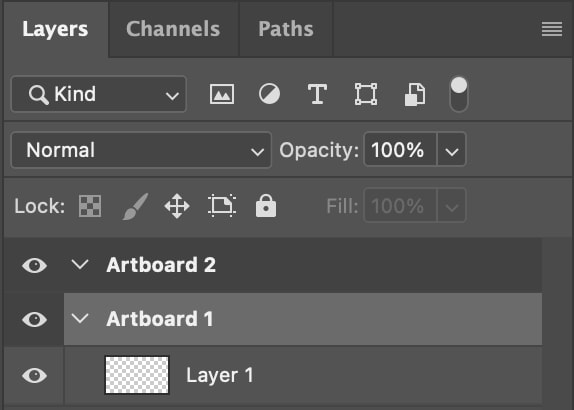
Now you have the canvases for both the front and back of your business card. In the Layers panel, there is a new section marked Artboard 2.
Step 3: Create Margins By Adding Guides
Before you add elements to your card, you’ll want to add guides inside the edges. Sometimes when documents are printed, the edges are cut slightly cropped. These will act as margins where you can place elements inside to ensure nothing important is cropped out when you print the cards.
To add a new guide, head to View > Rulers.
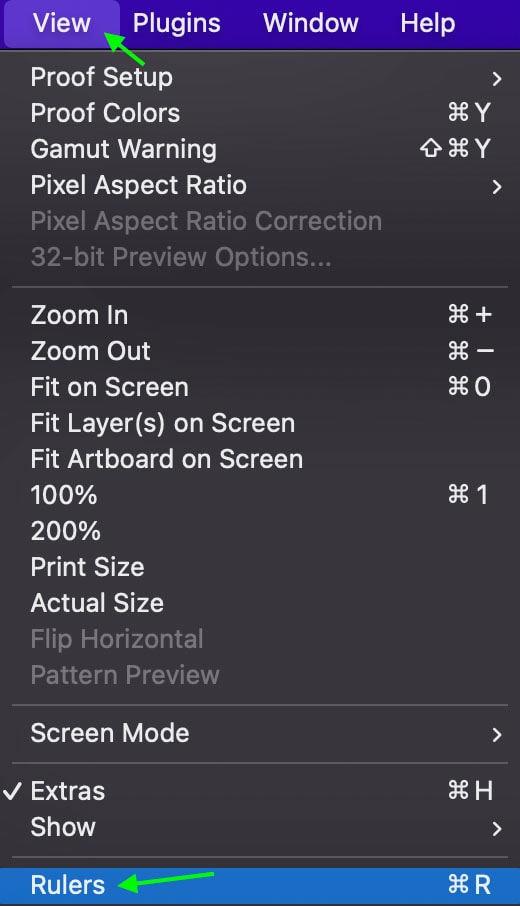
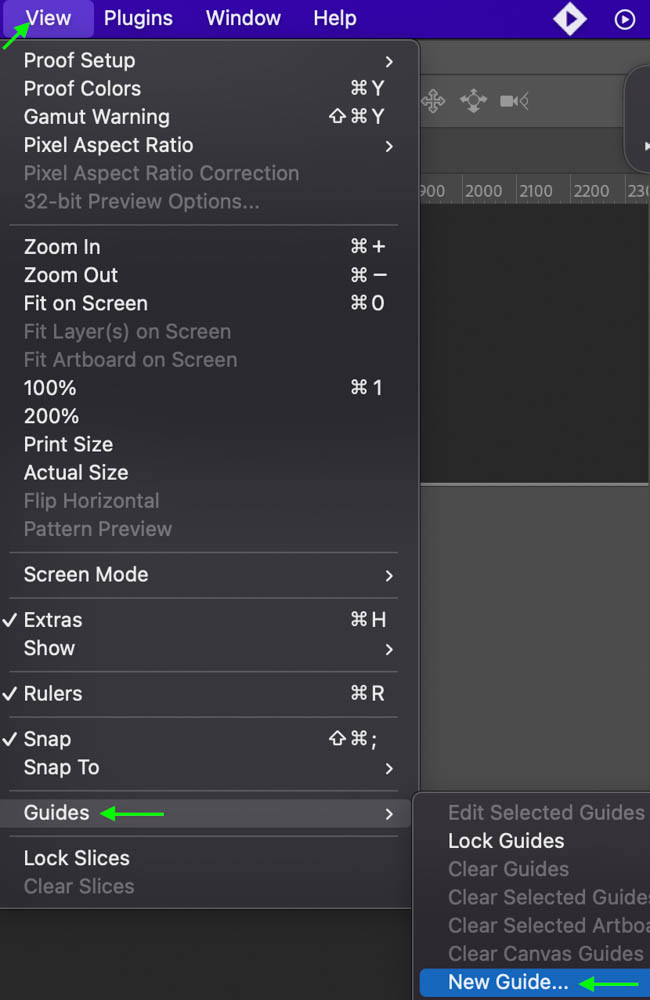
The ruler will appear around your document. This will help you place the guides. Head to View > Guides > New Guide to add a new guide.
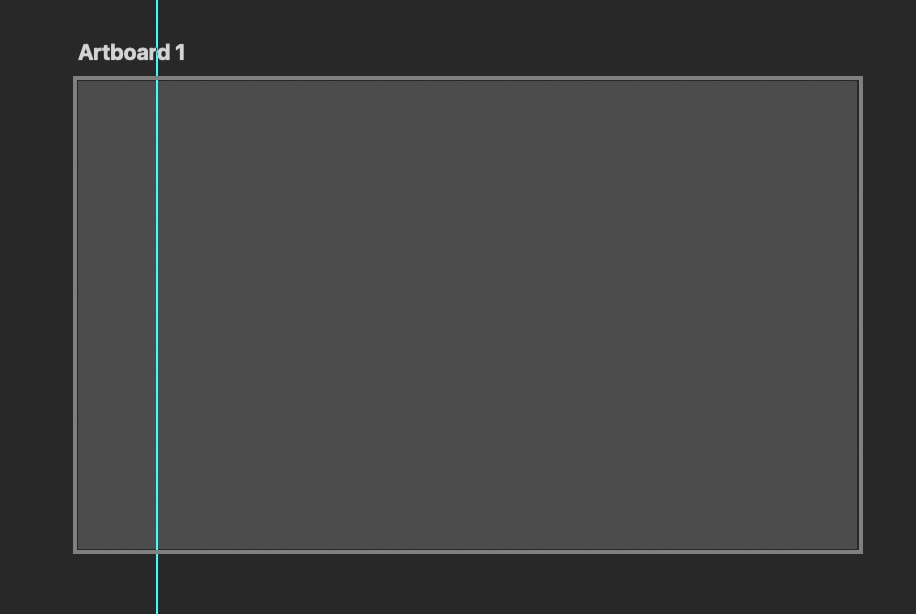
A guide will appear across the document as a thin blue line. Click and drag it to create a margin.
Do this four more times until the margins exist around the whole card.
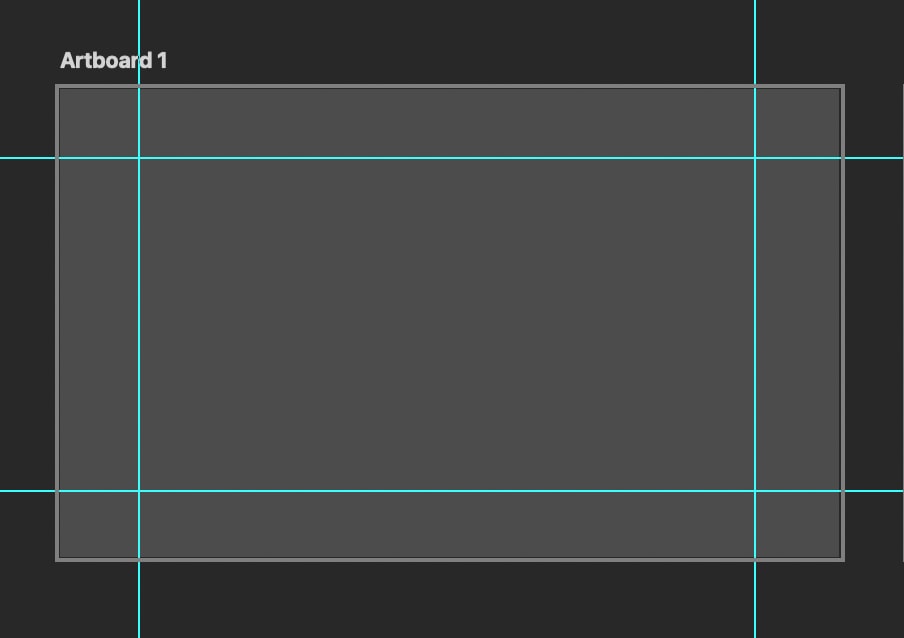
Repeat the process with the other Artboard by clicking it and adding the guides. Remember that you’ll only see the guides for the Artboard you’re currently working on.
Step 4: Add Text To Your Card
To add text to your card, click the Type Tool in the Toolbar.

Your cursor will change, and you can click anywhere on the artboard to add a text box to the document. Type in whatever information you want to show on the business card: your name or the company name, a website, and contact info.

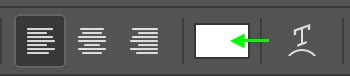
You can edit the size, font, and font style of the text in the Options bar by clicking the drop-down arrows and choosing from the options.

You can also change the font color by clicking the color picker box and selecting a color.
Repeat this with both sides of the card if you want to feature text on the back.
Step 5: Add A Logo
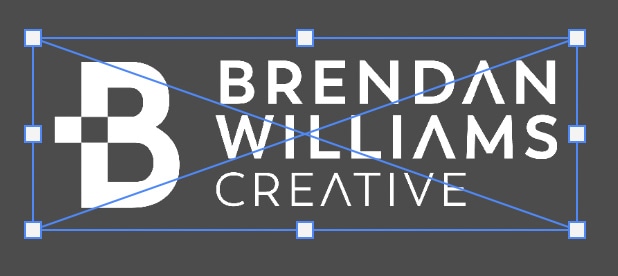
You probably have a logo you’d like to feature on your card. Make sure the logo is saved to your drive as an image file, and then you can add it by dragging the image from your files over to the artboard. It will appear on the canvas, and you can drag the white square toggles around the image to adjust the size.
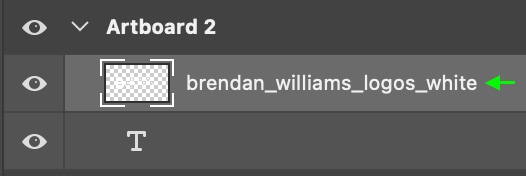
In the Layers panel, you’ll see a new Image Layer.
To move and position the logo, click the Move Tool.
Move the logo by clicking and dragging the image until you’re content with its placement.
Step 6: Add Any Other Elements To Your Card
If you want to add other elements to the card, you can do so now. For instance, you can add shapes, images, lines, or additional text. You can even create graphics on your card. This is when you can get creative with your card and make it a unique representation of you and your business. Don’t forget to design the back of your card as well!
Step 7: Export Your Business Card For Print
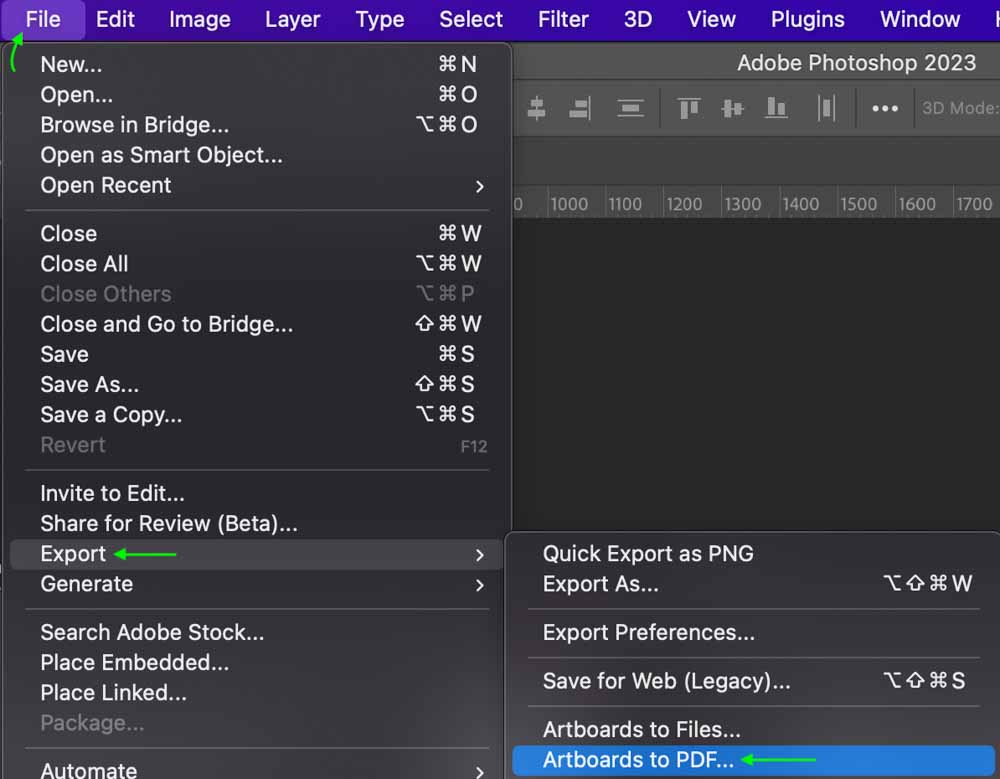
Once you’re happy with how the front and back of your business card look, you can save it as a PDF and export the file. To save the card as a PDF, head to File > Export > Artboards to PDF.
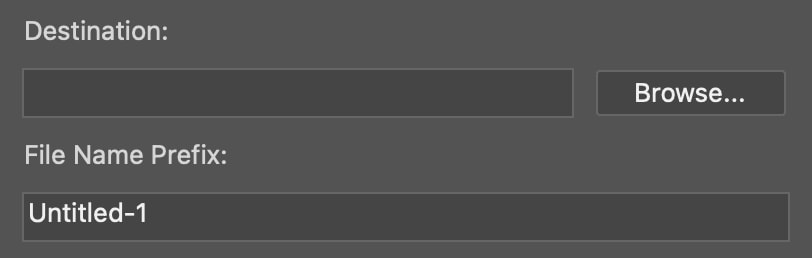
In the Export window, you can click Browse to find and select a destination folder from your files. Below, you can enter a name for the file in the field.
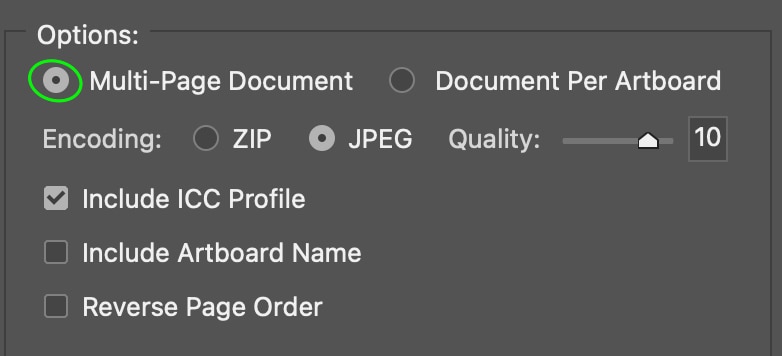
Then, under the Options section, you can choose to export the artboards as one Multi-Page Document or separate PDF files. I recommend keeping them together as a multi-page PDF as it is easier to keep track of, and sending the two sides as one file to a professional printer is better.
Finally, click Run to export the business card to your files. You can then send it for print or print it yourself.
Using Business Card Mockups To Save Time
Maybe you’re not looking to spend too much time working on your business card and would rather work from a template. There are plenty of sites that have premade business card templates you can download and edit to meet your needs.
Creative Market and Envato Elements have lots of professionally designed business card templates you can download and make your own, though both sites are paid. Creative Market offers individual templates for purchase, while Envato Elements offers a paid subscription that gives you access to download their templates.
You can also use Canva, which has free and paid templates for various uses, including business cards. Canva offers several free templates which you can edit to your liking on the Canva website, though there are more templates and edit options if you upgrade to Premium.
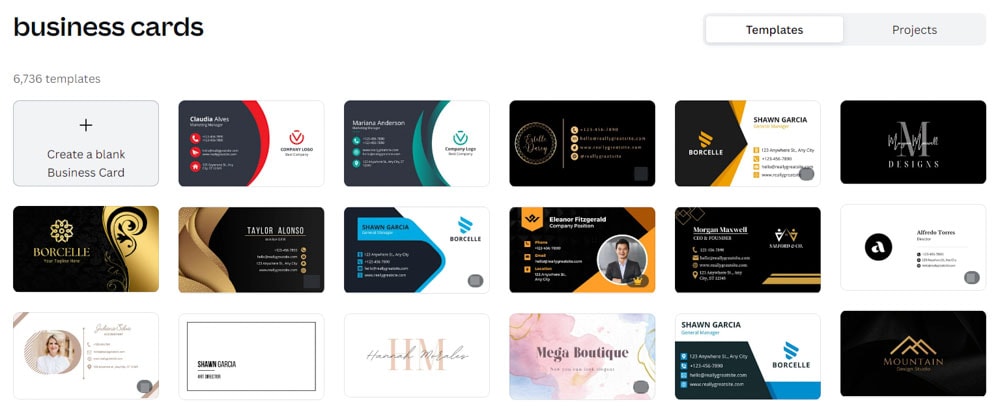
You can edit the creative free designs using a drag-and-drop method. While Canva still doesn’t have as many options for customizing your card as Photoshop, there are plenty of ways to make the card your own.
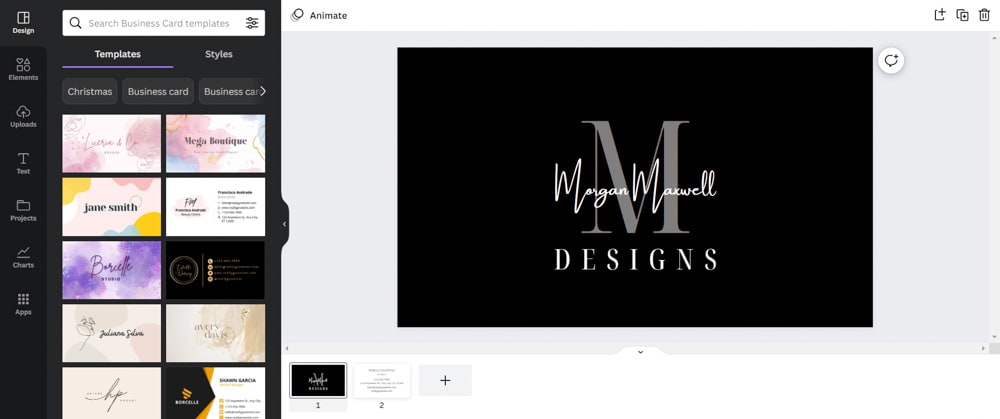
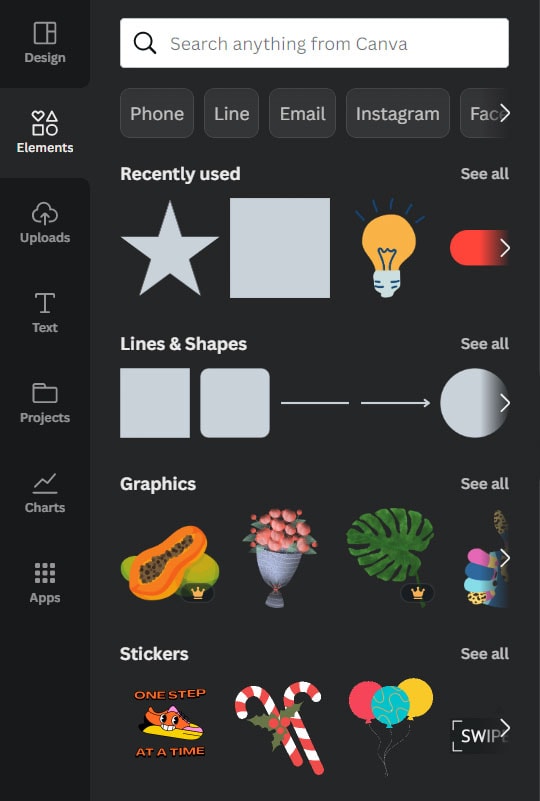
Canva features many exciting fonts, beautiful graphics, and allows you to create and edit shapes, lines, and other design elements. Again, there are more options here if you upgrade to a premium account, but you likely won’t need to — the number of free options is impressive.
Using a template will save you time as you won’t have to create one from scratch in Photoshop. However, your business card may not be as unique as if you’d made it yourself. Ultimately the choice is yours, but Photoshop’s many tools give you pretty much complete control over how your business card looks.


