

If you plan to use artboards for a project, you’ll want to know how to add additional pages in Photoshop to your artboard. Because artboards allow you to see multiple pages within one project, they benefit anyone creating a layout for multiple devices or web pages.
Artboards work similarly to layer groups in that all the contents of the different elements you add will be contained within the boundaries of the artboard.
You can think of an artboard as a limitless canvas. You can add as many elements as you’d like and see everything at once without switching to a different document. But to do this, you’ll need to understand how to add a page in Photoshop and work with multiple pages once they’re added to your artboard.
So let’s first take a look at how to add additional pages to an artboard, and then discuss how to create pages in new windows (aka new documents) in Photoshop instead.
How To Add Another Page To A Project In Photoshop
To work with artboard pages, you’ll need to set your project to use artboards rather than a standard document. As I’ve mentioned, artboards work differently from the typical Photoshop canvas you’ll typically see when you create a new document.
You can add as many pages as you want, which act as additional canvases with their own separate layers and layer groups.
So, to work on multiple pages with Photoshop’s artboards, you’ll have to set up your document correctly. You can do this in the new document window before opening a project or convert an existing document to an artboard.
To create a new artboard from scratch, click New File from the start window or head to File > New.


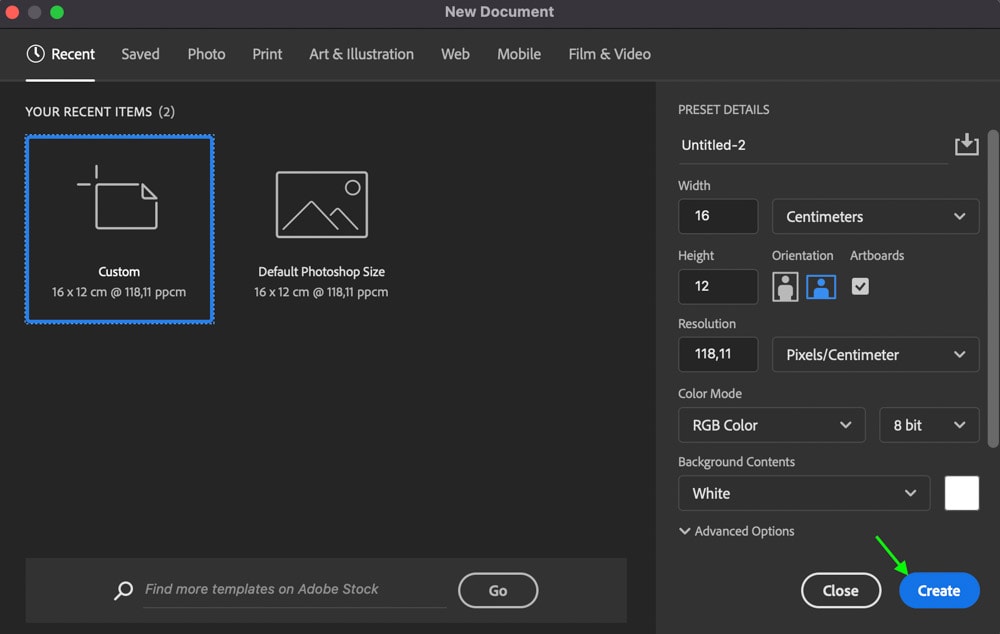
The New Document window will pop up. From the panel on the right, make sure you check the Artboards option.
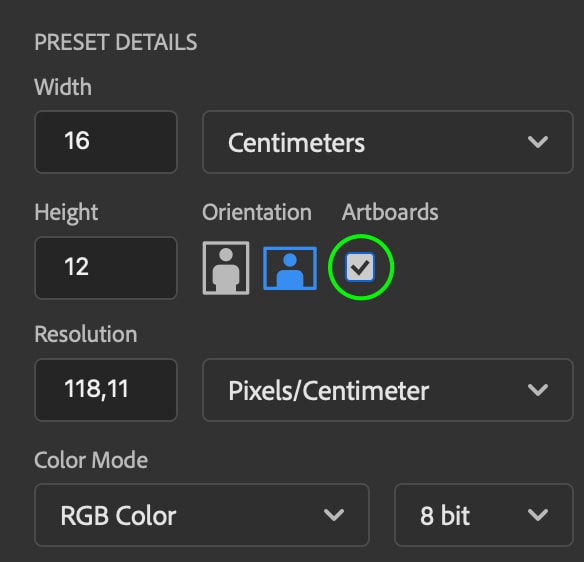
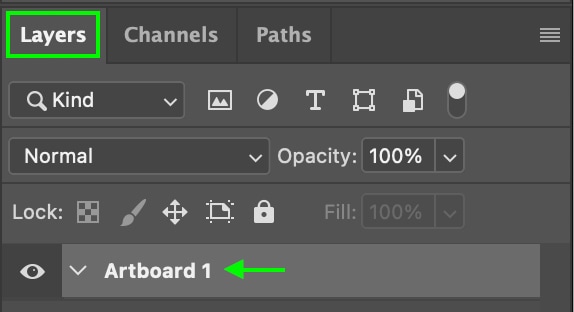
Click Create when you’re ready, and you’ll see the artboard in the place of the canvas. The Layers Panel will show Artboard 1.

You can add whatever elements you’d like, from smart objects to layers to layer groups.
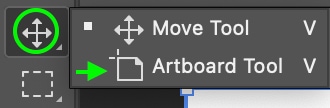
Otherwise, if you’re already working on a document that you’d like to turn into an artboard, you can select the Artboard Tool, which can be found by clicking and holding the Move Tool in the toolbar and clicking the Artboard Tool from the options.
From there, your cursor will change, and you can click and drag along the document to create the size of your Artboard. If you already have an image or project open, you can drag out to the edge of the canvas, and the lines will snap into place.
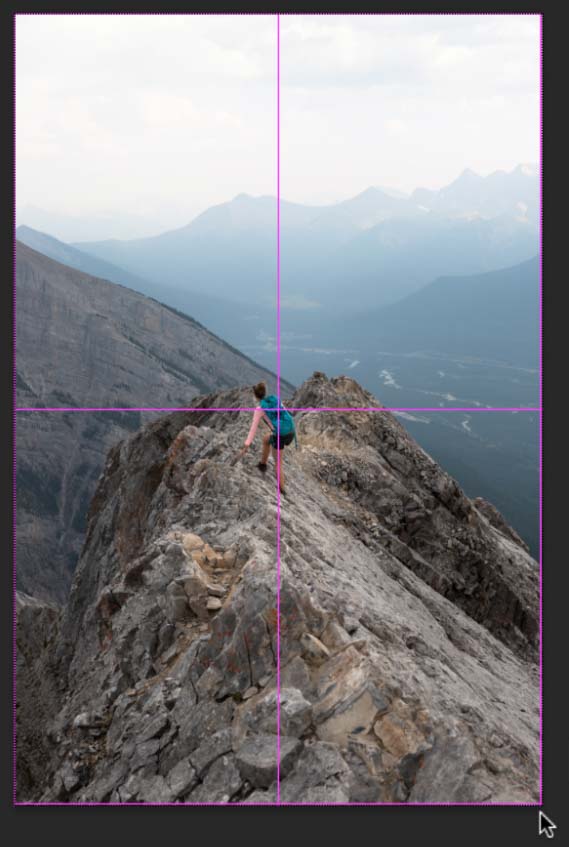
When you release the cursor, the Artboard will be created with the same dimensions as your document.
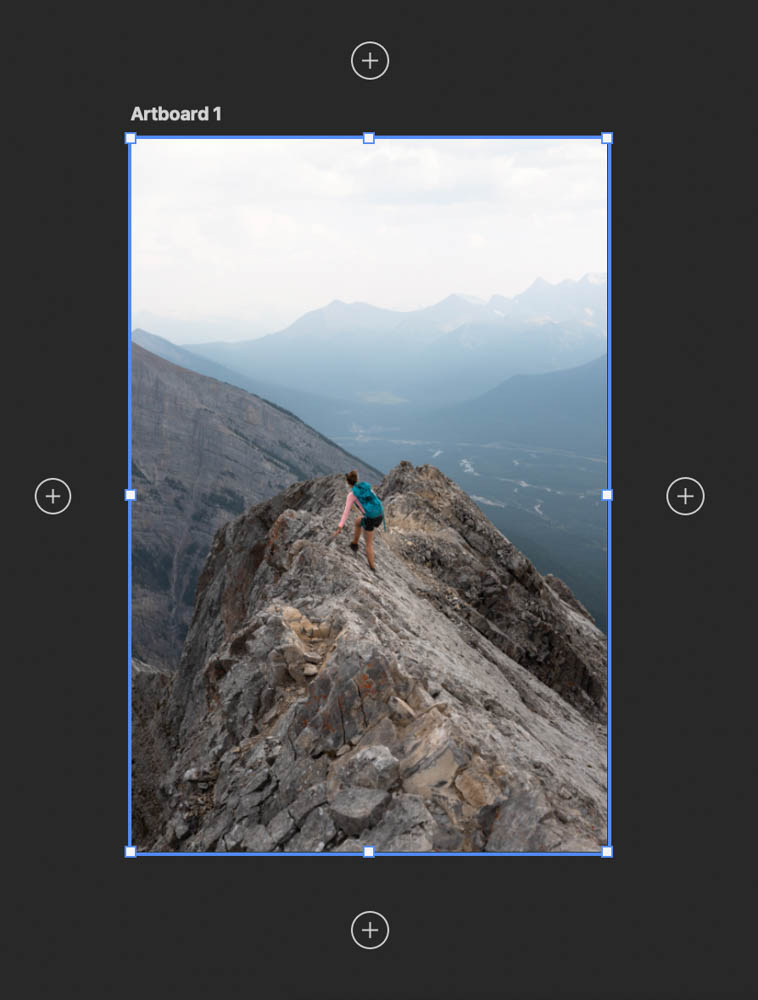
When you want to add a new page to your project, click one of the plus signs around the edge of your document, and a page will be added to that side of the project. You can also move artboards around to organize your workspace.
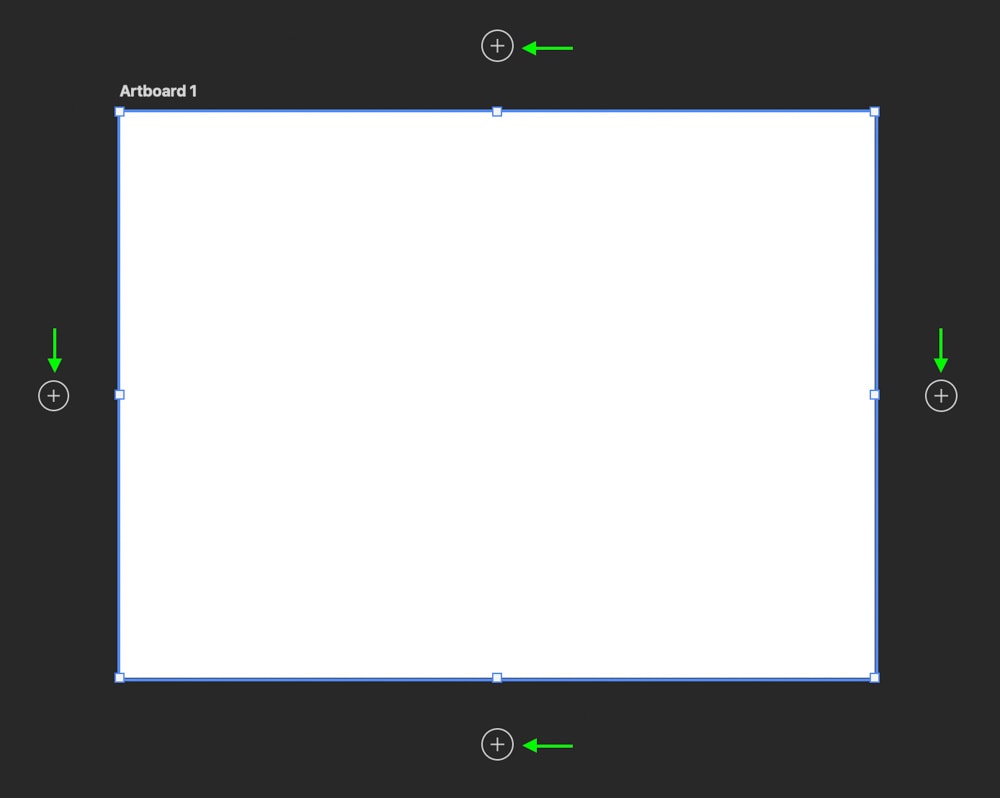
If you don’t see the plus signs, you’ll need to click the Artboard Tool (again, located in the toolbar with the Move tool).

You’ll then see the four plus signs appear. When you click one of the plus signs, another page will appear next to the side.

You can add as many pages as you’d like on different sides of the various pages. As you add pages, your artboard will grow, and you’ll be able to see all the pages at once by zooming out using Control + – (Win) or Command + – (Mac).
Remember that artboards will save and export as one document rather than separate files for each page. Head to the next section to learn how to view separate projects side by side.
How To Open A Separate Document In Photoshop
While artboards show all pages at once, you might just want to open a separate document in a new tab in Photoshop without including it as a part of your project. This is best if you’re working on two separate projects, as they will be saved as two separate files rather than one.
To open an image or project as a separate document, head to File > Open.

When the window comes up, select the image or project you’d like to open in Photoshop and click Open. You can also press Control + O (Win) or Command + O (Mac). The project will open in a new tab next to the one you’re currently working on.

If you’d like to open a separate plain document, head to File > New or press Control + N (Win) or Command + N (Mac) and enter the document settings in the New Document window. Click Create when you’re finished.

The new document will appear in the tab next to the one you’re working on.
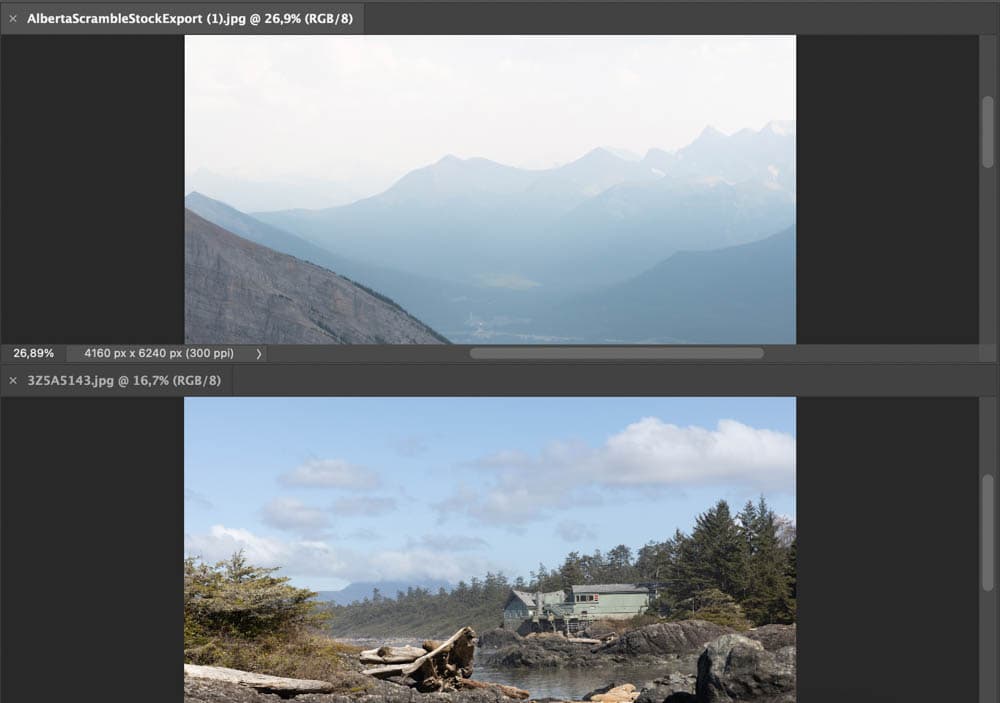
Like with artboards, you can still view multiple separate documents side by side if you need to. To do this, head to Window > Arrange. Then you can select either the 2-up-Horizontal or 2-up-Vertical options.

Clicking one of these options will automatically show the two tabs with their separate documents and workspaces next to each other, either horizontally or vertically, depending on which you choose.
Below you can see the Horizontal view.

Then, the Vertical view looks like this.
Now you’ll be able to see both projects you’re working on simultaneously while keeping the workspaces and documents separate. You can switch between the two by clicking on one or the other, making it easy to work on them simultaneously.
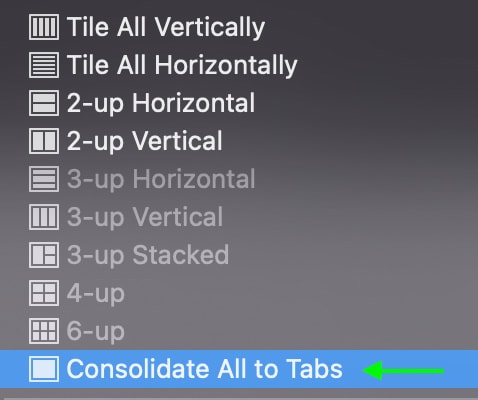
When you’d like to switch back to the standard view, head to Window > Arrange > Consolidate All to Tabs.

The documents will return to their separate tabs. Keep in mind that when you save these projects, they will be saved as separate files rather than one file, like how Artboards are saved.
How To Save Multiple Pages Together In Photoshop
Once you’re ready to export your Artboards or separate documents, you may want to save all the pages into one file.
Export Artboards As One Document
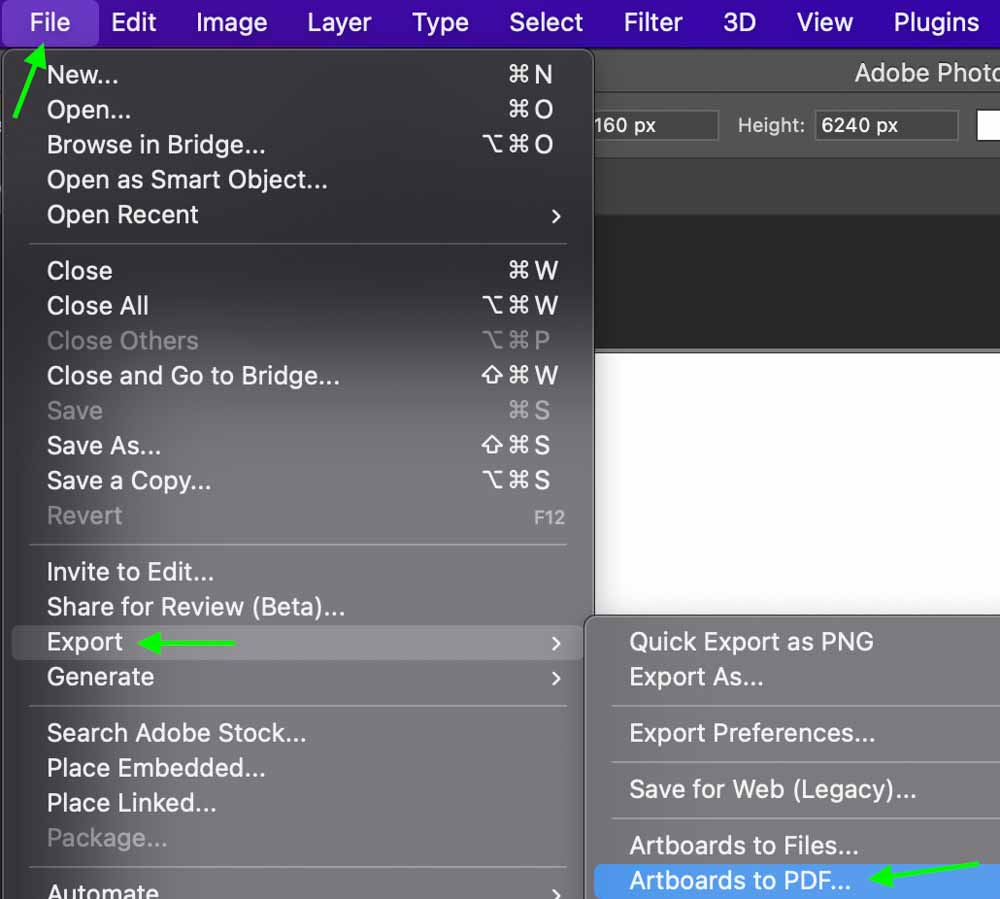
Photoshop allows you to export multiple artboards as one multi-page PDF document. To do this, head to File > Export > Artboards to PDF.
Here, you can name the file and click Browse to select a destination folder. Finally, check the Multi-page Document box to ensure the files save as a multi-page PDF.
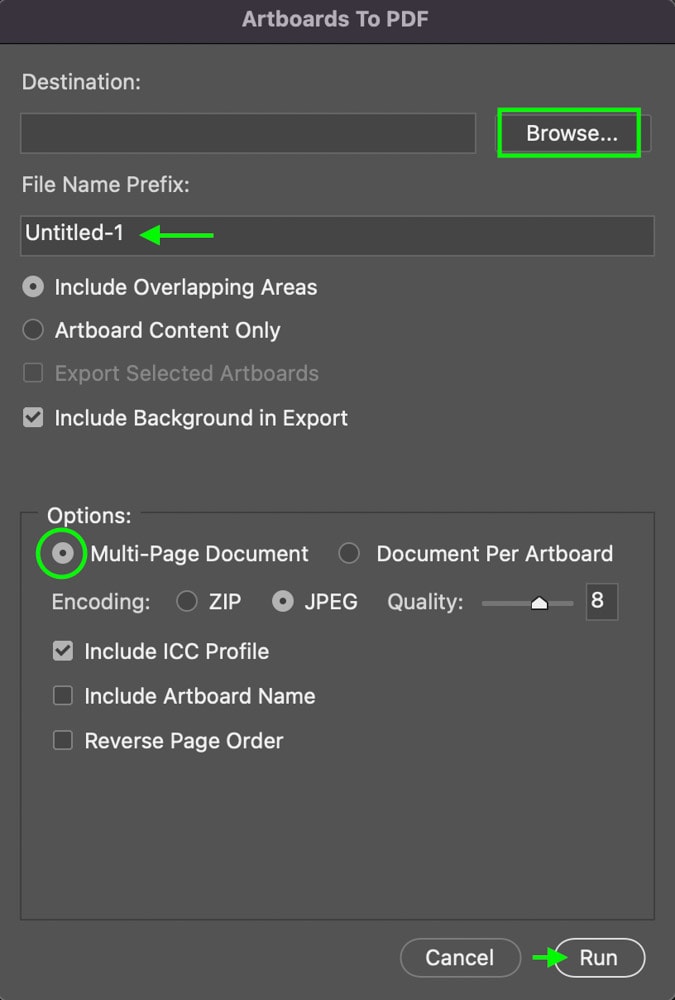
If you’d rather save the artboards as separate files, check the Document Per Artboard box, and the artboards will save as individual PDFs.

Export Multiple Projects As One Document
Photoshop allows you to save all the pages you add to an Artboard as one file. However, you can also save multiple separate documents as one file by creating and saving them as a PDF.
To do this, save each of your documents as a .PSD file. You want to save them all in the same folder, and with their names set to numbers in the order you’d like them in the PDF, so you can easily put them all together later.
Once all the files are saved, head to File > Automate > PDF Presentation.


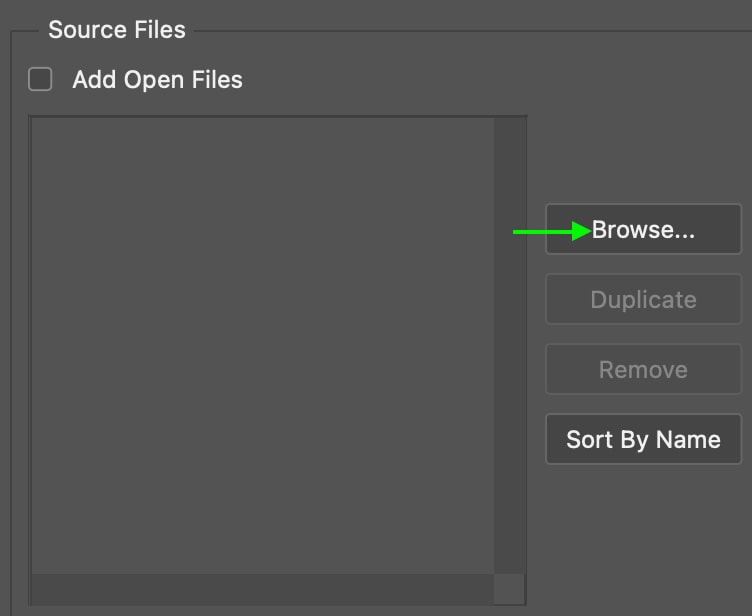
In the window that appears, click Browse and Control + click on the files you’d like to form the PDF. Click Open when you’ve selected them all.
You’ll be returned to the PDF Presentation window. Select Multi-Page Document from the output options to ensure the file is saved correctly.

Finally, click Save, and the project will be saved to your drive as one PDF document with multiple pages rather than separate files.

Whether you’re working with artboards or a regular canvas in Photoshop, it’s easy to add additional pages to existing projects or to start completely fresh. With these tricks in mind, you’re ready to create as many pages as you need in your upcoming projects!
