
When it comes time to make your text layers a bit more interesting, stretching them can be a great option. With three main ways of creating stretched text, you can find an option to suit just about any Photoshop project. In this guide you’ll learn the step by step process behind all three methods so you can find a text stretch effect that works best for you!
Option 1: Stretch Text Using The Transform Tool
The simplest method we’ll go over today uses the Transform Tool and will give your text a basic stretch effect in just a few clicks. This is useful if you’re trying to stretch the entire block of text in the same direction.
Step 1: Add Your Text To The Canvas
First, you’ll want to type out the text you will eventually stretch. Working either from a new document or from whatever project you’ve started, click the Type Tool (T).
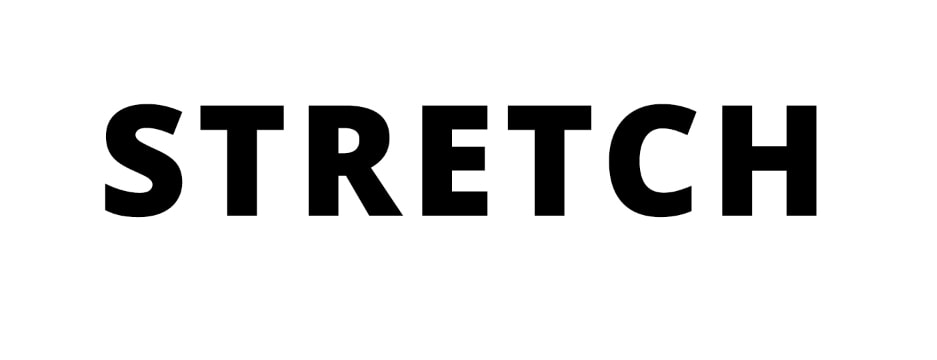
Click anywhere on the document to create a new text box. Type whatever text you’d like.

At this point, you can adjust the appearance of the text in the Options Bar if you want. You can change the Size, Font, Style, Fill, or Color to make the text appear the way you’d like. You can go further and adjust the text and line spacing too.

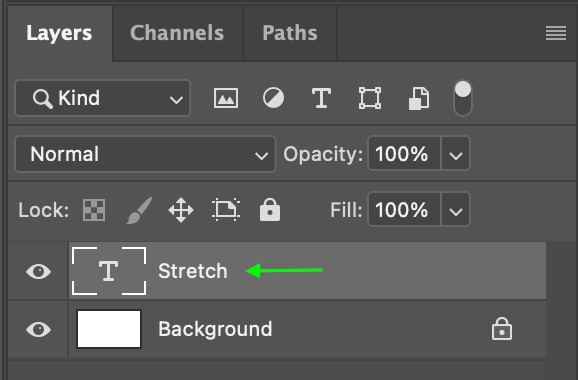
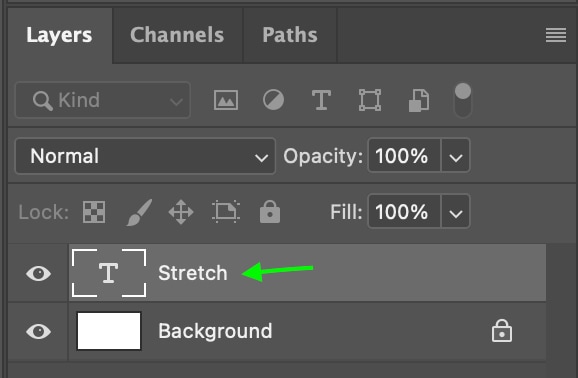
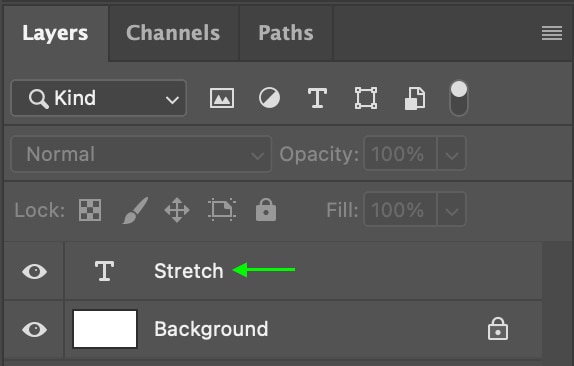
In the Layers Panel, you’ll see the new Text Layer.
Step 2: Activate The Transform Tool
You can use the shortcut Control + T (Win) or Command + T (Mac) to turn on the Transform Tool. You will know Transform has been activated as the Options Bar will change to the Transform Tool settings.

Step 3: Drag The Toggles
With Transform active, hold Control (Win) or Command (Mac) while clicking and dragging any of the toggles around the text box.
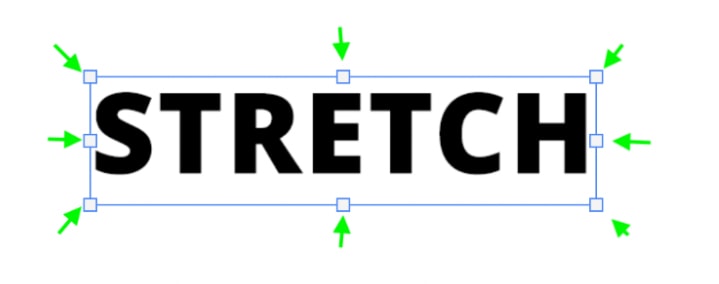
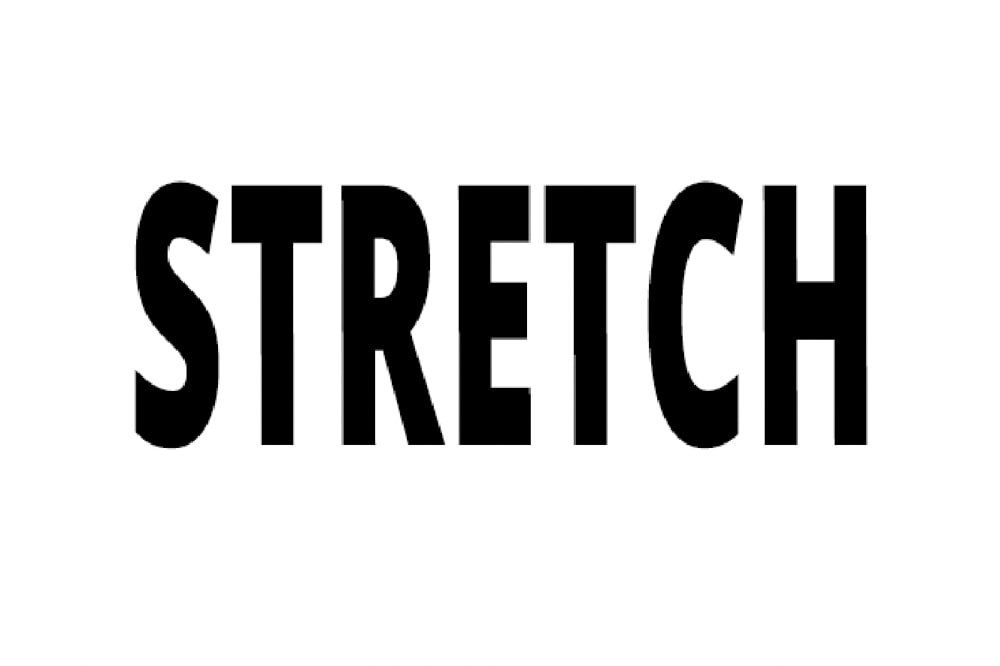
The resulting text will appear stretched in whichever way you’ve pulled it.
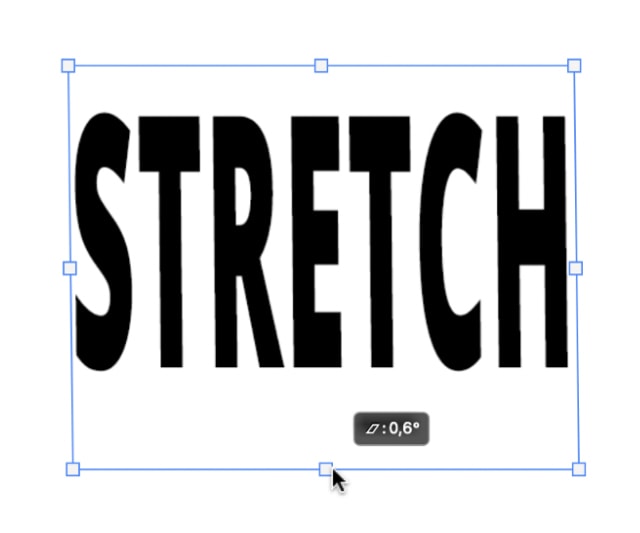
If you want the text to be stretched perfectly straight, ensure the angle reads 0 degrees when stretching vertically or horizontally.
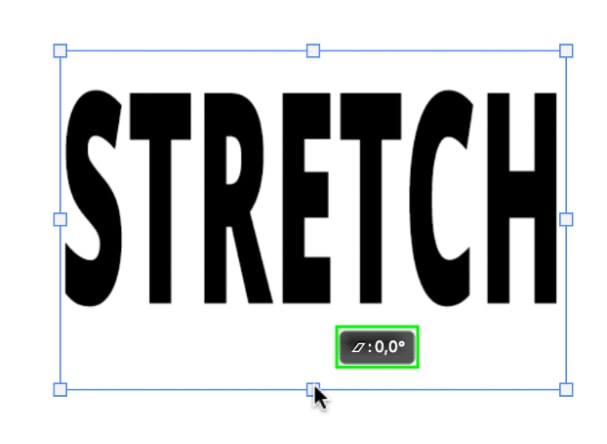
You can stretch the text outwards or compact it inwards. You can also stretch or compact it vertically or horizontally.
Option 2: Stretching Text Using The Warp Tool
The next option uses the Warp Tool, allowing you to stretch part of the text without stretching the entire layer. This can create interesting warped effects that turn out more interesting than simply stretching using the Transform Tool.
Step 1: Convert The Text Layer To A Smart Object
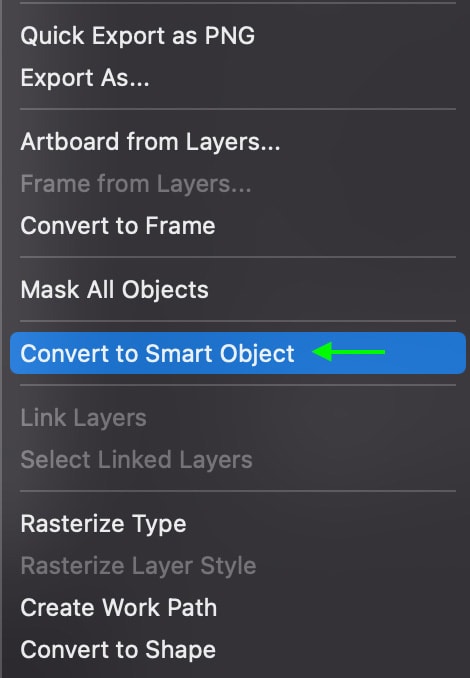
To do this, you’ll first need to convert the text layer into a Smart Object. Starting after you added the text to the document, head to the Layers Panel and right-click or Control + click on the Text Layer. Scroll until you can find it and click Convert To Smart Object.
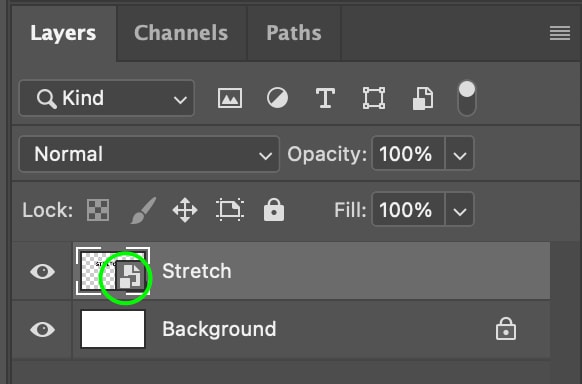
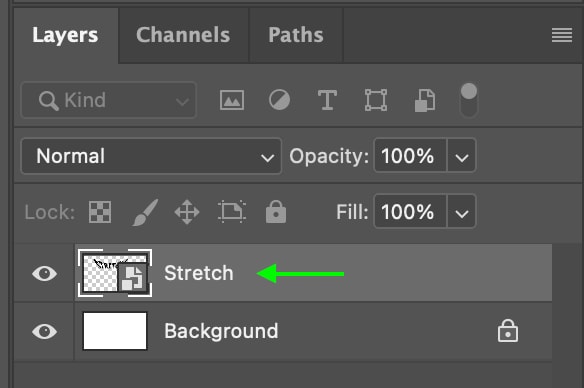
The layer will be converted, and in the Layers Panel, you’ll see the Smart Object icon on the bottom right corner of the Text Layer thumbnail.
Step 2: Activate The Transform Tool
Now, activate the Transform Tool using the shortcut Control + T (Win) or Command + T (Mac). You’ll see toggles appear around the text.
Step 3: Select The Warp Effect
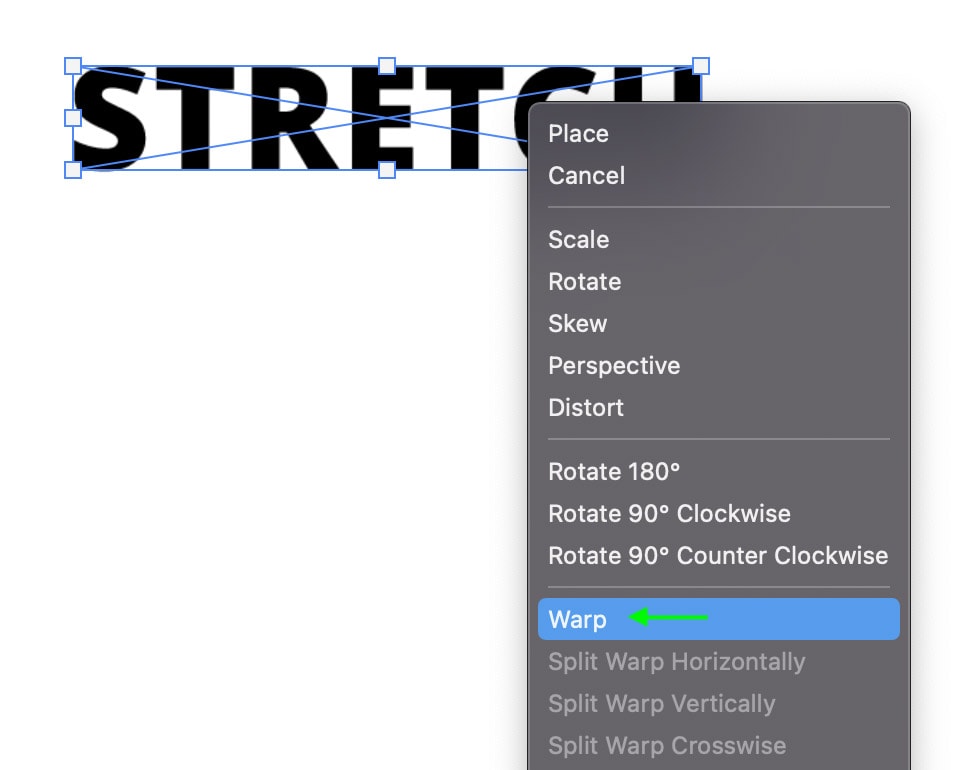
On the document, right-click or Control + click the text itself, and then select Warp from the options.
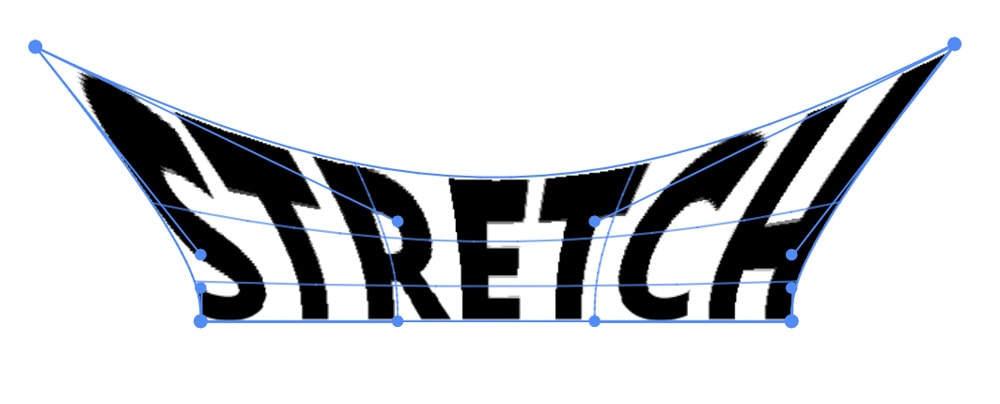
You can now click any of the anchor points around the text box, drag the point, and the text will only stretch in that particular area. As you can imagine, there are many ways to edit your text using the warp tool. Moving each toggle will create a different look.

Step 4: Easily Re-Adjust Your Text
Because you’ve converted the text layer into a Smart Object, you can easily return to the Warp Tool and change your text by double-clicking the text layer in the Layers Panel.
This will open your smart object in a new window, where you can edit your text as normal. Just remember to press Command + S (Mac) or Control + S (Win) to save any changes made within a smart object. Otherwise the updates won’t reflect in your original document.
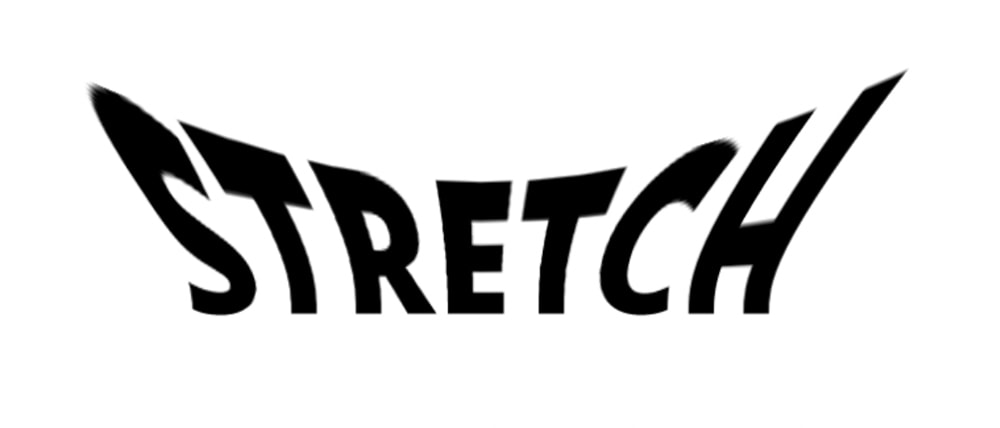
You now have uniquely stretched text on your canvas.
Option 3: Stretching Text Using Paths In Photoshop
This final method is more advanced than the others but can result in amazing effects. Here, we can turn the Text Layer into a Shape Layer and manipulate it from there using paths.
The downside to this method is that once you’ve applied the effect, you can’t go back and edit your text again. So, you’ll want to make sure you’re happy with the appearance of your text – the font, size, fill, etc. – before you continue to the next step.
Step 1: Make Any Last Text Adjustments
If you need to edit your text, click the Type Tool (T) and use the adjustments in the Options Bar.
You won’t be able to go back and adjust the text again.
Step 2: Convert The Text Layer To A Shape
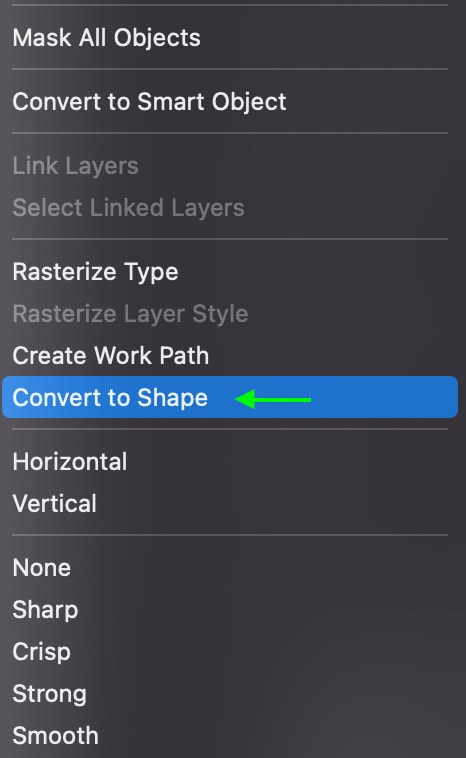
Once you’re happy with how your text looks, head to the Layers Panel. Right-click or Control + click the Text Layer and select Convert To Shape.
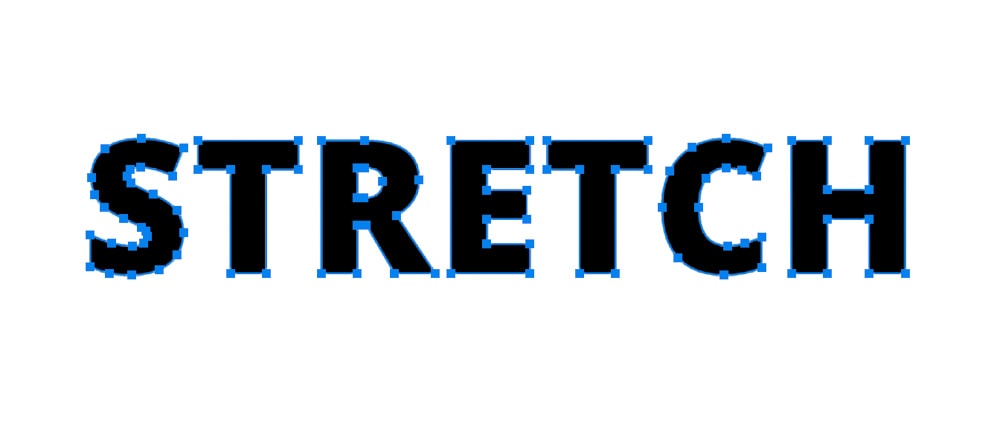
The text will appear with anchor points around every letter as each letter forms a separate shape.
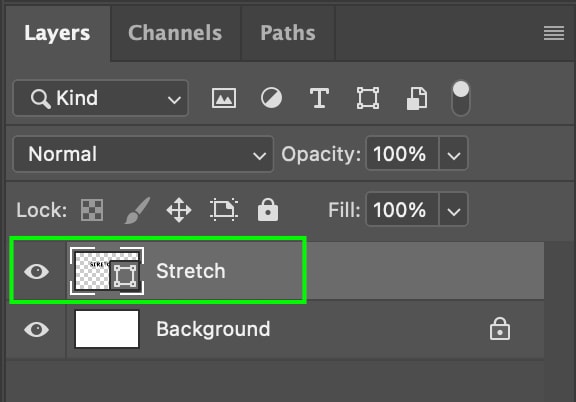
In the Layers Panel, you’ll see the Text Layer is now a Shape Layer.
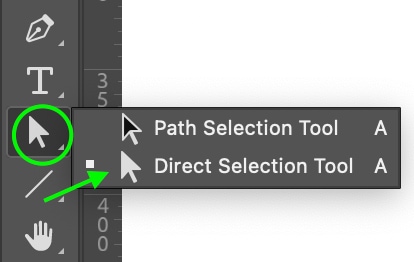
Step 3: Activate The Direct Selection Tool
Click the Path Selection Tool in the Toolbar, which looks like a cursor arrow. Click and hold to select the Direct Selection Tool (A) and select it.
Step 4: Stretch The Text
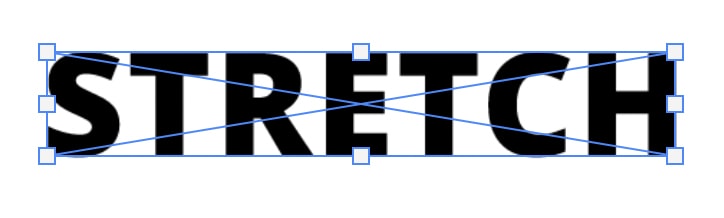
Now that each letter of the text has been converted to a shape, you can click any of the anchor points and drag to stretch only that part of that letter. Hold Shift while clicking the anchor points to drag more than one in the same direction. Selected anchor points appear filled in blue.
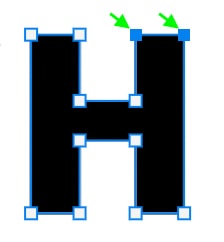
This gives you the most control over the stretch effect, as you can stretch each specific letter in whichever way you’d like.
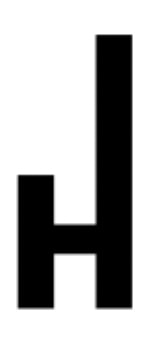
This is useful if you only want to stretch one area of the text, one letter, or one word for longer batches of text. You can create loads of fun effects using this method.
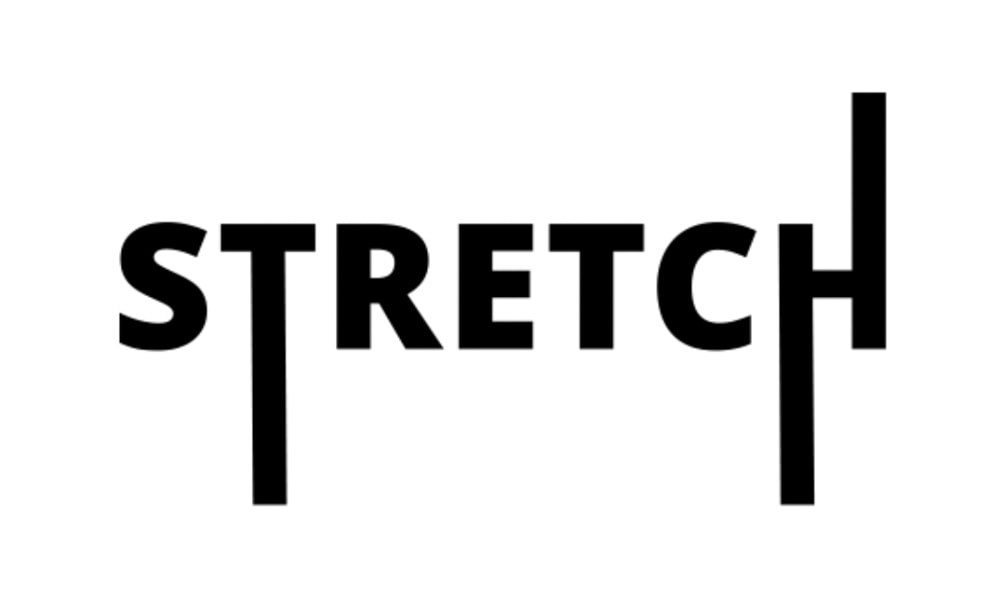
With these three effects in mind you can create playful text or more professional effects perfect for logo design like in method 3!
Happy Stretching 🙂


