
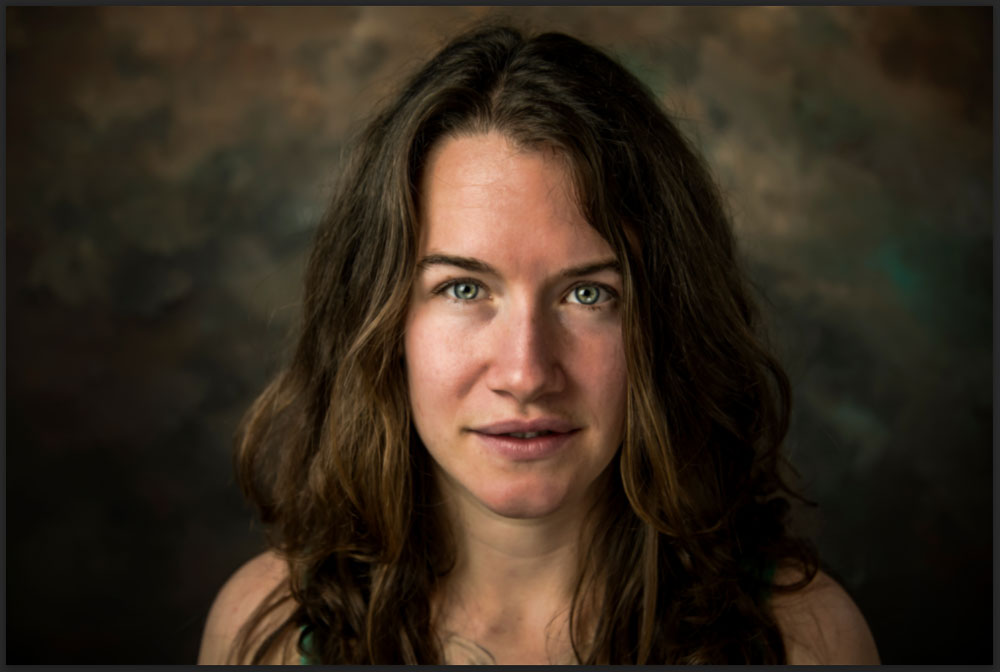
There are several ways to correct skin discoloration and blotchiness using editing tools — however, one of the most intuitive and controlled methods is frequency separation. You can easily apply this method to images in Photoshop to correct inconsistencies in skin tones.
A few retouching methods of removing blemishes on the skin also remove the texture. When you use the Healing Brush Tool, you end up blurring the area to remove the blemish. On the other hand, when you use a tool like the Clone Stamp Tool, you copy a texture directly, which ends up looking out of place.
Using frequency separation, you can separate the image to work on the color and texture separately. While this requires patience, even beginners can use this technique with some practice.
What Is Frequency Separation For?
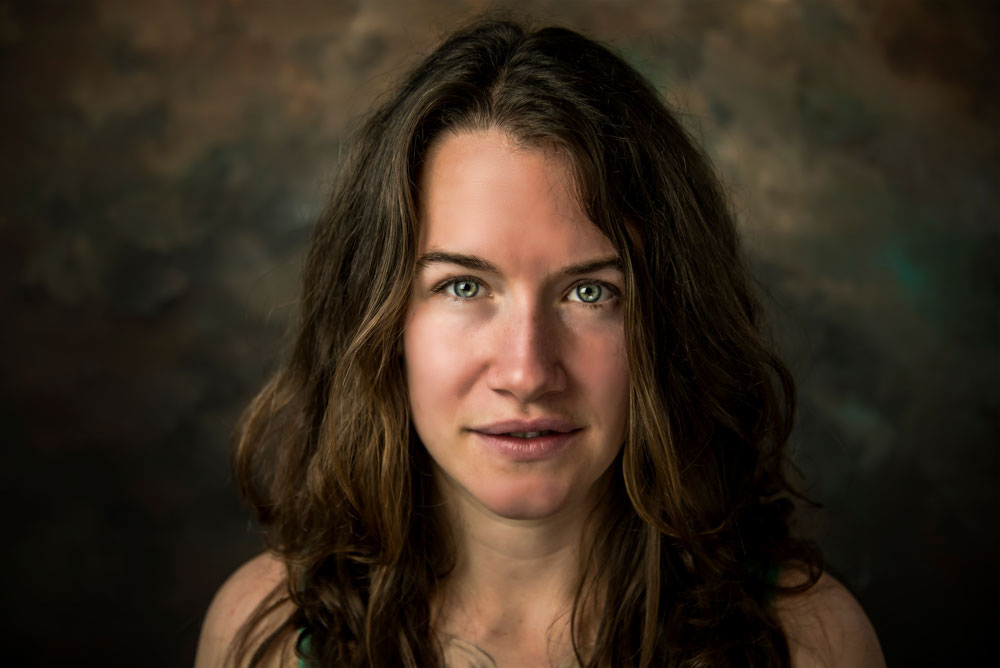
Frequency separation is commonly used on portrait images of males and females to enhance the skin. The process removes blotchiness, redness, and skin discoloration while keeping the subject looking relatively natural. You can use this technique on any area of the skin, but it is typically used on the face.
The frequency separation process works by separating the tones, colors, highlights, and shadows from the texture of the image. By separating the photo, you can retouch the colors without affecting the texture or vice versa.
Note: While frequency separation does an excellent job of keeping the texture, it is still possible to overdo the retouching. If you blur the areas too much, you’ll end up with a porcelain-like face.
While I may slightly overdo the process to highlight the changes in this article for you to see the difference, you should always practice restraint when doing any retouching. Less is often better to prevent the photo from looking unnaturally edited.
How To Use Frequency Separation In Photoshop
The first four steps are setting up the image for the retouching process. If you plan on retouching multiple images using this method, I suggest you create an action for the first four steps. This way, you can easily separate the image without needing to repeat the steps.
Then, you can follow steps five through eight to retouch the individual images, as they will each need different areas retouched and different levels of blur added.

Step 1: Duplicate The Image Layer Twice
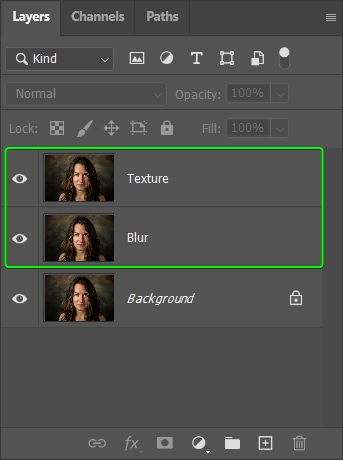
You must create multiple layers to separate the image into the tones and the textures. To do this, select your image/background layer and click Control + J (Win) or Command + J (Mac) twice. This creates two copies of the image layer.
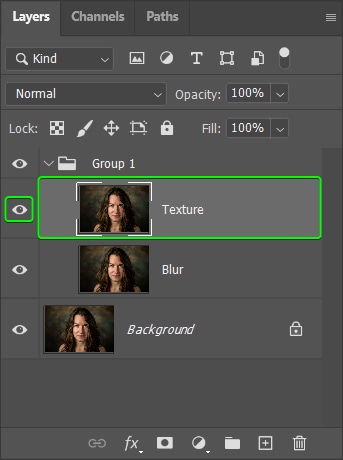
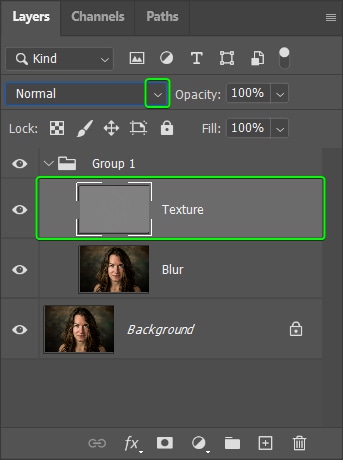
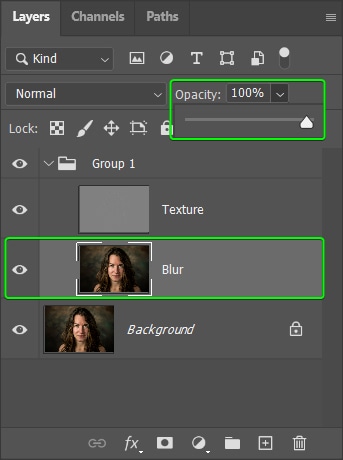
You can rename these layers to keep everything in order. I have renamed the tones and colors layer “Blur” and the texture layer “Texture.” Make sure that the texture layer is at the top.
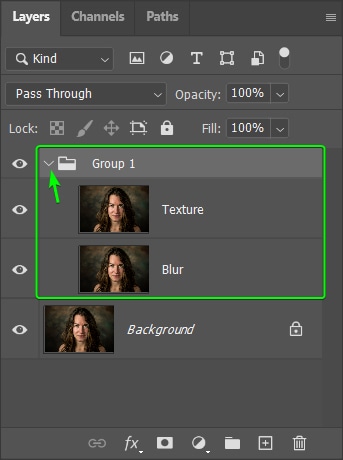
To further organize your layers panel and easily view the differences between the before and after later on, you can add the two new layers to a layer group.
Select both layers while holding Control (Win) or Command (Mac) to select them together. Then press Control + G (Win) or Command + G (Mac) to create the new group. Open the group using the arrow to keep the layers visible.
Step 2: Add A Gaussian Blur To The Blur Layer
Now, you can add a blur to the middle layer in the stack, which I have named Blur in my case. This layer will be the layer that contains the tones, colors, highlights, and shadows without any texture. So the goal here is to remove the texture of the layer without losing too much detail.
Before adding the blur, switch the layer visibility off for the top layer so you can see the blur you add. Turn the layer off by clicking on the eye icon next to the Texture layer to remove it. Then select the Blur layer.
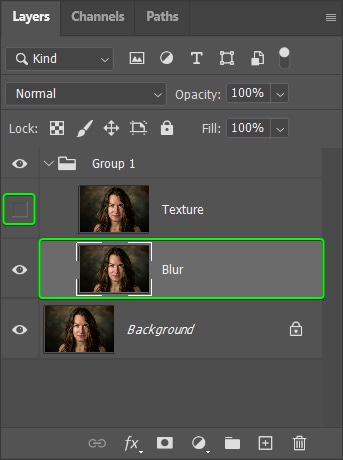
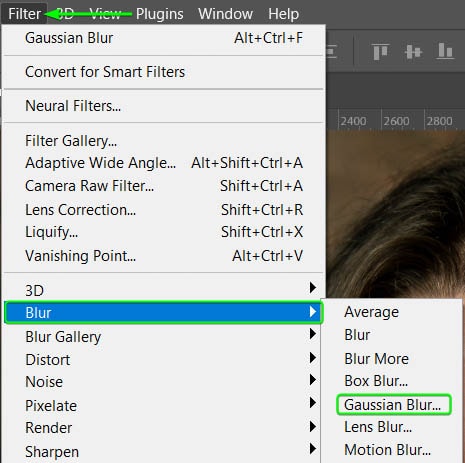
Add a blur to the layer by going to Filter > Blur > Gaussian Blur.
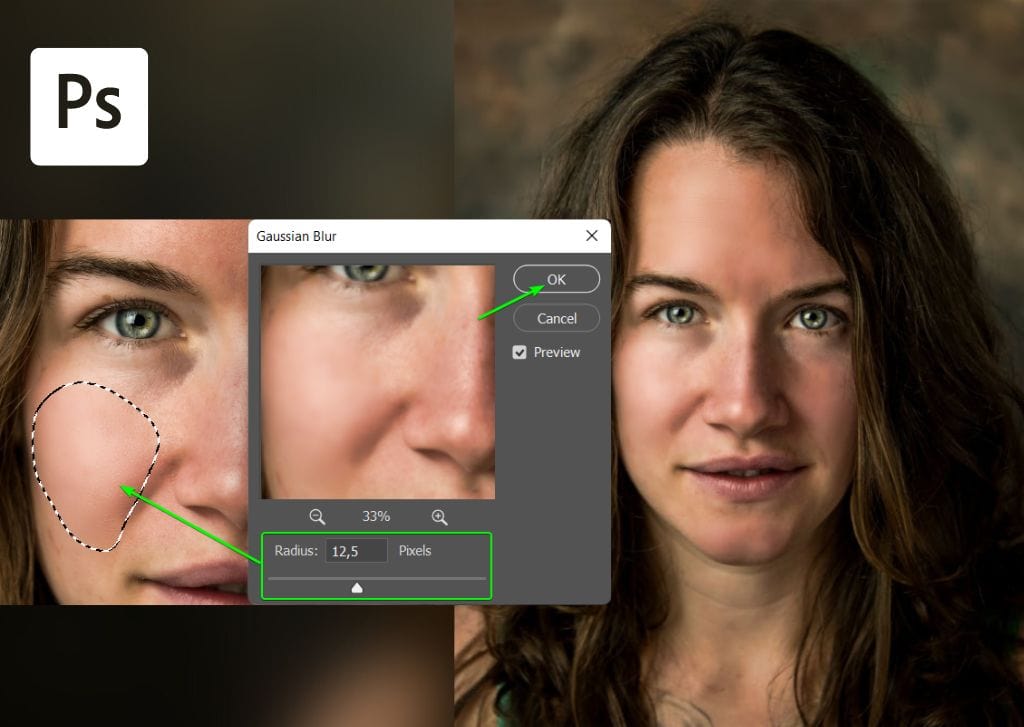
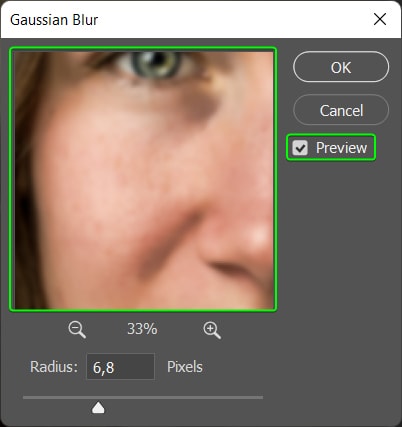
Once the Gaussian blur box is open, ensure that Preview is checked so you can view the changes on your image and move the image in the preview box by clicking and dragging to show an area of the face.
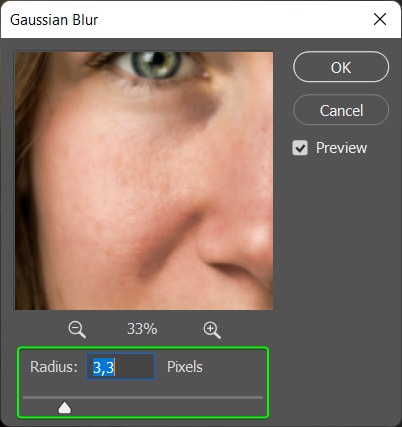
Then, use the Radius slider to determine how much blur you want to be added to the layer. Remember, you are trying to remove the texture in the image without blurring the subject too much. So slide the radius amount to the right until the texture disappears. For my example, that is about 3.3 pixels.
Select OK when you have set the Radius amount.
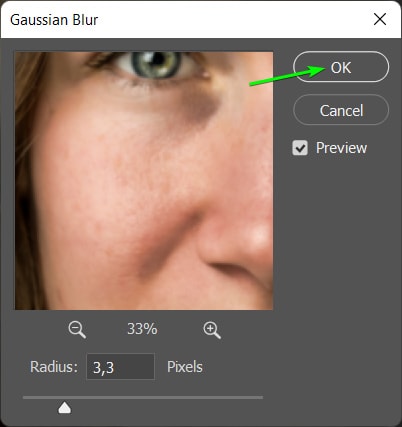
Your image should now have a slight but noticeable blur.
Step 3: Replace The Textures In The Texture Layer
Now, you need to add the texture back into the image on a separate layer. First, turn the visibility of the Texture layer back on by clicking the empty box to bring back the eye icon. Then, select the Texture layer.
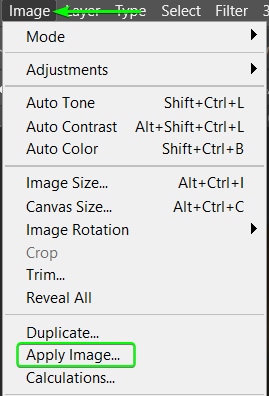
Next, you need to tell Photoshop to subtract the information on the blur layer from the texture layer so that this layer only contains the texture details. To do this, go to Image > Apply Image.
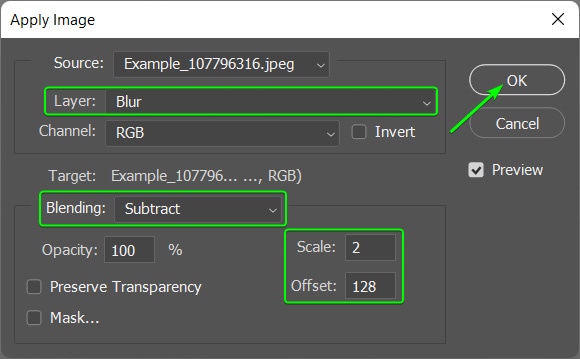
In the Apply Image dialogue box, you need to change a few settings before clicking OK. First, you want to subtract the information from the layer you added the Gaussian blur to, so in the drop-down next to Layer, select the Blur layer (or whatever you chose to name the layer).
Next, change the Blending to Subtract from the drop-down menu. In the Scale box that appears on the right, set it to 2 and set the Offset to 128. These settings should remain like this for any frequency separation you are doing.
Click OK when you have changed the settings.
Step 4: Change The Texture Layer’s Blend Mode To Linear Light
The Texture layer now looks like a High Pass filter on your image, with a completely gray layer only showing some texture.

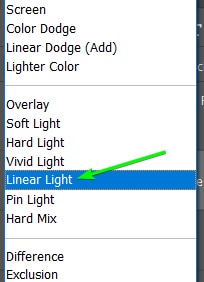
To bring back the texture, you need to change the layer’s Blend Mode. With the Texture layer still selected, select the drop-down menu next to Normal in the Layers panel and choose Linear Light.
Now, your image looks as it did in the beginning. If you toggle the Group’s visibility off and on, the picture looks exactly the same as the background layer. This is because you have added all the information back but kept it in separate layers.
Step 5: Select The Lasso Tool And Add A Feather
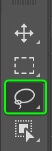
It’s now time to start retouching the skin tones to remove the redness in some areas. You should be working on the Blur layer for steps five and six. Select the Blur layer, then select the Lasso Tool (L) from the Toolbar.
You now need to add a feather to the Lasso Tool, but it’s not easy to see how much feather is added. A neat trick to check your feather level is to create a Lasso selection on the image by clicking and dragging around an area.
Then, press the Q key to activate the Quick Mask Mode. This adds an opaque red to the areas of the image that aren’t selected while the selected area remains in full color. You can see how hard the edges of the selection are when there is no Feather added to the selection.
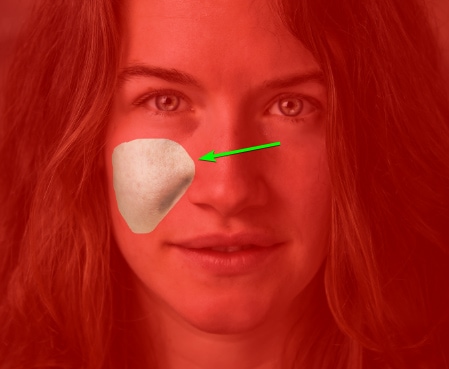
Press Q to exit the Quick Mask Mode and then press Control + D (Win) or Command + D (Mac) to deselect the area. Now, adjust the Feather in the Options bar. You can take this feather up to about 35 pixels.

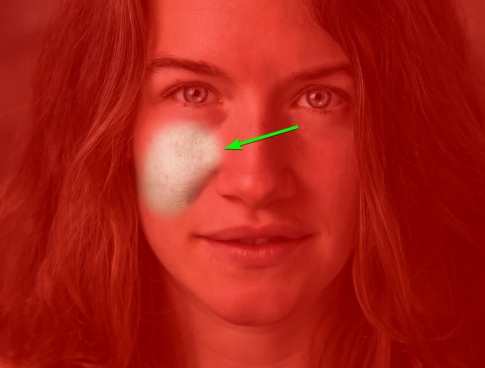
Draw a new selection and press Q again. This time you can see that the selection edges are softer, which means your edits will blend into the rest of the image. Exit the quick mask and deselect the selection as you are ready to start retouching your image.
Step 6: Select Areas And Add A Gaussian Blur On The Blur Layer
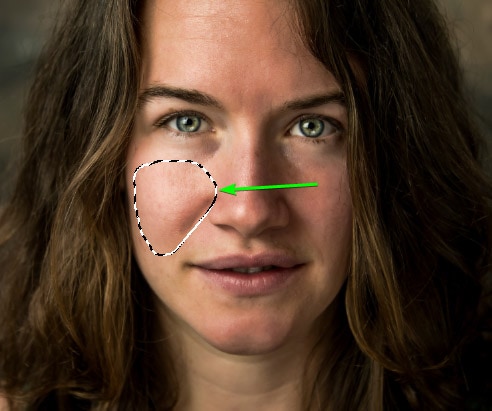
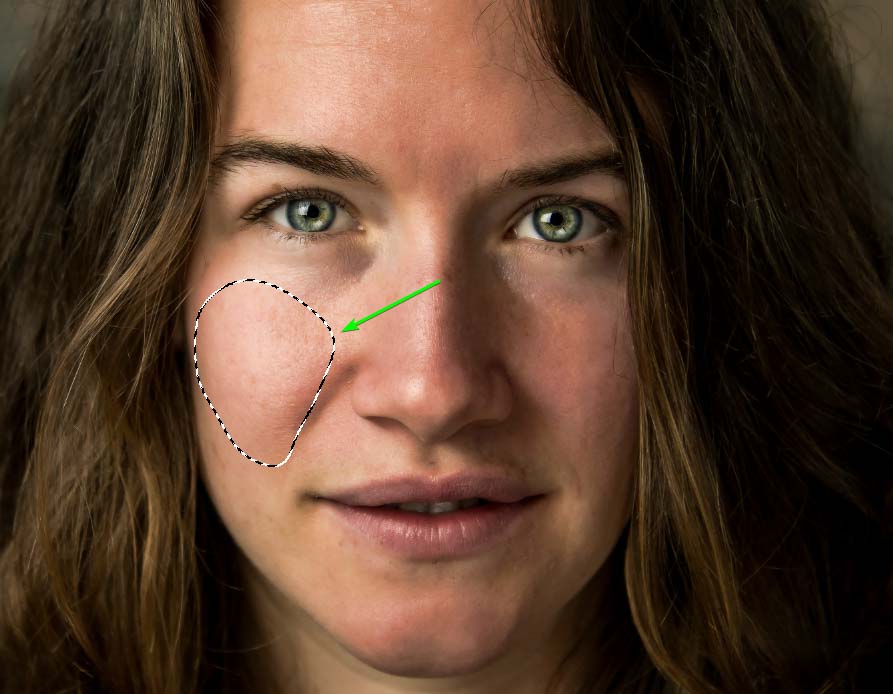
For this step, you must ensure you are constantly working on the Blur layer. With the layer active, create a selection around an area you want to retouch. I recommend you select relatively large areas of the face, so the process doesn’t take too long, but don’t select the entire face at once. Try to select areas of similar tones to correct at a time.
Note: Zoom in using Control + + (Win) or Command + + (Mac) to view the problem areas better.
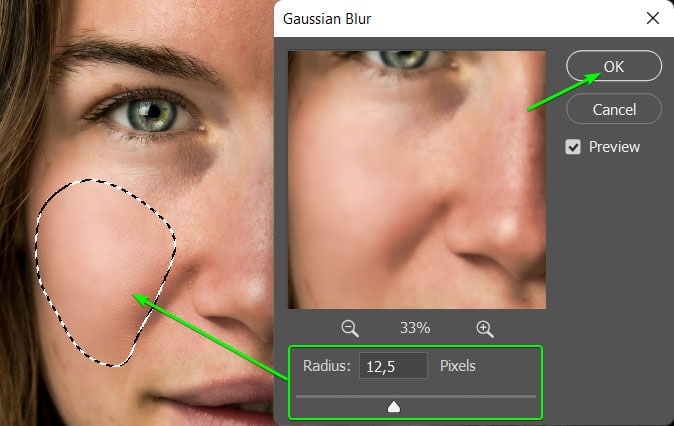
Once the area is selected, add a blur by going to Filter > Blur > Gaussian Blur.
Move the blur Radius slider while watching the selected area of your image. Add enough blur to reduce the blotchiness but not too much so that the person’s skin begins to look porcelain.
Click OK when you are happy with the blur amount. Then deselect the selection by pressing Control + D (Win) or Command + D (Mac).
Repeat this process by creating more selections and adding the Gaussian blur. Keep changing the blur amount depending on the area, as it is not a one-setting-fits-all. Also, try to keep your selections limited to areas of similar tones.
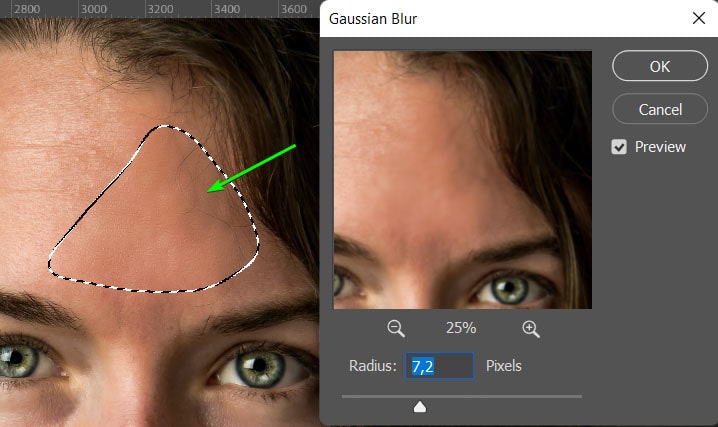
Since the texture layer protects the textures within the image, you can go over small pieces of hair without blurring them out. For instance, the area I have selected near the hairline doesn’t create an unwanted effect where the stray hairs are.
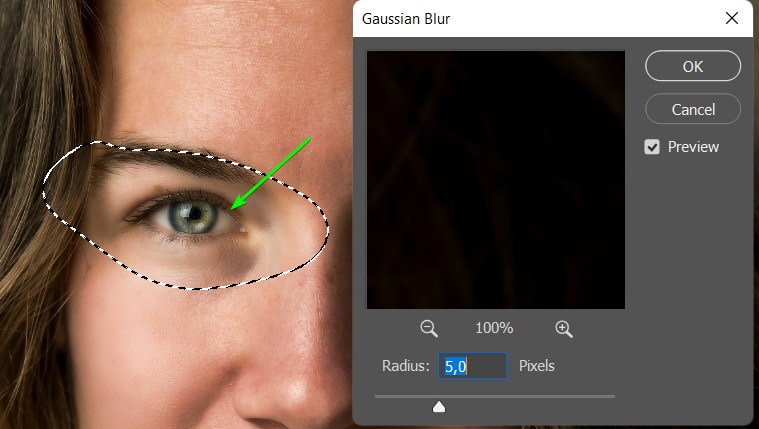
However, you should avoid highly textured areas such as the eyes, eyebrows, and mouth. If you create a selection around the entire eye, the texture layer won’t be able to preserve the finer details in the eye, and the blurred result will look unnatural.
Continue selecting and blurring various areas of your subject, remembering to balance the blur amount not to create an overly edited image. Once you have retouched the various areas on the face, you will notice the photo looks much more balanced in terms of the colors and tones on the face.
Step 7: Use The Clone Stamp To Fix Texture Elements On The Texture Layer (Optional)
If you want to fix any textural areas, such as dimples, wrinkles, or blemishes, you can do this on the texture layer. Most retouching tools will work here, but I suggest using the Clone Stamp Tool, as you can copy the textures without worrying about the tones and colors.
Ensure you are on the Texture layer, then select the Clone Stamp Tool from the Toolbar or press S.

The most crucial setting from the Options bar to consider here is the Sample option. Set the Sample to Current Layer. Since you only want to edit the textures, not the tones and colors from the layer below.

The rest of the settings in the Options bar should be changed as you usually would when using the Clone Stamp Tool. Keep the Mode at Normal, the Opacity at 100%, and the Flow at 100%. Ensure that Aligned is checked.

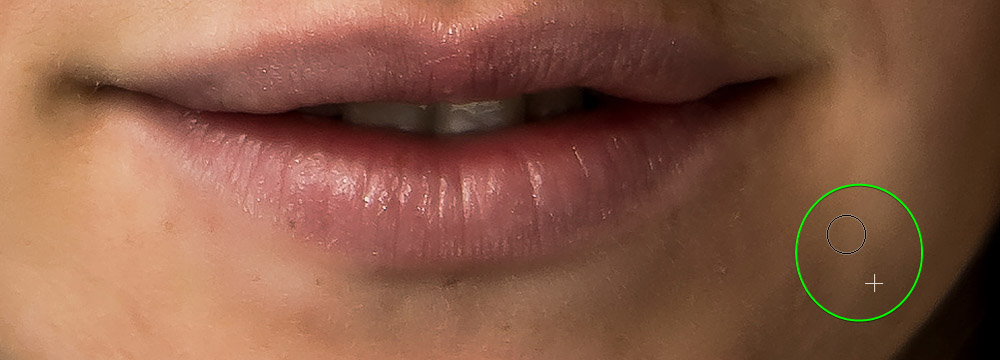
Then, begin touching up the texture by holding in Alt (Win) or Option (Mac) to sample an area with the texture you want. Click on an area when the target icon appears.
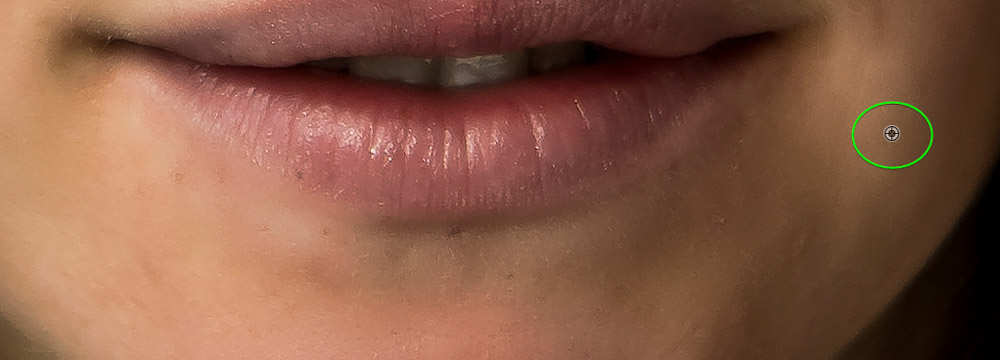
Next, use the brush to brush the sample texture over the area you want to be covered, such as the small wrinkle next to the area I sampled. The plus sign next to the circular brush shows where the new pixels are being sampled from.
You can repeat this step to fix any other textural problems with your photo. Remember not to overdo this step, as overediting can quickly create an unnatural-looking image.
Step 8: Lower The Blur Layer’s Opacity (Optional)
Once you have made all the touch-ups and corrected the blotchiness, you should take a step back and assess whether you have overedited the image. Many beginner photo editors make the mistake of editing too much, and while you are in the process, it’s hard to see how the edits are progressing.
I suggest moving away from the photo and returning with fresh eyes. If you notice that the blur is too much and has started creating a porcelain-looking face, you can quickly fix this step without redoing the entire edits.
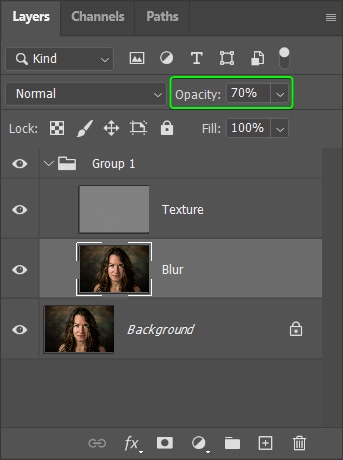
Reduce the Opacity of the Blur layer to minimize the effect if needed. To do this, select the Blur layer in the Layers panel and then use the Opacity slider to bring the opacity down until the image has a more natural feel.
I brought the Opacity down to 70% for my image as I overdid the blur to show the effect better.
Once you have completed the steps, you’ll have a retouched photo with smoother colors and tones on the subject’s face without removing the essential textures.

Frequency separation in Photoshop is an important skill to have when retouching your subjects. This technique, along with proper blemish and acne removal that’s done beforehand, will give you editorial-quality images with ease.
I share how to professionally remove acne and blemishes in Photoshop here if you aren’t quite sure how!


