
If you want to add a bit of visual interest with ease to your image, you can simply add a border in Photoshop. Depending on the style of border you want to add to your images, there are a variety of looks you can achieve.
To add a solid-colored border around your canvas, follow these steps:
- Press Command or Control + A to select the canvas.
- Create a new layer at the top of the layer stack.
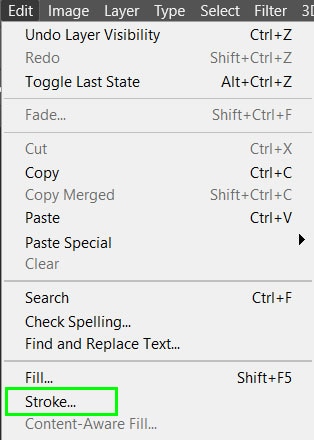
- Go to Edit > Stroke.
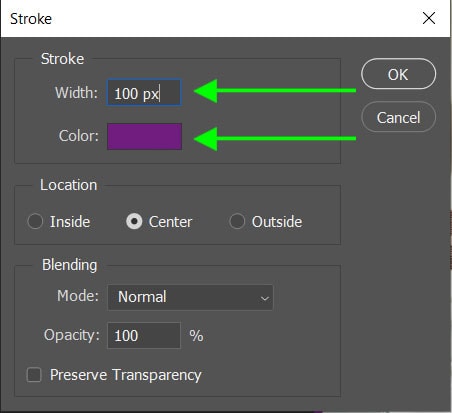
- Choose a color and width for the border.
- Set the stroke position to “Center.”
- Click OK.
- Press Command or Control + D to deselect your canvas
- Now your image has a border!
This is one of the easiest methods to add a border, but there are several others. Throughout this tutorial, you’ll not only learn more about how to create solid color borders but also customized borders.
Let’s get started!
Video Tutorial
How To Add A Solid Color Border To An Image In Photoshop
The process of adding a border in Photoshop is quick and easy. Once you understand this concept, you can customize the borders with gradients, patterns, or decorative elements.
Generally, you won’t want to cut into your image at all, so you need to increase your canvas size and use the extra space for the border.
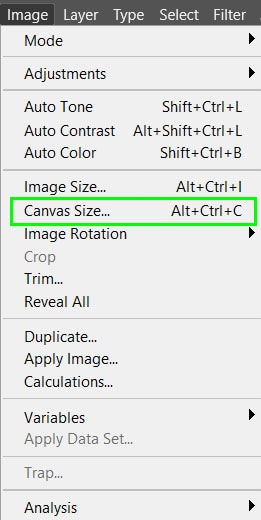
Step 1: Open The Canvas Size Window
To increase your canvas size, navigate to Image > Canvas Size or use the shortcut Alt + Control + C (Win) or Option + Command + C (Mac).
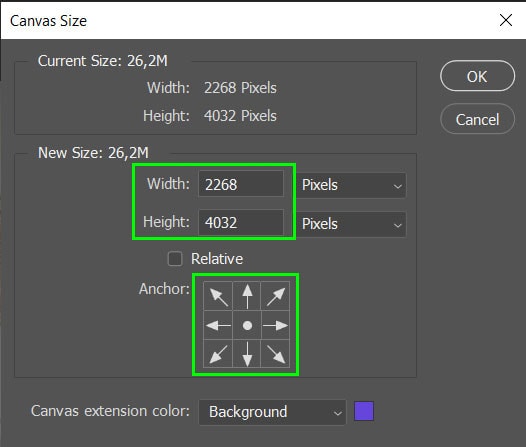
Step 2: Increase The Canvas Size
Make sure the anchor block shows arrows going to each side of the image to ensure the extra canvas space is added evenly around the photo. Then, increase the canvas size by increasing the width and height by the same amount of pixels.
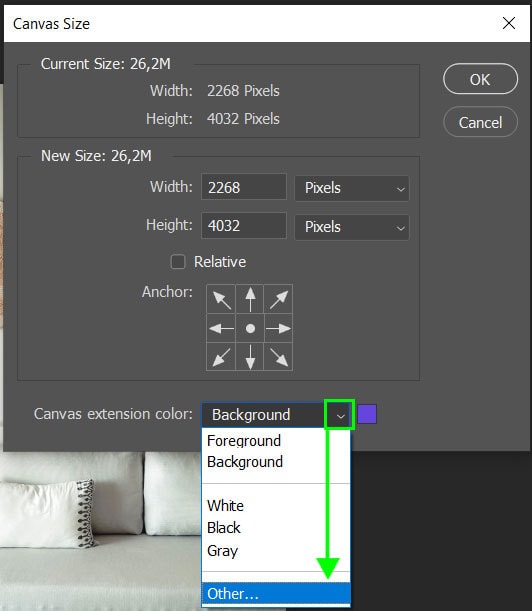
Step 3: Change The Border Color
At the bottom of the window, you can select your border color by clicking on the drop-down box next to Canvas Extension Color. Select Other to choose a color from the Color Picker.
Select OK, and your border will be added to your image without cropping parts of the image. Remember that your image will now be larger since you extended the canvas to fit the border.

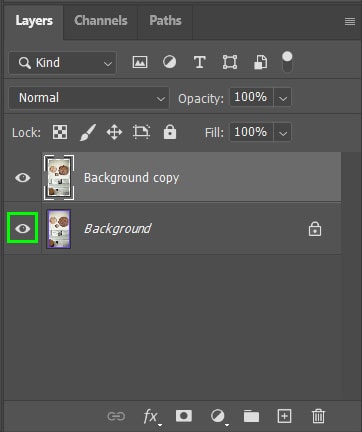
Step 4: Turn On The Background Layer Visibility If It’s Turned Off
If the border does not appear, turn on the layer visibility of the background layer by selecting the eye icon on the layer.
How To Add A Decorative Custom Border In Photoshop
Use this method if you want to create a custom border, using a selection and brush strokes to decorate the border.
Step 1: Add A Solid Border Around Your Image
Start by creating a solid border around your image. To do this, navigate to Edit > Stroke and choose a color and the width you would like. Select OK to apply the border.
Note: If you don’t want to cut into the image, use the previous method to add a solid border around the image.
Step 2: Create A Selection Around The Border
Next, create a selection around your border to only add the effects to the border. To do this, select the Rectangular Marquee Tool from the Toolbar or use the shortcut by pressing M on the keyboard.

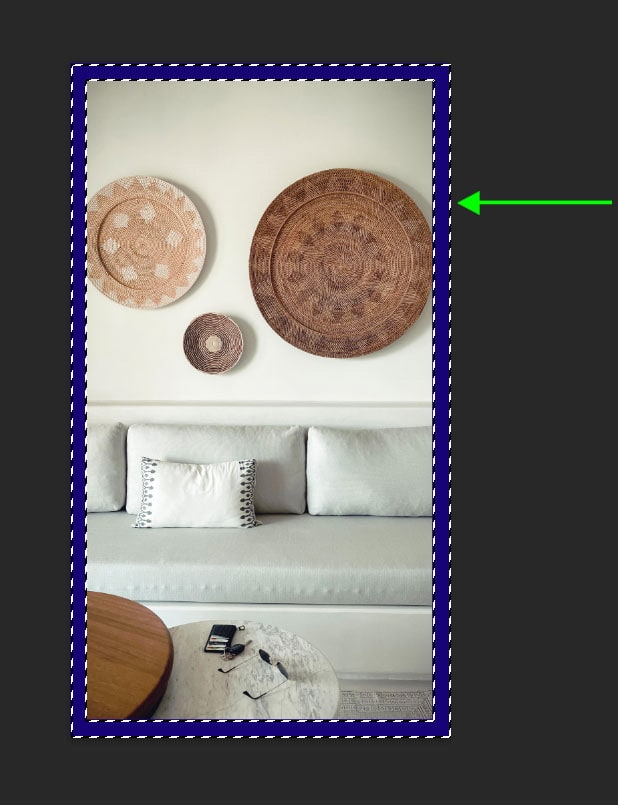
Draw the rectangular marquee on the inside of the border so only the image is selected, not the border.
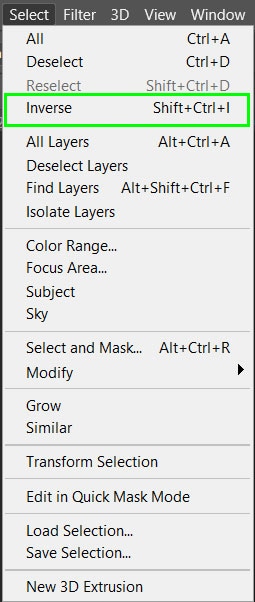
Then, invert the selection by navigating to Select > Inverse or using the shortcut Shift + Control + I (Win) or Shift + Command + I (Mac).
The selection will now only surround the border, so any effects you apply will only affect the border.
Step 3: Select The Brush Tool And Adjust The Settings
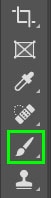
Select the Brush Tool on your toolbar, or simply press B on your keyboard. Change the brush style by selecting the drop-down menu on the Options Bar.

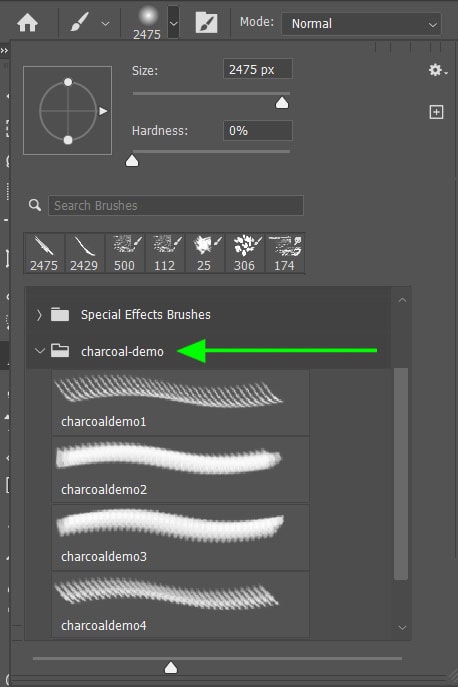
You can choose any style to use on your border. For this example, I am using a free demo brush set, Charcoal Demo. If you want to find more brushes to use, I share some of the best places here.
Once your brush style is selected, you can change the Opacity and Blend Mode in the top Options Bar.

Step 4: Brush Along The Border To Create A Custom Effect
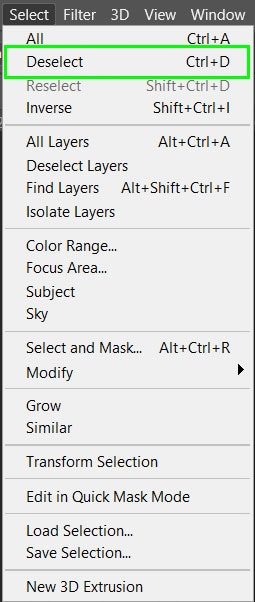
Once you have your desired settings, use the brush on areas of the border to create a unique effect. Once you have finished, navigate to Select > Deselect or use the shortcut Control + D (Win) or Command + D (Mac).
You will now have a unique border around your image.
How To Add A Border To A Selection In Photoshop
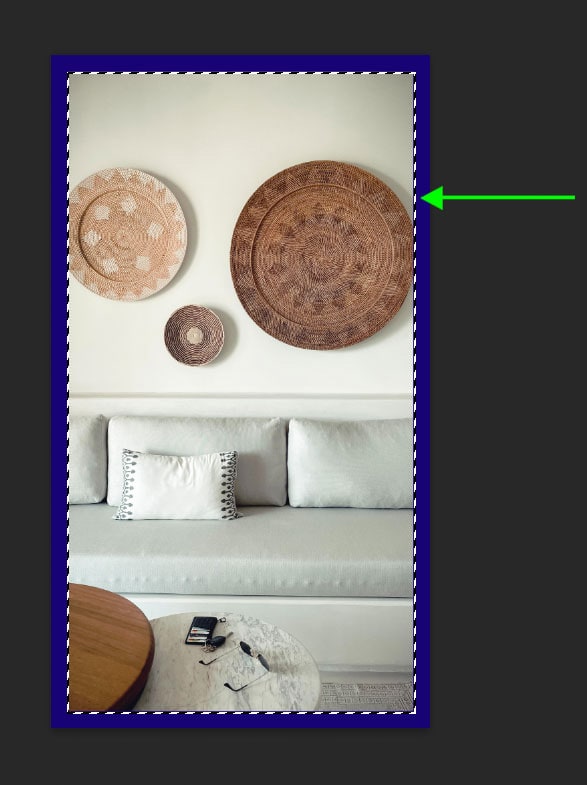
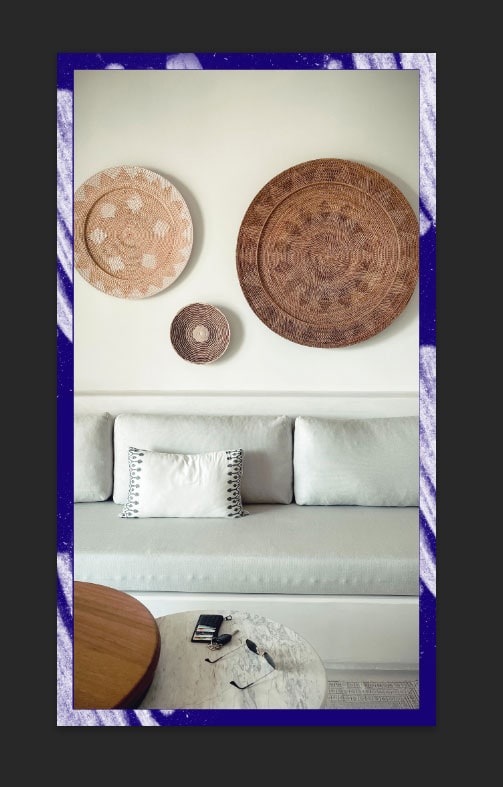
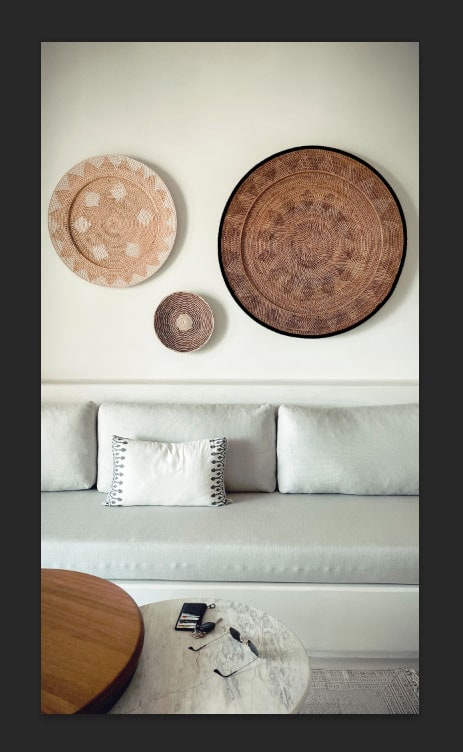
In some images, you may want to add a border to an element within your image. You can do this to create a framed look on certain elements in your image, such as items hanging on a wall.
You can easily create a border around a selection, but remember to create a copy of your image layer in case you are not happy with the results.
Step 1: Select An Object Using Any Selection Tool
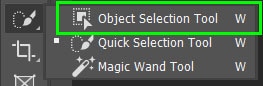
To create this border, start by selecting an item within your image. You can use any of the Quick Selection Tools or Marquee Tools. These are both located on your Toolbar on the left-hand panel of your workspace.

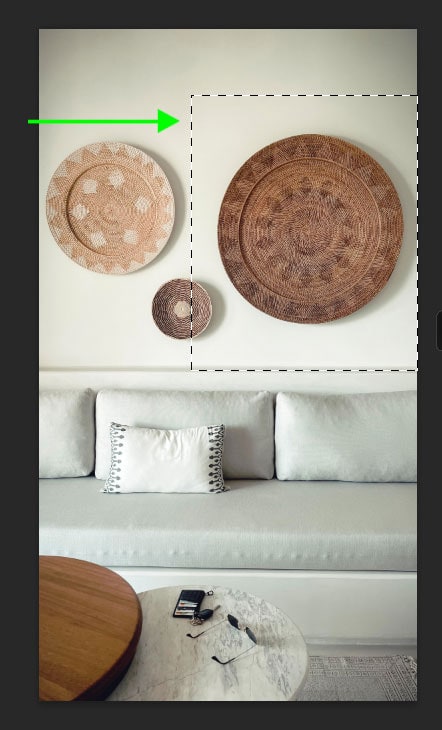
In this example, I will use the Object Selection Tool to select one of the round items on the wall.
To use this tool, drag the mouse over the item you want to be selected, and it will create a selection based on the object’s shape.

Step 2: Go To Edit > Stroke
Once the object is selected, navigate to Edit > Stroke, and the Stroke window will open.
Step 3: Select The Color And Width For The Border
Select the width and color you would like the border to be and select OK.
Step 4: Deselect The Area
Deselect the area by navigating to Select > Deselect or using the shortcut Control + D (Win) or Command + D (Mac).
You will now have a border around the object you selected.
So with that, you now know a handful of easy ways to add borders to your photos.
Happy Editing!


