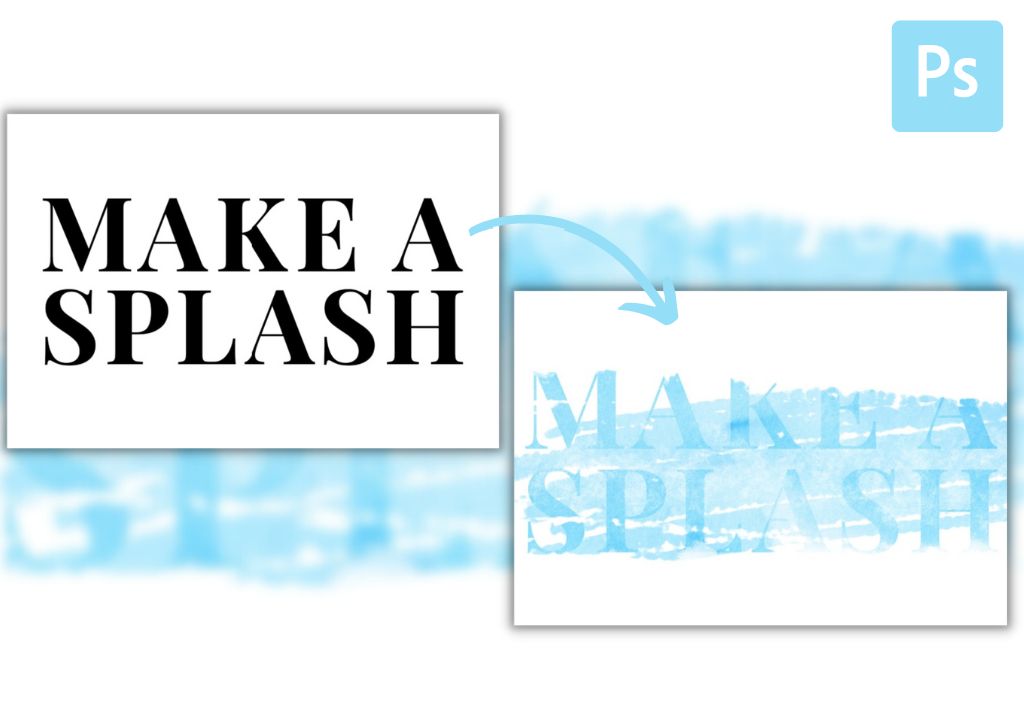

Text is often a tricky element for graphic designers to work with because flat text makes the design look bland. Whether for a logo or layout design, customizing text can elevate the design. There are many ways you can edit text, and one of my favorites is to add texture to text in Photoshop.
When adding texture to text, the options are almost endless. You can choose from various fonts already in Photoshop or download fonts online. Then, you can select any type of texture, whether watercolor, metallic, fire, rust or anything else. Lastly, you can add personal touches to the design, such as adding brush strokes to extend the effect.
How To Add Texture To Text In Photoshop
As with most processes in Photoshop, you can tweak settings and techniques to add your own creativity to the project. Use these steps as a general guide but try the effect with different textures, fonts, and brushes to take this process to the next level.
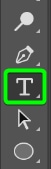
Step 1: Add Text To The Canvas Using The Type Tool (T)
Once you have created a document the size you need, add your text to the canvas. Select the Type Tool from the Toolbar or press T to add text.
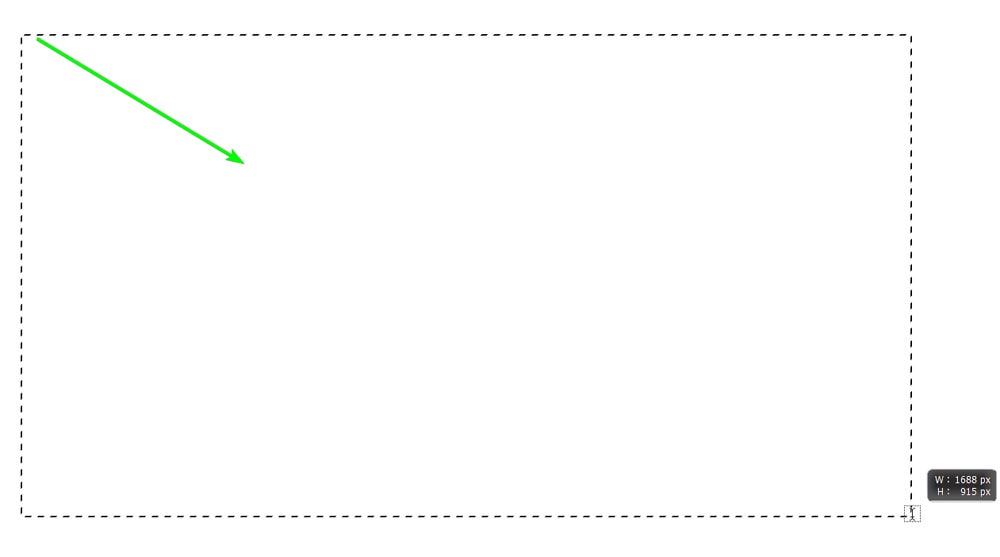
Then, click and drag it out on the canvas to create a text box for your text. I want to fill most of the page with text.
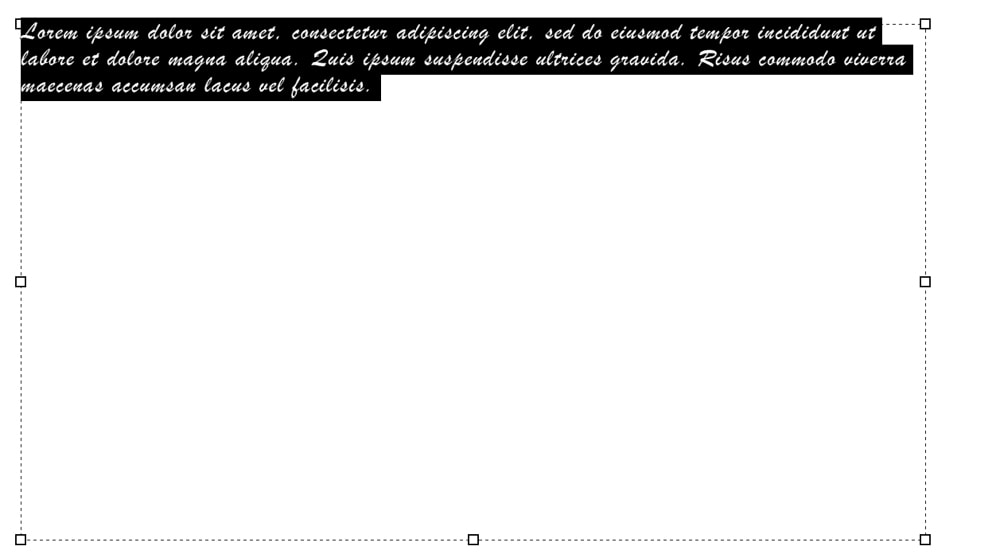
Your text box will likely be filled with Placeholder text to show you the font size and type.
Use the settings in the Options bar to customize the text. You can choose a different font, I recommend you find a bold font, so there is plenty of space for the texture to fit and be visible.
You can then adjust the font size. Don’t worry about the font color, as the texture will cover the color anyway.

You can then type in your custom text and position the text box on the canvas.

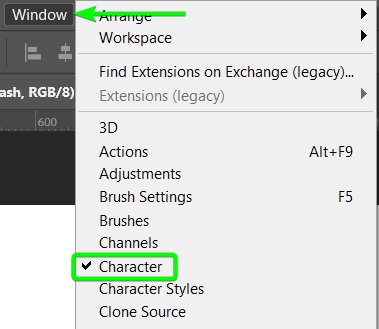
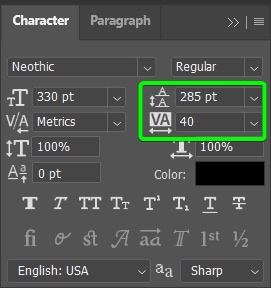
If you want to edit the text further, open the Character panel by going to Window > Character.
You can edit various elements of the text in this panel, such as the Kerning, Leading, and Tracking. I adjusted the Leading to alter the space between the two text lines and the Tracking to widen the gap between each character.
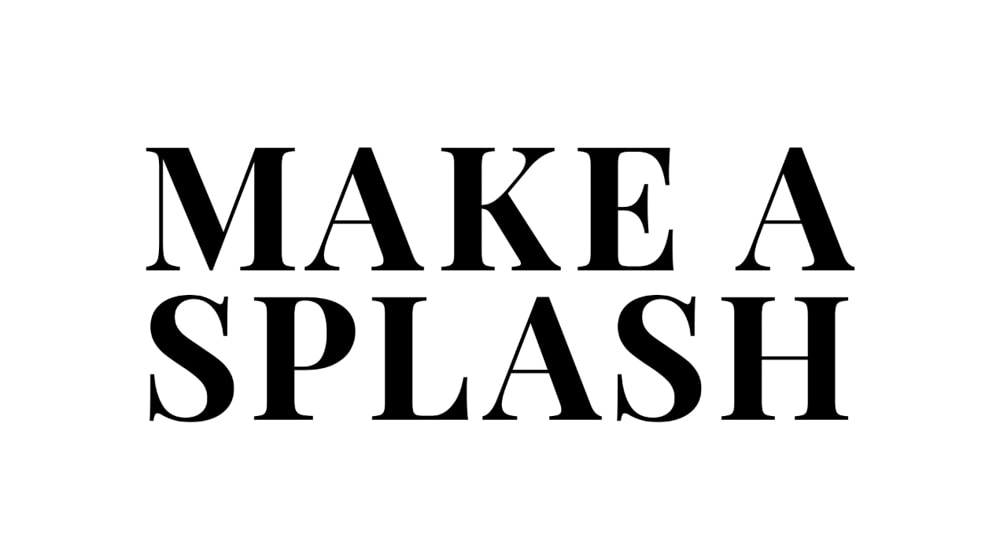
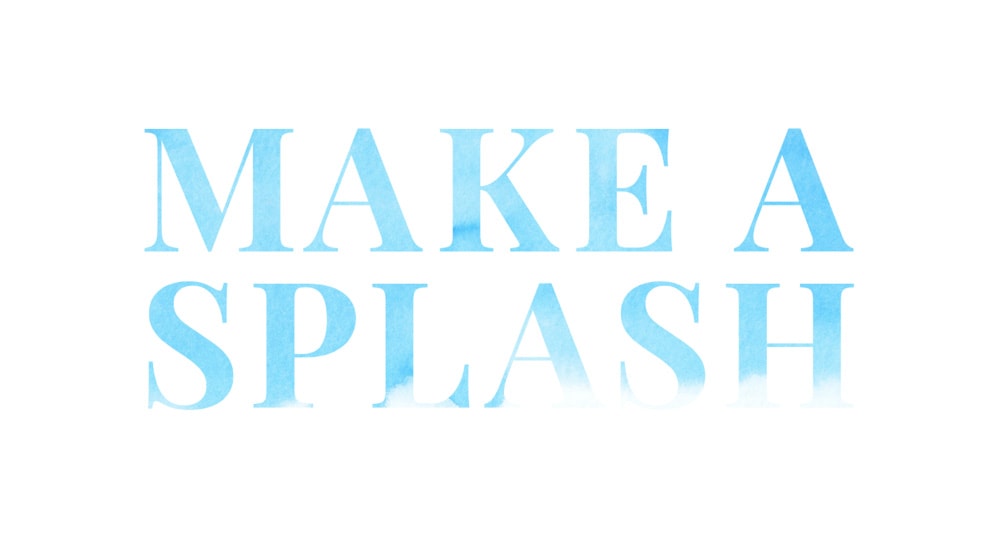
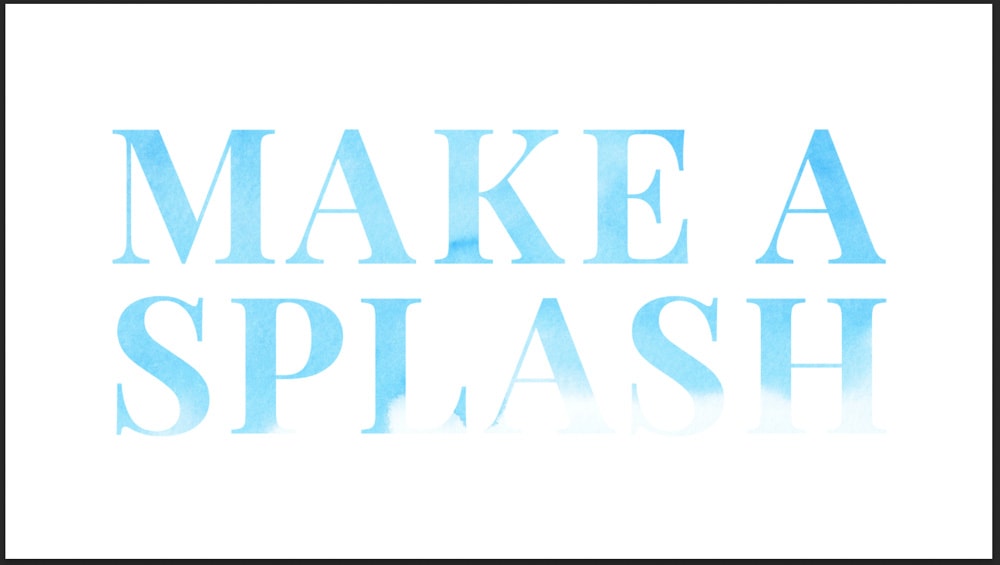
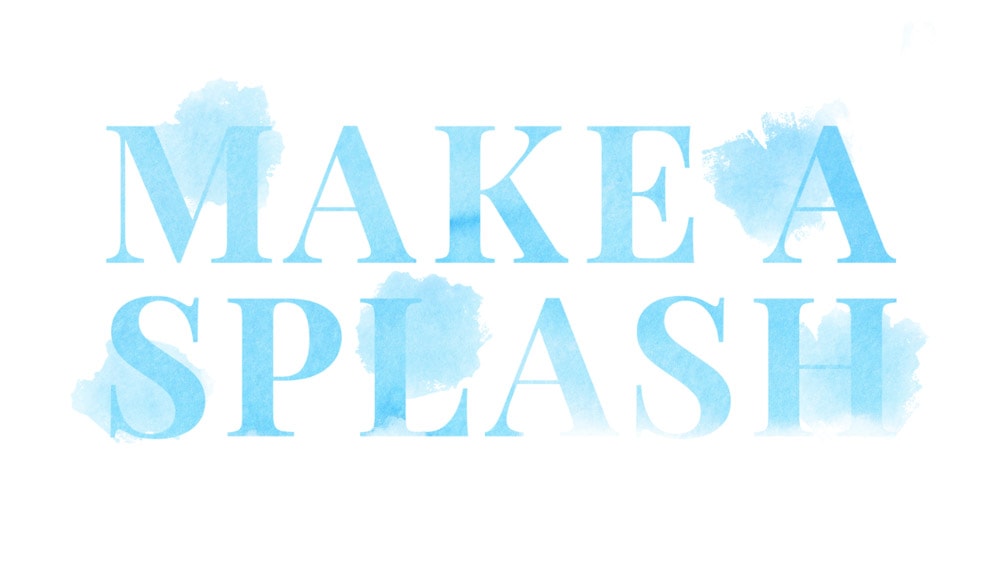
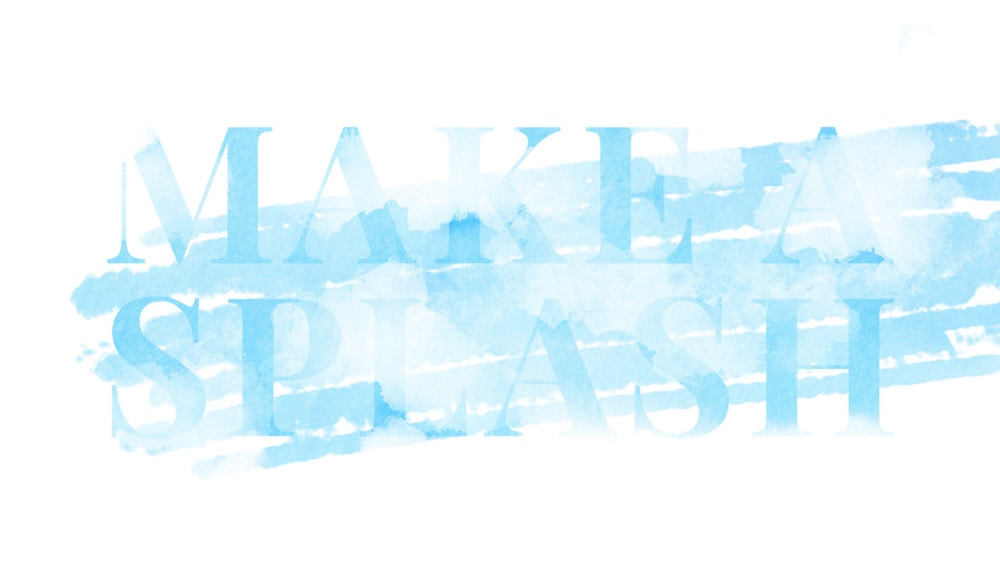
Customize your text as you’d like to at this stage. This is how my text looks after the various adjustments.
Step 2: Add A Texture Layer Over The Text Using A Clipping Mask
The next step is to add a texture image over the text layer. First, you need to choose the type of texture you want. You can find several free texture images from various sites, such as Unsplash or Pexels.
You can also create your own texture layer in Photoshop in a separate document using different brushes.
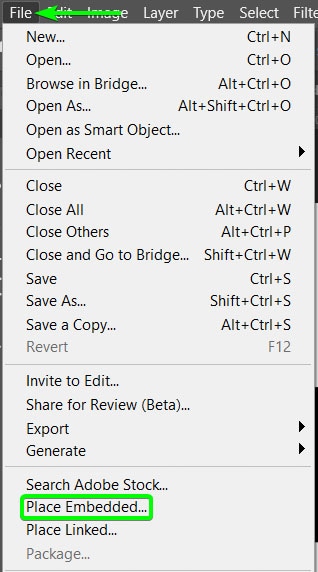
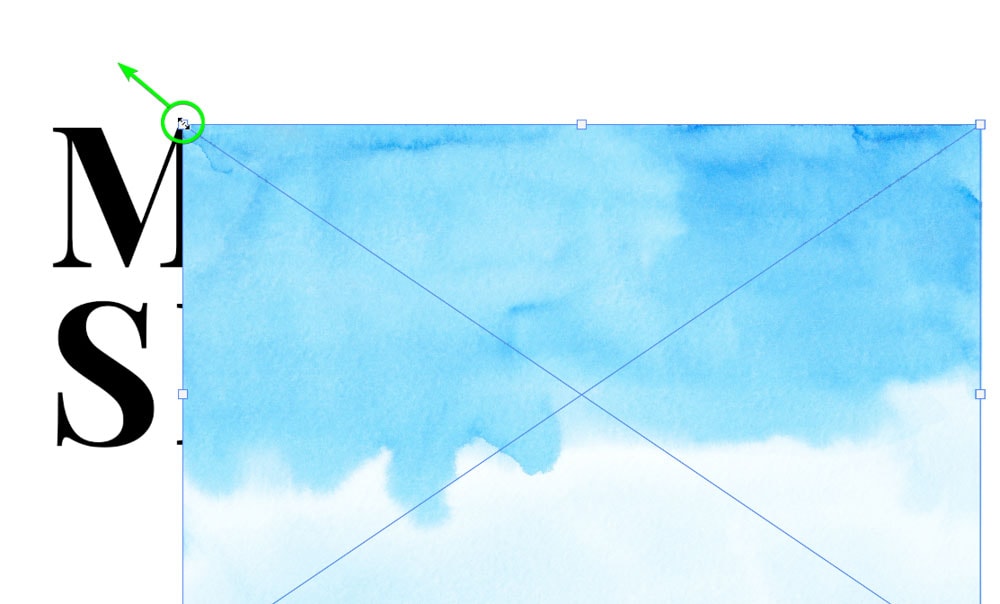
Once you have created or downloaded your texture, add it to your document above the text layer, you can either open it in a new tab and drag it into your text tab or go to File > Place Embedded.
The texture image must be on top of the text layer.
You must ensure the texture covers the text on the canvas. If the image layer is smaller than the text, resize it by pressing Control + T (Win) or Command + T (Mac) to open the Free Transform function, then use the corner anchor points to drag and resize the image layer. Press Enter to accept the new size.
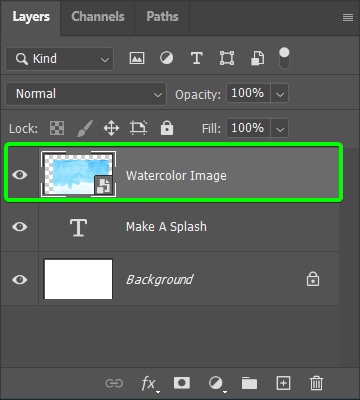
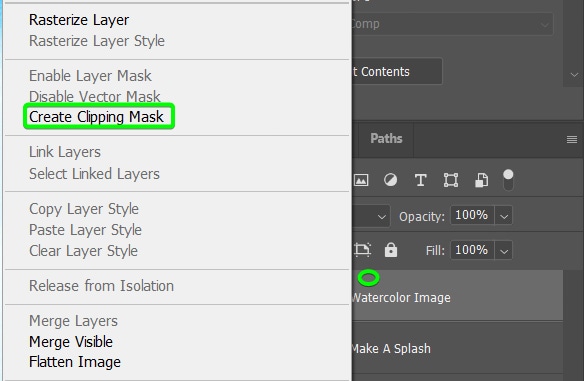
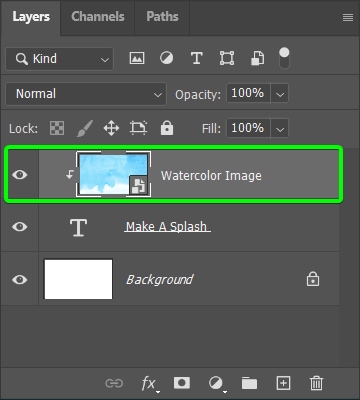
Now, you must add a Clipping Mask so that the texture layer is only visible where the text is. To do this, right-click (Win) or Control + click (Mac) on the texture layer and select Create Clipping Mask.
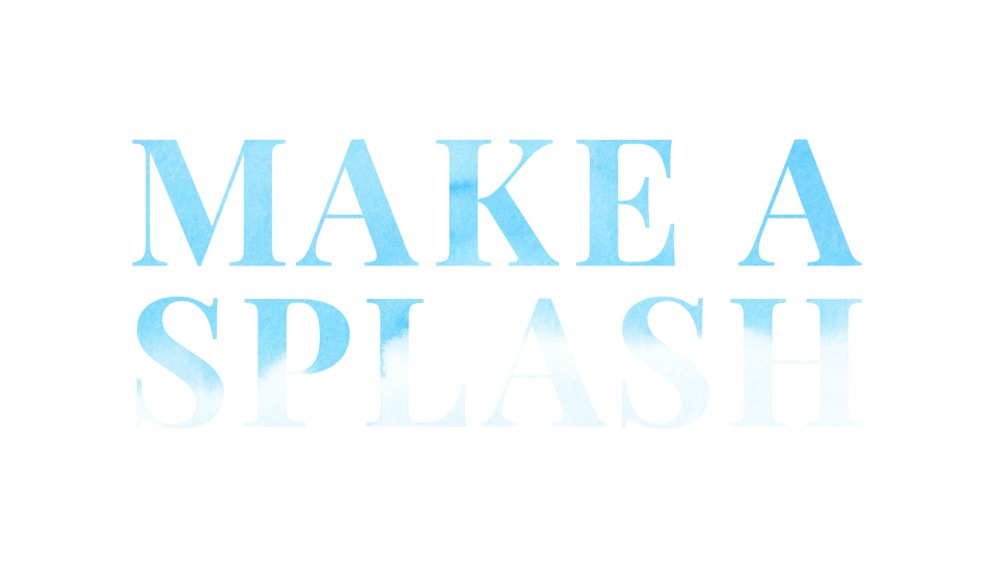
The texture is now clipped to the text layer, meaning it’s only shown where the text is.
Step 3: Adjust The Texture Image And Text
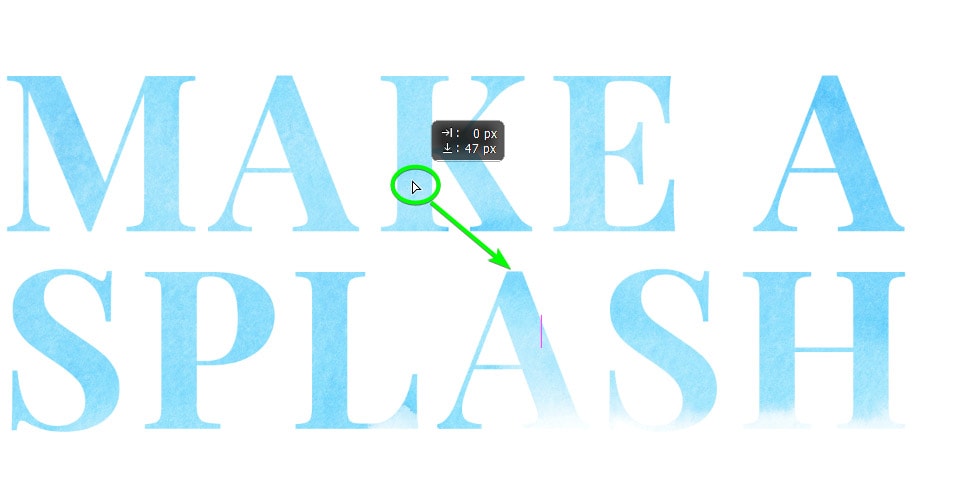
You can still edit the text and the overlay as needed at this stage. For instance, if the texture isn’t sitting how you want it inside the text, you can move the layer, so it fills the text better.
To do this, select the texture layer and activate the Move Tool by pressing V. Then click and drag the layer on the canvas to reposition it.
You can use the same transform function as before to resize the texture. You can also use the Type Tool to edit the text as you did at the start or by typing new text in.
Add any adjustments you want at this point because if you are moving to the next step, you won’t be able to edit the text anymore. I recommend you save a copy of the text layer if you think you may need to edit it later.
If you are happy with the texture and the text, you can leave it as it is. However, if you want to add more to the text, follow the next steps to add or remove bits from the text.
Step 4: Rasterize The Text Layer
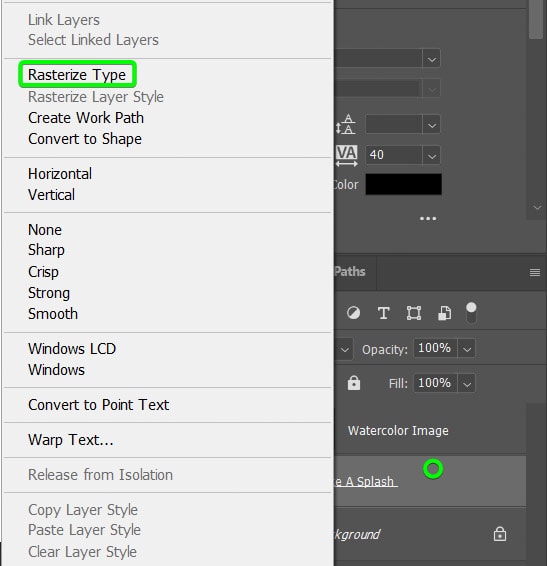
To continue the edits, you need to Rasterize the text layer, which means the only modifications you can make to the text after this point are moving or resizing the text.
To rasterize the text, right-click (Win) or Control + click (Mac) on the text layer and select Rasterize Type.
Next, resize or reposition the text if you’d like. You want to have your text in place before adding the brush strokes.
Step 5: Find And Select A Matching Brush Type
Now it’s time to choose a brush preset to use on your text. I recommend you find a brush that matches the texture you use. For instance, if you added a rust texture, find a grungy brush or, in my case, a watercolor brush.
You can look for more brushes through Adobe to find one that matches your project.
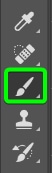
To find more brushes, select the Brush Tool in the Toolbar or press B.
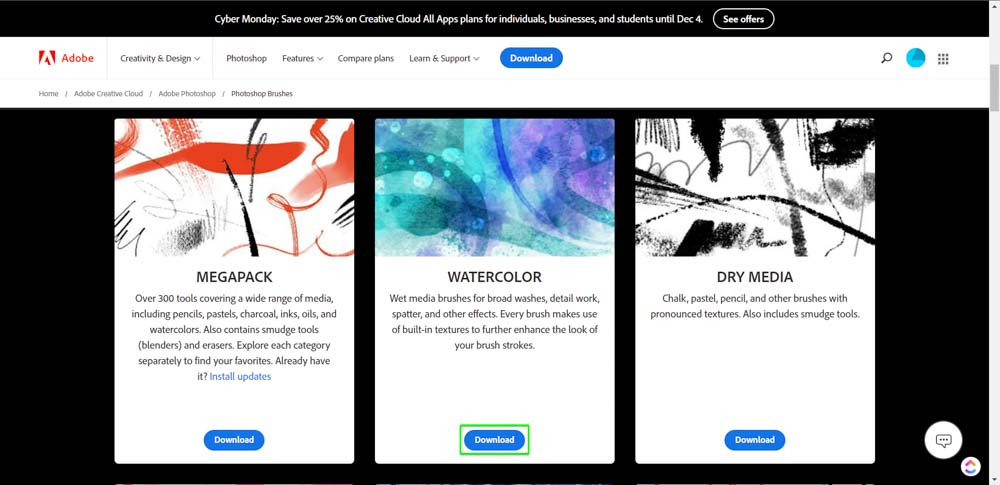
Then open the Brush Presets Picker, click on the gear icon and select Get More Brushes.

This will take you to the Adobe website (so make sure your internet is turned on), where you can download various brushes. Click on Download on the brush set you want and save it on your hard drive.
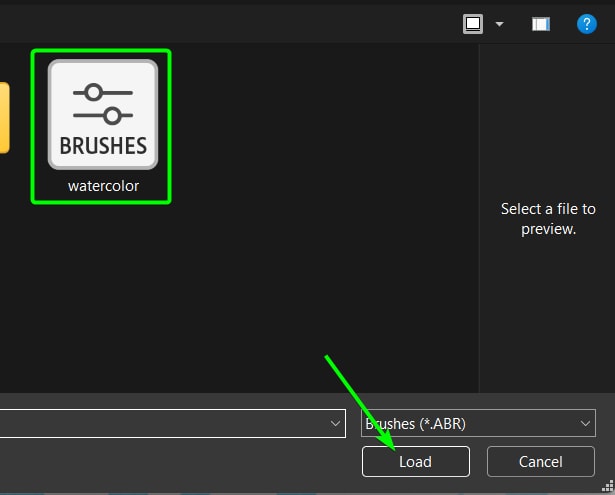
Then, back in Photoshop, open the Brush preset settings again and select Import Brushes this time.
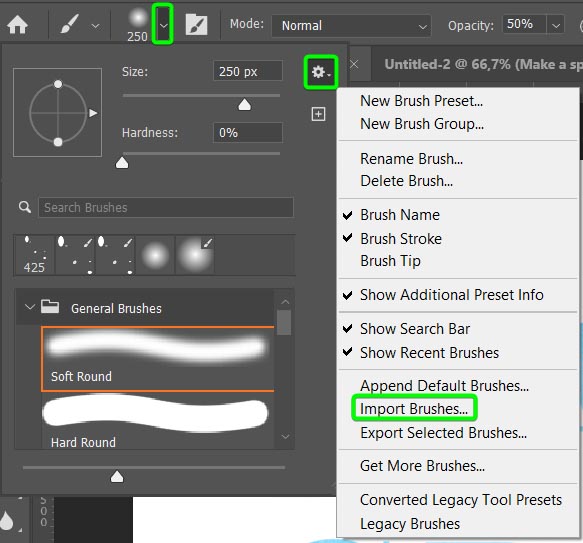
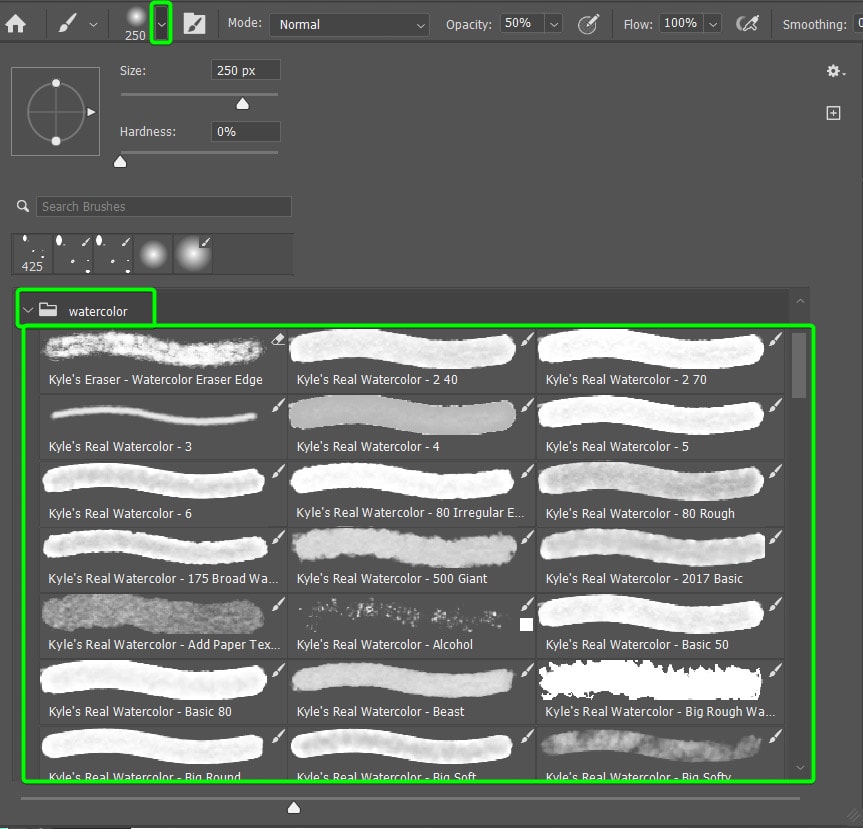
Find the brush where you saved it in your files and click Load. The brush set is now available to use in Photoshop.
Step 6: Add Brush Strokes Around The Text
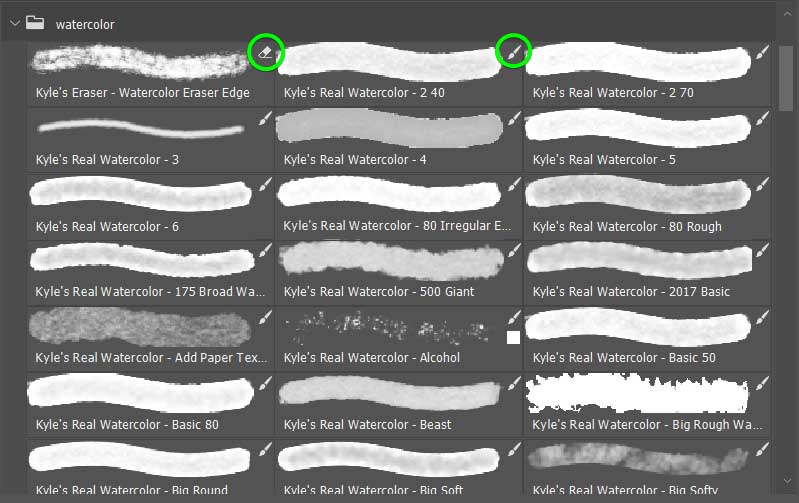
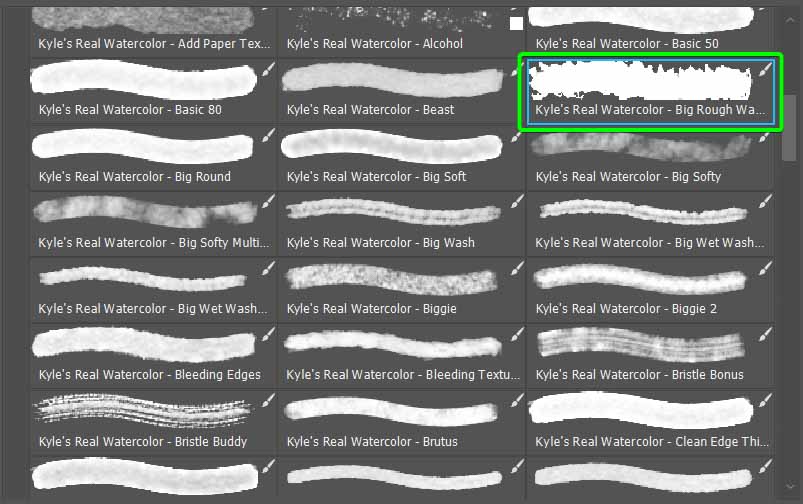
To use the new brush(es) on your project, find the brush set in the Brush Picker and open the tab to view the available brushes.
Avoid brushes with an eraser icon in the top right, and choose one with a brush icon instead.
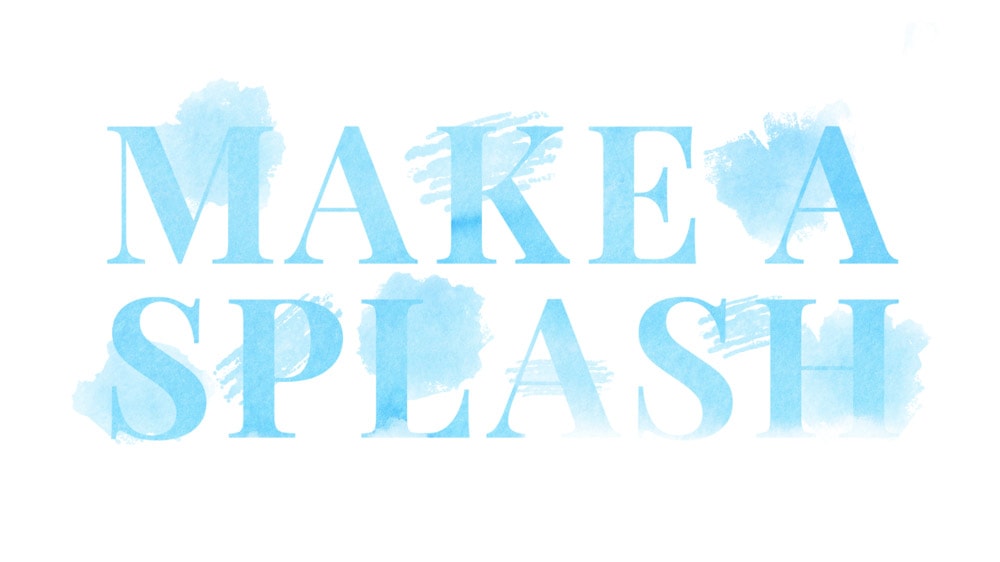
This is where you can get creative with your text by adding various brush effects. First, select a brush and keep the text layer active.
Then add splotches around your text by clicking on areas. Adjust the Brush opacity in the Options bar as you go and play around with the brush size, using [ to decrease the size and ] to increase the size.

Then, select a different brush and add a few strokes if you’d like. Remember to adjust the brush size and opacity as you go for more dynamic effects.
Step 7: Remove Parts Of The Text Using A Layer Mask
Instead of using two brushes to add more to the text, you can use one brush to add more texture and then remove parts of the text for a different effect. There are two ways you can remove bits of the text.
Start by adding brush strokes to the text, as shown in the previous section.
Option 1: Add A New Layer
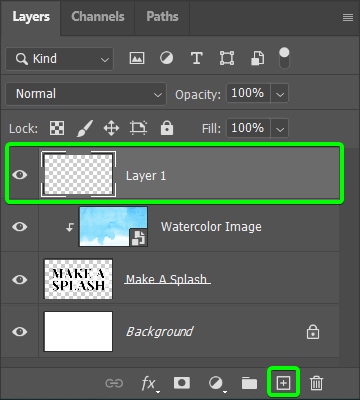
The first option to remove areas of the text is to create a new layer at the top of the layers stack by clicking on the Create New Layer icon at the bottom of the Layers panel.
Then, use any brush and set the foreground color to white (or whatever the background color of the canvas is).
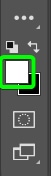
Now, use any brush from the set and paint over areas you want to take away from the text. You can use the same brush or a different one. You can also play around with the Brush Opacity to partially remove parts of the text.
Option 2: Add A Layer Mask
Alternatively, you can use a layer mask to remove parts of the text instead of adding a new layer.
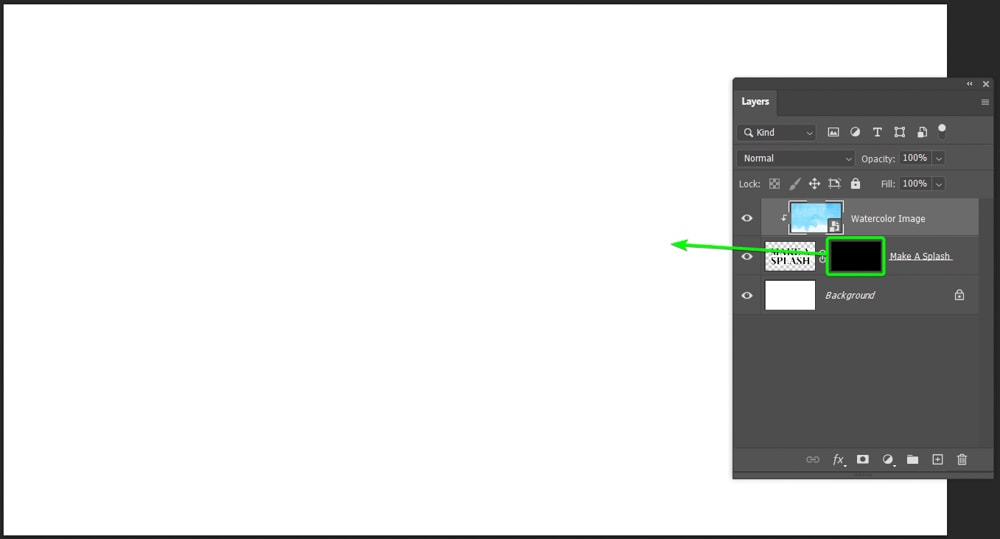
Start by adding a layer mask to the text layer by selecting the layer and clicking on the Add a Layer Mask icon at the bottom.

The layer mask is white when you add it, and this reveals everything on the layer. To hide everything, ensure the mask is selected, shown by a white border around it, then invert the mask by pressing Control + I (Win) or Command + I (Mac).
You will notice the layer mask turns completely black, and your canvas is now blank.
Now, you can choose one of the new brushes and set the foreground color to white.
Ensure the opacity is relatively high and the brush blend mode is set the Normal. Some brushes automatically have a different blend mode.

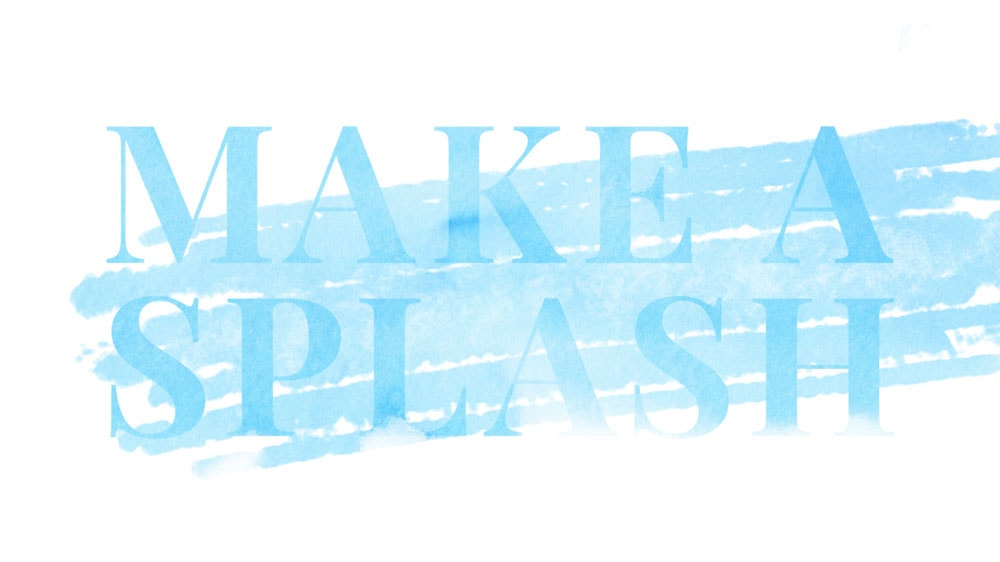
Then, brush over areas of the text on the canvas where you want the text to be visible. You can use a large brush and swipe over the entire text or add random splotches. You now have a dynamic and creative texture effect on your text.

These steps are only a basic guide on what you can do when adding texture to text. You can alter these techniques to create a unique text layout for your project, so don’t be shy to play around and change different settings to see what you can make.


