

As a photographer, you’ll need to convert your RAW photo into a Jpeg at some point, and on Mac, there are several easy ways to do it. Here’s one of the easiest (and free) methods for converting these files on your computer.
To convert a RAW image to JPEG on Mac, follow these steps:
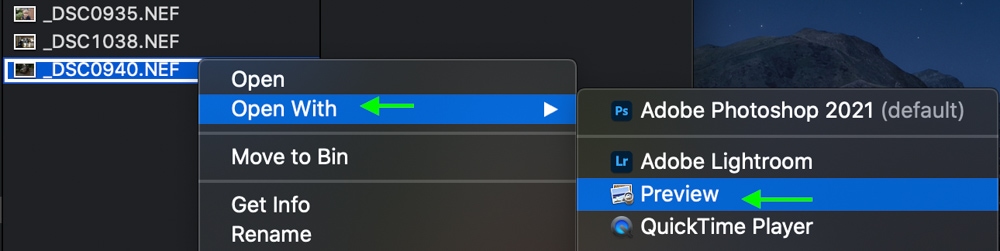
- Right-click on your RAW file and choose Open With > Preview.
- Inside of the Preview window, go to File > Export.
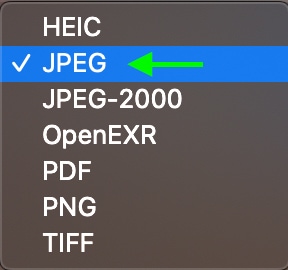
- In the export dialogue box, set the “Format” to JPEG.
- Click Save to export your RAW file as a JPEG.
RAW files tend to be quite large, and are not usually an accepted file type for uploading online. Jpegs, on the other hand, compress your photo to a more reasonable file size while keeping most of the image quality. With this simple method using Preview, you can convert your files totally for free, without any additional programs.
With that said, there are other ways to streamline this process, especially if you want to batch convert your files. Read on to learn a handful of helpful tips to make converting RAW to JPEG on Mac a simple and stress-free process.
How To Convert RAW To JPEG On Mac
One of the easiest ways to convert RAW files to Jpeg on a Mac is to use Mac’s free tool, Preview, which allows you to view and manage images. It is easy to overlook Preview and assume the tool’s primary use is just to open and look at your images.
But there is actually a lot more use you can get out of Preview if you know where to look.
Let’s explore how to use Preview to convert a single RAW file to a JPEG.
First, open Finder and find the RAW image you’d like to convert. Right-click or Control + click your image file and click Open With > Preview.
You’ll notice the file format is .NEF – this is Nikon’s RAW file format. Your RAW file format may differ, but the process remains the same.
With the Preview window open and your file selected, go to File > Export.

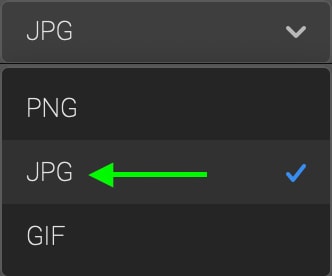
In the window that comes up, click the drop-down next to Format.
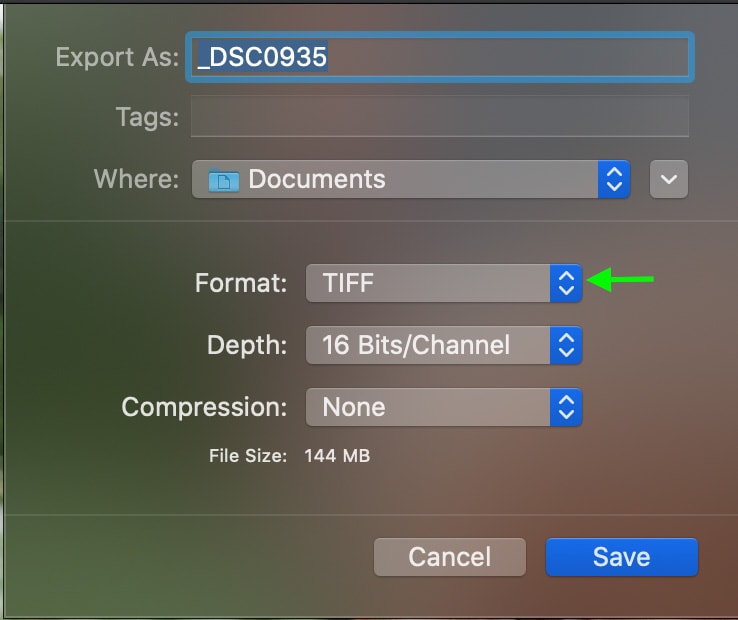
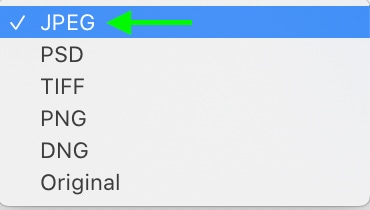
From the options in the list, select JPEG. You can also name your file, choose where to save it, and select any compression preferences. Once you’re happy, click Save.
Your RAW photo will be converted to a JPEG, completely inside of Preview. This will make a duplicate copy of your original file, so the RAW photo will not be lost! Instead, you’ll be left with both a RAW and JPEG version of the same photo.
How To Batch Convert Multiple RAW Files To JPEG On Mac
If you’ve got multiple RAW photos you’d like to convert to JPEG, you can still use Preview too. Open Finder, and hold down the Command key to select the series of files you’d like to convert.
If all your files you’d like to convert are consecutive, you can select all of them at once by holding down the Shift key and clicking the first and last image.

Once you’ve got all your images selected, follow the same steps as previously. Go to File > Export, and when the export window comes up, set the format to JPEG and then click Save to batch convert your files!
How To Convert RAW Into JPEG With Photo Editing Programs On Mac
There are, of course, other ways you can convert RAW files into JPEGs using editing programs you most likely already have downloaded as a photographer. This is useful if you’d like to edit your photos before converting them.
Let’s explore how to convert RAW images into JPEGs using two of the most common, Lightroom and Photoshop.
1. Lightroom
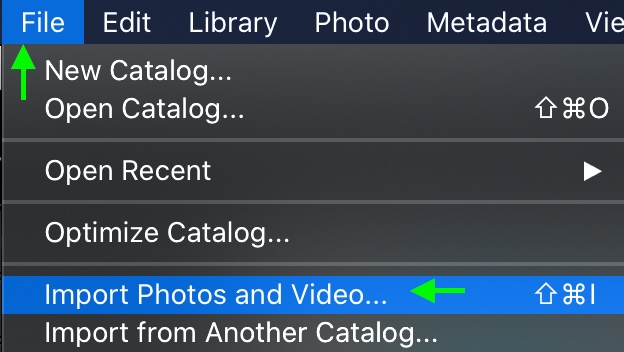
Many photographers use Lightroom to make basic edits to their photos, including raw photos. But you can also convert your RAW photos into JPEGs (and a variety of other file formats) through the export process. To do this, first, open your photo in Lightroom by going to File > Import Photos and Video.
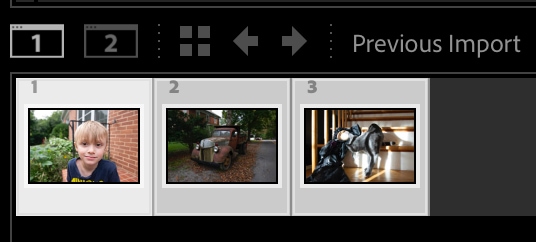
Lightroom’s import window will appear, and here you can find the photos you’d like to import. Make sure to check the box in the top left of the photos to select them for import.
You can also Command + click to select multiple, or Shift + click the first and last in a sequence to select consecutive photos. With all your photos selected, click Import.

At this point, you can edit any photos you’d like in the Develop tab. Once you are finished editing (or not if you just want to convert), it is time to export your photos.
Select all photos you’d like to convert/export. You can do this either in the Filmstrip or in the Library.
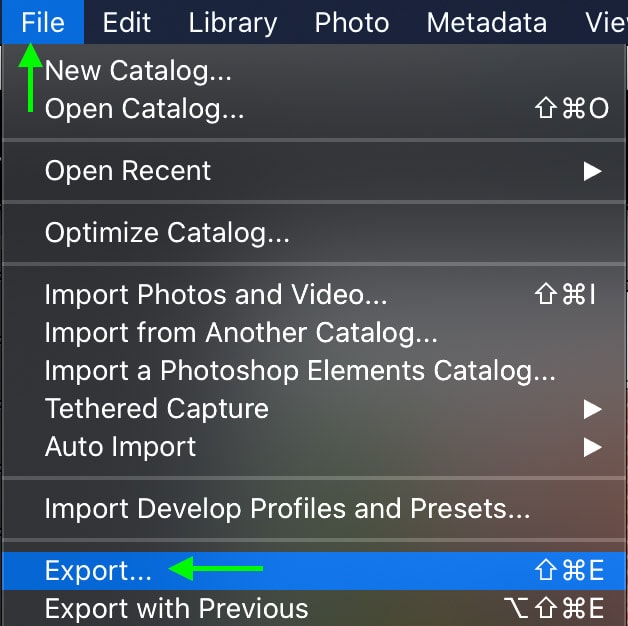
With the photos selected that you’d like to export, head to File > Export.
In the window that comes up, you can edit various export settings for your photos, such as the name, the export location, or the size and quality settings. I highlight the best export settings for Lightroom here.
To save the photo as a JPEG, head to the File Settings tab. Next to Image Format, JPEG might already be selected. If it’s not, click the drop-down and select it from the list.
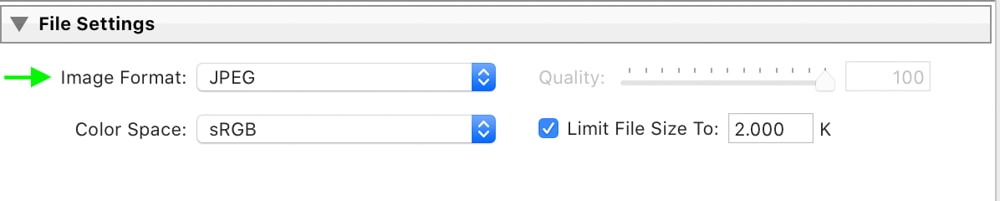
Then, click Export. Your RAW photos will export the destination you chose, now as JPEG files.
2. Photoshop
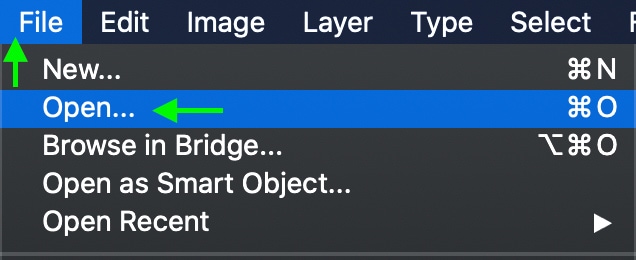
Like Lightroom, Photoshop allows you to edit your photos but has much more in-depth capabilities than basic photo editing. The process for converting a RAW photo to a JPEG in Photoshop is quite similar to the process for Lightroom. First, you need to import your photo. Head to File > Open and select the file you’d like to import.
Because you’re opening a RAW file, the Camera Raw window will automatically open. You can make any basic edits you’d like to your photo here. Once you’re finished, click Open to open your photo into Photoshop. You can make any further edits you’d like, but now it’s time to export your photo as a JPEG.
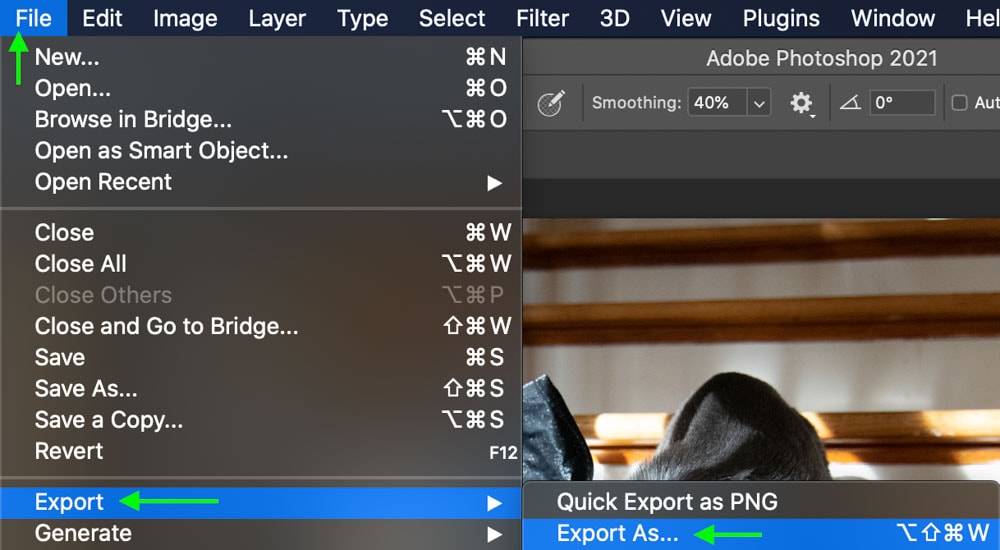
To do this, head to File > Export > Export As.
In the window that appears, head to the File Settings section and click the drop-down menu next to Format. Select JPG.
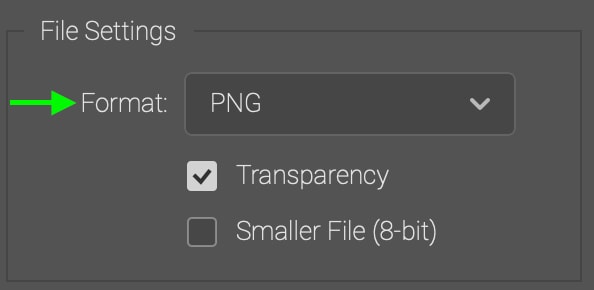
You can also adjust other settings here, such as file location and image quality – I recommend setting the quality to Excellent or Great to maintain the best possible image.
Click Export and your file will be converted and saved in the location you chose.
Free Online RAW To JPEG File Converters For Mac
There are many other free online file converters you can use to turn your RAW files into JPEGs. These are useful if you haven’t got Lightroom or Photoshop downloaded, or if you’d like to bypass photo editing and simply convert the photos. Although there are many options online, these ones below stand out as the most helpful and easiest to use.
1. Cloud Convert
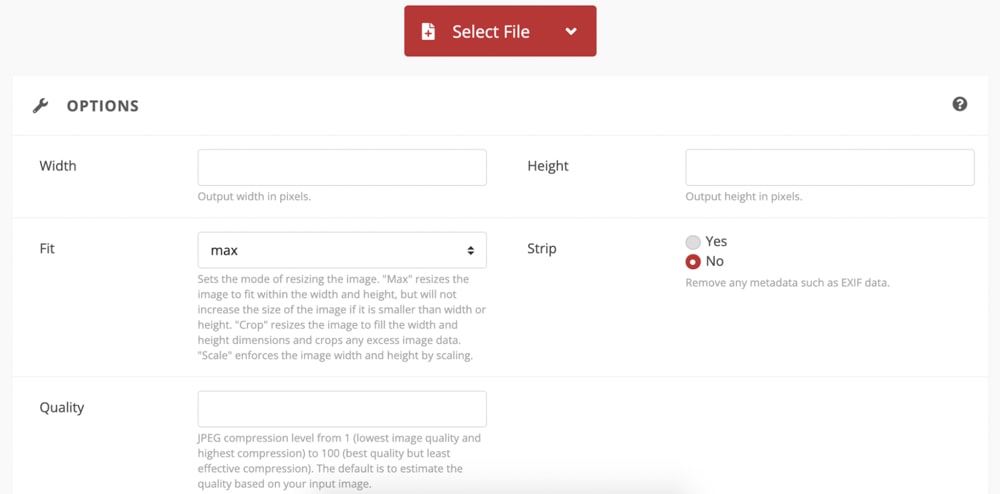
Cloud convert allows you to upload a RAW photo, or multiple photos at once, and convert them to JPEGs with a click. Simply click the Select File button and choose the files you’d like to upload.
Before you add your files, keep in mind you can also edit some basic details such as the width, height, and compression level you’d like the photo to match upon conversion. The area to do this is just under the red button.
Once you’ve added your file, you can select which file type you’d like to convert to. There are several options, though JPEG should already be selected. Click convert.

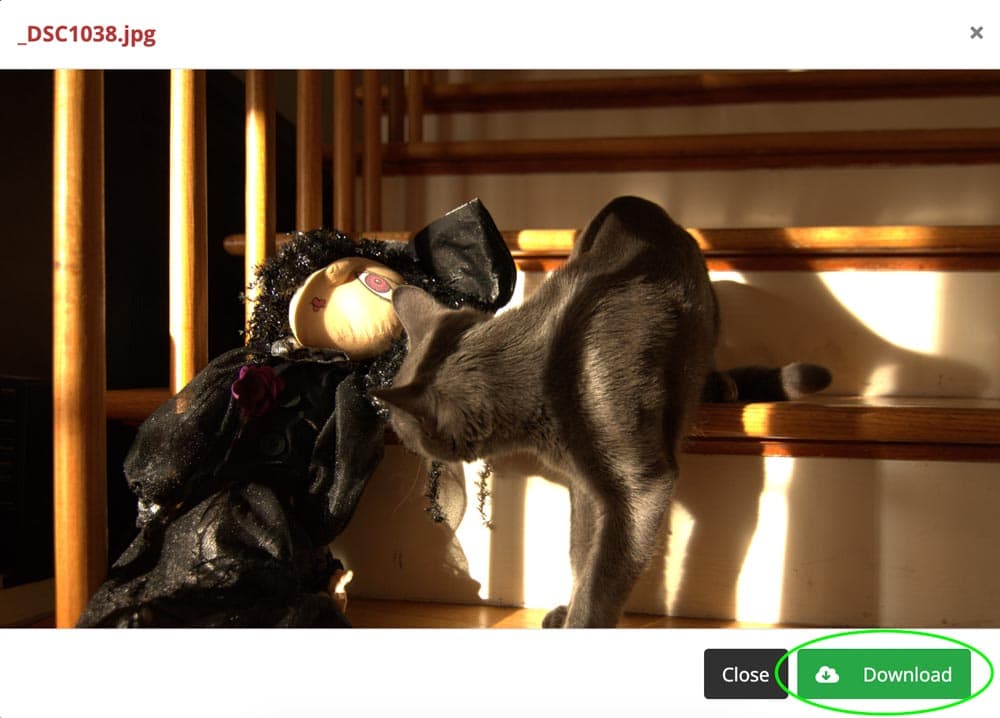
Once your photo is finished loading, click Download.
Cloud Convert is simple, fast, and user-friendly. Over 200 different file formats are supported and your data is kept safe.
2. I Love IMG
I Love IMG allows you to upload multiple RAW photos to convert to JPEG. The interface is super simple, with few distracting ads and no filler text to confuse you.
Click the blue Select Images button to add the images you’d like to convert. You can select images from Dropbox or Google Drive, or drag and drop your images from a hard drive to add them.

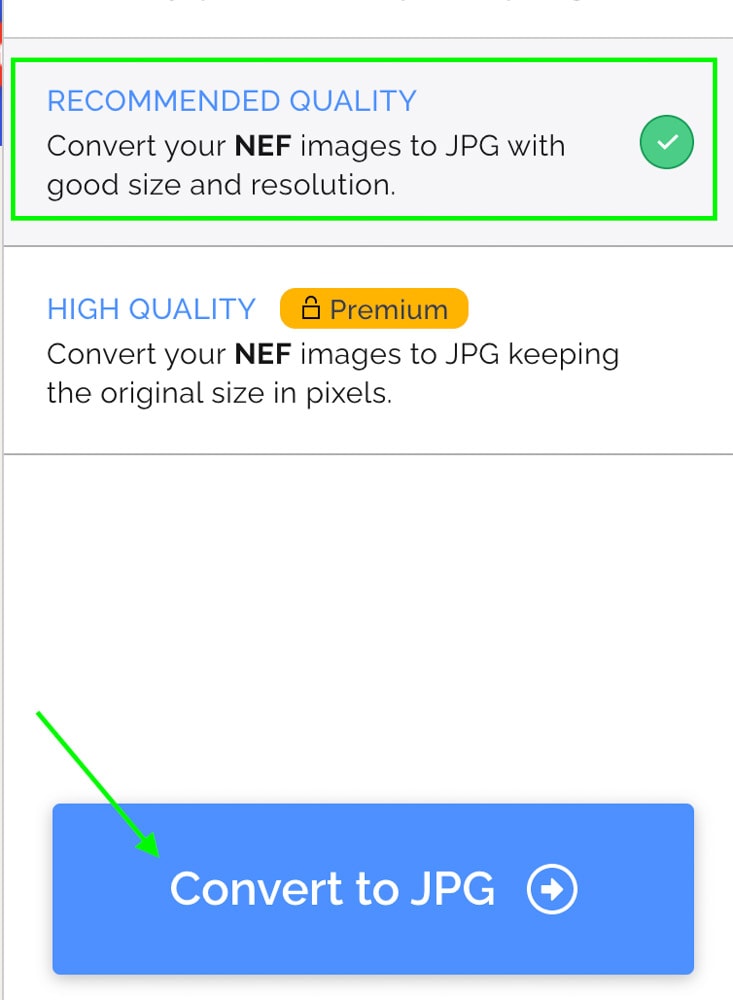
Once uploaded, click the blue Convert to JPG button on the right. The images will be converted with optimal size and resolution, but if you’d like excellent resolution you have to pay for their premium service. The free conversion is usually good enough quality, though, so this shouldn’t be necessary.
Next, your images will automatically download as a zipped folder. If the download doesn’t start automatically, click the blue Download Converted Images button.
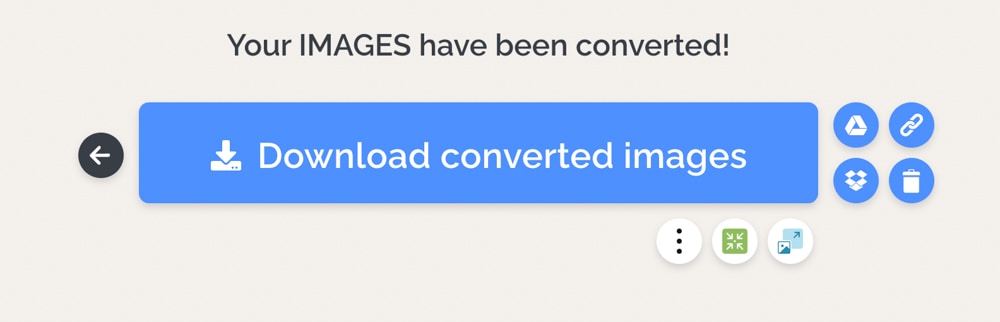
This service adds value in that you can use the icons to the right of the button to save your photos as a link or QR code, save to Google Drive, or save to Dropbox.
3. Online Convert Free
This service comes in handy if you’d like to not only convert your photos but make some basic edits like cropping, rotating, or flipping.
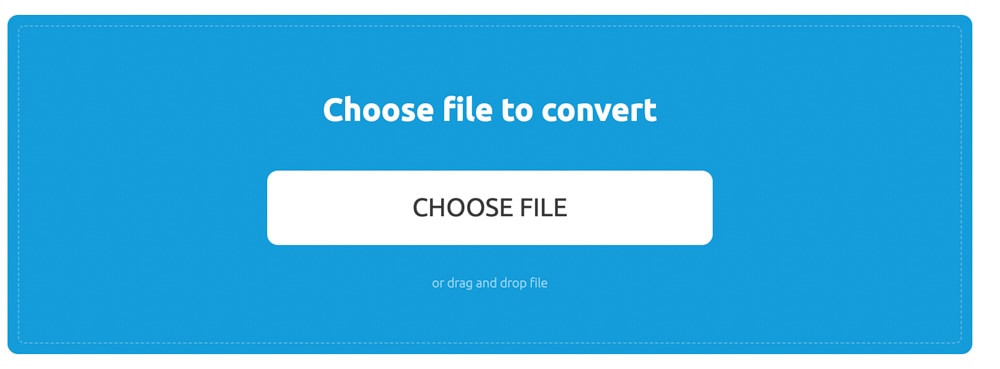
To use Online Convert Free, first, add your photos using the white Choose File button. You can also drag and drop your photos here. Keep in mind you can only convert two photos at a time.
The service will automatically be set to convert to JPEG, but you can change it by clicking either the “Convert To” or “Convert All To” buttons and selecting the file format you’d like to convert to.
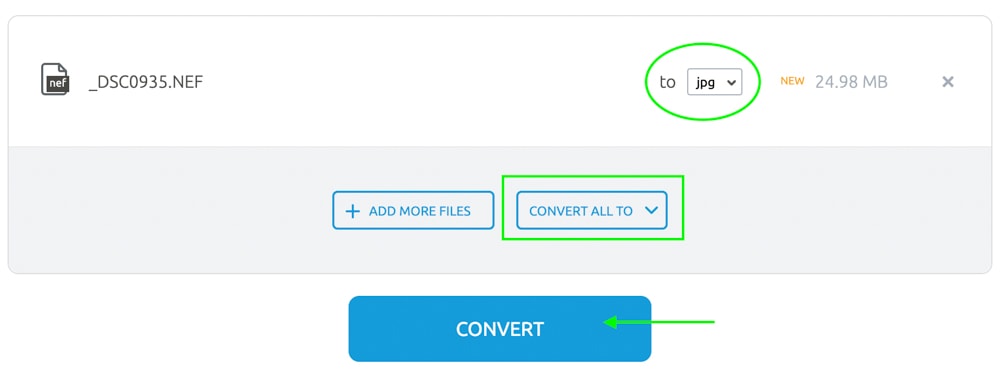
Once your photos have loaded, click the Convert button. When the process is completed you can click Download to download your photos. If you need to use any of their other editing tools, you can click them in the toolbar found at the top of the screen.

Because of all the benefits of shooting in RAW, it is important to understand how to work with and convert RAW photos as a photographer. You wouldn’t want to shoot in Jpeg, but you will need to eventually convert your photos, as RAW file formats are rarely accepted or used after the editing process. Luckily you now have plenty of options that are both free and easy to use so your file converting can be fast and painless!
Happy Converting!
