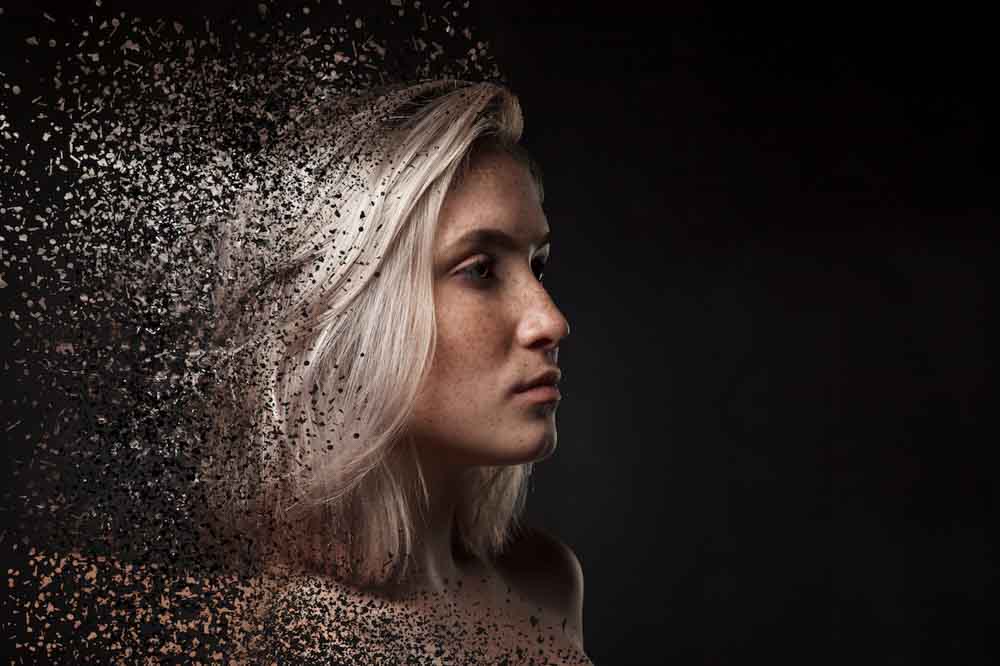

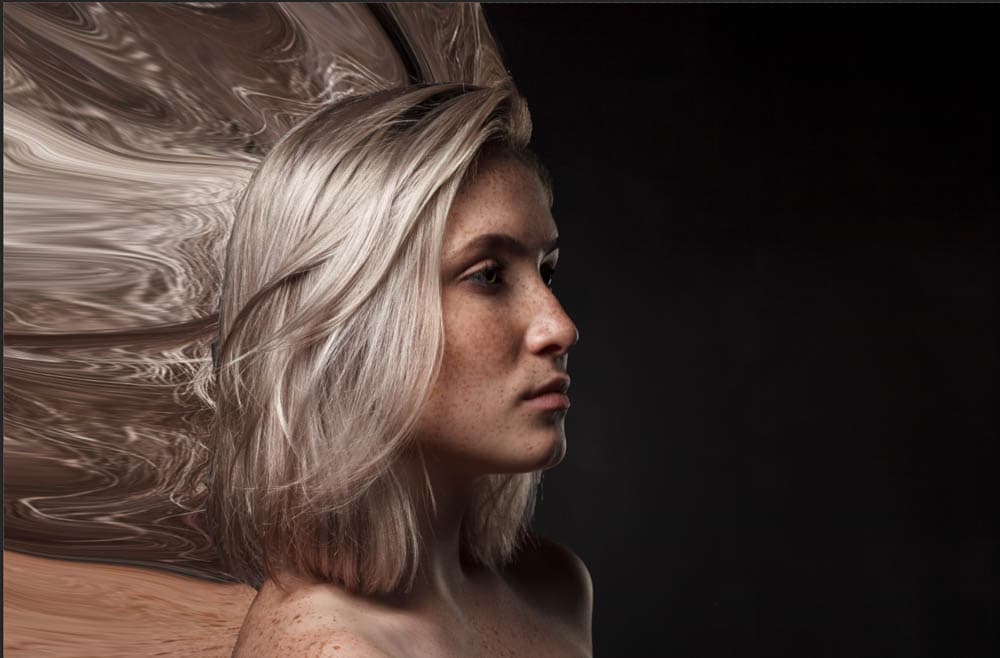
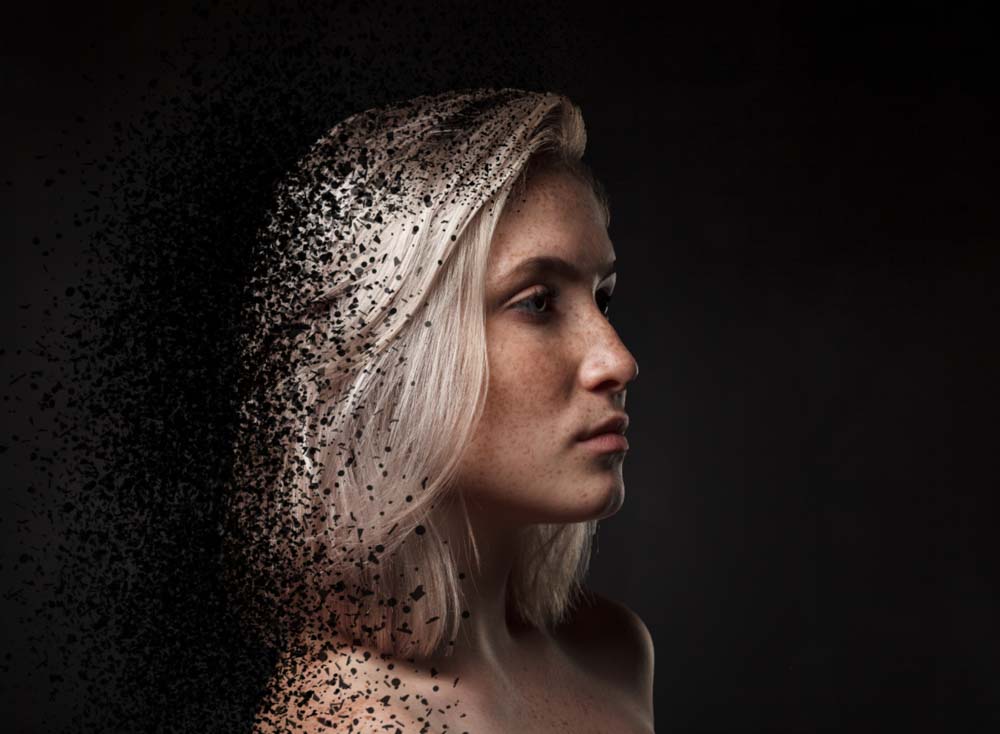
When adding dispersion to an image, you take elements of your photo and spread them across the frame for a creative effect. This results in a very artistic and sci-fi image! I am here to show you how to create the dispersion effect in Photoshop because although the process may seem intimidating, you can easily recreate this effect by following the steps below.


How To Create The Dispersion Effect In Photoshop
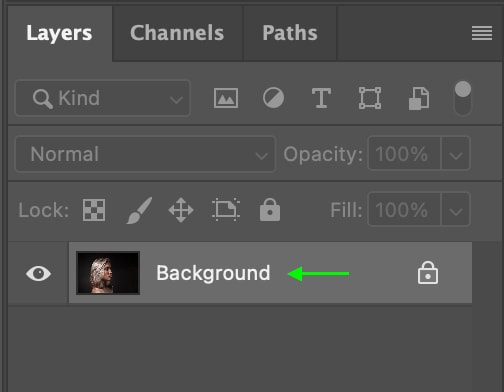
Step 1: Duplicate The Image Layer With Right-Click/Control + Click
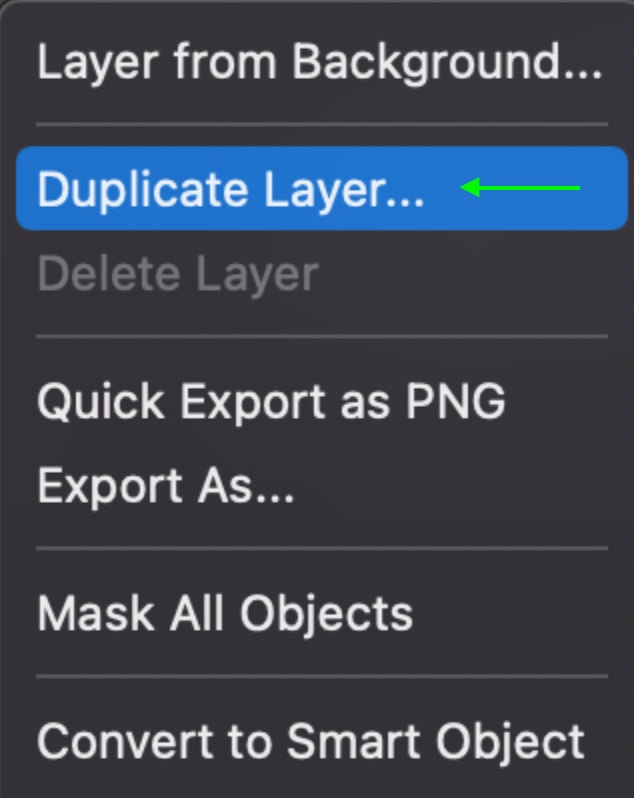
In the Layers Panel, you’ll see the image layer open as a Background Layer. Duplicate the layer by Right clicking (Win) or Control + clicking (Mac) the Background Layer in the Layers Panel and selecting Duplicate Layer.
In the window that comes up, I recommend naming the layer so that you can keep track of it. For now, you can name it Layer 1. Before moving on, hide Layer 1 by clicking the eye icon to the left of the layer thumbnail. Hiding the layer will ensure that you can only see the work you’re doing on the Background Layer without the appearance of Layer 1 interfering.
Step 2: Draw A Selection Around Your Background And Fill It With Black
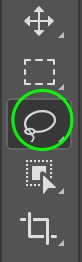
Next, you’ll need to make a selection of your subject or whichever part of the image you’d like to use for the dispersion effect. In the Layers Panel, make sure the Background Layer is selected. Head to the Toolbar and select the Lasso Tool (L).
Now, draw a selection around the part of the image you’d like to apply the dispersion effect. The selection doesn’t have to be perfect, and you can hold the cursor slightly outside your subject’s edge. Once you’ve made the selection, fill it by Right-clicking (Win) or Control + clicking (Mac) the selection on your document and then selecting Fill from the options.
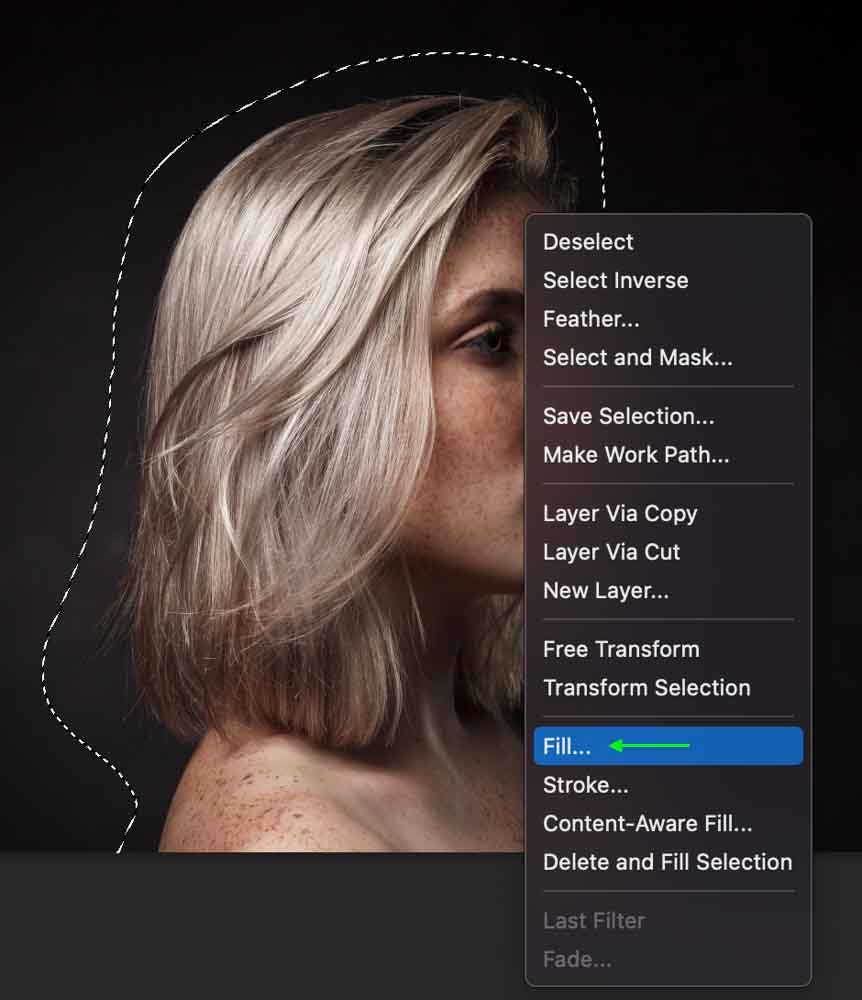
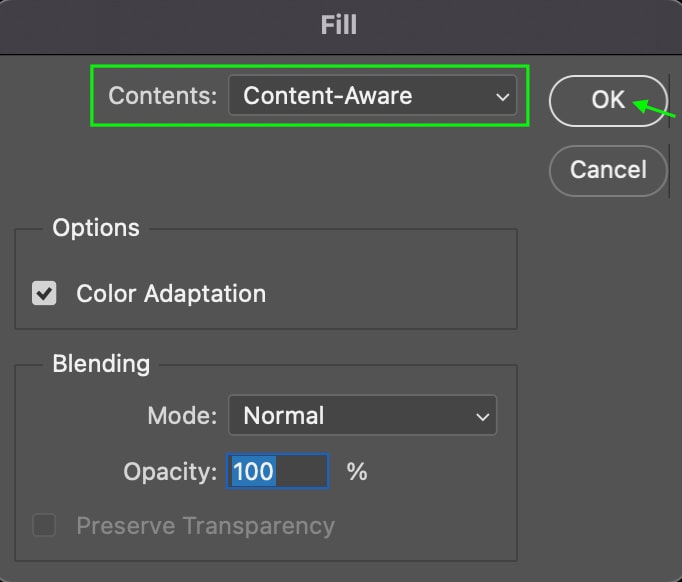
The Fill window will appear. Here, you can set the Contents section to Content-Aware if it isn’t already. Click OK when you’re done.
You’ll see that the selection you made is now black in the Background Layer thumbnail in the Layers Panel. Deselect the selection you made using Control + D (Win) or Command + D (Mac).
Step 3: Activate The Quick Selection Tool (W) To Select And Mask The Subject
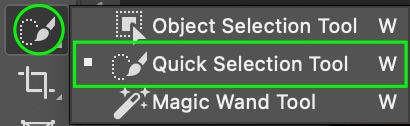
Make Layer 1 visible again by clicking where the Eye Icon was to the left of the layer thumbnail and selecting Layer 1. Select the Quick Selection Tool (W) by clicking the icon in the Toolbar. Drag the cursor along the subject (or whichever part of the image you’d like to disperse) until the entire object is selected.
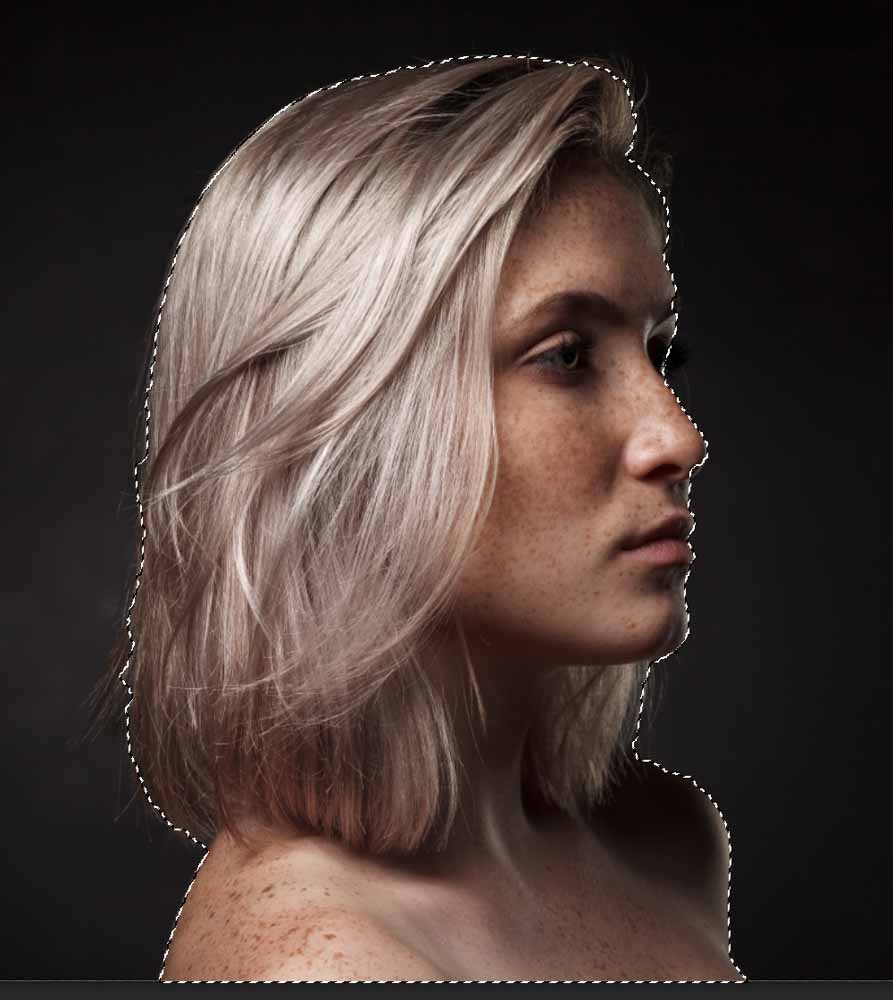
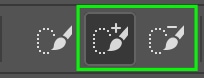
You can use the Addition and Subtraction icons in the Options Bar to add to and remove parts of the selection and clean it up as needed. Once the selection is made, head to the Options Bar and click the Select and Mask button.

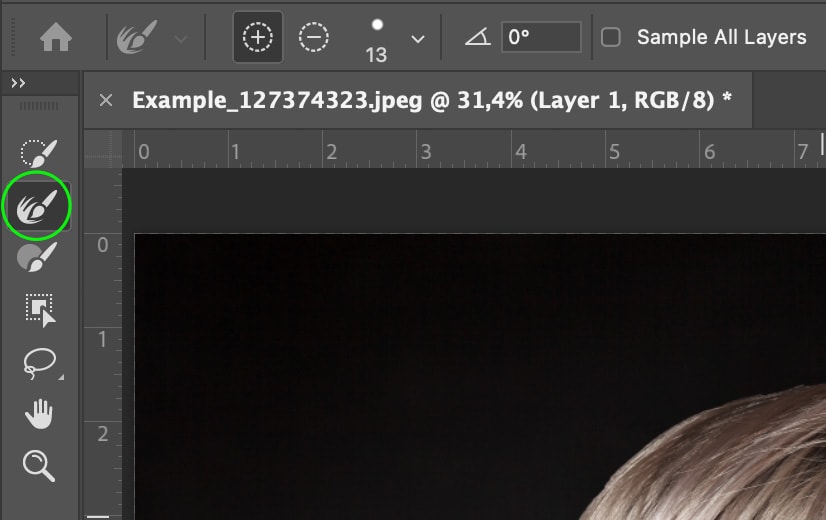
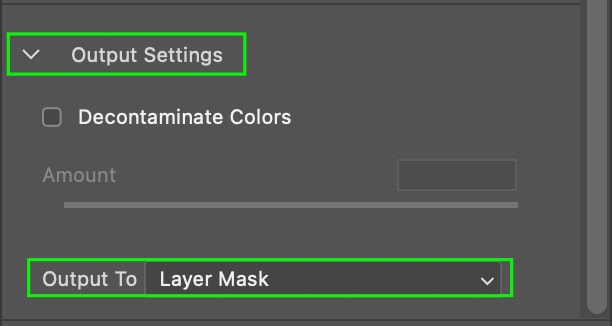
You’ll see tools on the left near the Options Bar in your workspace. To refine detailed areas like hair or trees, click the Refine Edge Brush Tool. Using the cursor, draw along the edges that must be refined without going further than the edge. You won’t see much change in the image, but in the panel on the right, scroll until you see the Output Options. You can then click the Output To dropdown menu and select Layer Mask to ensure this is added to the layer mask you’ve just created.
Click OK when you’re done, and you’ll be returned to the Layers Panel, where you’ll see the Layer Mask thumbnail next to Layer 1.

Step 4: Apply A Layer Mask
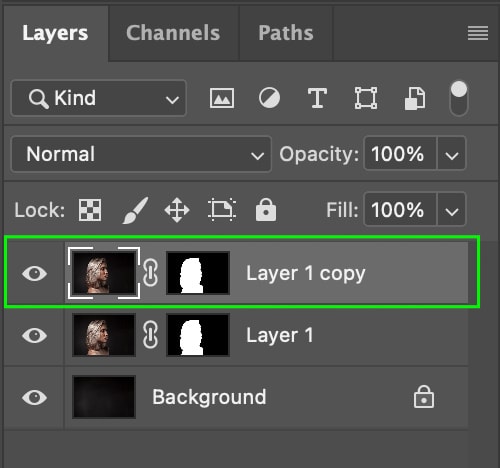
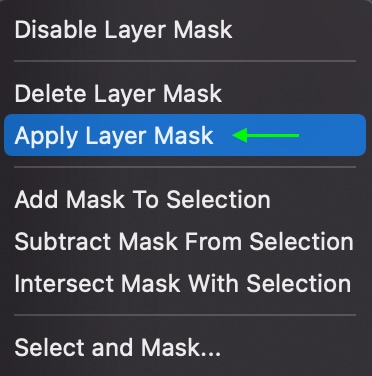
Once again, duplicate the top layer, Layer 1, by Control + clicking (Mac) or right-clicking (Win) Layer 1 and selecting Duplicate. The layer will appear in the panel as Layer 1 Copy. Make sure the layer is sitting at the top of the layer stack. With the white border around the image thumbnail, right-click (Win) or Control + click (Mac) the Layer Mask thumbnail and select Apply Layer Mask.
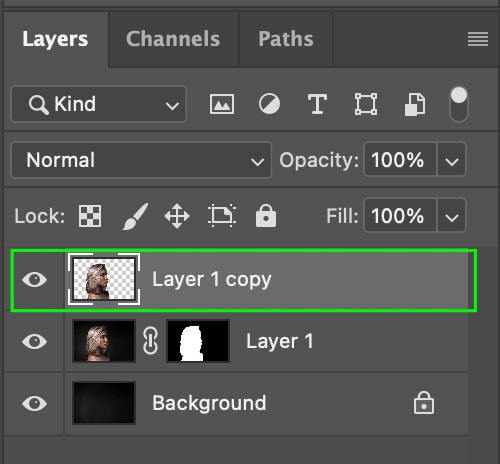
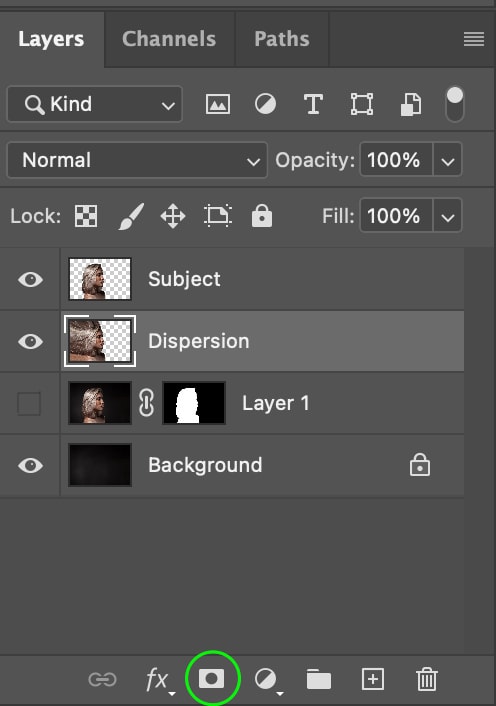
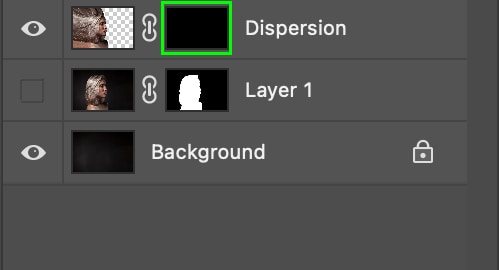
In the Layer 1 Copy thumbnail, you’ll see that the subject now sits atop a transparent background (represented by the gray and white checkerboard pattern). To keep your layers organized, I suggest renaming the Layer 1 Copy to Dispersion, as this layer will form the dispersion effect.
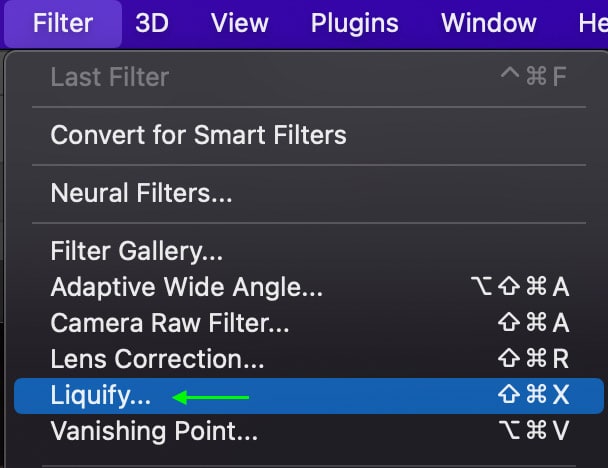
Step 5: Go To Filter > Liquify To Warp The Image
Hide the middle layer (Layer 1) by clicking the Eye Icon, then duplicate the Dispersion Layer again. You can rename this layer to whatever you’d like to keep it organized. For my purpose, I’ll rename it to Subject.
Select the Dispersion Layer. Head to Filter > Liquify. This will bring up the Liquify window. Make sure the Forward Warp Tool is selected in the left toolbar.
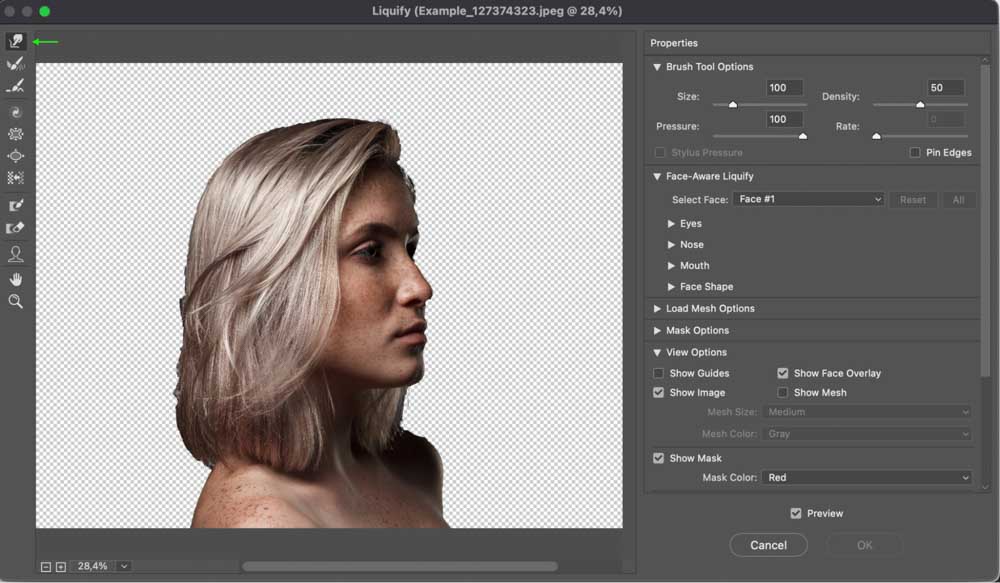
Now, using the cursor, warp the image in the area and direction you’d like the effect to occur. Do this until you’ve warped the image all the way to the edge (or as far as you’d like the effect to go). Click OK when you’re finished, and you’ll see the warp effect you’ve made sitting behind the cutout of the subject so that the edges are still intact.
Now, Alt + click the Mask Icon at the bottom of the Layers Panel. This will apply an all-black Layer Mask (transparent mask) to the Dispersion effect and remove the warped effect from your image. We will add parts of it back in a few steps.
Step 6: Find And Install A Dispersion Brush
If you haven’t already got a dispersion brush pack, you can purchase a pack or find a free one online such as the free pack of 20 Dispersion Brushes on Brusheezy. Download the brush pack by clicking the Free Download button.
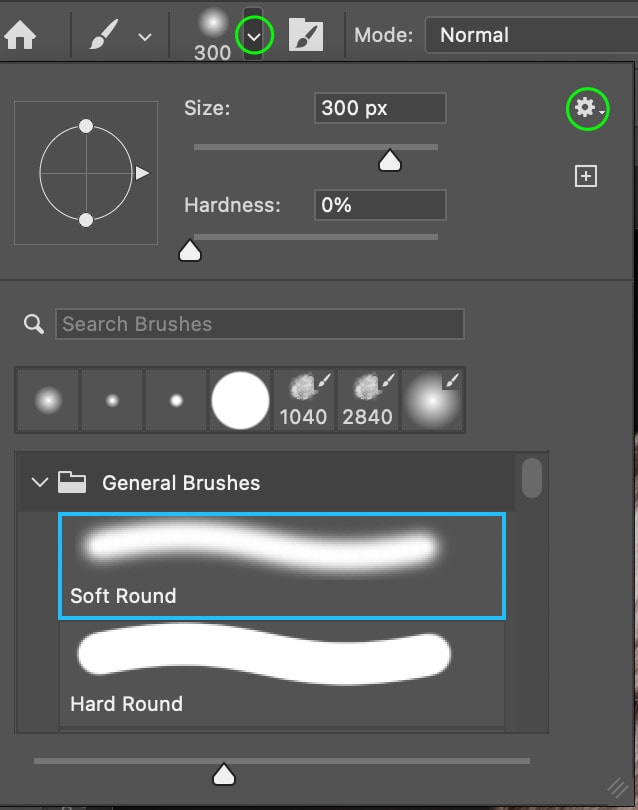
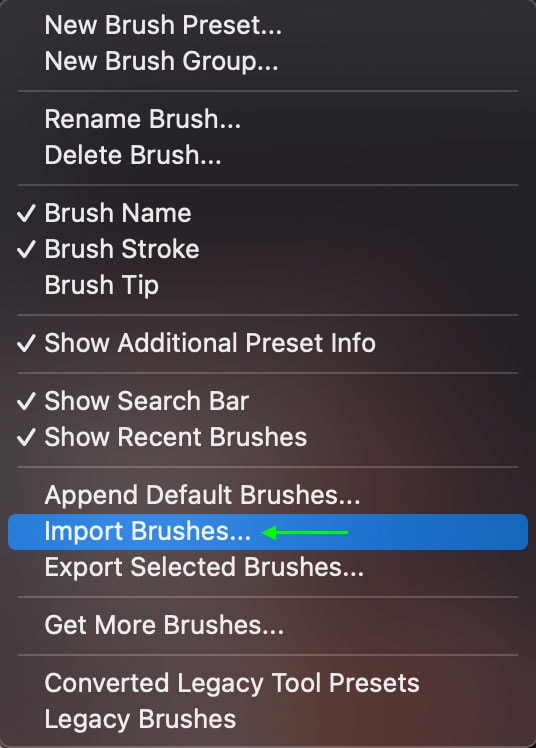
To install and use the brush pack, head to the Brush Tool (B) in Photoshop and open the Brush Panel in the Options Bar. Head to the Settings menu, which looks like a gear icon. Select Import Brushes and then find and import the brush pack from your files. It will then appear in your Brush Library.
Step 7: Apply The Brush To Remove Particles
Select the Subject Layer and then click the Mask icon at the bottom of the Layers Panel. Ensure that the Foreground color (at the bottom of the Toolbar) is set to Black. Head to the Options Bar, open the Brush Panel, and select a dispersion brush from the pack you found and downloaded earlier.
You can start by applying the brush along the same edge where you pulled the image out. With the foreground color set to black, you will remove parts of the image along the side, and in the next step, you’ll add the floating pieces in the space next to the picture.
Step 8: Apply The Brush To Add Particles
Once you’re happy with how the effect looks, you can head to the Layers Panel and select the Dispersion Mask. Set the Foreground Color to White. Then, using the dispersion brush, stamp the brush in the area where you warped the subject out to add the effect of pieces flying off of the subject.
Step 9: Clean Up The Effect
Select the Subject Layer Mask. Then, make sure the foreground color is set to white. Now, select a brush with a soft edge and brush out any parts you want to be removed from the effect.  The effect now looks cleaner.

Step 10: Sharpen The Effect (Optional)
You can sharpen the overall effect using the Unsharp Mask to make it appear more crisp and professional.
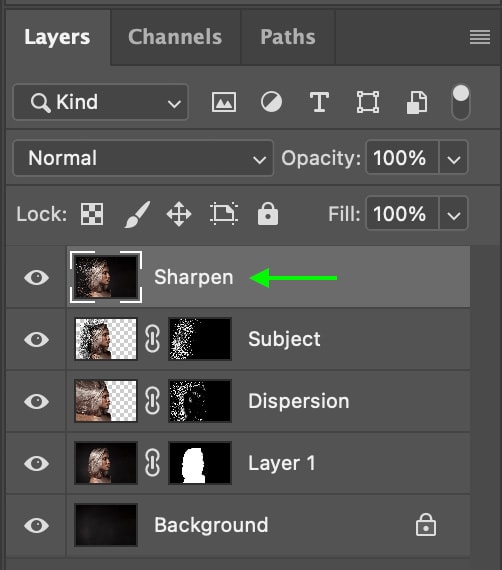
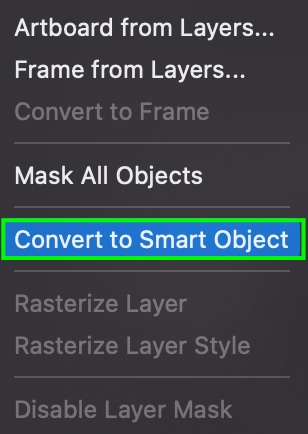
To do this, use the shortcut Control + Shift + Alt + E (Win) or Command + Shift + Alt + E (Mac). This will Merge all visible layers into one additional layer, which will appear at the top of the layer stack. For organization, I’ll rename this layer Sharpen. Right-click or Control + click the Sharpen Layer and select Convert to Smart Object.
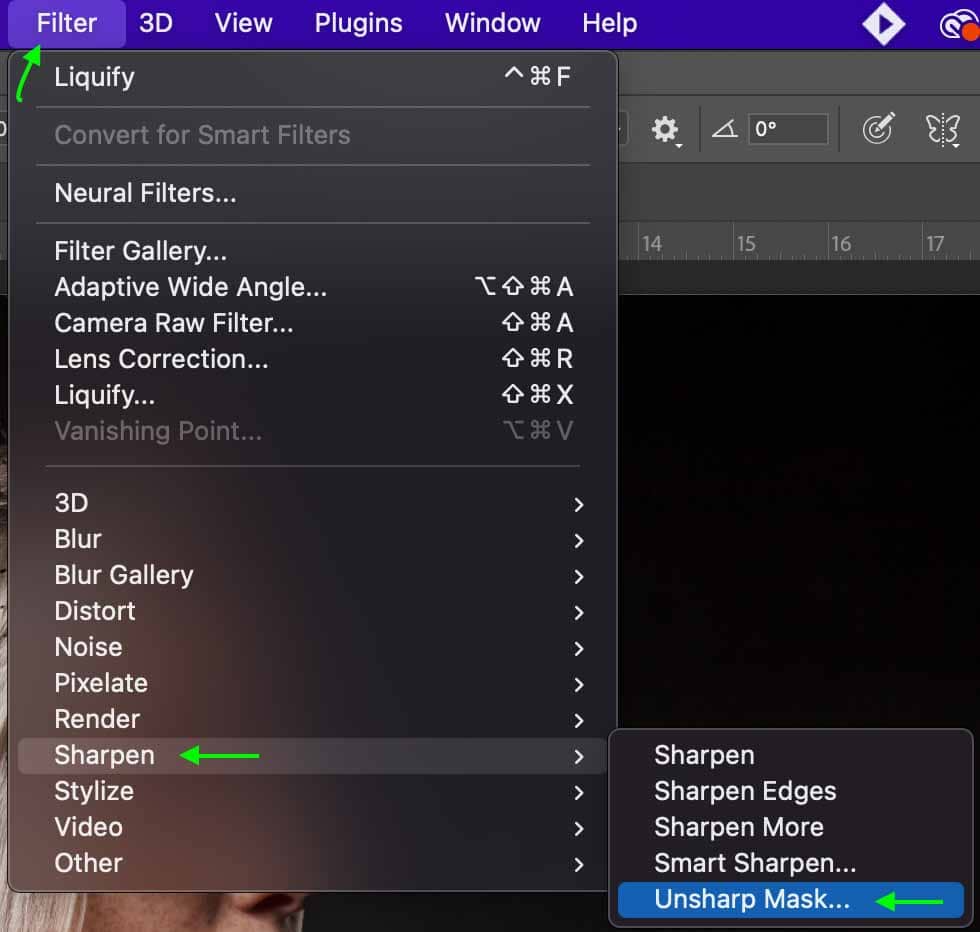
Now, head to Filter > Sharpen > Unsharp Mask.
The Unsharp Mask window will appear. In the Amount area, drag the slider to the right to increase the sharpening effect until you’re happy with the results. For my project, I’ll set the Amount to 65. Click OK when you’re finished, and your image will appear sharper than before.
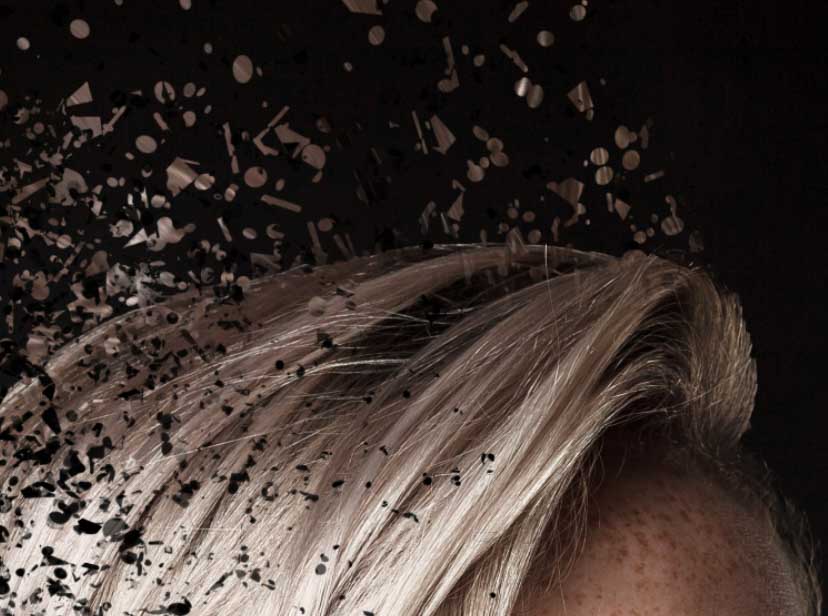
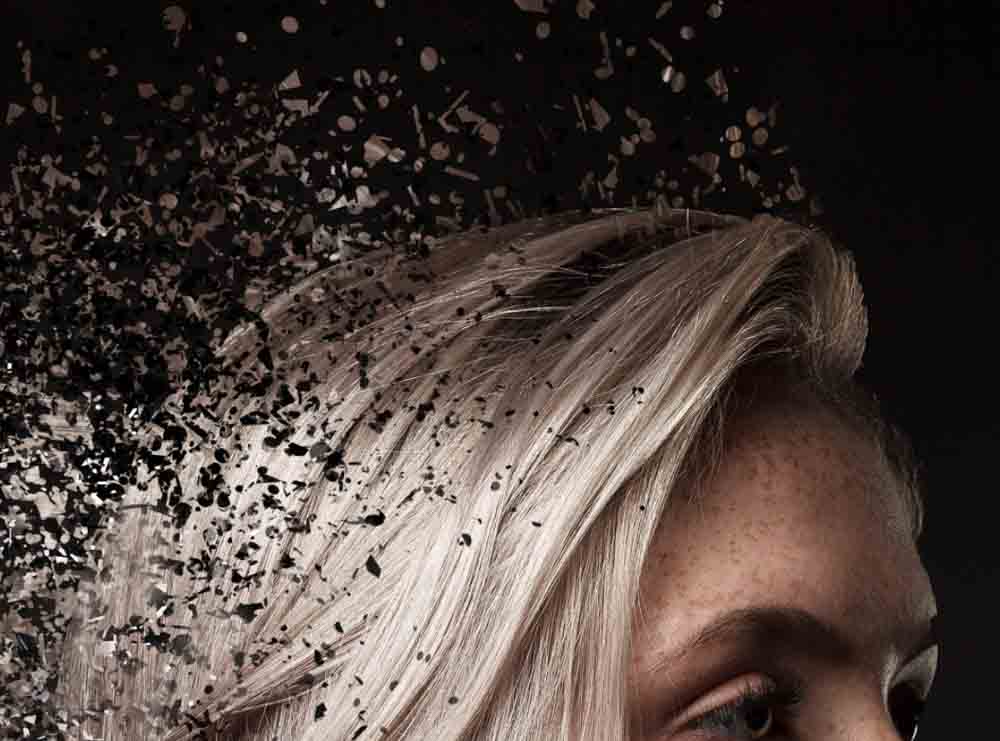
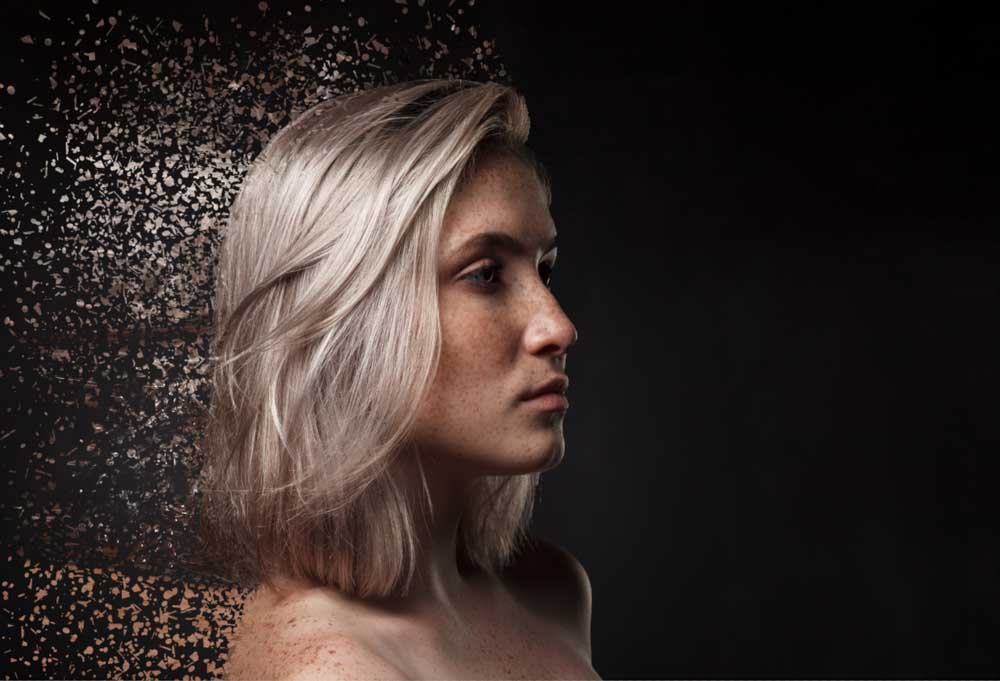
You can work on the layer masks to remove more areas of the subject or add in more floating pieces to create a more flowing effect. You will now have a crisp, beautiful dispersion effect applied to your image. You can repeat these steps whenever you want to use this effect on your pictures.