

Lightroom features various adjustments you can make to your images. But what if you only want to adjust a specific area of your image rather than the whole thing? Lightroom features several different tools to do this. One of them, the adjustment brush, is particularly useful as it allows you to paint the adjustment anywhere on your image.
Using the adjustment brush in Lightroom is easy, as there are several different settings that you can use to refine the brush. These settings and Lightroom’s Auto Masking tool allow you to make a mask over both larger areas and smaller, more uneven areas.
What Is The Adjustment Brush In Lightroom For?
Lightroom features a series of masking tools, which are meant to help you make selective adjustments to your image. One of the masking tools is the adjustment brush.
While other tools feature a specific shape that the adjustments will apply to, such as the radial or linear gradients, the adjustment brush allows you to brush over the area you’d like to edit. This offers more precision than the other tools and more control over how you refine your images.
How To Access The Adjustment Brush
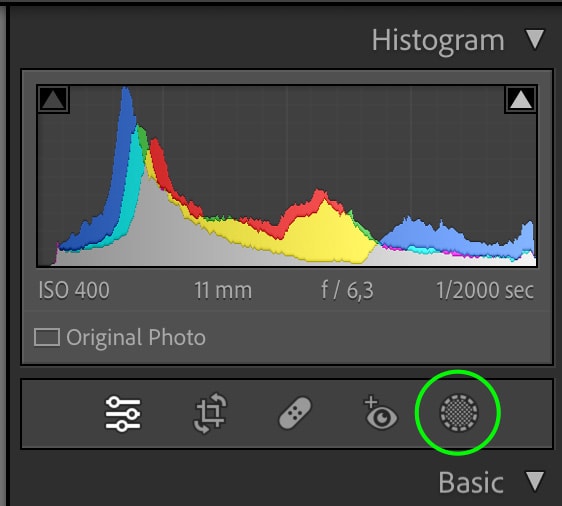
You can find the Adjustment Brush in the Develop Module by clicking the Masking Tool icon, which sits between the Histogram and Basic panels.

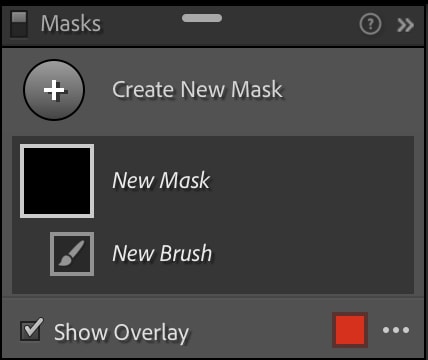
The Masking panel will open, and you’ll see the different masking tools available. Click the Brush tool to create a new Adjustment Brush.
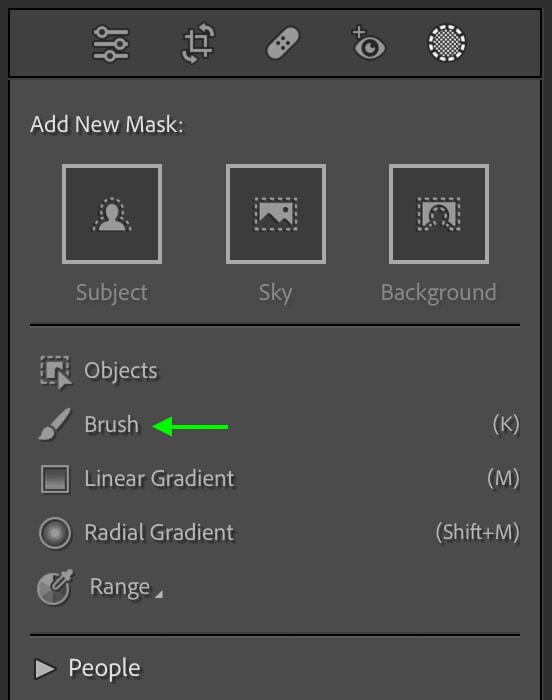
This will open up the various Adjustment Brush settings and the Masking panel.
You can also access the Adjustment Brush by pressing the K key on your keyboard. A new brush will be created, and the Adjustment Brush and Masking panels will open.
Adjustment Brush Settings Explained
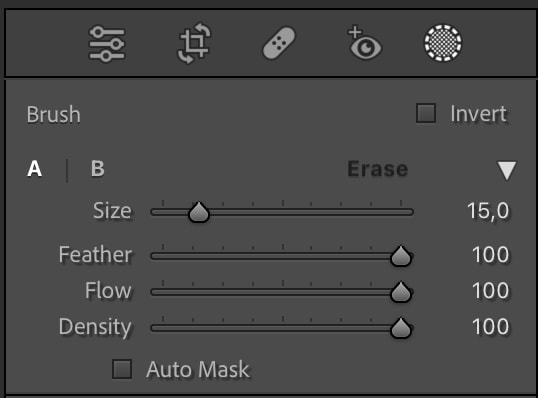
The Adjustment Brush panel features several different settings that you can use to change the brush’s size and effects.
Brush Size
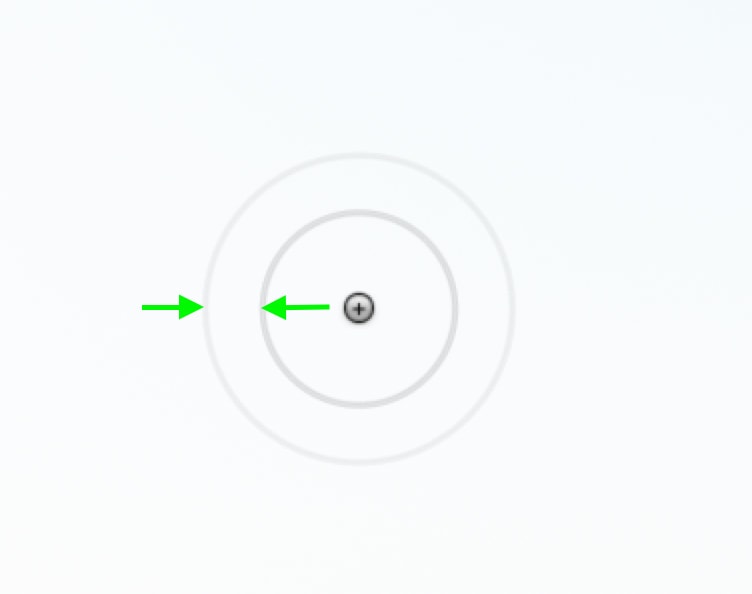
You can change the brush size depending on the area to which you want to add adjustments. To adjust the brush size you’re working with, click the middle toggle and drag right or left.

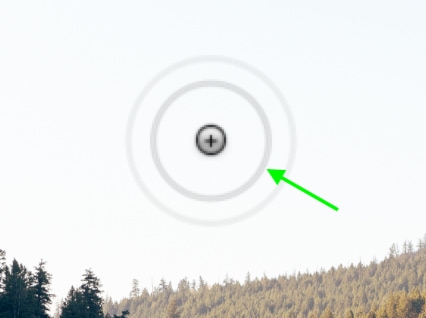
Hover over an area in your image, and you’ll see the circle that represents the brush. The inner circle is the brush size and where the adjustments you set will be concentrated.
You can change the brush size whenever you need to by returning to the size setting.
Brush Feather
The feather setting refers to the hardness or softness of the brush stroke’s edge. Click the toggle and drag to the left for less feathering (a harder brush) or right for more feathering (a softer edge.)

When you hover the brush over the image, the outer circle represents the feathering amount.
This can be useful as a softer edge can create a more realistic blend, while harder edges may be better for going around specific angles.
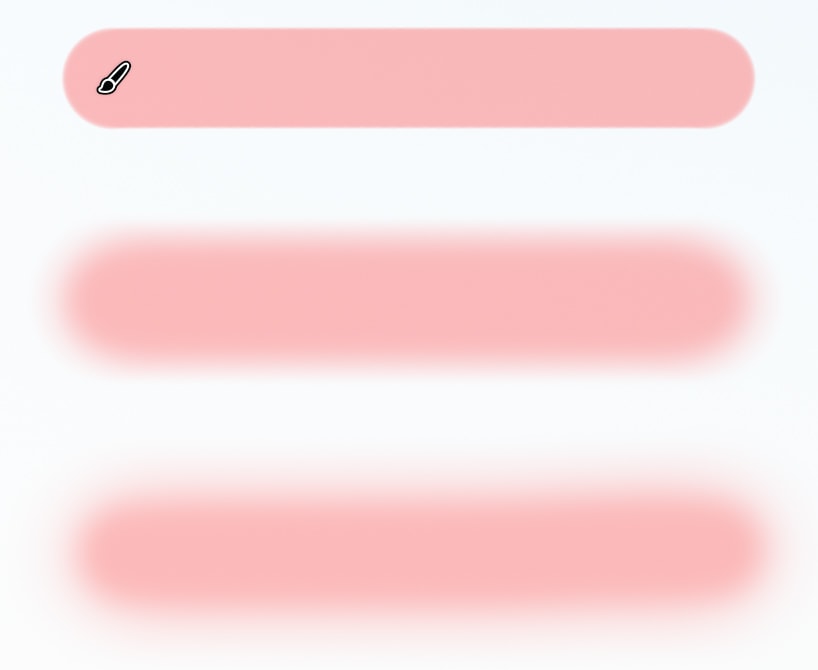
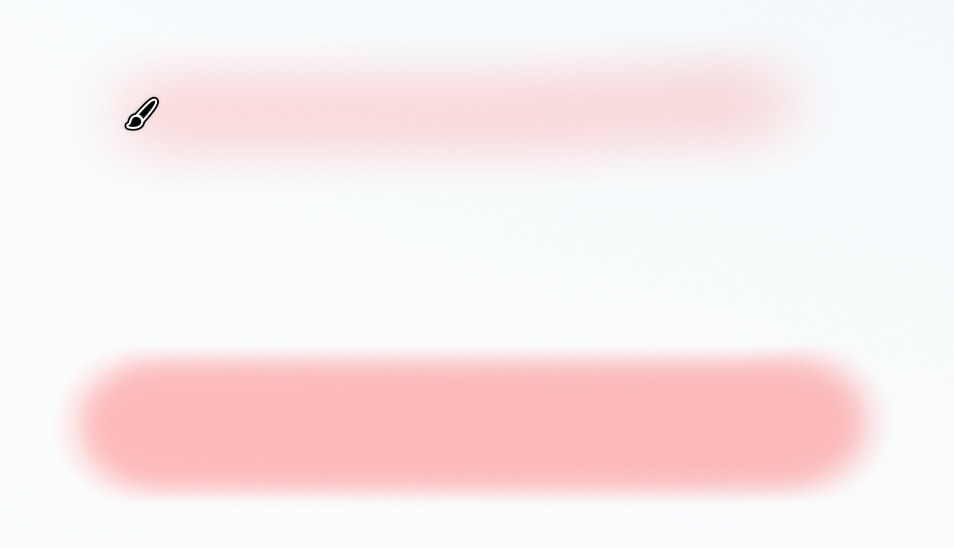
Below, you can see three brush strokes. The top is how the stroke will look with 0% feathering, the middle stroke is feathering set to 50%, and the bottom is set to 100%.
Brush Flow & Density
You can think of the Flow setting as the amount of ink coming from a pen. The higher the setting, the more intense the stroke will be, while a lower Flow setting will be less visible at first, but the more times you brush over the area, the more intense it will appear.
The top example shows one brush stroke with the Flow set to 50%, and the bottom is with the Flow set to 100%.
Setting a low flow percentage can be used for blending or dodging and burning. But unless you’re dealing with exposure adjustments, the flow setting likely won’t be necessary to change, and you can leave it at 100%.
The Density adjustment, which refers to the brush’s opacity, is similar to the flow setting, as the higher the percentage, the more intense the adjustment appears. But, unlike flow, repeatedly brushing over the same area does not increase the intensity if the Density is set to less than 100%.
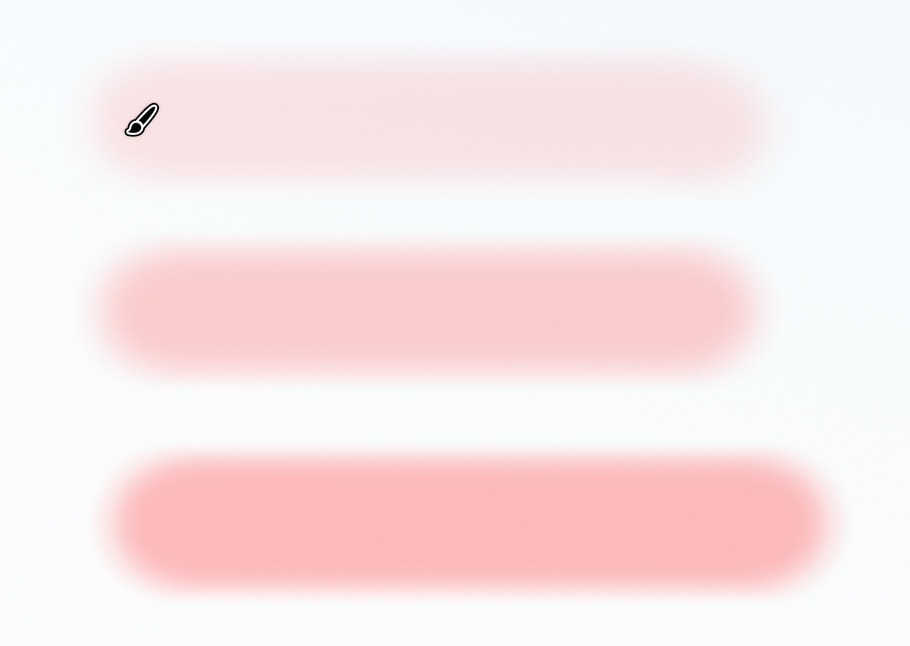
In the example below, the top brush stroke is the Density set to 25%, the middle is 50%, and the bottom is 100%.
A & B Brush Settings
You’ll see two different brush options, Brush A and Brush B.
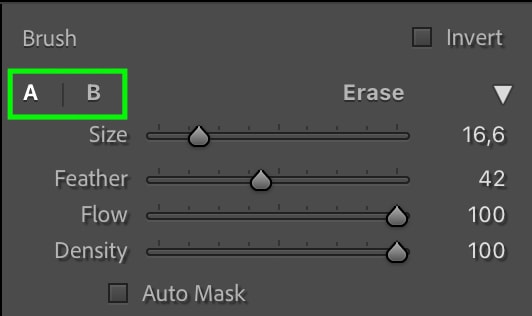
These are two separate brushes that you can set differently to have them ready to use. You may have a main adjustment you’re trying to make to large areas of the image, such as an exposure adjustment, and then smaller, more subtle, or specific adjustments you’d like to add to other areas of your image.
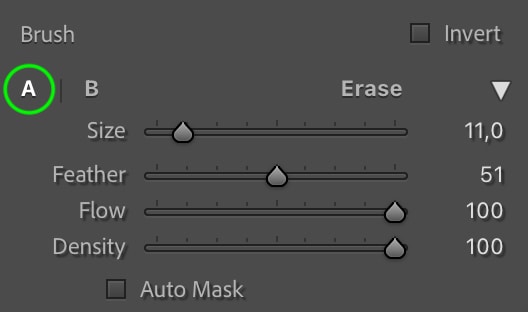
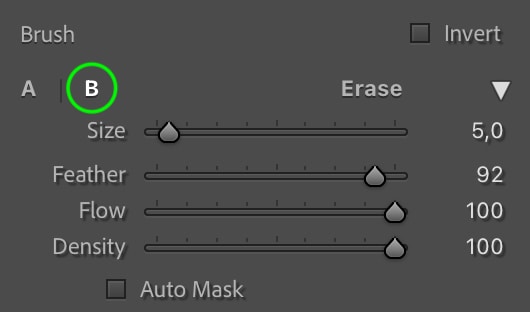
Having both the A and B brushes available allows you to switch between two different adjustment masks whenever you need to without entirely changing the settings of a brush you may need to keep using.
How To Add An Adjustment Brush Mask
To add an adjustment to your image, head to the develop panel and click the Masking Icon.
In the masking panel, click the Brush Tool.
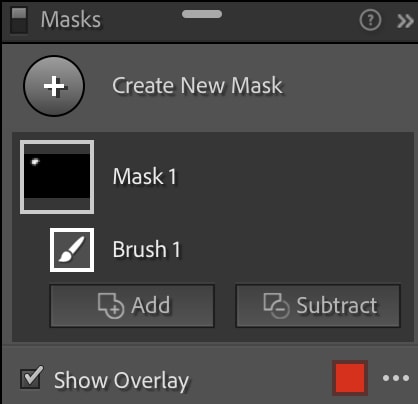
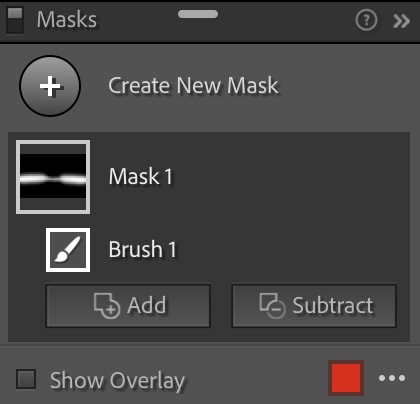
A new brush mask will be created, and the Masking Panel will appear. Here, you can keep track of the different masks you have added. You’ll see the first mask, Mask 1, is the adjustment brush, represented as Brush 1.
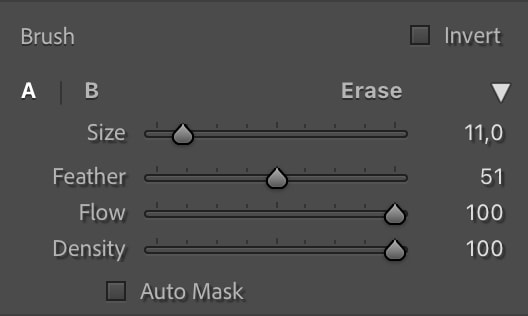
Set your brush settings the way you’d like.
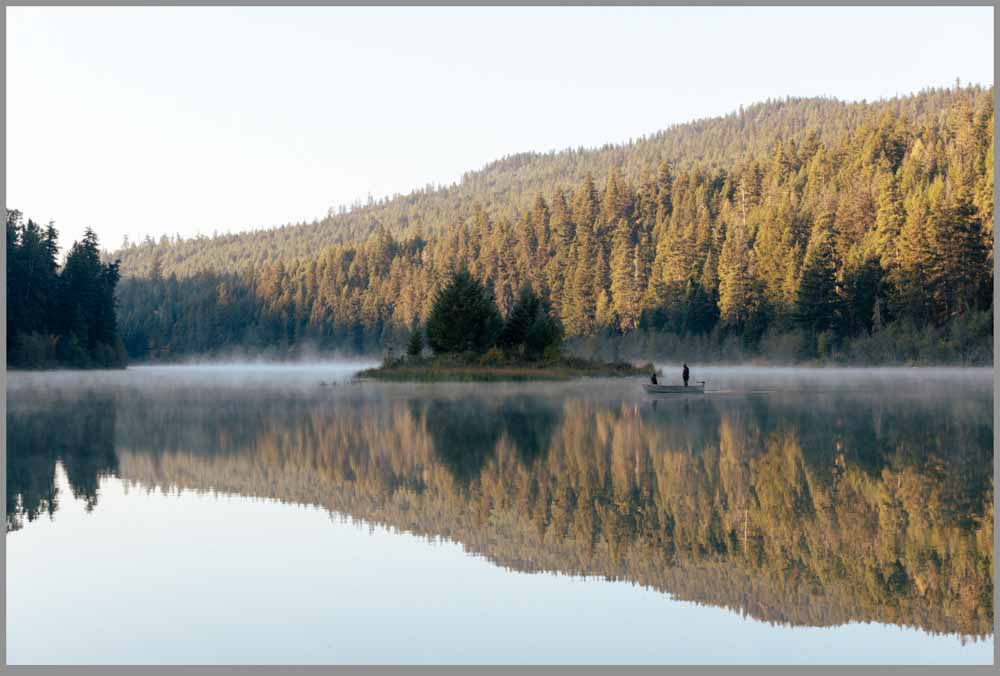
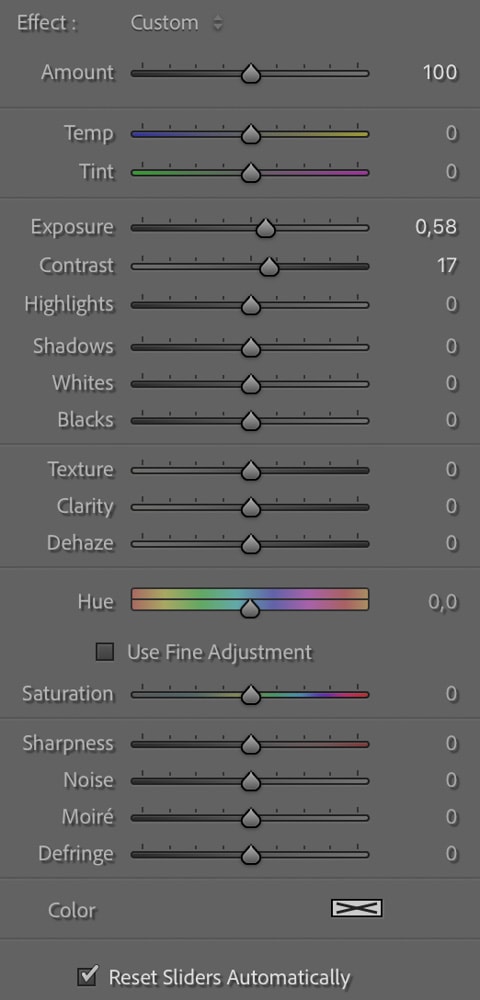
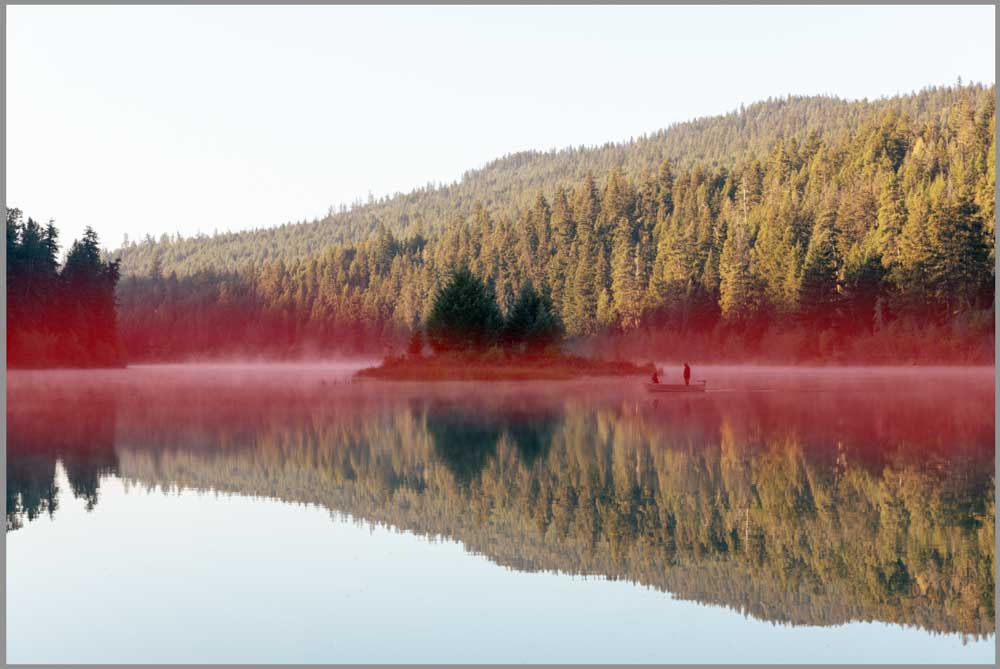
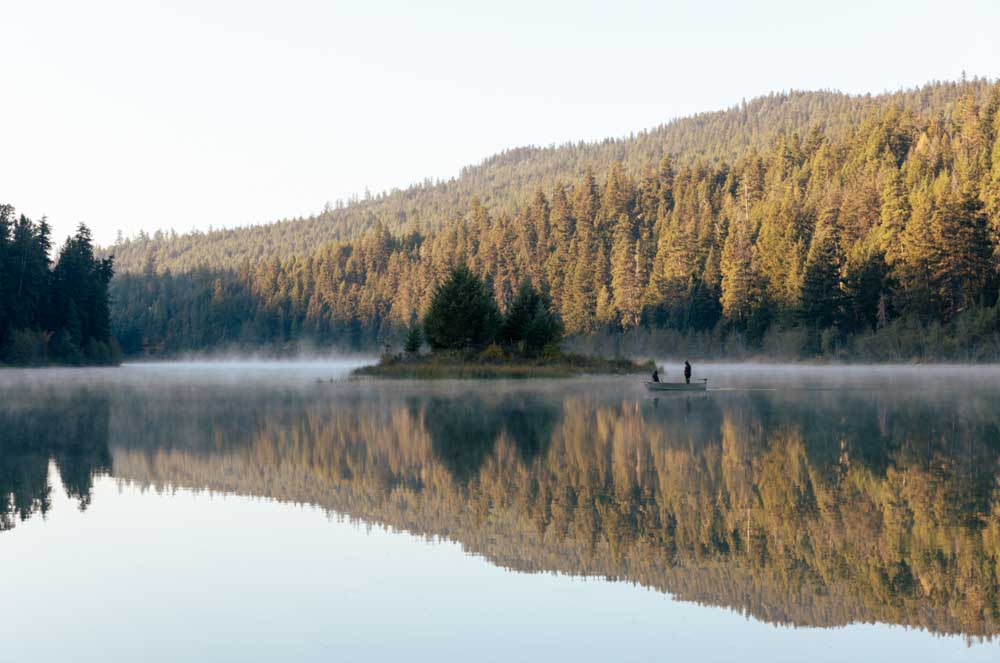
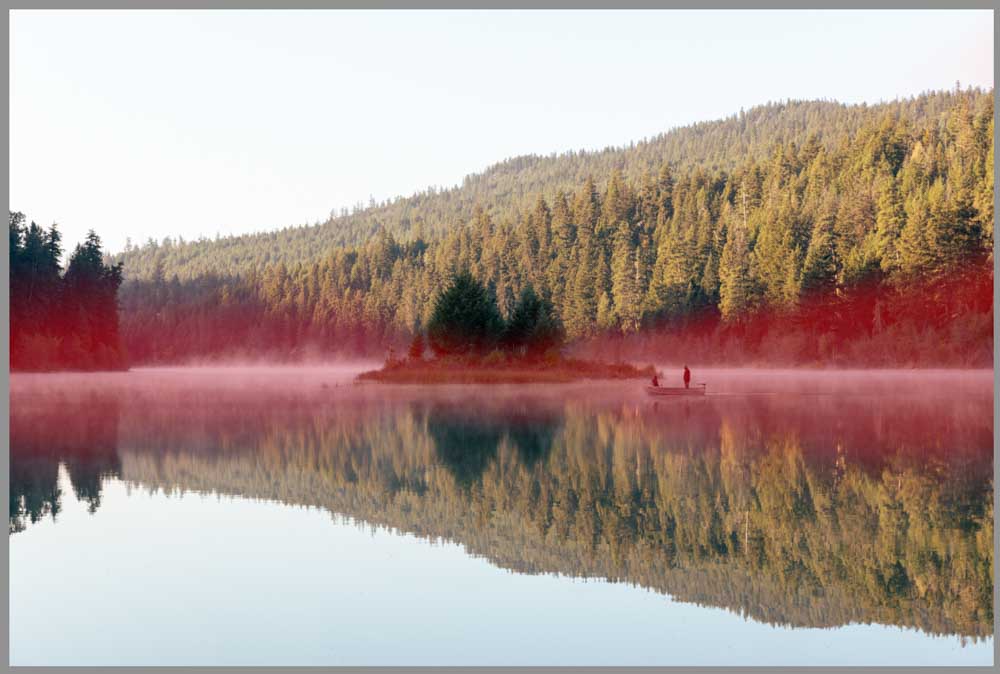
Below the brush settings, you’ll see the different adjustments the brush can make. You can set those now. For instance, if I’d like to bring out the fog and boat in the below image, I’ll increase the exposure and contrast settings slightly.
Once you’ve set the brush and adjustment settings, you can start brushing over the area of your image you’d like to adjust.
When you’re finished, you’ll see the area you brushed over now features the adjustments from the mask.

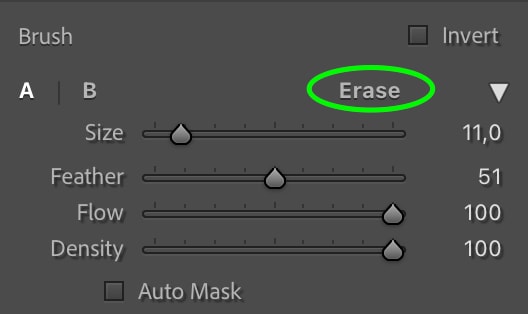
You can change the brush settings and the adjustments as you go, and you can click Erase in the brush settings to erase any of the masks you’ve made.
Viewing The Active Mask Overlay In Lightroom
If you find the mask isn’t showing up while you work, and you can’t see where you’re making the adjustments, you might not have the Mask Overlay active. To ensure you can see which mask you’re currently working with, head to the Masking panel.
At the bottom, you’ll see a checkbox marked Mask Overlay. Check this, and the active mask will appear on your image as a red highlight. If you’d like to change the color of the highlight, click the red color swatch to the right.

You can uncheck to see the full effect of the adjustment at play.
How To Subtract From A Mask With The Adjustment Brush
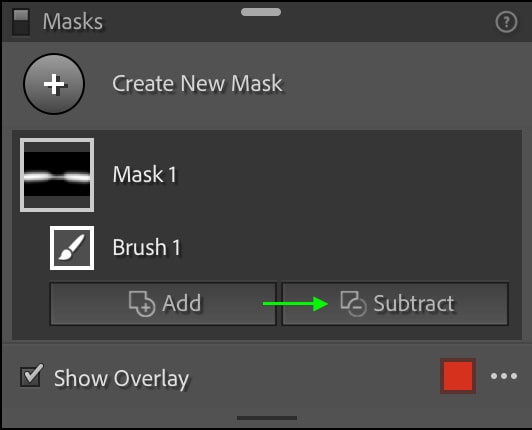
Sometimes, you may accidentally brush the mask into an area you didn’t want masked. You can subtract from any mask you’ve added by heading to the Masking panel. You’ll see here the different masks you’ve added. To erase part of a mask, click the Subtract button below that mask. For instance, I want to subtract from the first adjustment brush mask I made, so I’ll click the subtract button below Mask 1, Brush 1.
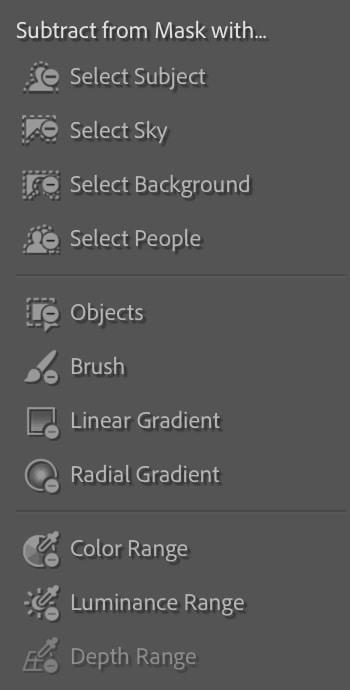
You can then choose the tool you use to subtract from the mask. The Brush Tool is the easiest, but you can experiment with different types depending on your needs.
You can then set your brush settings in the Brush panel.
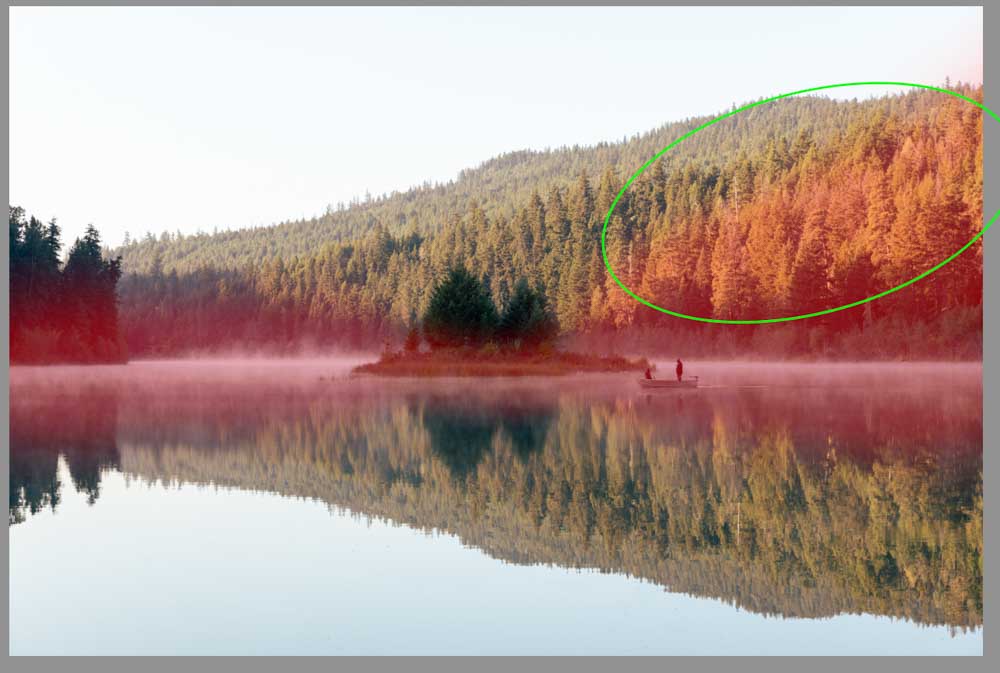
When you’re ready, brush over the part of the mask that you’d like to remove. For instance, I’d like to remove the circled area below.
Once I brush over that area with the brush set to subtract, the area will be removed from the mask.
Using Auto Mask With The Adjustment Brush
Because the adjustment brush is round, brushing along some areas with a lot of jagged edges, such as trees, may be challenging to navigate. Lightroom’s Auto Mask feature will automatically constrain the mask to pixels with similar colors or exposures as you brush.
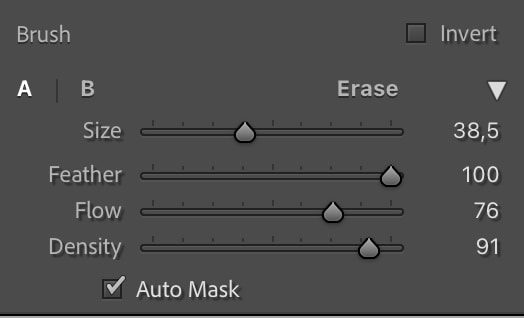
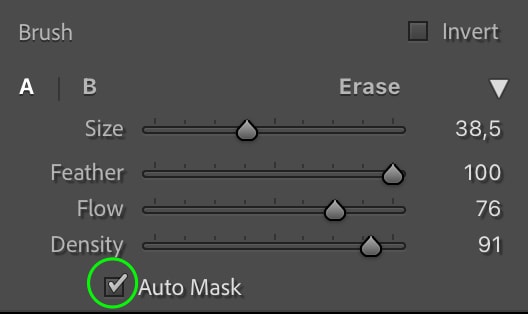
To enable Auto Mask, check the Auto Mask box at the bottom of the Brush settings.
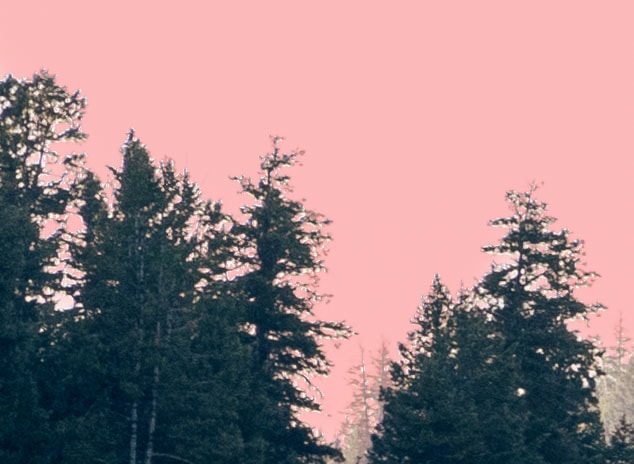
When you brush over an uneven area, like in the below example, you’ll see the mask goes around the edges and doesn’t bleed into the trees. Without the auto-mask, it would take ages to brush over this area while avoiding the trees. You’ll likely end up using the Brush Eraser and Subtract tools, much less with Auto Mask enabled.
The adjustment brush is the most versatile selective adjustment tool in Lightroom. By using the new skills you learned here, you’ll be able to take far more control over your edits in every photo!


A really simple but at the same time detailed guide on how to use the masking tool. I normally struggle to learn by reading (as opposed to watching) but i found this very easy to follow – great guide, thanks
Glad to hear that! Thanks for the comment, Martin 🙂