
Wavy text seems to be a go-to for many creatives since it’s so versatile in design projects. You can quickly turn any text layer into wavy text with a few basic steps in Photoshop. That way, you can either have a single line of wavy text or get creative and add multiple lines of wavy text with unique layer styles and apply filter effects.
In this tutorial, you’ll learn three different ways (and styles) of creating wavy text in Photoshop. From there, you can choose your favorite and add other creative touches that suit your style.
Video Tutorial
3 Ways To Create Wavy Text In Photoshop
I have chosen these three ways because they are easy for beginners to achieve, and they each offer different styles for your text. You can go with the first method for the fastest and easiest way or choose one of the other two options for more customization and settings options.
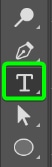
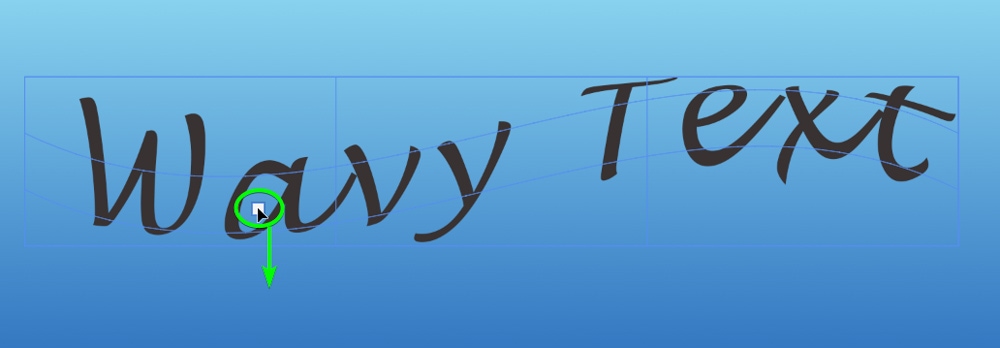
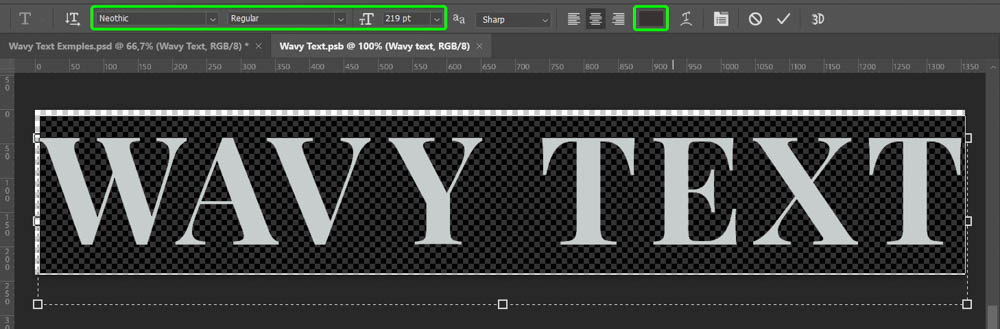
To create wavy text using the first and third methods, you first need to add normal text to the canvas (you don’t need to add the text first for option two). Select the Type Tool (T) to add your text to the document.
You can customize the text by changing the font type, size, and color using the settings in the Options bar.

Once your text is typed on the canvas and customized, choose one of the three methods to create wavy text.

Option 1: Using A Warp Preset
The first method uses a warp preset to curve the text into a pre-determined shape quickly. This method is the easiest and fastest way to make wavy text. However, you won’t be able to customize the wave effect much other than slightly adjusting the wave.
Step 1: Activate The Transform Tool
Once you have the text on your document, you need to activate the Transform Tool. Ensure that your text layer is selected in the Layers Panel and press Control + T (Win) or Command + T (Mac). You will notice a blue box and white anchor points around your text, showing that the tool is active.

Step 2: Switch To Warp Mode
Next, since the tool is in transform mode, you need to switch it to warp mode to find the correct preset. You can either right-click or Control + click on the text and select Warp or press the Warp button in the Options bar.

Once the warp mode is activated, the settings in the Options bar change.

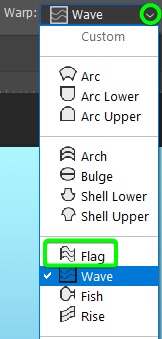
Step 3: Select The Wave Preset
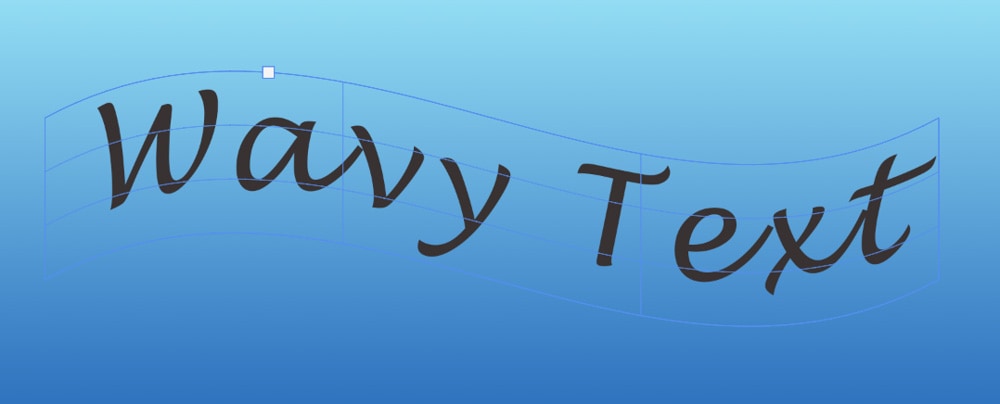
Open the Warp Preset options by clicking on the drop-down menu in the Options bar and selecting the Wave Preset.
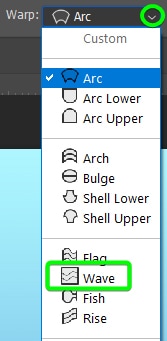
Your text will automatically curve into a wave shape.
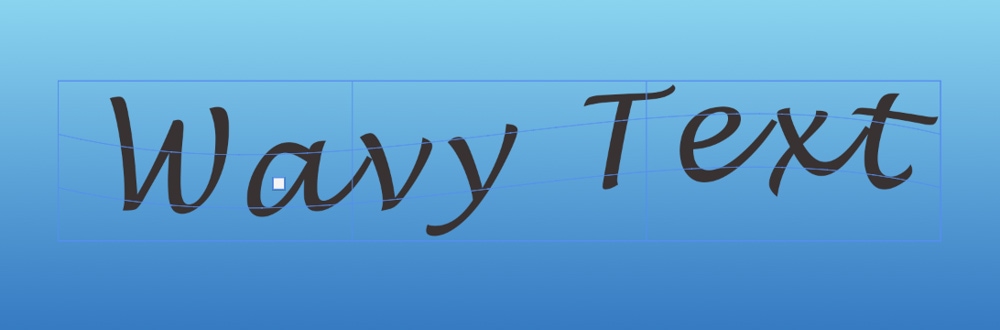
You will notice one white anchor point inside the mesh grid covering the text. You can click on the anchor point and drag it up or down to adjust the wave preset slightly. You can only drag it up or down until the text is against the mesh box, and you can’t change it further.
Step 4: Select The Flag Preset
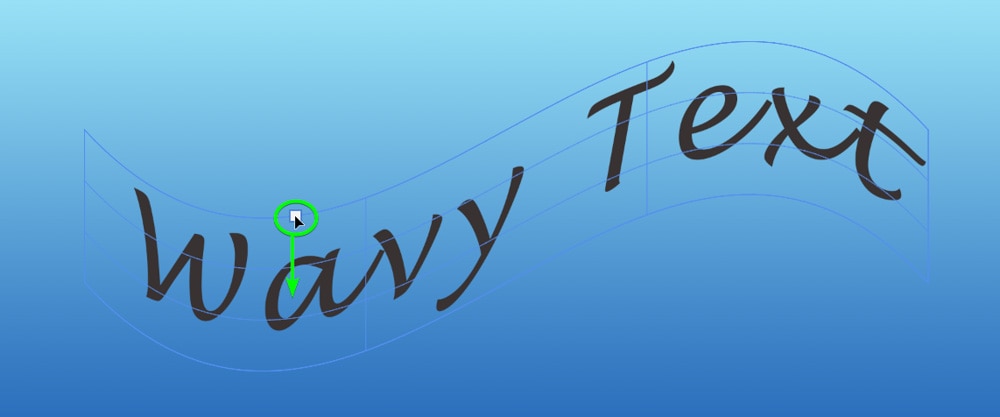
In some cases, the Wave Preset may not curve the text enough into the wave-type shape you wanted. In this case, I recommend you try the Flag Warp preset to see if it works better on your text. Use the same warp preset options menu and select Flag.
You will notice the text takes on a more significant curve with this preset.
You can use the white anchor point to change whether the text curves upward or downward first or create a slightly smaller or larger curve.
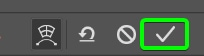
Once you have the curve as you’d like, press Enter or click on the checkmark in the Options Bar to accept the changes.
You now have wavy text on your document that you can edit as you’d like, such as adding a Drop Shadow, Outer Glow, and other Layer Styles and effects.

Option 2: Using A Pen Path
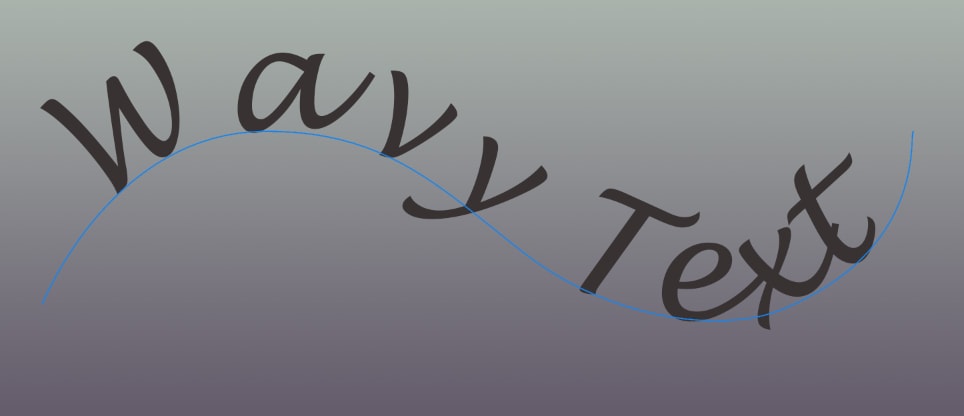
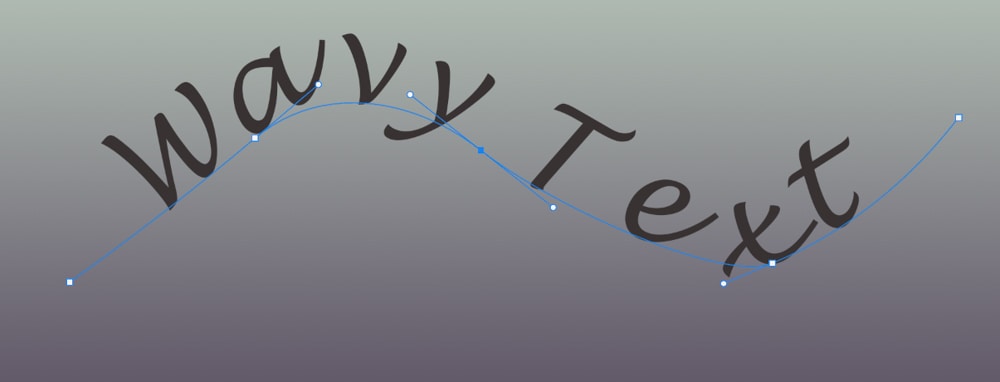
The second method you can use to create wavy text is by creating a pen path and typing the text onto the path.
This method allows you to determine the exact wave shape for the text. You can also move and adjust the path and text to your liking before and after the text is added. The downside of this method is that creating paths can take time and skill to get the exact shape you want.
You will create the path before adding the text, so you don’t need to add the text to the document at the beginning as you did in the first option.
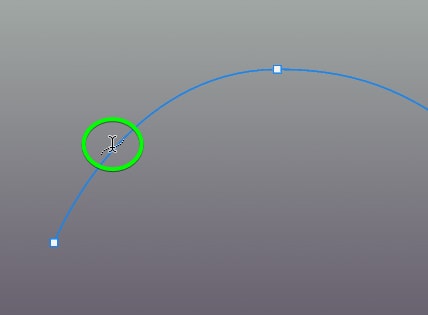
Step 1: Create A Path Using The Pen Tool (P)
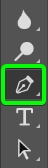
This method of creating wavy text uses a path. Select the Pen Tool (P) from the Toolbar to make the path.
Create the path by clicking to add anchor points to the document. To make a curve in the path, click to add an anchor point, but keep the mouse clicked in while dragging up or down to create the curve. You can use the Pen Tool guide linked above for a full tutorial on developing and adjusting paths.
Click and drag on the document as needed to form the path for your text.
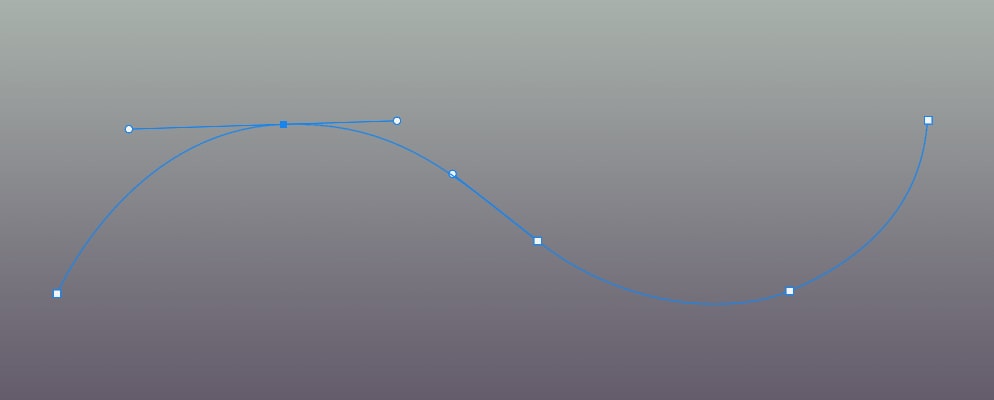
Once you have created the path, you can hold in Control (Win) or Command (Mac) and adjust any of the anchor or control points to fix up areas and get the curve how you want it.
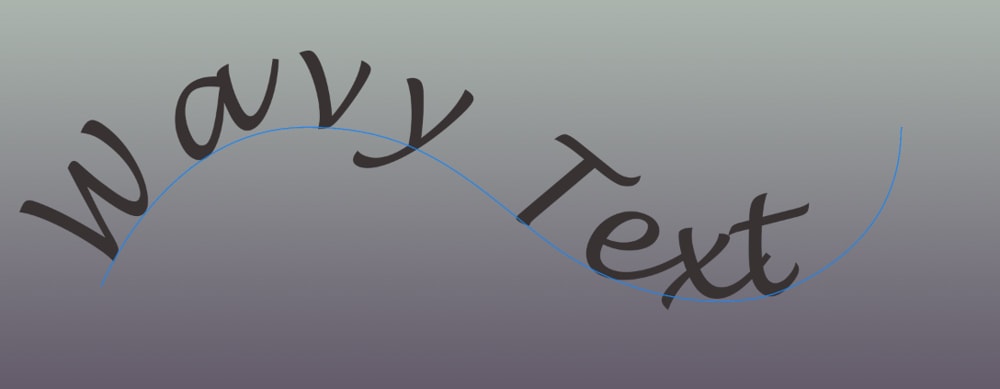
Step 2: Type The Text On The Path Using The Type Tool
You can add your text to the path by selecting the Type Tool (T).
Once the tool is active, hover the mouse cursor over the path until you see a curvy line appear.
When the icon appears, click on the line, and placeholder text will appear. If no text appears, you can start typing your own text on the line or type over the placeholder text to replace it with your own.
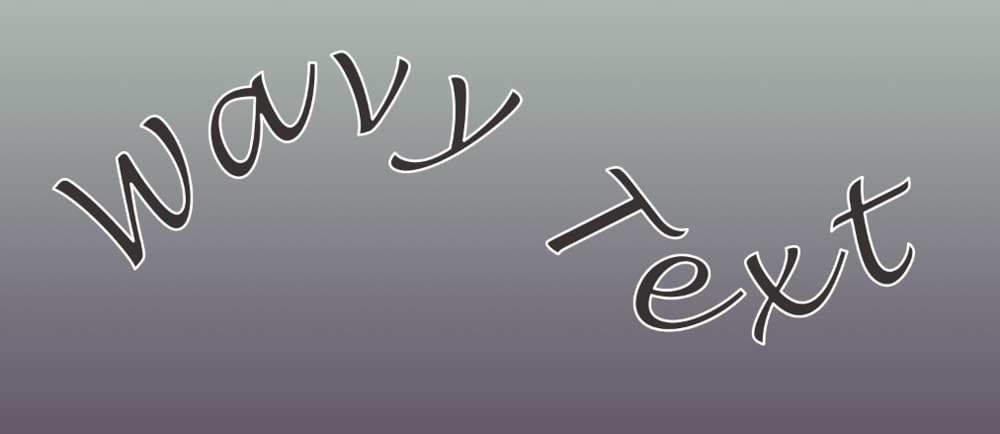
Step 3: Adjust The Position Of The Text
When you’ve typed your custom text on a path, you can move the position of the text however you’d like. You can drag the text closer together or pull it outwards. You can also switch the text from above the line to flip it under the line. You can follow the complete guide linked above to see the full edits you can make in this regard.
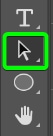
To add basic customizations to the text, select the Path Selection Tool (A) from the Toolbar.
Then, hover the mouse cursor near the right edge of the text until you see the cursor with one arrow. This means you can move the text to the right to drag it out further on the path.
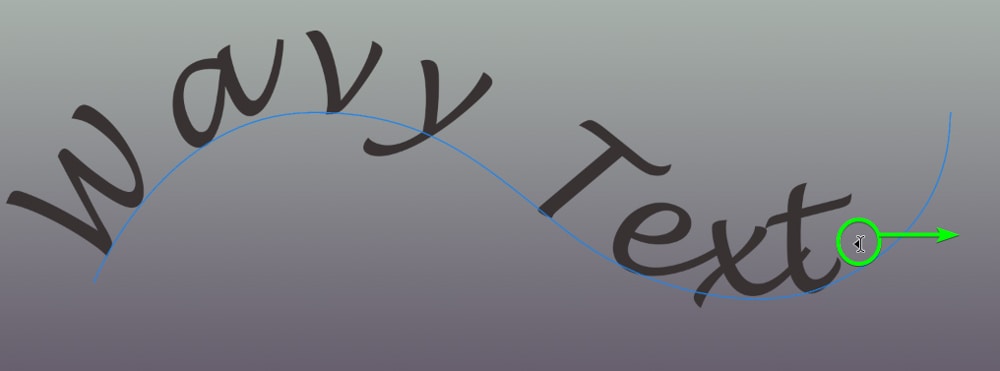
Click and drag the text to the right to move it across the path.
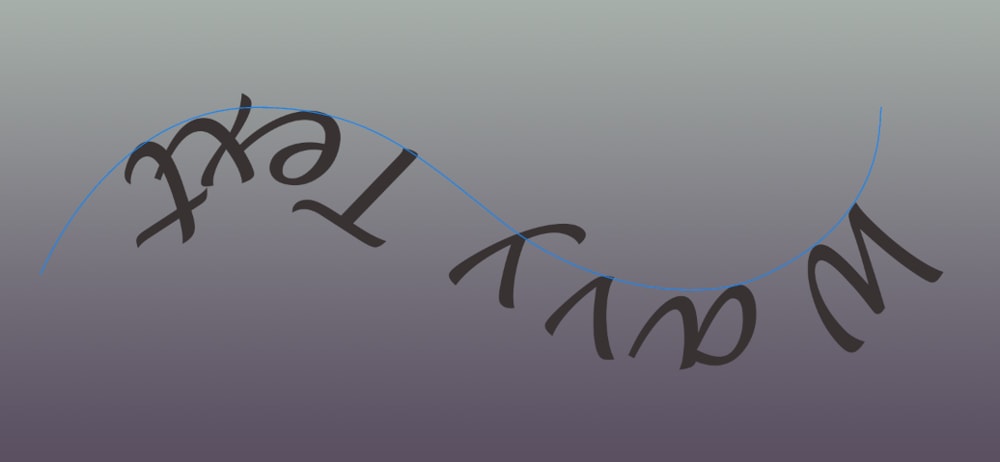
To flip the text upside down, click anywhere on it and drag it below the line until the text flips over. Click and drag the text above the line to flip it back to the top.
Step 4: Adjust The Path Shape
The benefit of using this method is that you can adjust the path’s shape at any point. You can edit the text as you need, and then if you find the path isn’t exactly how you want it, you can go back and adjust the anchor and control points to correct it.
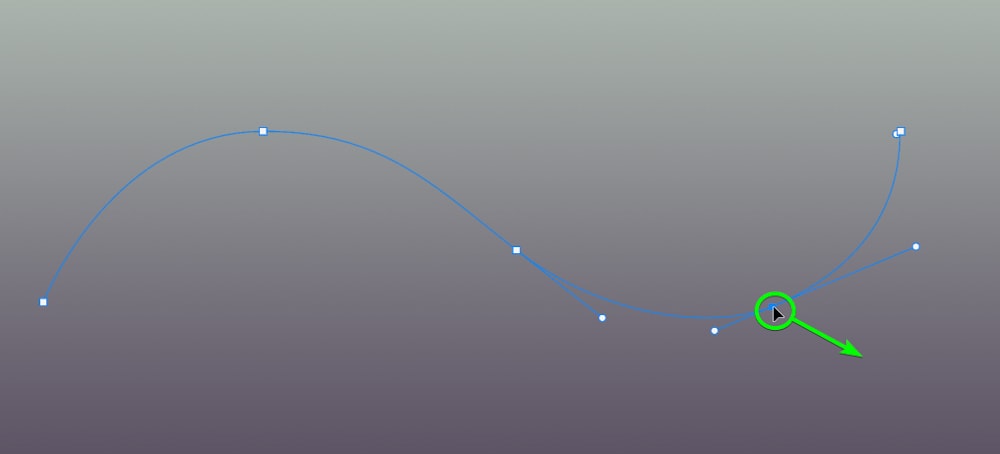
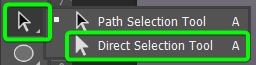
To adjust the path, select the Direct Selection Tool (A) by clicking and holding on the Path Selection Tool to open the fly-out menu.
With the tool active, click on the path to show the anchor points again.
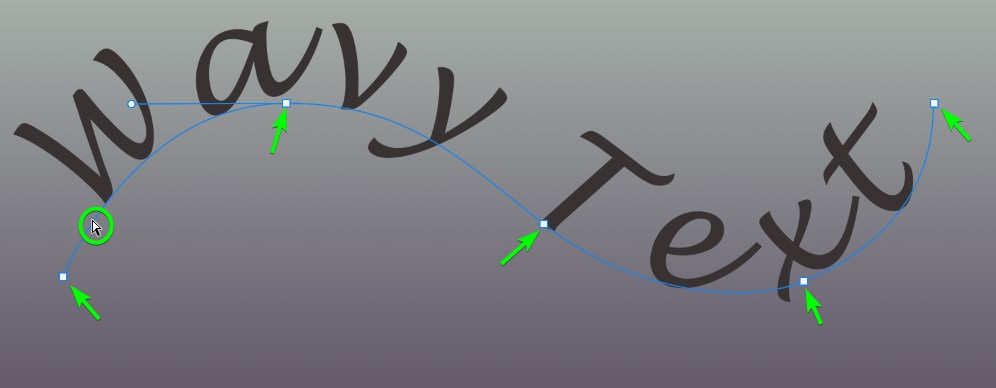
Click and drag on any anchor or control points to adjust the path, and the text will move along with it.
Once you have adjusted the path, you can continue editing the text by adding an outline or keeping it as it is.
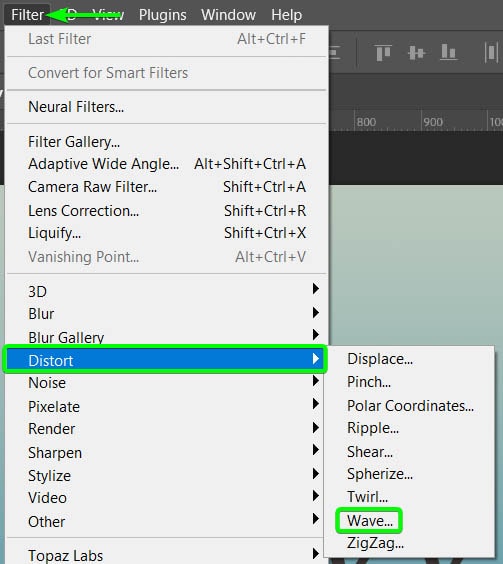
Option 3: Using The Wave Distortion Filter
The last method uses the Wave Distortion Filter, which gives you the most variety and settings to customize. You can control how many waves the text has without needing to master the Pen Tool and create paths. However, there are several settings to adjust to achieve the desired effect.
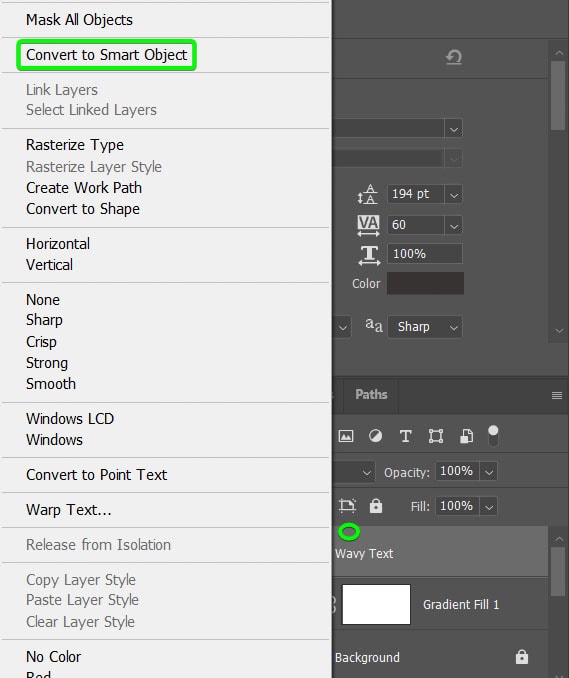
Step 1: Convert The Text Layer To A Smart Object
Once the text is added to your canvas, as detailed previously, you need to convert the text to a smart object. This conversion is necessary to add the filter to the text layer while allowing you to re-edit the text at any stage.
To convert the text, right-click or Control + click on the text layer and select Convert to Smart Object.
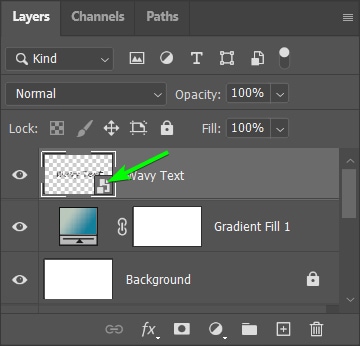
You will know the text layer is a smart object by the icon in the thumbnail. You can double-click on the thumbnail to edit the text if needed.
Step 2: Add The Wave Distortion Filter
When your text is a smart object, you can add the filter by going to Filter > Distort > Wave.
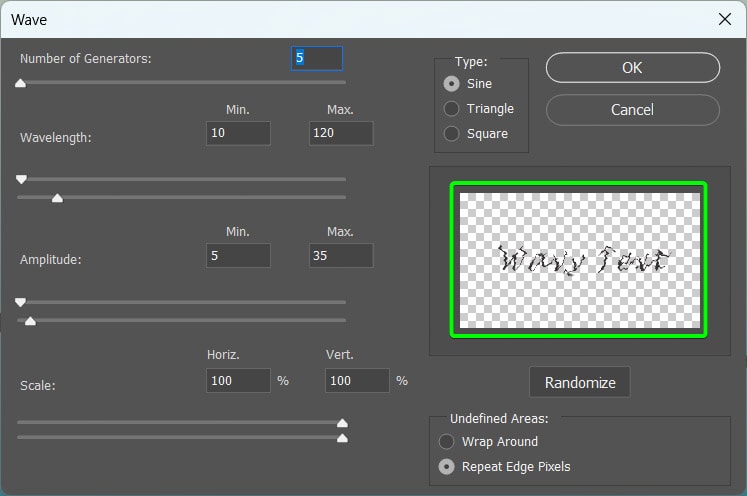
The Wave Filter dialog box has various settings you can adjust to create the wave effect on your text. There is also a preview box to the right of the panel, where you can see the impact on your text as you change the settings.
Step 3: Adjust The Wave Distortion Filter Settings
You can change various settings depending on how you want your final wavy text to look. Here is a general idea of what each setting will change in the text.
Number of Generators: The higher the number, the more distorted and wavy your text will be. The lower the number, the less distorted it becomes. I recommend you set this to 1 when creating wavy text.
Wavelength: The higher the wavelength, the less wavy the text becomes, while the lower the wavelength, the more wavy the text will be. Here you can set a minimum and maximum wavelength to control the distortion. I recommend you set a minimum of 1 and a maximum of about 300.
Amplitude: The amplitude affects the vertical distortion of the wave effect, creating a taller wave. I recommend you keep the amplitude relatively low, such as a minimum of 1 and a maximum of 15, to prevent the text from becoming unreadable.
Scale: The scale determines the intensity of the wave distortion. The higher the scale, the taller and more angled the distortion is. I recommend you leave both the horizontal and vertical scale at 100%.
Type: The type determines what kind of wave distortion is used on the element. Set the type to Sine when creating wavy text.
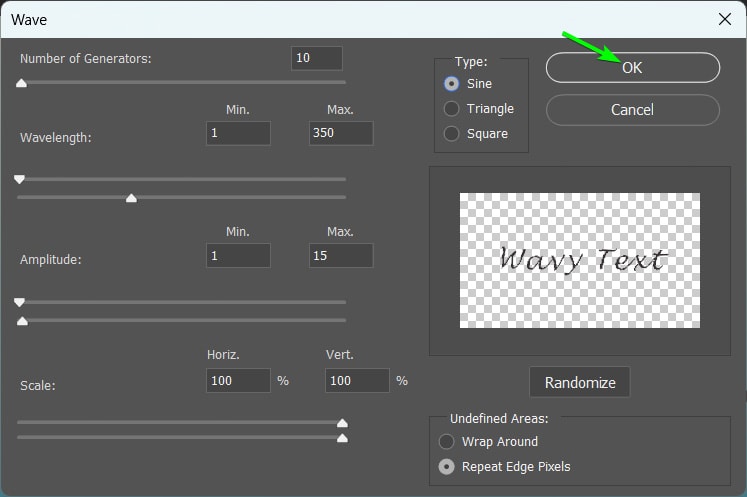
You can adjust the settings slightly if you want a different effect, which shows how much customization this method gives you when making wavy text.
Once you are happy with the settings, click OK to apply the effect.
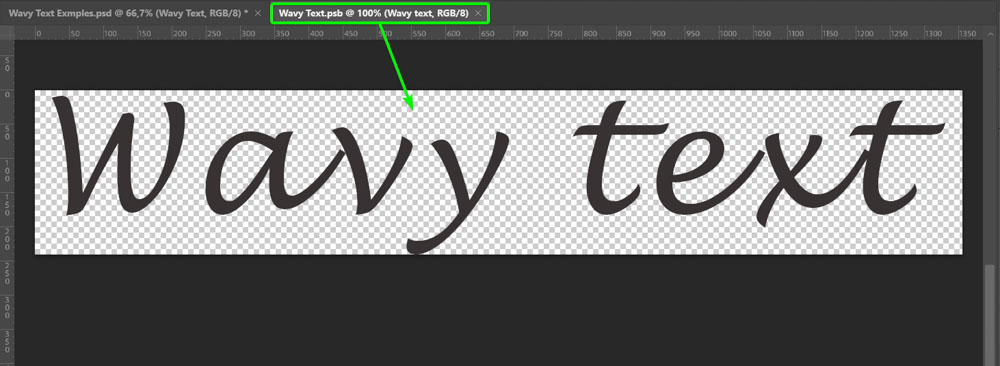
You will now have wavy text on your document based on the settings you chose for the wave filter.

(Optional) Step 4: Edit The Text
Sometimes, you may be unhappy with how your text looks with the wave. In my case, my chosen font type isn’t creating the wave I hoped for. Luckily, since my text is a smart object, I can easily edit it.
To edit the text, double-click on the layer thumbnail, which opens the text in a separate tab.

You can now edit the text by changing the font type, size, and color.
Once you have edited the text, press Control + S (Win) or Command + S (Mac) to save the changes, then close the tab and go back to your original document. You will now have the wave effect on your edited text.

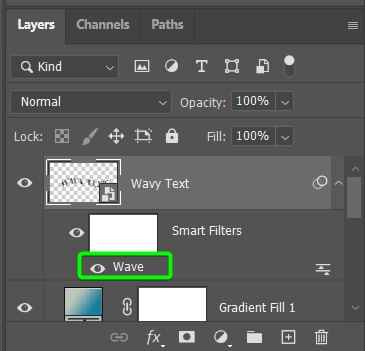
(Optional) Step 5: Edit The Wave Distortion Filter
The wave distortion filter is added as a smart filter, so you can change the settings at any point if you want a different wave effect. Double-click on the wave smart filter to re-open the settings.
You can adjust the settings and click OK to get a new effect on your text.

With these three techniques for wavy text in Photoshop, you can find the perfect option for any of your projects (or skill level!).
Happy Editing!


