
Whether in photos or in person, wrinkles in clothes can look messy and distracting. While we can’t help you fix the wrinkles in your clothes (there are irons for that) there are some ways to smooth wrinkles from clothes in Photoshop. Although there are several different techniques, here’s a quick and easy one that you can try.
To remove wrinkles from clothing in Photoshop, select the Spot Healing Brush Tool, set the Type to “Content-Aware” and the mode from Normal To Replace. Then, with a soft-edged brush, paint over the wrinkles and Photoshop will automatically remove them from the image.
This might not be an area you’ve even thought about, but you’ll absolutely notice the before-and-after. Removing wrinkles can give you a much cleaner image overall and is perfect for product photos or fashion photography! In this tutorial, you’ll learn more about the Spot Healing Brush I just mentioned, along with a handful of other great ways to say goodbye to wrinkles.
Let’s get started!
The 4 Best Tools To Remove Wrinkles From Clothes In Photoshop
There are several different tools you can use to remove unwanted wrinkles from clothes in Photoshop. Let’s look at the easiest and most effective, and explore how they function.
As you use the below tools, keep in mind these helpful keyboard shortcuts to streamline your work.
To zoom, hold Alt or Option and scroll up or down either on your tracking pad or mouse wheel.
To move around the image, hold down the spacebar and click while dragging.
You can change the size of your brush by using the [ or ] bracket keys.
These shortcuts will be very handy when removing these wrinkles, so make sure to remember them as you practice with these tools!
1. The Spot Healing Brush Tool
Photoshop’s healing tools work by pulling pixels from an area that is similar in appearance to the part you’d like to heal. They are then matched to the exposure and texture of the pixels in the area you’re covering, and the brush blends the areas to make the healing effect appear seamless.
The spot healing brush is arguably the easiest healing tool to use, in that Photoshop determines the area to sample the pixels from for you. To use the spot healing brush, first find and click the spot healing icon.

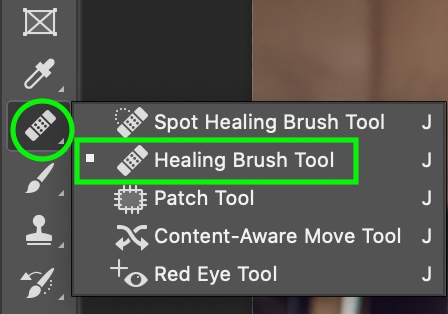
Note that this icon is where you’ll find multiple healing tools, including both the spot healing tool and the healing brush tool (which is explained in the next section) so to ensure you’re working with the right tool. If you click and hold or click the tiny arrow in the bottom right corner of the icon, you can check to see that the Spot Healing Brush Tool is selected.

Once you’ve selected the brush, you can select the blending mode you’d like to work with in the top settings bar.

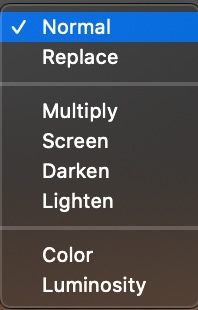
There are several different blending modes you can choose from. Feel free to experiment with them, but I suggest using Replace, as this will allow you to keep the texture of the fabric to make the healing look more natural.

Next, select the Healing Type. Again, you can play around with the different options: Content-Aware, Create Texture, and Proximity Match. Different options will give different results depending on the picture you use, but Content-Aware tends to be a good go-to as it replicates both the content and the texture of a surrounding area. It’s really the ultimate auto-wrinkle remover.

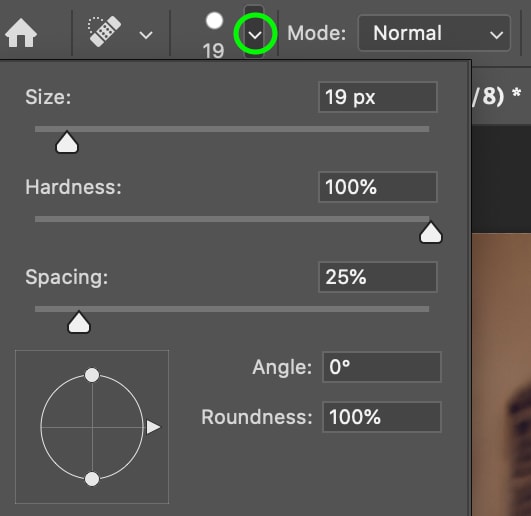
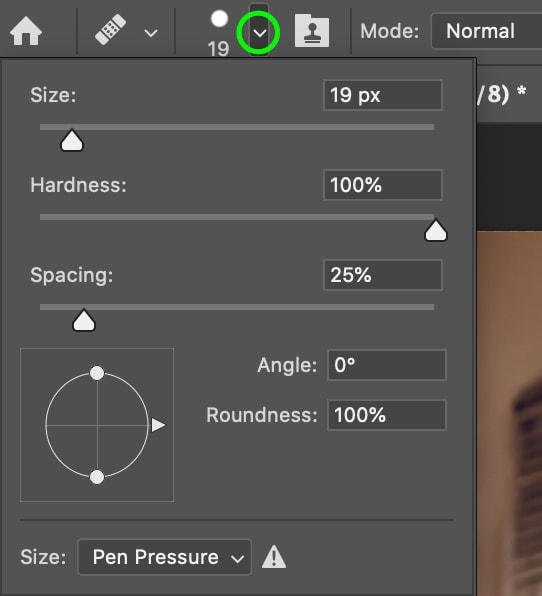
You can alter the features of the brush, such as its size or hardness too, by clicking the down arrow next to the brush icon and using the sliders.
With all of your settings in order, just click and drag to paint over the wrinkles you want to remove. Photoshop will automatically find similar pixels to replace your brush strokes with and automatically remove the wrinkles from your clothes.
This tool is great because it’s super fast and easy to use. However, because Photoshop selects the area to sample pixels from, you might not always get the look you want. Luckily, this next tool gives you a bit more control.
2. The Healing Brush Tool
Not to be confused with the spot healing brush (above), the healing brush is another way to eliminate wrinkles quickly and easily. While it actually works similarly to the spot healing brush, in that both sample pixels from nearby areas to “heal” certain pixels, the healing brush gives you more control in that you choose the pixels to sample, not Photoshop.
So, to remove wrinkles using this method, first find and select the healing brush icon.
Now you can work with the Mode of the brush. The blending mode of your healing brush should be automatically set to Normal, but again, you can play around with the different modes to see which works best.
Lighten or Darken tend to be the most useful: if the color of the wrinkle you want to fix is darker than the fabric around it, you can select Lighten, while if it’s lighter, select Darken.

Now you can increase or decrease the size and adjust the other features of the brush depending on the area you want to fix.
Once you’re happy with your brush, you can select the area you’d like to sample the pixels from by holding Alt or Option and clicking. With the sample set, paint over the wrinkles using the brush and you’ll see it disappear.
In most cases, you will need to resample every so often as your brush moves around the canvas. Otherwise, you may sample something that doesn’t quite match what you’re trying to cover. So make sure you’re changing the area you’re sampling from as you work for the most natural results.
3. The Clone Stamp Tool
The Clone Stamp works similarly to the above tools – except instead of using pixels from another area simply to heal the wrinkle, it clones the pixels. This then acts as a direct replacement for the area you brush over.
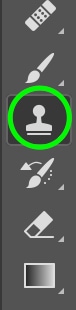
To use the Clone Stamp tool, click the icon in the left toolbar. Alternatively, press S on your keyboard.
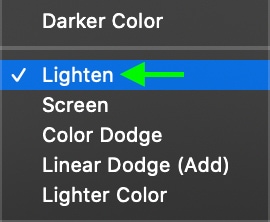
Of the modes, the best for removing wrinkles from clothing is often Lighten, though you can try the other modes as well. Just like before, these settings can be found in the upper bar when your tool is active.

You can edit the brush’s size, opacity, and flow in the top toolbar as well.

To select a sample area for the clone, hold down Alt or Control + Click. You will need to resample as you go to stick with a uniform color and texture. Ideally, you want to sample in an area with a similar set of textures and colors to what you want to cover up.
With your sample set, click and drag over the wrinkle to begin removing it from the clothing.
By using the Lighten mode, you can lighten the shadows created by wrinkles while keeping the clothing’s texture. Remember that the Clone Stamp is most useful when the area you’re sampling is from a similar color and texture, as you’ll be directly replicating that area of the image. If the area you sample doesn’t match what you want to replace, you likely won’t end up with a good result.
4. The Patch Tool
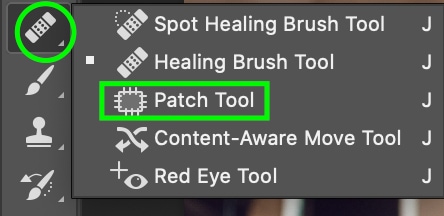
Using the Patch tool, you can draw your own selection and drag the area to new pixels you’d like to replace it with. To do this, first, you need to select the area you’d like to heal. You can do this with the Patch tool, which you can find by clicking and holding the Spot Healing Brush icon and selecting the Patch tool.
You can also make your initial selection using any of the other selection tools – in most cases, the Lasso tool would be the best option. When you have your selection, go to the Patch toolbar at the top and you’ll see an area with multiple squares. Click the last option.

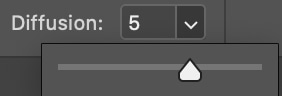
This option allows you to click and drag the area you’ve selected to an area you’d like it to match. To adjust the blending and edges, click and move the Diffusion slider.
The Patch tool is useful as you can cover a larger amount of area in one go than the other tools, but if the area is too big the tool won’t work well. This tool ultimately works best in conjunction with other tools that allow you to make more detailed healing adjustments.
How To Remove Wrinkles From Clothes In Photoshop
Now that we’ve narrowed down the best methods to remove those pesky wrinkles, let’s try one out to see it in action. Follow the steps in the above section and navigate to the healing tool. Alternatively, press J on your keyboard to access it.
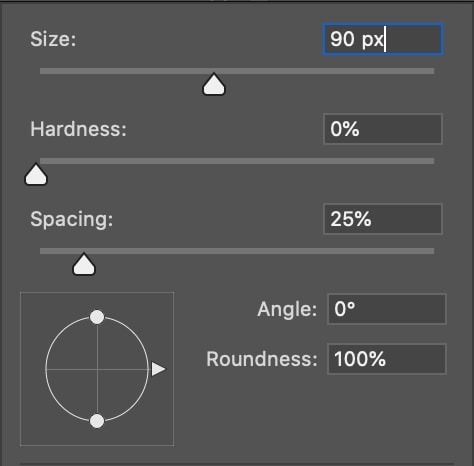
I opted for the Lighten mode, as the wrinkles have a darker shadow than the rest of the sweatshirt.
Hardness is at 0 for the maximum blend and the brush size is medium at 90 pixels.
Now let’s heal those wrinkles. Take a look at our starting image below. You can clearly see wrinkles around the sweatshirt.

By holding Alt or Option + Clicking on another area of the sweatshirt to sample from, I can paint over the wrinkles to replace them with my sampled pixels.
When I paint over the wrinkles, the shadow becomes lighter yet still blends relatively well with the rest of the sweatshirt. Notice I kept the natural fold of the fabric visible in the center of the sweatshirt to maintain a natural appearance. I focused more on the smaller wrinkles that made the shirt feel a little too wrinkly.

Using Frequency Separation To Smooth Wrinkles In Clothing
Frequency Separation is a higher-level tool that is often used in professional photo retouching to remove blemishes. This means that, while it might be a bit more difficult to use, Frequency Separation will give you stellar results when removing wrinkles. Let’s break down how Photoshop’s Frequency Separation works and how you can use it to smooth unwanted wrinkles in clothing.
To do this, you essentially need to separate the texture and the color of the photo into two different layers. This sounds scary and complicated, but it’s actually quite simple!
Start by creating two copies of the original layer by pressing Command/Control + J with your layer selected to duplicate it. Do this twice to create two copies of the background layer.
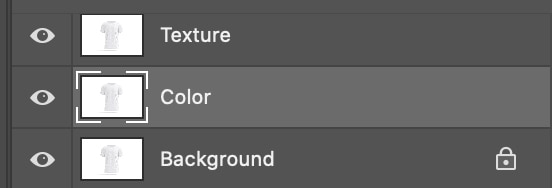
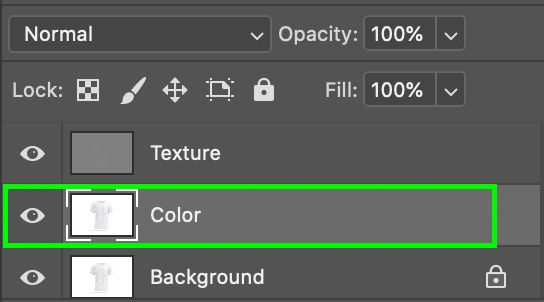
Now, you should have three layers overall. Name the top layer Texture and the middle layer Color. You can do this by double-clicking on the name of the layer.
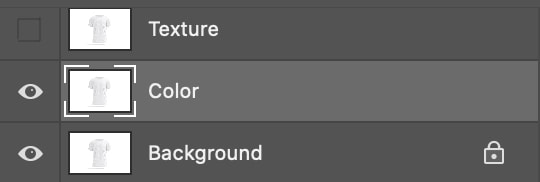
Now, click the eye icon next to the top layer, Texture, to hide it. This way we can only see the others.
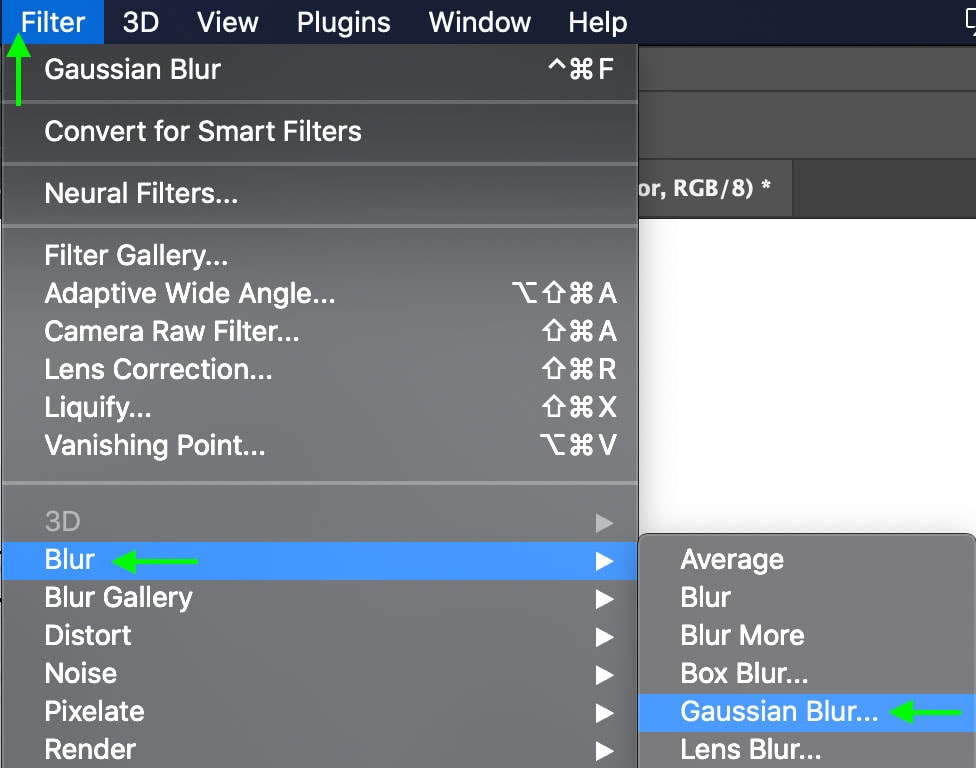
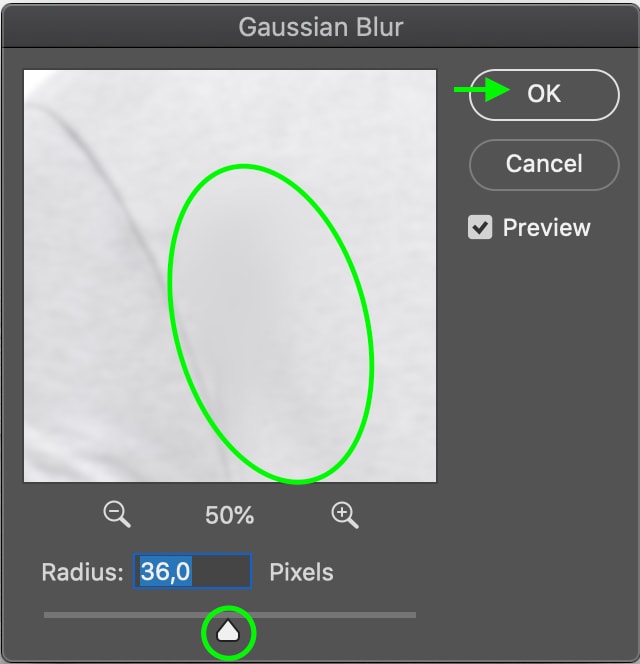
Now select the middle layer, the one named Color, and head to the top toolbar to click Filter > Blur > Gaussian Blur.
Drag the slider to increase the blur effect until the details in the fabric appear smoothed out. For me, this happened around 6 pixels. Click OK.
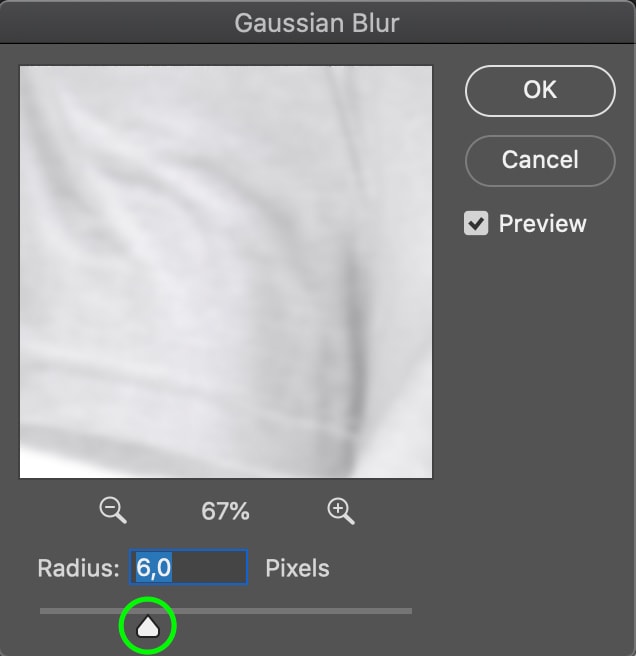
The photo will appear blurred, but that’s okay for now.
Now enable the “Texture” layer again by clicking the eyeball icon to the left of the layer.
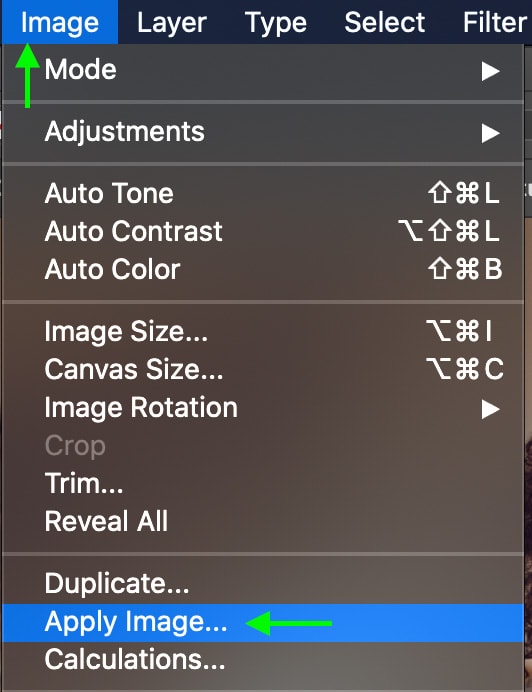
With the Texture layer selected in the layers panel, go to the top toolbar and click Image > Apply Image.
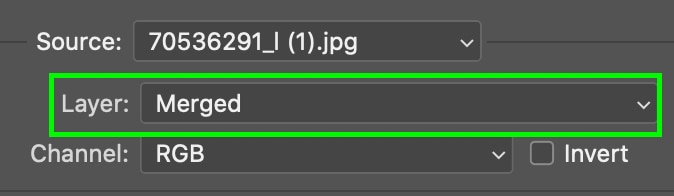
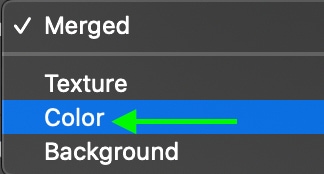
In the window that comes up, click the drop-down bar next to the “Layer” setting and select the layer you’ve named Color.
For the blending mode, select Subtract. This will subtract what remains of the layer, which at this point is just the dark and light of the wrinkles, as we’ve blurred all the texture using Gaussian Blur.
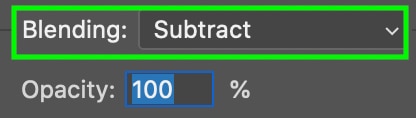
Finally, set the Opacity to 100, Scale to 2, and Offset to 128.

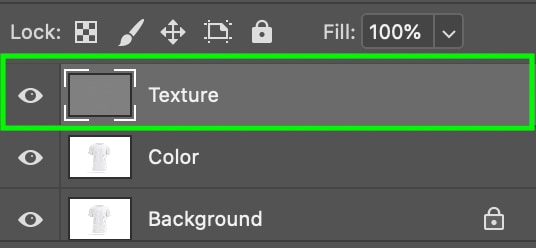
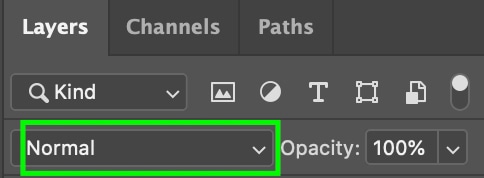
Once you click OK, you’ll notice your image turns gray. Let’s fix this. Head to the Layers panel and make sure the Texture layer is selected.
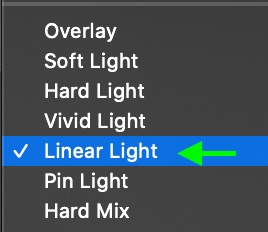
Click the drop-down box for the blending mode which is automatically set to Normal. Then find and select the blending mode called Linear Light.
You should see the image return to normal, and now, it is separated into layers of texture and color. To heal the wrinkles, first, make sure the Color layer is selected in the panel.
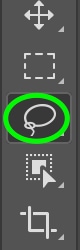
Now, head to the Lasso Tool in the toolbar or press L on your keyboard.
Increase the feather setting to make sure the healed area is properly blended into the area around the wrinkle. I set it to 30px, however, you can get away with anything between 10px and 30px for most projects.

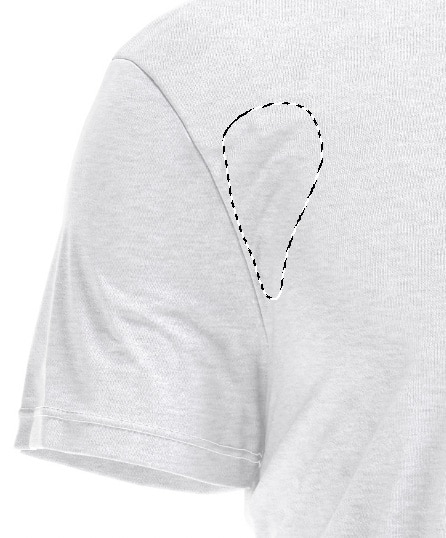
Select the area you’d like to work on using the Lasso by clicking and dragging to create a selection around the wrinkles. It is best to either select an individual wrinkle or a small group of close-together wrinkles. Working in smaller areas at a time will usually offer better results.
With your selection active, head to Filter > Blur > Gaussian Blur.
Increase the blur on the specific section of wrinkles until you can no longer see the shadow in the wrinkle. To control the sample area, use the zoom tools and drag the pointer until you find the area you’ve selected.
Click OK, and you’ll notice the wrinkles now smoothed out in that section – yet, because we’ve only altered the pixels in the Color layer and not the Texture, the texture of the healed fabric remains the same as the rest of the fabric.

Now to finish it off, press Command + D (Mac) or Control + D (PC) to deselect the active Lasso selection. Repeat the process, using the lasso tool to select each wrinkle you’d like to blur until you’re satisfied with the results.
Frequency separation might add a few extra steps to your workflow, but the benefits are clear once you put the healing tools into action. Separating your image by texture and color allows you to smooth stubborn wrinkles you might not have otherwise in the previously mentioned tools, as well as produce a more natural-looking image.
Happy Editing!


