

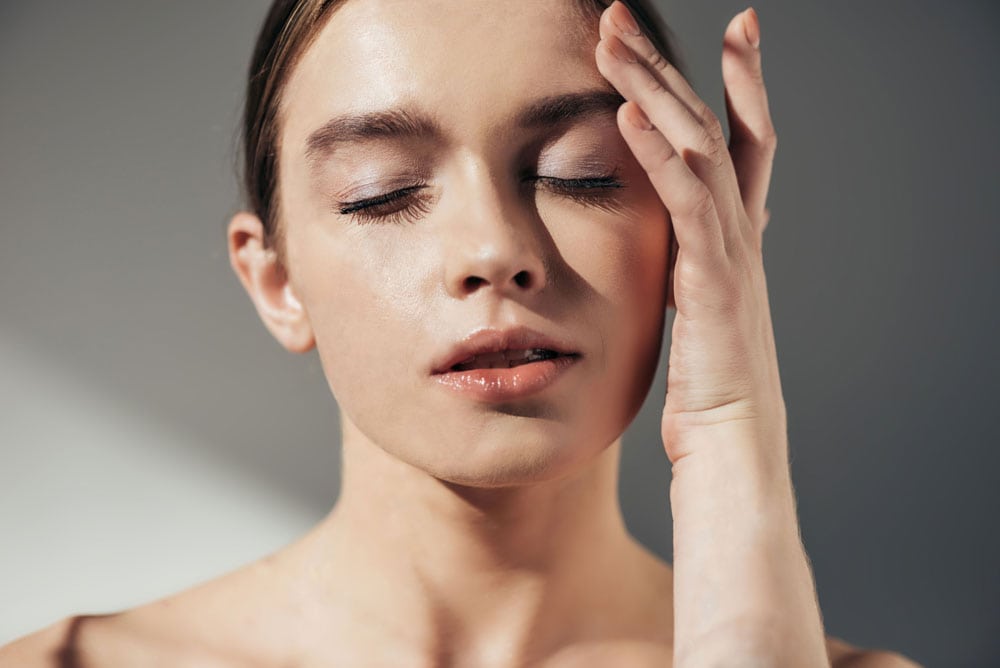
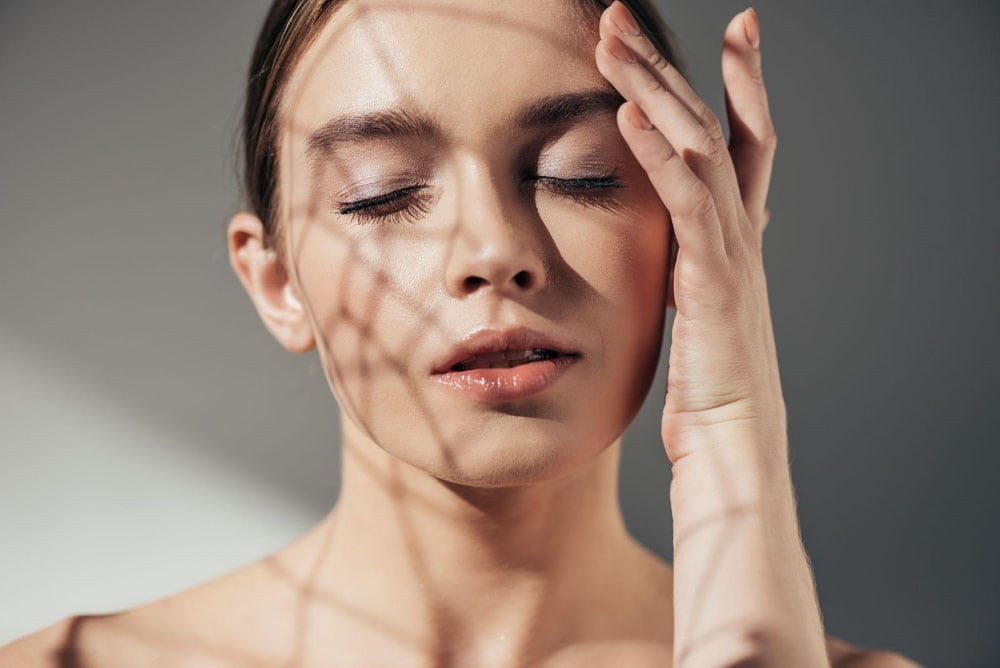
Random shadows can ruin a photo. Fortunately, you can easily remove shadows in Photoshop and make them look as if they were never there.
In this tutorial, you will learn how to remove shadows on both a subject’s face and the background. Both methods are broken down into a few simple steps to make them quick and easy to follow!
Video Tutorial
How To Remove Shadows From A Face In Photoshop
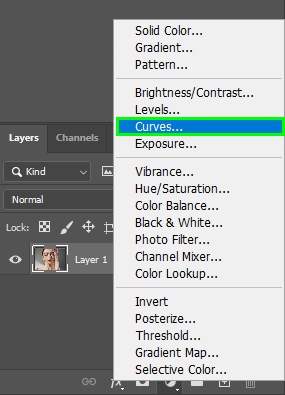
Step 1: Create A Curves Adjustment Layer
First, go to the Layers Panel, click the Adjustment Layer icon, and choose the Curves Adjustment Layer.

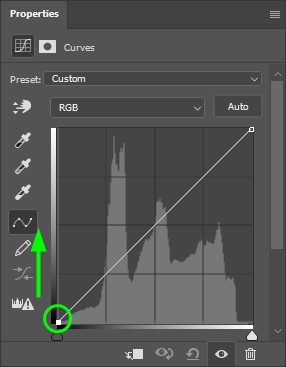
The Curves dialog displays your image tones. It contains the image highlights, mid-tones, and shadows. On the right side of the graph, you can find the highlights, and on the left side, you will find shadows. To lighten the shadows, drag the curve up to the middle of the vertical side of the graph.
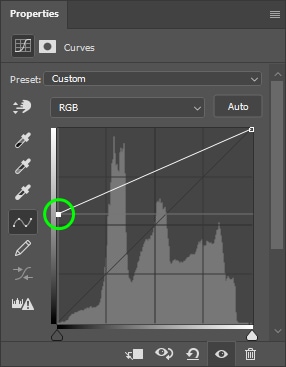
This will lighten up your entire image. As we don’t want to lighten the entire photo, go back to the Layers Panel and ensure the curves mask is active. Then, press Control + I (Win) or Command + I (Mac) to invert the mask. This will hide the Curves mask and make your image go back to normal.
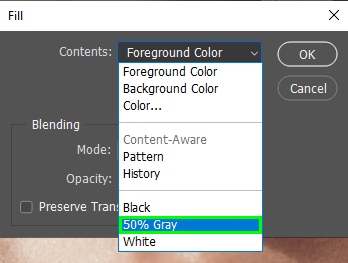
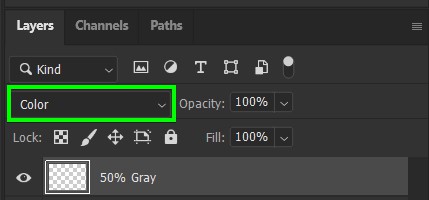
Step 2: Create A 50% Gray Layer By Using a Fill Layer
Create a new layer in the Layers Panel by clicking the plus sign icon. You can rename this layer to 50% gray to keep track of everything.

Next, click the 50% gray layer and press Shift + F5. That will bring up the Fill dialog. In the Contents drop-down menu, select the 50% Gray option. The 50% gray layer lets you see the shadow details better, leading to more accurate results.
Now, set the 50% gray layer’s blend mode to Color.
Step 3: Paint Over The Shadows With The Brush Tool Set To White
Click the Curves layer mask. Zoom in on the target area by pressing Control + + (Win) or Command + + (Mac) to get a better view.
Next, go to the Toolbar and grab the Brush Tool (B). Once the Brush Tool is selected, go to The Options Bar and set the Flow to 5%. Set the Foreground Color Swatch to white by pressing D on your Keyboard.

Now, right-click on your image and adjust the Brush Size. Your brush size should be proportionate to the area you are applying the brush. Paint over the undesired shadow with the white brush.
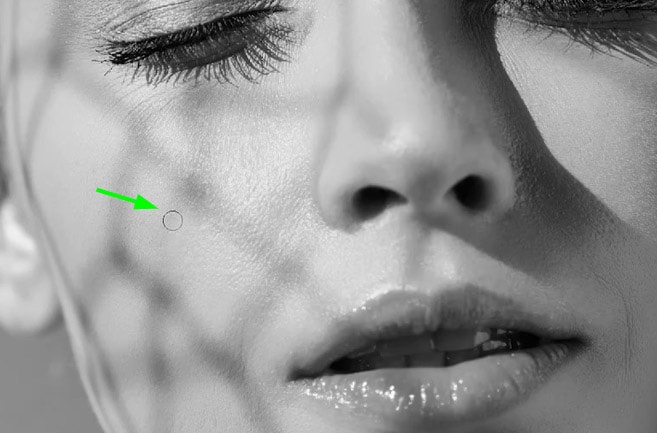
You can increase the Flow in areas with darker shadows. I had to turn up the Flow to 15% to cover the darkest shadow spots. When you finish removing the undesired shadows, go back to the Layers Panel and turn off the 50% gray layer to see how your editing came out.
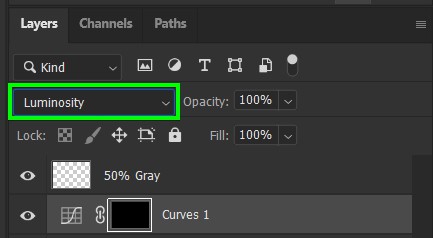
Step 4: Change The Curves Layer Blend Mode to Luminosity
After removing shadows, some stains may remain on the skin. That’s because the Curves mask affected both pixel luminosity and color. To correct this, select the Curves layer and change the blend mode to Luminosity.
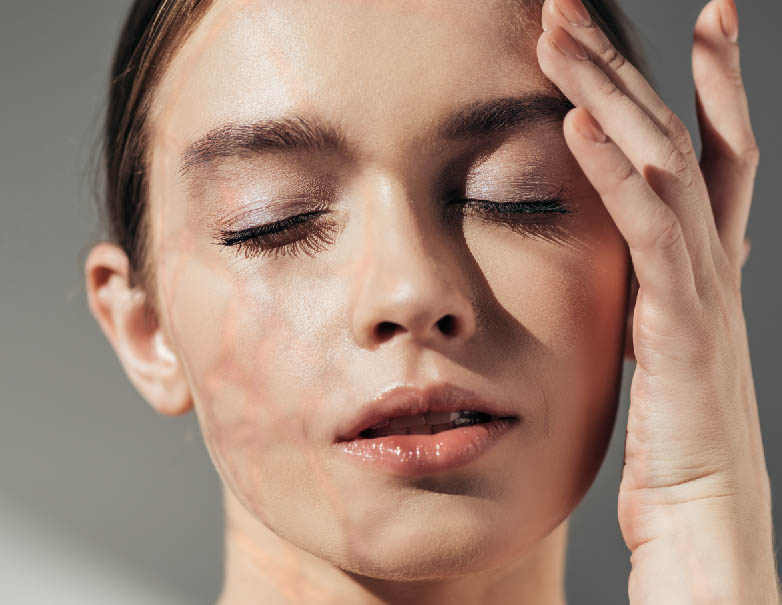
Step 5: Create A Color Correction Layer
To finish removing the stains, create a new layer to place the color corrections. To do this, click the new layer icon in the Layers Panel. Change the layer blend mode to Color. Next, enable the Brush Tool (B). In the Options Bar, set Flow to 10%.
Then, zoom in on the area you want to correct and sample pixels from its surroundings by pressing Alt (Win) or Option (Mac) and clicking the desired color to sample.
Your cursor will turn into an eyedropper icon, and the foreground swatch will change to the color you sampled.
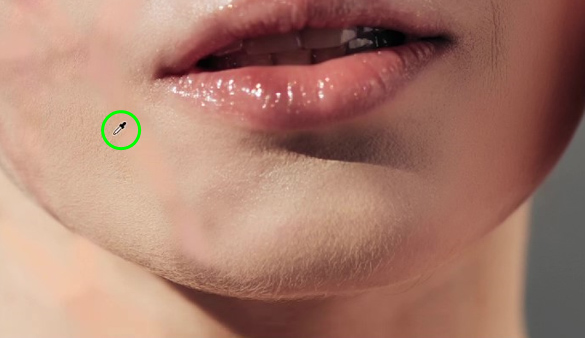
With that done, paint over the problem area to cover it with the sampled color. After doing this, you may also need to retouch your subject’s skin to make the tones uniform.
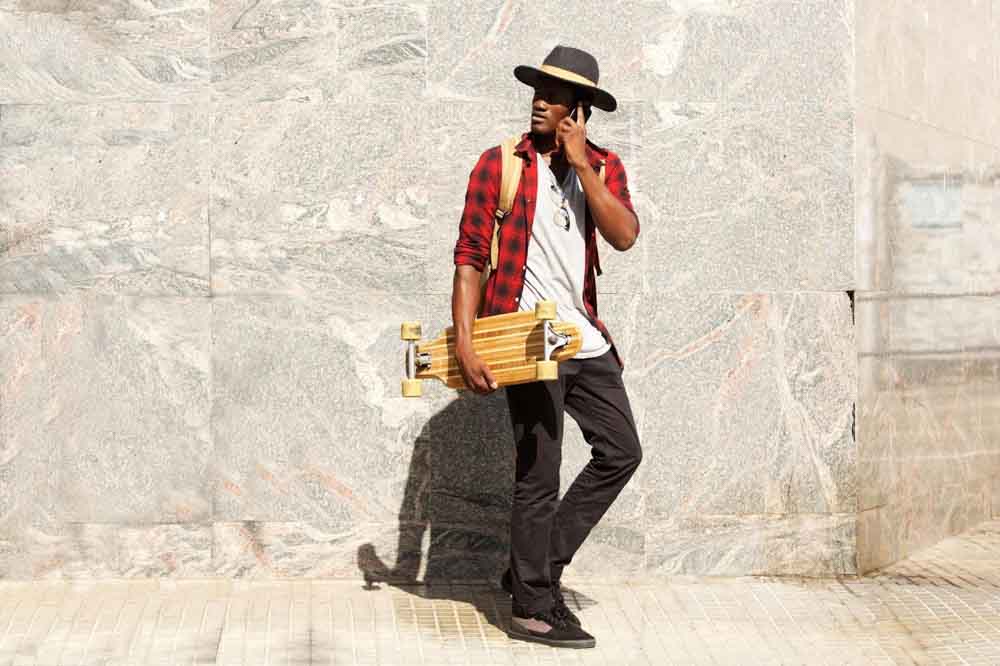
How To Remove Background Shadows In Photoshop
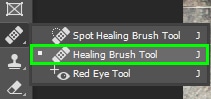
Step 1: Enable The Healing Brush Tool
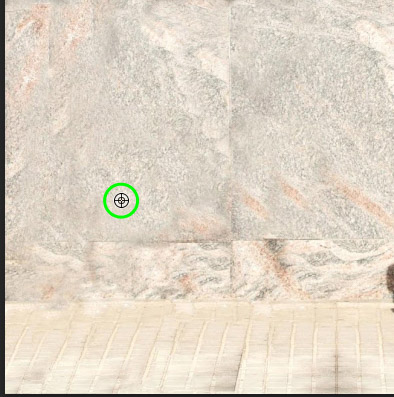
Click the plus sign icon at the bottom of the Layers Panel and make a new layer. When using the Healing Brush Tool to remove shadows, it’s best to work on a separate layer from your image. That way, you can work non-destructively. The Healing Brush Tool (J) is in the Toolbar.
With this tool, you can sample pixels from different parts of your image and use them to cover the unwanted shadows.
Step 2: Change The Healing Brush Tool Settings
You need to change some Healing Brush Tool settings in the Options Bar for this tool to work correctly.
- Set the Blend Mode to Normal.
- Set Source to Sampled.
- Mark the Aligned checkbox. This makes Photoshop sample new pixels as you cover the target area.
- Set Sample to All Layers; otherwise, you won’t be able to place your color corrections in the blank layer you created.

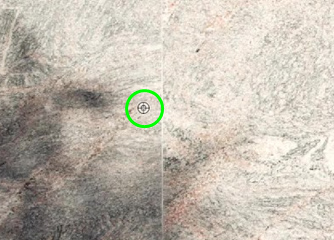
With the Brush Healing Tool settings adjusted, zoom in on the shadow area you want to remove by pressing Control + + (Win) or Command + + (Mac). Next, hold Alt (Win) or Option (Mac) on your keyboard. Your cursor will turn into a target icon, indicating the tool is ready to collect pixels. Click on the pixels you want to sample.
Then, let go of Alt/Option and paint over the shadows to replace the pixels. The pixels that are being used to cover the target area are indicated by the cross icon next to your cursor as you cover the target area.

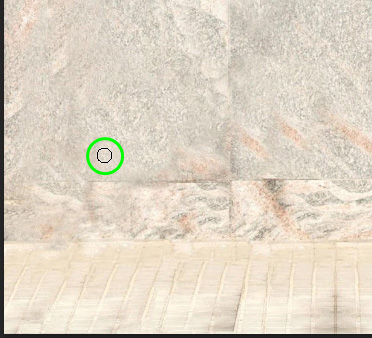
Up to a certain point, the tool repeats pixels. Thus, you need to sample new pixels from time to time.

Step 3: Add Texture Back In Using The Clone Stamp Tool
On certain images, the Healing Brush Tool may remove some texture from the area where you remove the shadow. The next step is adding the texture using the Clone Stamp Tool.
Select the Clone Stamp Tool from the Toolbar or press S. Make sure the following settings are active in the Options bar. Mode set to Normal, Opacity at 100%, and Flow set to 100%. Check the Aligned box and set Sample to All Layers.

You can now use the tool in the same way as the Healing Brush Tool. Hold Alt (Win) or Option (Mac) and click on a sample area of the texture you want. Then, paint over the area to replace the pixels with the ones you just sampled.
You have now removed the shadow while keeping the texture correct in the image.

You now have all the removing tools you need to take care of pesky shadows in any image!


