
The Best Camera Settings For Hiking
There are fewer places more beautiful than what you find on the hiking trail. There are endless opportunities to capture great photos from mountains, rivers, open skies, or coastal views. With outdoor adventures becoming increasingly popular, you probably scroll through hundreds of mind-blowing hiking photos a day. The kind of photos that make you want to quit your day job, sell your house, and live on the trails for the rest of your days. Okay, maybe that’s a bit of an exaggeration, but how do these other hikers manage to take such amazing hiking photos? Well, it all starts with using the right camera settings.
The Best Camera Settings For Hiking Photography Are:
- Mode: Manual Mode (M)
- Shutter Speed: 1/80 – 1/200
- Aperture: F/8 – F/11
- ISO: 100-400
- Focus: Auto (AF)
- Focus Type: Continuous/Servo
- White Balance: AWB
- Drive Mode: Single Shot
With these base settings, you have a good starting ground to capture a balanced exposure. However, even the most perfect camera settings won’t guarantee a perfect photo. There’s a lot more that goes into capturing great hiking photos, and I’m going to share exactly how to do that in this post.
How To Pick The Best Camera Settings While Hiking
Yes, there is a lot more that goes into a great hiking photo than camera settings, but; they are still important. After all, without the right settings, your photo might look too bright, too dark, out of focus, or whatever else. Let’s discuss what you need to think about when choosing your camera settings to start things off.
Choosing Your Exposure Settings
At the most basic level, you can’t capture a good hiking photo if you’re camera settings are all messed up. To help you better understand the value of the three pillars of exposure (shutter speed, aperture, and ISO), let’s talk about the reasoning behind the above setting recommendations.
– Shutter Speed
The shutter not only controls how much light can land on your sensor, but it’s also in charge of how movement is captured. Since hiking is all about movement and getting to cool places, you must be using the right shutter speed. If you don’t, you run the risk of getting unwanted motion blur that could ruin your photo!
If you want to photograph your friend walking down the trail, you’ll want to opt for a faster shutter speed. That way, every part of their body will be tack sharp. Something like a shutter speed of 1/200 is more than enough to capture the movement of walking or running on the trails.
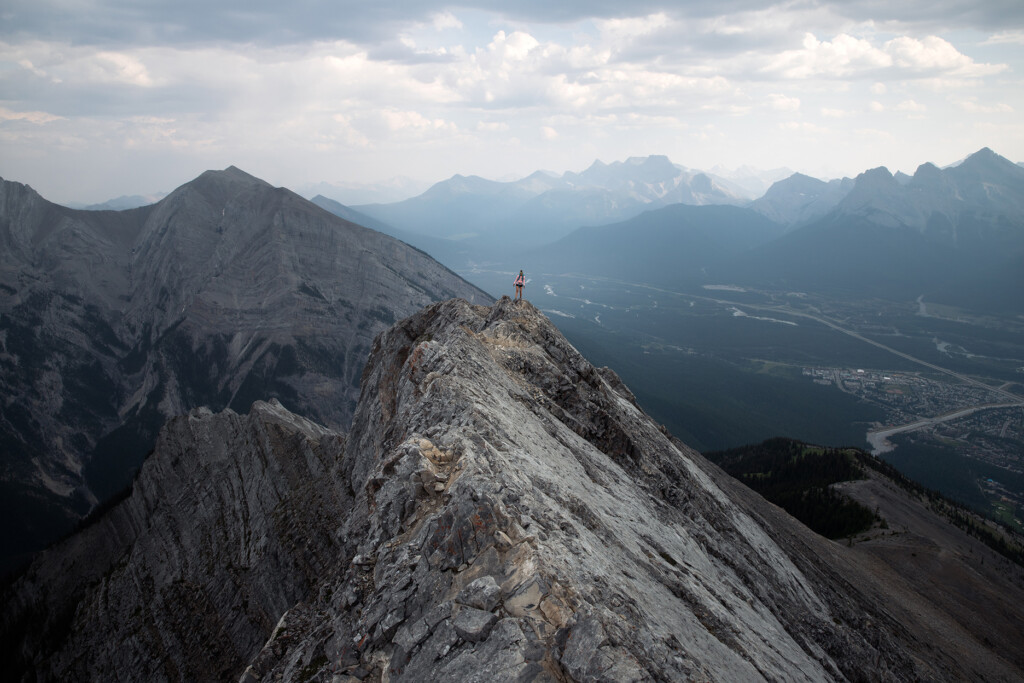
On the other hand, you may want to get that epic hero shot on the edge of the peak you just conquered. Since your subject will be standing still, you can get away with a slower shutter speed like 1/80 and still get a sharp photo.
Remembering why you use certain shutter speeds will help you to better assess which one best suits your situation. To put it simply, if there’s going to be movement, increase the shutter speed. If you’re shooting someone standing still, then you can afford a slower shutter speed.
You can learn more about shutter speed and how it affects your photos in this post.
– Aperture
Aperture is in charge of limiting how much light can enter through your lens while also controlling the depth of field. In non-photography terms, that means it controls how much can be in focus at once.
The aperture is a donut-shaped hole inside your lens that opens and closes depending on the F-stop/aperture setting. With a smaller aperture, there is less light that can enter your camera, but more of your scene will be in focus. The opposite is true with a wide aperture that’s most commonly used in portrait photography to blur backgrounds.
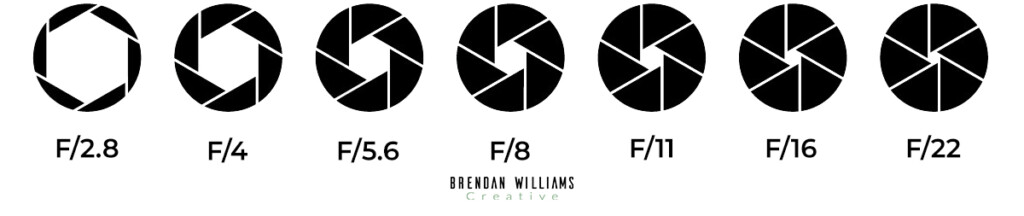
With hiking photography, you not only want to draw focus to your subject but also where they are. You don’t want so much blur that it makes the background indistinguishable. You want to choose a smaller aperture to maintain a larger depth of field. Something between the ranges of F/8 and F/11 is perfect for this.
By giving yourself a bit of wiggle room with your aperture settings, you’ll have an easier time to adjust to changing lighting conditions. Rather than always using one aperture for every hiking photo, you can open or close it to help out your exposure. At the end of the day, you won’t notice a huge difference between F/8 and F/11 unless you’re on a telephoto lens.
You can learn about the importance of aperture in photography with this guide.
– ISO
Finally comes ISO. This camera setting controls how sensitive your sensor is to incoming light—the more sensitive the sensor, the brighter your photo. The downside, however, is that with a higher ISO, there’s more grain in your photo. As a general rule of thumb, you want to strive to keep the grain (also known as noise) to a minimum.
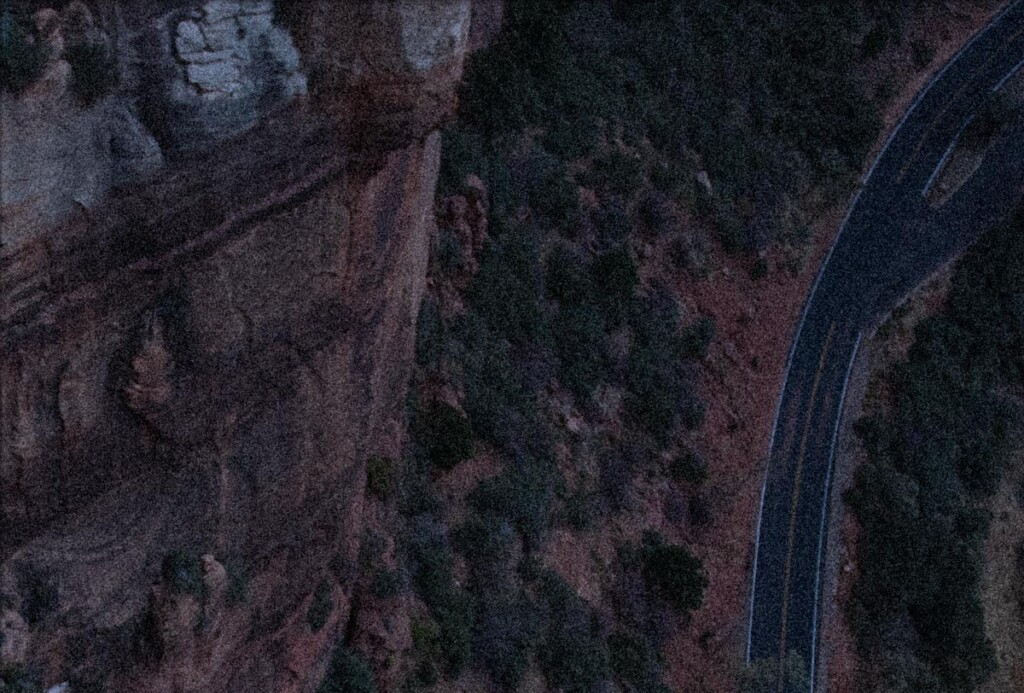
To ensure your hiking photos don’t look too grainy, try to keep your ISO as low as possible. In brighter conditions, opt for ISO100, which will have the least amount of noise possible. If you’re in the forest or the sun isn’t shining, you can bump up to a higher setting, such as ISO400, to help brighten your exposure.
Although you can use a higher ISO if you wish, it’s important to realize how it affects your photo. If there is too much grain, it can end up becoming distracting and ruin the quality of your image. To get the clearest picture possible, aim to use a low ISO setting while on any hiking adventure.
Picking The Right Camera Mode
Now, if you’re new to photography, learning how to choose camera settings can be difficult. Once you do learn, having manual control offers endless benefits and creative control. However, there are other camera modes that will get the job done while hiking. Take shutter priority mode, for example.
– Shutter Priority (Tv or S)

Shutter priority (Tv or S) is a camera mode that gives you manual control of the shutter speed while the camera automatically chooses your other settings. Since hiking photography is all about capturing movement, controlling the shutter speed is a must. Otherwise, you run the risk of having too much motion blur in your subjects, especially in low light.
Since you only need to think about the shutter speed in this mode, it’s a lot easier to focus on getting the shot. Rather than feeling overwhelmed with manual settings, you can pick exactly what shutter speed you need for a photo. The rest is taken care of by your camera.
When you want to take quick candid shots of people, using a semi-automatic camera mode like this is extremely helpful. Once again, with less to think about, you can get more well-exposed images will less effort.
– Manual Mode (M)

At this point, you might be wondering why in the world you’d ever want to shoot in manual mode. I mean, shutter priority sounds pretty awesome, right? Although awesome, it does have some drawbacks that only manual mode can solve.
With manual mode, you can better translate your creative intent behind a photo. You can control your depth of field, how motion is captured, plus limit the amount of grain in your photos. With semi-automatic modes, you don’t always know what you’re going to get. By using manual mode, you can be more intentional with the look of your images.
For example, your camera isn’t going to know whether you’re shooting a portrait, landscape, or night time image while using shutter priority. Each of these shots will require your camera settings to be a little different than the other. With manual mode, you can tell your camera exactly what you need to get the shot you want.
Especially as a beginner in photography, manual mode is downright intimidating. However, the entire process can be made easy by better understanding the exposure triangle. You can also find a fast and concise way of mastering manual mode in my photography ebook, Goodbye Automatic.
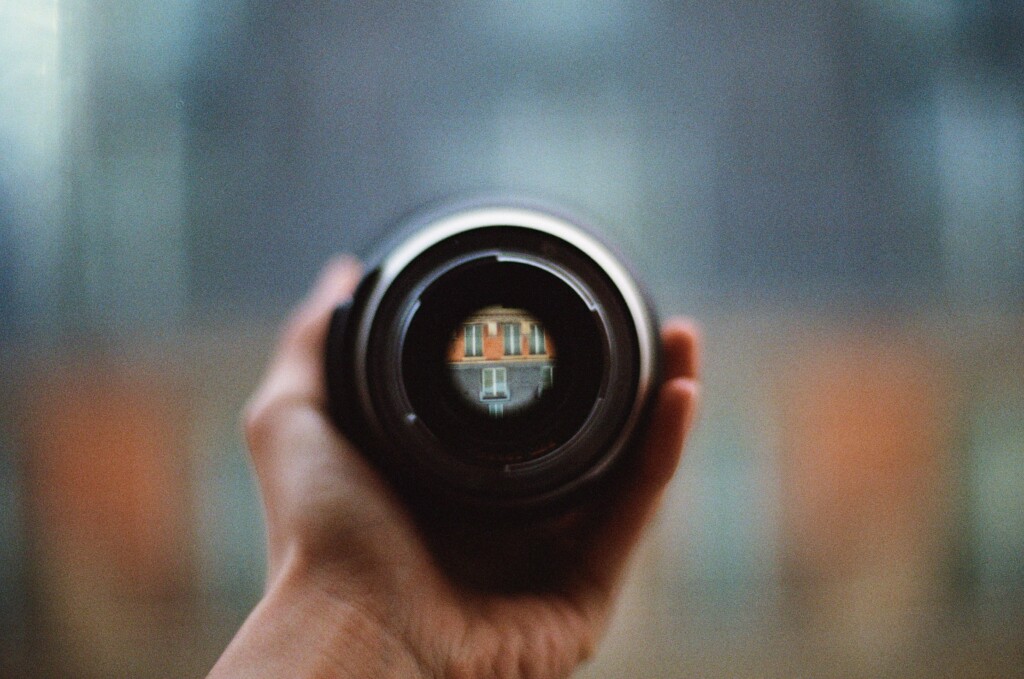
Consider Your Focal Length (Lens Size)
Why would anyone bring a heavy camera hiking when you have a tiny phone camera that works perfectly fine? Are photographers some kind of hiking masochists? Even though hiking with a camera can be challenging, having the option of different focal lengths is what makes it all worthwhile. However, it’s important you choose the right lens while hiking.
In most cases, you want to pack as light as possible. That means you’re going to have to leave some lenses behind. If you’ve been shooting for a while, you likely have a main lens that you use for everything. For me, that’s the Canon 24-70mm F/2.8. With this middle of the line zoom range, I’m able to get wide-angle shots, with the ability to zoom in when needed.
Focal length also affects how much distortion and lens compression are seen in your photo. While hiking, both of these factors play a huge role in the appearance of your images.
Lens distortion typically happens with wide-angle lenses. As the light passes through the glass elements of the lens, it gets bent and distorted, particularly around the edges. The result can end up bending straight lines in your frame, such as trees. This effect can look cool in some situations, but it doesn’t always create a “professional” looking photo.
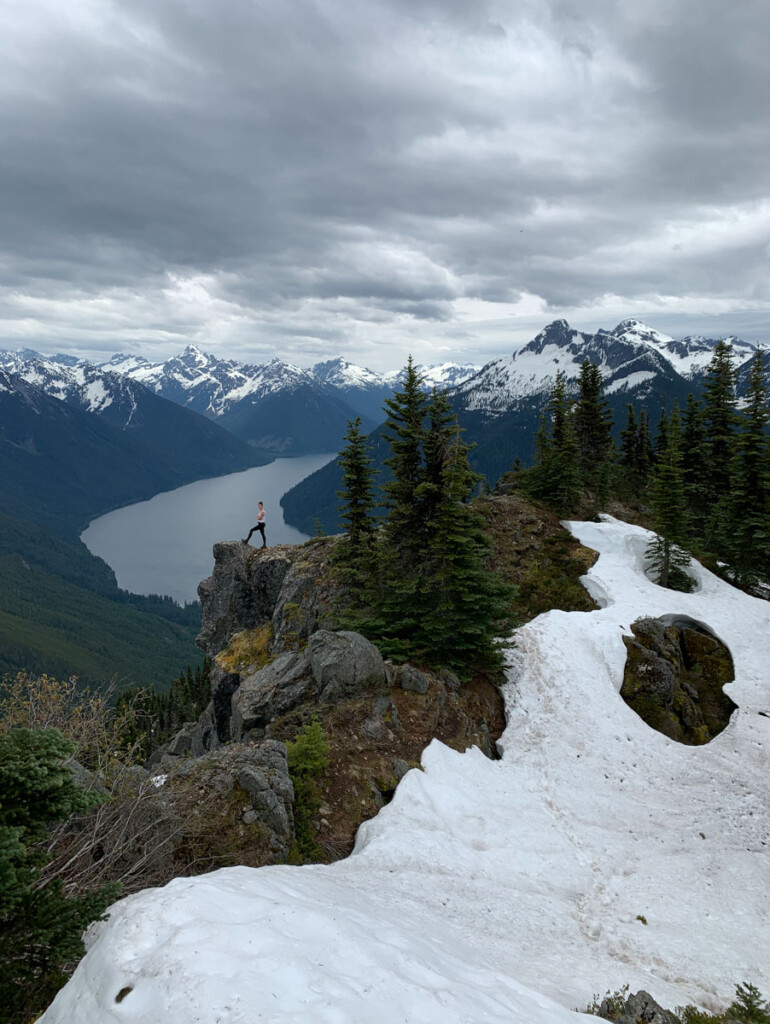
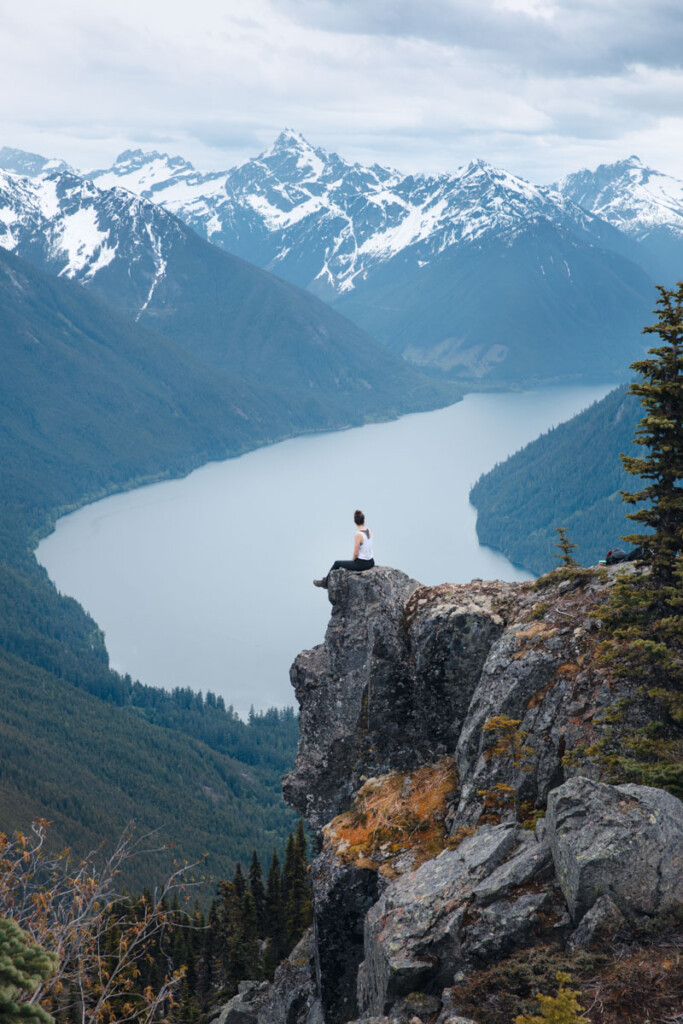
On the other hand, lens compression is the change in the perceived distance between your subject and the background. As you zoom in, the background will appear closer and closer to your subject. This is perfect when you want to make the views from the top of your hike look truly epic. Just by zooming in, you can make all your surroundings appear larger than life. Just look at the difference between a photo from my phone versus one shot on my camera at 70mm. Although taken from the same position, the result is drastically different.
As an all-around lens to bring hiking, make sure you are using a wide-angle zoom lens. These will offer the most versatility and help to capture any photo you envision while on the trail! You can see a list of all my favorite lenses here on my recommended gear page!
The Best Focus Mode For Hiking
You don’t want to spend lengthy amounts of time setting up a shot while hiking. Especially when the lights fading and you’re still a ways from your destination, it’s go-time. This isn’t a reason not to take photos, but it’s a reason to think smarter about how you take them. Particularly, what focus mode you’re using.
– Autofocus Or Manual Focus?
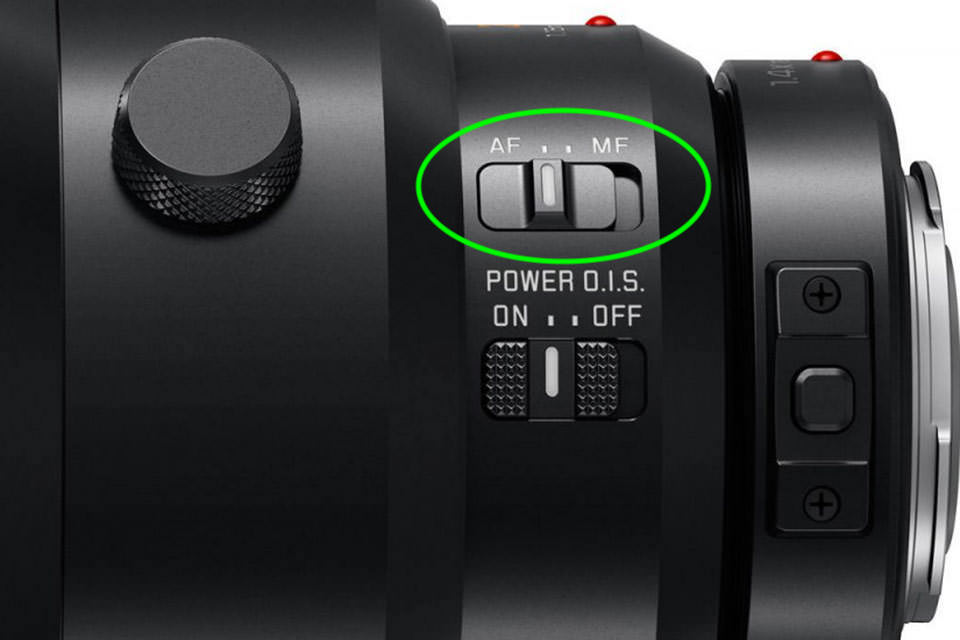
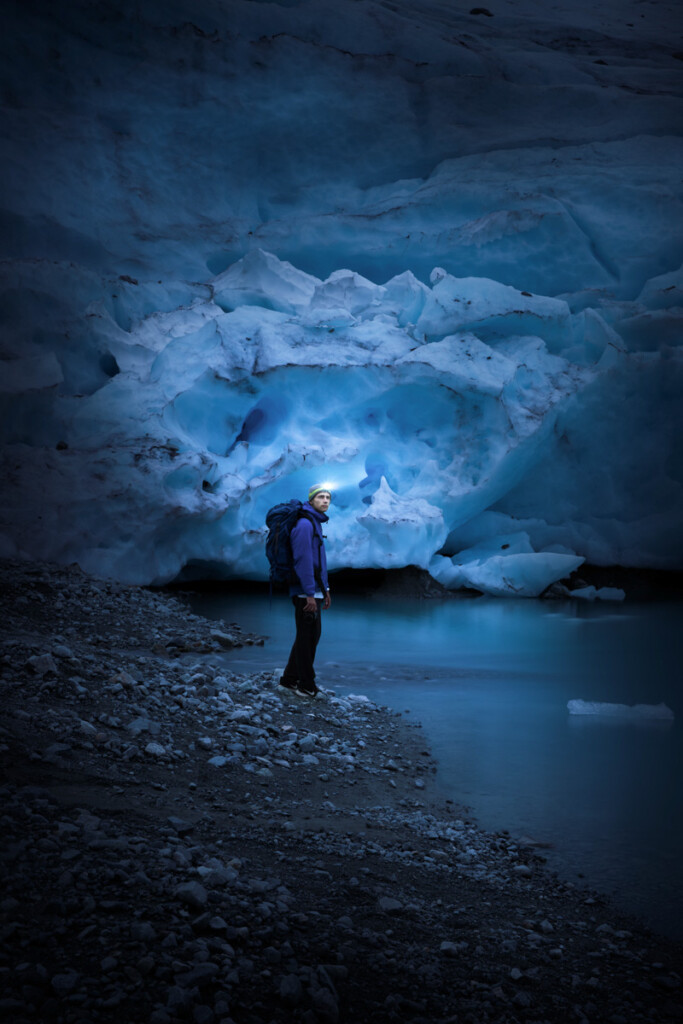
On any camera, you have the option between manual (MF) or auto (AF) focus. Manual focus requires you to manually move the focus ring to set your focus. On the other hand, autofocus lets your camera find the focus based on the position of your autofocus point. No matter how fast you think you are at getting focus, I’m willing to bet that autofocus will do a better job 9 times out of 10.
While hiking, using autofocus is a no-brainer. You can quickly snap a series of photos without having to think about whether or not your image is focused. Just set your autofocus point and start pressing capture. Unless you’re shooting in dark conditions where autofocus won’t work, there’s almost no reason to use manual focus on the trail.
– Single Shot Or Continuous Focus?
On the vast majority of DSLR and mirrorless cameras are two focus modes called single shot and continuous (or Servo). With single shot, your camera will autofocus once, right after you hit the capture button. With continuous / servo, your focus will continue to adjust as you, or your subject, move.
While using autofocus, continuous focus is a must while hiking. Odds are you’ll photograph someone walking at one point or another. With continuous focus, you can track them as they change positions in your frame. That way, they’ll always stay sharp!
On Nikon and Sony cameras, continuous focus is known as AF-C. On Canon cameras, it’s known as AI Servo AF. By going into your autofocus settings, you’ll see one of these focus modes, depending on the brand of your camera.
Choosing White Balance For Hiking Photography
The final thing to consider when picking your camera settings for hiking photography is the white balance. The white balance controls how “warm” or “cool” your photo looks. In most cases, using Auto White Balance (AWB) is all you need while hiking. Since there isn’t a significant change in light color (like going from outdoors to indoors), AWB will maintain a consistent look across all your photos.
With that said, this can change when shooting at golden hour. During sunset or sunrise, the colors are much more vibrant and warm. By changing your white balance setting to something warmer, you can further accentuate these colors. If you ever are hiking during golden hour, try choosing a manual white balance between 5800K and 6300K, and you’ll completely transform your photo in-camera!
How To Take Better Hiking Photos
Now that you have your camera settings down, it’s time to discuss how to actually capture better hiking photos. After all, even with the perfect camera settings, you aren’t guaranteed a great image. Luckily there are a few easy tips you can try to start taking better hiking photos on your next adventure.
1. Choose The Right Moments To Take Photos
With your camera settings sorted out, it’s time to start snapping some photos. As great as it can be to “always be ready” when you’re hiking for hours on end, that can get exhausting. Instead, you can learn to better predict when and where the best photo op will be.
For example, if you’re walking through the forest, a lot of the trail will look the same. Since you know things might get a little boring for a while, it’s safe to pack away your camera. During these long and monotonous moments on the trail, there really isn’t anything that interesting to photograph. It’s just how it goes. With that said, there are some key moments to look out for.
Moments where the terrain becomes steeper, or there’s a unique feature like a river bed or view of the valley. One of those places that are unique to the hike and often catches people’s attention. For those in your group, these spots are where people may stop to fill up their waters, smile in conversation, or just try to rest their legs. These all pose perfect photo opportunities to capture while hiking.
Rather than keeping your camera out at all times, keep your eyes open. Think about any areas that look notable on the trail (rivers, breaks in trees, etc.) or where your group might stop. These are the spots that you’ll likely find the best candid moments of your group. These are also the most fun to look back on.
“Hey, remember how tired you were on this hike? You looked bagged in this photo!”
Rather than dealing with the annoyance of your camera around your neck for the whole hike, try to be selective. When you only take out your camera at key moments, you’ll only be capturing the kinds of images you want to look back on.
2. Wear Bright Colors
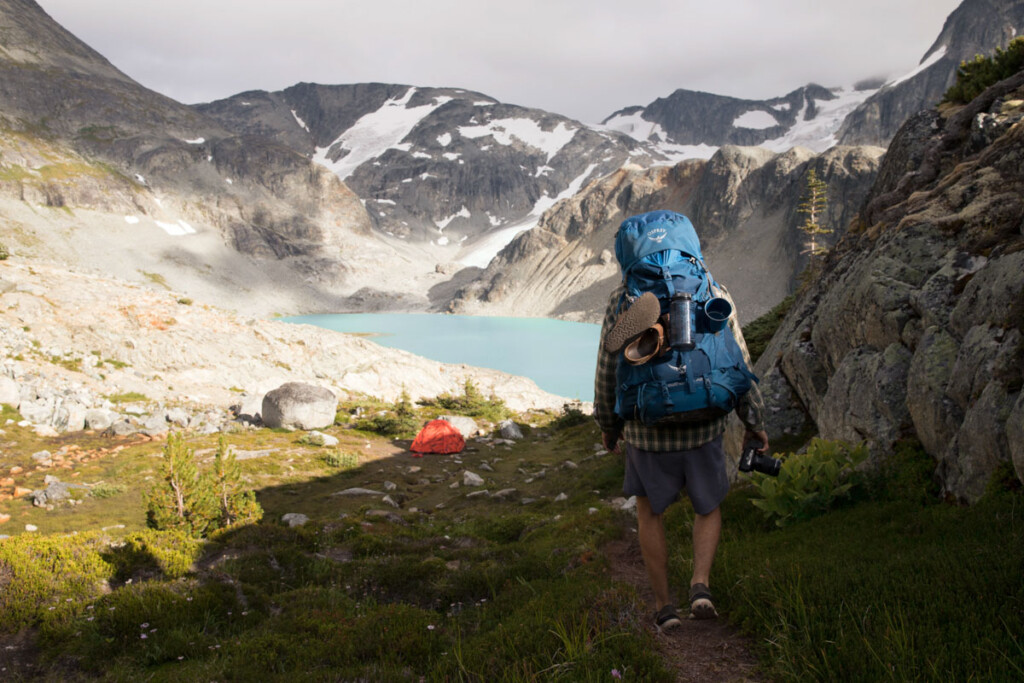
One of the easiest ways to take better hiking photos is by making your subject stand out. Luckily there’s no easier way to do that than getting your friend to wear a bright color! Clothing or bags that are bright blue, red, yellow, or orange tend to look the best in hiking photos. However, if your friend’s gear color doesn’t perfectly match what you imagined, you can always change the color with Photoshop!
Bright colors help to separate your subject from a busy or dark background. Rather than having to hunt through the photo to find the person, their bright clothing will make them stand out immediately. Just place them along a lake or further down the trail, and you’ve instantly made your photo more interesting.
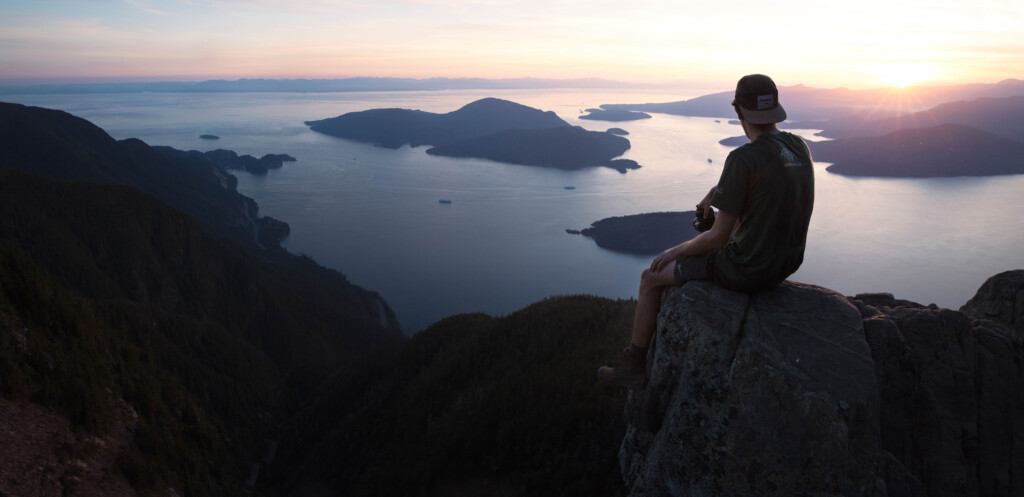
3. Wait For Golden Hour
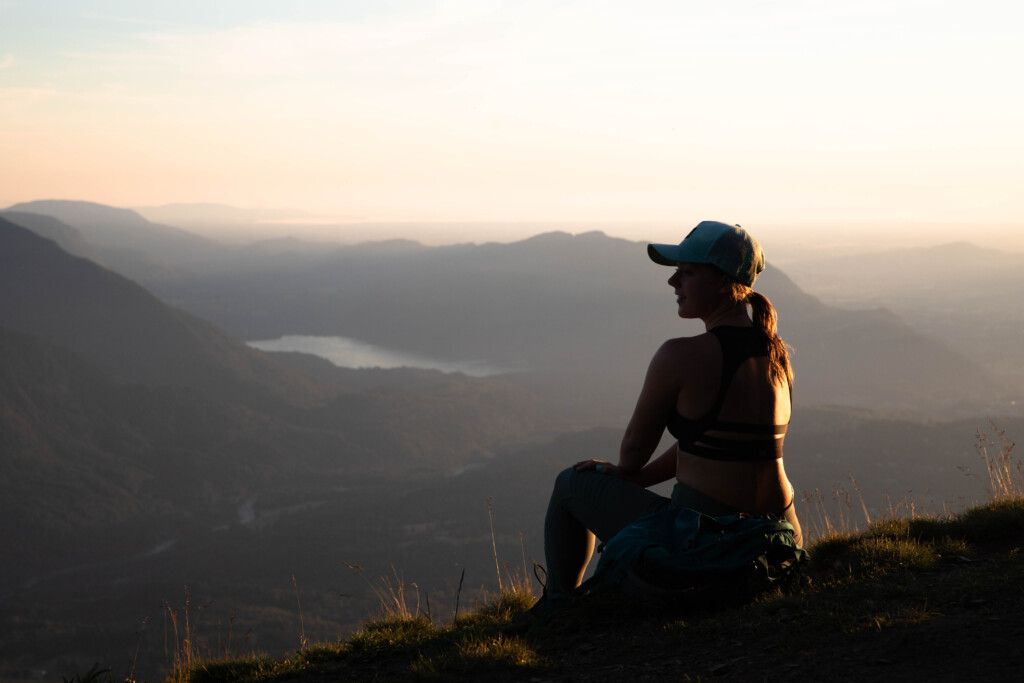
Whether it be sunrise or sunset, golden hour is the absolute best time to take hiking pictures. With a more flattering light, golden colors, and often fewer people, it’s the perfect time to take photos.
Golden hour is the hour before sunrise and sunset. It’s when the sky becomes rich with colors, and the sun will sit relatively low in the sky. This poses the perfect opportunity to capture lens flares or cast a golden glow on your subject.
As amazing as this time of day is, it’s made even better since many trails are totally empty during this time. Since it requires you to be hiking in the dark at some point, it’s not everyone’s cup of tea. However, the beautiful views and flawless light makes any early morning or late finish totally worthwhile.
Keep in mind that not all places will be empty during golden hour, especially easily accessible ones. If the hike requires more than 2 hours and holds some decent elevation gain, it’s a safe bet you’ll be mostly alone for golden hour.
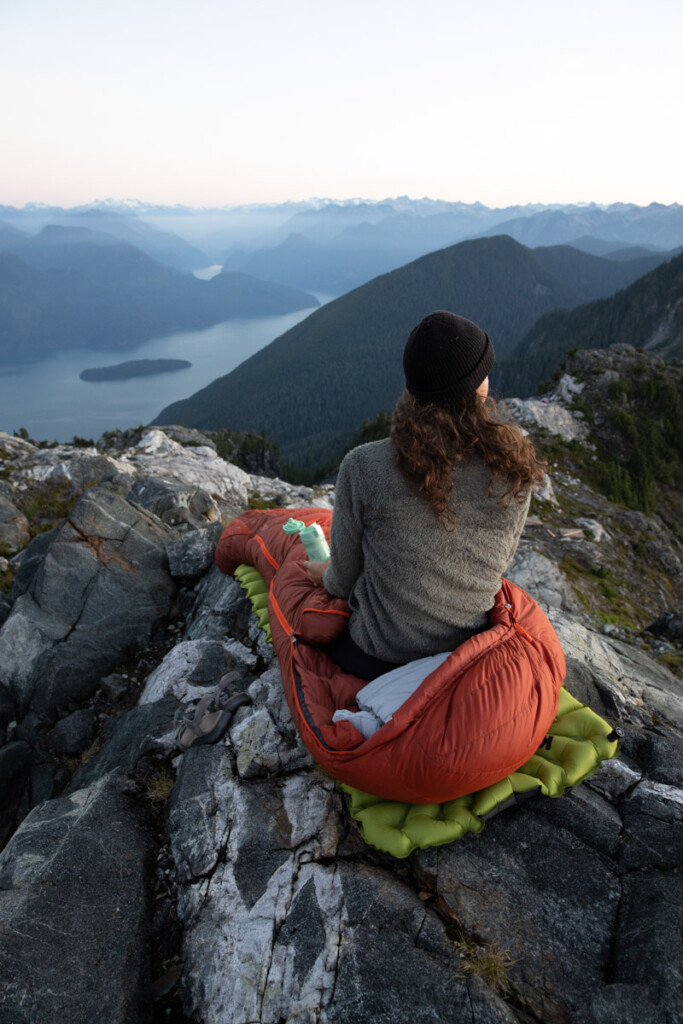
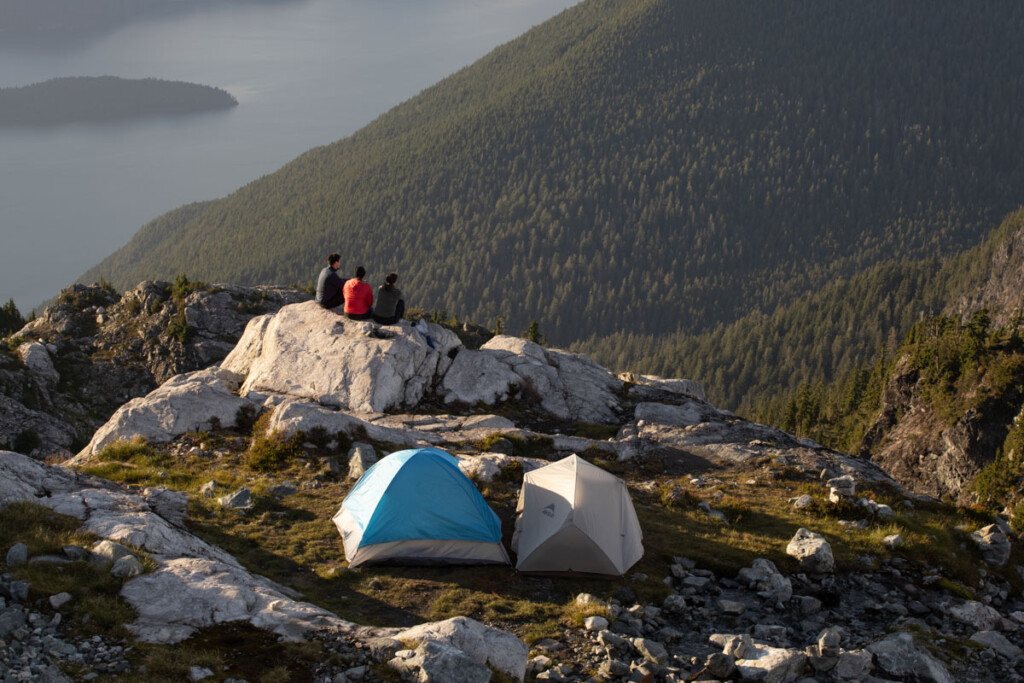
Now, if you’re like me and love your sleep, you can always consider spending the night on the trail instead of walking back. This way, you get more bang for your buck with a sunrise and sunset in the same trip. Best of all, you can brew your morning coffee and start taking great pictures without even leaving your sleeping bag.
Before you do this, make sure that camping is allowed in that specific area and be aware of any permits required!
4. Capture The Journey, Not Just The Destination
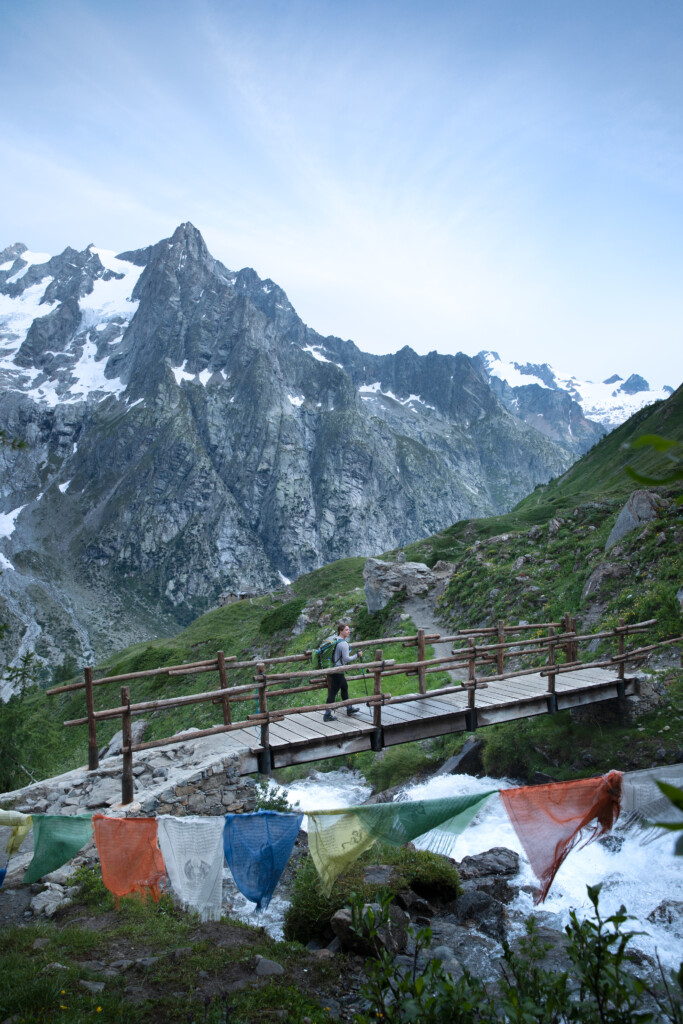
When most people take hiking pictures, they get so caught up in the destination that they miss the great photos along the way. Don’t let this be you. Even if there aren’t the best views, look to those you’re hiking with and see what kinds of candid portraits you could capture. Moments along the trail of people actually hiking are great images that will really capture the experience of the hike. Especially on longer multi-day hikes, these types of photos are fun to look back on.
Look for places where you can see the trail stretching out endlessly in front of you. Capture your friends doing goofy things or looking exhausted after a big climb. Shoot photos in your sleeping bags or while setting up camp for the night. There are so many amazing photos you can take that don’t involve the final view at all. In fact, most of my favorite hiking photos have been of the experience rather than the view.
In short, keep a keen eye for memorable moments to capture along the way. These will often be the most compelling photos you take on your hike!
5. Don’t Be Afraid To Put In Some Extra Effort For The Shot
After a long slog up into the mountains, it’s easy to get lazy with your photos. You don’t reposition to a better angle, and you don’t have the energy to hike to a new vantage point or whatever else. The reality is, if you want the best hiking photos you can get, you’re going to need to put in some extra effort.
Often times, people will get to the final viewpoint and stop there. They snap their photos and head back down the trail. Instead, take a look around and see what other places could offer interesting photos. More often than not, you’ll see another point you could get to that might offer an even better view. By putting in this little bit of extra effort, you can get shots that nobody else even thought about.
You don’t need to reinvent the wheel here and hike to a completely different mountain for a better shot. Instead, you can find unique features along a ridgeline or places you can hike to get a better view. As long as you can get there safely, use the promise of epic photos to motivate you to hike just a little further.
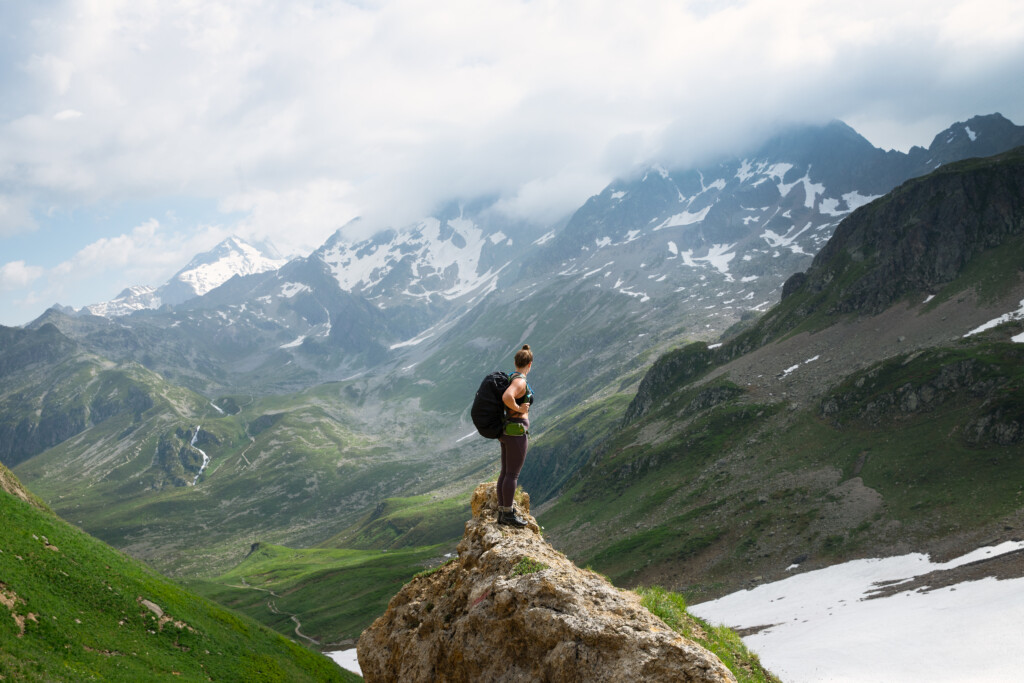
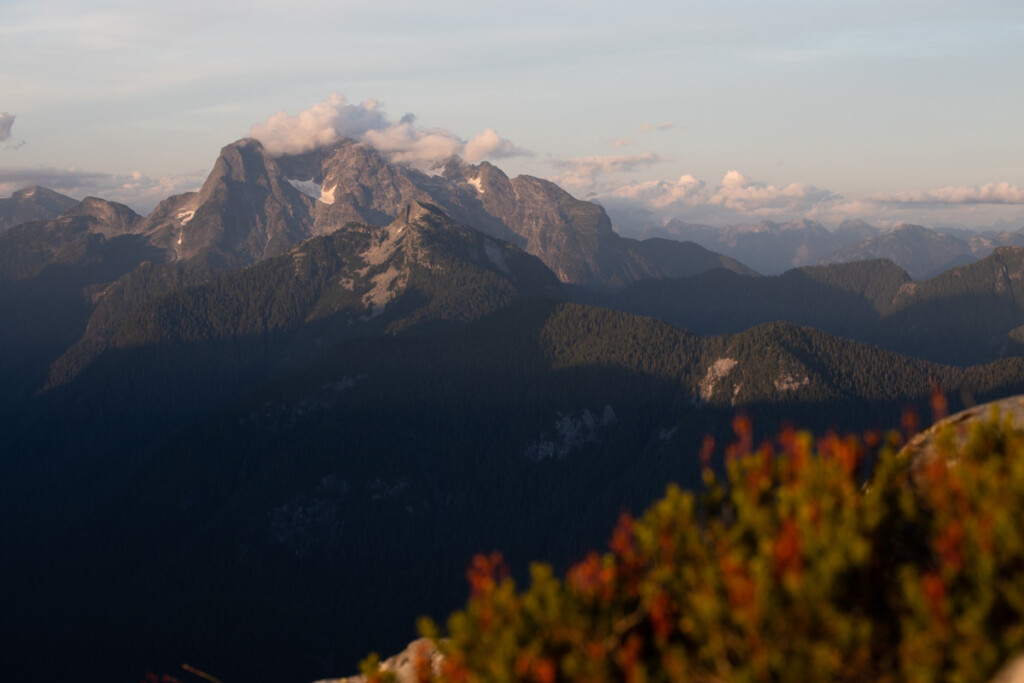
6. Use Scale To Your Advantage
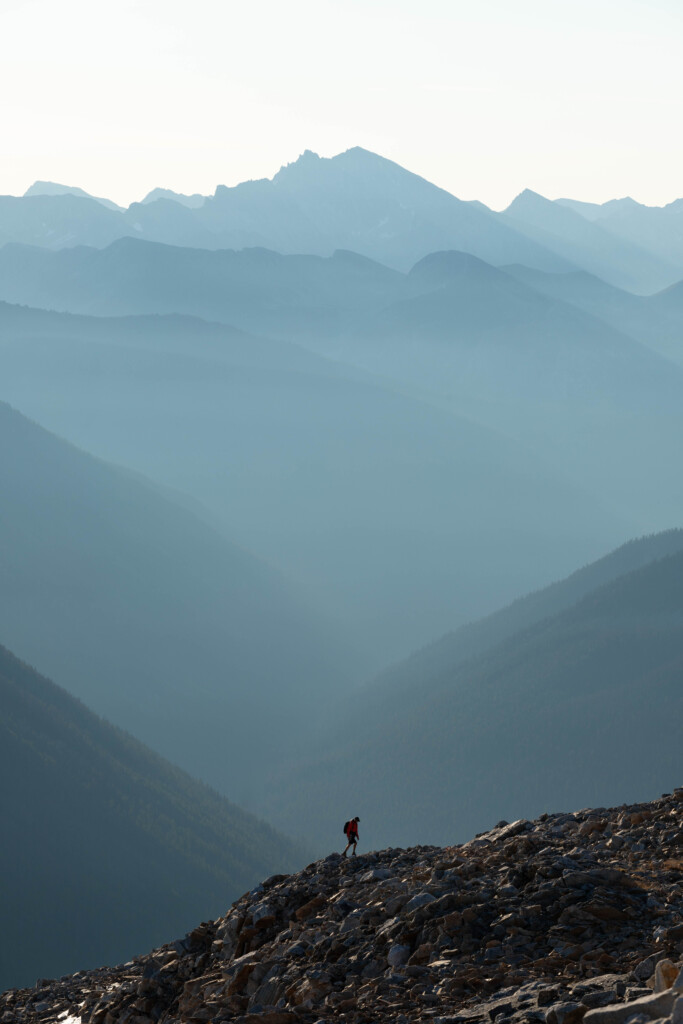
One of the best rules of composition you can use in hiking photography is scale. Scale is a technique you can use that juxtaposes two objects in a frame to create a sense of size within your scene. In layman’s terms, this means making people look really small in your hiking photos. Fortunately, when you’re in the mountains, this isn’t hard to do.
By getting further away from your subject, you can easily capture the size difference between them and their environment. By placing them somewhere along the trail or near a specific point of interest, they’ll be easy to spot in your photo.
The reason scale is so useful in hiking photography is because it makes the area look larger than life. With an environment that looks too big to believe, people are more likely to stop at your photo and think, “wow, I want to go there.” As long as it gives people a deep desire to get outside and explore, it’s safe to say you’ve taken an amazing hiking photo.
7. Remove Distractions From Your Frame
Although this rule stands for any kind of photography, make it clear what your photo is about. Remove all the distractions in your photo and focus on your subject. At first, the word “distractions” might seem a little obscure, but there is an easy way to identify them.
A distraction in a hiking photo could be something like a crowd of people, thick tree branches, or a busy background. These are all things that would catch your attention and take away the subject of your photo. To ensure your photos are distraction-free, try to keep them as simple as possible.
Don’t try to include everything and only focus on one area of your scene at a time. Place your subject against negative space to make them easily visible. Use a longer focal length to crop in to what your photo is about. These are all easy techniques you can use to keep your hiking photos simple and distraction-free.
8. Get Out And Explore!
Hiking photography is a numbers game. The more hikes you go on, the more likely your chances are to capture an epic photo. Plan out a few hikes you’ve been itching to do and challenge yourself to try something harder than normal. With more elevation gain comes better views and even better photos. Putting in the extra effort to find challenging places that other people don’t usually go offers a sweet sense of satisfaction. Better yet, it guarantees photos that nobody else will have.
Above all else, if you want to take a good hiking photo, just have fun outside. Take pictures of you and your friend’s loving life and working hard in the outdoors. These photos are fun to look at as a viewer and are even better to look back on for yourself.
By combining the camera settings we went over along with these 8 easy ways to take better hiking photos, you’re already well on your way. Although camera settings are an important part of hiking photography, it’s not the be-all-end-all. Without a good composition and an idea of where to capture the best moments, you’ll be out of luck. By striking a balance between good camera settings and well thought out images, you’re guaranteed to start taking better hiking photos on your next adventure!
Happy Shooting,
Brendan 🙂


